Home>Technology>Home Entertainment Systems>How To Program Radio Shack Universal Remote
Home Entertainment Systems
How To Program Radio Shack Universal Remote
Modified: August 28, 2024
Learn how to program your Radio Shack Universal Remote to control your home entertainment systems. Simplify your setup and enjoy easy remote control access.
(Many of the links in this article redirect to a specific reviewed product. Your purchase of these products through affiliate links helps to generate commission for Storables.com, at no extra cost. Learn more)
Introduction
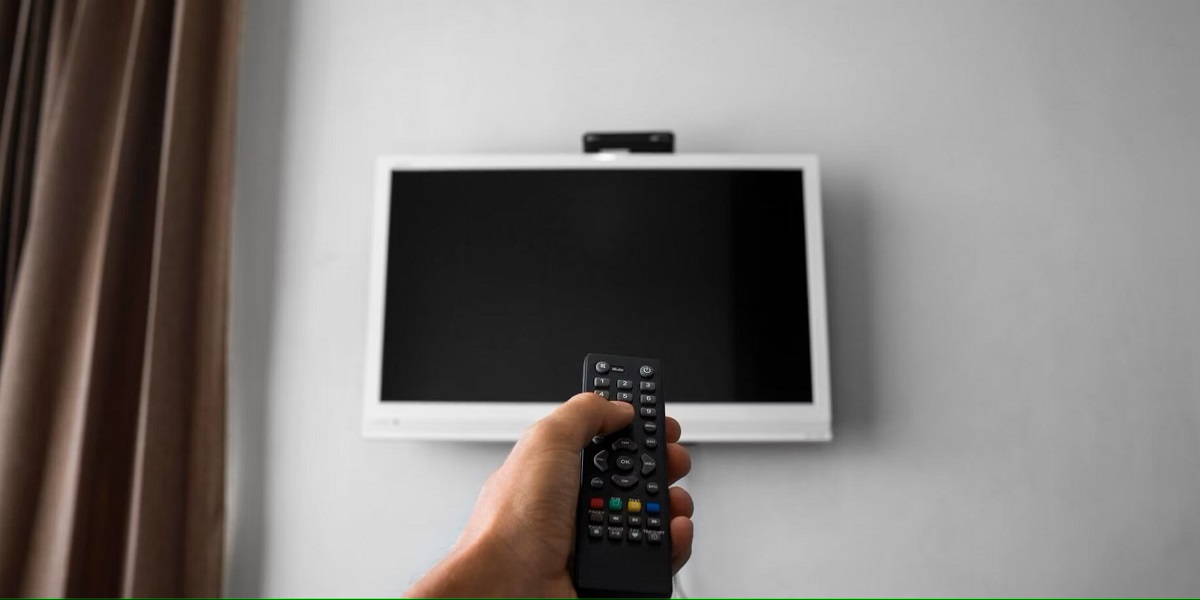
Welcome to the world of home entertainment systems, where immersive audio and crystal-clear visuals combine to provide unparalleled cinematic experiences in the comfort of your own home. One key component of any home entertainment setup is the universal remote control, a device that allows you to seamlessly control multiple devices with just a single remote.
In this article, we will focus on the Radio Shack Universal Remote, a popular choice among home entertainment enthusiasts. Whether you’re a tech-savvy individual looking to streamline your entertainment system or a novice seeking guidance on how to program a universal remote, you’ve come to the right place.
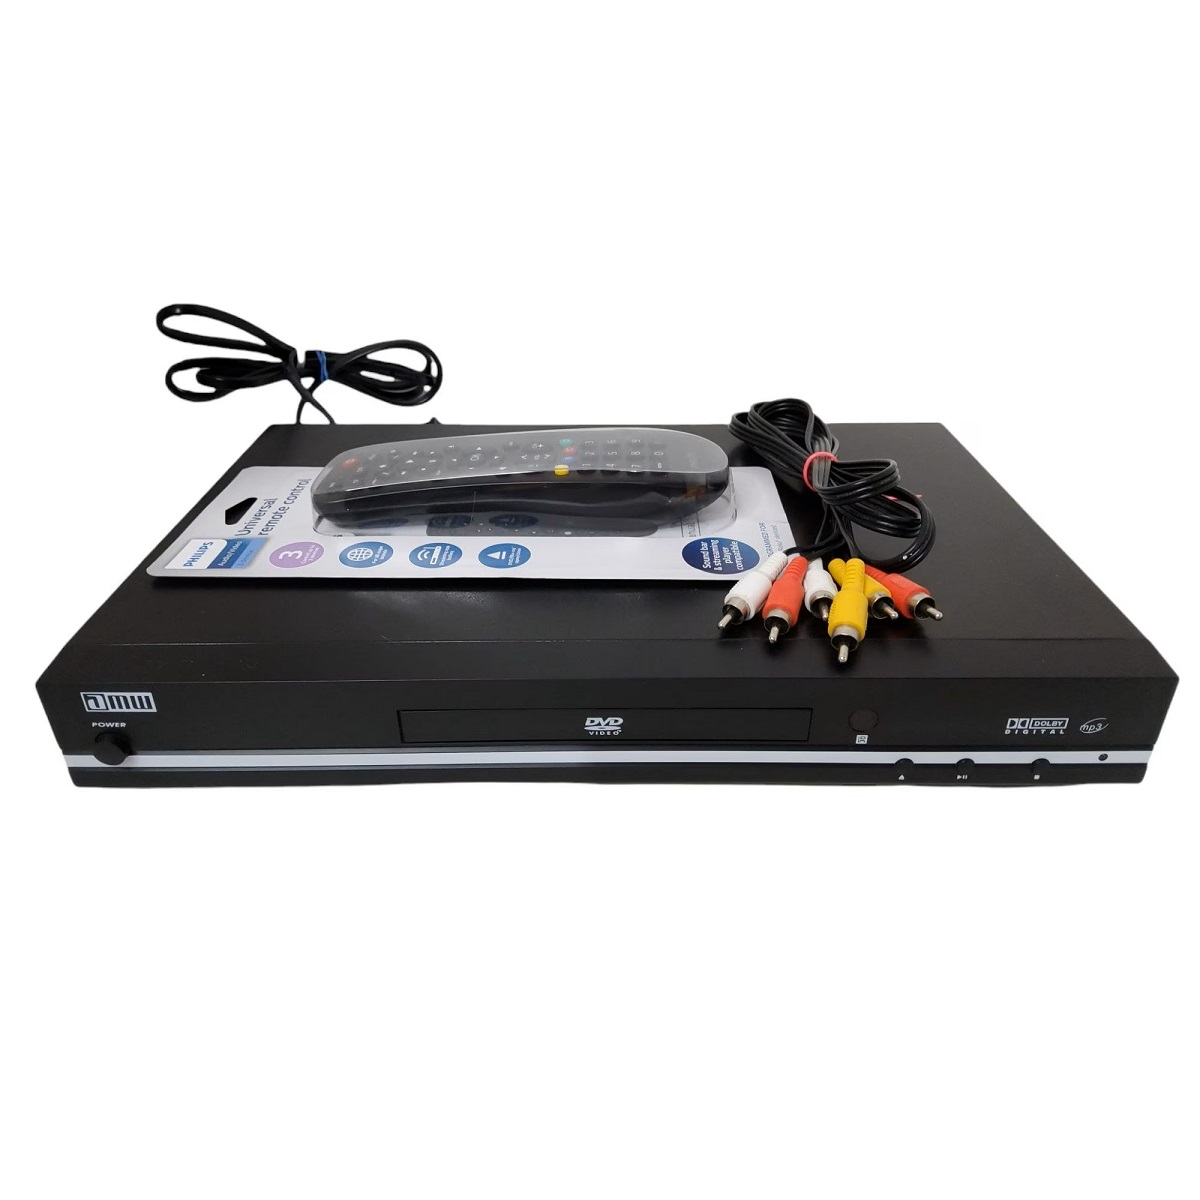
The Radio Shack Universal Remote offers a wide range of features and functionalities, making it a versatile and efficient tool for controlling your home entertainment devices. From TVs and sound systems to DVD players and streaming devices, this remote can handle it all. With the right programming and a bit of know-how, you’ll be able to control your entire entertainment system with ease.
But before we delve into the programming process, let’s take a moment to familiarize ourselves with the Radio Shack Universal Remote and its basic functions. Understanding the remote’s layout and features will make the programming process much more straightforward and enjoyable.
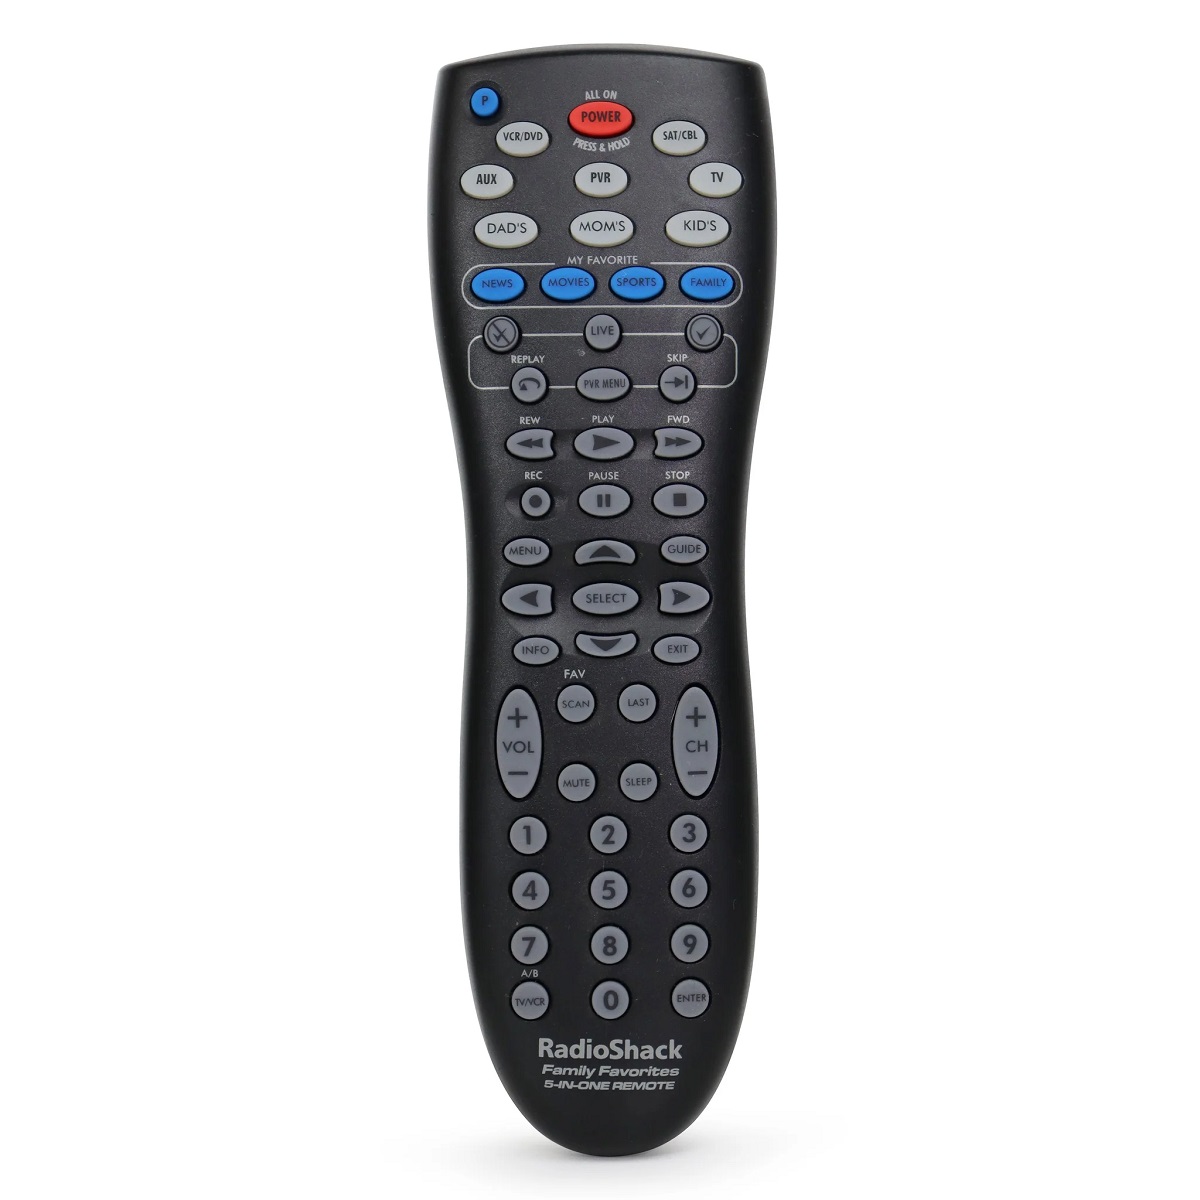
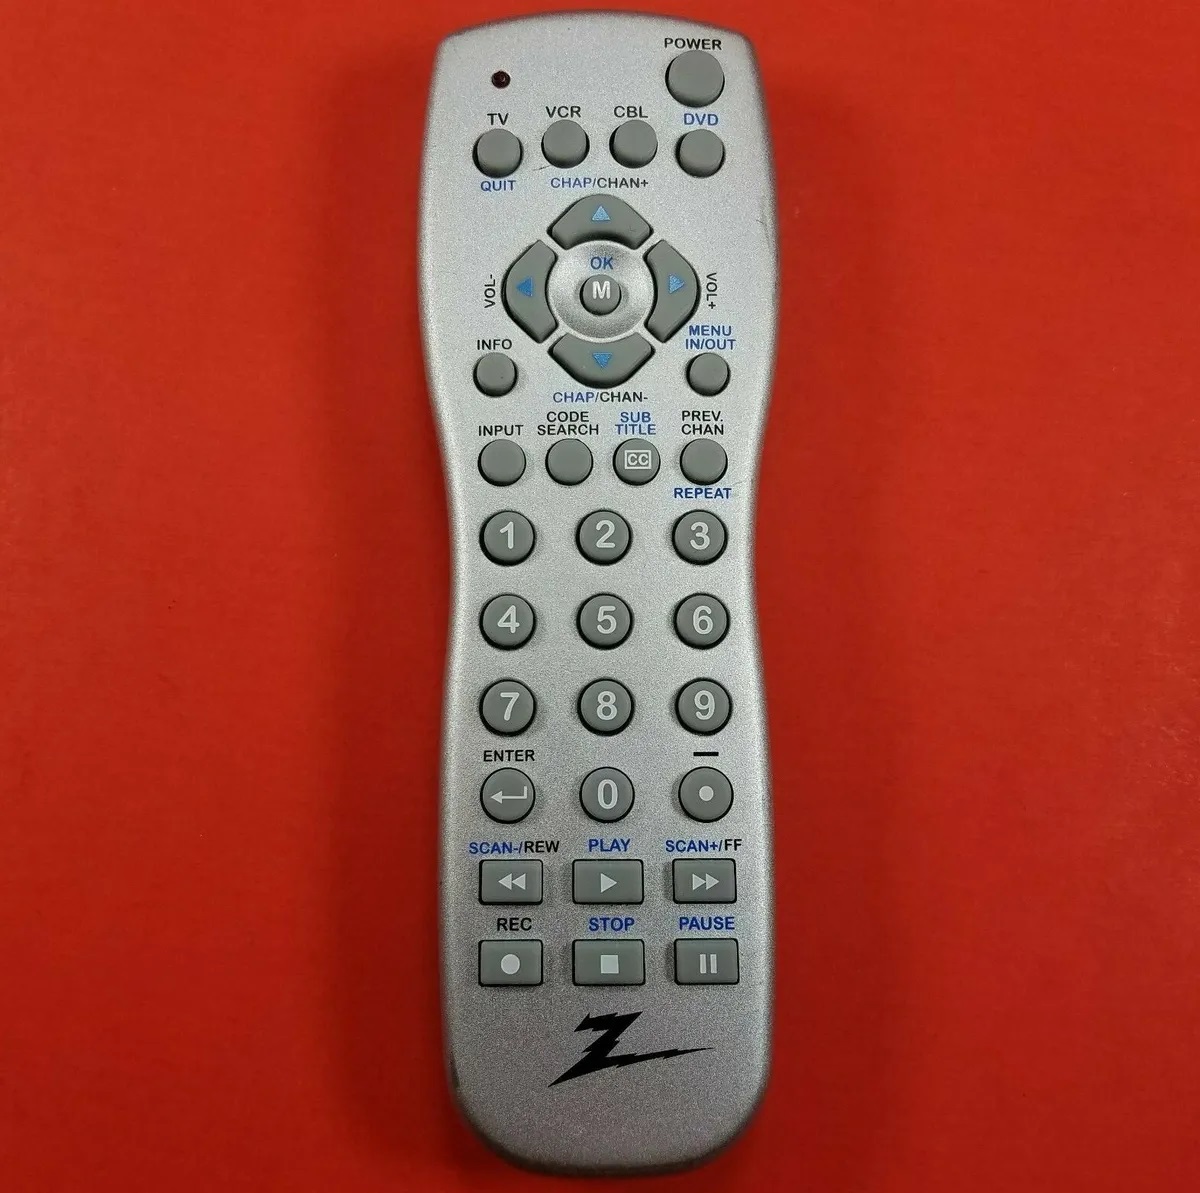
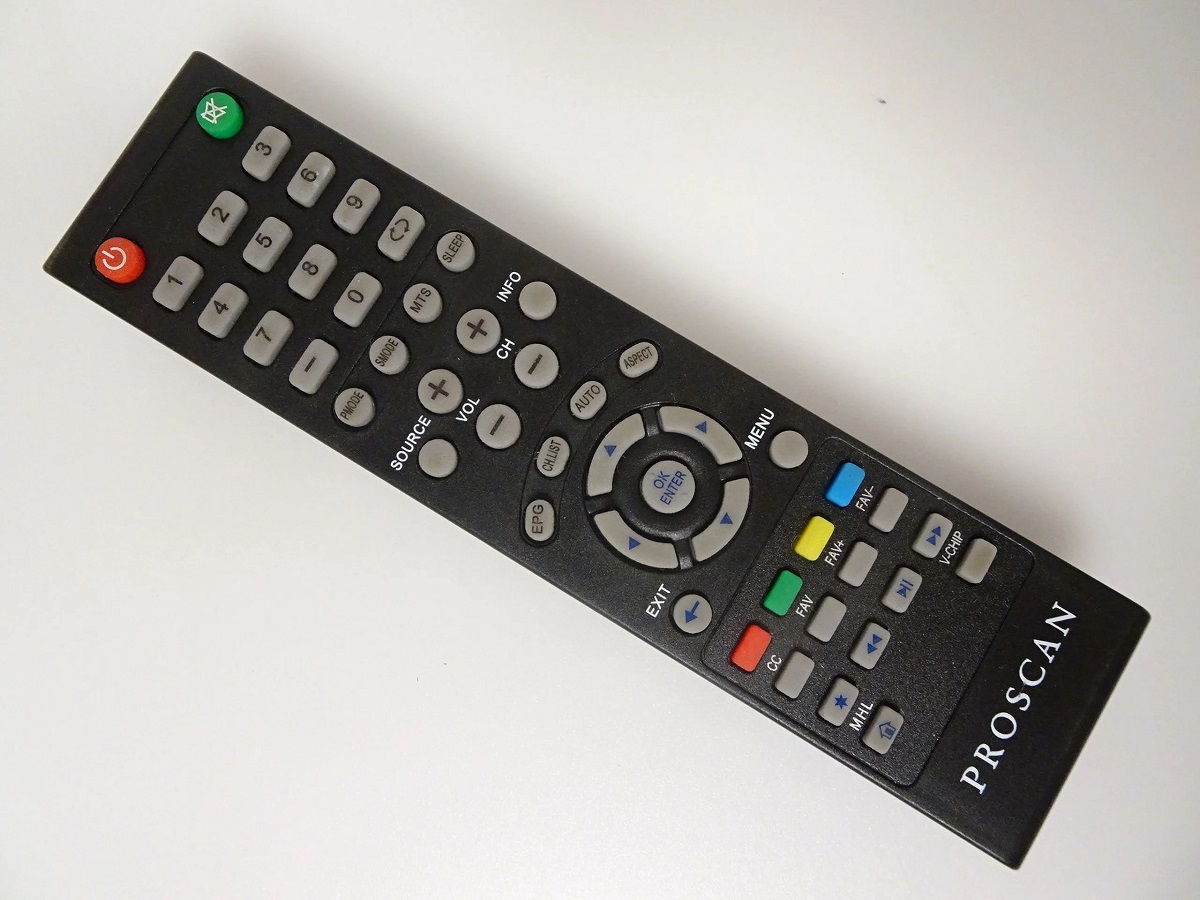
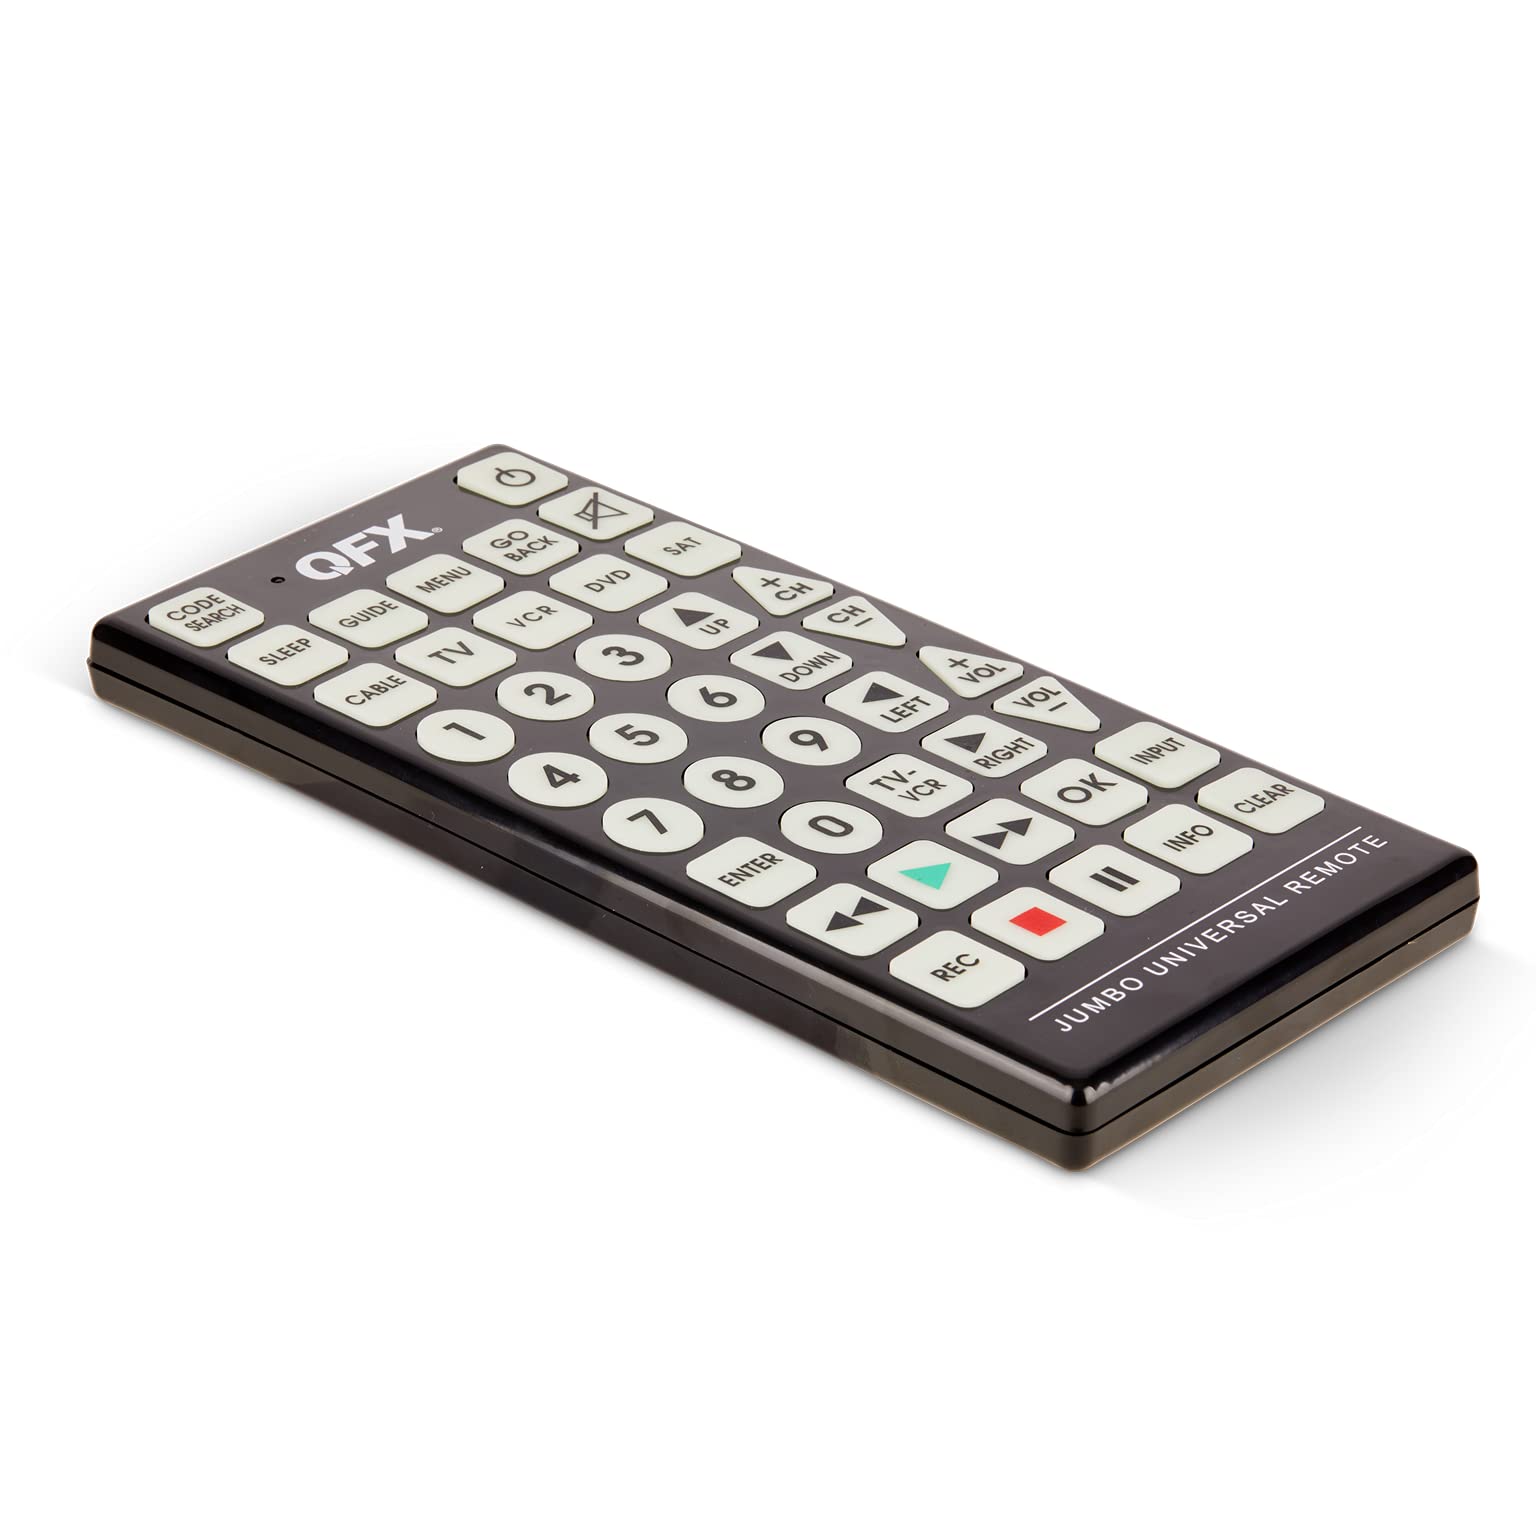
The Radio Shack Universal Remote is ergonomically designed, combining a sleek and modern look with user-friendly button placement. The remote typically features a power button, volume controls, channel selection buttons, and a numeric keypad for direct access to channels or settings. Additionally, it may have auxiliary buttons like input select, menu, and playback controls for controlling specific devices.
Another important aspect of the Radio Shack Universal Remote is its compatibility with a wide range of devices. It supports numerous brands and models, ensuring that most home entertainment devices can be controlled using this remote. You no longer have to deal with a cluttered coffee table filled with multiple remotes; one remote is all you need.
Now that we’ve covered the basics, it’s time to dive into the programming process. In the next section, we’ll guide you through the steps needed to set up your Radio Shack Universal Remote successfully. Let’s get started!
Key Takeaways:
- Streamline your home entertainment system with the Radio Shack Universal Remote, controlling multiple devices with ease. Follow the simple programming steps and troubleshooting tips for a seamless experience.
- Enjoy the convenience of operating your TV, sound system, and more with just one remote. Customize and troubleshoot with ease, and unlock the full potential of your home entertainment system.
Read more: How To Program A TWC Universal Remote
Getting Started with the Radio Shack Universal Remote
Before you can start programming your Radio Shack Universal Remote, it’s essential to ensure you have all the necessary components and a clear understanding of the setup process. Here are the steps to get started:
- Check the package: Open the remote’s package and ensure that it contains the remote control, batteries, and an instruction manual. Make sure you have everything you need before proceeding.
- Insert batteries: Open the battery compartment on the back of the remote and insert the provided batteries. Pay attention to the correct polarity, as indicated by the markings inside the compartment. Close the compartment securely.
- Power on the remote: Press the power button on the remote to turn it on. You should see the indicator light or screen illuminate, indicating that the remote is ready for use.
- Read the instruction manual: Take a few minutes to read through the instruction manual that came with the remote. Familiarize yourself with the remote’s buttons, functions, and programming procedures. This will help you navigate the process smoothly and troubleshoot any issues that may arise.
- Gather device information: Take note of the brand and model numbers of the devices you want to control with the remote. This information will be necessary during the programming process, as you’ll need to input the correct codes for each device.
Now that you’ve completed the initial setup, it’s time to program your Radio Shack Universal Remote. The following section will guide you through the programming process step by step, ensuring that you can control your devices seamlessly.
Programming the Radio Shack Universal Remote
Programming your Radio Shack Universal Remote is a straightforward process that involves inputting the correct codes for your devices. Follow these steps to program the remote:
- Turn on the device: Power on the device you want to control with the remote, whether it’s a TV, DVD player, or sound system.
- Press and hold the “Code Search” button: Locate the “Code Search” button on the remote. Press and hold it until the indicator light or screen on the remote turns on.
- Select the device type: Use the remote’s menu or input select buttons to choose the type of device you want to program. For example, if you want to program a TV, select the “TV” option on the remote.
- Enter the device code: Locate the code list that came with the remote or visit the Radio Shack website to find the specific device codes. Enter the code using the numeric keypad on the remote. The indicator light or screen should blink or turn off briefly to confirm successful code entry.
- Test the remote: Point the remote at the device and press the power button. The device should turn on or off, indicating that the programming was successful. If not, repeat the steps using a different code from the list until you find the correct one.
- Program additional devices: Repeat the above steps for each device you want to program with the remote. Make sure to select the appropriate device type and enter the corresponding device code.
It’s important to note that not all devices may be compatible with the Radio Shack Universal Remote, especially newer models or less common brands. In such cases, you may need to consult the user manual or contact Radio Shack customer support for additional assistance.
Once you have successfully programmed all your devices, you can enjoy the convenience of controlling them with a single remote. No more hunting for multiple remotes or struggling to remember which remote controls which device.
Next, we will explore how to set up device codes on your Radio Shack Universal Remote in case you encounter any issues or need to adjust the programming in the future.
When programming a Radio Shack universal remote, make sure to have the correct code for your device. Refer to the instruction manual or visit the manufacturer’s website for a list of codes. Input the code using the remote’s programming instructions to sync it with your device.
Setting Up the Device Codes
Setting up device codes on your Radio Shack Universal Remote allows you to customize the programming and adjust it as needed. Follow these steps to set up device codes:
- Access device code setup mode: Press and hold the “Code Search” button on the remote until the indicator light or screen turns on.
- Select the device type: Use the menu or input select buttons to choose the device type you want to set up codes for, such as a TV or DVD player.
- Enter the code setup mode: Press the “Code Setup” or “Code” button on the remote. The indicator light or screen should start flashing, indicating that the remote is now in code setup mode.
- Enter the device code: Use the numeric keypad on the remote to input the desired device code. Consult the instruction manual or code list that came with the remote to find the appropriate codes. The indicator light or screen should stop flashing and turn off, indicating that the code is successfully set.
- Test the code: Point the remote at the device and press various buttons, such as power, volume, or channel. If the device responds accordingly, the code setup was successful. If not, repeat the steps using a different code for the same device type.
- Save the code: Once you have verified that the code is working correctly, press and hold the “Code Setup” or “Code” button again until the indicator light or screen turns off. This saves the code to the remote’s memory.
By setting up device codes, you have the flexibility to modify or add codes as needed. If you purchase a new device or encounter compatibility issues, you can easily update the programming without having to start from scratch.
It’s worth mentioning that some devices may require advanced programming methods, such as using a pre-programmed code search or learning function. Consult the instruction manual or Radio Shack customer support for specific instructions on programming such devices.
Now that you are familiar with setting up device codes, let’s move on to the next section, where we will discuss troubleshooting tips and provide additional guidance to ensure smooth operation of your Radio Shack Universal Remote.
Troubleshooting and Tips
While programming and setting up your Radio Shack Universal Remote is generally a straightforward process, you may encounter some challenges along the way. Here are some troubleshooting tips and additional guidance to help you overcome any issues:
- Verify device compatibility: Double-check that the devices you are trying to control with the remote are compatible with the Radio Shack Universal Remote. Some newer or less common brands may not be supported.
- Try alternate codes: If the remote does not control your device correctly after programming, try using a different code from the code list. Experiment with various codes until you find the one that works best for your specific device.
- Resetting the remote: If you encounter persistent issues with programming or functionality, try resetting the remote to its default settings. Refer to the instruction manual for the specific reset procedure.
- Clear line of sight: Ensure that there is a clear line of sight between the remote and the device you are trying to control. Obstructions or long distances can interfere with the remote’s signal transmission.
- Replace batteries: If the remote’s batteries are low, it may affect its performance. Replace the batteries with new ones to ensure optimal functionality.
- Update firmware if available: Check the Radio Shack website or contact customer support to see if there are any firmware updates available for your remote. Updating the firmware can resolve compatibility issues and improve overall performance.
- Use learning function for unsupported devices: In case your device is not compatible with the pre-programmed codes, consult the instruction manual to learn how to use the remote’s learning function. This allows you to teach the remote specific commands by capturing signals from the original device remote.
Remember, patience and persistence are key when troubleshooting any technical issues. If you exhaust all options and are still experiencing difficulties with programming or using your remote, don’t hesitate to reach out to Radio Shack customer support for personalized assistance.
Now that you have the troubleshooting tips and additional guidance, you should be well-equipped to navigate any challenges that may arise. In the final section, we will conclude our discussion and summarize the key points of using the Radio Shack Universal Remote.
Read more: How To Program Terk Universal Remote
Conclusion
Congratulations! You have successfully learned how to program and set up your Radio Shack Universal Remote for controlling your home entertainment devices. With this versatile and user-friendly remote, you can now enjoy the convenience of operating multiple devices with just one controller.
Throughout this article, we covered the essential steps to get started, including inserting batteries, familiarizing yourself with the remote’s layout, and gathering device information. We then explored the programming process, where you learned how to input device codes and troubleshoot any issues that may arise.
Setting up device codes allows for customization and flexibility, giving you the ability to modify or add codes as needed. In case you encounter compatibility issues, alternate codes and the learning function can help you overcome these challenges.
Remember, a clear line of sight between the remote and the devices, sufficient battery power, and periodic firmware updates are vital for optimal performance. In case you encounter persistent problems or need further assistance, don’t hesitate to reach out to Radio Shack customer support for guidance.
By using the Radio Shack Universal Remote, you are streamlining your home entertainment experience and eliminating the clutter of multiple remotes. Enjoy the convenience and simplicity of controlling your TV, sound system, DVD player, and other devices with just one remote.
Thank you for joining us on this journey to unlock the full potential of your home entertainment system. We hope this article has provided you with the knowledge and confidence to program and utilize your Radio Shack Universal Remote effectively.
Now, sit back, relax, and immerse yourself in the world of entertainment with the power of your Radio Shack Universal Remote at your fingertips!
Frequently Asked Questions about How To Program Radio Shack Universal Remote
Was this page helpful?
At Storables.com, we guarantee accurate and reliable information. Our content, validated by Expert Board Contributors, is crafted following stringent Editorial Policies. We're committed to providing you with well-researched, expert-backed insights for all your informational needs.
0 thoughts on “How To Program Radio Shack Universal Remote”