Home>Technology>Home Entertainment Systems>How To Program A Vivitar Universal Remote
Home Entertainment Systems
How To Program A Vivitar Universal Remote
Modified: August 28, 2024
Learn how to program a Vivitar universal remote for your home entertainment systems with our step-by-step guide. Control all your devices with ease!
(Many of the links in this article redirect to a specific reviewed product. Your purchase of these products through affiliate links helps to generate commission for Storables.com, at no extra cost. Learn more)
Introduction
Welcome to the world of home entertainment systems! Whether you're a movie buff, a gaming enthusiast, or a music lover, having a well-programmed universal remote can significantly enhance your experience. In this comprehensive guide, we'll delve into the process of programming a Vivitar universal remote, unlocking the convenience of controlling multiple devices with a single gadget.
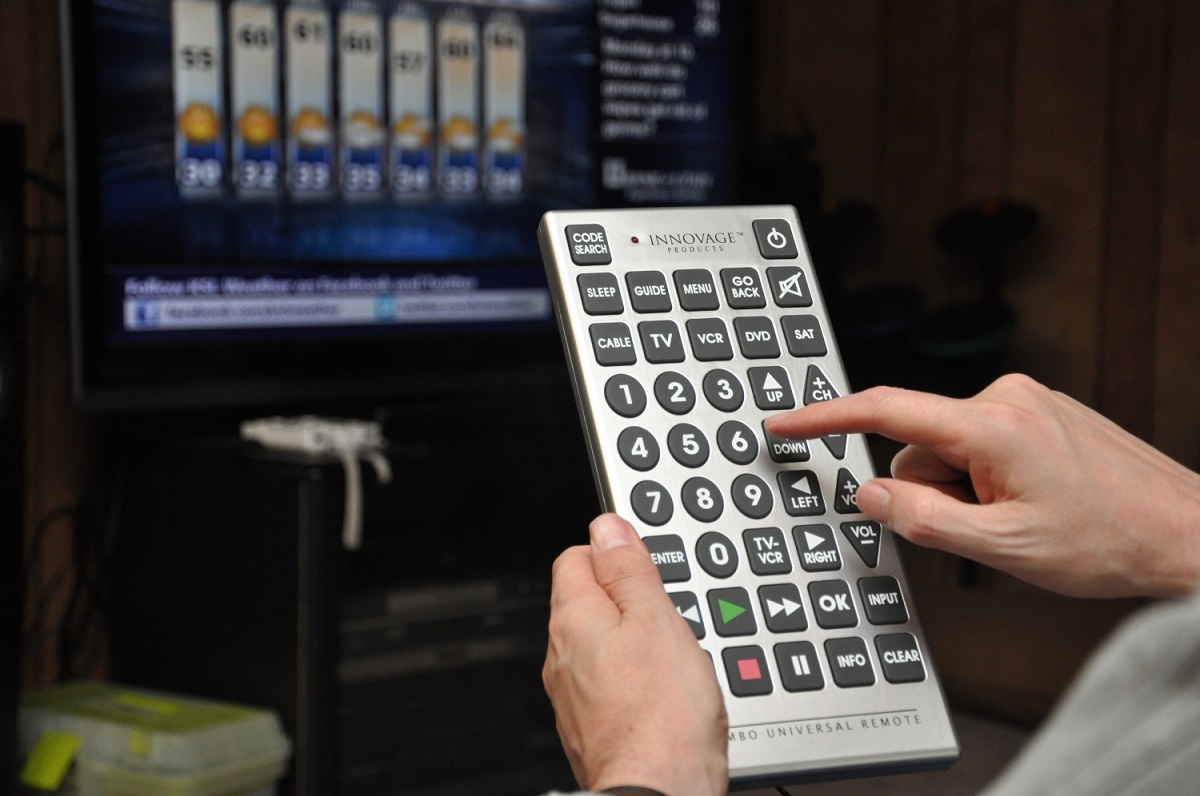
Picture this: you're settling in for a movie night, ready to immerse yourself in the cinematic experience. However, the clutter of multiple remotes on the coffee table becomes an unexpected obstacle. Fret not, as a Vivitar universal remote can streamline your entertainment setup, bringing ease and efficiency to your fingertips.
As we embark on this journey, we'll unravel the step-by-step process of programming your Vivitar universal remote, empowering you to seamlessly navigate through your TV, cable box, audio system, and other devices. So, grab your remote and let's embark on this empowering quest to simplify and elevate your home entertainment experience.
Key Takeaways:
- Simplify your entertainment setup by programming a Vivitar universal remote to control all your devices with ease, eliminating the hassle of managing multiple remotes.
- Enjoy an enhanced viewing experience with a single remote, empowering you to effortlessly switch between devices and access their features at your convenience.
Read more: How To Program A TWC Universal Remote
Step 1: Gather Your Materials
Before diving into the programming process, it's essential to gather the necessary materials to ensure a smooth and efficient setup. Here's what you'll need:
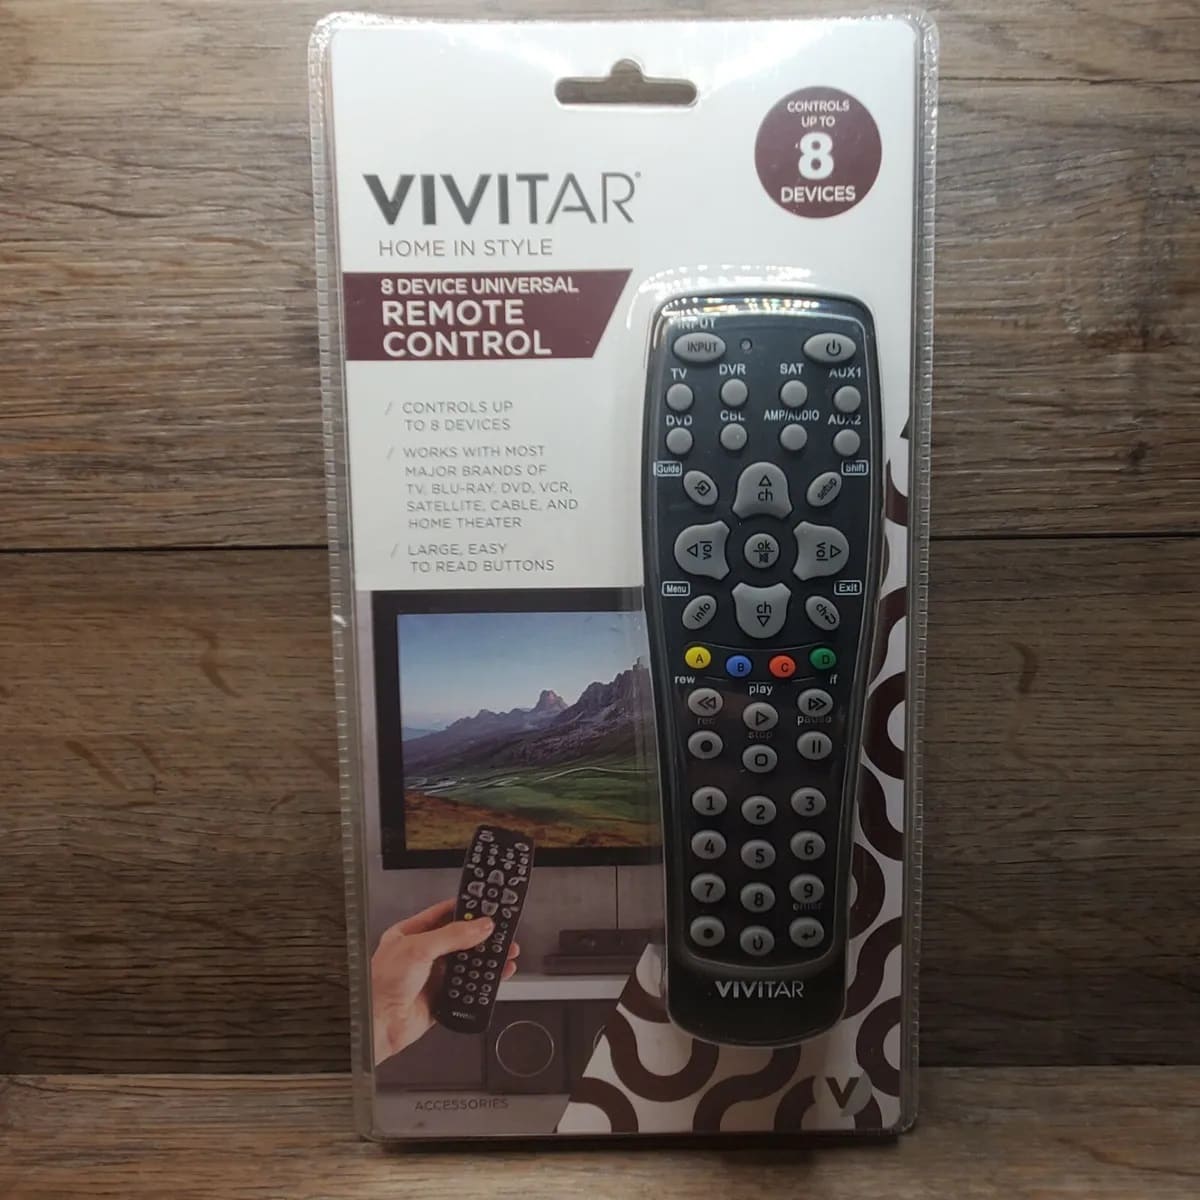
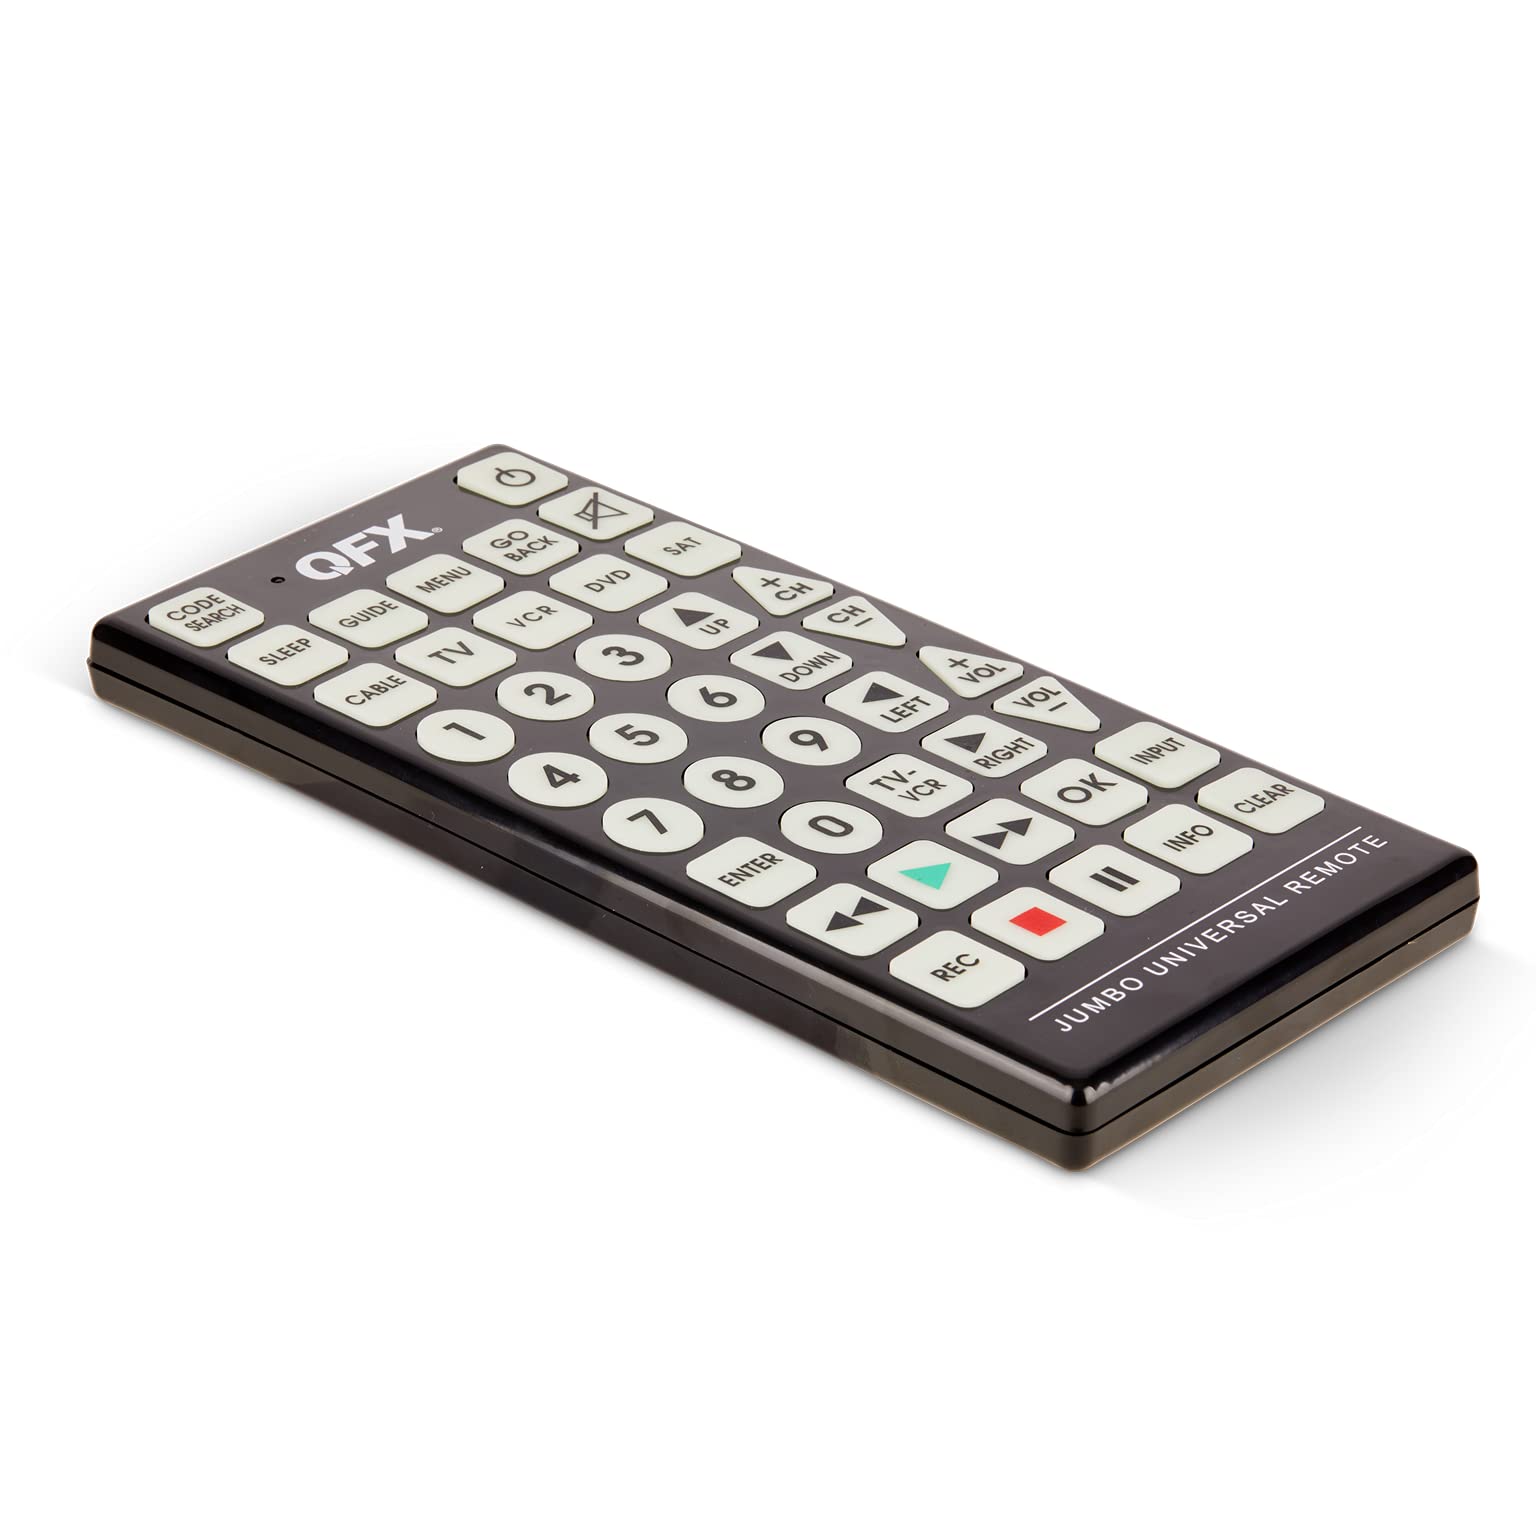
- Vivitar Universal Remote: Ensure that you have your Vivitar universal remote on hand. If you haven't purchased one yet, consider selecting a model that aligns with the devices you intend to control, such as TVs, DVD players, soundbars, and streaming devices.
- User Manual: Retrieve the user manual that accompanies your Vivitar universal remote. This invaluable resource contains essential information, including programming instructions, code lists, and troubleshooting tips.
- Devices to Control: Identify the electronic devices you wish to control with your universal remote. This may include your television, cable or satellite box, audio receiver, streaming devices, and other home entertainment components.
- Batteries: Ensure that your universal remote is equipped with fresh batteries. If not, procure the appropriate batteries based on the specifications outlined in the user manual.
- Clear Workspace: Create a comfortable and well-lit workspace where you can comfortably program your remote without any distractions.
By assembling these materials, you'll set the stage for a successful remote programming experience, laying the foundation for seamless control over your home entertainment devices.
Step 2: Find the Code for Your Device
Now that you’ve gathered your materials, it’s time to embark on the next phase of programming your Vivitar universal remote: finding the correct codes for your devices. These codes serve as the communication bridge between your remote and the electronic components you wish to control. Here’s how to proceed:
- Consult the User Manual: Refer to the user manual provided with your Vivitar universal remote. It typically contains a list of codes for various brands and models of devices. Locate the section that pertains to code programming and device setup.
- Online Code Database: If your user manual doesn’t include a comprehensive list of codes, visit the official Vivitar website or use reputable online resources to access a database of device codes. These databases are frequently updated and can provide the specific codes for your TV, DVD player, sound system, or other devices.
- Code Search Feature: Some Vivitar universal remotes offer a convenient code search feature. This functionality allows the remote to automatically search for the correct code for your device. Refer to the user manual to determine if your remote supports this feature and follow the provided instructions.
As you embark on this quest for the right device codes, it’s important to exercise patience and thoroughness. The accuracy of the codes directly impacts the functionality of your universal remote, so take the time to ensure you have the correct information for each of your devices.
By diligently seeking and compiling the necessary codes, you’re laying the groundwork for a successful programming experience, bringing you one step closer to enjoying the convenience and efficiency of a fully operational Vivitar universal remote.
When programming a Vivitar universal remote, make sure to have the correct code for your device. Follow the instructions in the manual to enter the code and sync the remote with your device.
Step 3: Program the Remote
With the device codes in hand, it’s time to embark on the exciting process of programming your Vivitar universal remote. This step is where the magic happens, as you synchronize your remote with your home entertainment devices. Follow these steps to seamlessly program your remote:
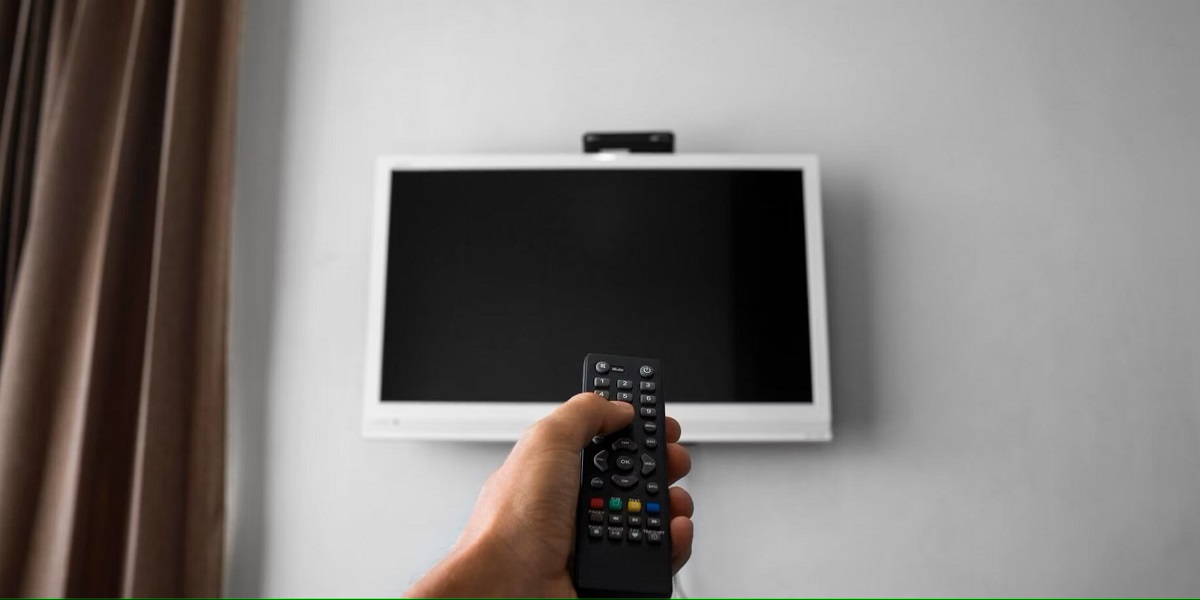
- Turn on the Device: Power on the device you wish to control with the Vivitar remote, whether it’s your TV, DVD player, sound system, or other electronic component.
- Enter Programming Mode: Refer to your user manual to determine the specific steps for entering programming mode on your Vivitar universal remote. This typically involves pressing a combination of buttons or following a sequence to initiate the programming process.
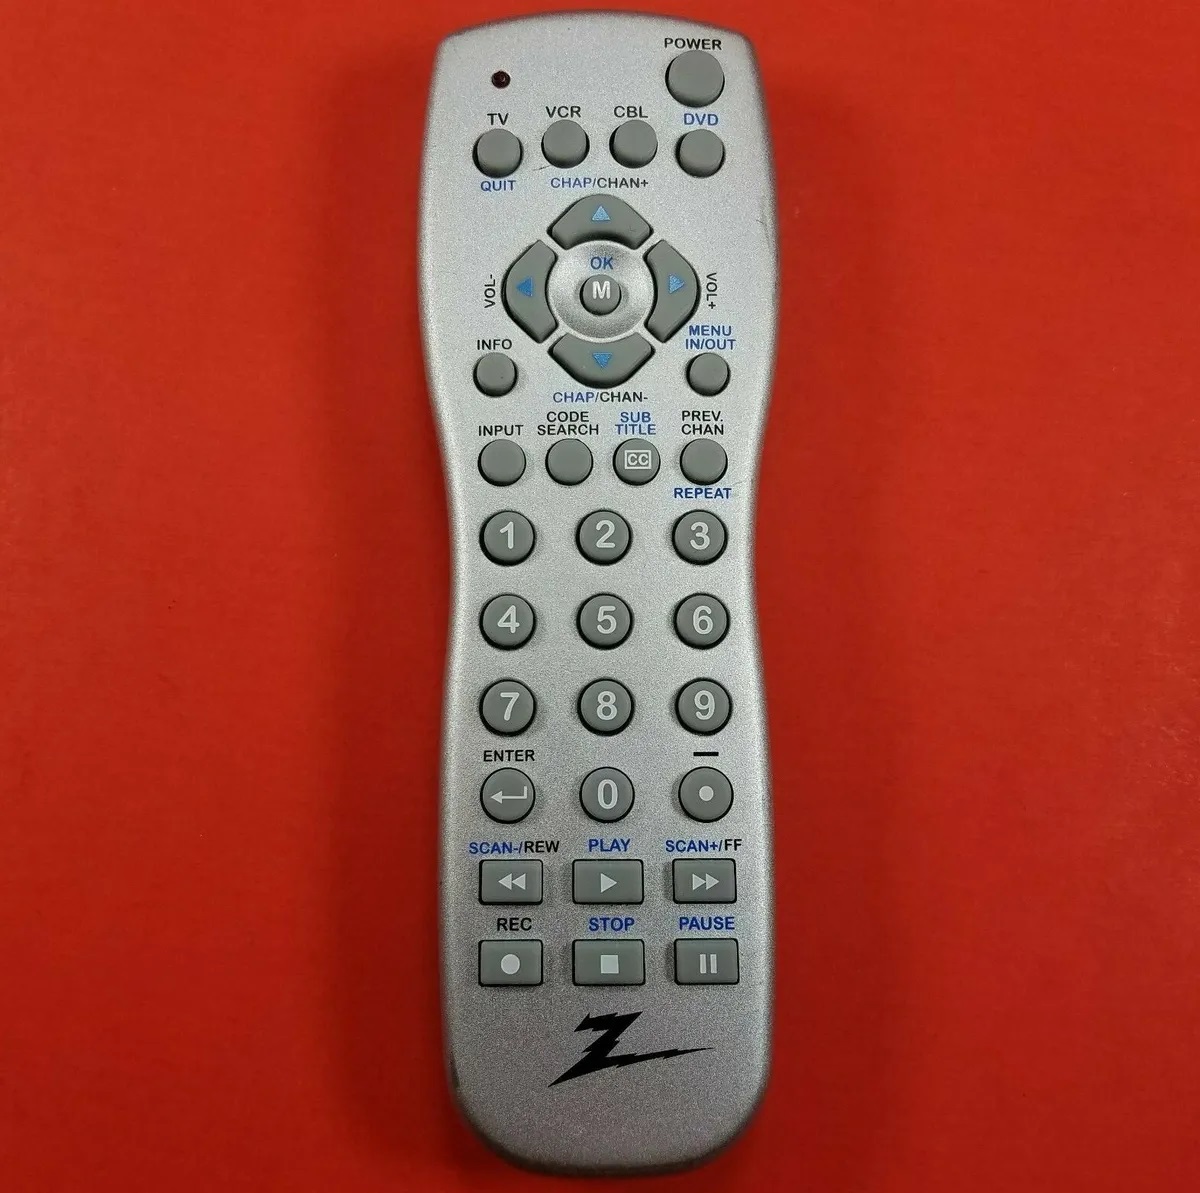
- Input Device Code: Once in programming mode, enter the specific code for your device using the numeric keypad on the remote. Follow the instructions in the user manual to ensure the correct input sequence.
- Test Functionality: After entering the code, test the remote’s functionality by using the provided control options, such as changing channels, adjusting volume, or navigating menus. Ensure that the remote effectively communicates with the device and performs the desired functions.
- Repeat for Additional Devices: If you have multiple devices to control, repeat the programming process for each one, inputting the corresponding codes and testing the remote’s functionality after each setup.
As you navigate through the programming steps, keep the user manual within reach for quick reference and troubleshooting guidance. Patience and precision are key during this phase, ensuring that each device is accurately programmed into the remote’s memory.
By successfully programming your Vivitar universal remote, you’re poised to enjoy the convenience of unified control over your home entertainment system, simplifying your interaction with multiple devices and enhancing your overall viewing and listening experience.
Step 4: Test the Remote
Now that you’ve programmed your Vivitar universal remote to communicate with your various home entertainment devices, it’s time to put its functionality to the test. This crucial step ensures that the remote operates seamlessly, allowing you to effortlessly navigate through your entertainment system. Follow these guidelines to thoroughly test the remote’s capabilities:
- Verify Device Control: Begin by verifying that the remote effectively controls each programmed device. Test essential functions such as powering devices on and off, adjusting volume, changing channels, and accessing additional features specific to each device.
- Ensure Consistency: Test the remote’s consistency across different devices. Verify that it seamlessly transitions between controlling your TV, DVD player, audio system, and any other programmed components without encountering operational glitches.
- Explore Advanced Features: If your devices offer advanced features such as input selection, picture settings, or audio modes, ensure that the remote provides intuitive access to these functions. Familiarize yourself with the remote’s layout and functionality to leverage its full potential.
- Fine-Tune Settings: If you encounter any issues or inconsistencies during testing, consult the user manual for troubleshooting tips. This may involve reprogramming specific devices, adjusting settings, or exploring alternative codes to optimize the remote’s performance.
By conducting a thorough testing phase, you’re not only ensuring the efficacy of your Vivitar universal remote but also gaining a comprehensive understanding of its capabilities. This hands-on experience equips you with the confidence to seamlessly navigate your home entertainment system, unlocking the convenience and efficiency that a well-programmed remote provides.
Upon successfully completing the testing phase, you’ll be ready to revel in the seamless control and enhanced user experience that your Vivitar universal remote offers, elevating your home entertainment enjoyment to new heights.
Read more: How To Program Terk Universal Remote
Conclusion
Congratulations on successfully navigating the process of programming your Vivitar universal remote! By following the steps outlined in this guide, you’ve unlocked the convenience and efficiency of controlling your home entertainment devices with a single, versatile remote. As you reflect on this empowering journey, consider the following key takeaways:
- Simplified Control: With your Vivitar universal remote, you now have the power to seamlessly navigate through your TV, audio system, streaming devices, and more, eliminating the clutter of multiple remotes and streamlining your interaction with your entertainment setup.
- Enhanced User Experience: The seamless integration of your devices under the control of a single remote enhances your overall viewing, gaming, and listening experience, allowing you to focus on enjoying your favorite content without the distraction of complex remote management.
- Empowerment and Versatility: Programming your remote has empowered you to take charge of your home entertainment environment, providing you with the versatility to effortlessly switch between devices and access their features at your convenience.
As you bask in the newfound convenience and control that your Vivitar universal remote offers, remember that ongoing exploration and experimentation can further enhance your interaction with your home entertainment system. Familiarize yourself with advanced features, personalized settings, and additional functionalities that your remote may provide, allowing you to tailor your experience to your preferences.
Lastly, should you encounter any challenges or seek to expand your remote’s capabilities in the future, remember that the user manual and online resources are valuable companions on your journey. They offer guidance, troubleshooting tips, and potential updates to ensure that your remote continues to serve as a reliable and indispensable companion in your home entertainment endeavors.
With your Vivitar universal remote as your trusted ally, you’re poised to embark on countless hours of immersive entertainment, seamlessly navigating through your favorite movies, shows, games, and music with unparalleled ease and efficiency.
Here’s to a future filled with seamless control, enhanced enjoyment, and the empowering convenience of your Vivitar universal remote!
Frequently Asked Questions about How To Program A Vivitar Universal Remote
Was this page helpful?
At Storables.com, we guarantee accurate and reliable information. Our content, validated by Expert Board Contributors, is crafted following stringent Editorial Policies. We're committed to providing you with well-researched, expert-backed insights for all your informational needs.
0 thoughts on “How To Program A Vivitar Universal Remote”