Home>Technology>Security & Surveillance>How To Drill A Door Lock
Security & Surveillance
How To Drill A Door Lock
Modified: January 24, 2024
Learn how to drill a door lock for emergency access and security maintenance. Get expert tips on enhancing your security and surveillance measures.
(Many of the links in this article redirect to a specific reviewed product. Your purchase of these products through affiliate links helps to generate commission for Storables.com, at no extra cost. Learn more)
Introduction
Welcome to the comprehensive guide on how to drill a door lock. Whether you're a seasoned DIY enthusiast or a novice looking to enhance your home security, understanding the process of drilling a door lock can be invaluable. By mastering this skill, you can confidently install new locks or replace existing ones, bolstering the safety and security of your living space.
Drilling a door lock may seem like a daunting task, but with the right tools, materials, and a clear understanding of the process, it can be a manageable and rewarding endeavor. This guide will walk you through each step, providing insights and tips to ensure a successful outcome.
By the end of this tutorial, you'll have the knowledge and confidence to tackle door lock installations with ease. So, gather your tools, prepare to learn, and let's delve into the art of drilling a door lock to fortify your home's security.
Key Takeaways:
- Master the art of drilling a door lock to enhance home security. Prepare, measure, drill, and install with confidence using this comprehensive guide.
- With the right tools and steps, anyone can successfully drill and install a door lock. Take pride in safeguarding your home and empowering yourself with this essential skill.
Read more: How To Put A Lock On A Door Without Drilling
Tools and Materials Needed
Before embarking on the task of drilling a door lock, it’s essential to gather the necessary tools and materials. Having the right equipment at your disposal will not only streamline the process but also ensure precision and accuracy in the installation. Here’s a list of the tools and materials you’ll need:
- Drill: A power drill with variable speed settings and a reversible feature is ideal for this task. Ensure that the drill is equipped with a sharp, high-quality drill bit suitable for metal or wood, depending on the type of door you have.
- Lock Installation Kit: This kit typically includes hole saws, guide template, and a latch bore tool, all of which are crucial for accurately cutting holes for the lock and latch.
- Measuring Tape: A reliable measuring tape is essential for precise measurements, ensuring that the lock and latch are positioned correctly on the door.
- Pencil: A sharp pencil will be used for marking hole locations and making accurate measurements on the door surface.
- Safety Gear: Safety goggles and work gloves are essential for protecting your eyes and hands during the drilling process.
- Door Lock: Depending on your specific requirements, you’ll need the new lock and accompanying hardware for installation.
- Screwdriver: A screwdriver will be necessary for securing the lock and latch in place once the holes are drilled.
- Chisel (if needed): In some cases, a chisel may be required to refine the edges of the drilled holes and ensure a proper fit for the lock and latch.
- Door Wedge (if needed): A door wedge can be used to stabilize the door during the installation process, preventing it from moving while drilling.
With these tools and materials at your disposal, you’ll be well-prepared to proceed with the door lock drilling process, setting the stage for a successful installation.
Preparing the Door
Before diving into the drilling process, it’s crucial to prepare the door to ensure a smooth and efficient installation. Proper preparation not only simplifies the task but also contributes to the overall quality and longevity of the installed lock. Here are the essential steps for preparing the door:
- Remove the Existing Hardware: If there’s an existing lock or latch on the door, carefully remove it using a screwdriver. Ensure that the area is clear of any obstructions before proceeding.
- Clean the Door Surface: Thoroughly clean the area where the new lock will be installed. Remove any dirt, debris, or old adhesive residue to create a clean and smooth surface for the installation.
- Assess the Door Material: Determine whether the door is made of wood, metal, or another material, as this will influence the type of drill bit and technique required for the drilling process.
- Stabilize the Door: To prevent the door from moving during drilling, use a door wedge to secure it in place. This stability is essential for achieving precise and accurate drill holes.
- Mark the Hole Locations: Using a measuring tape and pencil, mark the precise locations where the lock and latch will be installed. Ensure that the markings are level and aligned with the door frame for a professional finish.
By meticulously preparing the door for the installation, you’ll lay a solid foundation for the subsequent drilling and lock fitting stages. This attention to detail will contribute to a seamless and secure final result, enhancing the overall functionality and appearance of the door lock.
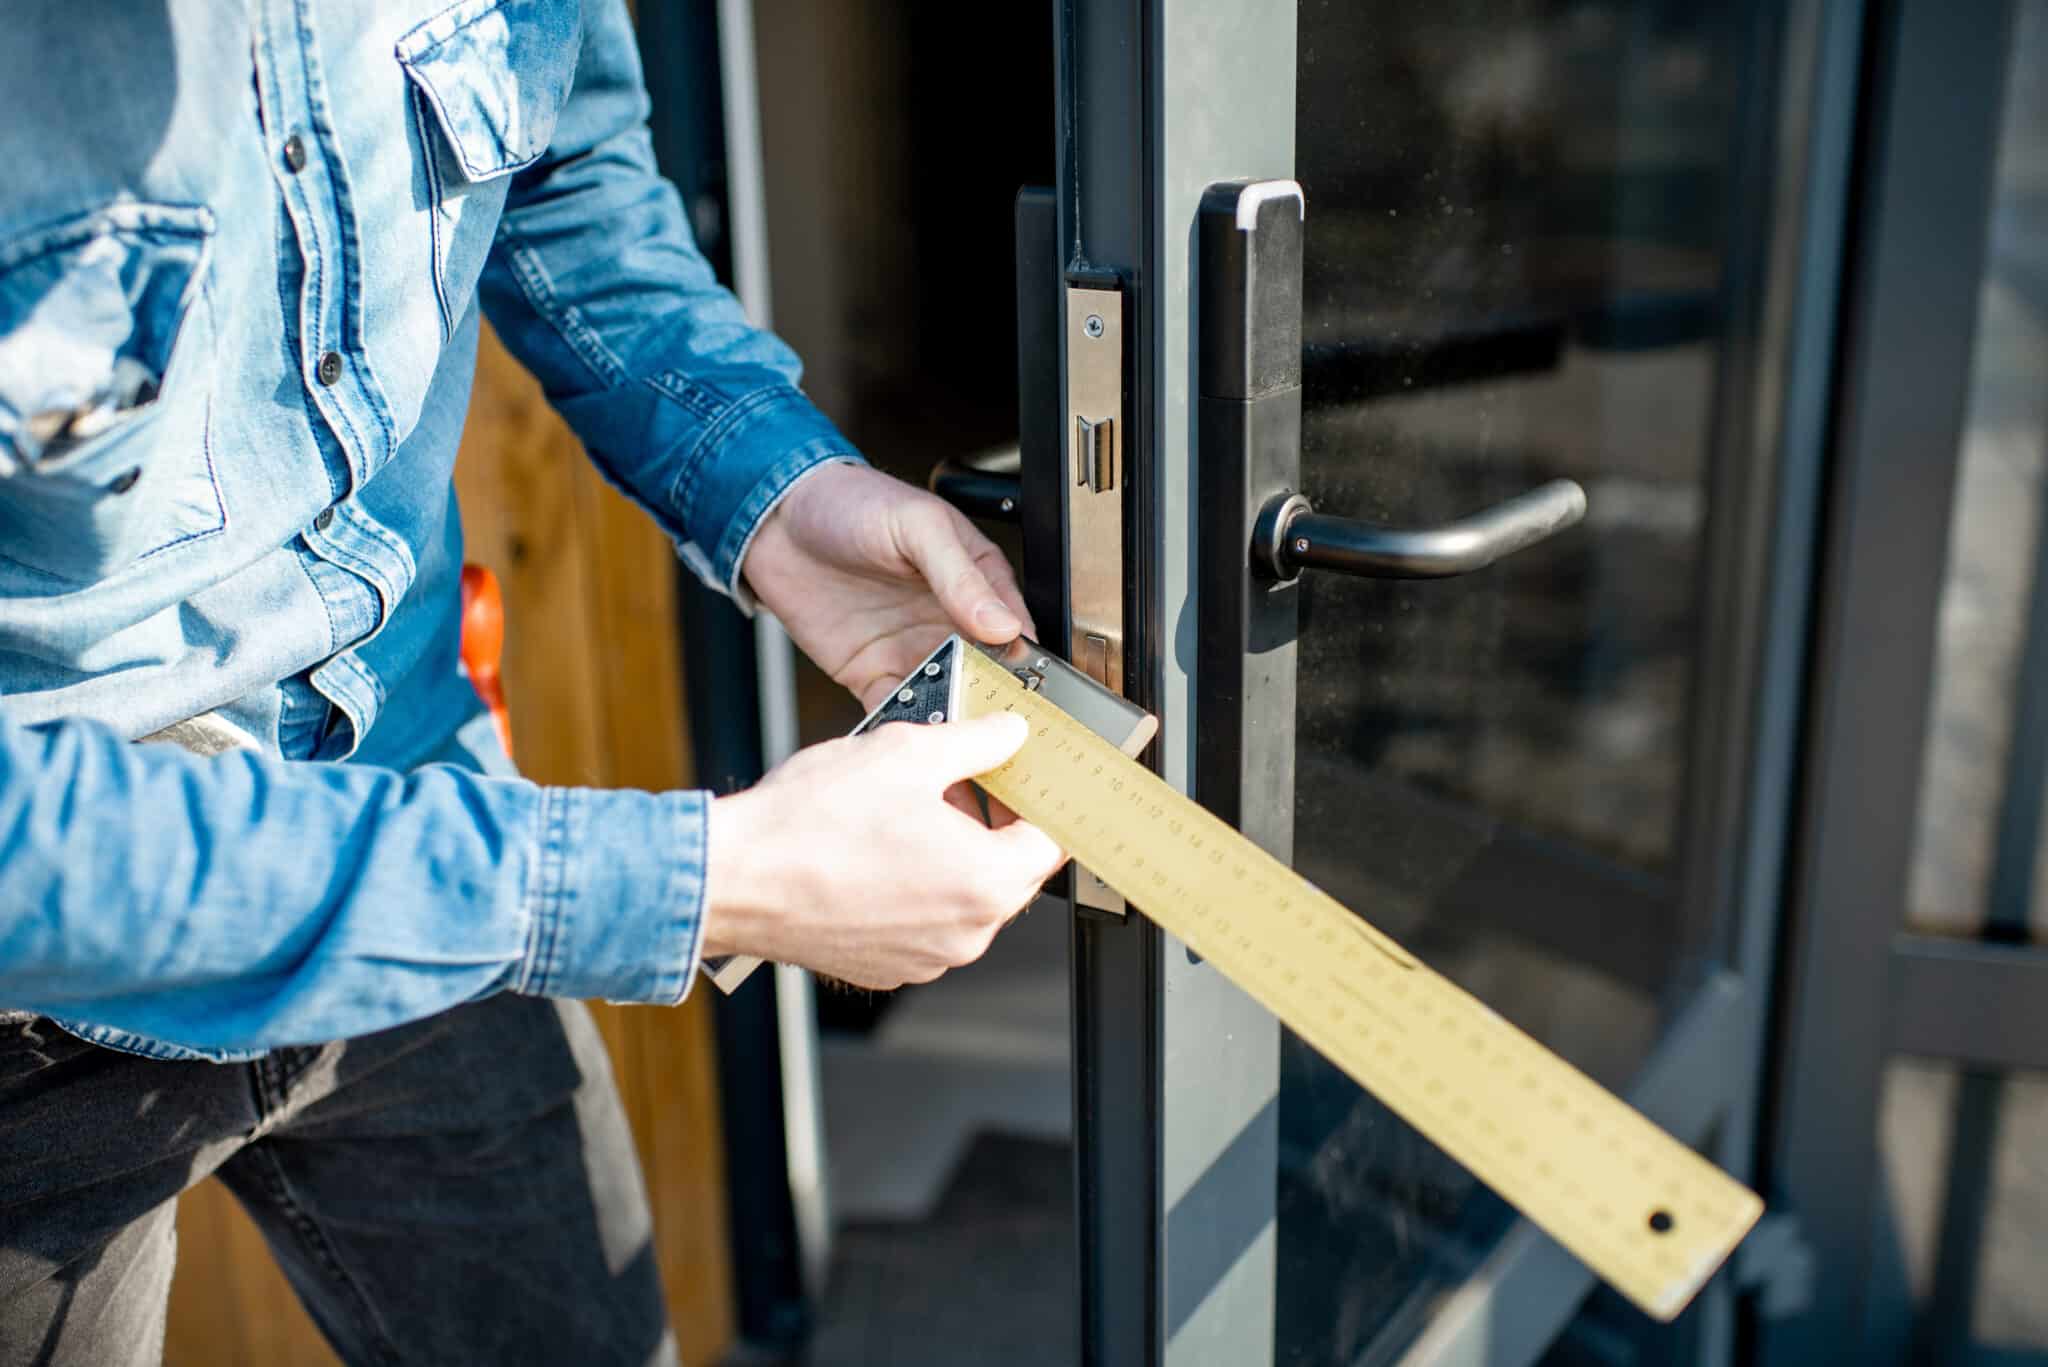
Marking and Measuring
Accurate marking and measuring are crucial steps in the door lock installation process, setting the stage for precise drilling and ensuring that the lock and latch fit seamlessly into the door. By following these steps meticulously, you can avoid potential errors and achieve a professional and secure installation. Here’s how to approach the marking and measuring stage:
- Measurements: Use a measuring tape to determine the exact placement of the lock and latch on the door. Ensure that the measurements are consistent with the specifications provided by the lock manufacturer.
- Marking the Center: Identify the center point for the lock and latch, marking it with a pencil. This central marking will serve as the reference point for drilling the holes.
- Template or Guide: If your lock installation kit includes a template or guide, use it to mark the precise locations for drilling. These guides are designed to streamline the process and ensure accuracy.
- Check Alignment: Verify that the markings align with the door frame and that the lock and latch will be positioned correctly. This visual inspection can help prevent potential misalignment issues during installation.
By meticulously marking and measuring the door, you’ll establish a clear roadmap for the drilling phase, minimizing the risk of errors and ensuring that the lock and latch are positioned with precision. This attention to detail is fundamental to achieving a professional and secure door lock installation.
Before drilling a door lock, make sure to use the correct size drill bit and go slow to avoid damaging the door. Also, wear safety goggles to protect your eyes from any debris.
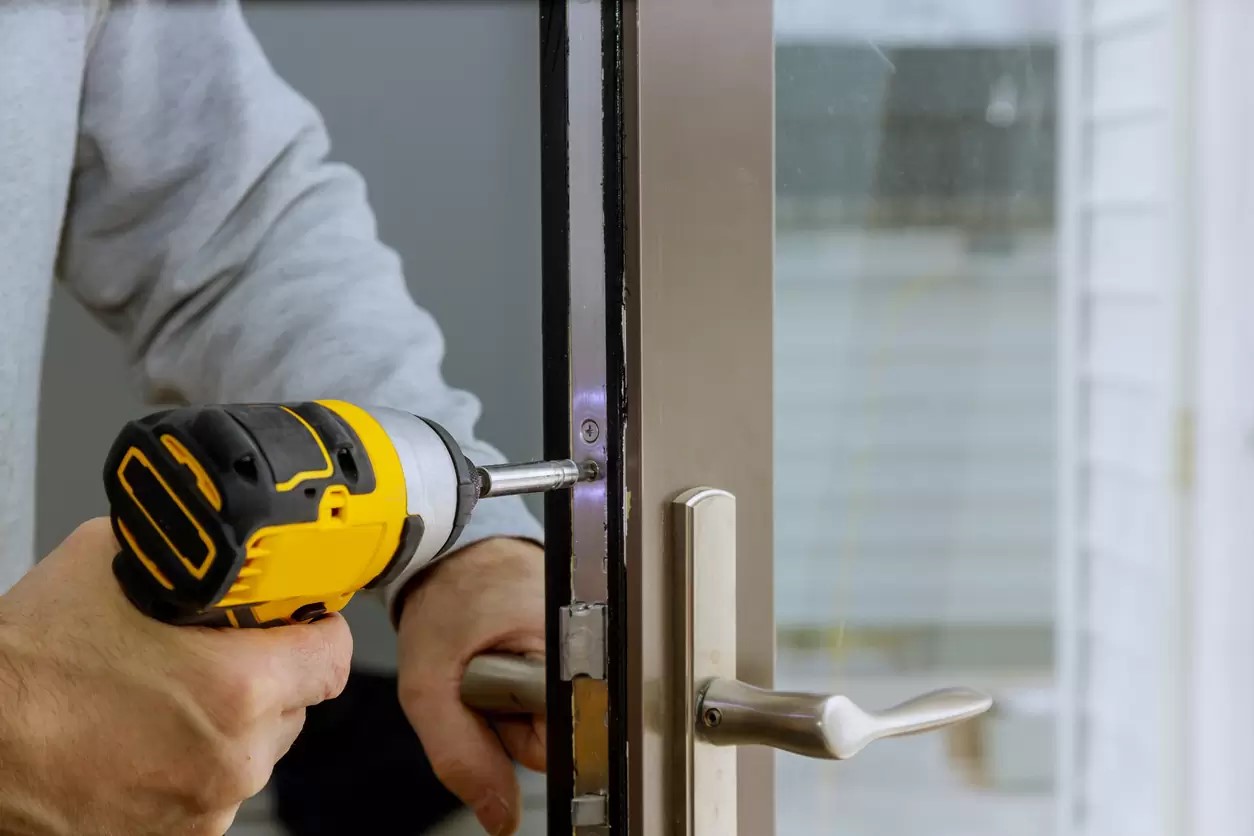
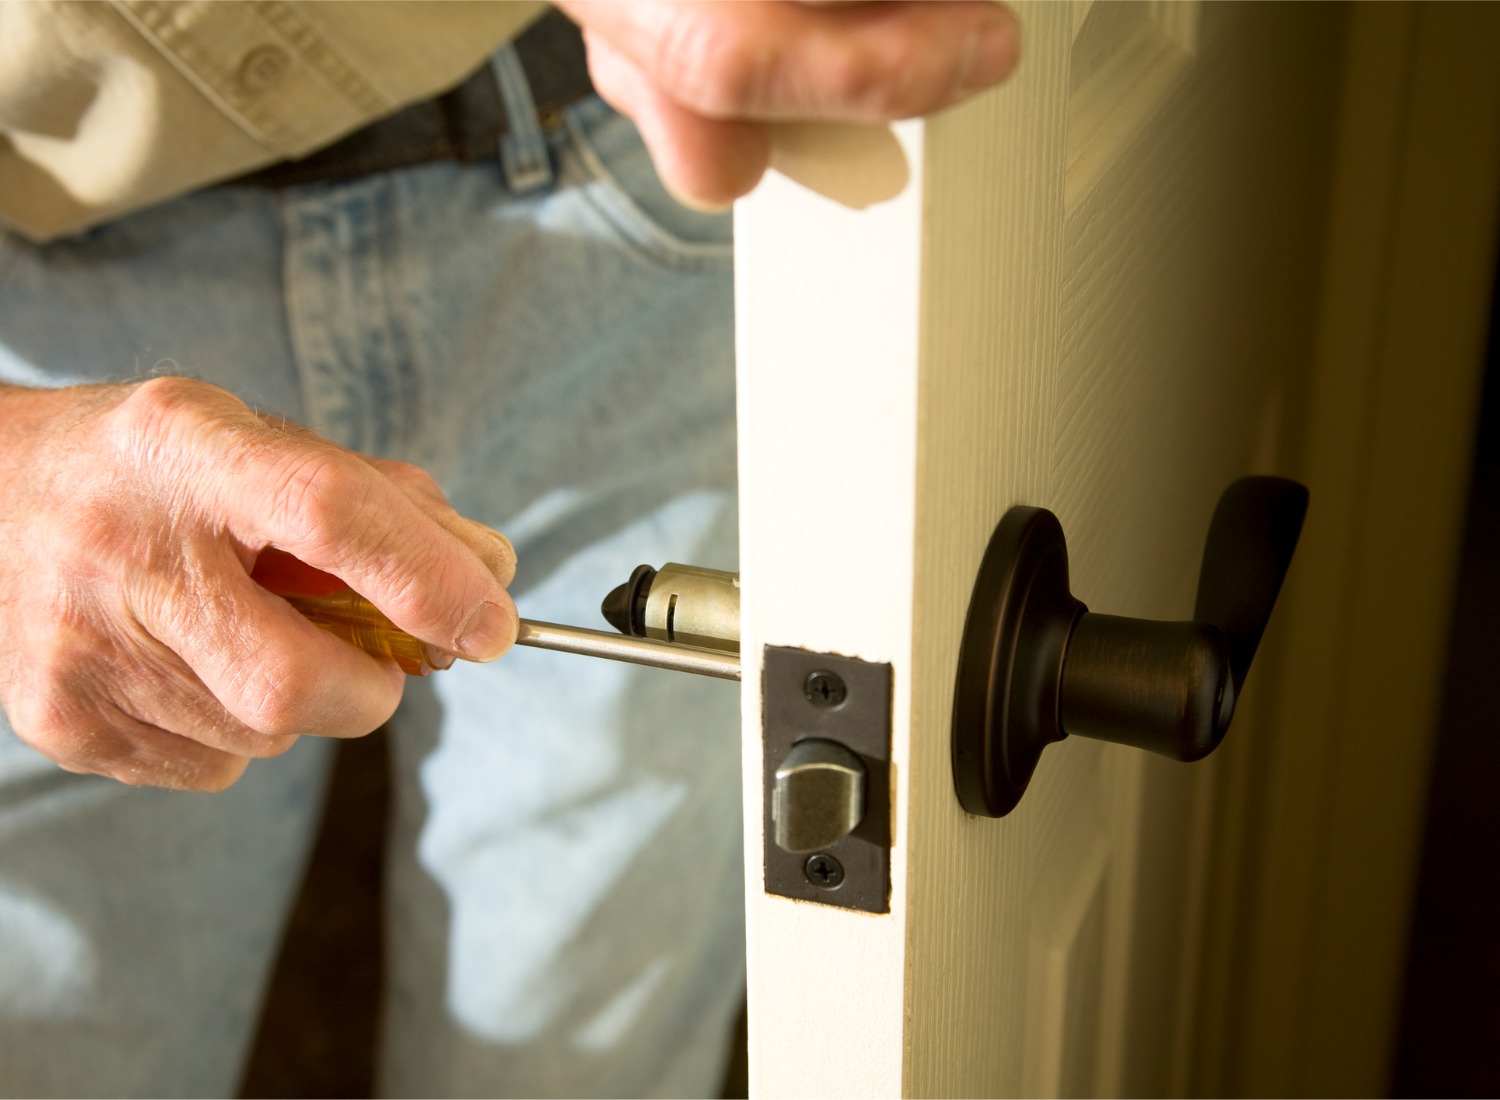
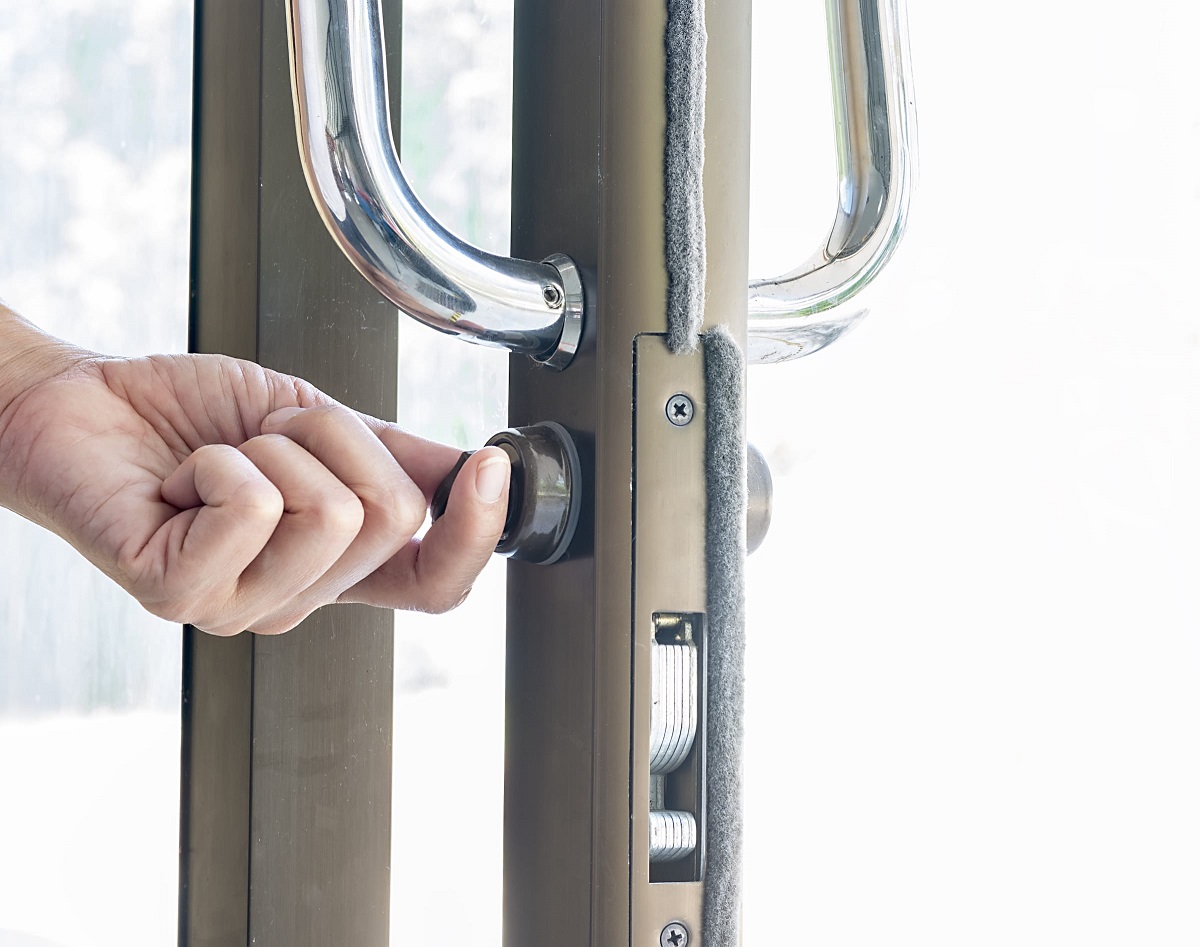
Drilling the Holes
With the door prepared and the measurements accurately marked, it’s time to proceed with drilling the holes for the lock and latch. This critical step requires precision and care to ensure that the holes are neatly cut and properly aligned, facilitating the seamless installation of the door lock. Here’s a systematic approach to drilling the holes:
- Select the Correct Drill Bit: Choose a drill bit that is suitable for the material of your door, whether it’s wood, metal, or another substance. The size of the drill bit should correspond to the specifications provided by the lock manufacturer.
- Adjust the Drill Speed: Set the drill to an appropriate speed based on the door material and the type of drill bit being used. A slower speed is generally recommended for metal doors to prevent overheating and maintain control during drilling.
- Secure the Door: Ensure that the door is firmly secured in place using a door wedge or another stabilizing method to prevent movement during the drilling process.
- Begin Drilling: Position the drill at the marked point for the lock or latch, holding it steady and perpendicular to the door surface. Start drilling with a steady hand, applying gentle pressure to create a clean and precise hole.
- Monitor Depth: Pay close attention to the depth of the hole as you drill, ensuring that it matches the requirements for the lock and latch. Use tape on the drill bit as a depth guide to prevent drilling too far into the door.
- Repeat for Additional Holes: If your lock requires multiple holes for installation, repeat the drilling process for each designated location, maintaining consistent accuracy and depth.
By following these steps diligently, you can drill clean, accurately positioned holes for the lock and latch, laying the groundwork for a secure and professional installation. Attention to detail and precision during this phase will contribute to the overall effectiveness and durability of the door lock.
Read also: 11 Amazing No Drill Door Lock For 2024
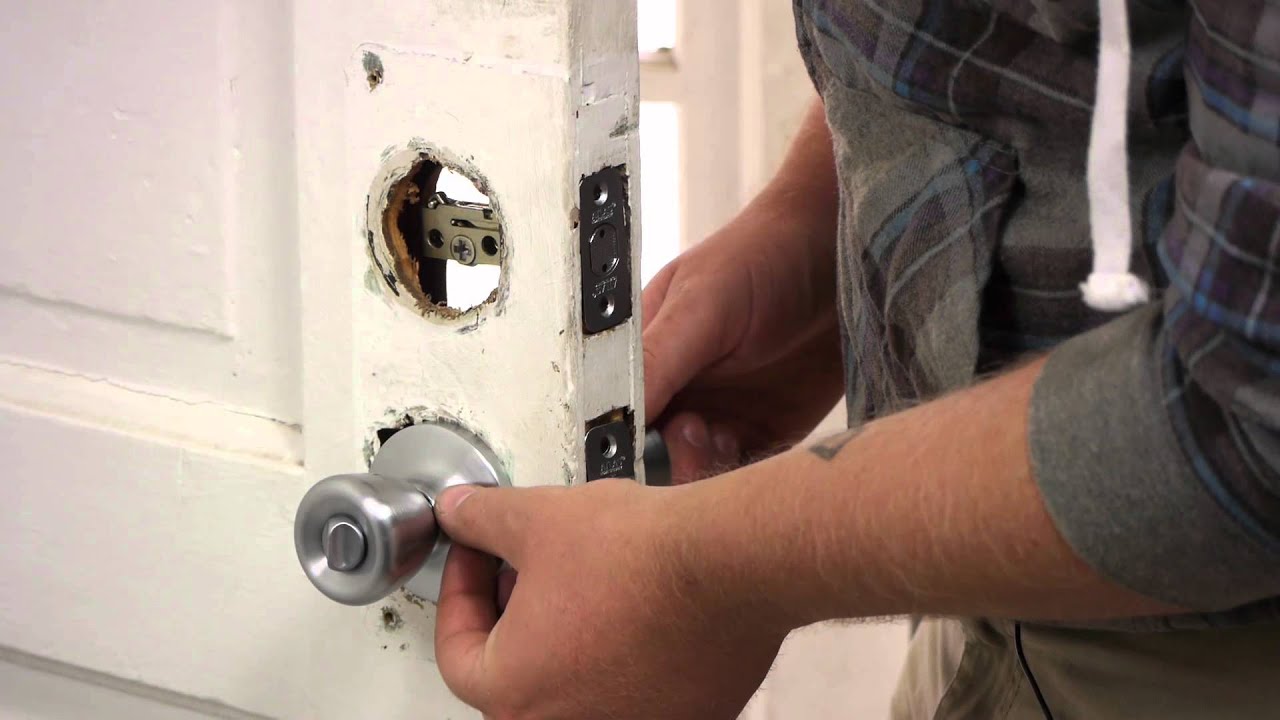
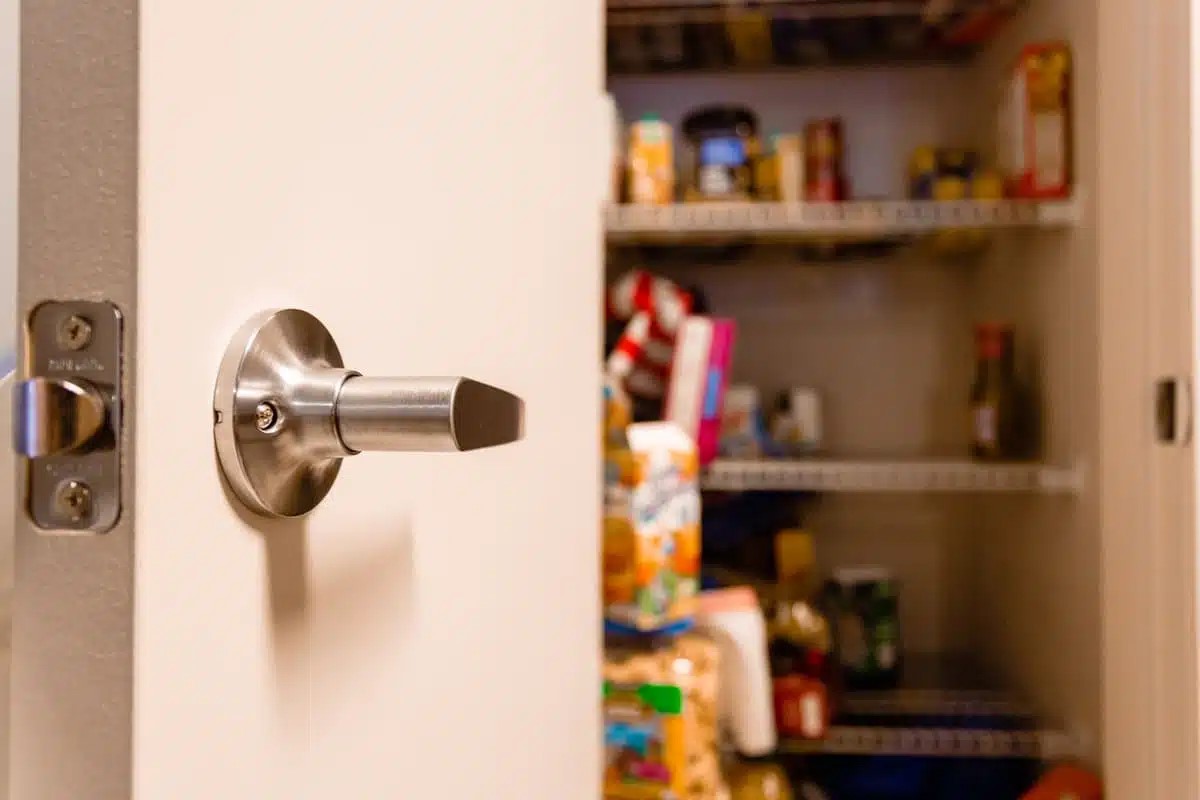
Installing the Lock
With the holes drilled and the door prepared, it’s time to proceed with the installation of the lock. This pivotal stage involves fitting the lock and latch into the drilled holes, securing them in place, and ensuring that they operate smoothly and securely. Here’s a comprehensive guide to installing the lock:
- Fit the Lock Components: Begin by inserting the lock components, including the latch and the main lock mechanism, into the corresponding holes on the door. Ensure that they fit snugly and align correctly with the door frame.
- Secure with Screws: Using the provided screws, secure the lock components in place, tightening them to ensure a firm and stable attachment to the door. Verify that the lock operates smoothly and without resistance.
- Adjust for Alignment: If necessary, make minor adjustments to the lock and latch to ensure that they align perfectly with the door frame and operate seamlessly. This step is crucial for optimal functionality and security.
- Test the Lock: With the installation complete, test the lock to ensure that it latches securely and that the key operates smoothly. Verify that the door closes properly and that the lock engages without difficulty.
By following these steps meticulously, you can successfully install the lock, ensuring that it functions reliably and provides the security and peace of mind you need. Attention to detail and precision during this phase will contribute to the overall effectiveness and durability of the door lock.
Testing the Lock
After installing the lock, it’s crucial to conduct thorough testing to ensure that it functions as intended and provides the level of security and convenience you require. Testing the lock involves validating its operational efficiency, assessing its alignment, and confirming that it integrates seamlessly with the door and frame. Here’s a systematic approach to testing the lock:
- Operational Testing: Use the key to engage and disengage the lock multiple times, verifying that it operates smoothly without any sticking or resistance. Pay attention to the feel and sound of the lock mechanism to detect any irregularities.
- Latch Alignment: Close the door and observe the alignment of the latch with the door frame. Ensure that the latch engages securely and without excessive force, indicating proper alignment and fit.
- Security Assessment: Apply gentle pressure to the locked door to assess the stability and strength of the lock. Verify that it withstands pressure and remains securely locked, providing the desired level of security.
- Key Functionality: Test the key in both locking and unlocking the door, confirming that it operates smoothly and effortlessly. Ensure that the key turns without resistance and that the lock responds promptly.
By meticulously testing the lock, you can identify and address any potential issues or inconsistencies, ensuring that the installation is flawless and that the lock functions reliably. This thorough testing phase is essential for achieving peace of mind and confidence in the security of your door.
Conclusion
Congratulations! You’ve successfully navigated the process of drilling and installing a door lock, enhancing the security and functionality of your living space. By mastering this essential skill, you’ve empowered yourself to take control of your home security, whether it’s upgrading existing locks or installing new ones with confidence and precision.
Throughout this guide, you’ve learned the importance of meticulous preparation, precise marking and measuring, and careful drilling to create the foundation for a secure and reliable door lock installation. By following the systematic steps outlined in this tutorial, you’ve gained the knowledge and expertise needed to tackle this task effectively.
Remember, the security of your home is a priority, and a well-installed door lock is a fundamental component of that security. By investing time and attention into the installation process, you’ve taken a proactive step toward safeguarding your living environment and providing peace of mind for you and your loved ones.
As you admire your newly installed door lock, take pride in the accomplishment and the enhanced security it brings. Your dedication to mastering this skill is a testament to your commitment to creating a safe and secure home.
With your newfound expertise, you can confidently approach future door lock installations, sharing your knowledge with others and contributing to the safety and security of your community. Your ability to drill and install door locks is a valuable skill that can benefit both your own household and those around you.
Thank you for embarking on this journey to learn the art of drilling a door lock. May your newfound knowledge serve you well as you continue to enhance the security and comfort of your living space.
Frequently Asked Questions about How To Drill A Door Lock
Was this page helpful?
At Storables.com, we guarantee accurate and reliable information. Our content, validated by Expert Board Contributors, is crafted following stringent Editorial Policies. We're committed to providing you with well-researched, expert-backed insights for all your informational needs.


0 thoughts on “How To Drill A Door Lock”