Home>Technology>Security & Surveillance>How To Install A Deadbolt Lock On A Metal Door
Security & Surveillance
How To Install A Deadbolt Lock On A Metal Door
Published: December 27, 2023
Learn how to enhance your home security with our step-by-step guide on installing a deadbolt lock on a metal door. Ensure your safety and peace of mind today!
(Many of the links in this article redirect to a specific reviewed product. Your purchase of these products through affiliate links helps to generate commission for Storables.com, at no extra cost. Learn more)
Introduction
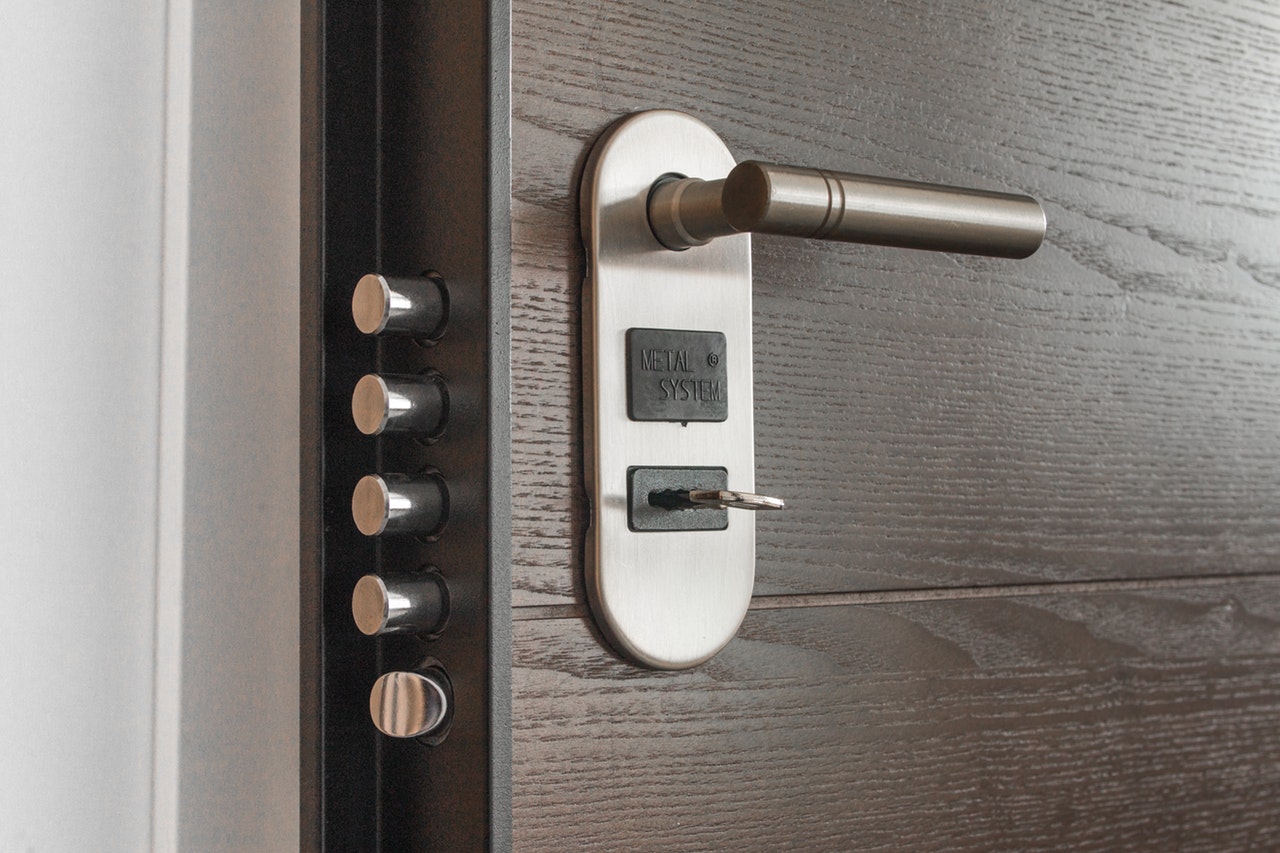
Securing your home is a top priority, and one of the most effective ways to achieve this is by installing a deadbolt lock on your metal door. Deadbolts provide an extra layer of protection, making it significantly more challenging for intruders to gain unauthorized access to your property. Whether you're a seasoned DIY enthusiast or a novice looking to enhance your home's security, installing a deadbolt lock on a metal door is a manageable task that yields substantial peace of mind.
In this comprehensive guide, we'll walk you through the step-by-step process of installing a deadbolt lock on a metal door. From preparing the necessary tools and materials to marking and drilling precise holes, we'll cover each essential aspect to ensure a successful installation. We'll also discuss the crucial steps involved in properly installing the deadbolt lock and testing it to guarantee its functionality.
By the end of this guide, you'll feel confident and empowered to take on this project, knowing that you've bolstered your home's security with a sturdy deadbolt lock. Let's dive into the tools and materials you'll need for this endeavor.
Key Takeaways:
- Installing a deadbolt lock on a metal door enhances home security by making it more challenging for intruders to gain unauthorized access. It’s a manageable DIY project that provides substantial peace of mind.
- Gathering the right tools and materials, preparing the door, and meticulously installing and testing the deadbolt lock are essential steps in fortifying your home’s security. It’s a rewarding DIY endeavor that empowers homeowners.
Read more: What Is A Deadbolt Door Lock
Tools and Materials Needed
Before embarking on the deadbolt lock installation process, it’s essential to gather the necessary tools and materials. Here’s a comprehensive list to ensure you have everything at your disposal:
Tools:
- Power drill
- Drill bits
- Screwdriver (flathead and Phillips head)
- Tape measure
- Pencil
- Chisel
- Hammer
- Center punch
- Adjustable wrench
- File
Materials:
- Deadbolt lock set (including the deadbolt, strike plate, screws, and latch)
- Masking tape
- Painter's tape
- Metal file
- Wood shims
- Lock lubricant
- Protective goggles
- Work gloves
Having these tools and materials readily available will streamline the installation process and ensure that you can complete the task efficiently and effectively. With everything in hand, you’re now prepared to move on to the next crucial step: preparing the door for the deadbolt lock installation.
Preparing the Door
Before diving into the installation process, it’s vital to prepare the metal door to ensure a seamless and secure fit for the deadbolt lock. Here’s a step-by-step guide to preparing the door:
Read more: How To Remove A Deadbolt Lock From A Door
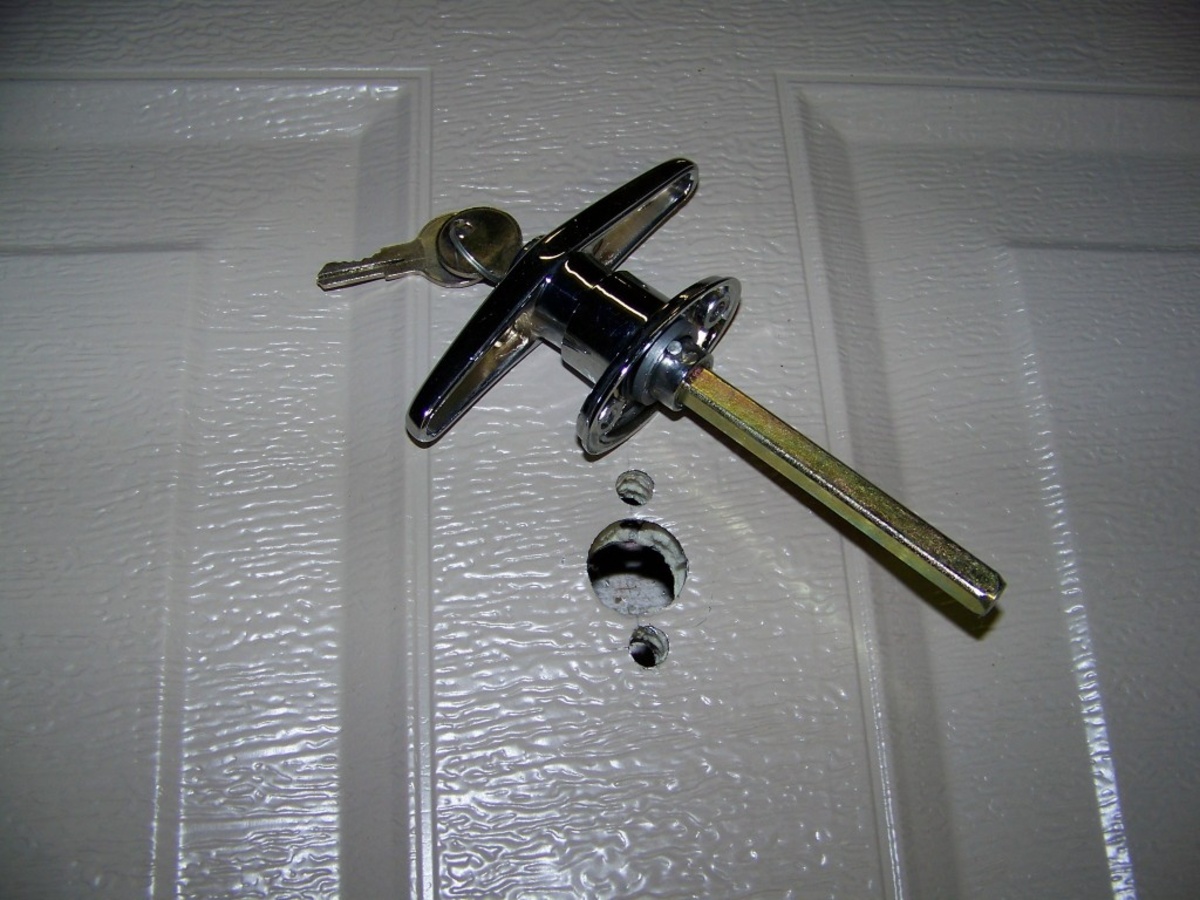
Step 1: Remove Existing Hardware
Start by removing any existing hardware from the door, including the old lock, latch, and strike plate. Use a screwdriver to unscrew and carefully detach these components, ensuring that the door’s surface is clear and ready for the new deadbolt lock installation.
Step 2: Clean the Surface
Thoroughly clean the area where the new deadbolt lock will be installed. Use a mild cleaning solution to remove any dirt, debris, or adhesive residue from the door’s surface. This step is crucial for ensuring proper adhesion and a secure fit for the new lock.
Step 3: Inspect and Repair Any Damage
Carefully inspect the door for any signs of damage, such as dents, scratches, or misaligned edges. If any damage is identified, take the necessary steps to repair and restore the door’s surface to ensure a smooth and even installation of the deadbolt lock.
Step 4: Measure and Mark the Door
Using a tape measure and pencil, mark the precise location on the door where the deadbolt and strike plate will be installed. Ensure that the measurements are accurate and align with the manufacturer’s specifications for the deadbolt lock set.
Read also: 11 Amazing Deadbolt Door Lock For 2025
Step 5: Protect Surrounding Areas
To prevent any damage to the door or surrounding areas during the drilling and installation process, use masking tape or painter’s tape to protect the door’s finish and adjacent surfaces. This precaution will help maintain the door’s aesthetics while you work on installing the deadbolt lock.
By following these preparatory steps, you’ll set the stage for a successful and efficient installation of the deadbolt lock. With the door adequately prepared, you’re now ready to move on to the next phase: marking and drilling the necessary holes for the lock components.
Marking and Drilling Holes
Accurate marking and precise drilling are critical steps in installing a deadbolt lock on a metal door. Here’s a detailed guide to help you navigate this phase of the installation process:
Step 1: Mark the Hole Locations
Using the measurements and markings from the preparation phase, carefully mark the locations where the deadbolt and strike plate will be installed. Double-check the accuracy of the markings to ensure that the components will align correctly and operate smoothly once installed.
Step 2: Drill Pilot Holes
With the marked locations as your guide, use a power drill equipped with a suitable drill bit to create pilot holes for the deadbolt and strike plate. The pilot holes will serve as guides for the subsequent drilling and ensure precise placement of the lock components.
Read more: How To Childproof A Deadbolt Lock
Step 3: Drill Larger Holes
Once the pilot holes are in place, use the appropriate drill bits to enlarge the holes to accommodate the deadbolt and strike plate. Exercise caution and precision during this step to prevent damage to the door and ensure that the holes are the correct size for a secure fit.
Step 4: Chisel Out the Latch Recess
For the latch of the deadbolt lock to sit flush with the edge of the door, use a chisel to carefully recess the area as needed. Take your time and work gradually to achieve a precise and uniform recess that allows the latch to operate seamlessly without any obstructions.
Step 5: File and Smooth the Holes
After drilling and chiseling, use a metal file to smooth out any rough edges around the drilled holes and latch recess. This step is crucial for ensuring a clean and professional finish, as well as facilitating the smooth operation of the deadbolt lock components.
By meticulously marking and drilling the necessary holes, you’ll lay the groundwork for a secure and reliable installation of the deadbolt lock. With the holes in place, you’re now ready to proceed to the pivotal phase of actually installing the deadbolt lock on the metal door.
Installing the Deadbolt Lock
With the preparatory steps completed and the necessary holes drilled, it’s time to proceed with the installation of the deadbolt lock on the metal door. This phase involves fitting the components securely in place to ensure the lock operates smoothly and provides the desired level of security. Here’s a detailed guide to help you through this pivotal phase:
Read also: 9 Best Keyless Door Lock Deadbolt For 2025
Step 1: Install the Deadbolt
Begin by inserting the deadbolt mechanism into the prepared hole, ensuring that the bolt extends and retracts smoothly without any obstructions. Secure the deadbolt in place according to the manufacturer’s instructions, using the provided screws to affix it firmly to the door.
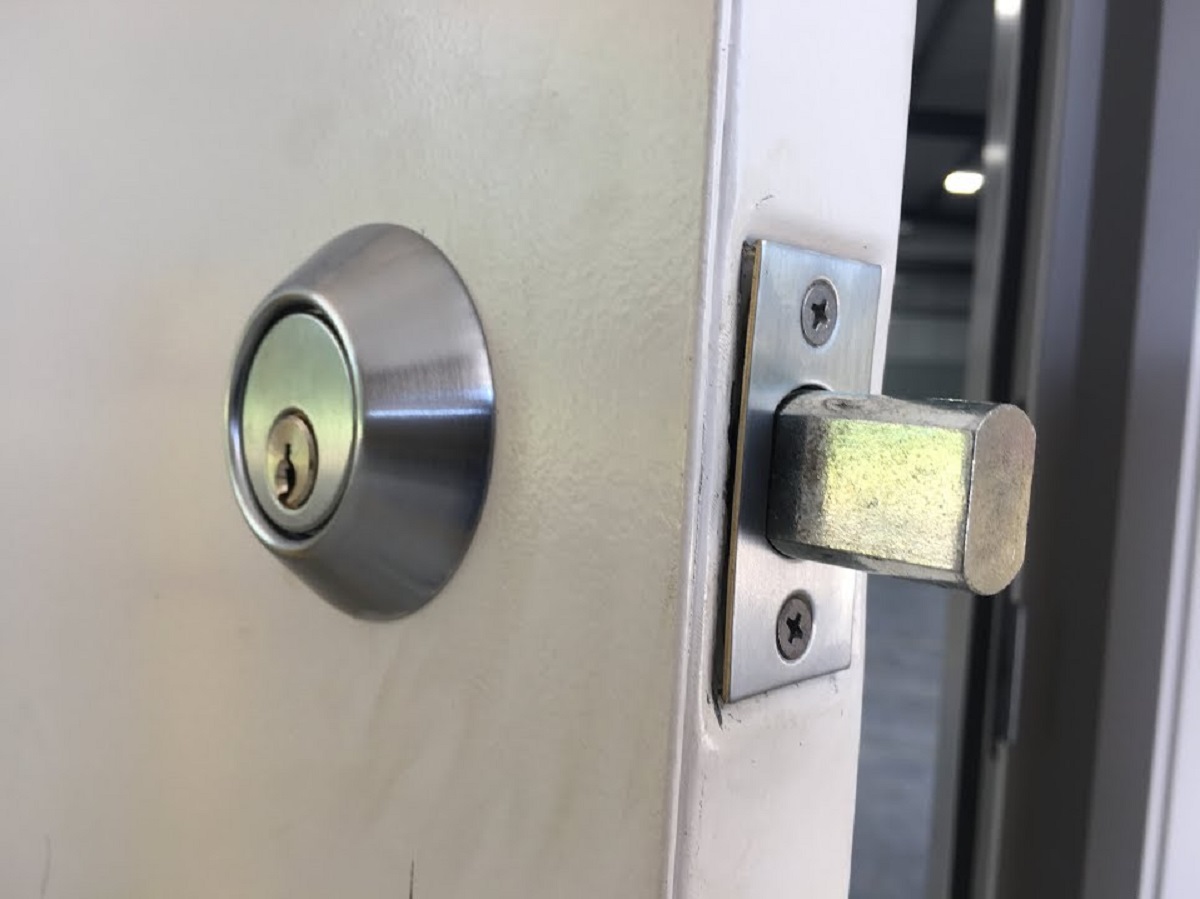
Step 2: Attach the Strike Plate
Position the strike plate on the door frame, aligning it with the deadbolt to ensure a seamless fit. Use the designated screws to secure the strike plate in place, verifying that it aligns perfectly with the deadbolt and facilitates smooth locking and unlocking of the door.
Step 3: Install the Latch
Insert the latch into the recessed area, ensuring that it operates smoothly and securely latches into the strike plate when the deadbolt is engaged. Use the provided screws to affix the latch in place, confirming that it aligns perfectly with the strike plate for optimal functionality.
Step 4: Test the Lock Operation
Once the deadbolt, strike plate, and latch are installed, test the lock’s operation to ensure that it functions smoothly and securely. Verify that the deadbolt extends and retracts without resistance, and that the door latches securely when the lock is engaged. Make any necessary adjustments to guarantee proper functionality.
Read more: How To Install A Smart Door Lock
Step 5: Apply Lubricant and Final Checks
Apply a small amount of lock lubricant to the deadbolt and latch mechanisms to promote smooth operation and longevity. Conduct a final inspection of the installed components, ensuring that all screws are tightened, and the lock operates seamlessly before proceeding to the next phase.
By following these steps, you’ll successfully install the deadbolt lock on your metal door, bolstering your home’s security and providing peace of mind. With the lock securely in place and functioning optimally, the final step involves testing the lock to ensure its reliability and effectiveness.
Testing the Lock
After installing the deadbolt lock on your metal door, it’s crucial to conduct thorough testing to ensure that the lock operates seamlessly and provides the intended level of security. This phase allows you to verify the functionality of the installed lock components and address any potential issues before considering the installation complete. Here’s a comprehensive guide to testing the lock:
Step 1: Operate the Deadbolt
Engage the deadbolt by turning the lock mechanism with the key or thumb turn, depending on the lock type. Verify that the deadbolt extends fully into the door frame and retracts smoothly without any resistance, ensuring that it provides a secure and reliable locking mechanism.
Step 2: Test the Latch
Close the door and verify that the latch securely engages with the strike plate when the deadbolt is locked. Test the door’s handle to confirm that the latch retracts smoothly when the knob or lever is turned, allowing for effortless opening and closing of the door.
Read more: How To Install Sliding Door Lock
Step 3: Check for Alignment and Clearance
Inspect the alignment of the deadbolt and latch with the strike plate, ensuring that they fit precisely and operate without interference. Verify that the components clear the strike plate and door frame without any binding or sticking, as this can affect the lock’s reliability.
Step 4: Assess Security and Stability
Apply gentle pressure to the door to assess the security and stability of the installed deadbolt lock. Verify that the lock holds the door securely in place without any excessive movement or play, indicating a robust and dependable locking mechanism.
Step 5: Test Key and Thumb Turn Operation
If your deadbolt lock features a key and thumb turn mechanism, test both methods of operation to ensure that they function smoothly and effortlessly. Verify that the key turns and removes easily, and the thumb turn operates without any sticking or resistance.
Step 6: Conduct Additional Checks
Perform any additional checks recommended by the lock manufacturer to validate the lock’s proper installation and functionality. This may include verifying the security of the strike plate and assessing the overall integrity of the lock components.
By diligently testing the installed deadbolt lock, you can confirm its reliability and effectiveness in safeguarding your home. Address any issues or concerns that arise during testing to ensure that the lock operates optimally and provides the desired level of security. With the lock successfully tested and validated, you can proceed with confidence, knowing that your metal door is fortified with a robust and dependable deadbolt lock.
Read more: How To Install Buzzer Door Lock
Conclusion
Installing a deadbolt lock on a metal door is a rewarding endeavor that significantly enhances your home’s security. By following the step-by-step process outlined in this guide, you’ve taken a proactive step towards fortifying your property and providing invaluable peace of mind. From gathering the essential tools and materials to meticulously preparing the door, marking and drilling precise holes, and finally installing and testing the deadbolt lock, you’ve navigated each phase with precision and determination.
Through careful preparation and diligent execution, you’ve successfully equipped your metal door with a robust and reliable deadbolt lock, bolstering its resistance to unauthorized access and intrusions. The installation process has not only enhanced your home’s security but also empowered you with valuable DIY skills and the satisfaction of accomplishing a meaningful home improvement project.
As you stand back and admire the newly installed deadbolt lock, take pride in the knowledge that your home is now fortified with an additional layer of protection. The security and peace of mind that come with a well-installed deadbolt lock are invaluable, providing you and your loved ones with a heightened sense of safety and well-being.
Remember, the successful installation of a deadbolt lock on your metal door is a testament to your dedication to home security and your ability to tackle essential DIY projects. By following this guide, you’ve not only bolstered your home’s defenses but also honed your skills as a capable and proactive homeowner.
Congratulations on completing this installation, and may your newly secured metal door serve as a steadfast barrier against unauthorized access, offering you the comfort and assurance of a well-protected home.
Frequently Asked Questions about How To Install A Deadbolt Lock On A Metal Door
Was this page helpful?
At Storables.com, we guarantee accurate and reliable information. Our content, validated by Expert Board Contributors, is crafted following stringent Editorial Policies. We're committed to providing you with well-researched, expert-backed insights for all your informational needs.
0 thoughts on “How To Install A Deadbolt Lock On A Metal Door”