Home>Technology>Security & Surveillance>How To Remove A Deadbolt Lock From A Door
Security & Surveillance
How To Remove A Deadbolt Lock From A Door
Modified: August 24, 2024
Learn how to safely remove a deadbolt lock from a door with our step-by-step guide. Enhance your home security and surveillance with these expert tips.
(Many of the links in this article redirect to a specific reviewed product. Your purchase of these products through affiliate links helps to generate commission for Storables.com, at no extra cost. Learn more)
Introduction
Removing a deadbolt lock from a door may seem like a daunting task, but with the right tools and a clear understanding of the process, it can be a relatively straightforward endeavor. Whether you're replacing an old deadbolt lock, rekeying it, or simply performing maintenance, knowing how to remove it properly is essential. In this guide, we'll walk through the step-by-step process of removing a deadbolt lock from a door, providing you with the knowledge and confidence to tackle this project.
By following the instructions outlined in this article, you'll be equipped to handle this task with ease, saving time and potentially avoiding the need for professional assistance. Additionally, we'll discuss the tools and materials you'll need, the preparation required before removing the lock, and the optional step of installing a new deadbolt lock. Let's dive into the details and empower you with the skills to remove a deadbolt lock from a door effectively.
Key Takeaways:
- Removing a deadbolt lock from a door is a manageable DIY task that can save time and potentially avoid the need for professional help. With the right tools and preparation, it can be accomplished with confidence.
- Installing a new deadbolt lock is an optional but rewarding step that can enhance the security and functionality of your door. It’s a practical skill that empowers you to maintain and upgrade your home’s security features.
Read more: What Is A Deadbolt Door Lock
Tools and Materials Needed
Before embarking on the task of removing a deadbolt lock from a door, it's crucial to gather the necessary tools and materials. Having the right equipment at your disposal will streamline the process and ensure that you can complete the task efficiently. Here's a list of essential tools and materials you'll need:
- Phillips Head Screwdriver: This tool is typically used to remove the screws securing the deadbolt lock in place. Ensure that the screwdriver is appropriately sized to fit the screws.
- Flat Head Screwdriver: In some cases, a flat head screwdriver may be needed to assist in prying or manipulating certain components of the lock.
- Replacement Deadbolt Lock (Optional): If you plan to install a new deadbolt lock after removing the existing one, ensure that you have the replacement lock on hand.
- Lubricant (Optional): Having a lubricant such as WD-40 can be helpful, especially if the lock or its components are corroded or difficult to manipulate.
- Rag or Paper Towels: These can be used to clean any accumulated dirt, debris, or old lubricant from the lock and its components.
- Safety Glasses (Optional): While not always necessary, wearing safety glasses can provide added protection for your eyes, especially if you'll be working in a confined space or dealing with potential debris.
- Work Gloves: A pair of work gloves can offer protection for your hands and improve your grip when handling the lock and its components.
By ensuring that you have these tools and materials readily available, you'll be well-prepared to proceed with the process of removing the deadbolt lock from the door. With everything in place, you can approach the task with confidence, knowing that you have the necessary resources to complete it effectively.
Step 1: Prepare the Door
Before diving into the process of removing the deadbolt lock, it’s essential to prepare the door and its surroundings to ensure a smooth and efficient operation. Taking the time to prepare the area will not only make the task more manageable but also contribute to the overall safety and success of the endeavor. Here’s a step-by-step guide to preparing the door for the removal of the deadbolt lock:
- Gather Your Tools and Materials: Ensure that you have all the necessary tools and materials listed in the previous section readily available. Having everything within reach will eliminate the need for frequent interruptions during the process.
- Clear the Surrounding Area: Remove any obstacles or obstructions near the door that could impede your movement or access to the lock. This includes furniture, decorations, or any items that may hinder your ability to work comfortably.
- Protect the Floor: Lay down a protective covering, such as a drop cloth or old towels, to shield the floor beneath the door. This precaution can prevent accidental damage to the floor surface and make cleanup easier once the lock is removed.
- Ensure Sufficient Lighting: Adequate lighting is crucial for performing the task effectively. If the area is dimly lit, consider setting up additional lighting sources, such as portable lamps or work lights, to illuminate the work area.
- Secure the Door: To prevent the door from swinging or moving unexpectedly while you work, consider using doorstops or wedges to hold it firmly in place. This will enhance stability and minimize potential safety hazards.
By following these preparatory steps, you’ll create an optimal working environment for removing the deadbolt lock from the door. Taking the time to prepare adequately will set the stage for a successful and hassle-free process, allowing you to focus on the task at hand with confidence and precision.
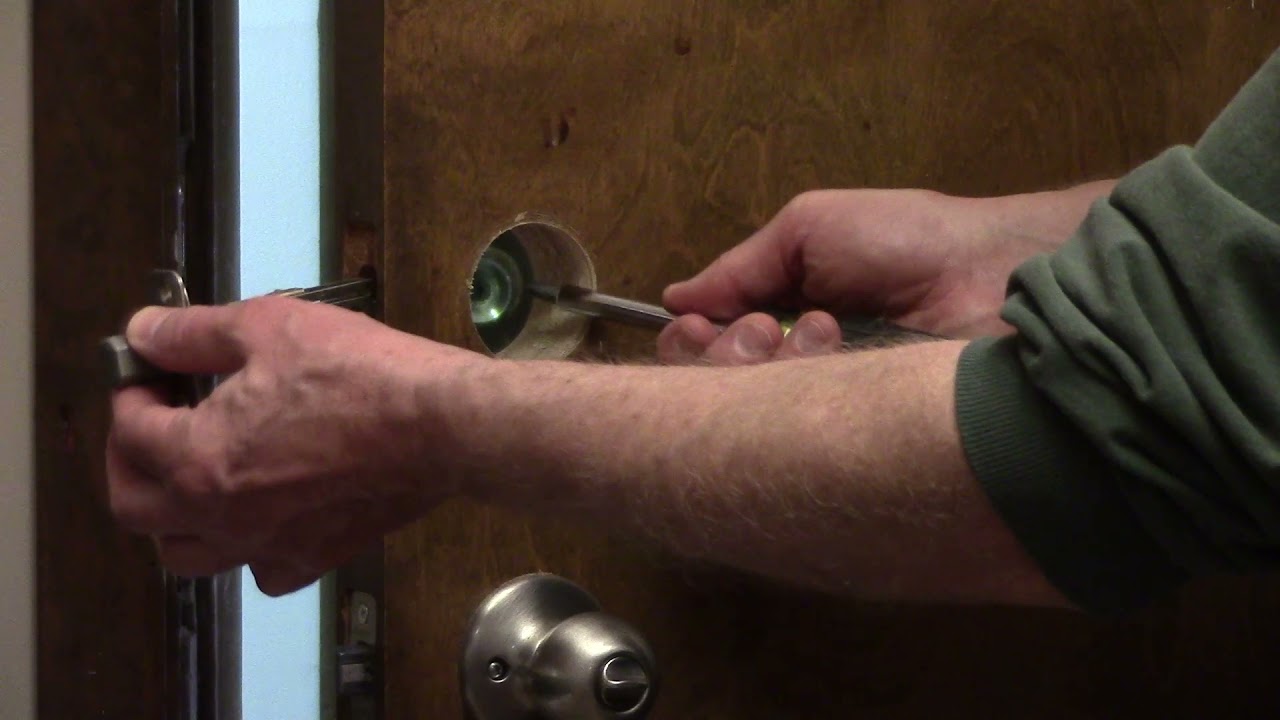
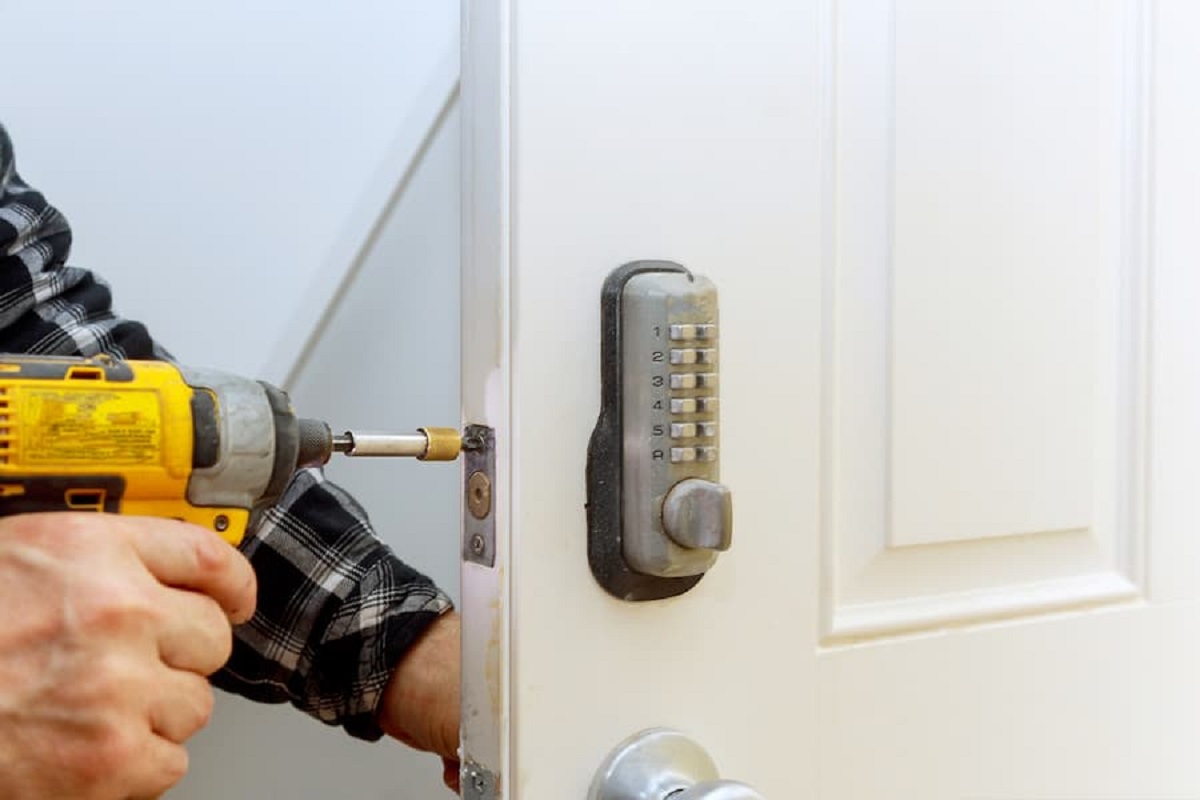
Use a screwdriver to remove the screws on the interior side of the deadbolt lock. Once the screws are removed, the lock can be pulled out from the door. Be sure to hold onto the lock as you remove it to prevent it from falling and causing damage.
Step 2: Remove the Deadbolt Lock
With the door prepared and the necessary tools at hand, you’re ready to proceed with the removal of the deadbolt lock. This step-by-step guide will walk you through the process of safely and effectively removing the lock from the door:
- Access the Lock: Locate the screws securing the deadbolt lock to the interior side of the door. These screws are typically found on the inside face of the lock, securing it to the door’s edge.
- Loosen and Remove the Screws: Using a Phillips head screwdriver, carefully loosen and remove the screws from the interior face of the lock. Keep the screws in a secure place, as they will be needed if you plan to install a new deadbolt lock.
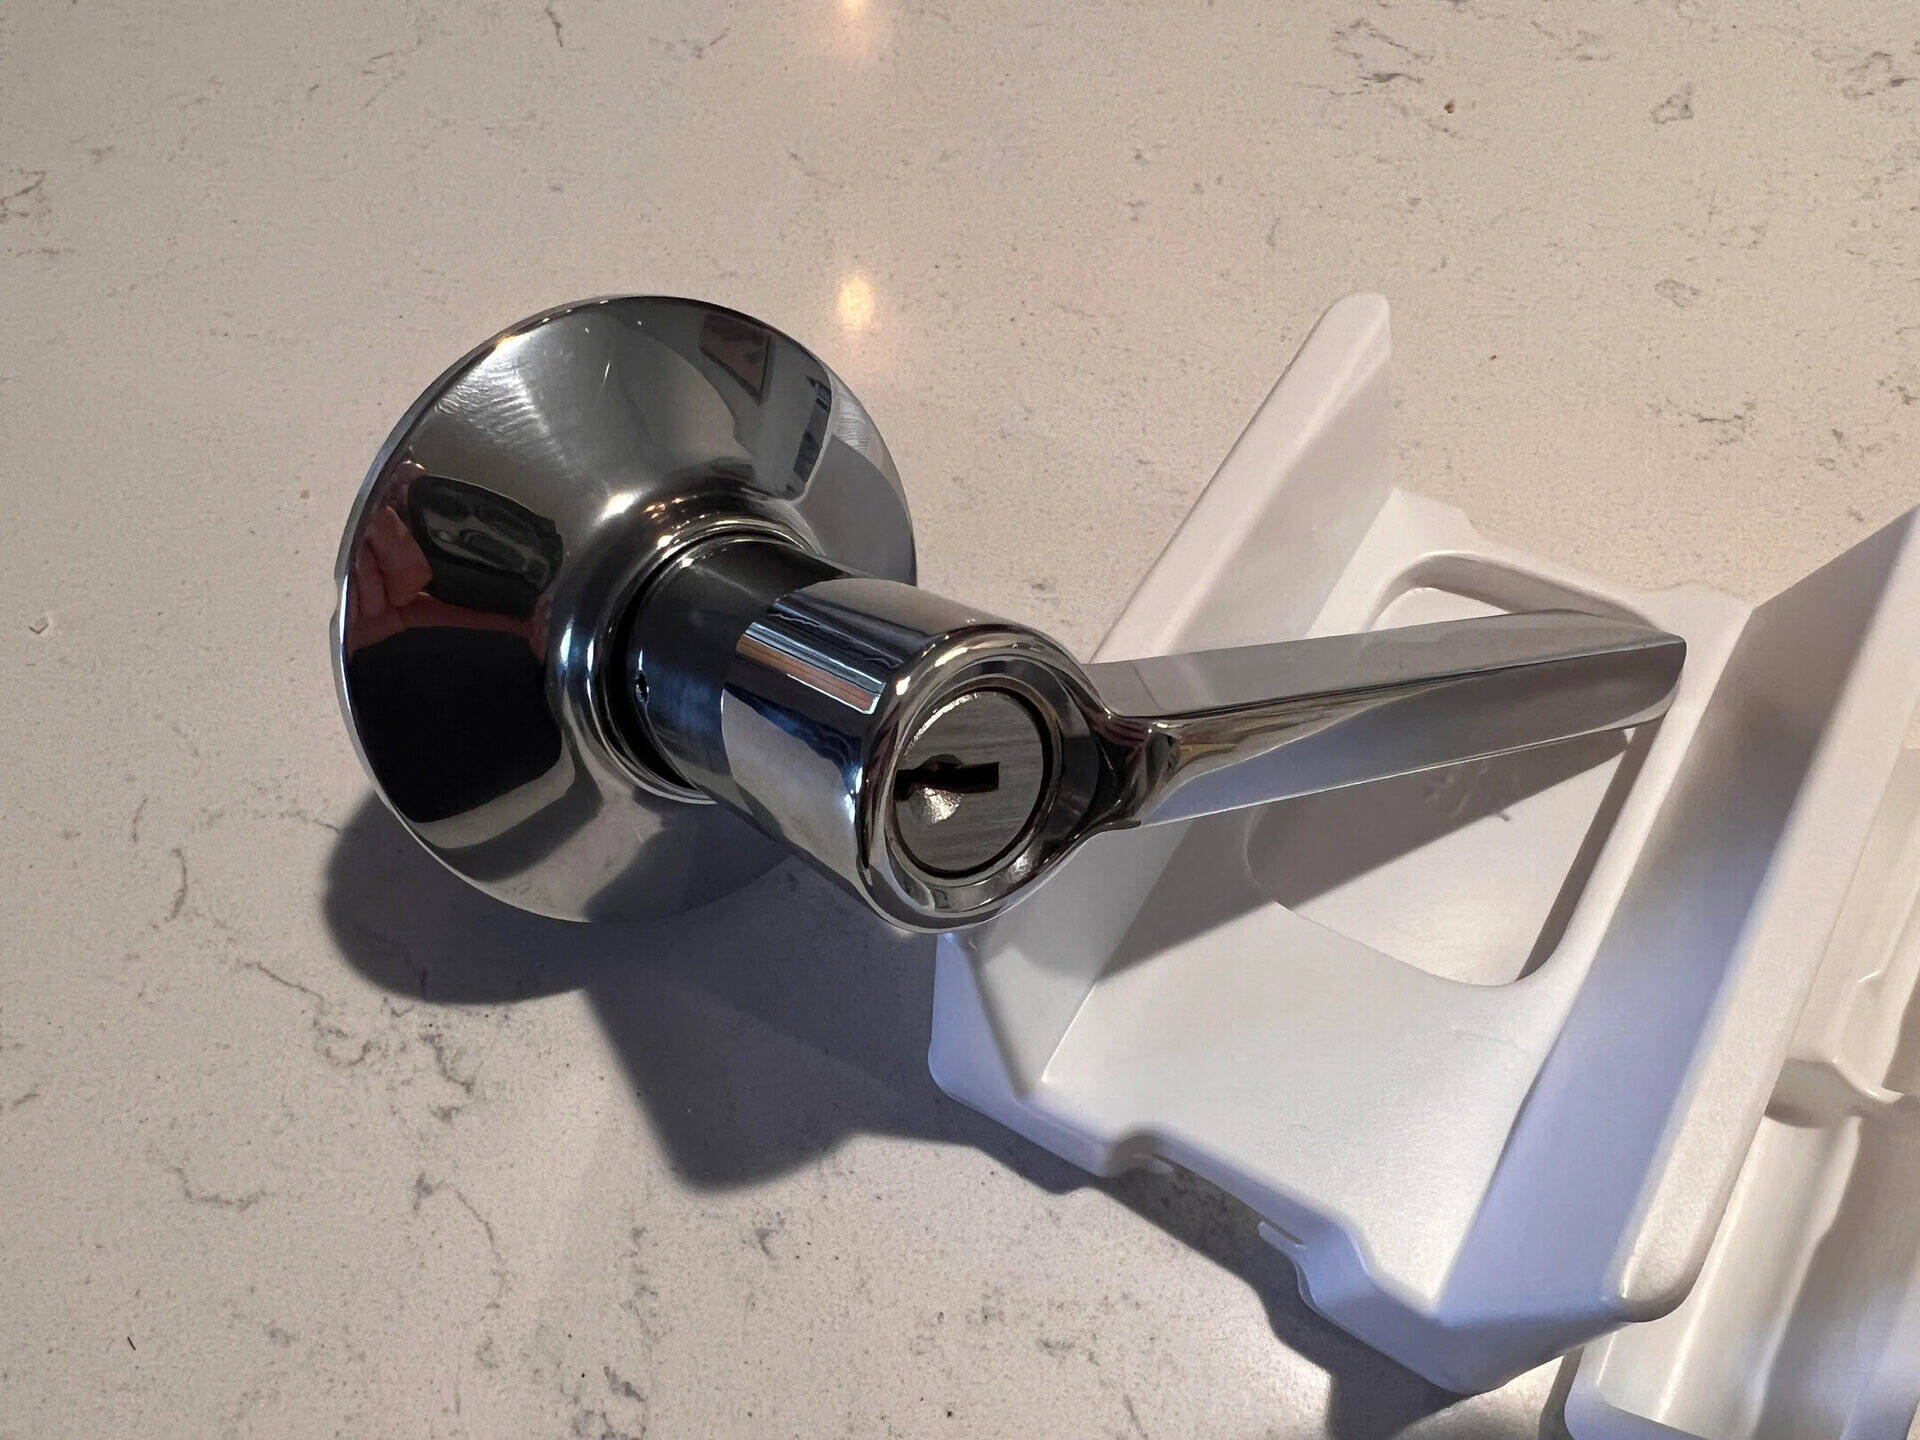
- Separate the Exterior and Interior Components: Once the screws are removed, gently separate the exterior and interior components of the deadbolt lock. The exterior portion, which includes the key cylinder, should slide out of the door, while the interior portion will remain in place.
- Remove the Interior Assembly: With the exterior portion removed, focus on the interior assembly of the deadbolt lock. Using the Phillips head screwdriver, locate and remove any remaining screws that secure the interior assembly to the door.
- Extract the Interior Assembly: Once the screws are removed, carefully extract the interior assembly from the door. Be mindful of any connecting rods or mechanisms that may be attached to the assembly, and detach them as needed.
- Clean and Inspect the Door: With the deadbolt lock fully removed, take the opportunity to clean the exposed areas of the door where the lock was installed. Inspect the door and its components for any signs of wear, damage, or corrosion that may require attention.
By following these steps, you can successfully remove the deadbolt lock from the door, whether for replacement, rekeying, or maintenance purposes. With careful attention to detail and the right tools at your disposal, this process can be completed with confidence and precision.
Step 3: Install a New Deadbolt Lock (Optional)
If you’ve chosen to replace the existing deadbolt lock with a new one, this optional step will guide you through the process of installing the new lock. Whether you’re upgrading to a more secure lock or simply refreshing the door’s hardware, installing a new deadbolt lock can enhance the security and functionality of your entryway. Here’s a comprehensive guide to installing a new deadbolt lock:
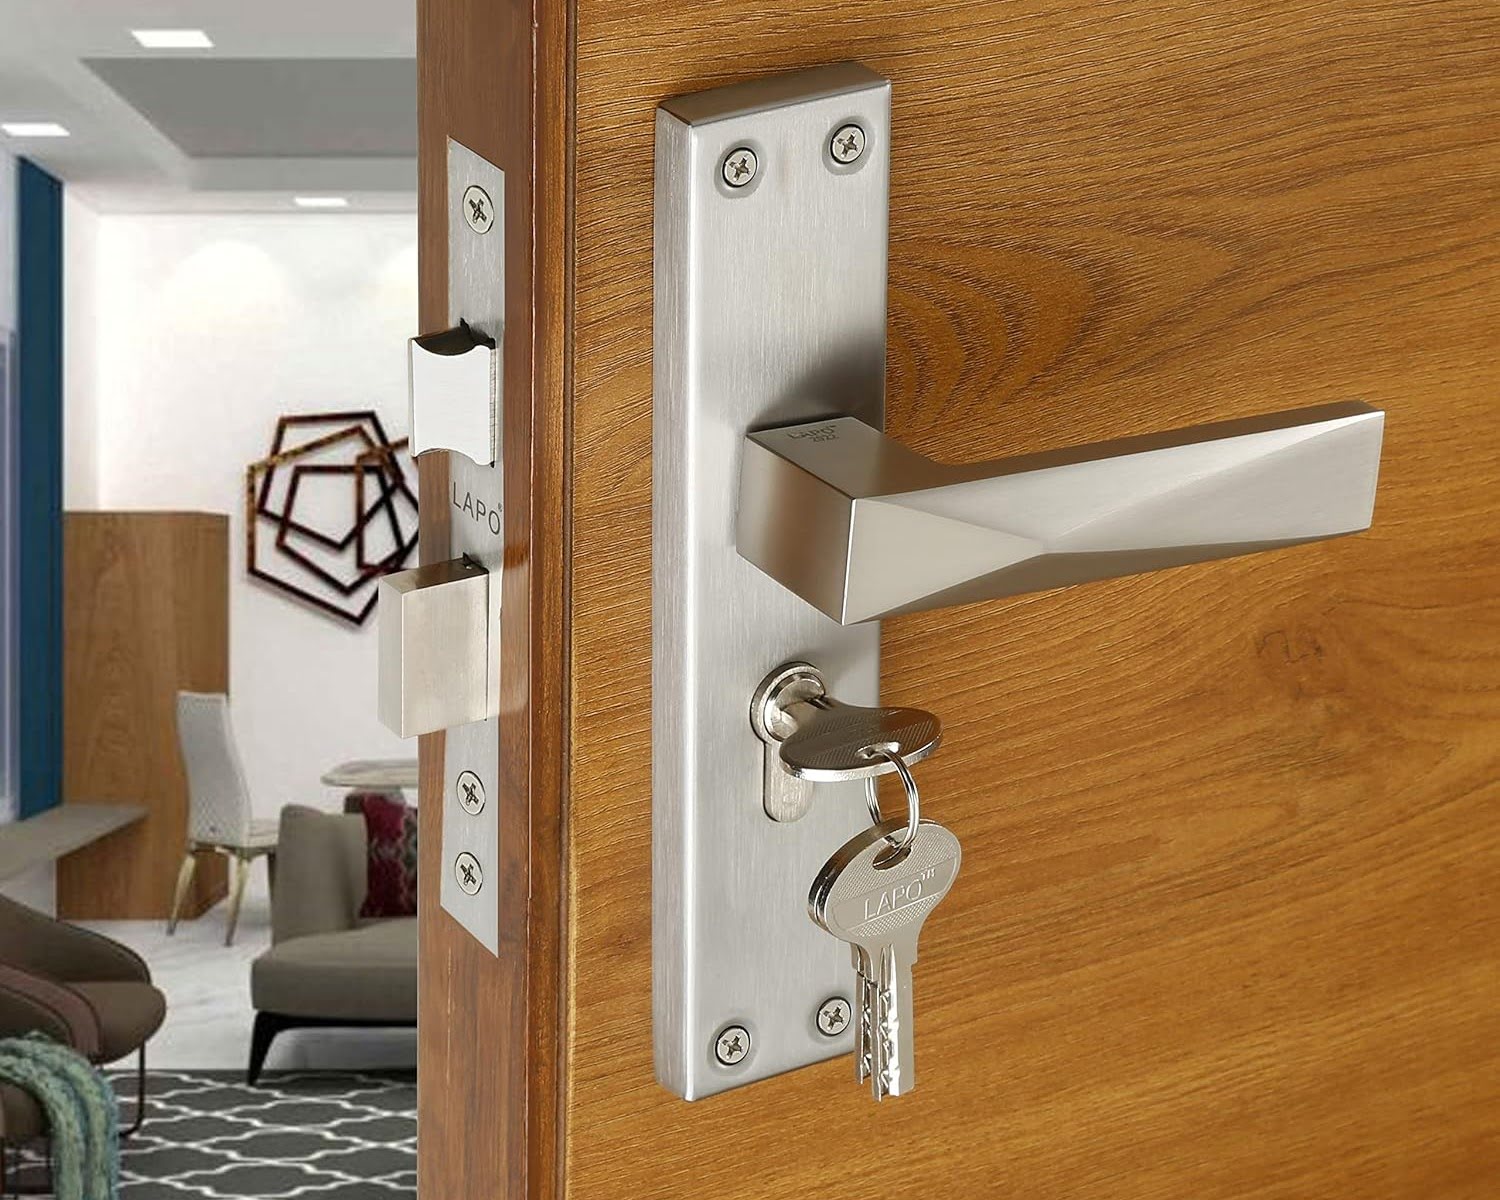
- Select the New Deadbolt Lock: Choose a high-quality deadbolt lock that meets your security needs and complements the aesthetics of your door. Ensure that the new lock is compatible with the door’s thickness and the existing borehole.
- Prepare the Door: If the previous deadbolt lock left any marks or impressions on the door, clean and smooth out the area to provide a clean surface for the new lock’s installation. Remove any residual debris or old lubricant from the door’s edge and surrounding area.
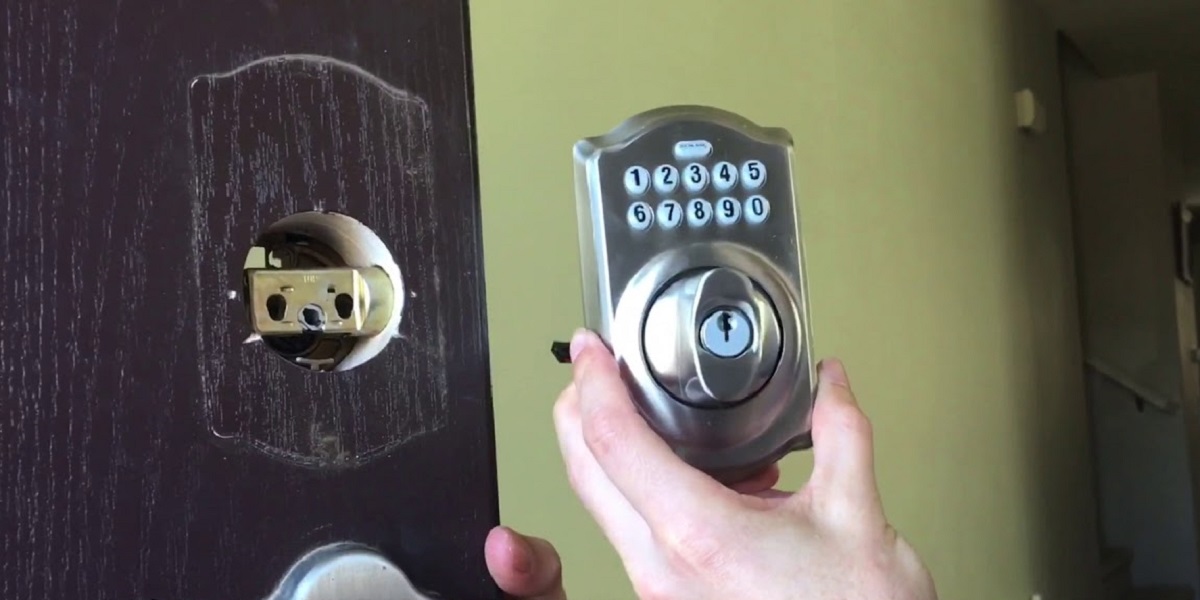
- Position the New Lock: Place the exterior portion of the new deadbolt lock into the borehole on the exterior face of the door. Ensure that the lock’s tailpiece aligns with the connecting rods or mechanisms inside the door.
- Secure the Exterior Assembly: Using the provided screws, secure the exterior assembly of the new deadbolt lock to the door. Tighten the screws evenly to ensure a secure and flush fit against the door’s surface.
- Install the Interior Assembly: Insert the interior portion of the new deadbolt lock into the door, aligning it with the connecting rods or mechanisms. Secure the interior assembly in place using the provided screws, following the manufacturer’s instructions.
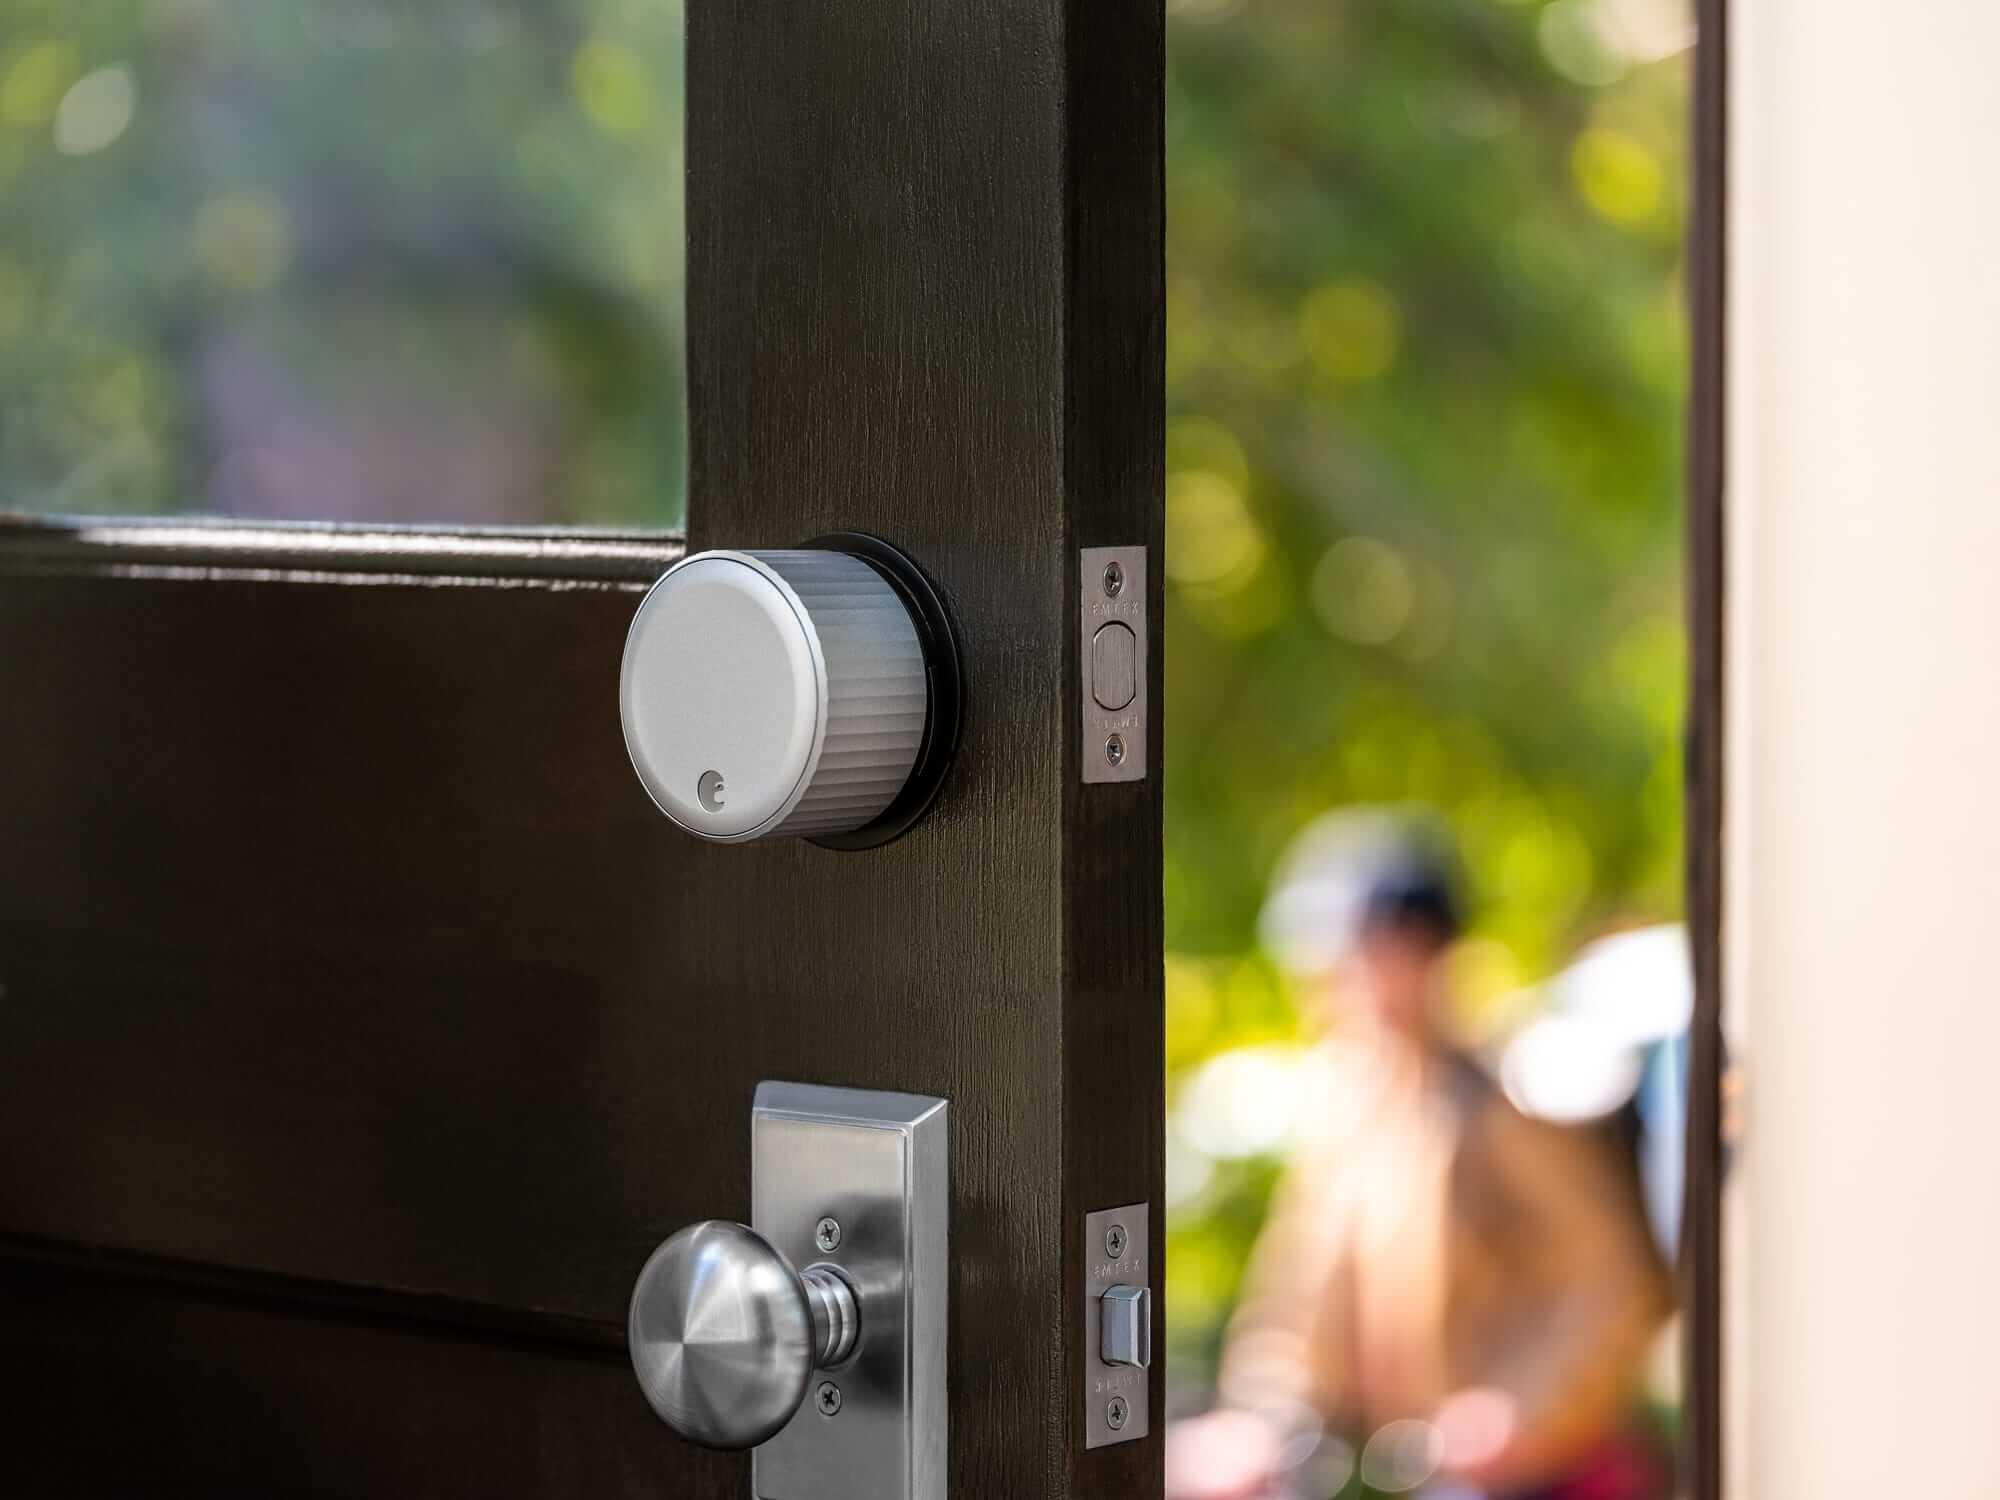
- Test the New Lock: Once the new deadbolt lock is installed, test its functionality by inserting the key and operating the lock from both the interior and exterior sides. Ensure that the lock engages smoothly and securely.
By following these steps, you can successfully install a new deadbolt lock, enhancing the security and functionality of your door. Whether you’re upgrading to a more advanced lock or simply refreshing the hardware, this optional step allows you to complete the door’s transformation with confidence and precision.
Conclusion
Removing a deadbolt lock from a door is a practical skill that empowers you to maintain, upgrade, or rekey your home’s security features. By following the step-by-step process outlined in this guide, you can confidently tackle this task and achieve successful results. From preparing the door and gathering the necessary tools to removing the existing lock and optionally installing a new one, each stage of the process contributes to the overall security and functionality of your entryway.
Equipped with the right tools, a clear understanding of the process, and attention to detail, you can navigate the removal of a deadbolt lock with ease. Whether you’re addressing maintenance issues, upgrading to a more secure lock, or simply refreshing the door’s hardware, this guide provides the knowledge and guidance needed to accomplish your goals effectively.
By taking the time to prepare the area, ensuring sufficient lighting, and securing the door, you create an optimal working environment for the task at hand. Additionally, the optional step of installing a new deadbolt lock allows you to complete the door’s transformation, enhancing its security and aesthetic appeal.
Ultimately, mastering the process of removing a deadbolt lock from a door empowers you to take charge of your home’s security and make informed decisions about its hardware. Whether you’re a seasoned DIY enthusiast or a homeowner looking to expand your skill set, this guide equips you with the knowledge and confidence to handle this essential aspect of home maintenance and security.
With the completion of this guide, you now possess the expertise to remove a deadbolt lock from a door, paving the way for future home improvement projects and ensuring the continued security and functionality of your entryways.
Frequently Asked Questions about How To Remove A Deadbolt Lock From A Door
Was this page helpful?
At Storables.com, we guarantee accurate and reliable information. Our content, validated by Expert Board Contributors, is crafted following stringent Editorial Policies. We're committed to providing you with well-researched, expert-backed insights for all your informational needs.


0 thoughts on “How To Remove A Deadbolt Lock From A Door”