Home>Articles>How Long Does PVC Glue Take to Dry For Plumbing
Articles
How Long Does PVC Glue Take to Dry For Plumbing
Modified: May 6, 2024
Discover how long it takes for plumbing glue to dry with our informative articles. Get expert advice on the drying process for a successful plumbing project.
(Many of the links in this article redirect to a specific reviewed product. Your purchase of these products through affiliate links helps to generate commission for Storables.com, at no extra cost. Learn more)
Introduction
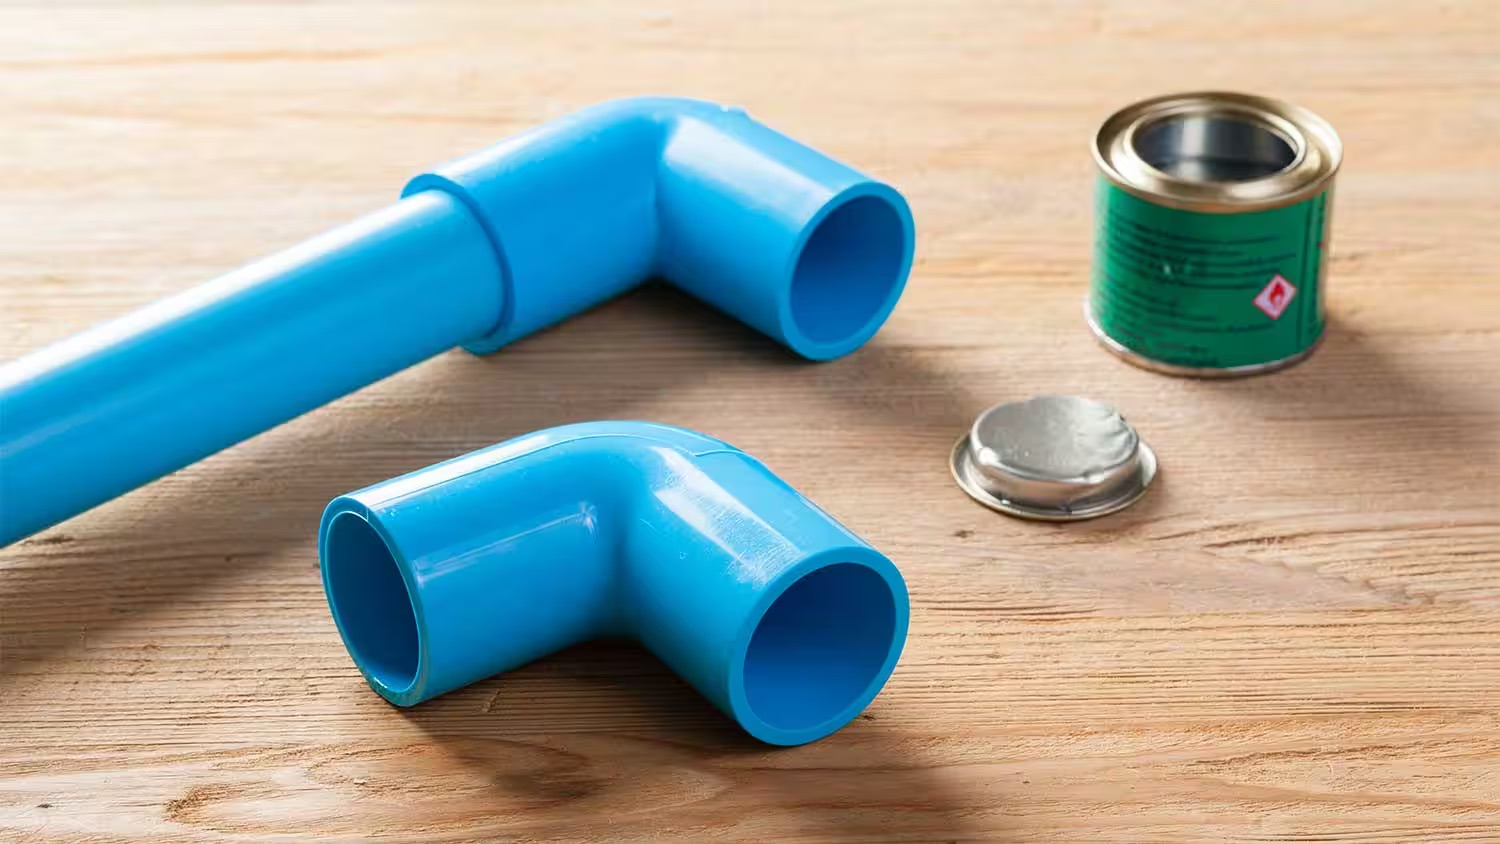
Plumbing glue, also known as solvent cement, is a crucial component in plumbing projects. It is used to join pipes, fittings, and other plumbing fixtures to create leak-proof connections. However, to ensure the longevity and effectiveness of these connections, it is essential to allow the plumbing glue to dry properly.
Drying time for plumbing glue can vary depending on various factors such as the type of glue used, ambient temperature, humidity levels, and the materials being joined. It is crucial to understand these factors and follow the manufacturer’s instructions to achieve optimal drying results.
In this article, we will delve into the world of plumbing glue and explore the factors that affect its drying time. We will also provide guidance on how long to let plumbing glue dry for different types of glues and offer tips to ensure proper drying. So, whether you’re a DIY enthusiast working on a home plumbing project or a professional plumber seeking to enhance your knowledge, read on to discover the secrets of letting plumbing glue dry effectively.
Next, let’s gain a deeper understanding of plumbing glue and its importance in the world of plumbing.
Key Takeaways:
- Properly allowing plumbing glue to dry is crucial for creating strong and leak-proof connections. Factors like glue type, ambient conditions, and surface preparation significantly impact drying time.
- Testing the dryness of plumbing joints is essential to ensure their effectiveness. Visual inspections, touch tests, and pressure tests help identify any issues before subjecting the joints to pressure or water flow.
Understanding Plumbing Glue
Plumbing glue is a type of adhesive specifically formulated for joining pipes, fittings, and other plumbing components. Also known as solvent cement, it is typically used in situations where a strong, leak-proof connection is required. Plumbing glue is designed to chemically bond to the surfaces of the pipes and fittings, creating a secure and durable joint.
The main component of plumbing glue is a solvent, which acts as a carrier for the adhesive material. When the plumbing glue is applied to the surfaces to be joined, the solvent softens the material, allowing it to penetrate the surfaces and bond them together. As the solvent evaporates, it leaves behind a strong, permanent bond.
It is important to note that plumbing glue is not a universal adhesive. Different types of plumbing glue are designed for specific materials, such as PVC (polyvinyl chloride), CPVC (chlorinated polyvinyl chloride), or ABS (acrylonitrile butadiene styrene). Each type of plumbing glue is formulated to bond with the specific material it is intended for, ensuring a secure and long-lasting connection.
To ensure a successful plumbing project, it is crucial to choose the correct type of plumbing glue that matches the materials being joined. Using the wrong type of glue can result in weak connections, leaks, and even plumbing failures. Always refer to the manufacturer’s instructions and guidelines for selecting the appropriate plumbing glue for your specific application.
Now that we have a basic understanding of plumbing glue, let’s explore the various factors that can affect its drying time.
Factors Affecting Drying Time
The drying time of plumbing glue can vary based on several factors. It is important to consider these factors to ensure that the glue is given sufficient time to dry and create a strong bond. Let’s explore the key factors that can affect the drying time of plumbing glue:
1. Type of Glue: Different types of plumbing glue have varying drying characteristics. Some glues may dry faster, while others may take longer to set. It is crucial to follow the manufacturer’s instructions and recommendations for the specific type of plumbing glue you are using.
2. Ambient Temperature: The temperature of the environment in which the glue is drying can significantly impact the drying time. Higher temperatures can speed up the drying process, while lower temperatures can slow it down. It is recommended to work in temperatures ranging from 40°F to 100°F (4°C to 38°C) for optimal results.
3. Humidity Levels: High humidity levels can prolong the drying time of plumbing glue. Excess moisture in the air can hinder the evaporation of the solvent, resulting in slower drying. It is advisable to work in areas with lower humidity levels and ensure proper ventilation to expedite the drying process.
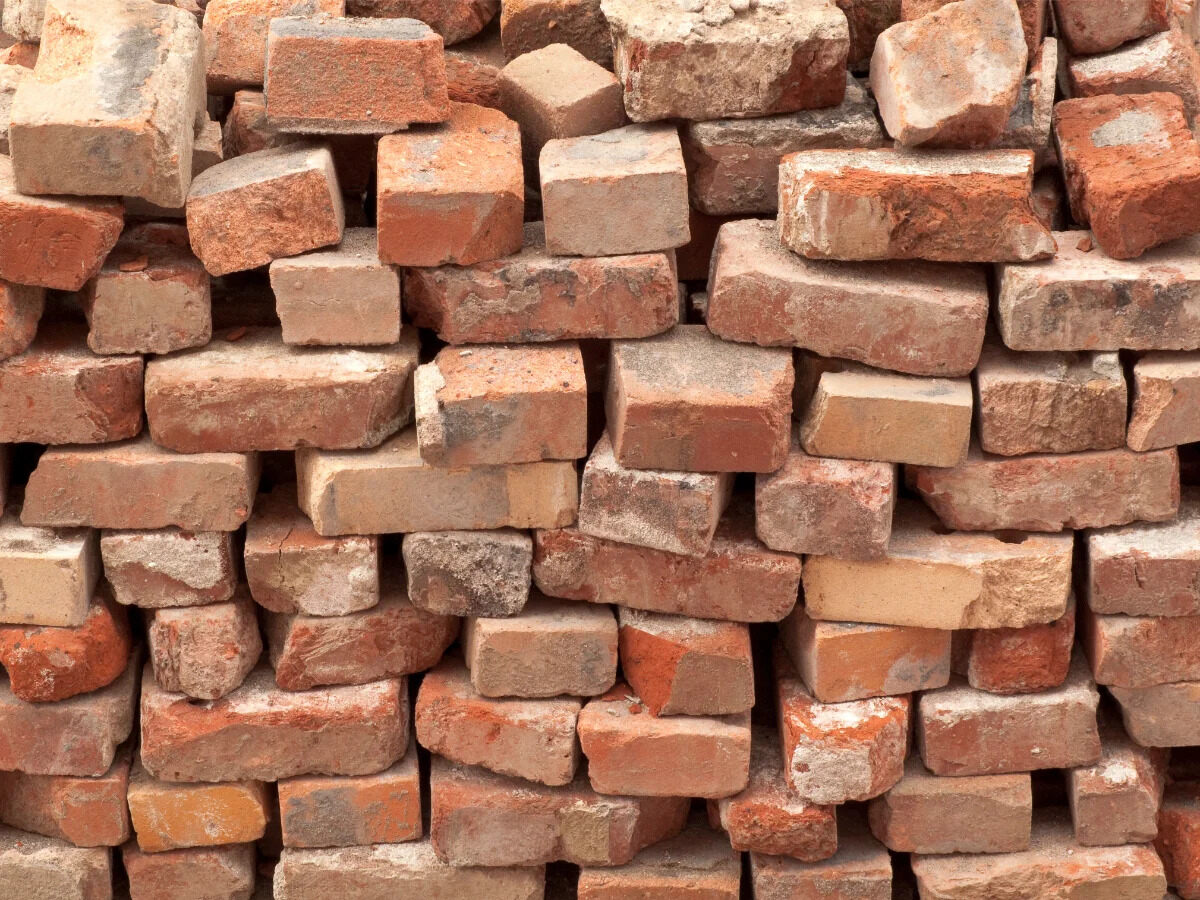
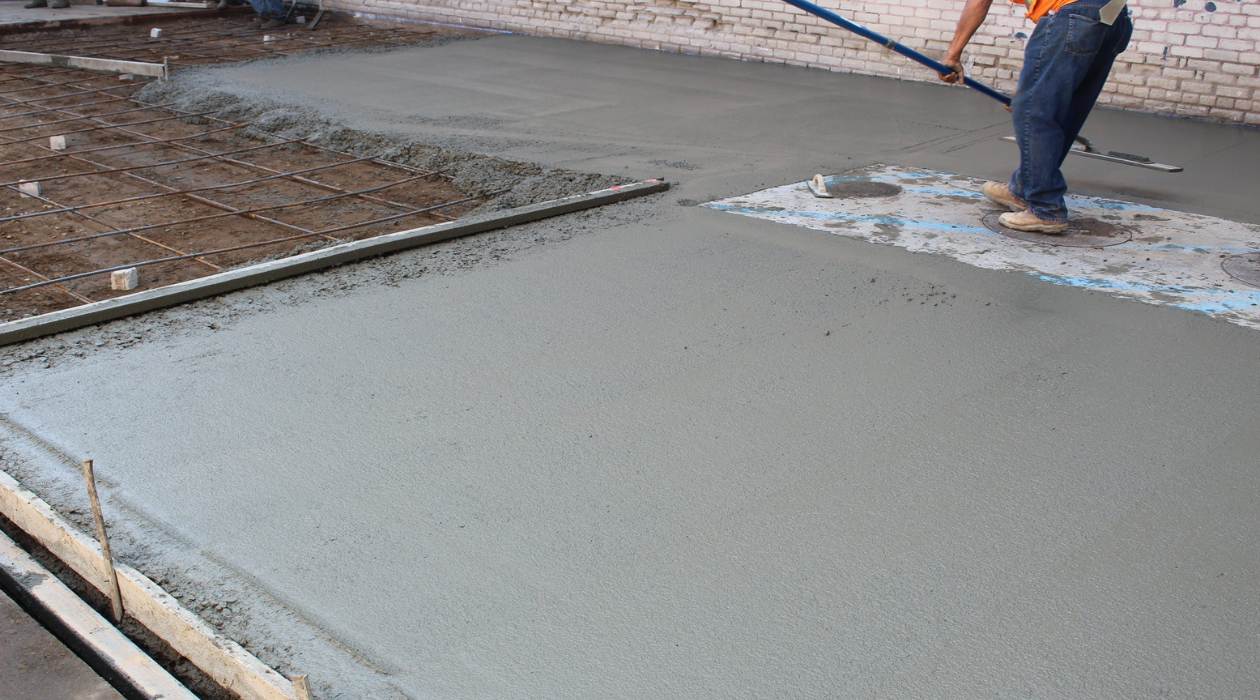
4. Materials Being Joined: The type of material being joined also affects the drying time of plumbing glue. Porous materials, such as wood or concrete, may absorb some of the solvents from the glue, leading to slower drying. It is important to prepare the surfaces properly and ensure they are clean and free from any debris or moisture.
5. Application Thickness: The thickness of the glue layer applied to the surfaces can impact the drying time. Thicker layers of glue may take longer to dry completely, as the solvent needs more time to evaporate. It is recommended to apply a thin, even layer of glue for faster drying and stronger bonds.
6. Curing Time: Although plumbing glue may be dry to the touch after a certain period, it is important to note that it may still need additional time to fully cure and reach maximum strength. Curing time can vary depending on the type of glue and other factors. It is advisable to wait at least 24 hours before subjecting the glued joint to pressure or water flow.
By considering these factors, you can effectively manage the drying time of plumbing glue. It is essential to be patient and allow sufficient time for the glue to dry properly before proceeding with further plumbing activities. In the next section, we will explore the specific drying times for different types of plumbing glues.
Drying Time for Different Types of Plumbing Glue
The drying time of plumbing glue can vary depending on the specific type of glue used. Each type of plumbing glue is formulated with different ingredients and has its own recommended drying time. Here are the approximate drying times for some common types of plumbing glue:
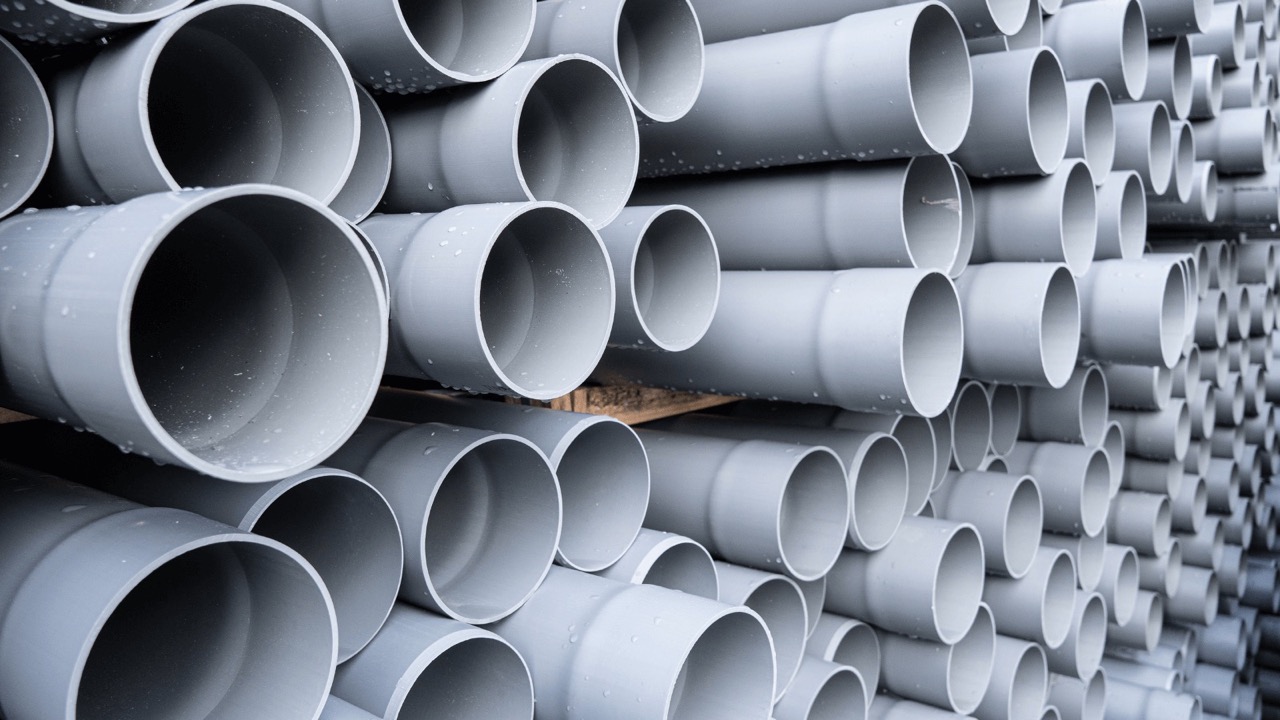
1. PVC (Polyvinyl Chloride) Glue: PVC glue is commonly used for joining PVC pipes and fittings. The drying time for PVC glue is typically around 15 to 30 minutes. However, it is important to note that this is the initial drying time, and the joint may still need additional time to reach maximum strength. It is recommended to wait at least 2 to 3 hours before pressurizing or using the newly glued joint.
2. CPVC (Chlorinated Polyvinyl Chloride) Glue: CPVC glue is used for joining CPVC pipes and fittings, which are commonly found in hot water plumbing systems. The drying time for CPVC glue is similar to that of PVC glue, averaging around 15 to 30 minutes. However, it is advisable to wait for at least 2 to 3 hours before exposing the joint to hot water.
3. ABS (Acrylonitrile Butadiene Styrene) Glue: ABS glue is specifically designed for joining ABS pipes and fittings. The drying time for ABS glue is typically longer compared to PVC and CPVC glues. It can take around 1 to 2 hours for the ABS glue to dry completely. It is important to allow sufficient curing time before applying any pressure or using the joint.
It is worth noting that these drying times are approximate and can vary based on factors such as temperature, humidity, and application thickness. It is crucial to refer to the manufacturer’s instructions and follow their specific recommendations for drying time.
Regardless of the type of plumbing glue used, it is important to exercise patience and allow ample time for the glue to dry and cure properly. Rushing the drying process can weaken the bond and lead to leaks or joint failures. Waiting 24 hours before pressurizing or subjecting the joint to water flow is a general rule of thumb to ensure optimal results.
In the next section, we will provide some tips to help you ensure that the plumbing glue dries properly and creates a strong and reliable connection.
Allow PVC plumbing glue to dry for at least 2 hours before pressurizing the system. For optimal strength, wait 24 hours before testing the joint.
Tips for Allowing Plumbing Glue to Dry Properly
Properly allowing plumbing glue to dry is crucial for creating strong and reliable connections in your plumbing projects. Here are some essential tips to ensure that the glue dries properly:
1. Follow Manufacturer’s Instructions: Always read and follow the instructions provided by the manufacturer of the plumbing glue. They will provide specific guidelines for application, drying time, and curing time. Following these instructions will help you achieve the best results.
2. Prepare Surfaces Properly: Clean and prepare the surfaces to be joined before applying the plumbing glue. Remove any dirt, debris, or old glue residues. Roughen the surfaces slightly with sandpaper to create a better bonding surface, especially for smooth materials like PVC. Proper surface preparation ensures a stronger bond and quicker drying.
3. Use the Right Type of Glue: Make sure you are using the correct type of plumbing glue for the materials being joined. Using the wrong type of glue can result in weak connections and leaks. Refer to the manufacturer’s recommendations for selecting the appropriate glue for your specific application.
4. Apply an Even Layer: Apply a thin and even layer of plumbing glue to both surfaces to be joined. Avoid applying too much glue as it can prolong the drying time and weaken the bond. Use a brush or applicator designed for the specific type of glue to ensure a precise and consistent application.
5. Align and Hold in Place: After applying the plumbing glue, align the pipes or fittings properly and hold them firmly in place. The glue needs time to set and bond the surfaces together. Use clamps or support brackets, if necessary, to ensure a secure connection during the drying process.
6. Allow Sufficient Drying Time: Be patient and allow sufficient drying time according to the manufacturer’s instructions. Avoid rushing the process and exerting pressure or stress on the joint before it is fully dry. Waiting at least 24 hours before pressurizing or using the joint is a general recommendation.
7. Ensure Proper Ventilation: Adequate ventilation is essential for proper drying of the plumbing glue. Open windows or turn on fans to circulate the air and help evaporate the solvents. Good ventilation helps expedite the drying process and ensures the release of any fumes emitted during drying.
8. Avoid Excessive Moisture: Keep the environment as dry as possible while the plumbing glue is drying. Excess moisture in the air can slow down drying and affect the quality of the bond. Avoid directing water or exposing the glued joint to excessive moisture until it has fully dried and cured.
By following these tips, you can ensure that the plumbing glue dries properly and creates a strong and reliable connection. It is important to remember that the drying time may vary depending on the specific type of glue, ambient conditions, and other factors. Always prioritize safety and allow ample time for the glue to dry and cure before using the newly joined plumbing components.
In the next section, we will discuss how to test the dryness of plumbing joints to ensure their effectiveness.
Read more: How Long Does Plumbing Take
Testing the Dryness of Plumbing Joints
After allowing the plumbing glue to dry, it’s crucial to test the dryness of the joints before subjecting them to pressure or water flow. By conducting a simple test, you can ensure that the joints have dried properly and are ready for use. Here are a few methods to test the dryness of plumbing joints:
1. Visual Inspection: Start by visually inspecting the joints for any visible signs of wetness or residue. Look for any gaps or oozing of the glue. If you notice any wetness or sticky residue, it indicates that the joints are not completely dry. In this case, allow more time for the glue to dry and cure before proceeding.
2. Touch Test: Gently touch the surface of the joints using a clean fingertip. If the glue feels tacky or sticky to the touch, it is an indication that it is still drying and hasn’t fully cured. Wait for the glue to dry completely and lose its stickiness before using the joint.
3. Pressure Test: Conduct a pressure test to check for leaks and the integrity of the joints. Close the water supply valves and fill the pipes with water. Observe the joints closely for any signs of water leakage. If you notice any leaks, it indicates that the joint has not dried properly or there is an issue with the connection. In such cases, drain the pipes and repeat the drying process.
4. Water Flow Test: Once you are satisfied with the dryness of the joints, slowly open the water supply valves and check for any water flow issues or leaks. Run water through the pipes and observe the joints carefully. If you notice any leaks or abnormal water flow, it suggests a problem with the joint. You may need to reapply the plumbing glue and allow it to dry properly.
5. Professional Inspection: If you are unsure about the dryness of the plumbing joints or encounter any issues, it is advisable to seek a professional plumber’s assistance. They have the expertise to evaluate the joints thoroughly and address any concerns or complications.
Remember, testing the dryness of plumbing joints is essential to ensure the integrity and effectiveness of the connections. Rushing to use plumbing fixtures without proper drying can lead to leaks, joint failures, and costly repairs. Take the time to check the dryness of the joints, and if any issues are detected, allow more drying time or seek professional help.
In the next section, we will conclude the article and summarize the key points discussed so far.
Conclusion
Properly allowing plumbing glue to dry is crucial for creating strong and leak-proof connections in plumbing projects. By understanding the factors that affect drying time and following some essential tips, you can ensure that the plumbing glue dries effectively and creates reliable joints.
Factors such as the type of glue, ambient temperature, humidity levels, materials being joined, and application thickness can all impact the drying time of plumbing glue. It is important to consider these factors and follow the manufacturer’s instructions for the specific type of plumbing glue you are using.
Remember to prepare the surfaces properly, use the correct type of glue for the materials, apply an even layer of glue, and hold the joints in place during the drying process. Allow the glue to dry for the recommended time, ensuring proper ventilation and avoiding excessive moisture.
Testing the dryness of plumbing joints is essential to ensure their effectiveness. Conduct visual inspections, touch tests, pressure tests, and water flow tests to check for any signs of wetness, stickiness, leaks, or flow issues. If any problems are detected, allow more drying time or seek professional assistance.
Taking the time to let plumbing glue dry properly will result in strong and durable connections that can withstand the demands of everyday use. Properly dried joints minimize the risk of leaks, water damage, and costly repairs down the line.
So, whether you’re a DIY enthusiast or a professional plumber, remember to exercise patience when it comes to drying plumbing glue. By following the guidelines and tips provided in this article, you can ensure successful plumbing projects and long-lasting connections.
In conclusion, allowing plumbing glue to dry properly is a crucial step in ensuring the functionality and longevity of plumbing systems. By understanding the factors affecting drying time, following manufacturer’s instructions, and conducting proper tests, you can ensure that your plumbing joints are solid and reliable.
Remember, proper drying leads to secure connections, fewer leaks, and peace of mind knowing that your plumbing system is functioning at its best. Take the time to let the glue dry properly, and you’ll enjoy the benefits of a well-executed plumbing project for years to come.
Curious about other plumbing dilemmas? If you're wondering whether your plumbing system needs professional attention, our next guide offers vital insights. Learn to identify signs that suggest your pipes and fixtures might require repairs. This handy resource demystifies common plumbing issues, helping you decide when to call in the experts.
Frequently Asked Questions about How Long Does PVC Glue Take To Dry For Plumbing
Was this page helpful?
At Storables.com, we guarantee accurate and reliable information. Our content, validated by Expert Board Contributors, is crafted following stringent Editorial Policies. We're committed to providing you with well-researched, expert-backed insights for all your informational needs.


0 thoughts on “How Long Does PVC Glue Take to Dry For Plumbing”