
Articles
How Long To Bake Cake In Toaster Oven
Modified: May 6, 2024
Looking for articles on how long to bake a cake in a toaster oven? Find all the information you need to bake the perfect cake in your toaster oven right here.
(Many of the links in this article redirect to a specific reviewed product. Your purchase of these products through affiliate links helps to generate commission for Storables.com, at no extra cost. Learn more)
Introduction
When it comes to baking a cake, most people automatically think of using a traditional oven. However, did you know that you can also bake a delicious, moist cake using a toaster oven? That’s right! Your compact and versatile toaster oven can be a convenient and efficient alternative for baking a cake, especially if you don’t have access to a full-size oven or simply prefer a smaller batch.
In this article, we will guide you on how to bake a cake in a toaster oven. We will explore the steps for choosing the right toaster oven, preparing the cake batter, adjusting the temperature and time, baking the cake, testing for doneness, removing and cooling the cake, and finally, frosting and decorating the cake. Let’s dive in and get baking!
Key Takeaways:
- Baking a cake in a toaster oven is a convenient and efficient alternative to a traditional oven, offering a fun and rewarding baking experience for beginners and seasoned bakers alike.
- Choosing the right toaster oven, adjusting temperature and time, and embracing creativity in frosting and decorating are essential steps to achieving a moist and flavorful cake in a toaster oven.
Read more: How Long To Bake Brownies In A Toaster Oven
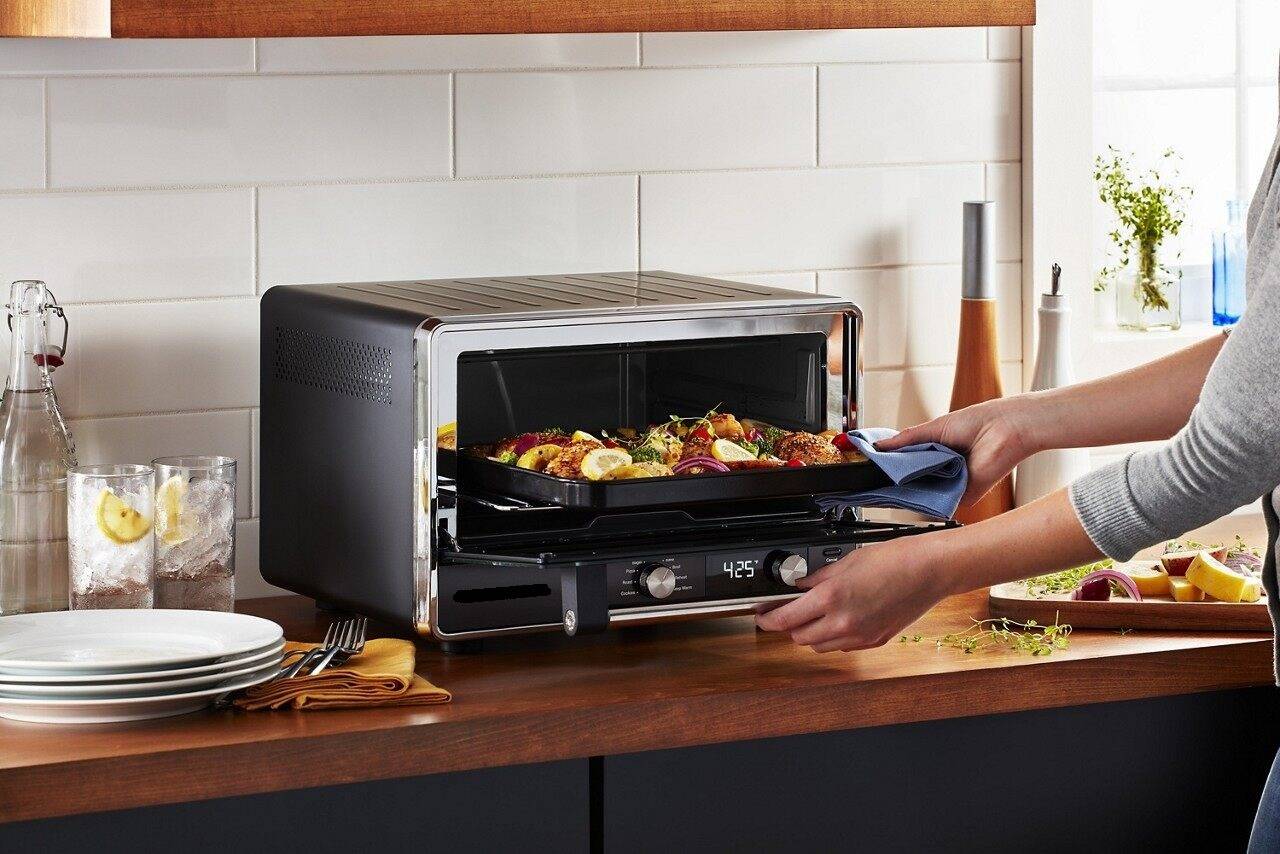
Choosing the Right Toaster Oven
Before you begin baking a cake in a toaster oven, it’s important to ensure you have the right toaster oven for the job. Here are a few factors to consider when selecting a toaster oven:
- Size: Look for a toaster oven with enough interior space to accommodate the cake pan you plan to use. It’s important to measure the dimensions of your cake pan and compare them to the internal dimensions of the toaster oven before making your purchase.
- Temperature Control: Opt for a toaster oven that offers precise temperature control. Baking a cake requires specific temperature settings, so it’s essential to have the ability to adjust the temperature accurately.
- Convection Technology: Consider a toaster oven with convection technology. This feature circulates hot air evenly throughout the oven, resulting in more even and efficient baking. It promotes even browning and helps prevent any areas of the cake from being undercooked or overcooked.
- Timer and Auto-Shutoff: Look for a toaster oven with a built-in timer and auto-shutoff feature. This will allow you to set the baking time and have peace of mind knowing that the oven will automatically turn off once the specified time has elapsed.
- Accessories and Settings: Check if the toaster oven comes with additional accessories such as a baking rack or a baking tray that can be used for baking cakes. Additionally, look for specific baking settings on the toaster oven, such as a dedicated cake baking setting or a low and slow baking option.
- Customer Reviews: Take the time to read customer reviews and ratings to get an idea of the toaster oven’s performance, reliability, and suitability for cake baking.
By considering these factors, you can confidently choose a toaster oven that will meet your specific cake baking needs. Once you have the perfect toaster oven, it’s time to move on to preparing the cake batter.
Preparing the Cake Batter
Now that you have your toaster oven ready, it’s time to prepare the cake batter. Follow these steps to ensure your cake turns out moist and delicious:
- Gather Your Ingredients: Take a look at your chosen cake recipe and gather all the necessary ingredients. This typically includes flour, sugar, baking powder, eggs, butter, milk, and any additional flavorings or mix-ins specified in the recipe.
- Measure Accurately: It’s crucial to measure the ingredients accurately to achieve the perfect consistency. Use measuring cups and spoons for dry ingredients and a kitchen scale for precise measurements of butter and other fats.
- Mixing the Batter: In a large bowl, start by creaming the butter and sugar together until light and fluffy. Then, add the eggs one at a time, mixing well after each addition. Gradually add the dry ingredients and alternate with the milk, mixing until just combined. Be careful not to overmix, as this can result in a dense and dry cake.
- Prepping the Cake Pan: Grease and flour your cake pan to ensure easy removal of the baked cake. You can also line the pan with parchment paper for added insurance.
- Pouring the Batter: Once the batter is well mixed, pour it evenly into the prepared cake pan. Use a spatula to spread the batter evenly and smooth out the surface.
- Tapping the Pan: Tap the cake pan gently on the countertop a few times to release any trapped air bubbles. This will help prevent uneven rising and air pockets in your baked cake.
Now that your cake batter is ready, it’s time to adjust the temperature and time on your toaster oven for optimal baking. Let’s explore that in the next section.
Adjusting the Temperature and Time
When baking a cake in a toaster oven, it’s important to adjust the temperature and time settings to ensure even and thorough baking. Here are some guidelines to help you achieve the perfect bake:
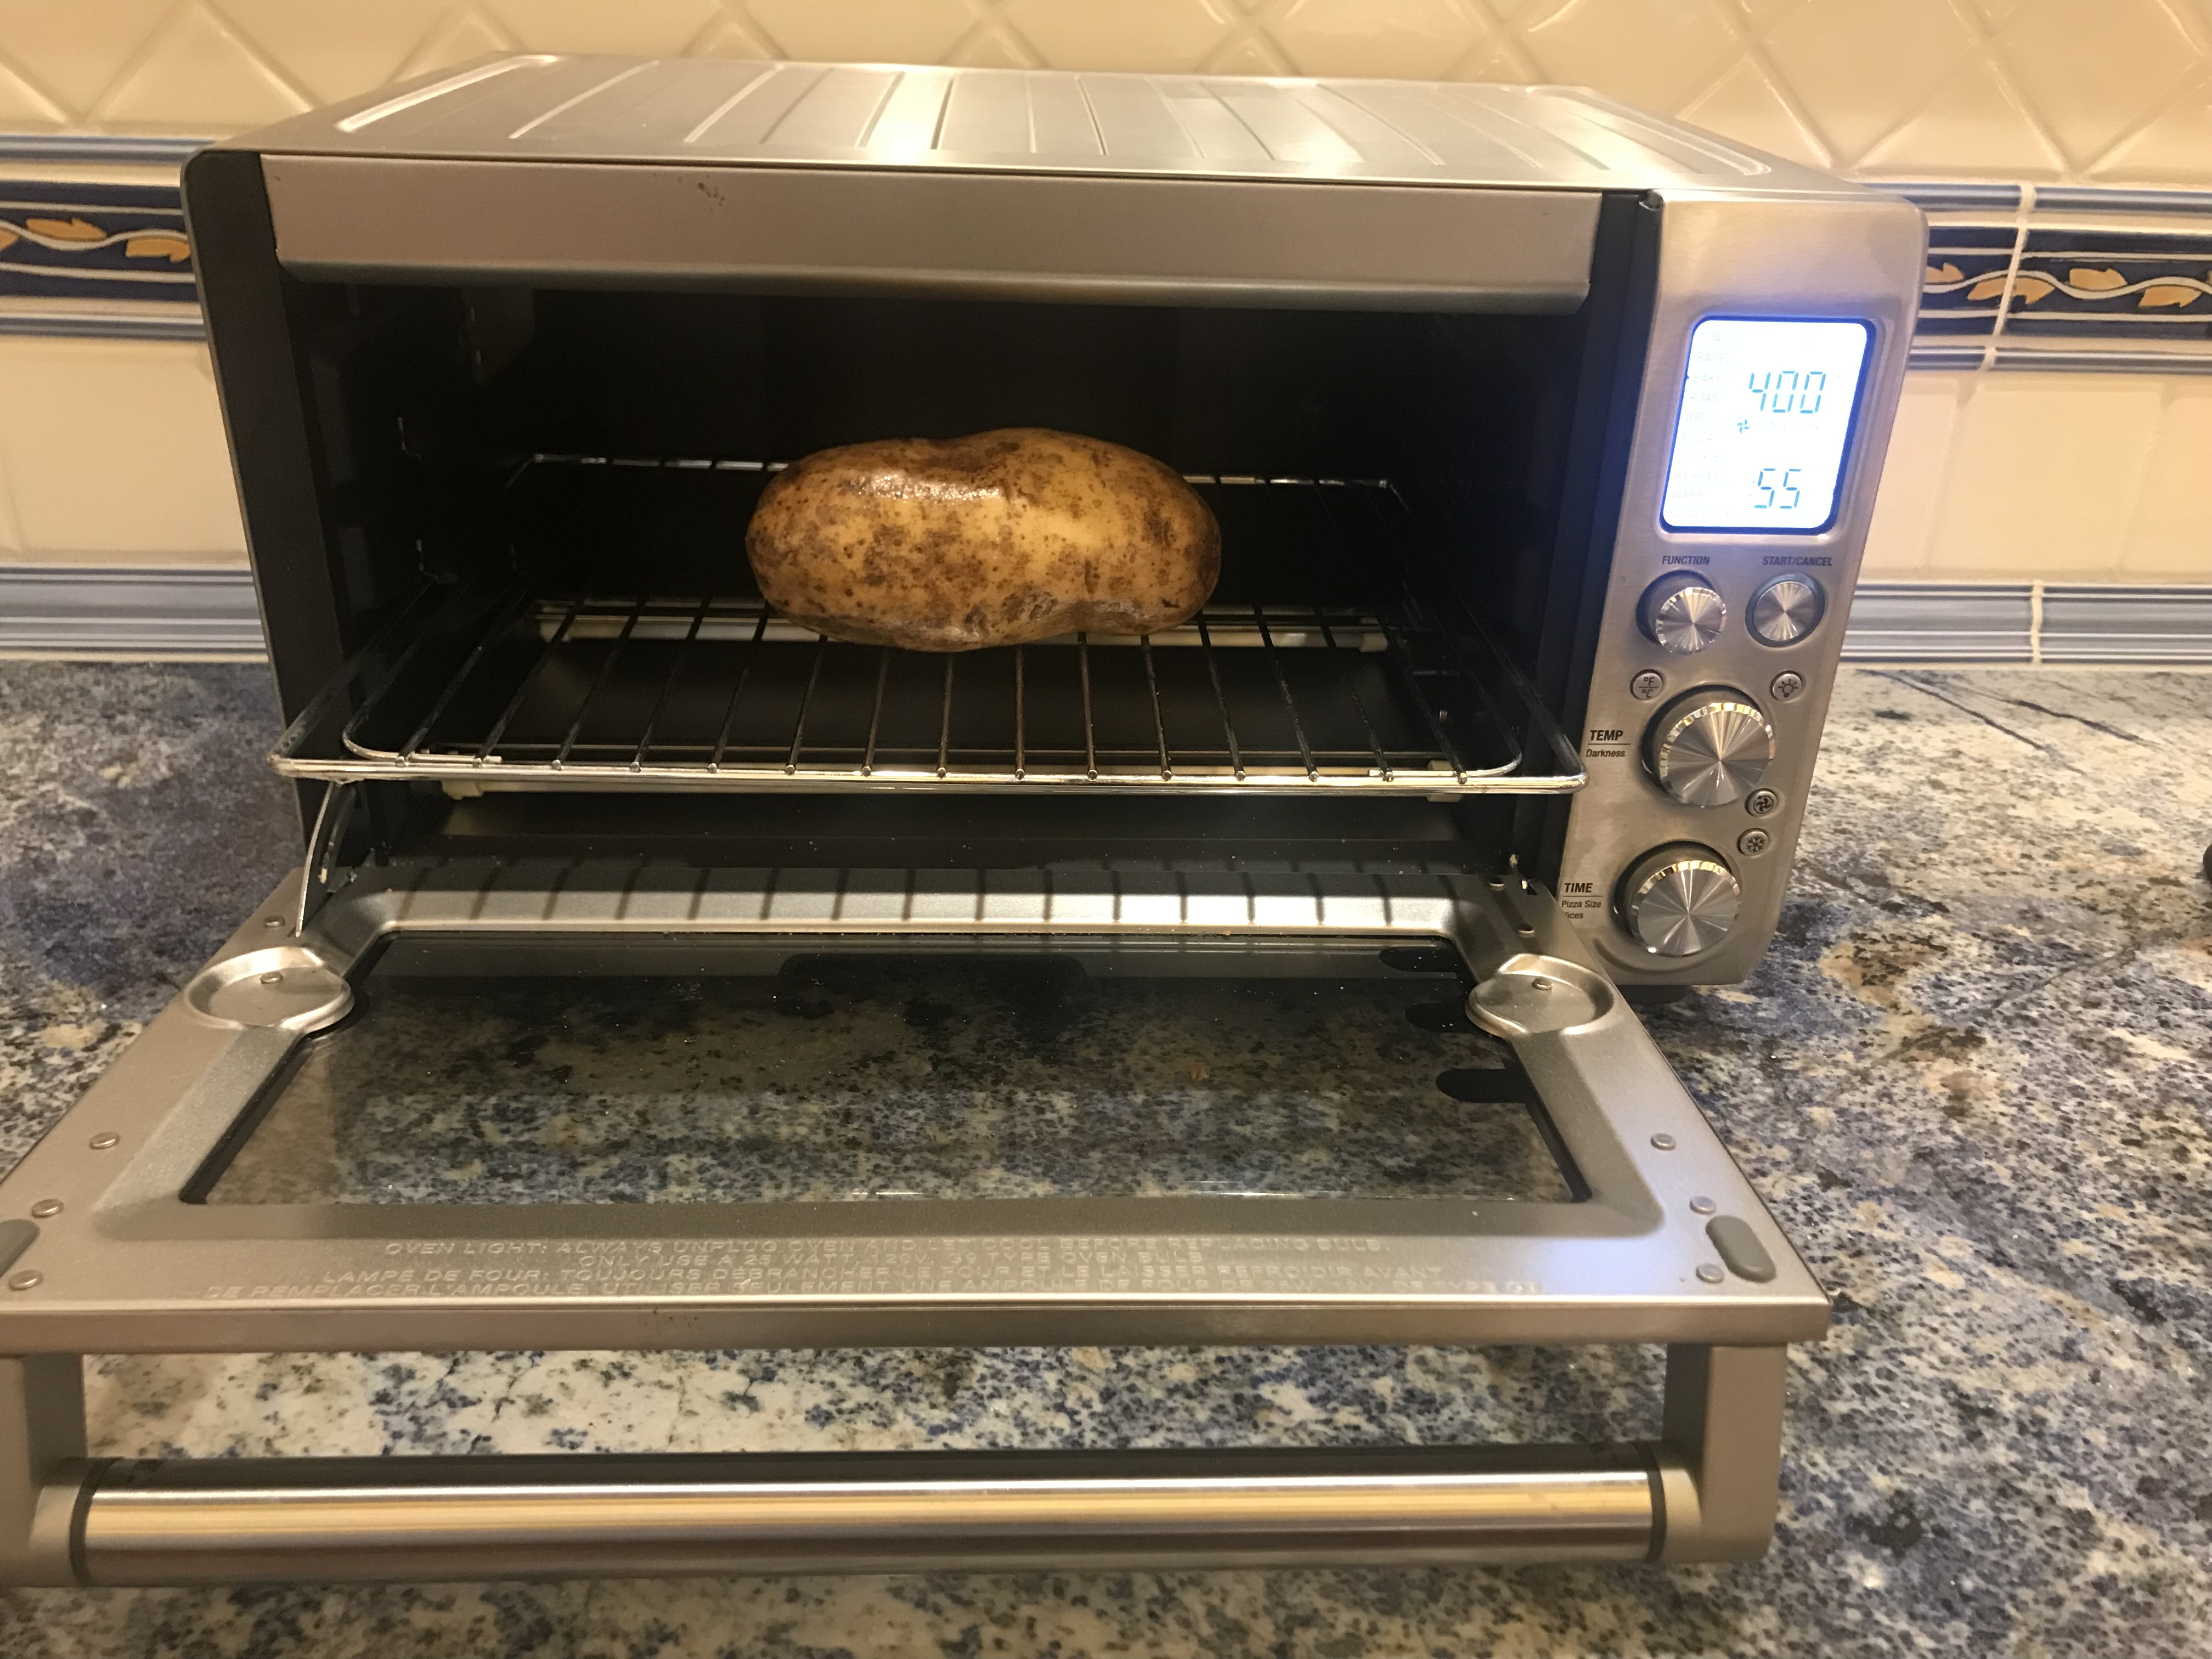
- Preheat the Toaster Oven: Just like with a traditional oven, preheating your toaster oven is essential for proper baking. Preheat the oven according to the recipe instructions, usually to the recommended temperature for baking the cake.
- Temperature Adjustment: Toaster ovens generally have temperature control settings similar to traditional ovens. Adjust the temperature to match the required baking temperature specified in the recipe.
- Baking Time Adjustment: Since toaster ovens are smaller and more compact than regular ovens, you may need to adjust the baking time. As a general rule, toaster oven baking times are shorter than those for conventional ovens. Start by reducing the baking time by about 25% and closely monitor the progress of the cake as it bakes. You can always add more time if needed.
- Rotation and Positioning: To ensure even baking, consider rotating the cake pan halfway through the baking process. This will help avoid any hot spots in the toaster oven and promote even browning on all sides of the cake. Additionally, position the cake pan in the center of the toaster oven to allow for proper air circulation.
- Use a Oven Thermometer: To ensure accurate temperature readings, use an oven thermometer to verify that the toaster oven is truly at the desired temperature. This will help prevent underbaking or overbaking the cake.
Always refer to the recipe instructions for specific temperature and time guidelines, as different cakes may have different requirements. With the temperature and time properly adjusted, it’s time to bake the cake in your toaster oven. Keep reading to learn how.
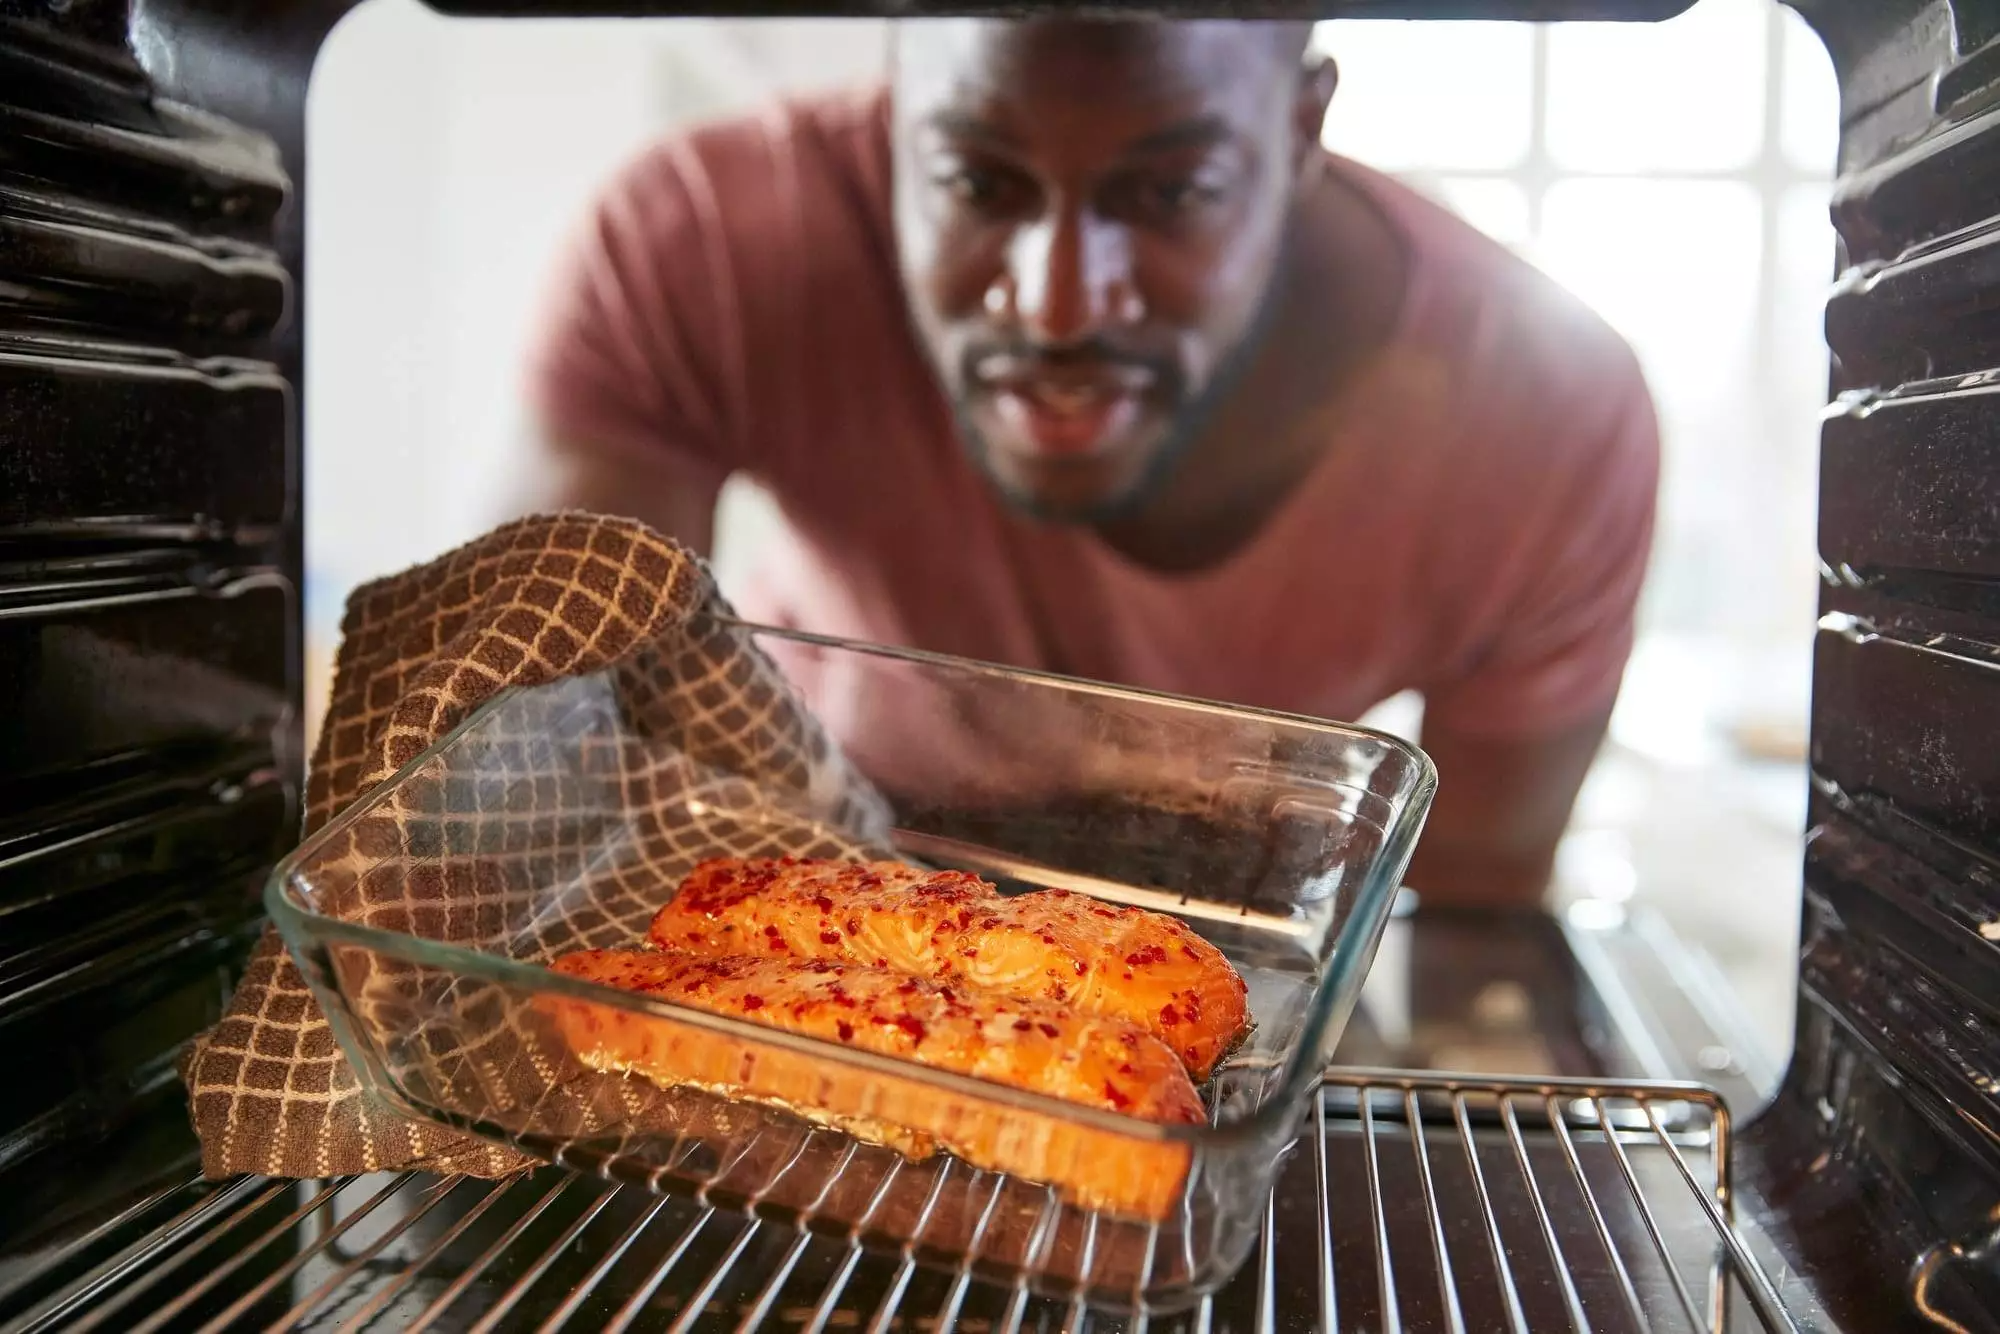
Baking the Cake in the Toaster Oven
With the temperature and time adjusted, it’s time to bake your cake in the toaster oven. Follow these steps for a successful baking experience:
- Place the Cake Pan: Carefully place the prepared cake pan in the center of the toaster oven. Make sure it is positioned securely and evenly on the oven rack or tray.
- Close the Door: Close the door of the toaster oven, ensuring a tight seal. This will help maintain a consistent temperature and prevent any heat from escaping during the baking process.
- Avoid Opening the Door: While it may be tempting to check on the progress of your cake, try to resist the urge to open the door frequently. Opening the door can cause temperature fluctuations and may result in an unevenly baked cake. Only check on the cake when you believe it is close to being done.
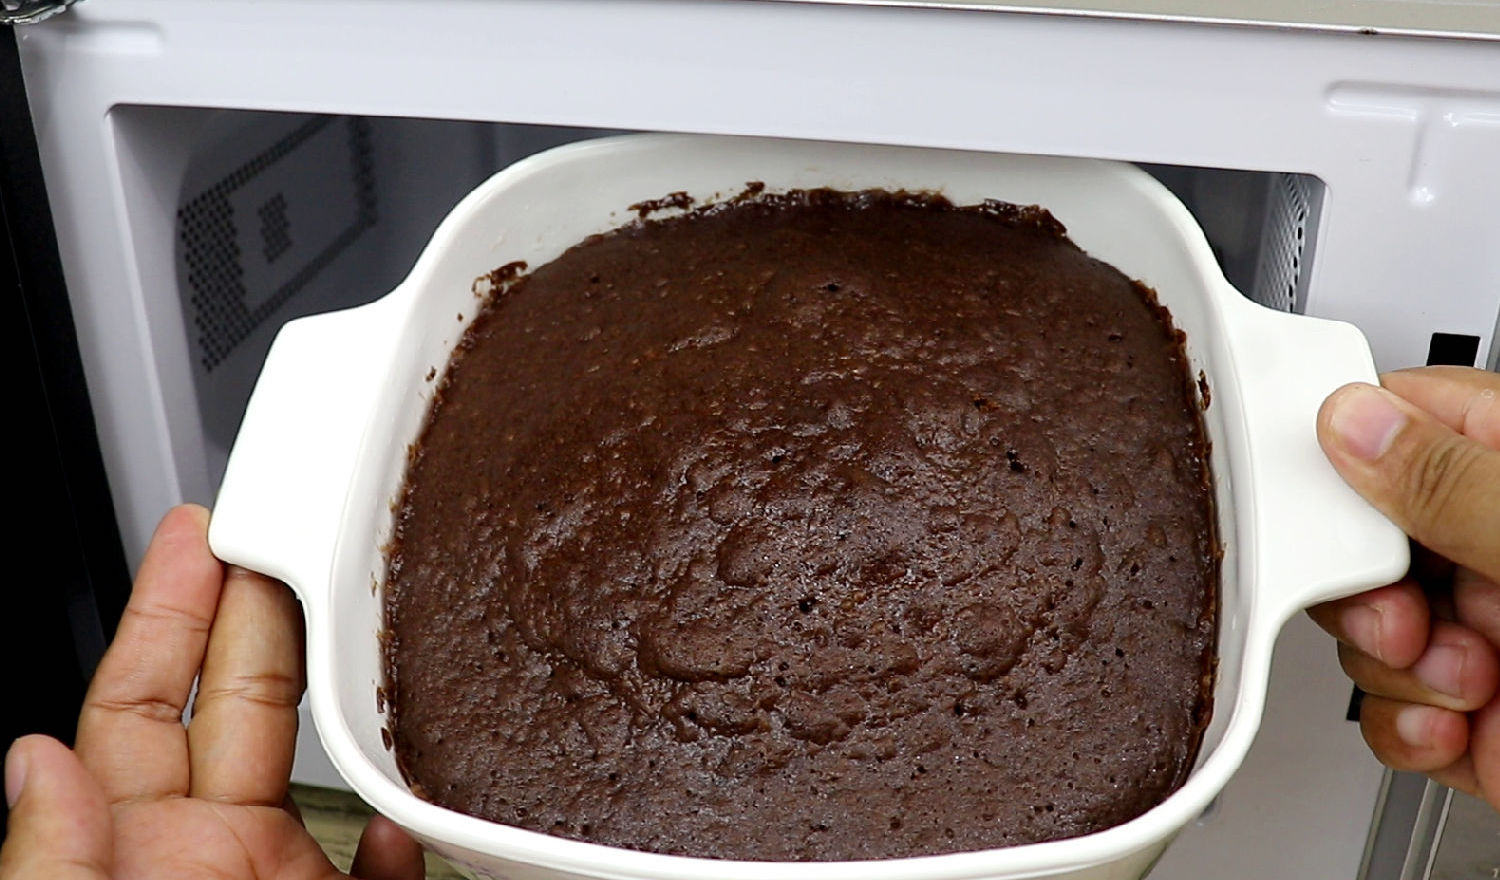
- Monitor the Baking: Keep a close eye on the cake as it bakes in the toaster oven. Look for the edges of the cake to turn golden brown and for the center to spring back when lightly touched. This is an indication that the cake is nearing completion.
- Test for Doneness: To ensure the cake is fully baked, insert a toothpick or a cake tester into the center of the cake. If it comes out clean or with a few moist crumbs clinging to it, the cake is done. If the toothpick comes out with wet batter, it needs more time to bake.
- Additional Baking if Needed: If the cake needs more time, close the door and continue baking for a few more minutes. Check for doneness again after the additional time has elapsed to ensure it is fully baked.
Once the cake is fully baked and passes the toothpick test, it’s time to remove it from the toaster oven and allow it to cool. We’ll cover that in the next section.
When baking a cake in a toaster oven, reduce the temperature by 25°F and check for doneness 5-10 minutes earlier than the recipe suggests, as toaster ovens can bake faster than conventional ovens.
Testing for Doneness
Testing for doneness is a crucial step when baking a cake, regardless of the oven type. To ensure your cake is perfectly baked, follow these simple steps for testing its doneness:
- Use a Toothpick or Cake Tester: Take a toothpick or a cake tester and insert it into the center of the cake. Make sure to go all the way down to the bottom of the cake.
- Observe the Results: Pull out the toothpick or cake tester and inspect it. If it comes out clean or with a few moist crumbs clinging to it, the cake is done and ready to be removed from the oven. If the toothpick comes out with wet batter, the cake needs more time to bake.
- Identify Crumbs vs. Wet Batter: It’s important to understand the difference between moist crumbs and wet batter. Moist crumbs are tiny flecks of cooked cake that cling to the toothpick but are not raw. Wet batter, on the other hand, indicates that the cake needs more time to bake as it is still undercooked in the center.
- Baking for Extra Time: If the cake is not done, return it to the oven and continue baking for a few more minutes. Repeat the testing process until the toothpick comes out with only moist crumbs, indicating that the cake is fully baked.
- Be Cautious with Overbaking: As you approach the desired doneness, be careful not to overbake the cake. Overbaking can result in a dry and crumbly texture, so monitor the cake closely and remove it from the oven as soon as it is fully cooked.
Remember, testing for doneness is a reliable way to ensure your cake is perfectly baked. Once your cake passes the toothpick test, it’s time to remove it from the toaster oven and allow it to cool before moving on to the next steps of frosting and decorating.
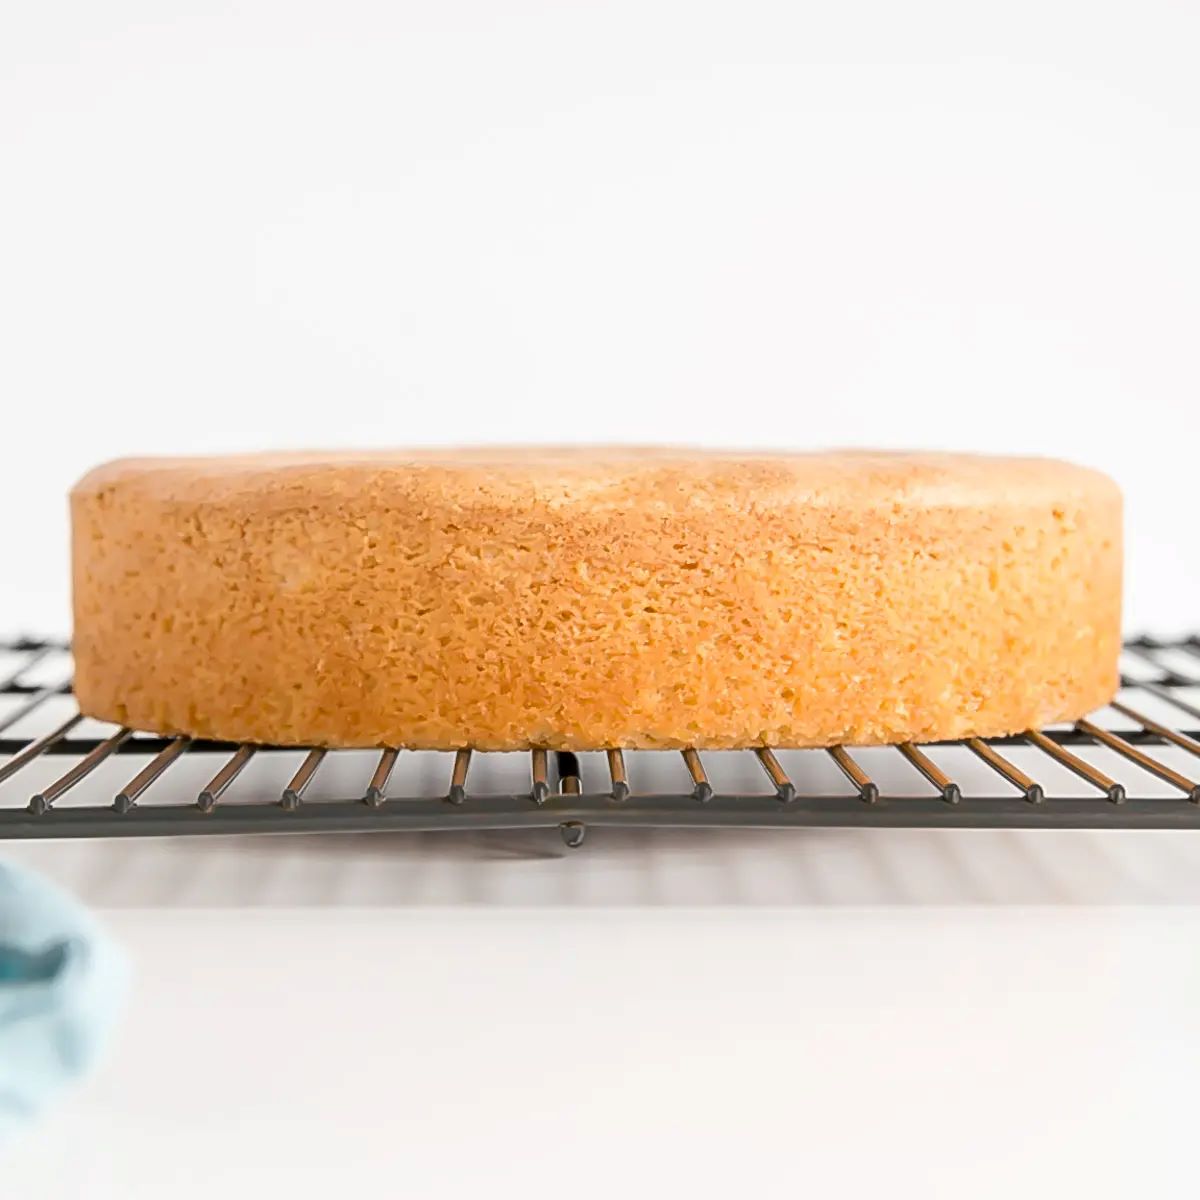
Removing and Cooling the Cake
After testing for doneness and determining that your cake is fully baked, it’s time to remove it from the toaster oven and let it cool. Follow these steps to ensure a smooth and successful removal and cooling process:
- Turn Off the Toaster Oven: Begin by turning off the toaster oven to prevent any further baking or accidental burns.
- Protect Your Hands: Always prioritize safety when removing a hot cake. Put on oven mitts or heat-resistant gloves to protect your hands from the hot surfaces of the toaster oven and the cake pan.
- Remove the Cake Pan: Carefully lift the cake pan from the toaster oven, using oven mitts or gloves for a secure grip. Set the pan down on a heat-resistant surface or wire cooling rack.
- Allow for Cooling Time: It’s essential to let the cake cool completely before frosting or decorating it. This cooling process allows the cake to set and maintain its structure, ensuring easier handling and preventing the frosting from melting.
- Use a Cooling Rack: For optimal airflow and even cooling, place the cake pan on a wire cooling rack. Elevating the cake allows heat to dissipate evenly from all sides, resulting in a more uniform cooling process.
- Avoid Rushing: While it can be tempting to speed up the cooling process, avoid placing the cake in the refrigerator or freezer to cool quickly. Rapid temperature changes can impact the texture and moisture of the cake. Instead, allow the cake to cool at room temperature.
- Follow Recipe Instructions: If the recipe suggests removing the cake from the pan after a certain amount of time, follow those instructions. Some cakes benefit from being removed from the pan while still warm to prevent sticking, while others may require cooling completely in the pan.
As the cake cools, the flavors will develop, and it will become easier to handle for frosting and decorating. Be patient and resist the temptation to rush the process. Once your cake has cooled, it’s time to move on to the final step of frosting and decorating!
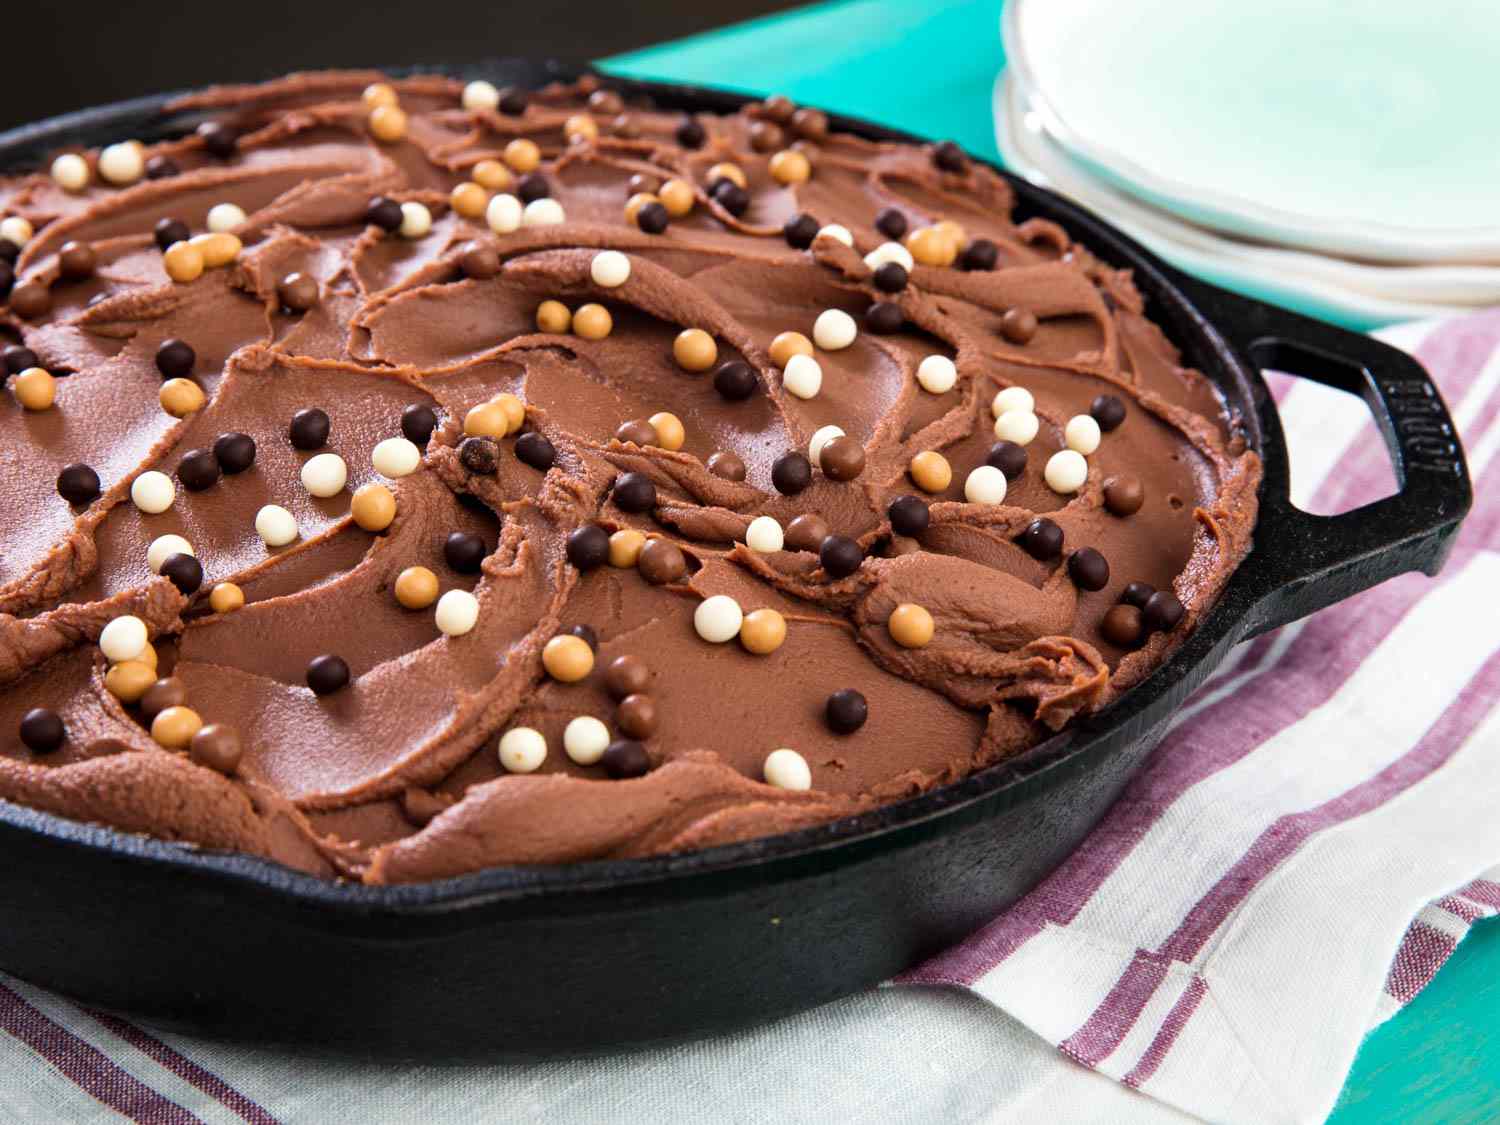
Frosting and Decorating the Cake
Now that your cake has cooled, it’s time to unleash your creativity and add a delicious layer of frosting and decorations. Here’s how you can frost and decorate your toaster oven-baked cake:
- Select Your Frosting: Choose your favorite frosting flavor, whether it’s classic buttercream, rich chocolate ganache, or tangy cream cheese frosting. You can make your own frosting from scratch or use store-bought frosting for convenience.
- Prepare the Cake: If the recipe requires it, level the top of the cake by carefully slicing off any domed or uneven surfaces. This will create a flat and stable base for your frosting.
- Frosting Techniques: There are different ways to frost a cake, such as using a spatula to create a smooth and even layer, or using a piping bag to create decorative patterns and borders. Experiment with different techniques to achieve the desired look.
- Crumb Coat: For a professional-looking finish, consider applying a thin layer of frosting called a crumb coat. This initial layer helps trap any loose crumbs and provides a smooth base for the final coat of frosting.
- Add Decorations: Get creative with your cake decorations! Add colorful sprinkles, chocolate shavings, fresh fruit, edible flowers, or any other toppings that complement the flavor and design of your cake. Use piping techniques to create decorative accents or write personalized messages.
- Refrigerate if Needed: Depending on the type of frosting you used, you may need to refrigerate the cake to help it set and maintain its shape. Follow the instructions for the specific frosting you used to determine if refrigeration is necessary.
- Present and Serve: Once your cake is frosted and decorated to perfection, it’s time to present it proudly and share it with others! Place the cake on a serving platter or cake stand and slice it into delicious portions for everyone to enjoy.
Remember, the frosting and decorations are your chance to showcase your personal style and creativity. Have fun with it and make the cake truly your own. With the final touches complete, step back and admire your masterpiece before indulging in a delightful slice of your toaster oven-baked cake!
Conclusion
Congratulations! You have successfully learned how to bake a cake in a toaster oven. With the right toaster oven, proper temperature and time adjustments, and careful preparation, you can enjoy a delicious homemade cake without the need for a traditional oven.
From choosing the right toaster oven to preparing the cake batter, adjusting the temperature and time, baking the cake, testing for doneness, and removing and cooling the cake, each step plays a vital role in achieving a moist and flavorful cake.
Remember to embrace your creativity during the frosting and decorating process, adding personal touches to make the cake truly your own. Whether you’re a beginner in the kitchen or a seasoned baker, baking a cake in a toaster oven can be a fun and rewarding experience.
Next time you’re craving a slice of cake or have a special occasion, don’t hesitate to whip out your toaster oven and put your baking skills to the test. With practice and experimentation, you’ll master the art of baking cakes in a toaster oven and impress your friends and family with your delectable creations.
So, go ahead and give it a try. Bake a cake in your toaster oven, and savor the joy of homemade goodness! Happy baking!
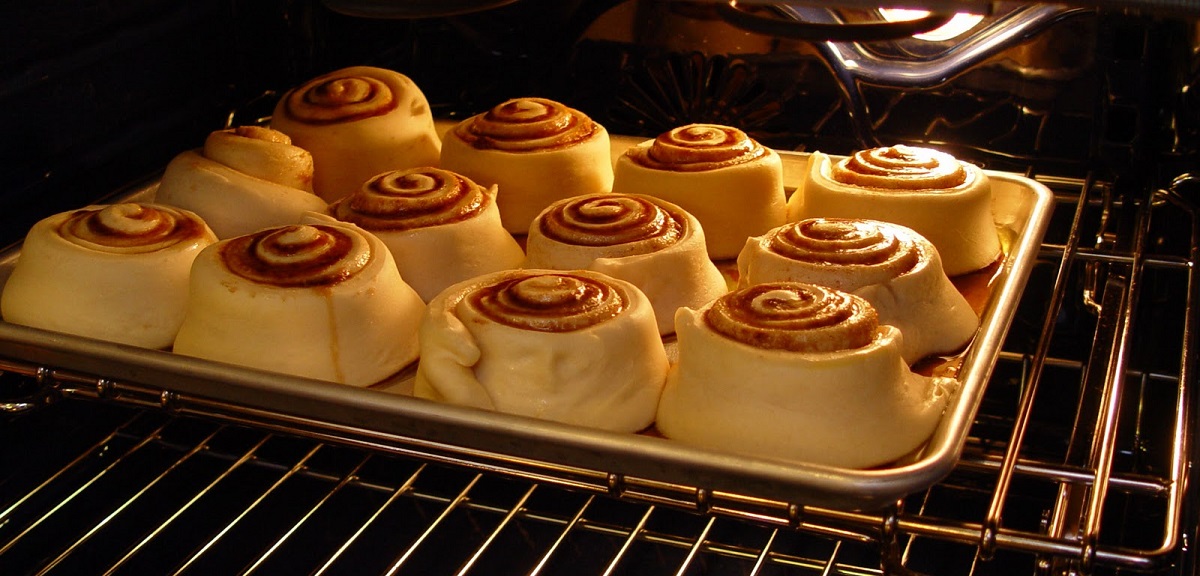
Excited about mastering toaster oven baking? Your journey doesn't end with just cakes. Imagine waking up to the aroma of freshly baked cinnamon rolls without firing up your main oven. Learn how to perfect Pillsbury cinnamon rolls using your trusty toaster oven. With clear steps and handy tips, you'll turn out delightful treats that are sure to impress family and friends. Dive into our guide and transform your baking skills with this compact kitchen marvel.
Frequently Asked Questions about How Long To Bake Cake In Toaster Oven
Was this page helpful?
At Storables.com, we guarantee accurate and reliable information. Our content, validated by Expert Board Contributors, is crafted following stringent Editorial Policies. We're committed to providing you with well-researched, expert-backed insights for all your informational needs.


0 thoughts on “How Long To Bake Cake In Toaster Oven”