Articles
How To Bake Cake In Microwave Oven
Modified: August 25, 2024
Learn how to bake a delicious cake in a microwave oven with these informative articles. Discover tips, tricks, and step-by-step instructions for perfect results every time.
(Many of the links in this article redirect to a specific reviewed product. Your purchase of these products through affiliate links helps to generate commission for Storables.com, at no extra cost. Learn more)
Introduction
Baking a cake in a microwave oven may seem like an unconventional method to some, but it comes with its own set of advantages. Not only does it save time, but it also eliminates the need for a traditional oven. Whether you’re a beginner in the realm of baking or simply looking for a quick and easy dessert option, baking a cake in a microwave oven is a convenient and efficient choice.
One of the main advantages of baking a cake in a microwave oven is the time factor. Traditional oven baking requires preheating and a longer baking time, whereas using a microwave reduces both. In a matter of minutes, you can have a freshly baked cake ready to be enjoyed. This is particularly useful when you have unexpected guests or a sudden craving for something sweet.
Another notable advantage is that baking a cake in a microwave oven consumes less energy. Microwaves are designed to heat the food directly, resulting in a quicker cooking time and less energy usage. If you’re conscious about your carbon footprint or simply looking for ways to reduce your energy bill, baking a cake in a microwave is a greener alternative.
Furthermore, baking a cake in a microwave oven offers versatility. You can experiment with different flavors, sizes, and textures. Whether you prefer a classic chocolate cake, a fluffy vanilla sponge, or a moist carrot cake, the microwave gives you the freedom to bake a variety of cakes without the hassle of using an oven.
While baking a cake in a microwave oven is relatively easy, there are a few tips and tricks that can help you achieve delicious results every time. From selecting the right ingredients to understanding the power levels, we’ll explore all the crucial factors to consider for successful microwave baking.
In the following sections, we’ll delve into the necessary ingredients, step-by-step instructions, and additional tips to ensure your cake turns out perfect, moist, and delectable. So, let’s get started on this microwave adventure and uncover the secrets to baking a scrumptious cake in no time!
Key Takeaways:
- Baking a cake in a microwave oven offers time-saving, energy-efficient, and convenient advantages, allowing for quick and delicious homemade desserts without the need for a traditional oven.
- With the right tips and techniques, anyone can confidently bake a delicious cake in a microwave oven, from preparing the batter to testing for doneness and adding the perfect finishing touches.
Read more: How To Bake In A Microwave Oven
Advantages of Baking a Cake in a Microwave Oven
Baking a cake in a microwave oven offers several advantages that make it an appealing option for both beginners and experienced bakers. Let’s take a closer look at the benefits of using a microwave for cake baking.
- Time-saving: One of the most significant advantages of using a microwave oven is the time factor. Unlike traditional baking methods that require preheating and longer baking times, a microwave allows for quick and efficient baking. In just a matter of minutes, you can have a freshly baked cake ready to be enjoyed. This is particularly convenient when you have limited time or last-minute guests.
- Energy-efficient: Baking a cake in a microwave oven consumes significantly less energy compared to using a conventional oven. Microwaves are designed to heat food directly, resulting in quicker cooking times and reduced energy consumption. This not only saves you money on your energy bills but also makes microwave baking a greener choice for the environment.
- Versatility: A microwave gives you the flexibility to experiment with various flavors, sizes, and textures. You can easily create a wide range of cakes, from classic chocolate cakes to luscious fruit cakes and everything in between. With the right recipes and techniques, you can achieve equally delicious results as traditional oven-baked cakes.
- Convenience: Using a microwave oven for cake baking is incredibly convenient. Unlike traditional ovens that require careful monitoring and adjusting of temperatures, microwave baking is relatively hands-off. Once you set the appropriate power level and time, you can go about your other tasks while the cake bakes. This convenience factor makes microwave baking a popular choice for busy individuals and those new to baking.
- No special equipment required: Baking a cake in a microwave oven eliminates the need for specialized baking equipment, such as baking pans, cooling racks, and oven mitts. Most microwaves come with microwave-safe dishes that can be used for cake baking. This saves you the hassle of purchasing additional equipment and simplifies the overall baking process.
Overall, baking a cake in a microwave oven offers a time-efficient, energy-saving, and convenient alternative to traditional baking methods. It allows for versatility in flavors and textures and requires minimal equipment. The next sections will provide you with essential tips and instructions to ensure successful cake baking in a microwave oven.
Tips for Baking a Cake in a Microwave Oven
Baking a cake in a microwave oven requires some specific tips and techniques to achieve the best results. Follow these tips to ensure a successful and delicious microwave-baked cake:
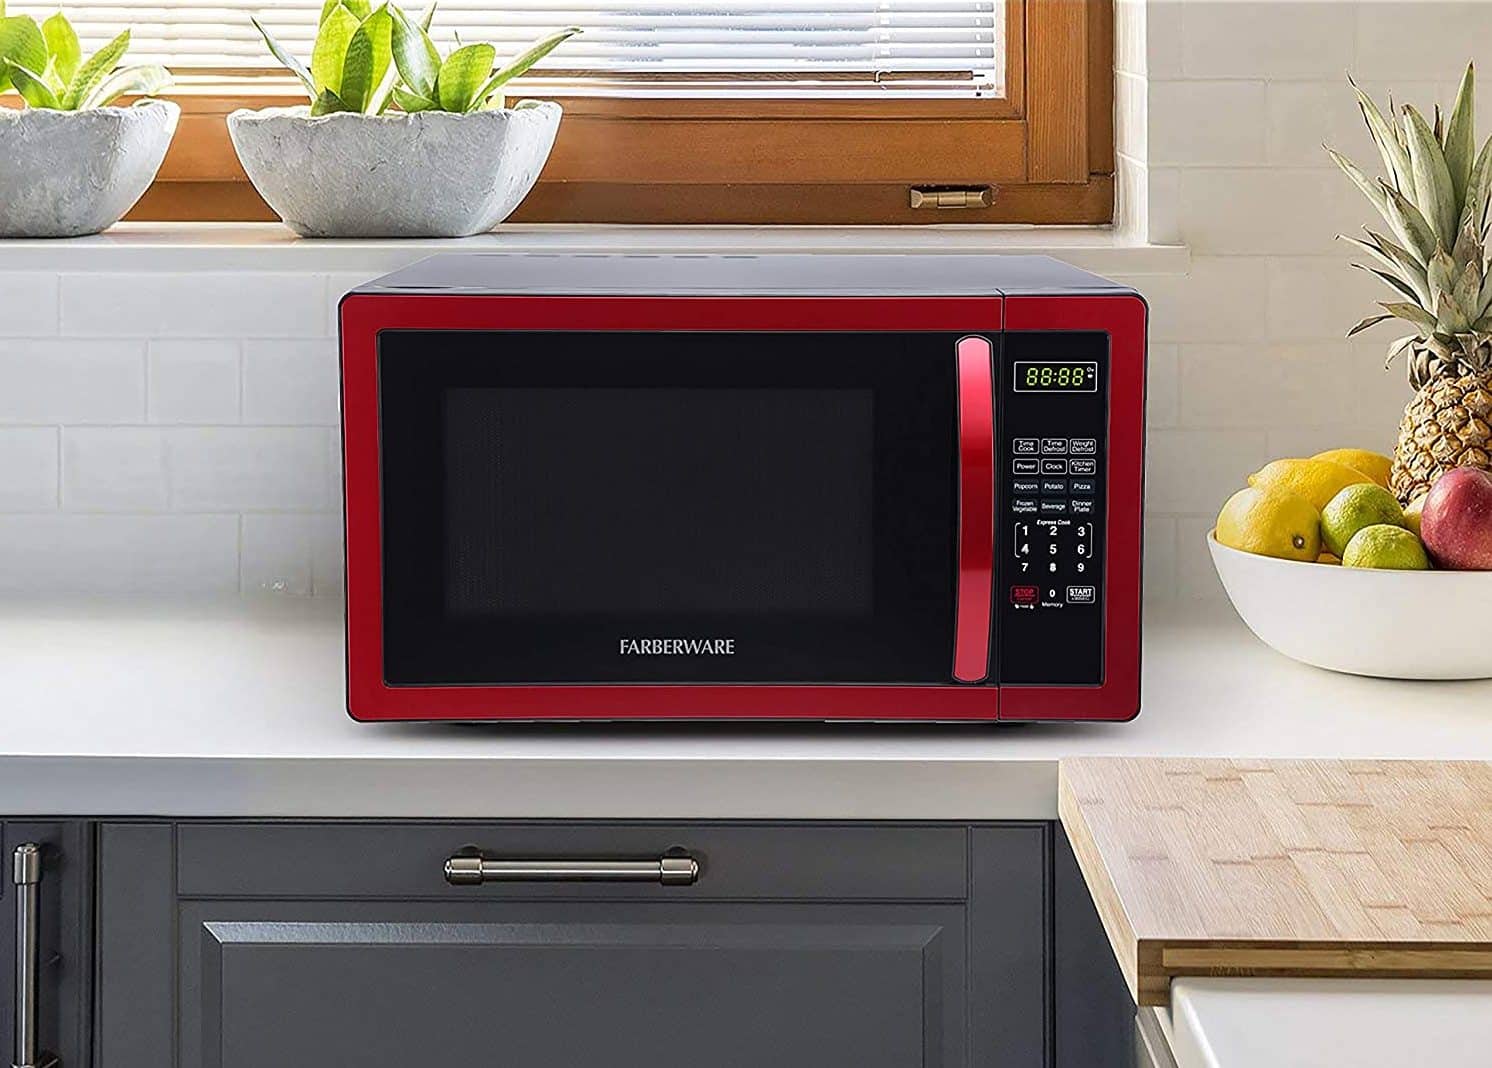
- Choose the right microwave-safe dish: Use a microwave-safe dish or bowl that is suitable for cake baking. Make sure it is large enough to accommodate the cake batter without overflowing. Avoid using metal or non-microwave-safe containers, as they can cause sparking or damage to the microwave.
- Adjust the power level: Most microwaves offer multiple power levels. For cake baking, it’s recommended to use a medium or medium-high power setting. This allows for even and gradual heating, preventing the cake from burning or becoming too dry. Avoid using the highest power setting as it may result in uneven cooking.
- Sift the dry ingredients: Sifting the dry ingredients like flour, cocoa powder, and baking powder before adding them to the cake batter helps eliminate any lumps and ensures a smooth texture in the finished cake.
- Measure ingredients accurately: Accurate measurement of ingredients is crucial for a successful cake. Use measuring cups and spoons to ensure you add the right amount of each ingredient. Too much or too little of certain ingredients can affect the texture and taste of the cake.
- Mix the batter properly: Mix the cake batter until it’s smooth and well-combined. This ensures that all the ingredients are evenly distributed throughout the batter. Use a whisk or a hand mixer for best results.
- Use the microwave’s timer: Set the timer according to the recipe’s recommended baking time. It’s essential not to overcook the cake, as it can result in a dry and rubbery texture. Start with the recommended time and adjust as needed, keeping a close eye on the cake during the final minutes of baking.
- Allow for resting time: Once the cake is done, let it rest in the microwave for a few minutes. This allows the residual heat to distribute evenly and ensures that the cake is cooked through. Be careful when removing the hot dish from the microwave and use oven mitts or a towel to handle it.
- Test for doneness: Use a toothpick or a cake tester to check if the cake is fully cooked. Insert it into the center of the cake, and if it comes out clean or with a few crumbs clinging to it, the cake is ready. If the toothpick has wet batter on it, continue microwaving in short intervals until it comes out clean.
- Cooling and frosting: After removing the cake from the microwave, allow it to cool completely before frosting or decorating. This prevents the frosting from melting or sliding off the cake. Once cooled, you can frost the cake with your favorite frosting or add other decorative touches as desired.
By following these tips, you’ll be able to master the art of baking a cake in a microwave oven. With practice, you’ll discover the perfect timing and power level settings for your specific microwave model, resulting in beautifully baked cakes every time.
Necessary Ingredients for Baking a Cake in a Microwave Oven
To bake a cake in a microwave oven, you’ll need a few essential ingredients. Gathering the right ingredients beforehand ensures that your cake turns out moist, fluffy, and full of flavor. Here are the necessary ingredients you’ll need:
- All-purpose flour: Flour provides the structure and texture to the cake. Use all-purpose flour for most cake recipes, unless otherwise specified.
- Sugar: Sugar adds sweetness and moisture to the cake. Granulated sugar is commonly used, but you can also experiment with other sweeteners like brown sugar or powdered sugar for a different flavor profile.
- Leavening agents: Baking powder and/or baking soda are essential for giving the cake volume and helping it rise. Make sure they are fresh and within their expiration dates for optimal results.
- Salt: A pinch of salt helps balance the flavors and enhances the taste of the cake. It also helps in activating the leavening agents.
- Butter or oil: Fat is necessary for moisture and tenderness in the cake. You can use softened butter or vegetable oil depending on the recipe. The choice of fat also contributes to the flavor of the cake.
- Eggs: Eggs act as binding agents and provide structure to the cake. They also add richness and moisture. Make sure your eggs are at room temperature for better incorporation into the batter.
- Flavorings: Depending on the type of cake you want to bake, you may need additional flavorings such as vanilla extract, cocoa powder, lemon zest, or almond extract. These ingredients add depth and enhance the taste of the cake.
- Liquid: Most cake recipes require some form of liquid, usually milk or water. The liquid helps to create the desired consistency of the batter and contributes to the moisture of the cake.
- Optional mix-ins: If you want to add extra texture or flavor to your cake, consider incorporating some mix-ins like chocolate chips, chopped nuts, dried fruits, or shredded coconut. These additions can elevate the taste and make your cake more exciting.
Remember to read the recipe thoroughly to ensure you have all the necessary ingredients before starting the baking process. Gather them in advance and have them measured and prepared for easy incorporation into the batter.
Baking a cake in a microwave oven is a convenient and efficient process, but using quality ingredients and following the recipe accurately are key to achieving the best results. So stock up on these necessary ingredients and get ready to impress your taste buds.
Step-by-Step Instructions to Bake a Cake in a Microwave Oven
Baking a cake in a microwave oven may seem intimidating at first, but with the right steps and techniques, it can be a straightforward process. Follow these step-by-step instructions to bake a cake in a microwave oven:
- Prepare the Batter:
- Gather all the necessary ingredients and measure them precisely according to the recipe.
- In a mixing bowl, combine the dry ingredients such as flour, sugar, baking powder, and salt. Whisk them together to ensure they are evenly distributed.
- In a separate bowl, beat the wet ingredients like softened butter or oil, eggs, milk (or other liquid), and any additional flavorings until well-blended.
- Gradually add the dry ingredients to the wet ingredients, mixing them together until a smooth batter forms. Avoid overmixing as it can lead to a dense and tough cake.
- Prepare the Microwave Safe Dish:
- Select a microwave-safe dish or bowl that is appropriate for cake baking. Grease it lightly with butter or cooking spray to prevent sticking.
- Pour the prepared cake batter into the greased dish, ensuring it does not fill more than two-thirds of the dish to allow room for the cake to rise as it bakes.
- Baking the Cake in the Microwave Oven:
- Place the dish in the center of the microwave oven and close the door securely.
- Set the microwave power level to medium or medium-high to ensure even cooking.
- Set the desired baking time according to the recipe specifications. Start with the recommended time and adjust as needed based on the power of your microwave oven. Keep in mind that microwave ovens vary in wattage, so the baking time may differ slightly.
- Press “Start” or activate the microwave oven to begin the baking process.
- Testing the Cake for Doneness:
- Once the allotted baking time is complete, carefully remove the dish from the microwave using oven mitts or a towel.
- Insert a toothpick or a cake tester into the center of the cake. If it comes out clean or with a few crumbs clinging to it, the cake is done. If there is raw batter on the toothpick, return the cake to the microwave for additional short intervals until it is fully cooked.
- Cooling and Frosting the Cake:
- Allow the cake to cool in the dish for a few minutes to ensure even cooling.
- Carefully remove the cake from the dish and transfer it to a wire rack to cool completely.
- Once cooled, you can frost the cake with your favorite frosting, sprinkle powdered sugar, or add any desired toppings or decorations.
- Gather the Ingredients:
- Measure the Ingredients:
- Sift the Dry Ingredients:
- Mix the Batter:
- Select the Right Dish:
- Grease the Dish:
- Add a Dusting of Flour (Optional):
- Assemble and Fill the Dish:
- Place in the Microwave Oven:
- Set the Power Level:
- Set the Baking Time:
- Start the Microwave Oven:
- Monitor the Cake:
- Modify the Baking Time if Needed:
- Wait for the Recommended Baking Time:
- Choose the Right Tool:
- Insert the Testing Tool:
- Check for Moist Crumbs:
- Look for Clean Testing Tool:
- Avoid Overcooking:
- Cooling the Cake:
- Preparing the Frosting:
- Frosting the Cake:
- Add Decorations (Optional):
- Serve and Enjoy:
With these step-by-step instructions, you can confidently bake a cake in your microwave oven. Remember to adjust the baking time and power level according to your microwave’s specifications, and always follow the recipe instructions for the best results. Enjoy your homemade microwave-baked cake!
Read more: How Long To Bake Cake In Toaster Oven
Preparing the Batter
Before baking a cake in a microwave oven, it’s important to prepare the batter properly. The batter serves as the foundation of the cake and contributes to its texture, flavor, and overall success. Follow these steps to ensure a well-prepared cake batter:
Collect all the necessary ingredients for the cake recipe. This typically includes flour, sugar, leavening agents, salt, butter or oil, eggs, liquid (such as milk or water), and any additional flavorings or mix-ins.
Accurate measurement is crucial for a successful cake. Use measuring cups and spoons to measure the dry ingredients like flour, sugar, leavening agents, and salt. Level off the ingredients with a straight edge to ensure precise measurements. Measure the liquid ingredients by using a liquid measuring cup and fill it to the appropriate level.
In a mixing bowl, sift the dry ingredients together. This helps remove any lumps and creates a smoother texture in the finished cake. Use a fine-mesh sieve or a flour sifter to sift the flour, cocoa powder, baking powder, and salt into the bowl. This step ensures that the dry ingredients are evenly combined and eliminates the risk of having clumps in the batter.
In a separate mixing bowl, cream the softened butter or oil with the sugar until light and fluffy. This can be done using a hand mixer, stand mixer, or even a whisk. Add the eggs one at a time, beating well after each addition until fully incorporated into the mixture. Incorporate any additional flavorings, such as vanilla extract or lemon zest, for added depth of flavor.
Gradually add the dry ingredients to the wet ingredients, mixing just until they are fully combined. Be careful not to overmix the batter, as this can result in a dense and tough cake. Use a spatula or a whisk to gently fold the dry ingredients into the wet ingredients until you have a smooth and uniform batter.
If you’re adding any mix-ins, such as chocolate chips or nuts, gently fold them into the batter at this stage. Ensure they are evenly distributed for a balanced flavor and texture.
Remember, the key to a well-prepared batter is to follow the recipe instructions and mix the ingredients in the proper order to achieve the desired consistency and texture.
By properly preparing the batter, you lay the groundwork for a delicious and successful cake. Take your time to measure the ingredients accurately, sift the dry ingredients, and mix the batter with care. With a well-prepared batter, your microwave-baked cake is sure to turn out moist, flavorful, and enjoyable.
When baking a cake in a microwave oven, make sure to use a microwave-safe cake pan and adjust the power level to 50% to ensure even cooking without overcooking the edges.
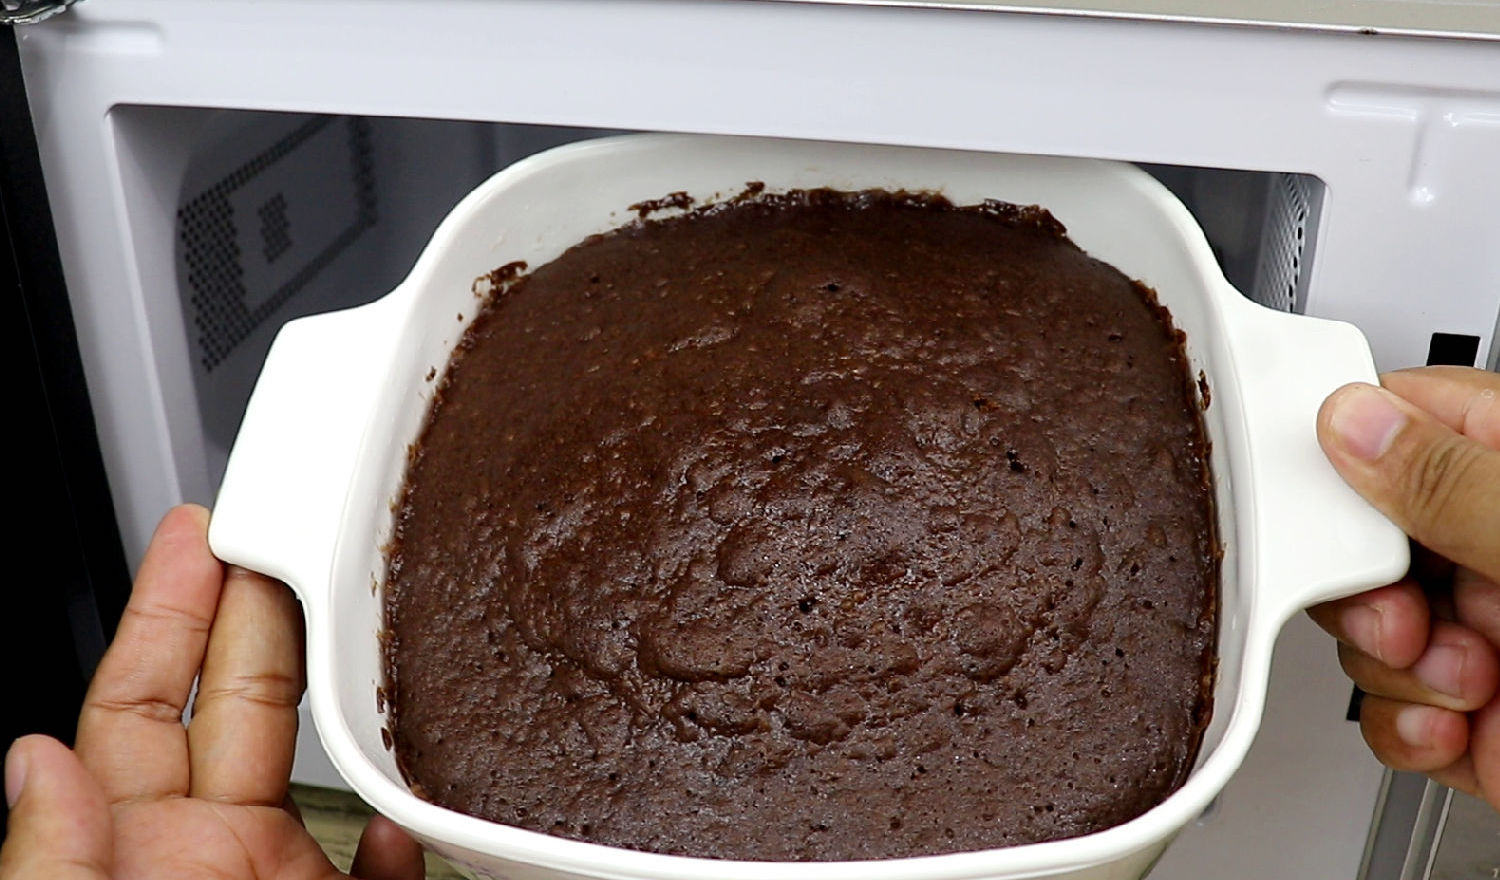
Preparing the Microwave Safe Dish
Before baking a cake in a microwave oven, it’s important to prepare the microwave-safe dish properly. The choice of dish and its preparation can affect the evenness of the cake’s cooking and its ability to rise. Follow these steps to ensure your microwave-safe dish is ready for cake baking:
Choose a microwave-safe dish or bowl that is suitable for cake baking. Look for microwave-safe labels or symbols on the dish itself to ensure it can withstand the heat generated during the baking process. Glass, ceramic, or microwave-safe plastic dishes are commonly used for baking cakes in the microwave oven.
Size-wise, select a dish that allows the cake batter to have enough space to rise but shouldn’t fill more than two-thirds of the dish. This ensures that the cake has room to expand as it cooks without overflowing.
Greasing the dish lightly with butter or cooking spray is essential to prevent the cake from sticking to the sides or bottom. Use a pastry brush or a paper towel to apply a thin layer of butter or cooking spray to the entire interior surface of the dish.
This step ensures easy removal of the cake once it’s baked and prevents it from tearing or breaking apart. Additionally, it helps in achieving a smooth and intact cake exterior.
Depending on the recipe or personal preference, you can also dust the greased dish with a thin layer of flour after greasing it. This can further aid in preventing the cake from sticking and make it easier to remove from the dish after baking.
To do this, add a small amount of flour to the greased dish and then tilt and rotate the dish to coat the entire surface evenly. Discard any excess flour by gently tapping and tapping the dish upside down.
However, in cakes where a smooth exterior is desired, like sponge cakes, it’s recommended to skip this step to avoid any potential textural disruptions caused by the flour.
Pour the prepared cake batter into the greased dish, ensuring it spreads evenly. Use a spatula or the back of a spoon to level the surface of the batter, making sure it’s flat and smooth. This promotes even cooking and helps the cake rise properly.
Now that your microwave-safe dish is prepared and filled with the cake batter, place it in the center of the microwave oven. Ensure that the dish is positioned properly and does not touch the walls or the top of the oven, as this can result in uneven cooking.
Close the microwave oven door securely, ensuring a proper seal to maintain the heat and create the optimal baking environment.
Once the dish is in place, you’re ready to start the baking process in the microwave oven following the recommended time and power settings as per the recipe instructions.
By properly preparing the microwave-safe dish, you create an optimal environment for baking your cake in the microwave oven. Taking the time to select the right dish, greasing it effectively, and assembling the batter properly guarantees a successful outcome for your microwave-baked cake. Enjoy the convenience and deliciousness that microwave baking offers!
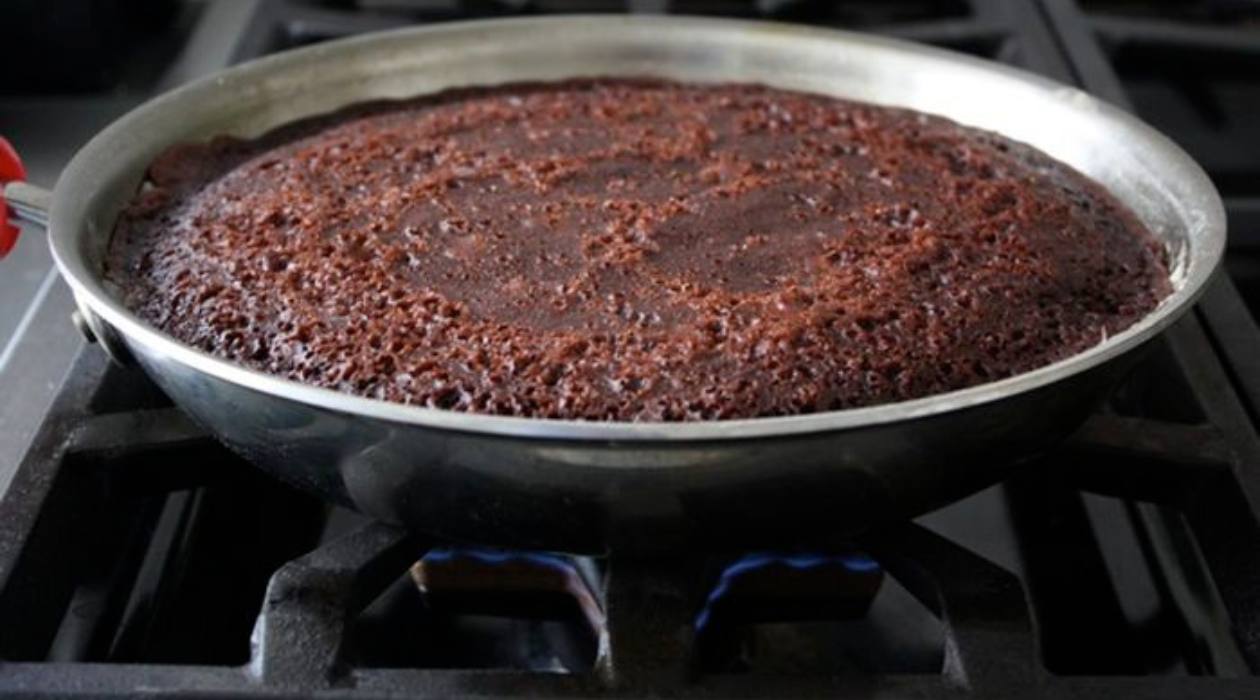
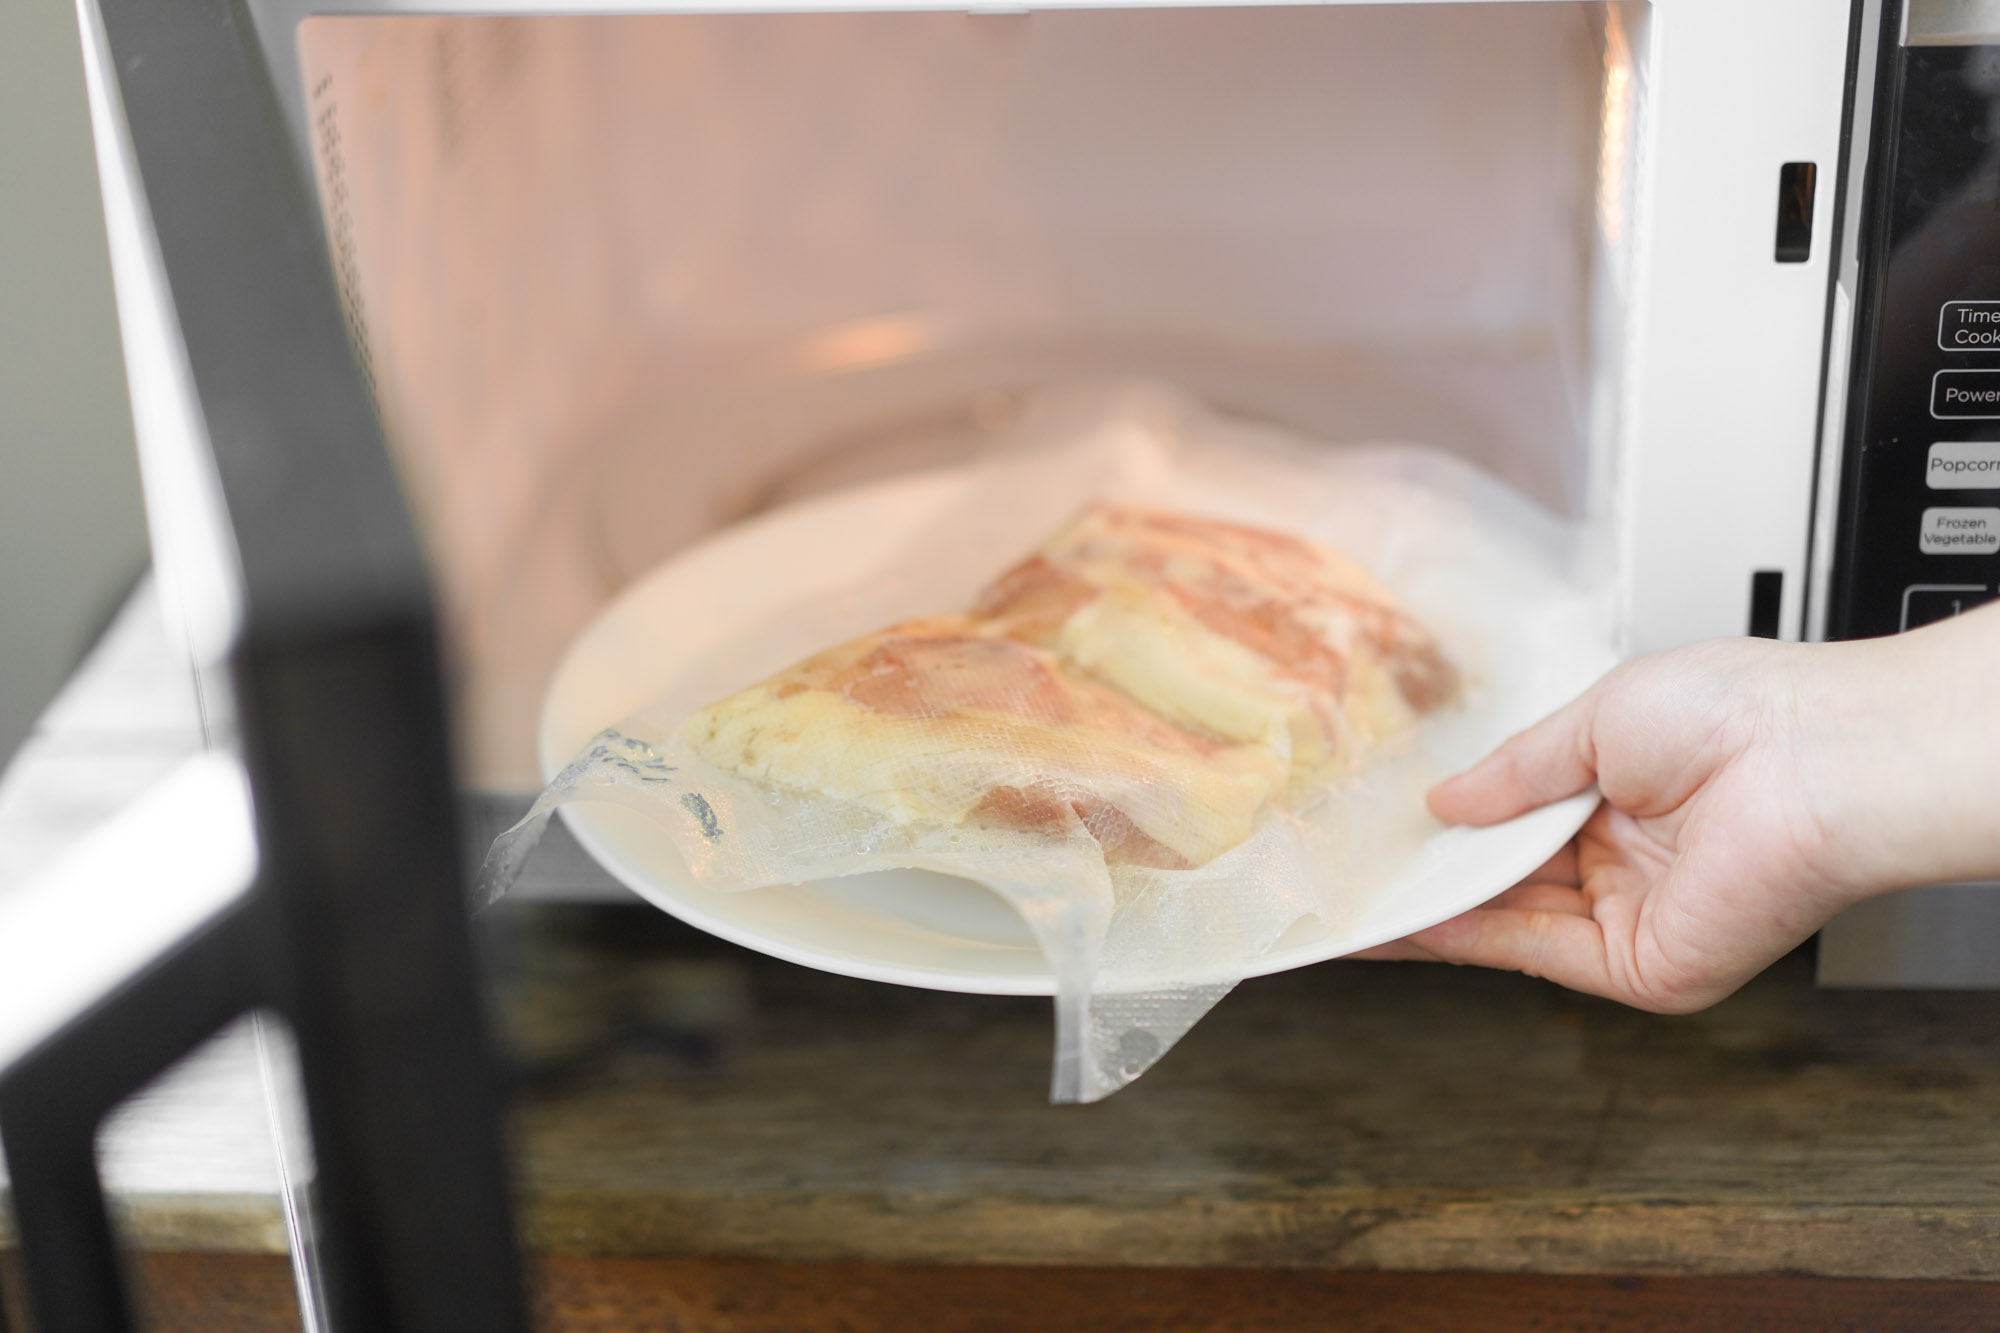
Baking the Cake in the Microwave Oven
With the batter prepared and the microwave-safe dish ready, it’s time to proceed with baking the cake in the microwave oven. This step is crucial in ensuring that the cake cooks evenly and achieves the desired moistness and texture. Follow these instructions to bake your cake in the microwave oven:
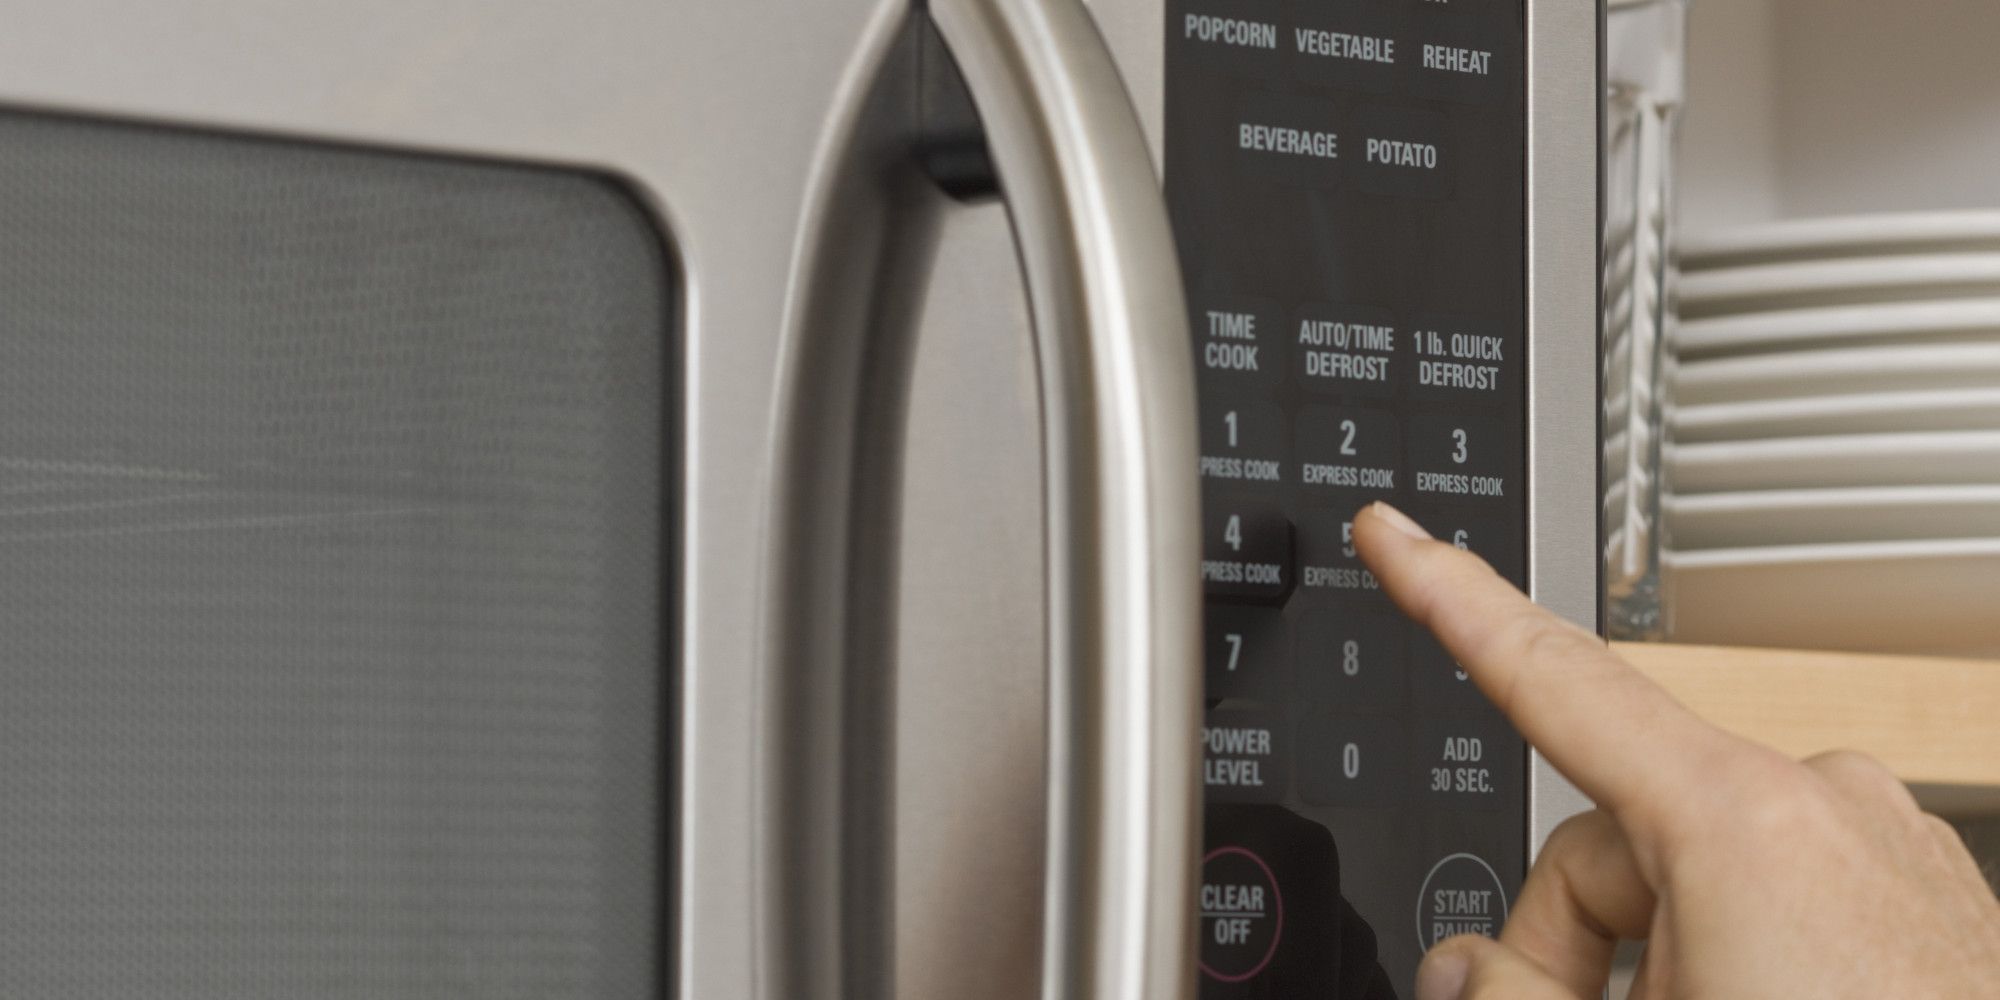
Most microwave ovens have adjustable power levels, typically ranging from 1 to 10. For cake baking, it’s recommended to use a medium or medium-high power level. This allows for even cooking and reduces the risk of the cake drying out or burning.
Refer to your microwave’s user manual to understand how to adjust the power level. It is usually done by pressing the “Power” or “Power Level” button on the microwave control panel and selecting the desired power setting.
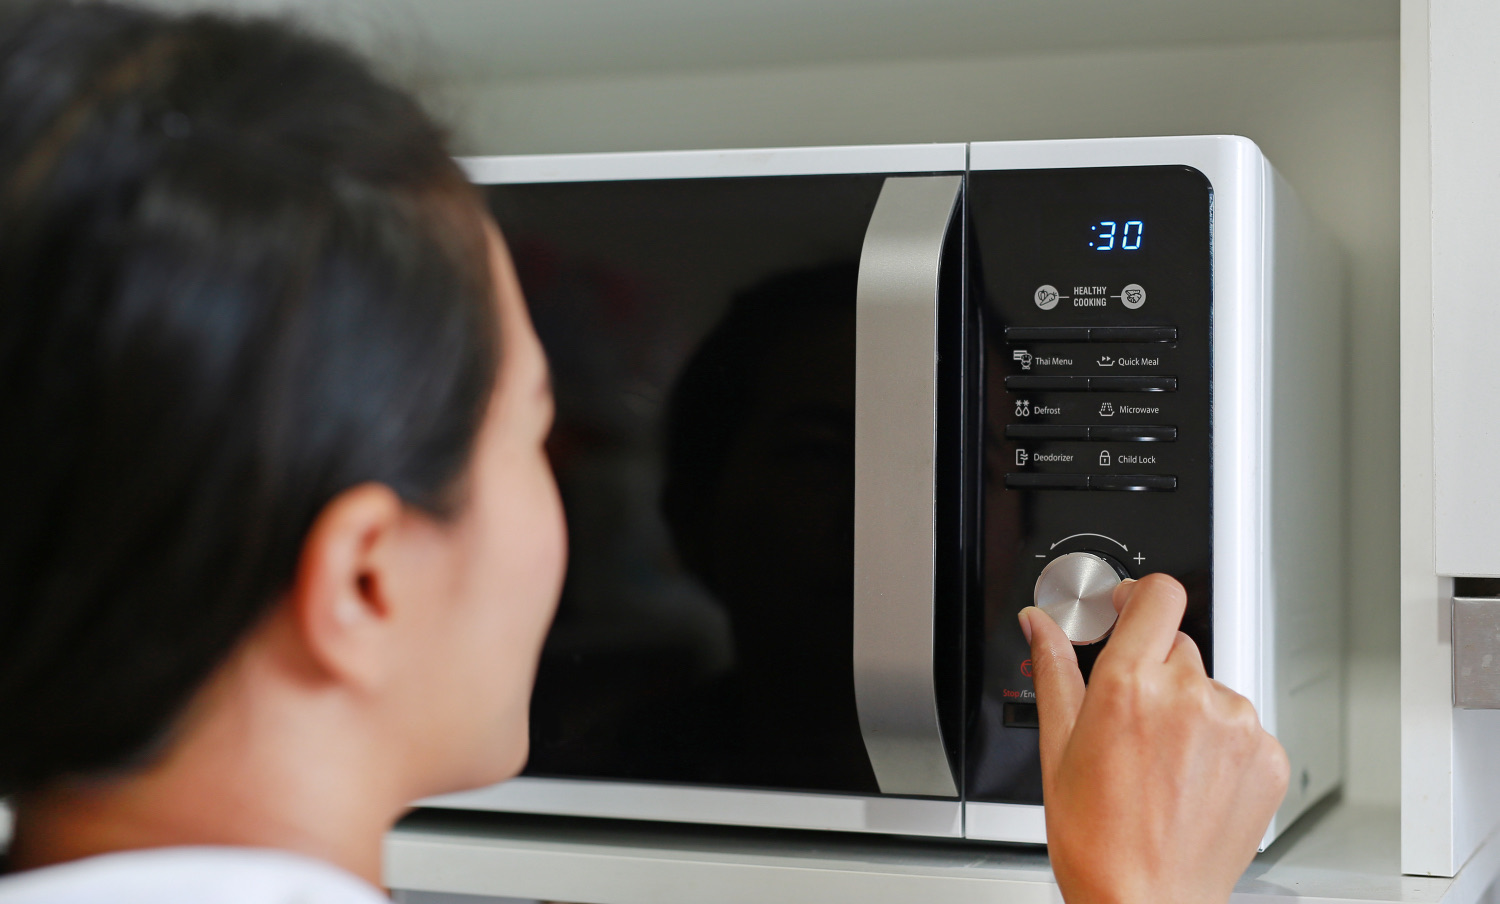
Set the baking time according to the recipe instructions. Start with the recommended time and adjust as needed, taking into consideration the wattage of your microwave oven. Keep in mind that microwave ovens vary in power, so the baking time may differ from what’s specified in the recipe.
Use the microwave’s timer or the specific baking function (if available) to set the desired baking time. This ensures accuracy and allows you to keep track of the cooking process.
Once you’ve set the power level and baking time, start the microwave oven by pressing the “Start” button or activating the specific baking function. The microwave will begin generating the heat needed to bake the cake.
Throughout the baking process, avoid opening the microwave door unnecessarily, as this can cause heat loss and affect the overall cooking time and temperature inside the oven.
Keep a close eye on the cake as it bakes in the microwave oven. Check its progress periodically to ensure it’s cooking evenly and not overheating. You can use the oven light (if available) or the microwave’s window to observe the cake without interrupting the cooking process.
During the final minutes of baking, pay extra attention to the appearance and aroma of the cake. You should start to see the cake rise and the edges turn golden brown. If any areas of the cake are cooking faster or unevenly, you can rotate the dish to promote even cooking.
Depending on your observation of the cake’s progress, you may need to adjust the baking time. If the cake is cooking too quickly or shows signs of being done earlier than expected, you can reduce the remaining baking time. Conversely, if the cake appears undercooked or requires additional time, you can increase the baking time in small increments.
Remember, it’s better to bake the cake for slightly less time initially and then add more time if needed. This helps prevent overcooking and ensures a moist and tender cake.
Baking a cake in the microwave oven requires attentiveness and the ability to make adjustments based on the cake’s progress. By following these steps and closely monitoring the cake, you’ll be able to achieve a perfectly baked and delicious cake in no time.
Testing the Cake for Doneness
Testing the cake for doneness is a critical step in the baking process. It ensures that the cake is fully cooked and achieves the desired texture and taste. Follow these steps to test your cake and determine if it’s done baking:
Once the baking time specified in the recipe has elapsed, it’s time to check if the cake is done. However, it’s important to note that the baking time can vary due to differences in microwave ovens and individual recipes. Use the recommended baking time as a guideline but be prepared to make adjustments if necessary.
To test if the cake is fully cooked, you’ll need a toothpick, a cake tester, or a thin wooden skewer. These tools provide a reliable indication of the cake’s doneness. Make sure the tool reaches the center of the cake to assess its internal doneness.
Gently insert the toothpick, cake tester, or wooden skewer into the center of the cake. If you encounter any resistance or the tool comes out with wet batter clinging to it, it indicates that the cake needs more time to bake. Put the cake back into the microwave oven and continue baking in short intervals, checking for doneness after each interval.
If the testing tool comes out with a few moist crumbs clinging to it, the cake is likely done or almost done. This indicates that the cake is moist and has reached the desired texture. It’s perfectly fine for the cake to have a few crumbs as long as they are moist and not raw.
When the testing tool comes out of the cake clean, without any wet batter or crumbs clinging to it, it indicates that the cake is fully cooked. This is the ideal outcome and signifies that the cake is done baking. The clean testing tool ensures that the middle of the cake is neither undercooked nor overcooked.
Be cautious not to overcook the cake as it can lead to a dry and dense texture. As soon as the testing tool comes out clean or with a few moist crumbs, it’s best to remove the cake from the microwave oven promptly to prevent overcooking. Remember that residual heat continues to cook the cake even after it is removed from the oven.
Testing the cake for doneness allows you to ensure that it is perfectly cooked and ready to be enjoyed. With practice and experience, you’ll become more familiar with the ideal texture and appearance of a thoroughly baked cake. So rely on your senses and the testing tool to assess the doneness of the cake, and you’ll achieve delightful results.
Read more: How To Store Baked Cake
Cooling and Frosting the Cake
Once your cake is baked and tested for doneness, proper cooling and frosting are essential to complete the baking process and enhance the overall taste and presentation of the cake. Follow these steps to cool and frost your cake:
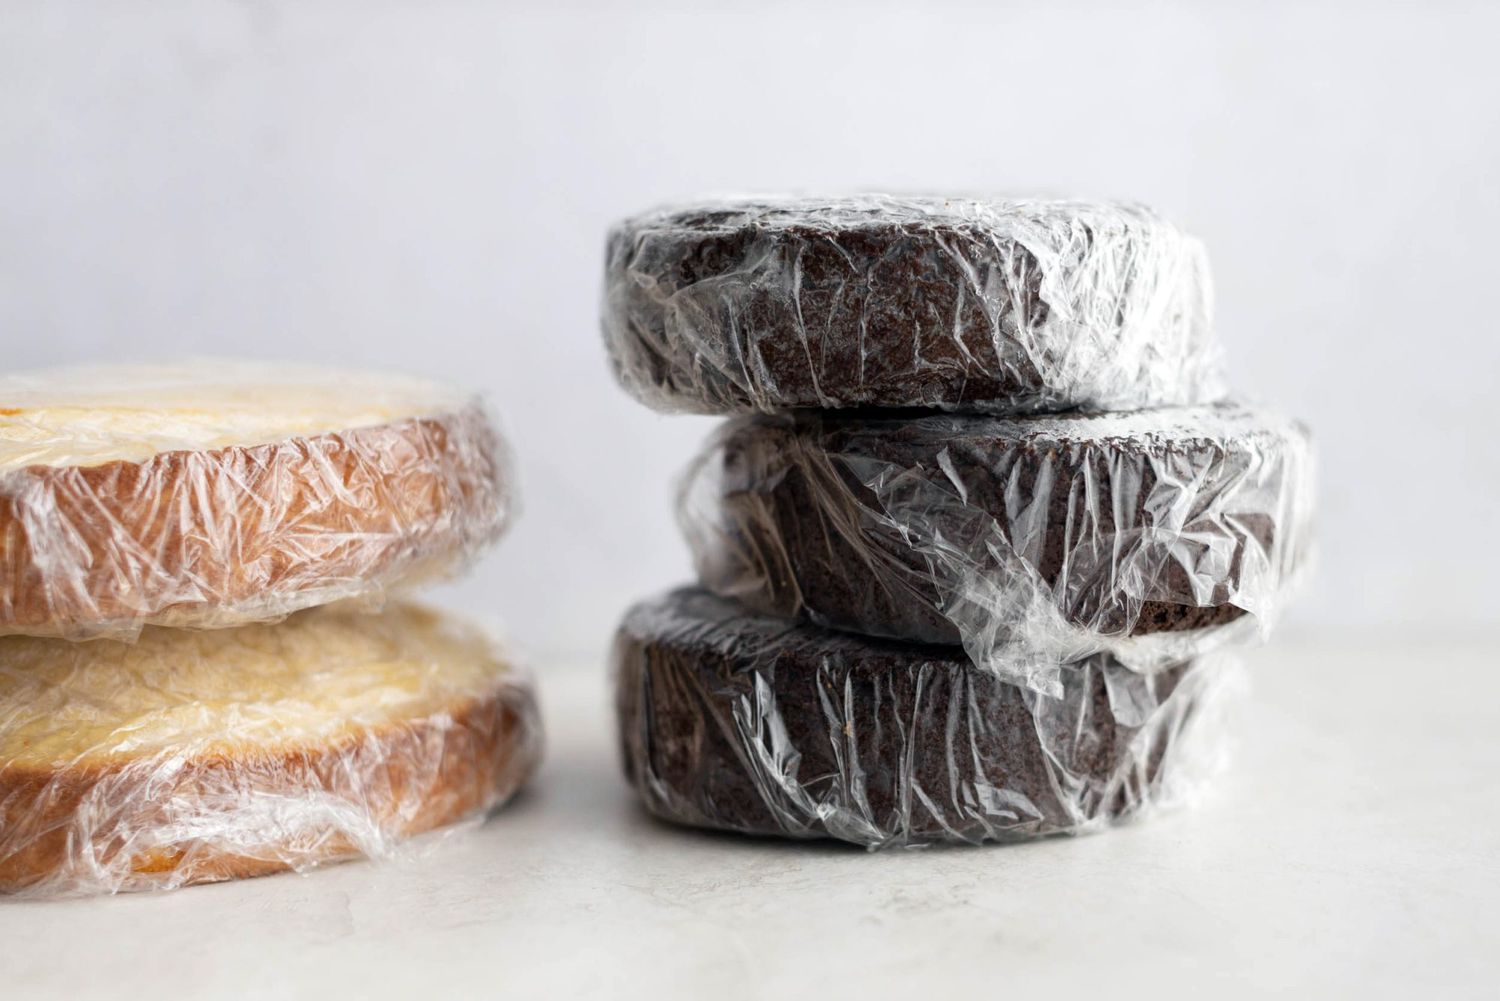
After removing the cake from the microwave oven, allow it to cool in the dish for a few minutes. This resting time helps the residual heat to distribute evenly throughout the cake. It also makes it easier to handle the cake without risking burnt fingers or breaking it.
Then, gently transfer the cake from the dish to a wire rack to cool completely. Placing the cake on a wire rack allows air to circulate around the cake on all sides, promoting even cooling and preventing the bottom from becoming soggy.
Let the cake cool at room temperature for at least 30 minutes to 1 hour, or until it is completely cooled. A fully cooled cake is easier to frost and less likely to melt the frosting.
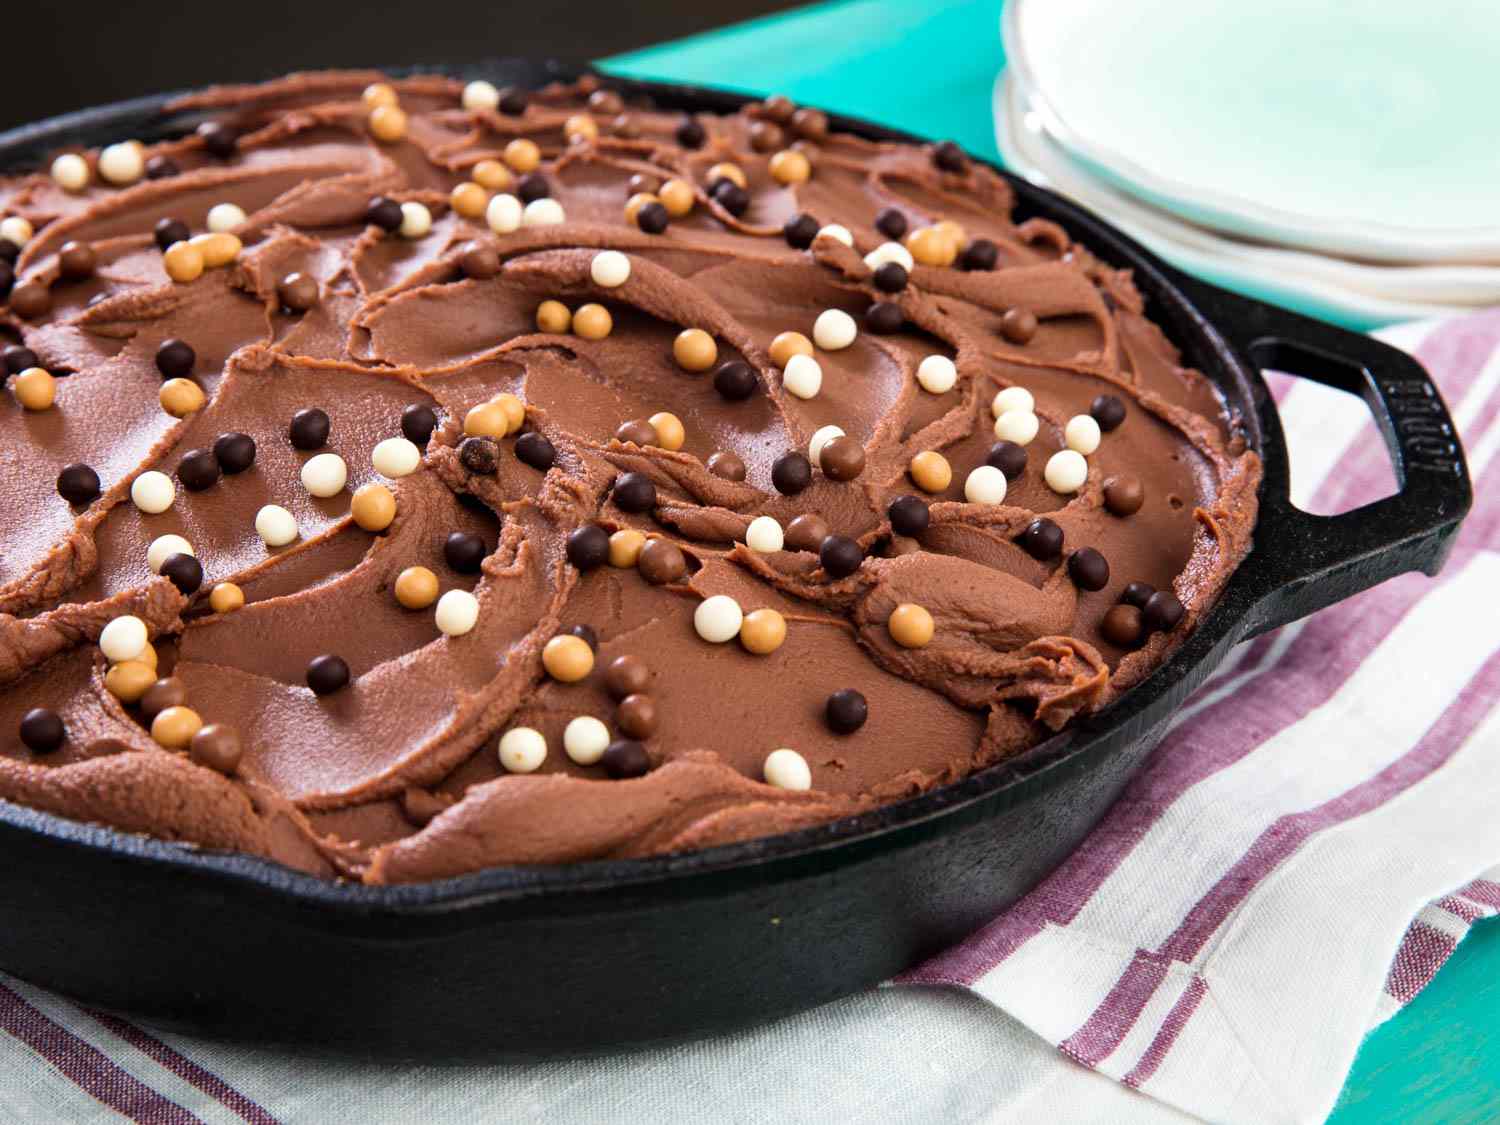
If you plan to frost your cake, prepare the frosting while it is cooling. Choose a frosting that complements the flavor of your cake, such as buttercream, cream cheese, chocolate ganache, or whipped cream frosting.
Follow the recipe instructions for making the frosting or use a store-bought frosting if preferred. You can also get creative with flavors and textures by adding extracts, food coloring, or other toppings to customize your frosting.
Once the cake has cooled completely, it’s time to frost it. Start by placing the cake on a serving platter or cake stand to make it easier to handle and display.
If the cake has a domed top, you can level it by using a serrated knife to carefully cut off the excess, making it flat and even. This provides a stable base for frosting and enhances the cake’s appearance.
Use an offset spatula or a frosting knife to spread a thin layer of frosting on the top and sides of the cake. This is known as a crumb coat and helps seal in the cake’s moisture and prevent any loose crumbs from mixing into the final layer of frosting.
Once the crumb coat is applied, refrigerate the cake for about 10-15 minutes to allow the frosting to set. This ensures that the final layer of frosting goes on smoothly without dragging or picking up crumbs.
After the crumb coat has chilled, apply the final layer of frosting. Use the spatula or knife to spread the frosting evenly over the entire cake, covering any gaps or imperfections. You can achieve a smooth finish or create decorative patterns and designs with your frosting technique.
If desired, take the opportunity to add decorations or toppings to your cake. This could include sprinkles, chocolate shavings, fresh fruits, edible flowers, or decorative icing. Use your creativity to make the cake visually appealing and customize it to the occasion or theme.
Once the cake is frosted and decorated to your liking, it’s ready to be enjoyed! Slice the cake into individual servings and savor the delicious flavors and textures you’ve created through your microwave-baking adventure.
Remember to store any leftover cake properly in an airtight container at room temperature or in the refrigerator, depending on the frosting and recipe instructions. Enjoy the cake within a few days for the best taste and freshness.
Cooling and frosting the cake are the final steps in the microwave baking process. Proper cooling ensures that the cake sets properly, while frosting enhances its taste and aesthetic appeal. With a beautifully cooled and frosted cake, you’re ready to share your delicious creation with friends and family.
Conclusion
Baking a cake in a microwave oven may initially seem unconventional, but it offers a range of advantages that make it a convenient and efficient method. From time savings to energy efficiency and versatility, microwave baking provides a viable alternative to traditional oven baking. With the right tips and techniques, anyone can successfully bake a delicious cake in a microwave oven.
Throughout this article, we’ve explored the advantages of microwave baking, including its time-saving nature and lower energy consumption. We’ve also discussed the versatility it offers, allowing for experimentation with different flavors, sizes, and textures. Additionally, we’ve provided valuable tips such as choosing the right microwave-safe dish, adjusting power levels, accurately measuring ingredients, and mixing the batter properly.
Following the step-by-step instructions outlined in this article, you can confidently prepare the batter, select the appropriate microwave-safe dish, bake the cake, and test it for doneness. By patiently observing the cake as it bakes and conducting the toothpick test, you’ll know precisely when your cake is perfectly cooked.
Properly cooling the cake and frosting it are the final touches that elevate its taste and presentation. Allowing the cake to cool completely ensures easier handling and prevents the frosting from melting or sliding. With the right frosting technique, decorations, and toppings, you can transform your cake into a visually stunning masterpiece.
Remember, practice makes perfect. With each baking experience, you’ll become more familiar with your microwave oven’s capabilities, adjusting baking times and power levels accordingly for optimal results. So keep exploring, trying new recipes, and honing your microwave baking skills.
In conclusion, baking a cake in a microwave oven offers a convenient, time-saving, and energy-efficient alternative to traditional oven baking. By following the tips, step-by-step instructions, and techniques outlined in this article, you’ll be well-equipped to bake delicious, moist, and flavorful cakes in your microwave oven. Embrace the creativity and possibilities that microwave baking brings, and enjoy the satisfaction of creating homemade cakes with ease.
Frequently Asked Questions about How To Bake Cake In Microwave Oven
Was this page helpful?
At Storables.com, we guarantee accurate and reliable information. Our content, validated by Expert Board Contributors, is crafted following stringent Editorial Policies. We're committed to providing you with well-researched, expert-backed insights for all your informational needs.


0 thoughts on “How To Bake Cake In Microwave Oven”