Articles
How To Bake A Cake In Electric Skillet
Modified: August 19, 2024
Learn how to bake a cake in an electric skillet with our informative articles. Master the art of skillet baking with step-by-step instructions and helpful tips.
(Many of the links in this article redirect to a specific reviewed product. Your purchase of these products through affiliate links helps to generate commission for Storables.com, at no extra cost. Learn more)
Introduction
There’s nothing quite like the aroma of a freshly baked cake wafting through the kitchen. Whether you’re preparing for a special occasion or simply satisfying a craving for something sweet, baking a cake can bring a sense of joy and fulfillment. While traditional ovens have long been the go-to method for baking cakes, an electric skillet offers a convenient alternative that can yield equally delicious results.
In this article, we will guide you through the process of baking a cake in an electric skillet. We’ll walk you through the steps, from choosing the right skillet to decorating your cake, and provide helpful tips along the way. So, let’s get started and embark on this baking adventure together!
Key Takeaways:
- Baking a cake in an electric skillet offers a convenient and enjoyable alternative to traditional oven baking, providing the opportunity to experiment with new flavors and decorations.
- Choosing the right electric skillet, preparing the batter, and mastering the cooking process are essential for achieving delicious results and creating memorable homemade cakes.
Read more: How To Bake Pie In A Electric Skillet
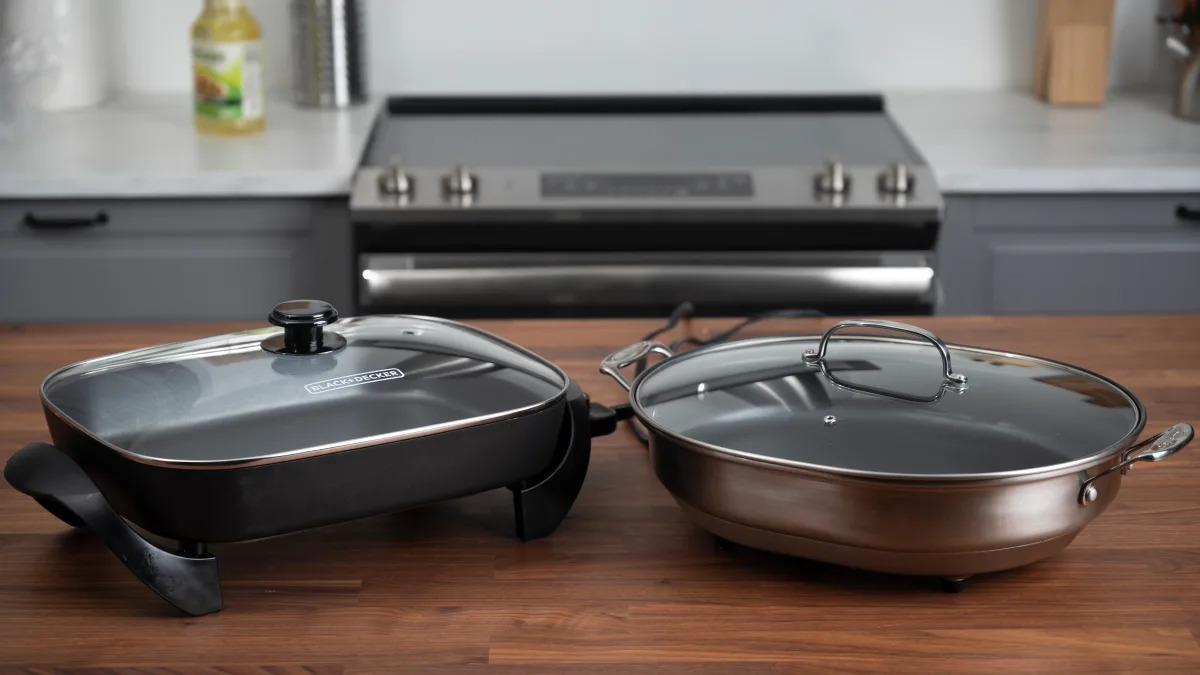
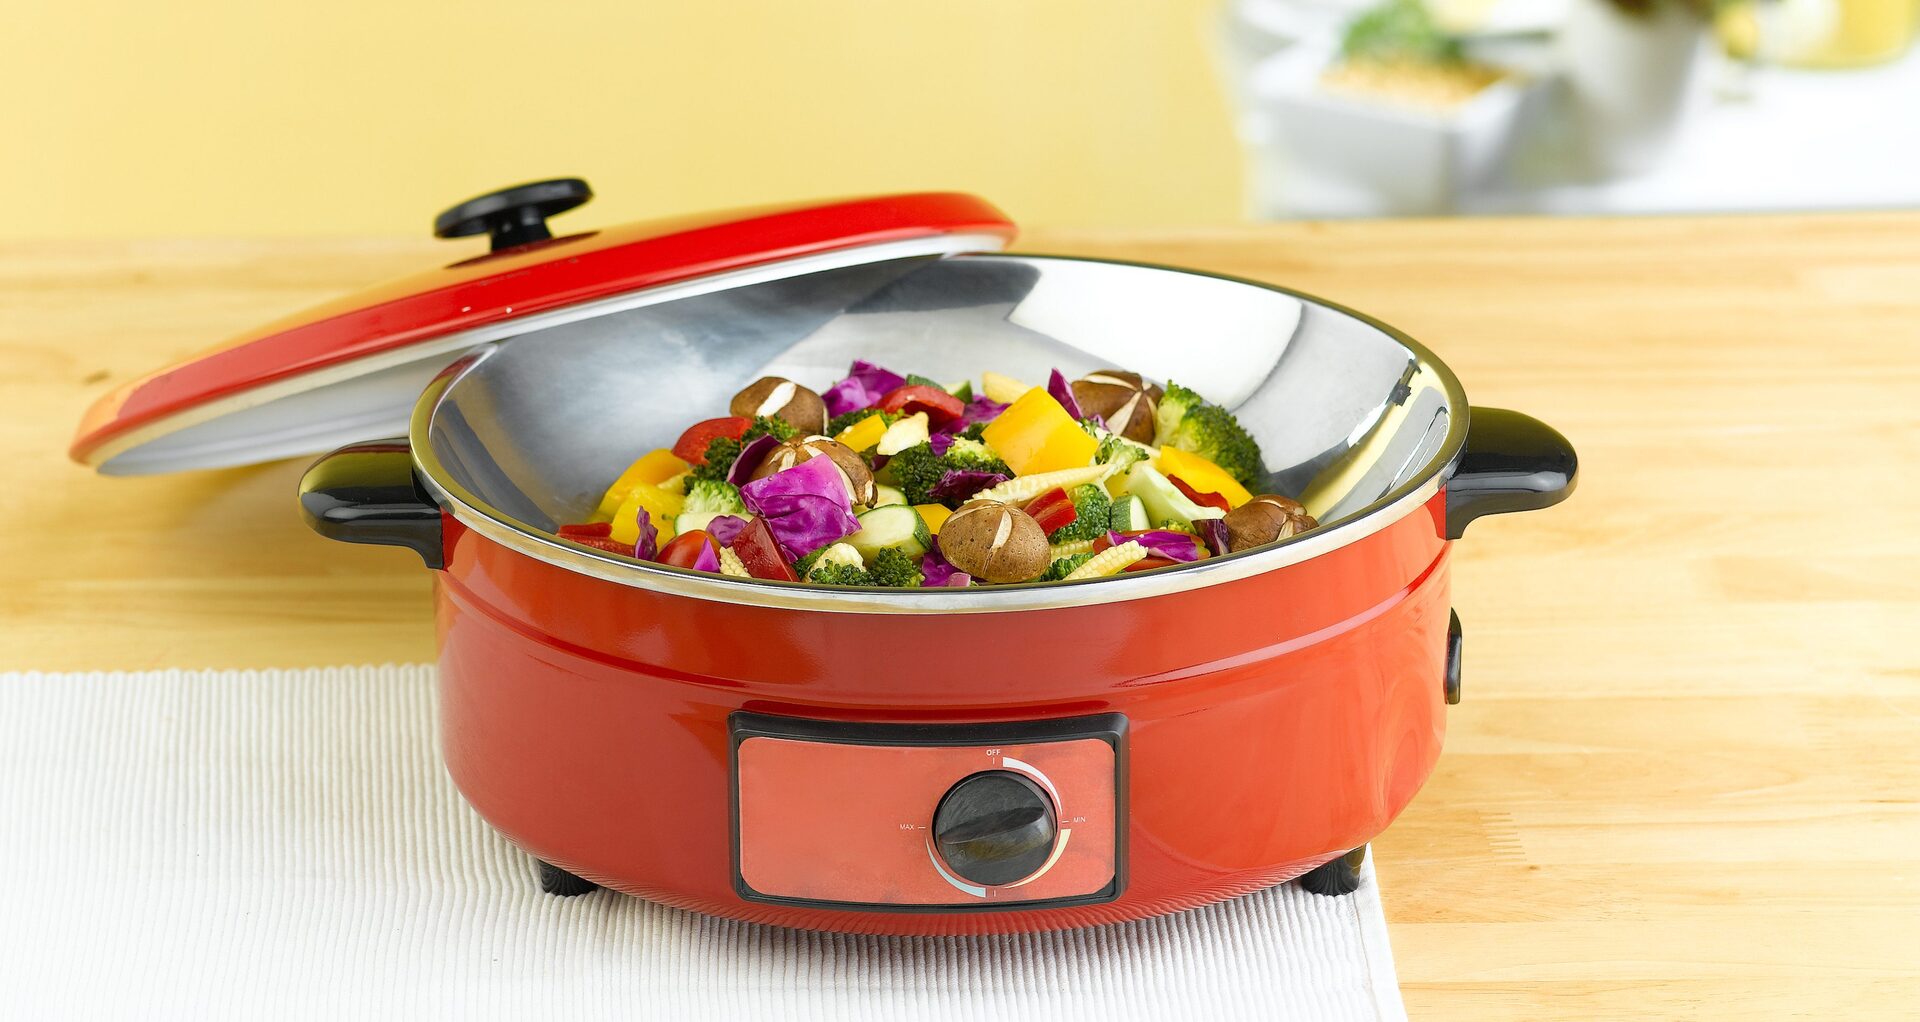
Choosing the Right Electric Skillet
When it comes to baking a cake in an electric skillet, selecting the right skillet is crucial. Here are a few factors to consider:
Size: The size of the skillet will determine the size of the cake you can bake. Consider the number of servings you need and choose a skillet that can accommodate the batter accordingly.
Shape: Electric skillets come in various shapes, such as round, square, and rectangular. Pick a shape that suits your preference or the design of the cake you intend to bake.
Temperature Control: Look for an electric skillet with precise temperature control settings. This will ensure that your cake bakes evenly and prevents it from burning.
Non-Stick Surface: A non-stick surface is essential for easy cake removal and hassle-free cleaning. Ensure that the skillet you choose has a non-stick coating that is durable and safe to use.
Depth: The depth of the skillet will determine the thickness of your cake. If you prefer a taller cake, opt for a skillet with higher sides.
Quality and Durability: Invest in a high-quality electric skillet that is built to last. While it may be tempting to opt for a cheaper option, a well-made skillet will provide better heat distribution and more consistent results.
Take your time to research and read customer reviews to find a skillet that meets your specific requirements. Once you have chosen the perfect electric skillet, you’re ready to move on to the next step: preparing the batter.
Preparing the Batter
Now that you have your electric skillet ready, it’s time to prepare the batter for your cake. Follow these steps to ensure a smooth and delicious batter:
Gather Your Ingredients: Refer to the recipe you’ll be using for the cake and gather all the necessary ingredients. This usually includes flour, sugar, eggs, butter or oil, baking powder, and flavorings such as vanilla extract.
Measure Accurately: Use measuring cups and spoons to measure the ingredients accurately. Baking is a science, and precise measurements are crucial for achieving the desired texture and taste.
Mix Dry Ingredients: In a mixing bowl, combine the dry ingredients such as flour, sugar, and baking powder. Use a whisk or fork to ensure they are evenly mixed.
Mix Wet Ingredients: In a separate bowl, whisk together the wet ingredients, including eggs, melted butter or oil, and flavorings. Make sure they are well-blended.
Combine the Wet and Dry Ingredients: Slowly pour the wet ingredients into the bowl with the dry ingredients. Gently fold and mix them together using a spatula or whisk. Be careful not to overmix, as this can result in a dense and tough cake.
Optional: Add Mix-Ins: If you want to add any mix-ins such as chocolate chips, nuts, or fruits, gently fold them into the batter at this stage.
Your batter is now ready to be poured into the greased electric skillet. In the next section, we’ll discuss the importance of properly greasing the skillet to ensure easy cake release.
Greasing the Skillet
Properly greasing the electric skillet is crucial to ensure that your cake doesn’t stick to the surface. Follow these steps to effectively grease your skillet:
Select the Right Grease: Choose a suitable grease or oil for greasing the skillet. Common options include butter, vegetable oil, or cooking spray.
Coat the Skillet: Using a pastry brush or paper towel, evenly coat the inside of the skillet with the grease or oil. Be sure to cover the entire bottom and sides of the skillet.
Pay Extra Attention to the Sides: The sides of the skillet are particularly prone to sticking, so give them extra attention when greasing. Ensure that there is a generous amount of grease along the sides to prevent the cake from adhering to the skillet.
Use a Light Hand: Apply the grease or oil with a light hand, avoiding excessive amounts. Too much grease can cause the cake to become greasy or create a pool of oil at the bottom of the skillet.
Consider Using Parchment Paper: For added assurance, you can line the bottom of the skillet with parchment paper after greasing it. This will provide an extra layer of protection and make it even easier to remove the cake once it’s done baking.
Once the skillet is properly greased, you’re ready to pour the batter into it. In the next section, we’ll walk you through the steps of pouring the batter and setting the temperature and cooking time for your cake.
Pouring the Batter into the Skillet
With your electric skillet greased and ready, it’s time to pour the prepared batter into the skillet. Follow these steps to ensure an even distribution of batter:
Open the Skillet Lid: Before pouring the batter, ensure that the skillet lid is open and that the temperature control is turned off or set to a low heat setting. This will prevent the batter from starting to cook prematurely.
Position the Skillet: Place the electric skillet on a heat-resistant surface or your kitchen counter, making sure it’s stable and level. This will prevent any accidents or spills while pouring the batter.
Pour Gradually: Start pouring the batter into the center of the skillet. Gradually work your way outward in a circular motion, ensuring that the batter spreads evenly across the skillet’s bottom surface.
Avoid Overfilling: Be cautious not to overfill the skillet, as the cake will rise during baking. Leave enough space for the cake to expand without overflowing the sides of the skillet.
Smooth the Surface: Use a spatula or the back of a spoon to gently smooth the surface of the batter. This will help to ensure an even cake once it is fully cooked.
Once you have poured the batter into the skillet, it’s time to set the temperature and cooking time. In the next section, we will guide you through this step to ensure your cake bakes to perfection.
When baking a cake in an electric skillet, make sure to preheat the skillet and use a heat-resistant baking dish. Also, monitor the temperature closely to prevent burning.
Read more: How To Bake Using An Electric Skillet
Setting the Temperature and Cooking Time
Now that the batter is poured into the skillet, it’s time to set the temperature and cooking time. Follow these steps to achieve optimal baking results:
Refer to the Recipe: Consult the recipe you are using for the cake to determine the recommended baking temperature and time. Different cakes may require varying temperatures and cooking durations.
Preheat the Skillet: Turn on the electric skillet and set it to the specified temperature stated in the recipe. Allow the skillet to preheat for a few minutes before placing the cake batter inside.
Adjust the Temperature: Pay attention to the cooking progress of your cake. If you notice that the cake is browning too quickly or unevenly, adjust the temperature accordingly. Lower the temperature slightly to prevent over-browning or increase it for better browning, if needed.
Set the Timer: Use a kitchen timer or the timer function on your electric skillet to keep track of the cooking time. Set it to the recommended time mentioned in the recipe, and avoid peeking into the skillet too often, as this may slow down the cooking process and affect the final texture of the cake.
Check for Doneness: Towards the end of the recommended cooking time, you can perform a doneness test to ensure your cake is fully cooked. Insert a toothpick or a skewer into the center of the cake – if it comes out clean or with a few crumbs clinging to it, the cake is done. If the toothpick comes out with wet batter, continue baking for a few more minutes and retest.
Once your cake is fully baked, it’s time to remove it from the skillet. In the next section, we will guide you through the proper steps of removing the cake without any mishaps.
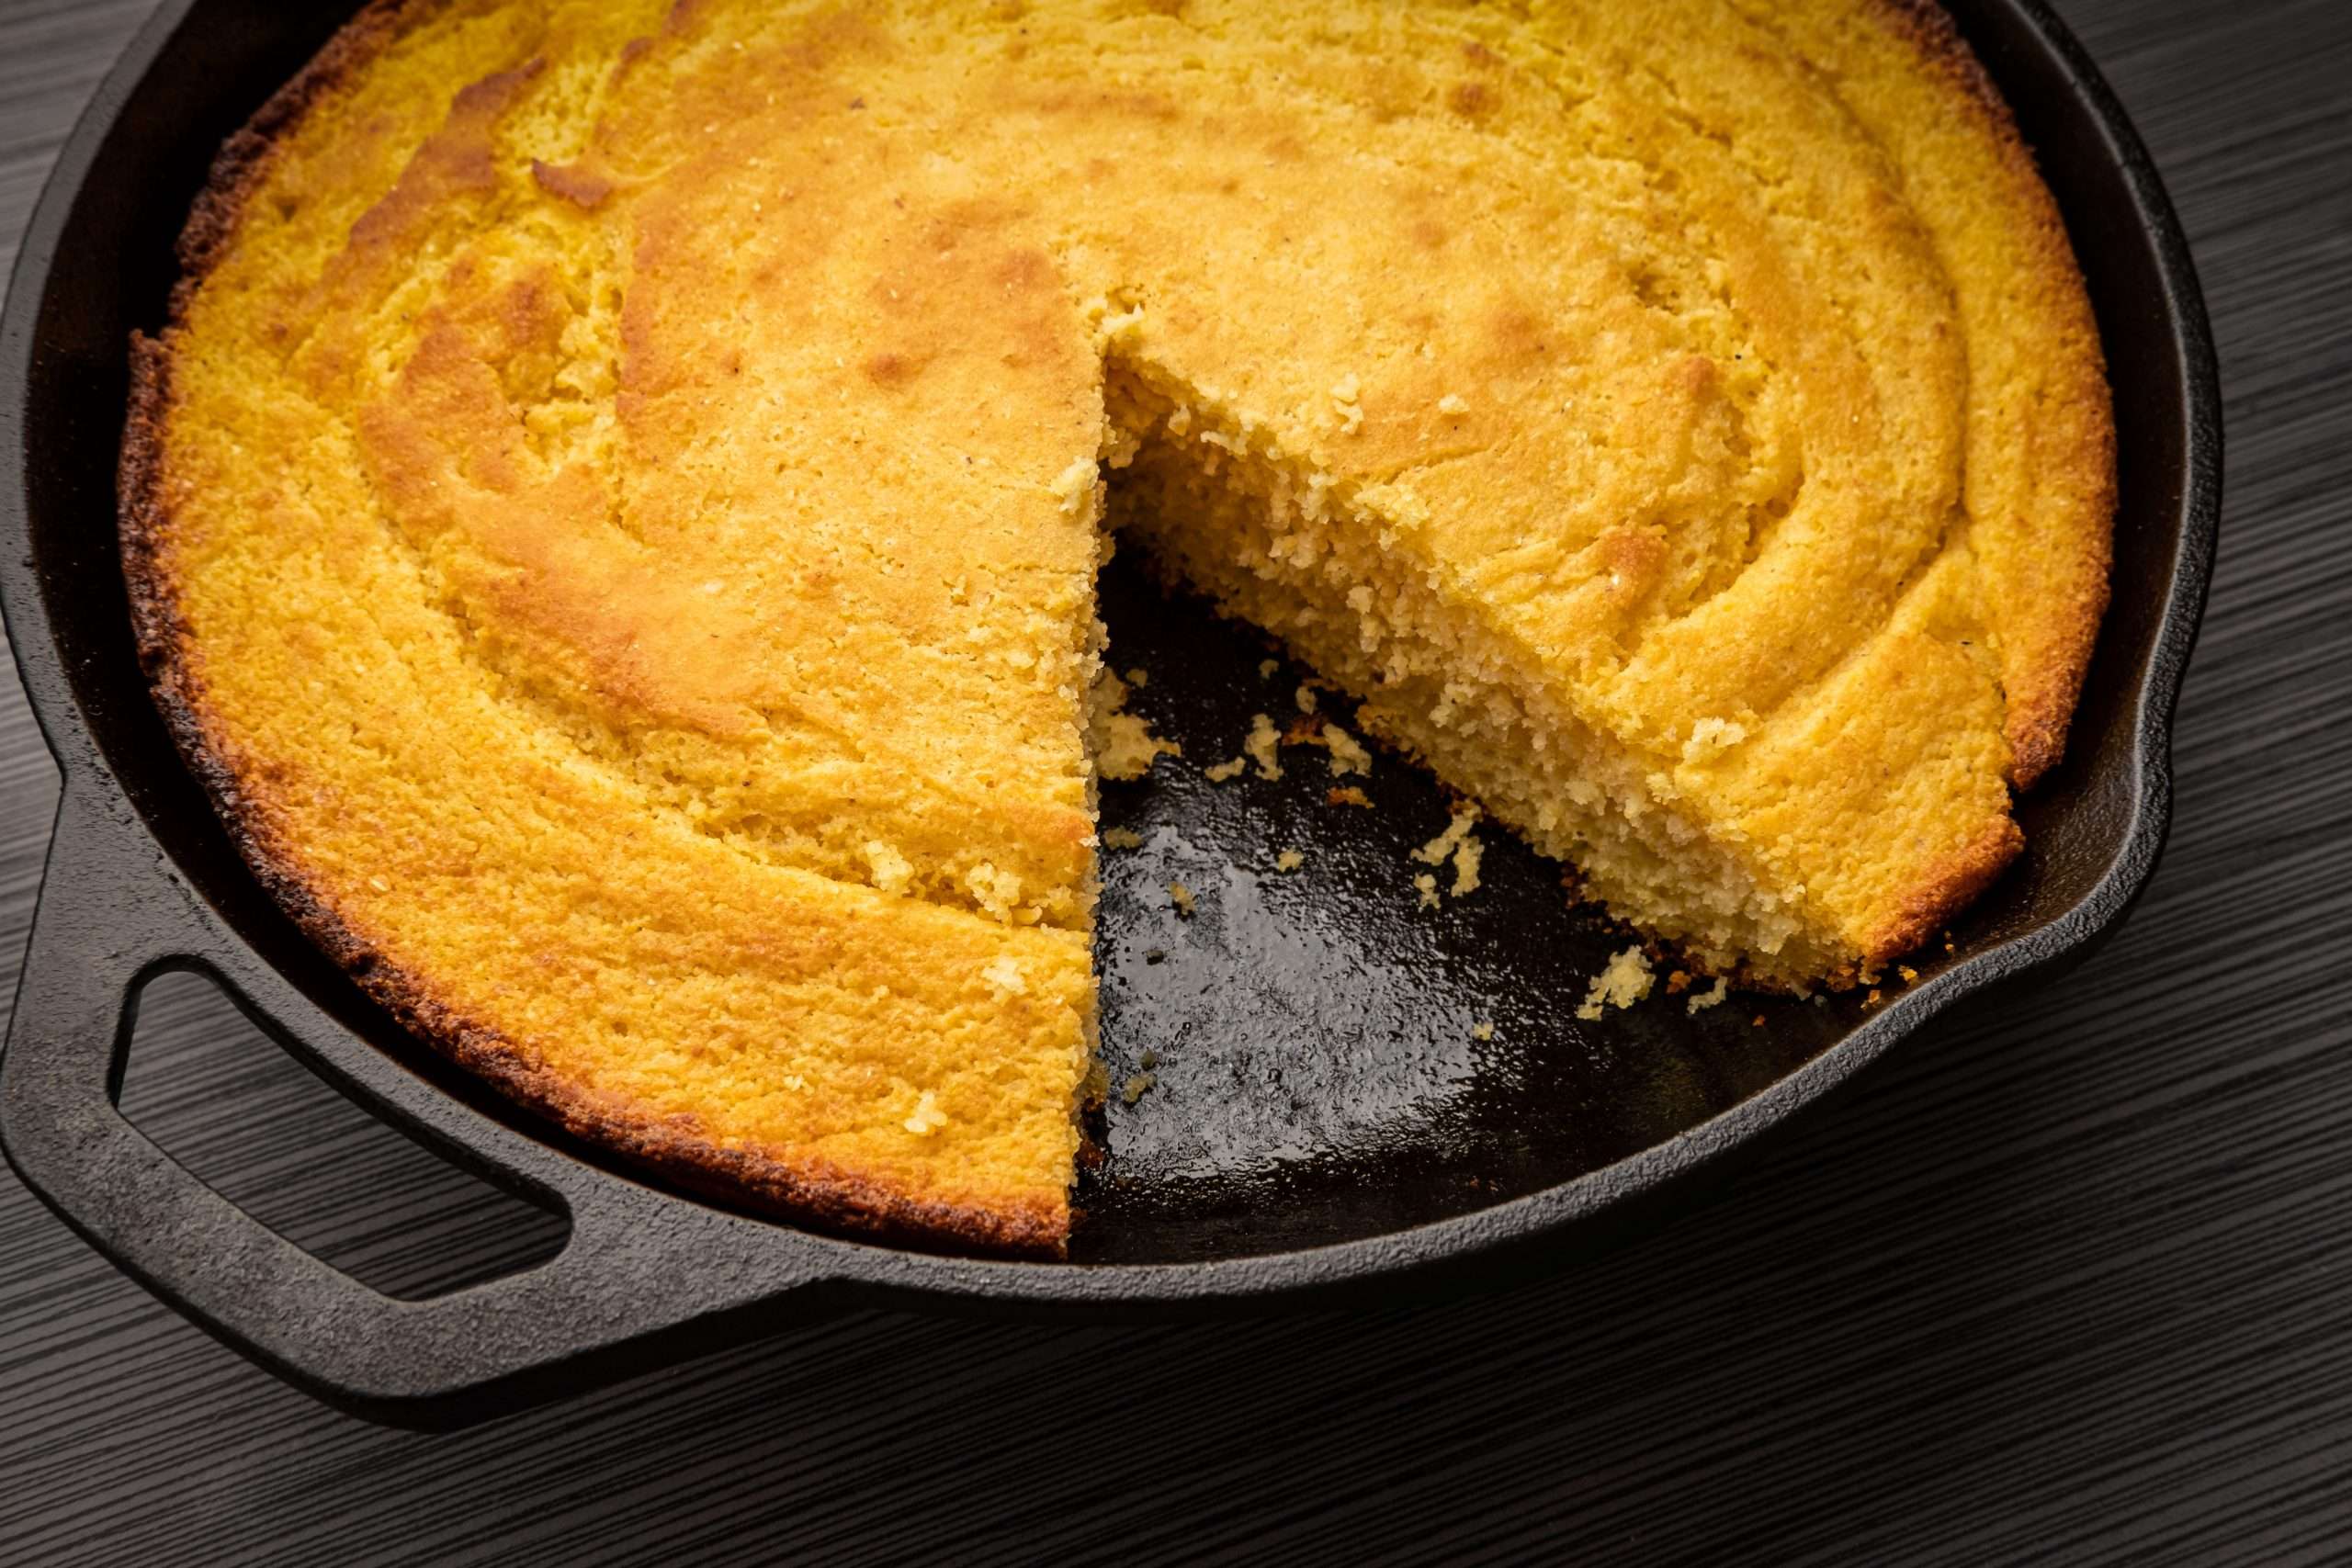
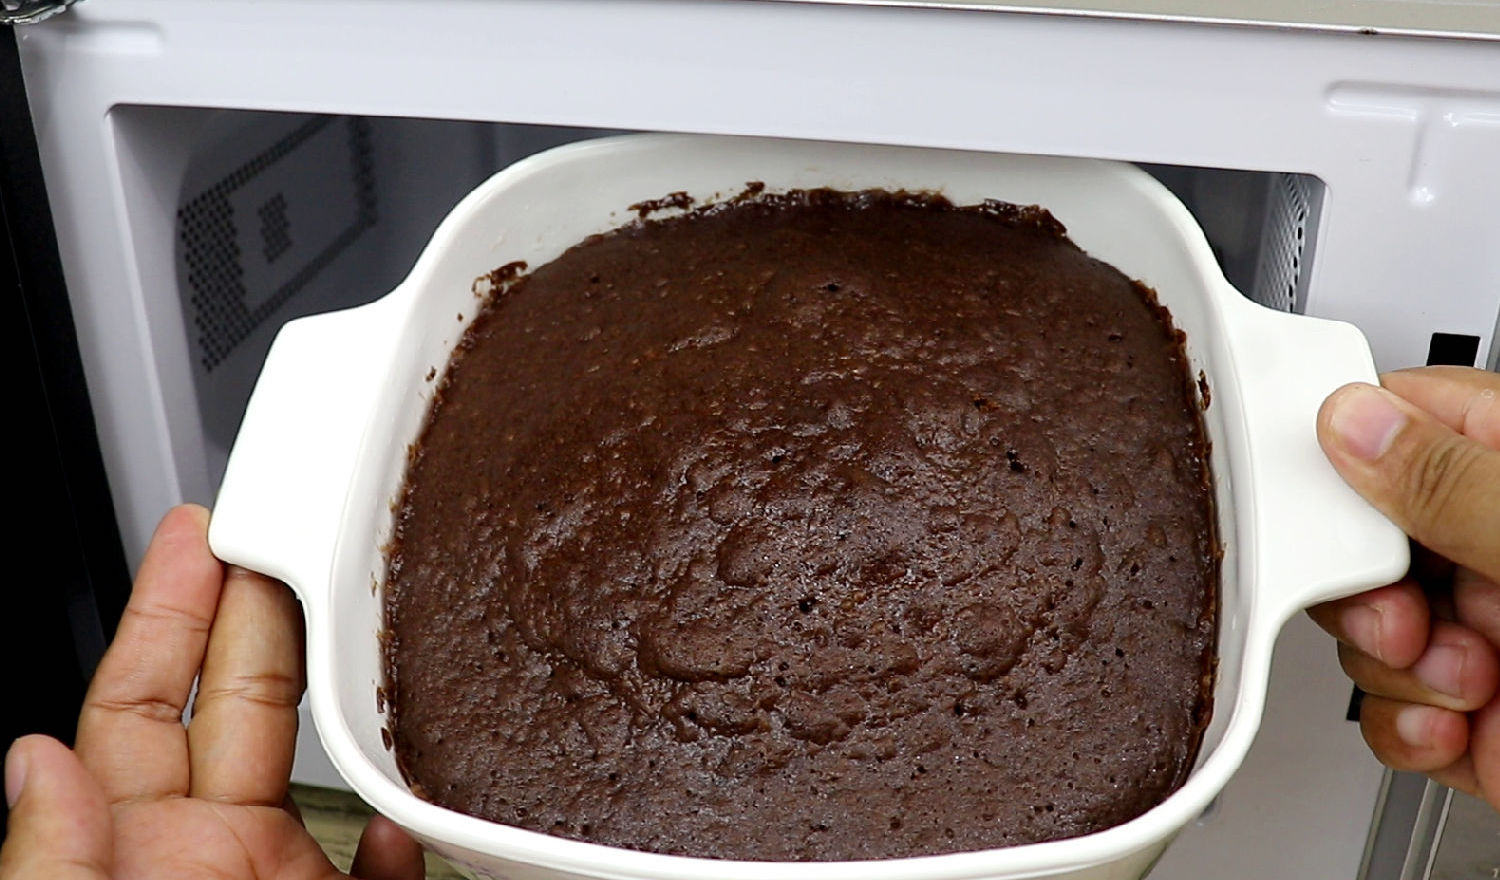
Checking for Doneness
Checking for doneness is a crucial step in baking a cake to ensure it is fully cooked. Here’s how you can determine if your cake is ready:
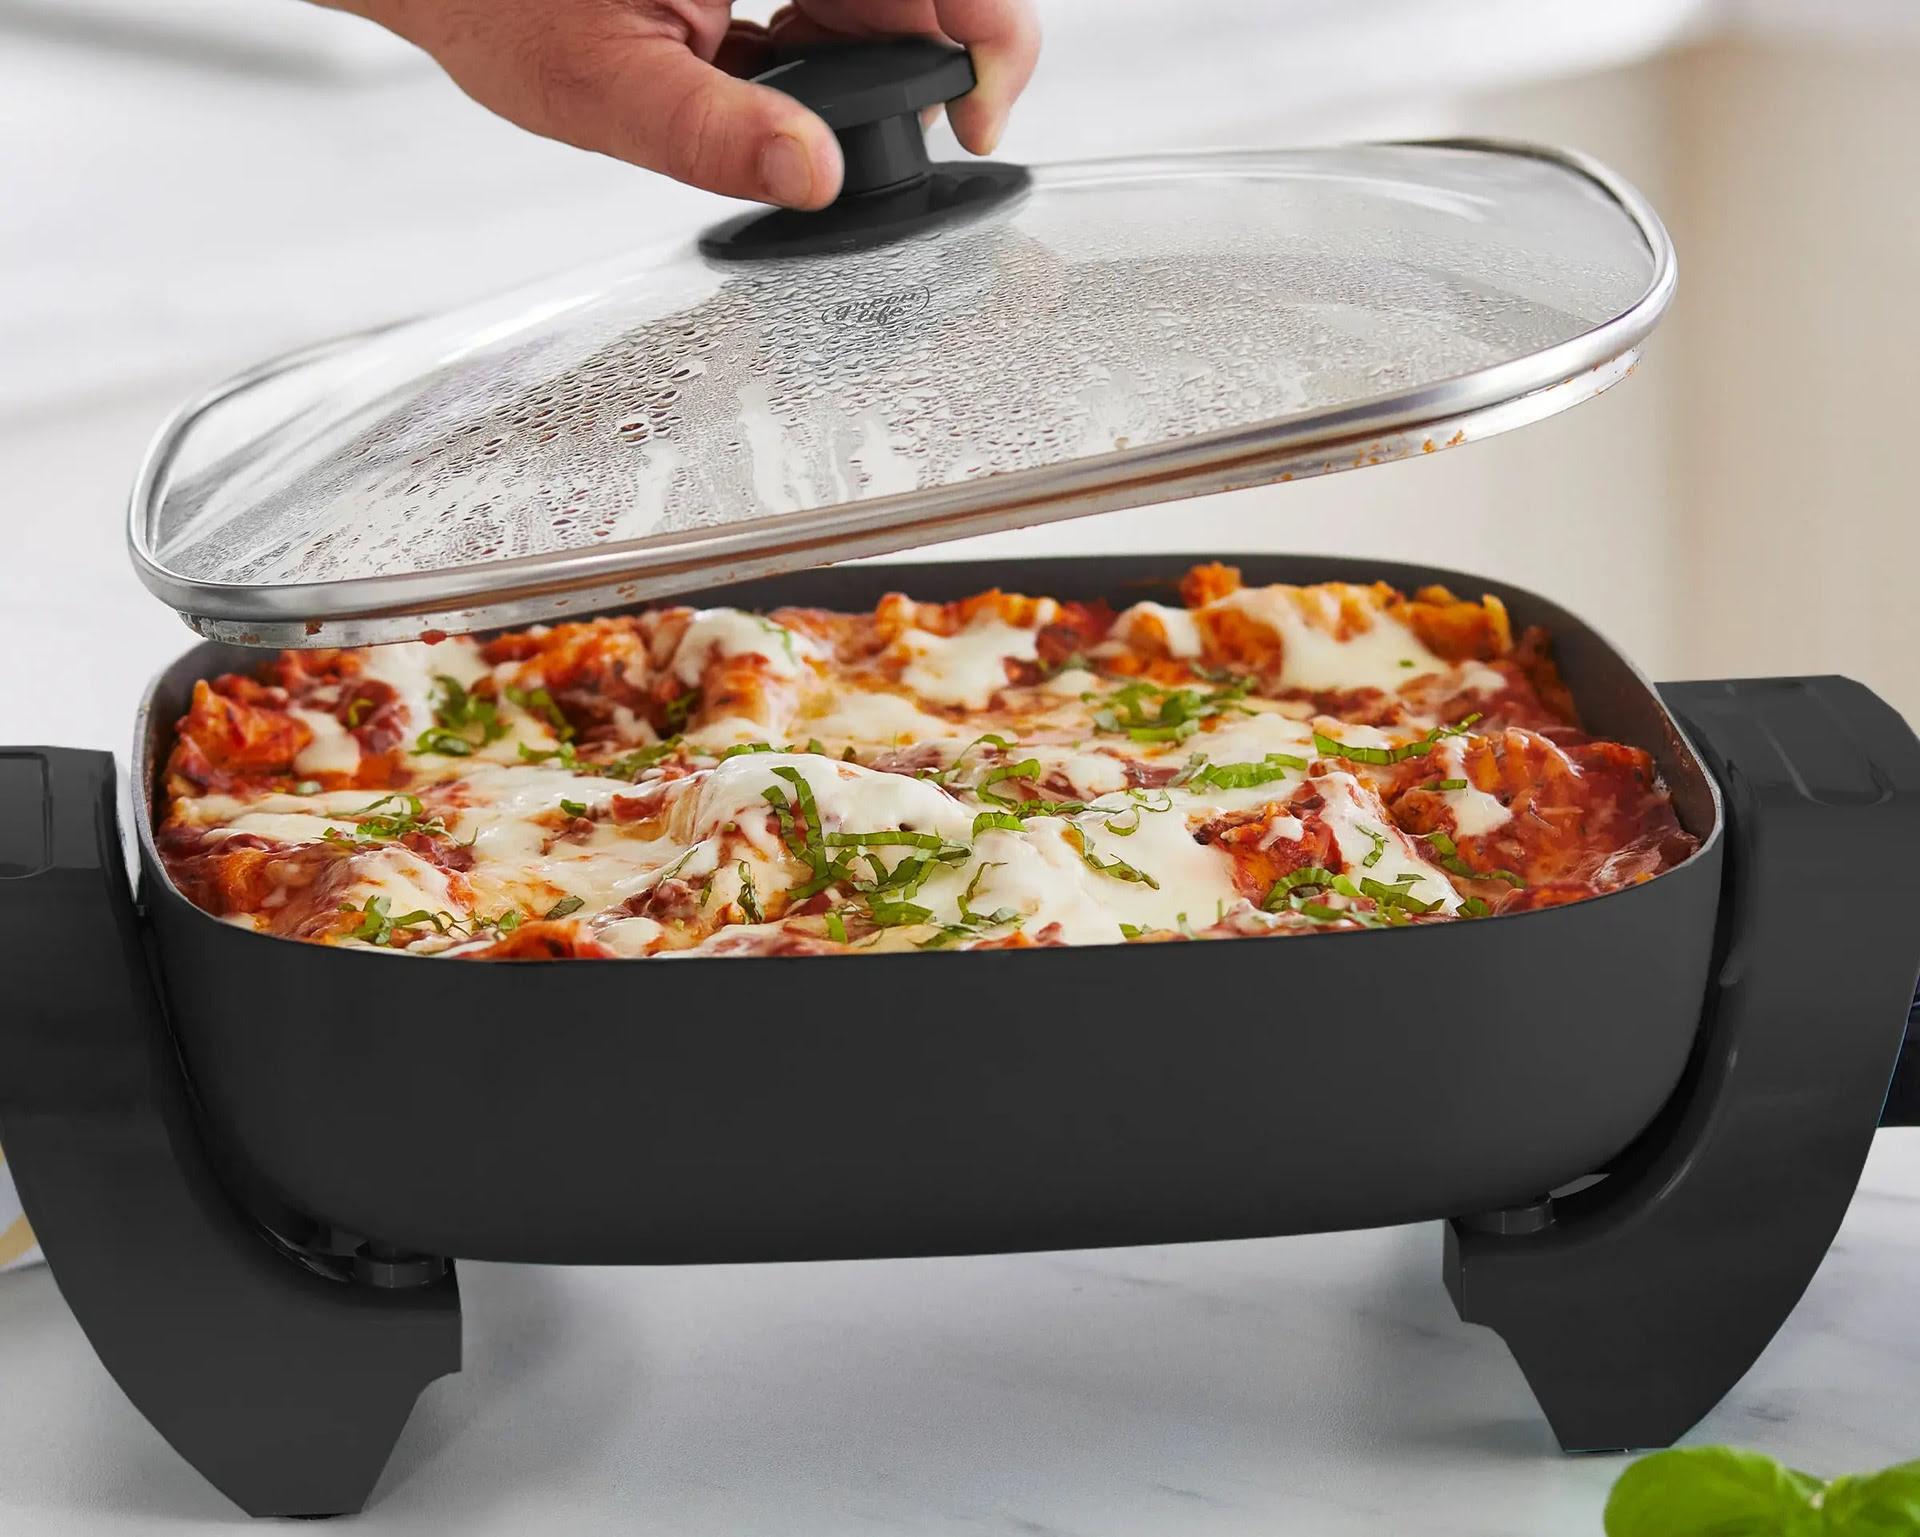
Visual Inspection: Take a peek at the cake through the skillet lid or glass cover, if available. Look for signs of a golden-brown crust and edges that have pulled away slightly from the sides of the skillet. These are indicators that the cake is nearing completion.
Toothpick Test: The most reliable method to check for doneness is by using a toothpick or a cake tester. Insert the toothpick into the center of the cake and gently remove it. If it comes out clean or with just a few crumbs clinging to it, the cake is fully baked. If it comes out with wet batter, the cake needs more time to cook.
Bounce Back: Gently press the top of the cake with your fingertips. If it springs back and feels firm, it is a good indication that the cake is done. If it sinks or leaves an impression, the cake needs more time to bake.
Cake Texture: Pay attention to the texture of the cake. A fully cooked cake should have a soft, fluffy, and springy texture. If it appears dense or gooey in the center, it needs more time to cook.
It’s important not to overbake the cake, as it can result in a dry and crumbly texture. The toothpick test is the most reliable method to check for doneness, but trust your instincts and use a combination of visual indicators and texture cues as well.
Once your cake is fully cooked, it’s time to remove it from the electric skillet. In the next section, we will guide you on how to safely and successfully extract your cake.
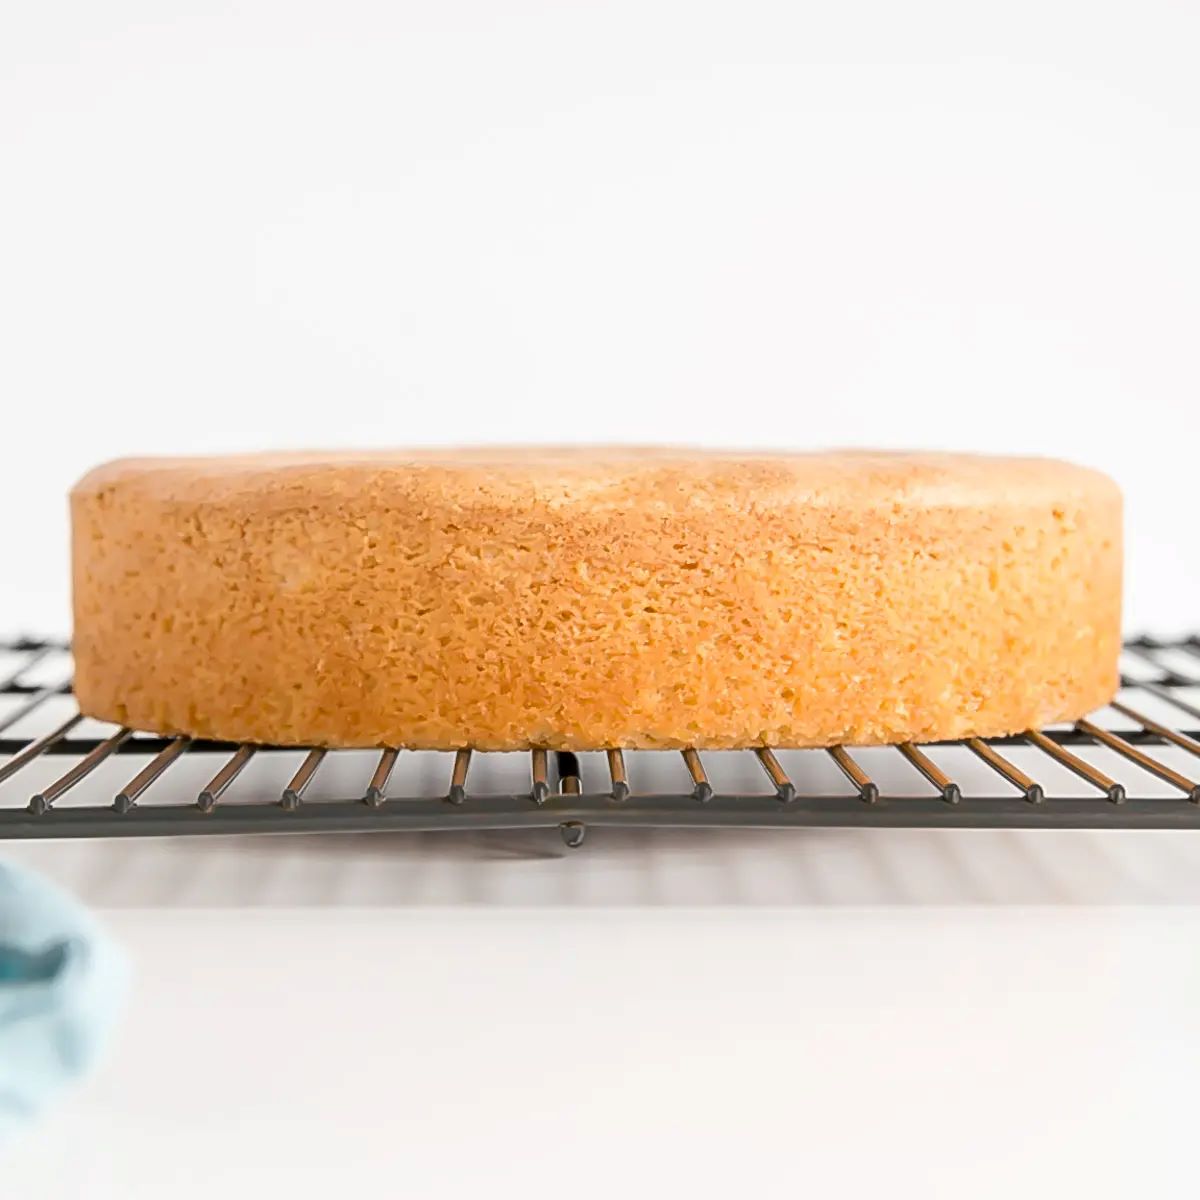
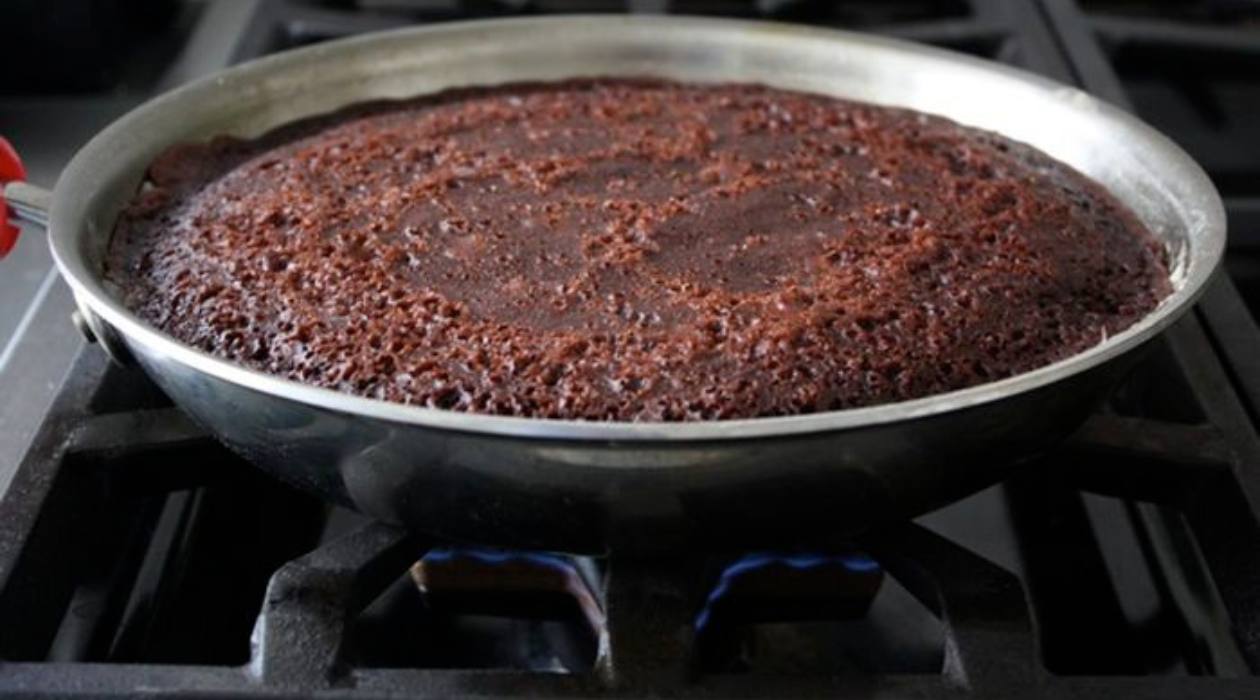
Removing the Cake from the Skillet
Now that your cake is perfectly baked, it’s time to remove it from the electric skillet. Follow these steps to ensure a smooth and successful cake extraction:
Turn off the Skillet: Before attempting to remove the cake, turn off the electric skillet and unplug it from the power source. This will prevent any accidents or burns while handling the skillet.
Allow it to Cool: Give the cake some time to cool down in the skillet. This will help it to firm up and make it easier to handle.
Loosen the Edges: Using a butter knife or a spatula, carefully loosen the edges of the cake from the skillet. Gently run the knife or spatula along the sides, ensuring that the cake is separated from the skillet’s surface.
Invert the Skillet: Place a clean, flat plate or serving platter on top of the skillet. Holding onto the skillet handle with one hand and the plate with the other, quickly and confidently flip the skillet upside down, allowing the cake to release onto the plate.
Tap and Release: Once the skillet is inverted, tap the bottom of the skillet gently to encourage the cake to slide out. Give it a slight shake if necessary, but be careful not to drop or damage the cake.
Carefully Lift the Skillet: Lift the electric skillet off the plate, leaving the cake fully displayed on the plate. Set aside the skillet for cleaning later.
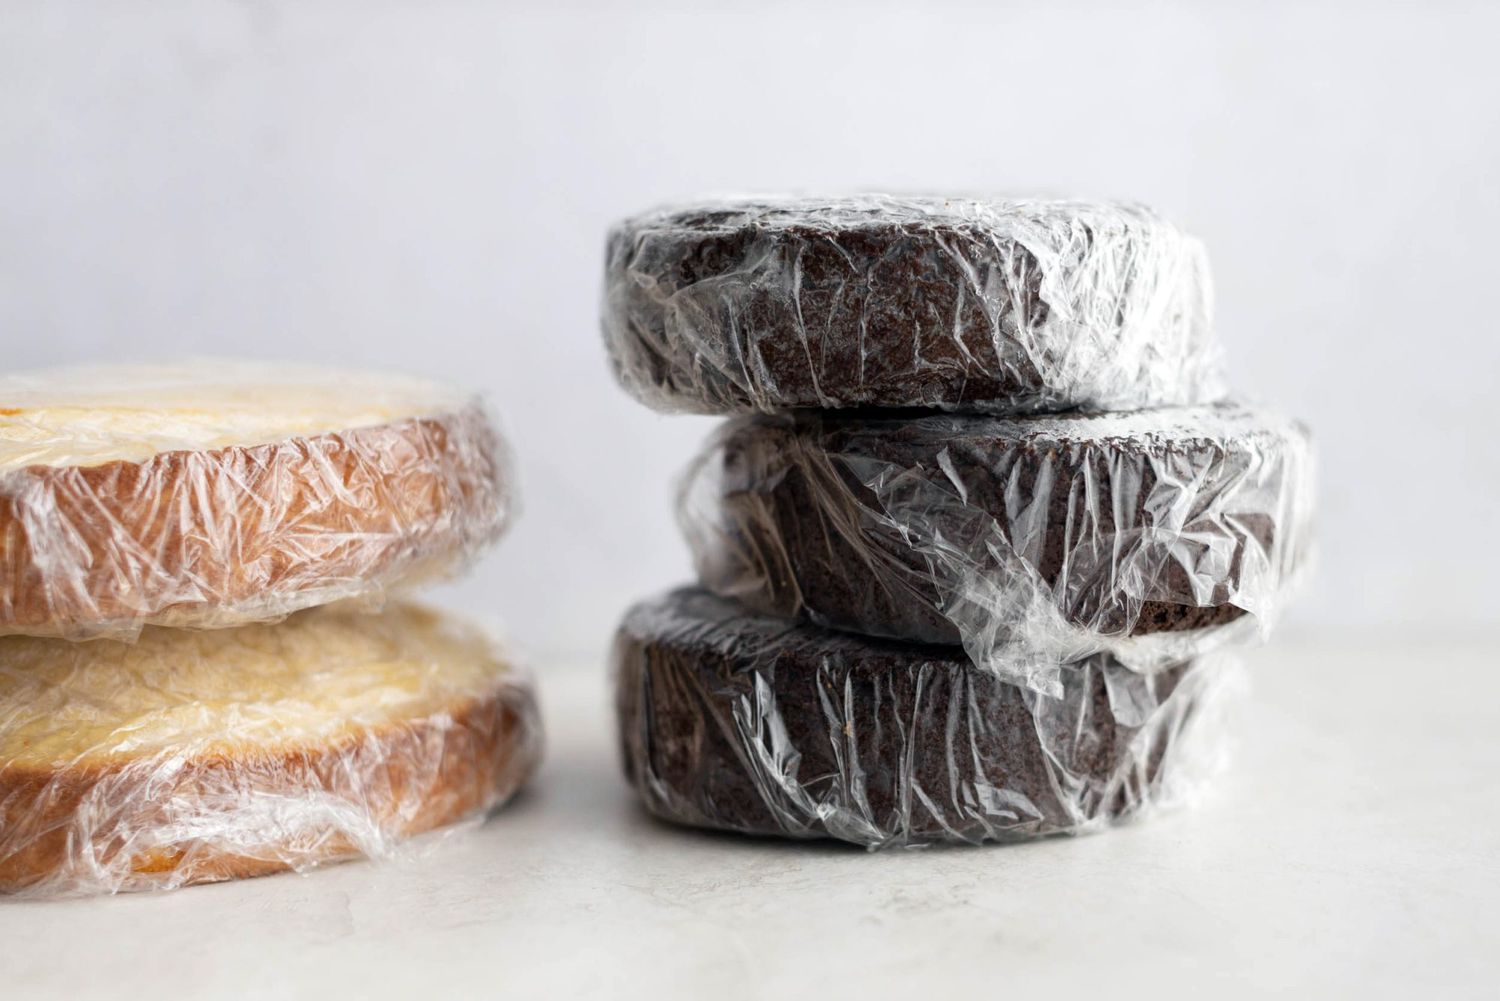
And there you have it! Your beautifully baked cake is now successfully removed from the electric skillet. The final step is to add your personal touch and decorate the cake to make it even more appealing. Let’s explore how to do that in the next section.
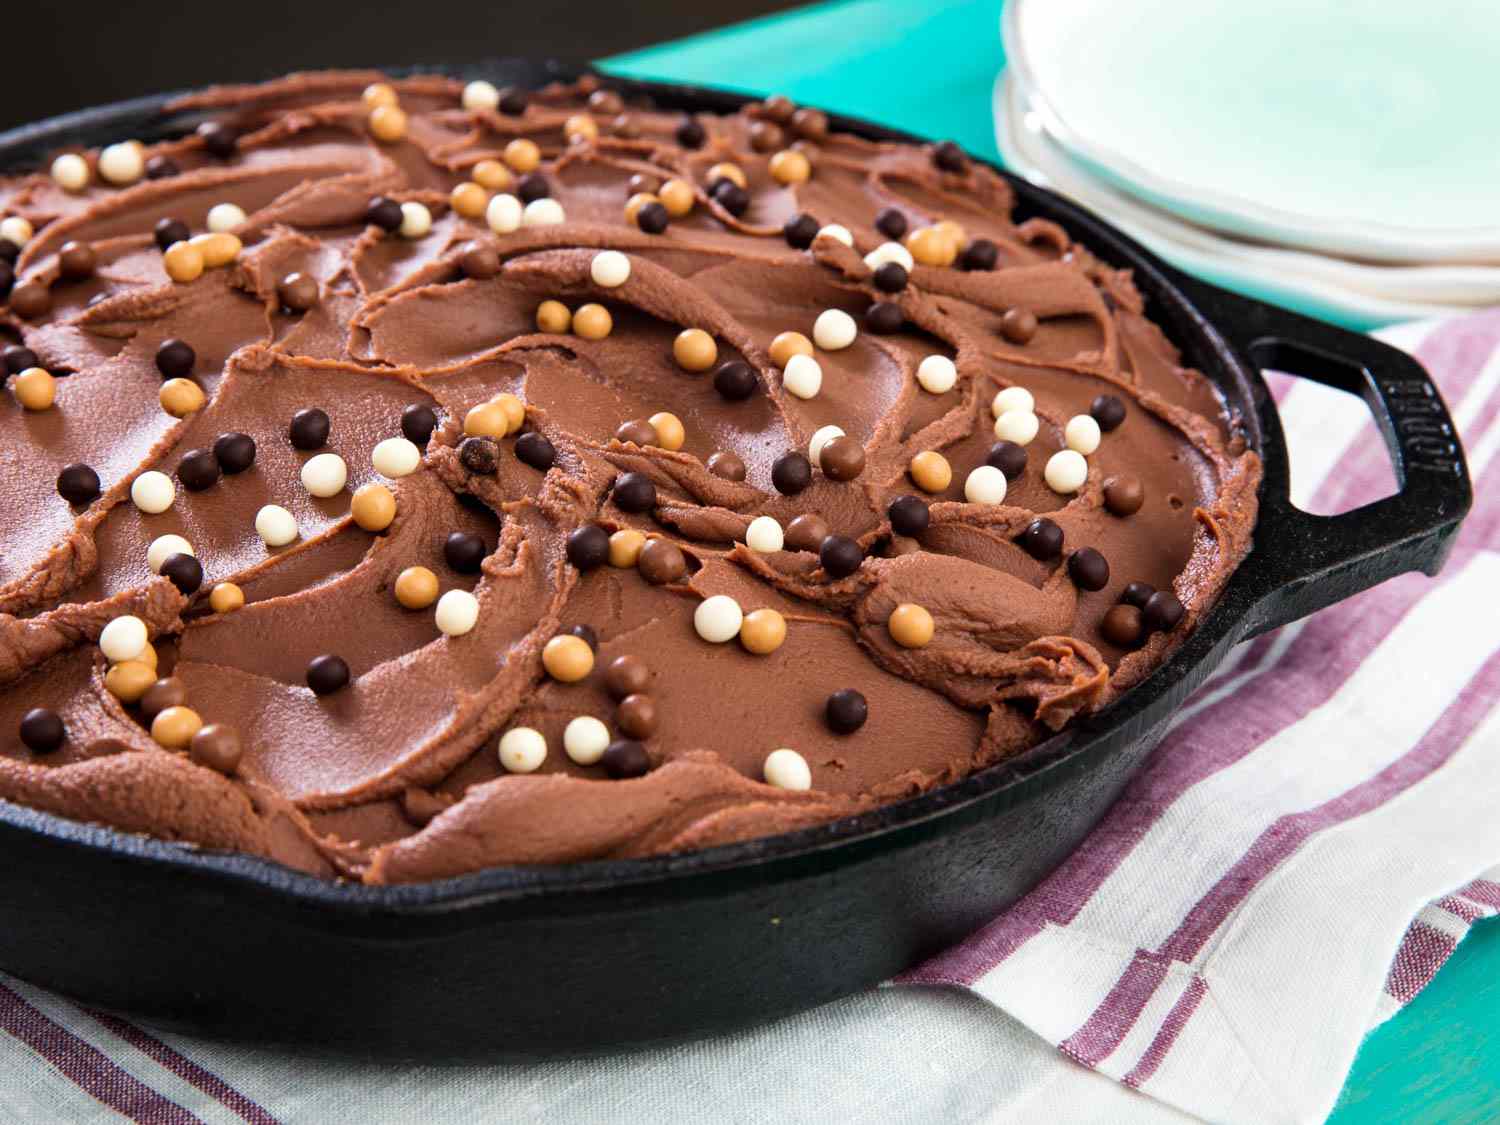
Decorating the Cake
Now that your freshly baked cake is out of the skillet, it’s time to let your creativity shine and decorate it to make it visually appealing and even more delicious. Here are some ideas to inspire you:
Frosting: Choose a frosting that complements the flavor of your cake. Whether it’s buttercream, cream cheese, chocolate ganache, or whipped cream, spread a generous layer of frosting over the top and sides of the cake using an offset spatula or a butter knife. Smooth it out for a polished finish or create texture with swirls or peaks.
Layered Filling: For additional flavor and texture, consider adding a filling between the layers of your cake. Options include fruit preserves, chocolate ganache, or even a layer of flavored whipped cream. Spread the filling evenly between each layer before stacking them together.
Garnish: Add a finishing touch to your cake with edible garnishes. Fresh fruits, such as berries or sliced citrus, can add a pop of color and freshness. Chopped nuts, shredded coconut, or sprinkles can also add texture and visual appeal.
Piping: If you’re feeling adventurous, try your hand at cake piping. Use a piping bag fitted with different tips to create decorative patterns or personalized messages on the cake. It can be as simple as a border around the edges or intricate designs on the entire surface.
Dust with Powdered Sugar or Cocoa: For a classic and elegant look, dust the top of the cake with powdered sugar or cocoa powder using a fine mesh sieve. This can add a touch of sweetness or a rich chocolaty flavor, depending on your preference.
Cake Toppers: Consider adding decorative cake toppers, such as edible flowers, mini figurines, or personalized cake toppers that match the theme of your celebration. These can make the cake more festive and memorable.
Remember, decorating a cake is a chance to let your imagination run wild. Experiment with different techniques, colors, and flavors to create a cake that reflects your personal style and tastes.
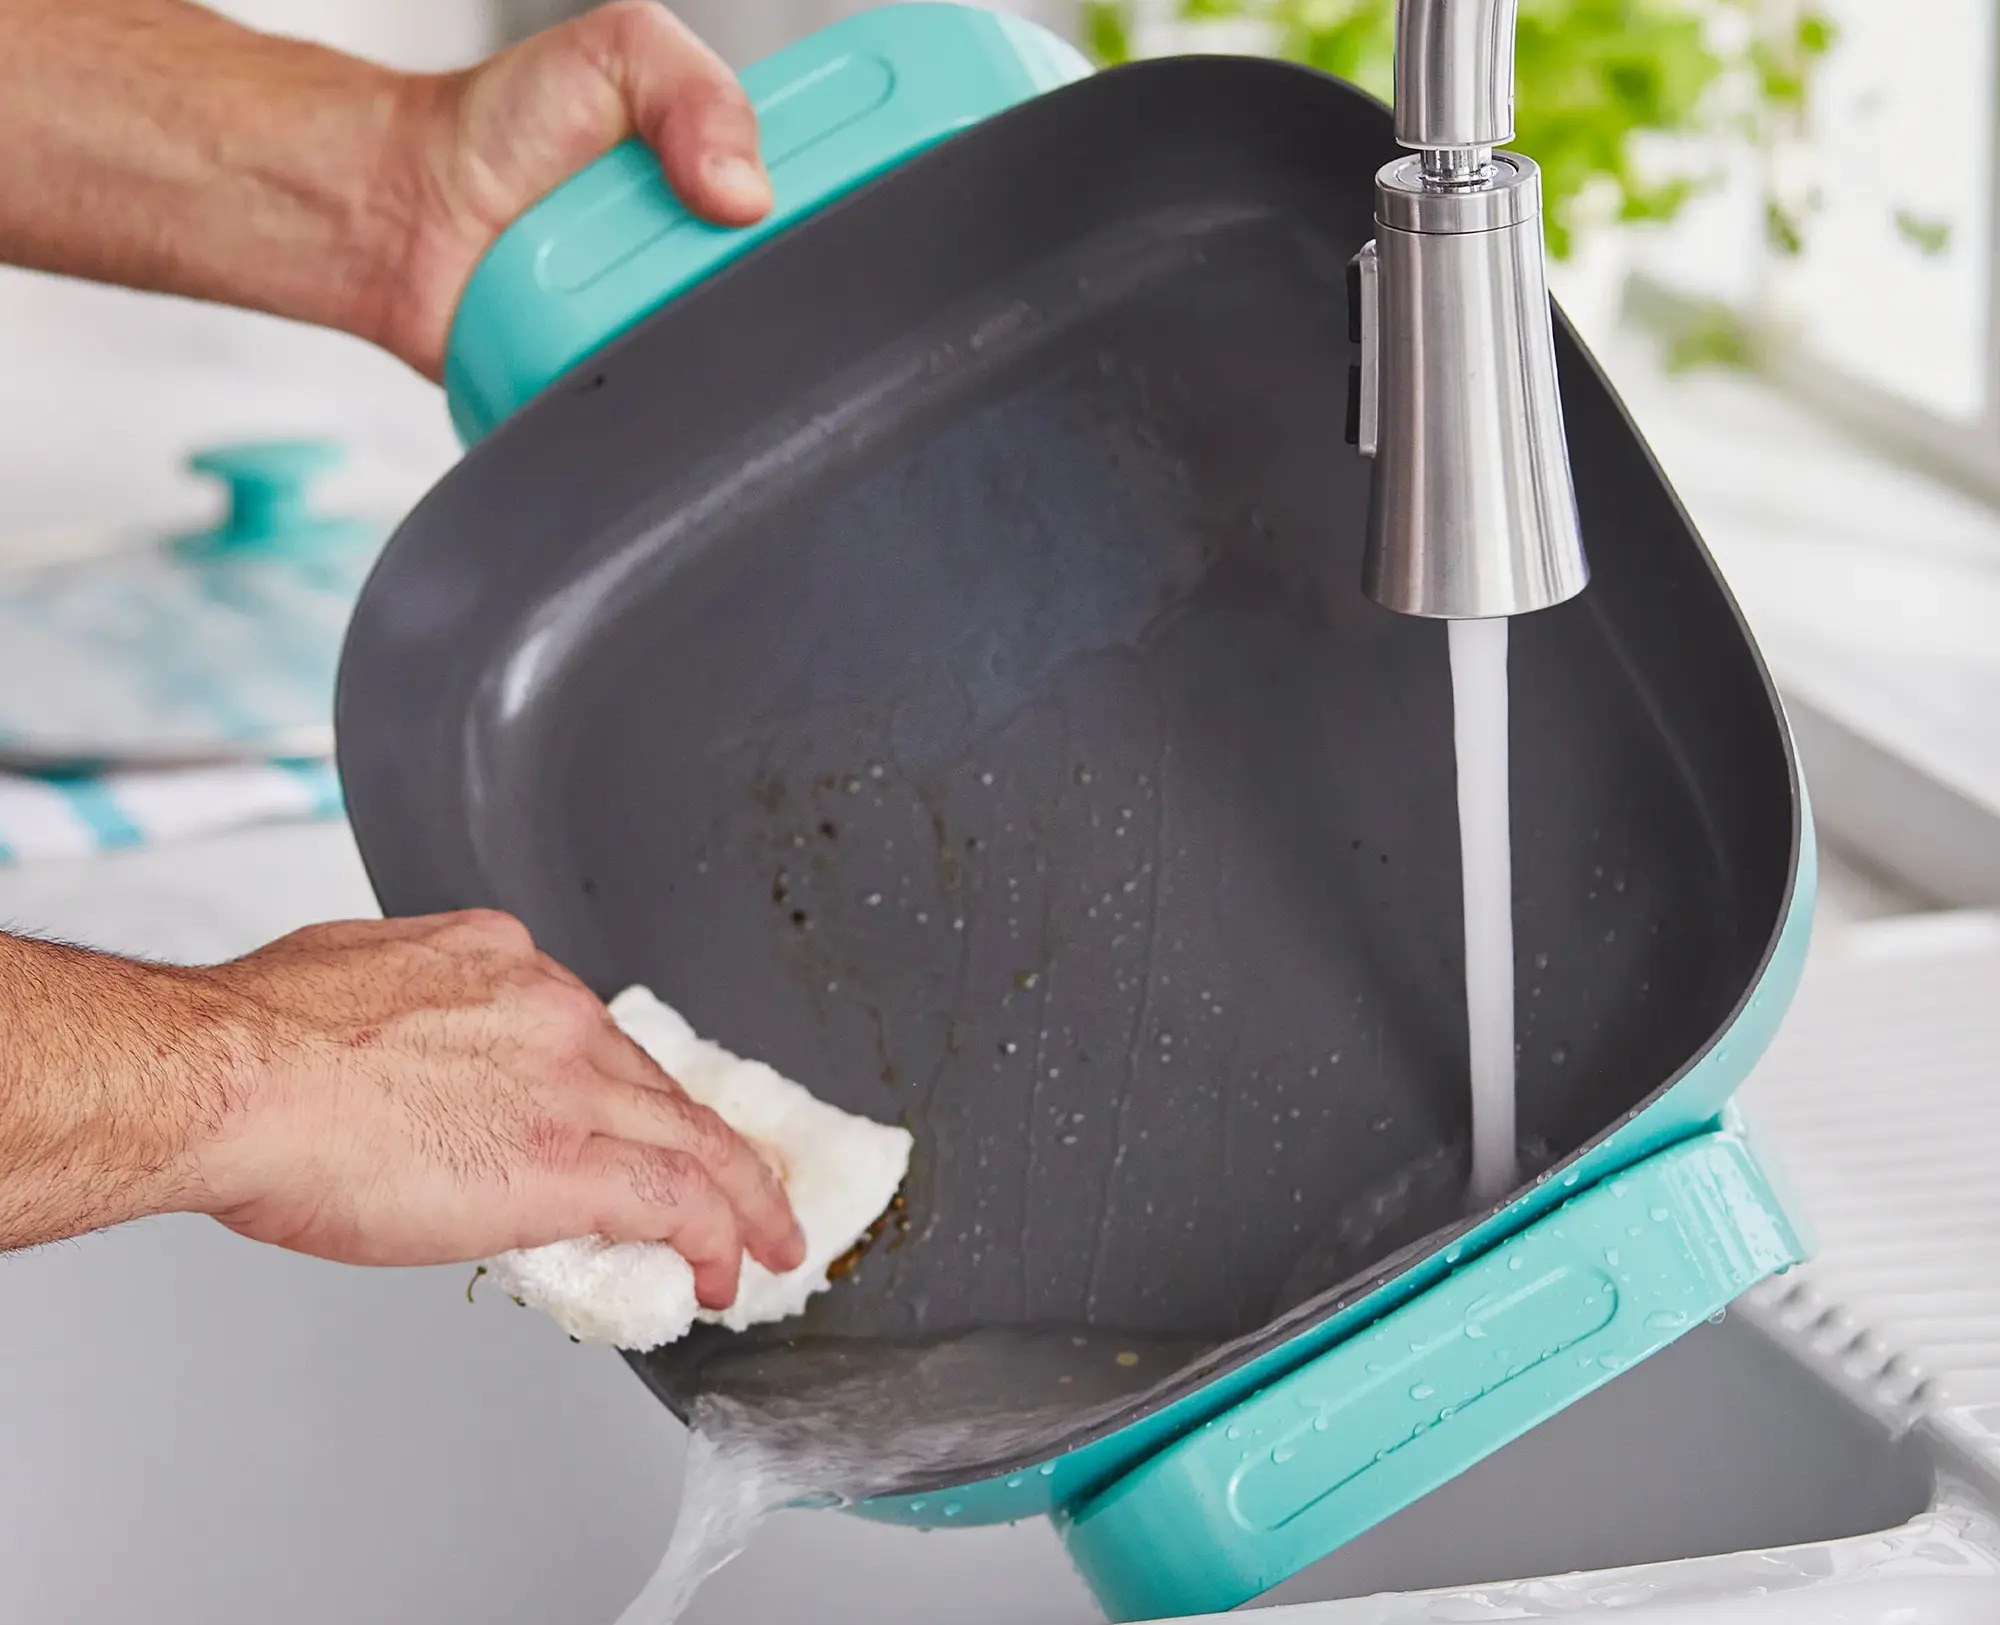
With the cake beautifully decorated, it’s time to indulge in this sweet delight or share it with loved ones. Before you do, don’t forget to clean your electric skillet for future use. In the next section, we’ll provide some tips on how to properly clean and maintain your skillet.
Read more: How To Bake Brownies in An Electric Skillet
Conclusion
Baking a cake in an electric skillet offers a convenient and delicious way to satisfy your sweet tooth. With the right skillet, a well-prepared batter, and proper cooking techniques, you can achieve a delectable cake that rivals those baked in traditional ovens.
Throughout this article, we’ve discussed the importance of choosing the right electric skillet, preparing the batter, greasing the skillet, pouring the batter, setting the temperature and cooking time, checking for doneness, removing the cake from the skillet, decorating the cake, and finally, cleaning your electric skillet.
Remember that baking a cake in an electric skillet requires some adjustments in temperature and cooking time compared to traditional oven baking. Pay close attention to your skillet’s temperature controls and make any necessary modifications to ensure optimal baking results.
While baking a cake in an electric skillet may be a departure from the conventional method, it offers a unique and enjoyable baking experience. With practice and experimentation, you can perfect your skillet cake baking skills and wow your family and friends with scrumptious treats.
So, why not give it a try? Explore new flavors, experiment with different decorations, and create your own signature cakes using your electric skillet. Let your creativity soar, and enjoy the gratification of baking a homemade cake that will bring joy to your taste buds and those of others.
Happy baking!
If you've mastered baking a cake in your electric skillet, why stop there? Expand your skillet skills with our guide on Electric Skillet Baking, where you'll discover more delicious recipes and tricks. Not just cakes, but a variety of dishes can be prepared effortlessly. For those who love experimenting with gadgets, check out our tips on Electric Cooking with an electric pressure cooker. Learn how to whip up tasty carrots quickly, making your meals healthier and more flavorful with every bite!
Frequently Asked Questions about How To Bake A Cake In Electric Skillet
Was this page helpful?
At Storables.com, we guarantee accurate and reliable information. Our content, validated by Expert Board Contributors, is crafted following stringent Editorial Policies. We're committed to providing you with well-researched, expert-backed insights for all your informational needs.


0 thoughts on “How To Bake A Cake In Electric Skillet”