Home>Articles>How Long To Ciok 4.6 Pounds Frozen Chicken In Electric Pressure Cooker
Articles
How Long To Ciok 4.6 Pounds Frozen Chicken In Electric Pressure Cooker
Modified: December 6, 2023
Discover how long it takes to cook 4.6 pounds of frozen chicken in an electric pressure cooker. Read our informative articles for cooking tips and techniques.
(Many of the links in this article redirect to a specific reviewed product. Your purchase of these products through affiliate links helps to generate commission for Storables.com, at no extra cost. Learn more)
Introduction
Cooking frozen chicken in an electric pressure cooker has become a popular method for busy individuals looking to prepare a delicious and nutritious meal in a short amount of time. With the advancements in pressure cooker technology, it is now possible to cook frozen chicken to perfection, saving both time and effort in the kitchen.
The benefits of cooking frozen chicken in an electric pressure cooker are numerous. Not only does it eliminate the need for thawing, which can take hours, but it also locks in the moisture and flavor of the chicken, resulting in tender and juicy meat. Additionally, using an electric pressure cooker reduces the cooking time significantly, allowing you to have a homemade meal on the table in a fraction of the time it would take with traditional cooking methods.
To ensure successful results, there are a few essential equipment and ingredients you will need. Firstly, an electric pressure cooker with a sealed lid and various pressure settings is necessary for this cooking method. Additionally, make sure to have a meat thermometer handy to ensure the chicken is cooked to the proper internal temperature.
In this article, we will walk you through the step-by-step process of cooking 4.6 pounds of frozen chicken in an electric pressure cooker. By following these instructions, you will be able to enjoy perfectly cooked chicken with minimal effort and maximum flavor. So, let’s dive in and discover how to cook frozen chicken in an electric pressure cooker!
Key Takeaways:
- Cooking frozen chicken in an electric pressure cooker saves time, retains moisture, and enhances flavor, making it a convenient and versatile method for busy individuals.
- Properly preparing the pressure cooker, selecting the right cooking time and pressure level, and checking the chicken’s internal temperature are crucial steps for successful results.
Benefits of Cooking Frozen Chicken in an Electric Pressure Cooker
Cooking frozen chicken in an electric pressure cooker offers numerous benefits that make it an attractive method for busy individuals. Let’s explore some of the advantages of using this cooking technique:
- Convenience: One of the primary benefits of cooking frozen chicken in an electric pressure cooker is the convenience it offers. Unlike traditional cooking methods that require hours of thawing time, you can cook frozen chicken directly in the pressure cooker. This saves you valuable time, especially on those busy weeknights when you need a quick and satisfying meal.
- Retains Moisture: When cooking frozen chicken in an electric pressure cooker, the sealed environment helps trap the moisture inside the meat. As a result, the chicken turns out incredibly moist and tender. This is a significant advantage over other cooking methods, where frozen chicken can sometimes become dry or lose its flavor during the cooking process.
- Saves Cooking Time: Electric pressure cookers are known for their ability to significantly reduce cooking time. When cooking frozen chicken, the pressurized environment allows for faster cooking compared to other methods. In just a fraction of the time it would take to thaw and cook chicken conventionally, you can have a delicious meal ready to serve.
- Enhanced Flavor: The high-pressure environment in the electric pressure cooker infuses the flavors and spices into the frozen chicken rapidly. This helps create a more flavorful dish compared to traditional cooking methods. The result is chicken that is not only moist and tender but also bursting with delicious flavors.
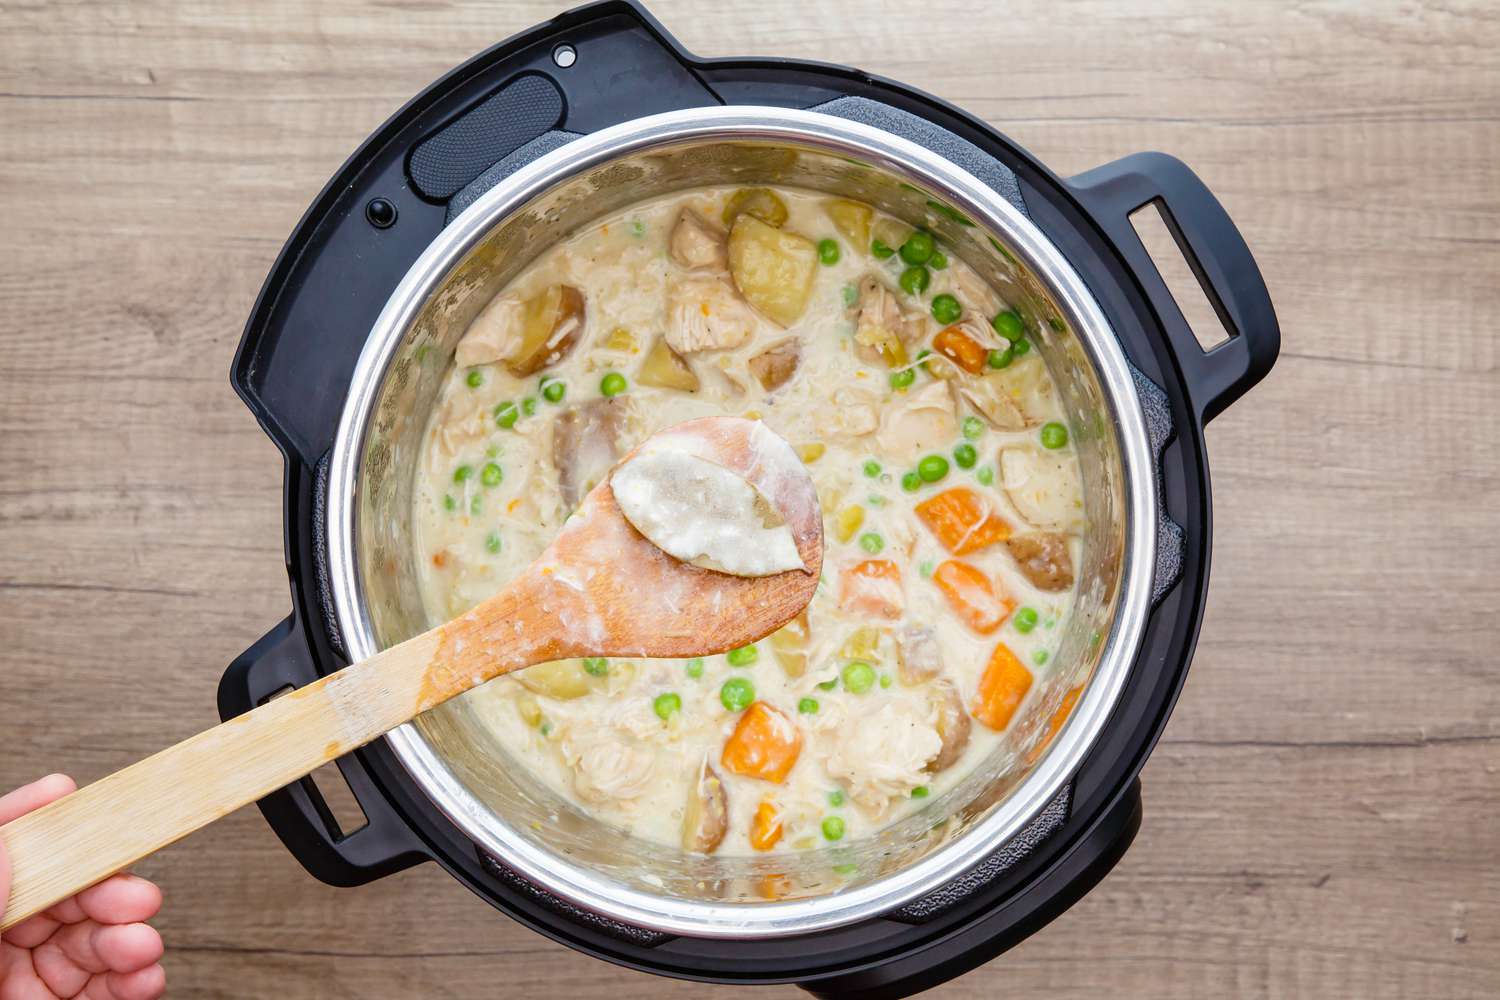
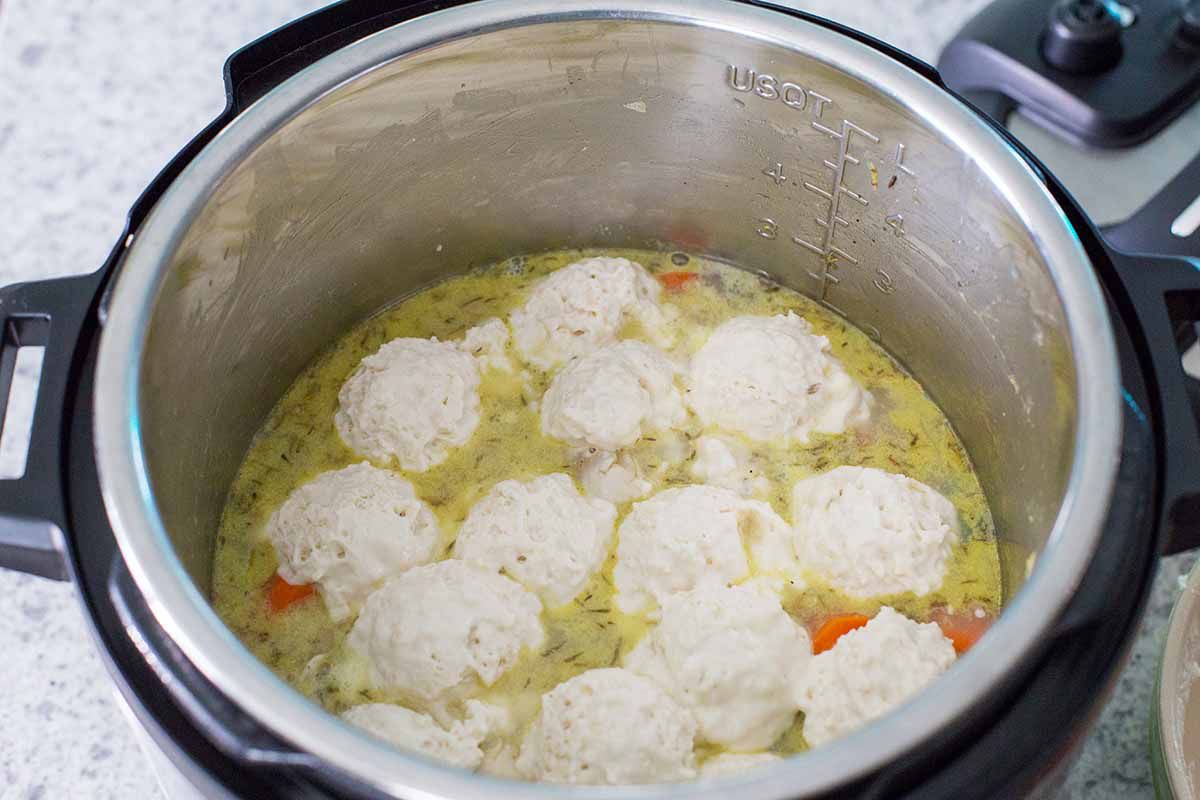
- Versatility: Cooking frozen chicken in an electric pressure cooker offers versatility in terms of the recipes you can prepare. Whether you want to make shredded chicken for tacos, a flavorful curry, or a hearty soup, the electric pressure cooker can handle it all. With adjustable pressure settings, you can customize the cooking process to suit various recipes.
These are just a few of the many benefits of cooking frozen chicken in an electric pressure cooker. From the time-saving convenience to the enhanced flavor and texture, this cooking method is a game-changer for those looking to prepare delicious meals with minimal effort. So, let’s move on to the next section and explore the equipment and ingredients needed to cook frozen chicken in an electric pressure cooker.
Required Equipment and Ingredients
Before you begin cooking frozen chicken in an electric pressure cooker, it’s essential to gather all the necessary equipment and ingredients. Here’s what you will need:
Equipment:
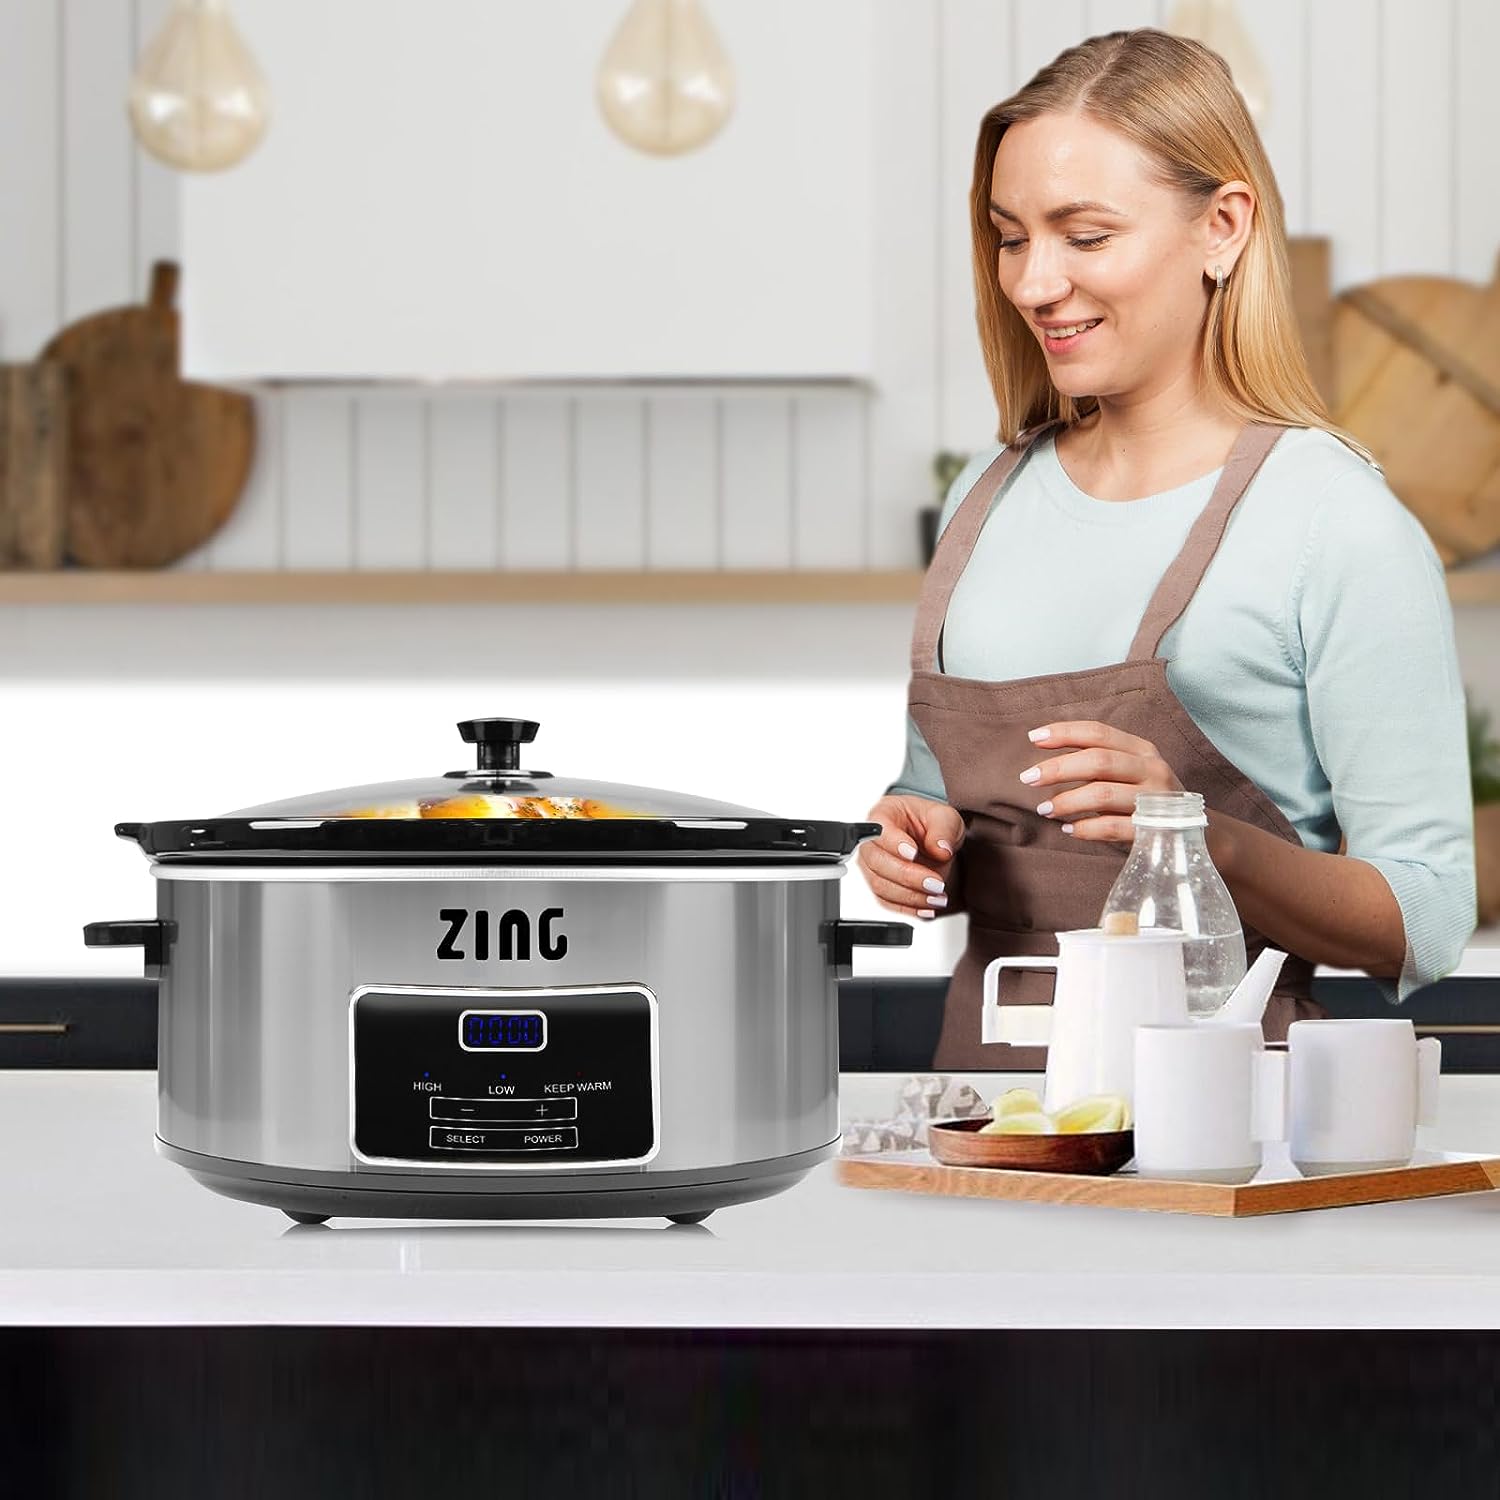
- Electric pressure cooker: Ensure you have a reliable electric pressure cooker with a sealed lid. Look for a model that offers adjustable pressure settings and a timer for precise cooking.
- Measuring cup: A measuring cup will be helpful to measure liquids and other ingredients accurately.
- Meat thermometer: To ensure the chicken is cooked to a safe internal temperature, have a meat thermometer on hand. This will help you determine when the chicken is fully cooked and ready to be served.
- Tongs or a fork: You’ll need tongs or a fork to safely handle the hot chicken when transferring it in and out of the pressure cooker.
- Knife and cutting board: These basic kitchen tools are necessary for preparing the frozen chicken by removing any packaging, excess fat, and bones if desired.
Ingredients:
- 4.6 pounds of frozen chicken: Choose your preferred cut, whether it’s bone-in or boneless. Consider using chicken thighs, breasts, or a combination of both, depending on your preference.
- Seasonings: Customize the flavor of your chicken by using a variety of seasonings such as salt, black pepper, garlic powder, paprika, or any other spices you prefer. Feel free to experiment and add your own personal touch.
- Liquid: You will need some liquid to create steam in the pressure cooker. This can be in the form of water, chicken broth, vegetable broth, or any other flavorful liquid of your choice. It’s recommended to use at least 1 cup of liquid to ensure proper pressure buildup.
By ensuring that you have all the necessary equipment and ingredients prepared and ready to use, you’ll be able to proceed smoothly throughout the cooking process. Once you have gathered everything you need, it’s time to move on to the next section, where we will guide you through the step-by-step process of cooking frozen chicken in an electric pressure cooker.
Step 1: Preparing the Electric Pressure Cooker
Before you start cooking frozen chicken in an electric pressure cooker, it’s important to properly prepare the appliance. Follow these steps to ensure a smooth and safe cooking process:
- Clean the pressure cooker: Start by thoroughly cleaning the electric pressure cooker, including the cooking pot, lid, and sealing ring. It’s essential to maintain a clean cooking environment for food safety and optimal performance.
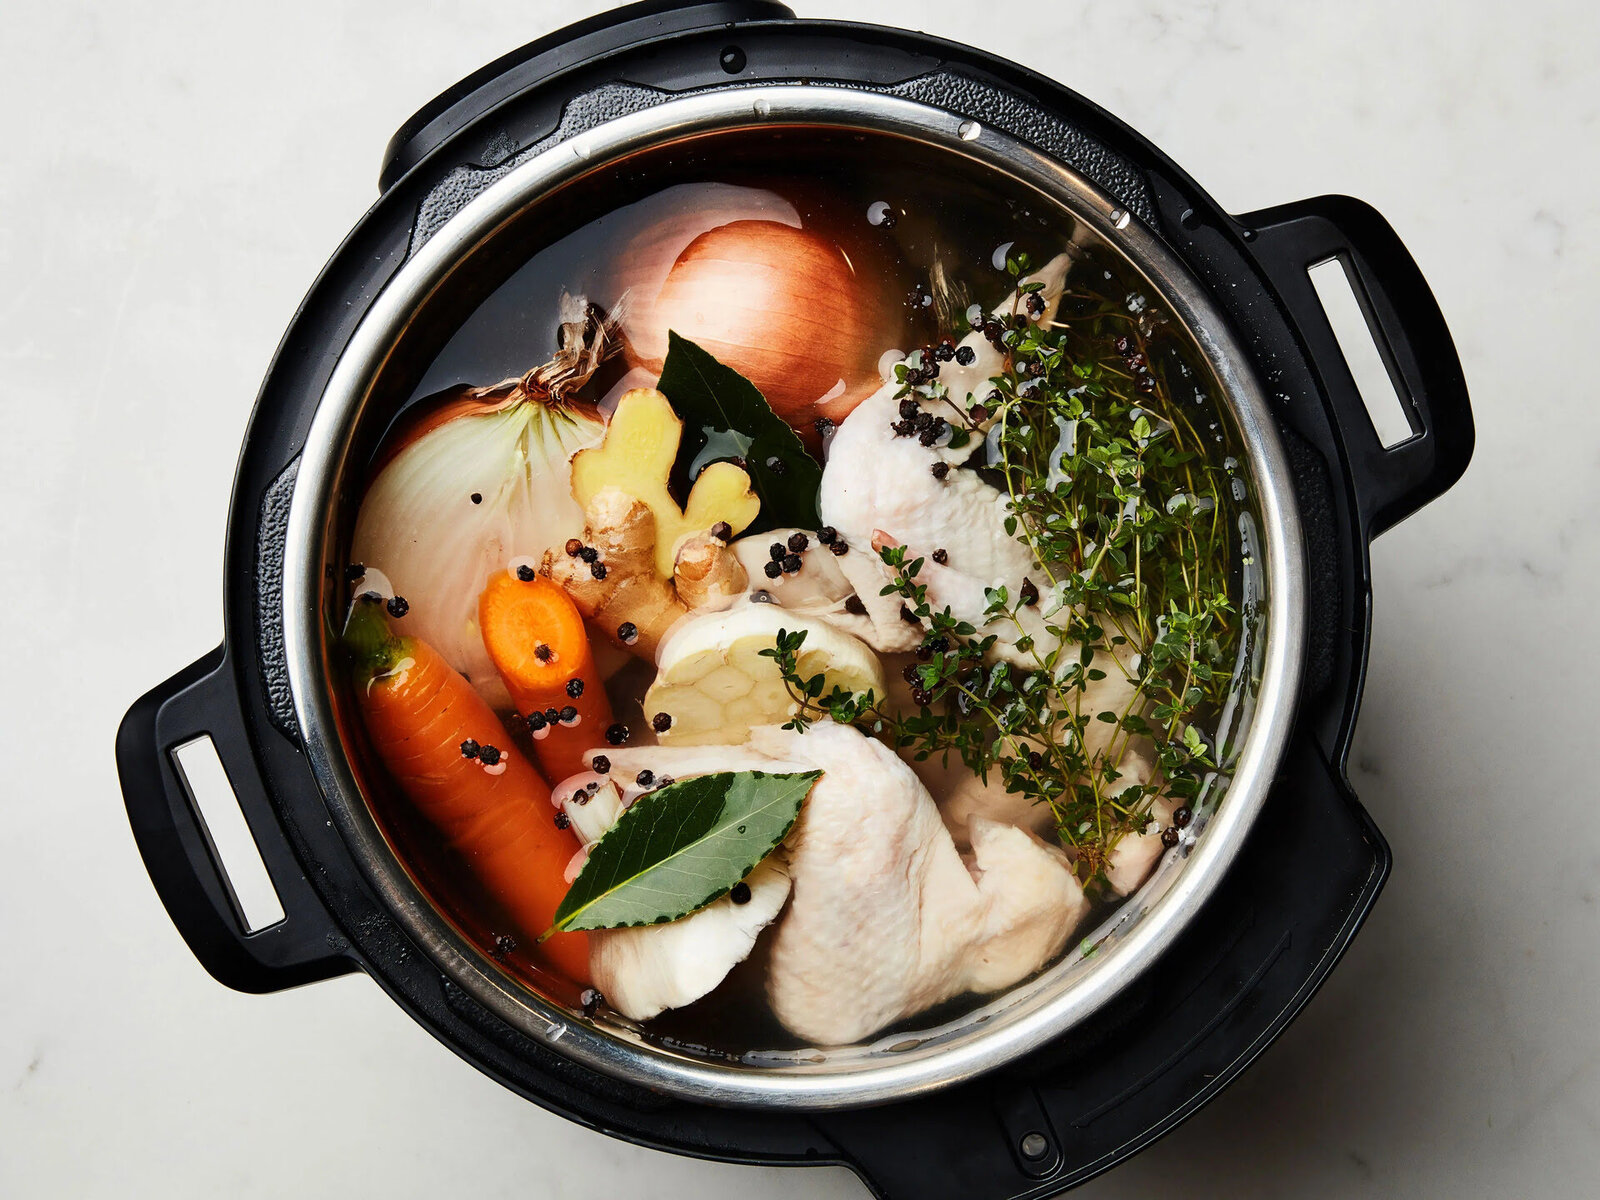
- Add liquid: The electric pressure cooker requires liquid to create steam and build up pressure. Depending on the recipe and personal preference, add the recommended amount of liquid, typically at least 1 cup. This could be water, broth, or any other flavorful liquid of your choice.
- Place the cooking pot: Insert the cooking pot into the electric pressure cooker base securely. Double-check that it is properly aligned and in place, ensuring a reliable cooking environment.
- Attach the lid: Place the lid onto the electric pressure cooker, making sure it is aligned correctly. Check that the sealing ring is intact and correctly fitted to prevent any steam from escaping during cooking.
- Secure the lid: Depending on the model of the electric pressure cooker, follow the manufacturer’s instructions to secure and lock the lid in place. This is important to create a sealed cooking environment and build up pressure effectively.
- Check the pressure release valve: Ensure that the pressure release valve is in the sealed or closed position. This valve controls the release of pressure during and after the cooking process.
Once you have completed these steps, your electric pressure cooker will be properly prepared and ready to start cooking frozen chicken. Preparing the appliance correctly is crucial for achieving the desired results and ensuring a safe cooking experience.
Now that your electric pressure cooker is ready, it’s time to move on to the next step: adding the frozen chicken to the pressure cooker. This will be covered in the next section, so let’s proceed!
Step 2: Adding the Frozen Chicken to the Pressure Cooker
Now that your electric pressure cooker is prepared, it’s time to add the frozen chicken. Follow these steps to ensure proper cooking and optimal results:
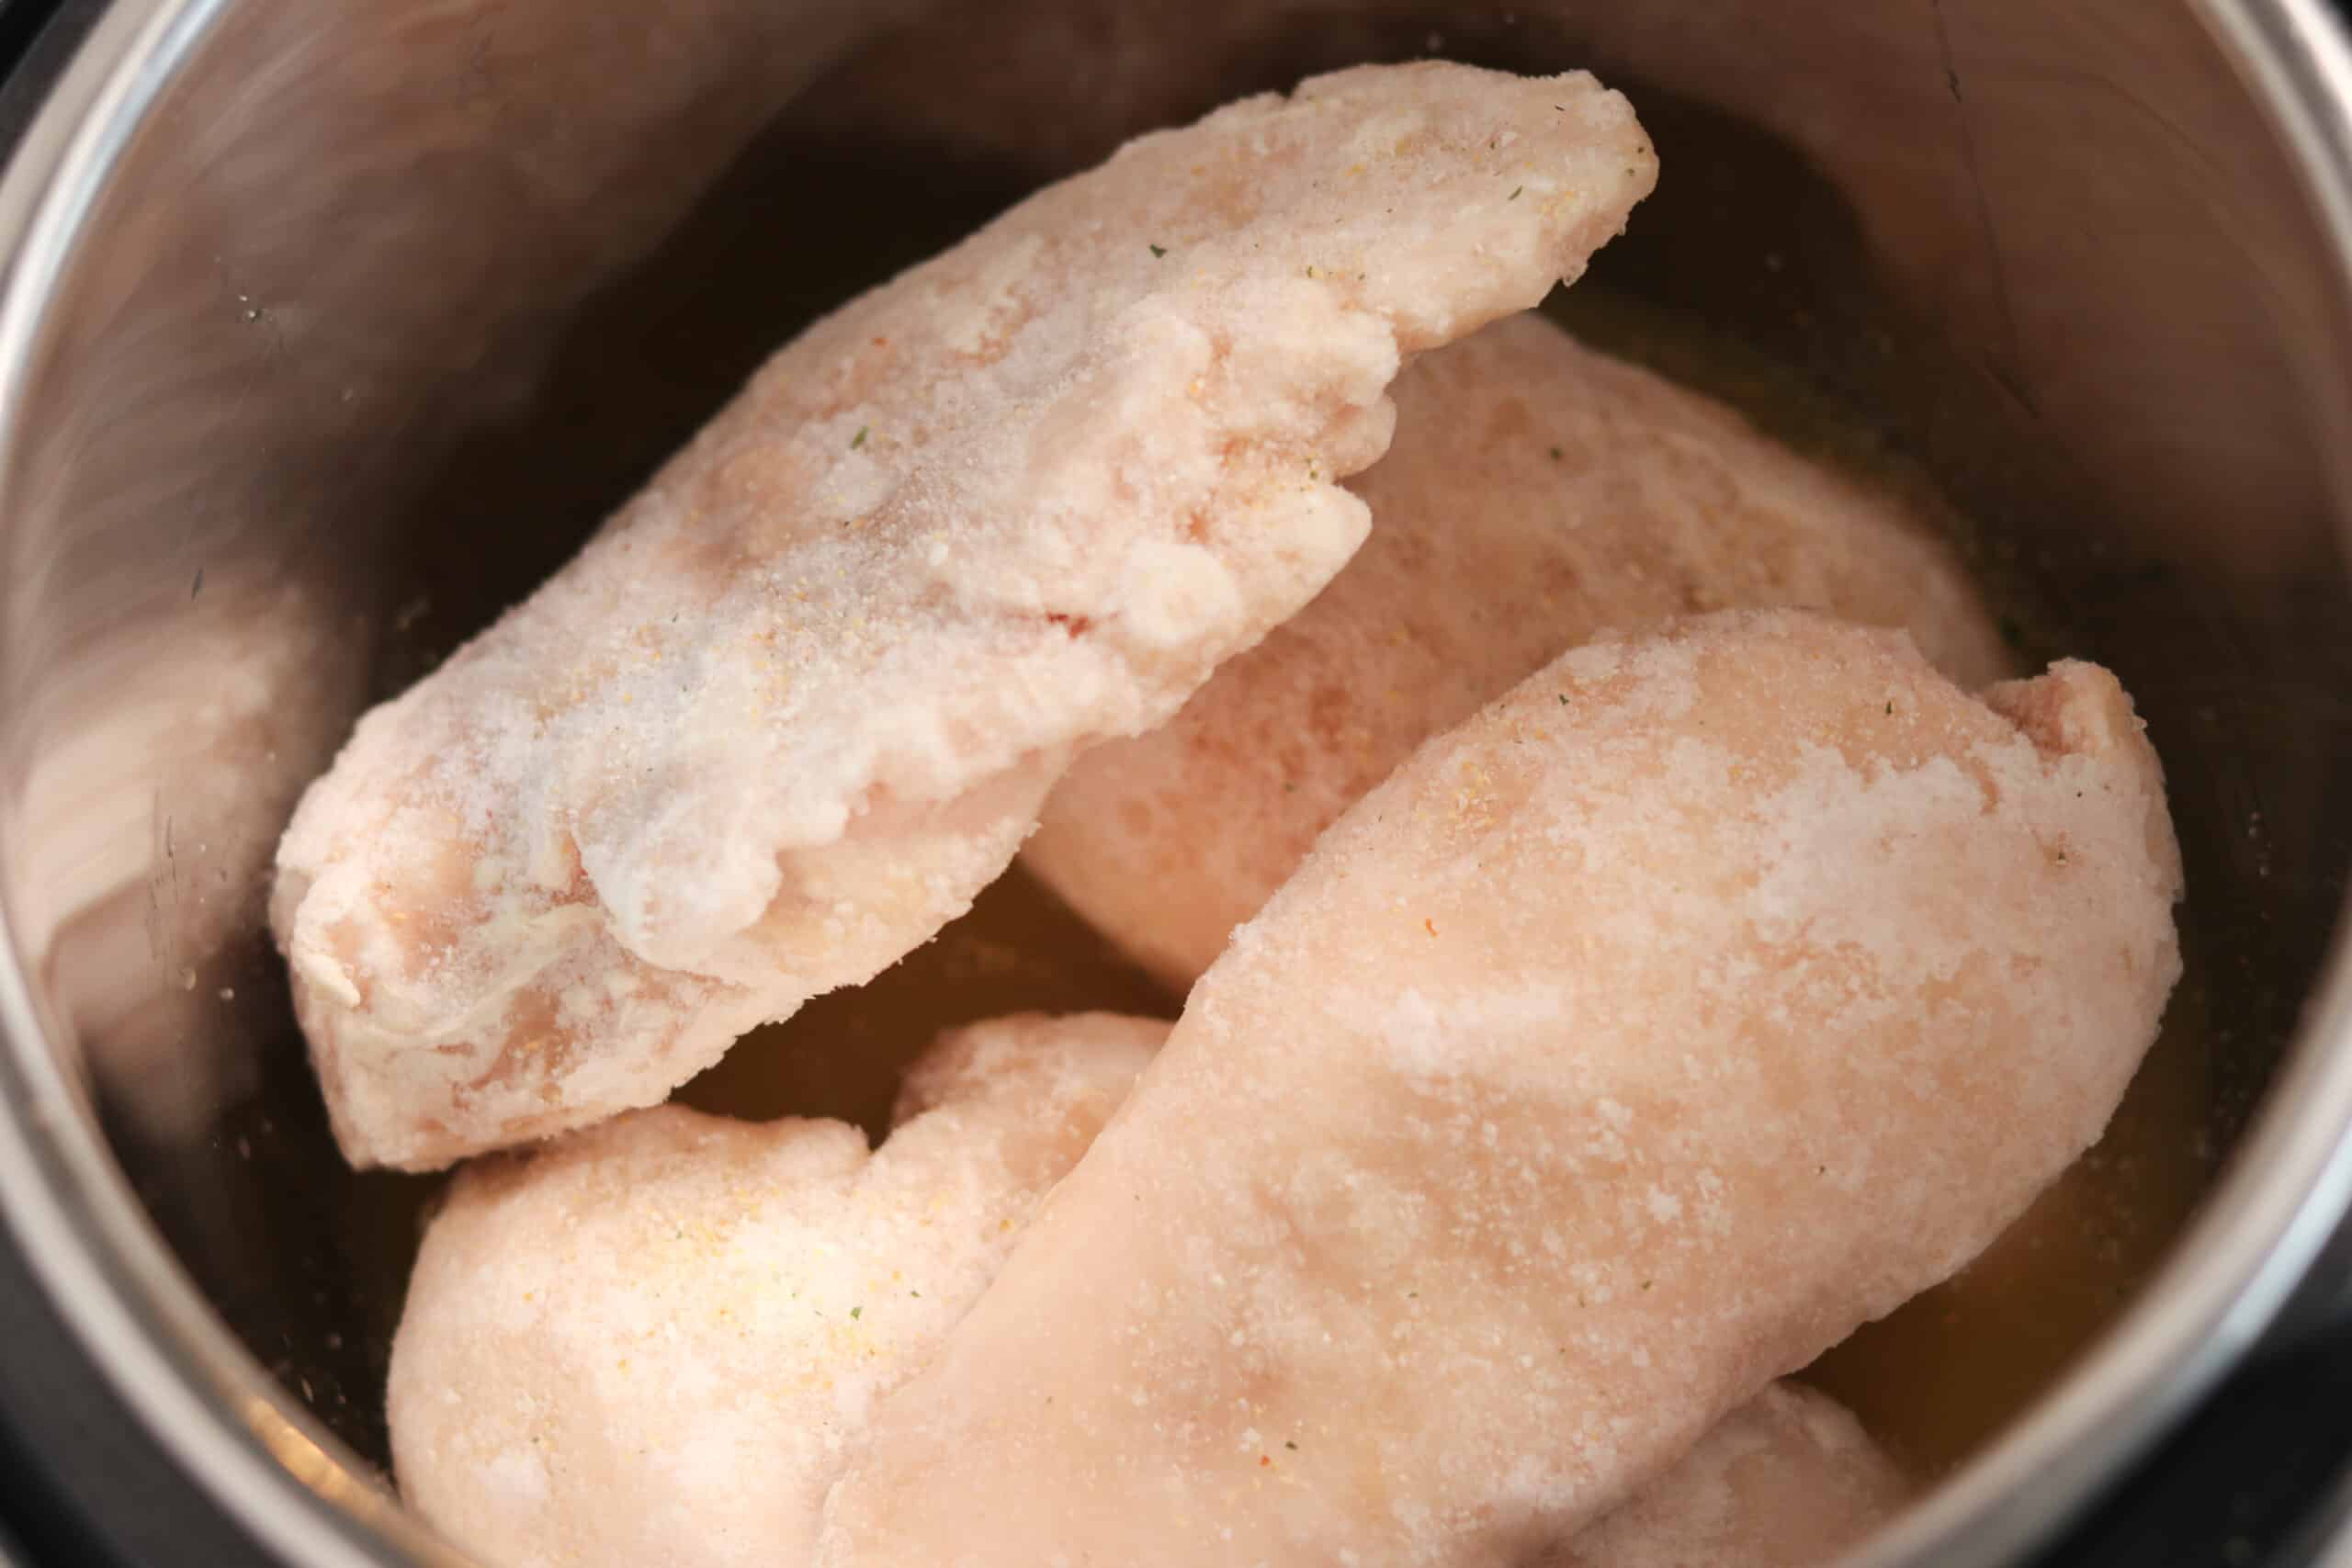
- Remove any packaging: Take the frozen chicken out of its packaging and place it on a clean cutting board. Remove any plastic wrap, Styrofoam tray, or absorbent pad that may be present.
- Trim excess fat: If desired, trim any excess fat from the frozen chicken. This step is optional but can help reduce the amount of fat in the final dish.
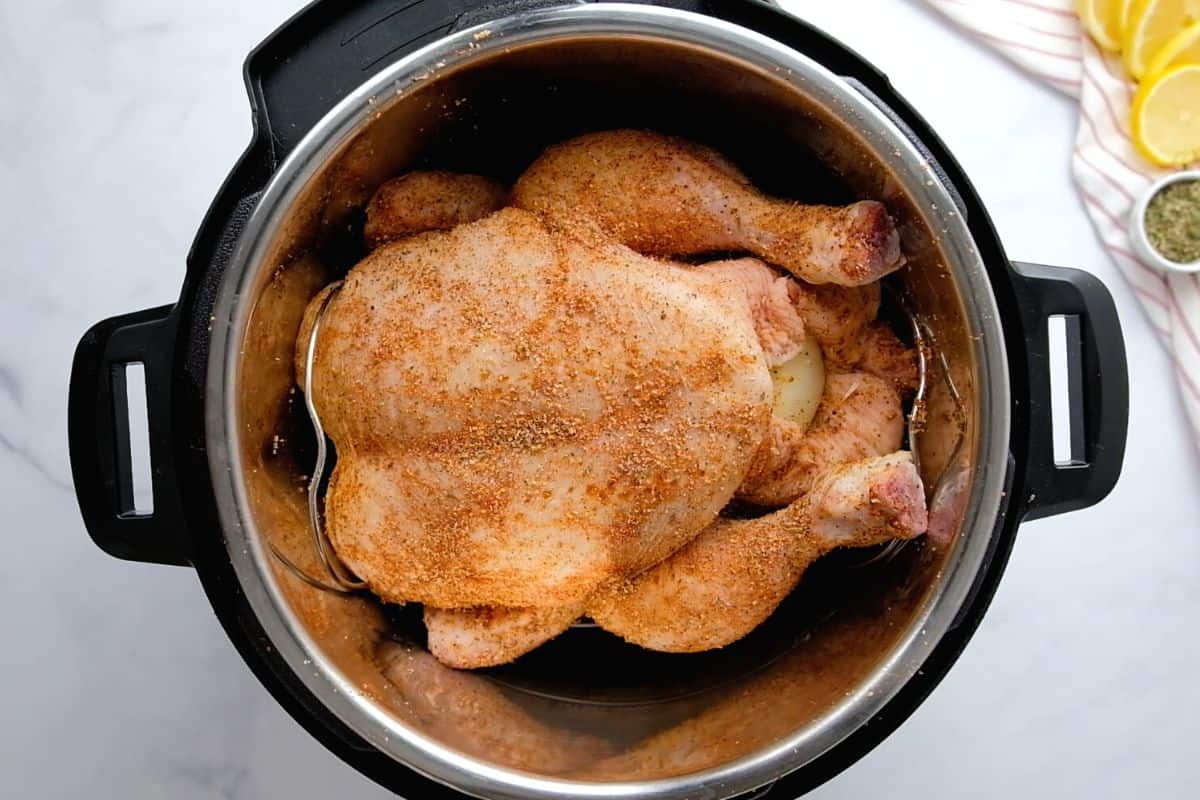
- Add seasonings: Season the frozen chicken with your desired spices and seasonings. You can use a simple combination of salt and pepper or get creative with additional herbs and spices such as garlic powder, paprika, or dried herbs. Gently rub the seasonings all over the chicken to ensure even distribution.
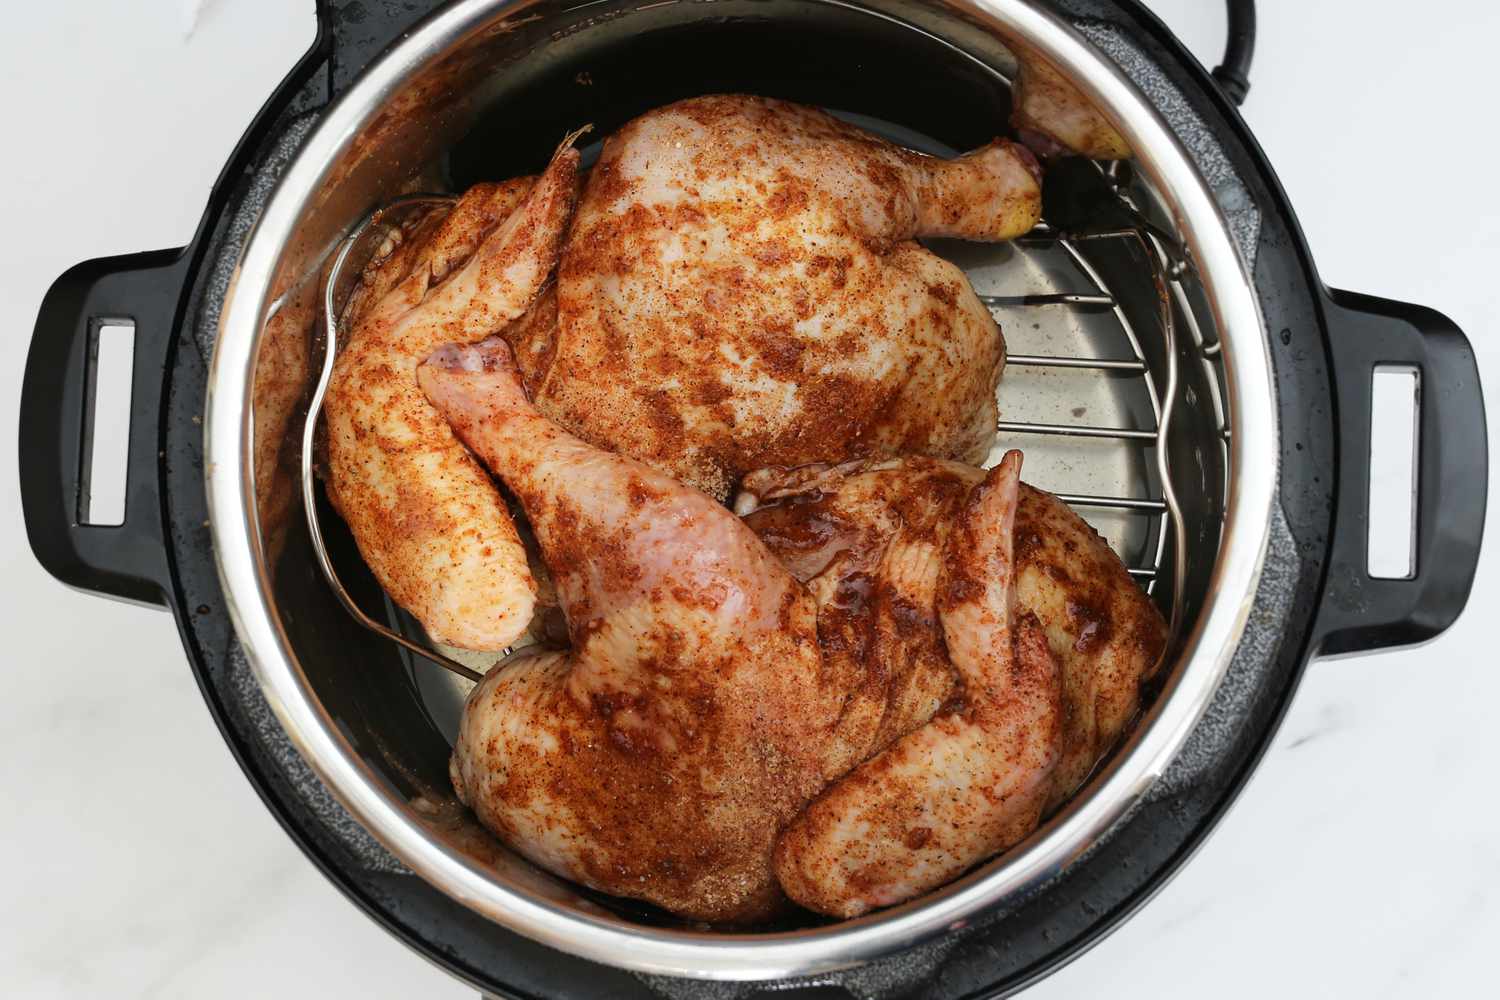
- Place the chicken in the cooking pot: Carefully place the seasoned frozen chicken into the cooking pot of the electric pressure cooker. Arrange the chicken in a single layer to ensure even cooking.
- Avoid overcrowding: It’s important not to overcrowd the cooking pot with too much chicken. If you have a large quantity of chicken, cook it in multiple batches to allow proper circulation of heat and steam. This will ensure even cooking throughout.
Once you have added the frozen chicken to the pressure cooker, it’s time to move on to the next step: selecting the cooking time and pressure level. This will determine how long the chicken needs to cook to perfection. We will cover this in detail in the following section, so let’s proceed!
Step 3: Selecting the Cooking Time and Pressure Level
After adding the frozen chicken to the electric pressure cooker, it’s important to select the appropriate cooking time and pressure level for optimal results. Follow these steps to ensure successful cooking:
- Refer to the recipe or guidelines: If you are following a specific recipe, refer to the instructions provided for the recommended cooking time and pressure level. These guidelines will help you determine the appropriate settings for your frozen chicken.
- Consider the size and type of chicken: The size and type of frozen chicken you are cooking will also impact the cooking time and pressure level. Larger cuts usually require longer cooking times, while bone-in chicken may require slightly more time than boneless varieties.
- Set the cooking time: Adjust the cooking time on your electric pressure cooker based on the guidelines or recipe you are using. Use the control panel or buttons on your cooker to set the desired time. Typically, cooking frozen chicken in an electric pressure cooker requires 10-12 minutes per pound, but be sure to refer to your specific recipe or guide.
- Select the pressure level: Most electric pressure cookers offer multiple pressure levels, such as high and low. For cooking frozen chicken, high pressure is typically recommended. This ensures that the chicken cooks thoroughly and reaches a safe internal temperature.
Once you have set the cooking time and pressure level on your electric pressure cooker, it’s time to let the cooking process begin. The pressure cooker will now come to pressure, and the cooking time will start counting down. It’s important to note that the cooking time does not include the time it takes for the pressure cooker to come to pressure, which can vary depending on the model and the amount of liquid and chicken in the pot.
Now that the cooking process has started, it’s time to move on to the next step: allowing the natural release of pressure. We will cover this step in detail in the upcoming section, so let’s proceed!
To cook 4.6 pounds of frozen chicken in an electric pressure cooker, set the cooker to high pressure and cook for 10-12 minutes per pound. Make sure to add at least 1 cup of liquid to the cooker before cooking.
Step 4: Allowing the Natural Release of Pressure
Once the cooking time for the frozen chicken in the electric pressure cooker has completed, it’s important to allow for a natural release of pressure. This process ensures that the chicken remains tender and allows any residual cooking to take place. Follow these steps to safely release the pressure:
- Turn off the heat: Once the cooking time has ended, turn off the heat on the electric pressure cooker. This will stop the cooking process and prevent any further buildup of pressure.
- Let the pressure release naturally: Allow the pressure to release naturally by leaving the electric pressure cooker undisturbed. This process can take anywhere from 10 to 15 minutes or longer, depending on the cooker’s size and the amount of food inside.
- Avoid quick release: It is important not to perform a quick release of pressure by manually releasing the pressure valve. Quick release can lead to overcooking or drying out the chicken.
- Ensure pressure has released: Before opening the lid of the electric pressure cooker, make sure that all the pressure has been released by checking the pressure indicator on the lid. It should have dropped, indicating that it is safe to open the cooker.
During the natural release of pressure, the chicken will continue to cook gently and absorb any flavors from the surrounding liquid. It also allows the meat to relax and become more tender, resulting in a delicious and succulent final dish.
Once the pressure has been completely released, it’s time to move on to the next step: checking the chicken’s internal temperature. This will help ensure that the chicken is cooked to a safe and appropriate temperature. We will cover this in detail in the next section, so let’s proceed!
Step 5: Checking the Chicken’s Internal Temperature
After allowing for the natural release of pressure, it’s crucial to check the chicken’s internal temperature to ensure it has reached a safe and appropriate temperature for consumption. Follow these steps to check the chicken’s internal temperature:
- Remove the chicken: Carefully remove the cooked chicken from the electric pressure cooker using tongs or a fork. Place it on a clean plate or cutting board.
- Use a meat thermometer: Insert a meat thermometer into the thickest part of the chicken, making sure to avoid touching the bone. Check the temperature reading to ensure it reaches the minimum safe internal temperature for cooked chicken, which is 165°F (75°C).
- Check multiple spots: To ensure the chicken is evenly cooked, check the temperature in multiple spots, especially if it is a larger cut or bone-in chicken. This will help you verify that the entire chicken has reached the appropriate temperature.
- Continue cooking, if needed: If the chicken has not reached the minimum safe internal temperature, return it to the electric pressure cooker and continue cooking for a few more minutes. Be sure to reseal the cooker properly and adjust the cooking time accordingly.
Checking the chicken’s internal temperature is essential for food safety. It guarantees that the chicken has been cooked thoroughly, eliminating any potential risks of foodborne illnesses.
Once you have confirmed that the chicken has reached the appropriate temperature, it’s time to move on to the final step: shredding or slicing the cooked chicken. This will prepare it for serving or for use in your desired recipe. We will cover this step in detail in the following section, so let’s proceed!
Step 6: Shredding or Slicing the Cooked Chicken
After checking the chicken’s internal temperature and ensuring it has reached the appropriate level of doneness, it’s time to proceed with shredding or slicing the cooked chicken. Follow these steps to prepare the chicken for serving or incorporating it into your desired recipe:
- Let the chicken rest: Before shredding or slicing the chicken, allow it to rest for a few minutes. This will help the juices redistribute throughout the meat, resulting in a more tender and flavorful end result.
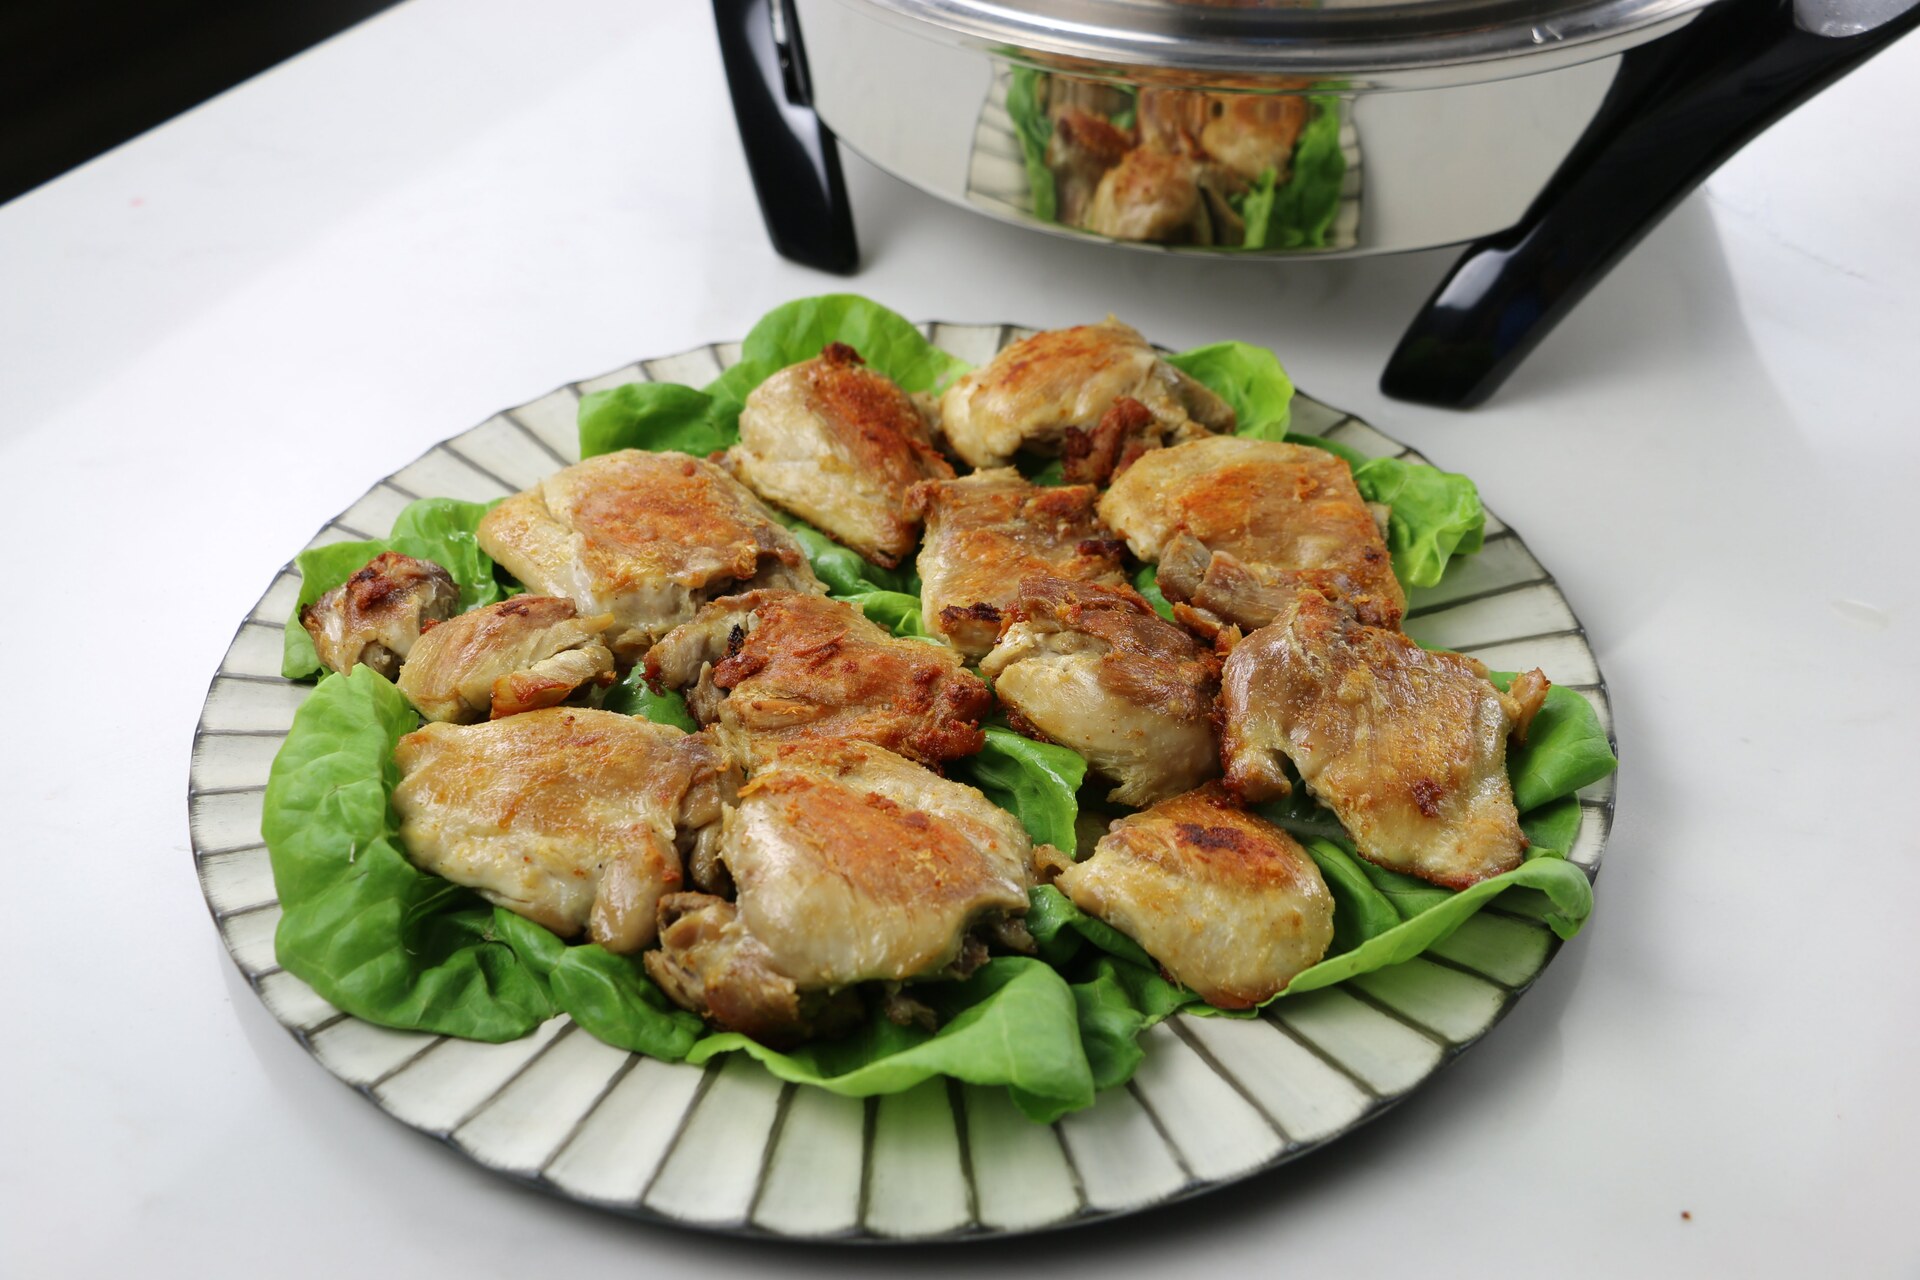
- Choose your method: Decide whether you prefer shredded or sliced chicken based on your recipe or personal preference. Shredded chicken works well for dishes like tacos, sandwiches, or salads, while sliced chicken is ideal for placing on top of rice or serving as a main dish with sides.
- For shredding: Use two forks to gently pull the chicken apart, separating it into smaller shreds. Continue shredding until you achieve the desired texture and consistency.
- For slicing: Place the rested chicken on a cutting board and use a sharp knife to slice it into thin or thick slices, depending on your preference. Ensure that the slices are even and uniform for an attractive presentation.
Keep in mind that the cooked chicken will be tender and easily fall apart, so handle it with care during the shredding or slicing process. Take your time and work methodically to achieve the desired result.
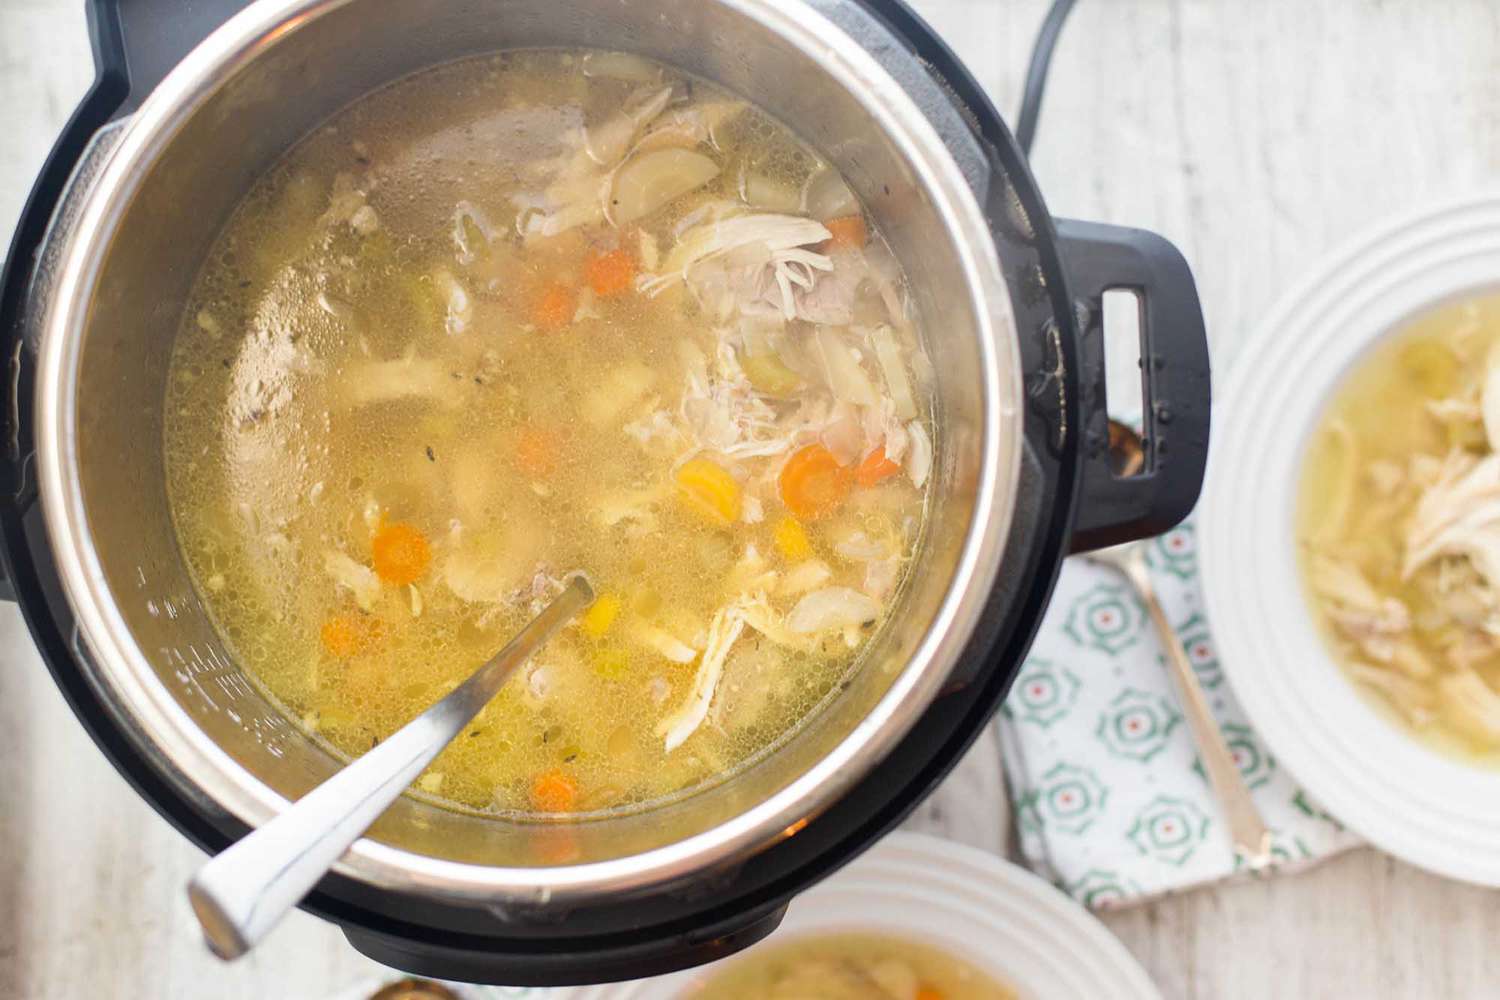
Once you have shredded or sliced the cooked chicken, it is now ready to be served or incorporated into your favorite recipes. Whether you’re adding it to soups, stir-fries, casseroles, or enjoying it as a standalone dish, the possibilities are endless!
Congratulations! You’ve successfully completed all the necessary steps to cook frozen chicken in an electric pressure cooker. Now you can enjoy the tender and flavorful results of your efforts. Remember to exercise caution when working with hot equipment and always follow the manufacturer’s instructions for your specific electric pressure cooker model.
Enjoy your delicious cooked chicken, and happy cooking!
Conclusion
Cooking frozen chicken in an electric pressure cooker offers a convenient and efficient way to prepare a flavorful and tender meal in a short amount of time. By following the step-by-step process outlined in this article, you can achieve perfectly cooked frozen chicken with minimal effort and maximum flavor.
The benefits of cooking frozen chicken in an electric pressure cooker are evident. Not only does it eliminate the need for time-consuming thawing, but it also maintains the moisture and flavor of the chicken, resulting in juicy and delicious meat. The reduced cooking time and versatility of the electric pressure cooker make it a valuable tool for busy individuals looking to create a homemade meal without sacrificing taste or nutrition.
To get started, ensure you have the necessary equipment and ingredients ready, including an electric pressure cooker, frozen chicken, seasonings, and liquid. Properly prepare the electric pressure cooker by adding liquid and securely attaching the lid. Next, add the frozen chicken, season it to your preference, and set the appropriate cooking time and pressure level. Allow for the natural release of pressure after the cooking time is complete, and check the chicken’s internal temperature using a meat thermometer. Finally, shred or slice the cooked chicken according to your desired method and enjoy the delicious results.
Remember to follow proper food safety guidelines throughout the cooking process, including handling raw chicken with care and ensuring it reaches a minimum safe internal temperature of 165°F (75°C). Always refer to your specific electric pressure cooker’s instructions for best results and safety precautions.
With the knowledge and guidance provided in this article, you are now equipped to confidently cook frozen chicken in an electric pressure cooker. Explore various recipes and experiment with different seasonings and flavors to create your own signature dishes. Embrace the convenience and versatility of the electric pressure cooker, and enjoy the delicious meals it can help you create.
So, gather your ingredients, fire up your electric pressure cooker, and get ready to savor the succulent taste of perfectly cooked frozen chicken!
Frequently Asked Questions about How Long To Ciok 4.6 Pounds Frozen Chicken In Electric Pressure Cooker
Was this page helpful?
At Storables.com, we guarantee accurate and reliable information. Our content, validated by Expert Board Contributors, is crafted following stringent Editorial Policies. We're committed to providing you with well-researched, expert-backed insights for all your informational needs.


0 thoughts on “How Long To Ciok 4.6 Pounds Frozen Chicken In Electric Pressure Cooker”