Home>Articles>How Long To Cook Chicken Breast In Toaster Oven
Articles
How Long To Cook Chicken Breast In Toaster Oven
Modified: August 30, 2024
Discover the perfect cooking time for chicken breast in a toaster oven with our informative articles. Achieve delicious results in no time!
(Many of the links in this article redirect to a specific reviewed product. Your purchase of these products through affiliate links helps to generate commission for Storables.com, at no extra cost. Learn more)
Introduction
Cooking chicken breast in a toaster oven is a convenient and time-saving option for those who don’t have access to a full-sized oven or simply prefer a smaller appliance. Whether you’re a student in a dormitory or a busy professional living in a small apartment, using a toaster oven can be a great way to enjoy a delicious and healthy chicken breast meal.
In this article, we will guide you through the process of cooking chicken breast in a toaster oven, ensuring that it is perfectly cooked, juicy, and full of flavor. We will provide you with step-by-step instructions, helpful tips, and tricks to help you achieve the best results. So, let’s get started!
Key Takeaways:
- Enjoy flavorful and juicy chicken breast by seasoning, preheating, and monitoring in a toaster oven. Pair with your favorite sides for a satisfying meal.
- Cooking chicken breast in a toaster oven is convenient, efficient, and practical for students, busy professionals, and small apartment dwellers. Experiment with seasonings and cooking times for delicious results.
Preparing the Chicken Breast
Before you start cooking the chicken breast, it’s important to properly prepare it. This includes seasoning the chicken breast and preheating the toaster oven. Let’s take a closer look at these steps:
Seasoning the Chicken Breast
Seasoning the chicken breast is essential to enhance its flavor and ensure a delicious end result. You can choose to use a variety of seasonings, depending on your personal preferences. Some common options include salt, pepper, garlic powder, paprika, and herbs like thyme or rosemary. Here’s how to season your chicken breast:
- Place the chicken breast on a clean cutting board or plate.
- Sprinkle both sides of the chicken breast with your desired seasonings.
- Gently rub the seasonings into the chicken breast to ensure even distribution.
Feel free to get creative with your seasoning choices. You can experiment with different spice blends or marinades to add a burst of flavor to your chicken breast. Just remember to use seasonings that complement each other and the overall dish you plan to serve.
Preheating the Toaster Oven
Preheating the toaster oven is an important step to ensure that the chicken breast cooks evenly and thoroughly. Follow these steps to preheat your toaster oven:
- Ensure that the toaster oven is clean and free from any debris.
- Set the temperature dial or digital controls to the desired cooking temperature. For chicken breast, a temperature of 375°F (190°C) is recommended.
- Allow the toaster oven to preheat for about 5-10 minutes, or until it reaches the desired temperature.
While the toaster oven is preheating, you can use this time to gather any additional ingredients or prepare your sides to accompany the chicken breast. Once the toaster oven has reached the desired temperature, you’re ready to start cooking the chicken breast.
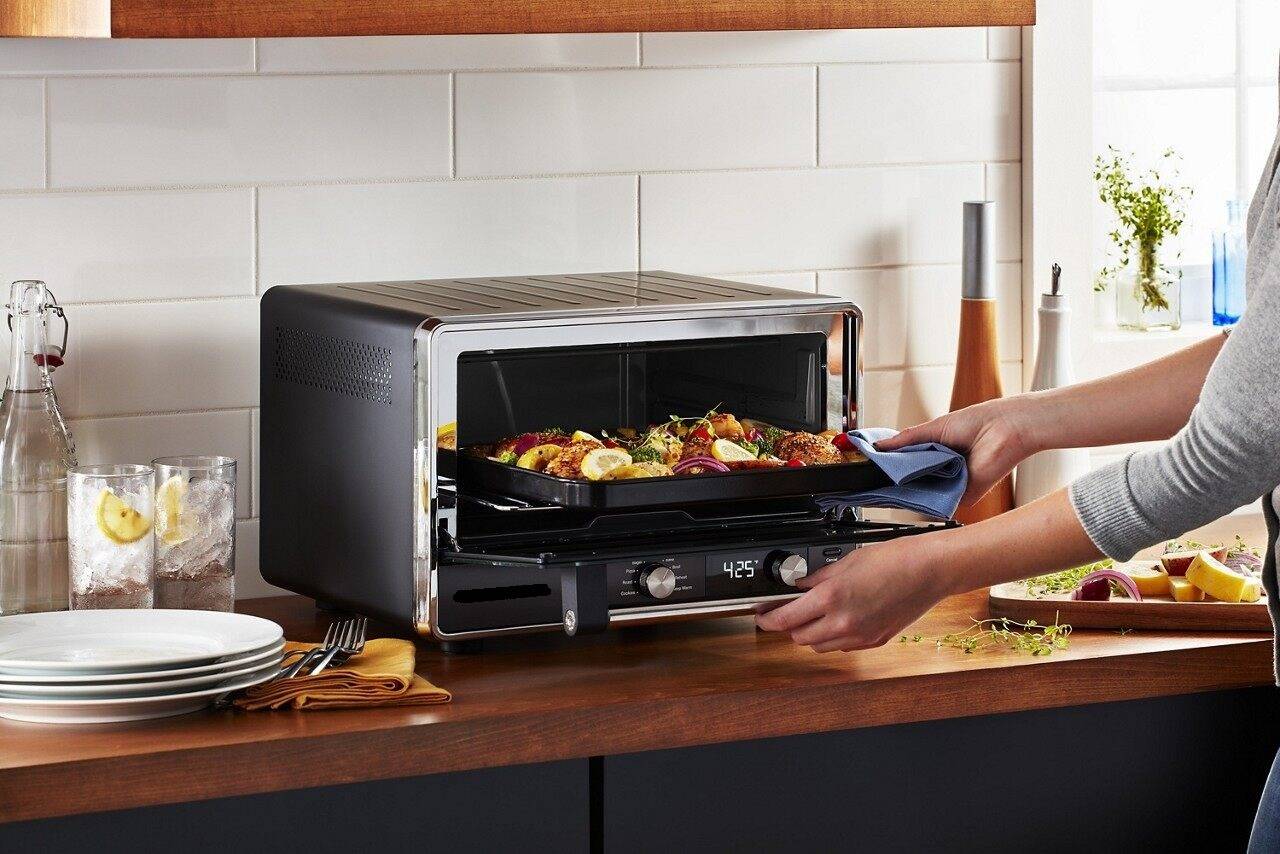
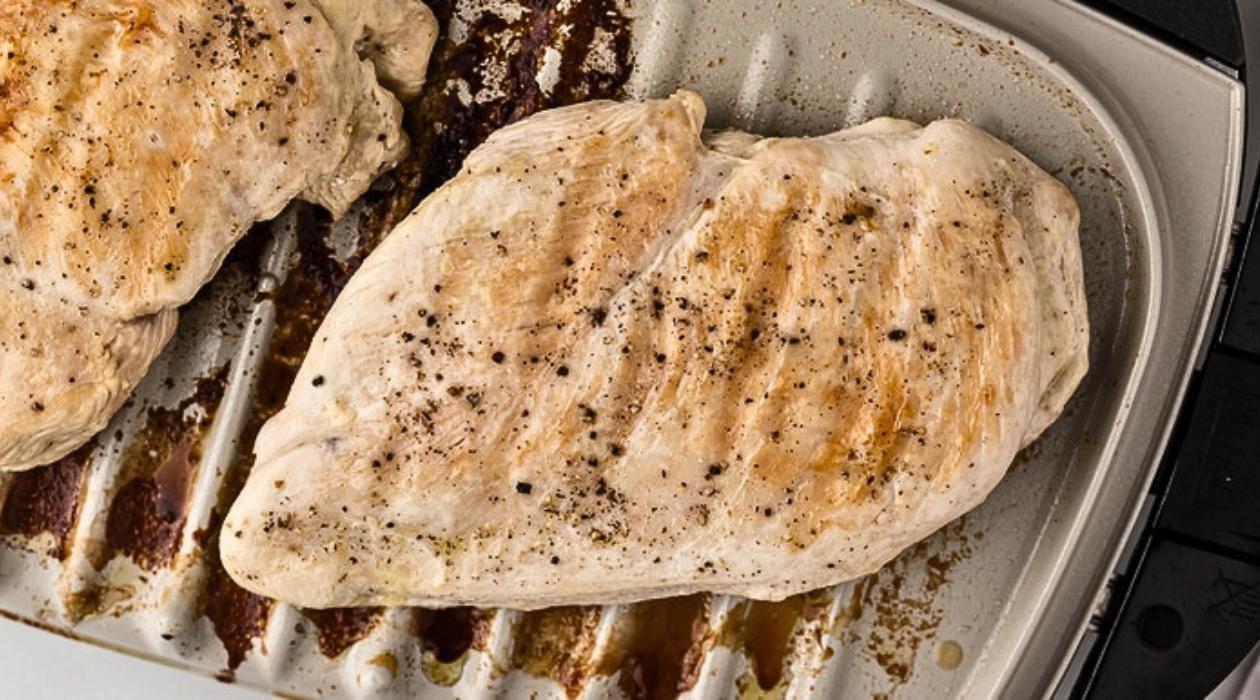
Cooking the Chicken Breast
Now that you have properly prepared the chicken breast and preheated the toaster oven, it’s time to start cooking. Follow these steps to cook the chicken breast in your toaster oven:
Adjusting the Toaster Oven Settings
Before placing the chicken breast in the toaster oven, it’s essential to adjust the settings to ensure proper cooking. Here’s what you need to do:
- Check if your toaster oven has different cooking functions, such as bake, broil, or roast. For cooking chicken breast, the bake function is typically the best option.
- If your toaster oven has temperature settings, set it to 375°F (190°C), as this temperature is suitable for cooking chicken breast.
- If your toaster oven has a timer, set it to the appropriate cooking time. On average, chicken breast takes about 20-25 minutes to cook, but the cooking time can vary depending on the size and thickness of the chicken breast.
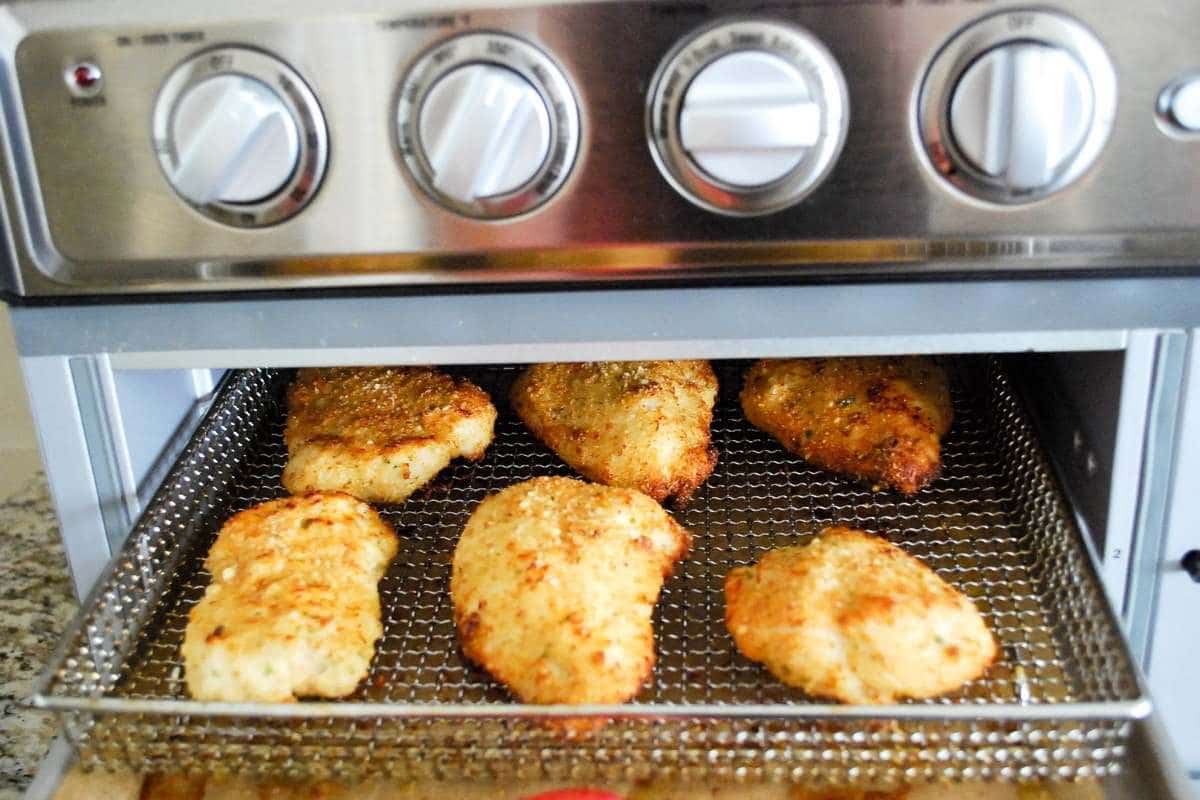
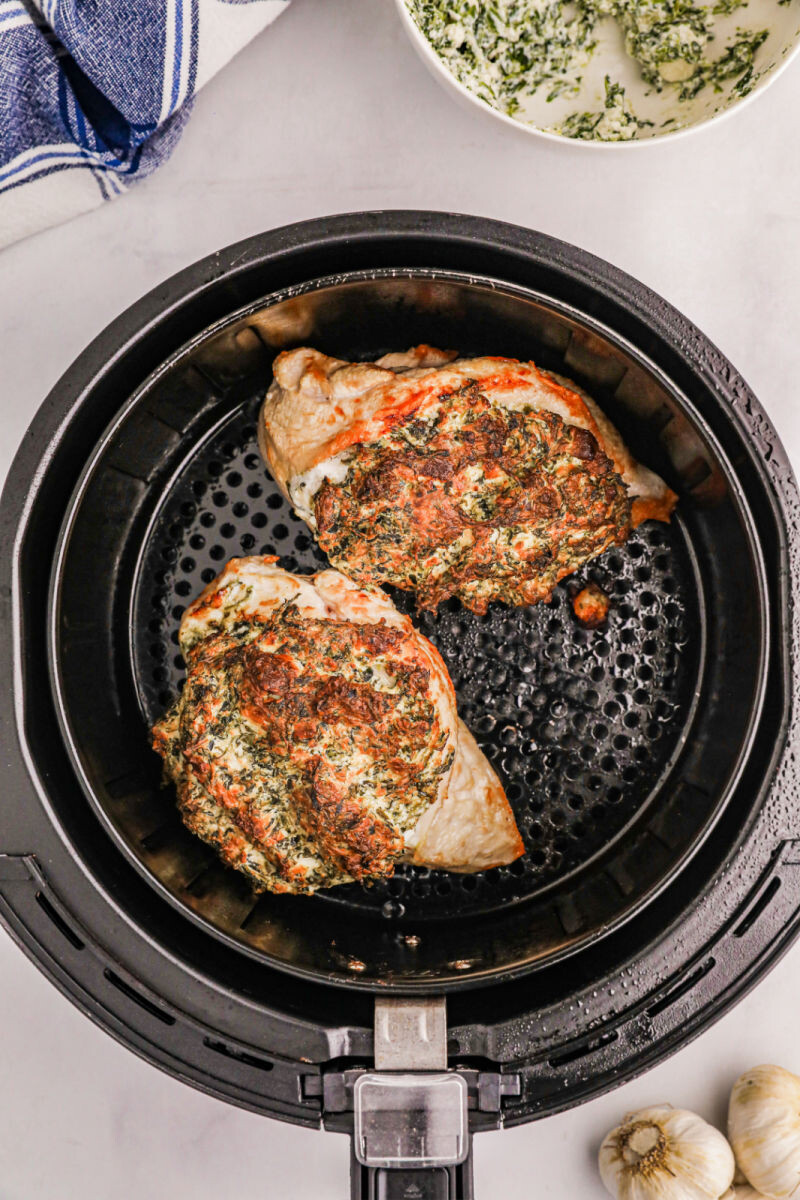
Placing the Chicken Breast in the Toaster Oven
Once you have adjusted the toaster oven settings, it’s time to place the seasoned chicken breast in the toaster oven:
- Open the toaster oven door and carefully place the chicken breast on a baking tray or a wire rack lined with aluminum foil. This helps to catch any drippings and makes the cleanup easier.
- Make sure to leave some space around the chicken breast to allow for proper air circulation and even cooking.
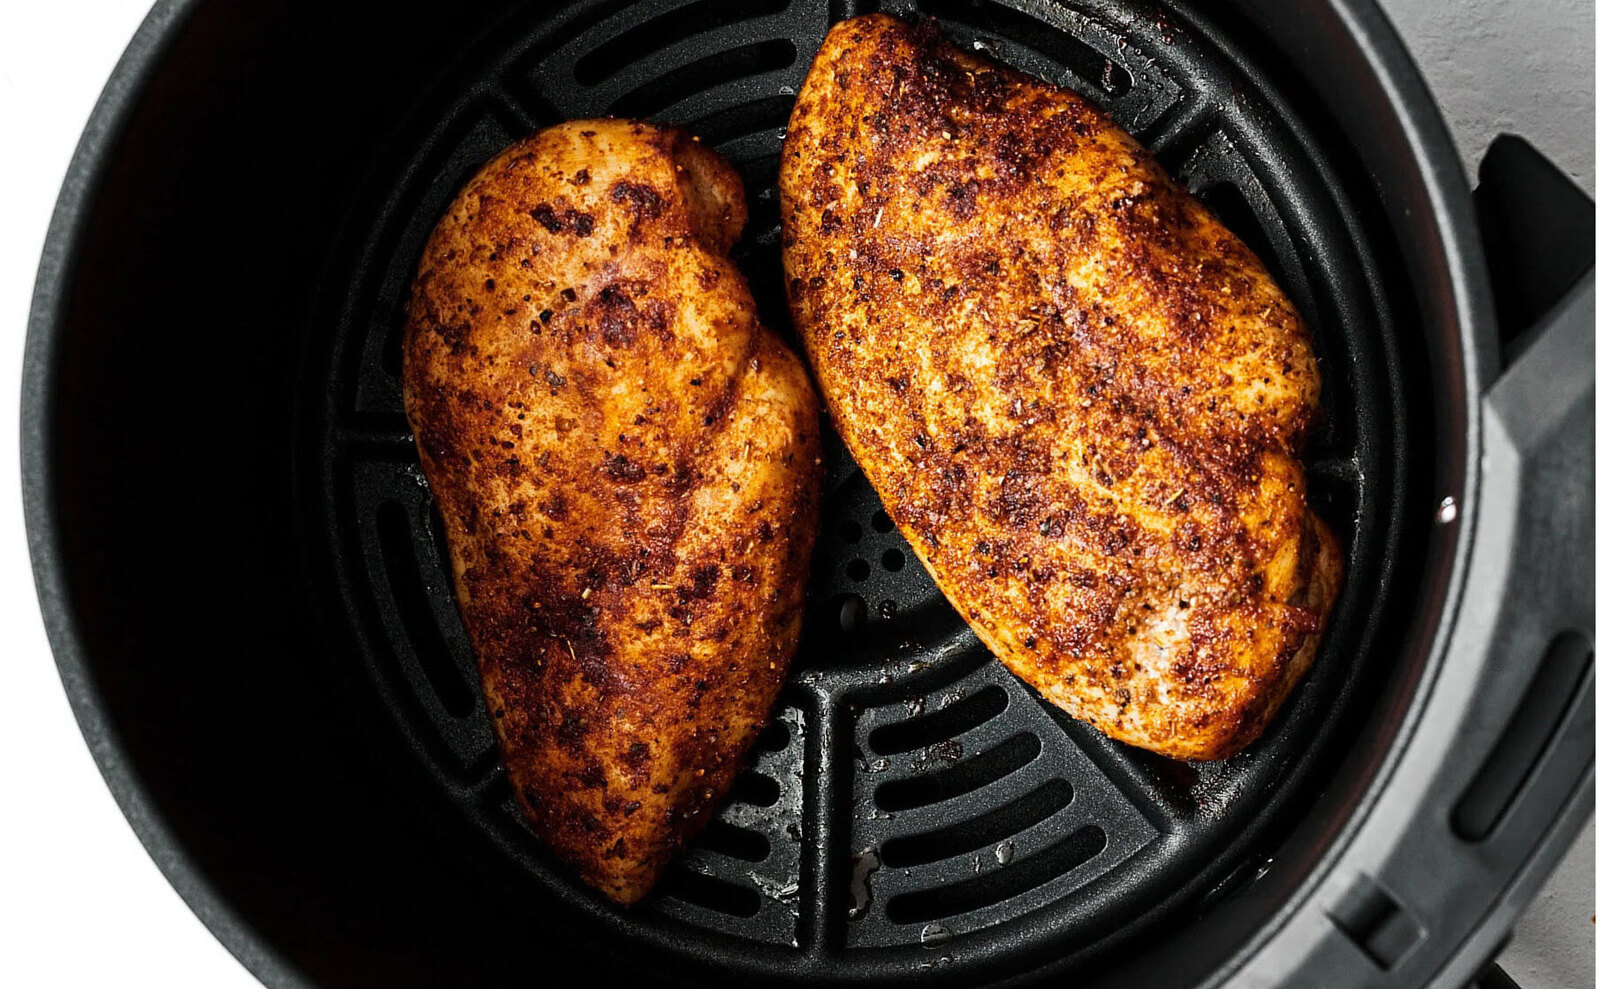
Monitoring the Cooking Progress
While the chicken breast is cooking in the toaster oven, it’s important to monitor its progress to ensure that it cooks evenly and doesn’t become overcooked. Follow these steps to monitor the cooking progress:
- Avoid opening the toaster oven door frequently, as this can cause the oven temperature to drop and increase the cooking time.
- Use the oven light or check through the oven window, if available, to observe the chicken breast’s color and texture as it cooks.
- After about 15 minutes, you can use tongs to carefully flip the chicken breast to ensure even browning on both sides.
By monitoring the cooking progress, you’ll be able to determine when the chicken breast is done and ready to be checked for doneness.
Checking for Doneness
Checking for doneness is a crucial step to ensure that the chicken breast is cooked thoroughly and safe to eat. There are a couple of methods you can use to check if the chicken breast is done. Let’s take a look at these methods:
Using a Meat Thermometer
Using a meat thermometer is the most accurate way to check the internal temperature of the chicken breast. Here’s how you can do it:
- Insert the probe of the meat thermometer into the thickest part of the chicken breast, avoiding any bones.
- Make sure the probe is inserted deep enough to reach the center of the chicken breast, but not touching the tray or rack it’s resting on.
- Wait for a few seconds until the thermometer gives you a reading.
- The chicken breast is considered safe to eat when the internal temperature reaches 165°F (74°C).
If the temperature hasn’t reached 165°F (74°C) yet, continue cooking the chicken breast in the toaster oven for a few more minutes and then check again. Avoid overcooking the chicken breast, as it can result in dry and tough meat.
Testing the Chicken Breast with a Fork
Another way to check if the chicken breast is done is by testing its texture and appearance with a fork. Here’s what you can do:
- Insert a fork into the thickest part of the chicken breast and twist it slightly.
- If the juices run clear and there are no traces of pink or bloody liquid, the chicken breast is likely cooked through.
- The chicken breast should also feel firm to the touch, with no signs of rawness or sponginess.
If you notice any signs of pinkness or bloody liquid, continue cooking the chicken breast for a few more minutes before checking again. It’s important to ensure that the chicken breast is fully cooked to avoid any risks of foodborne illness.
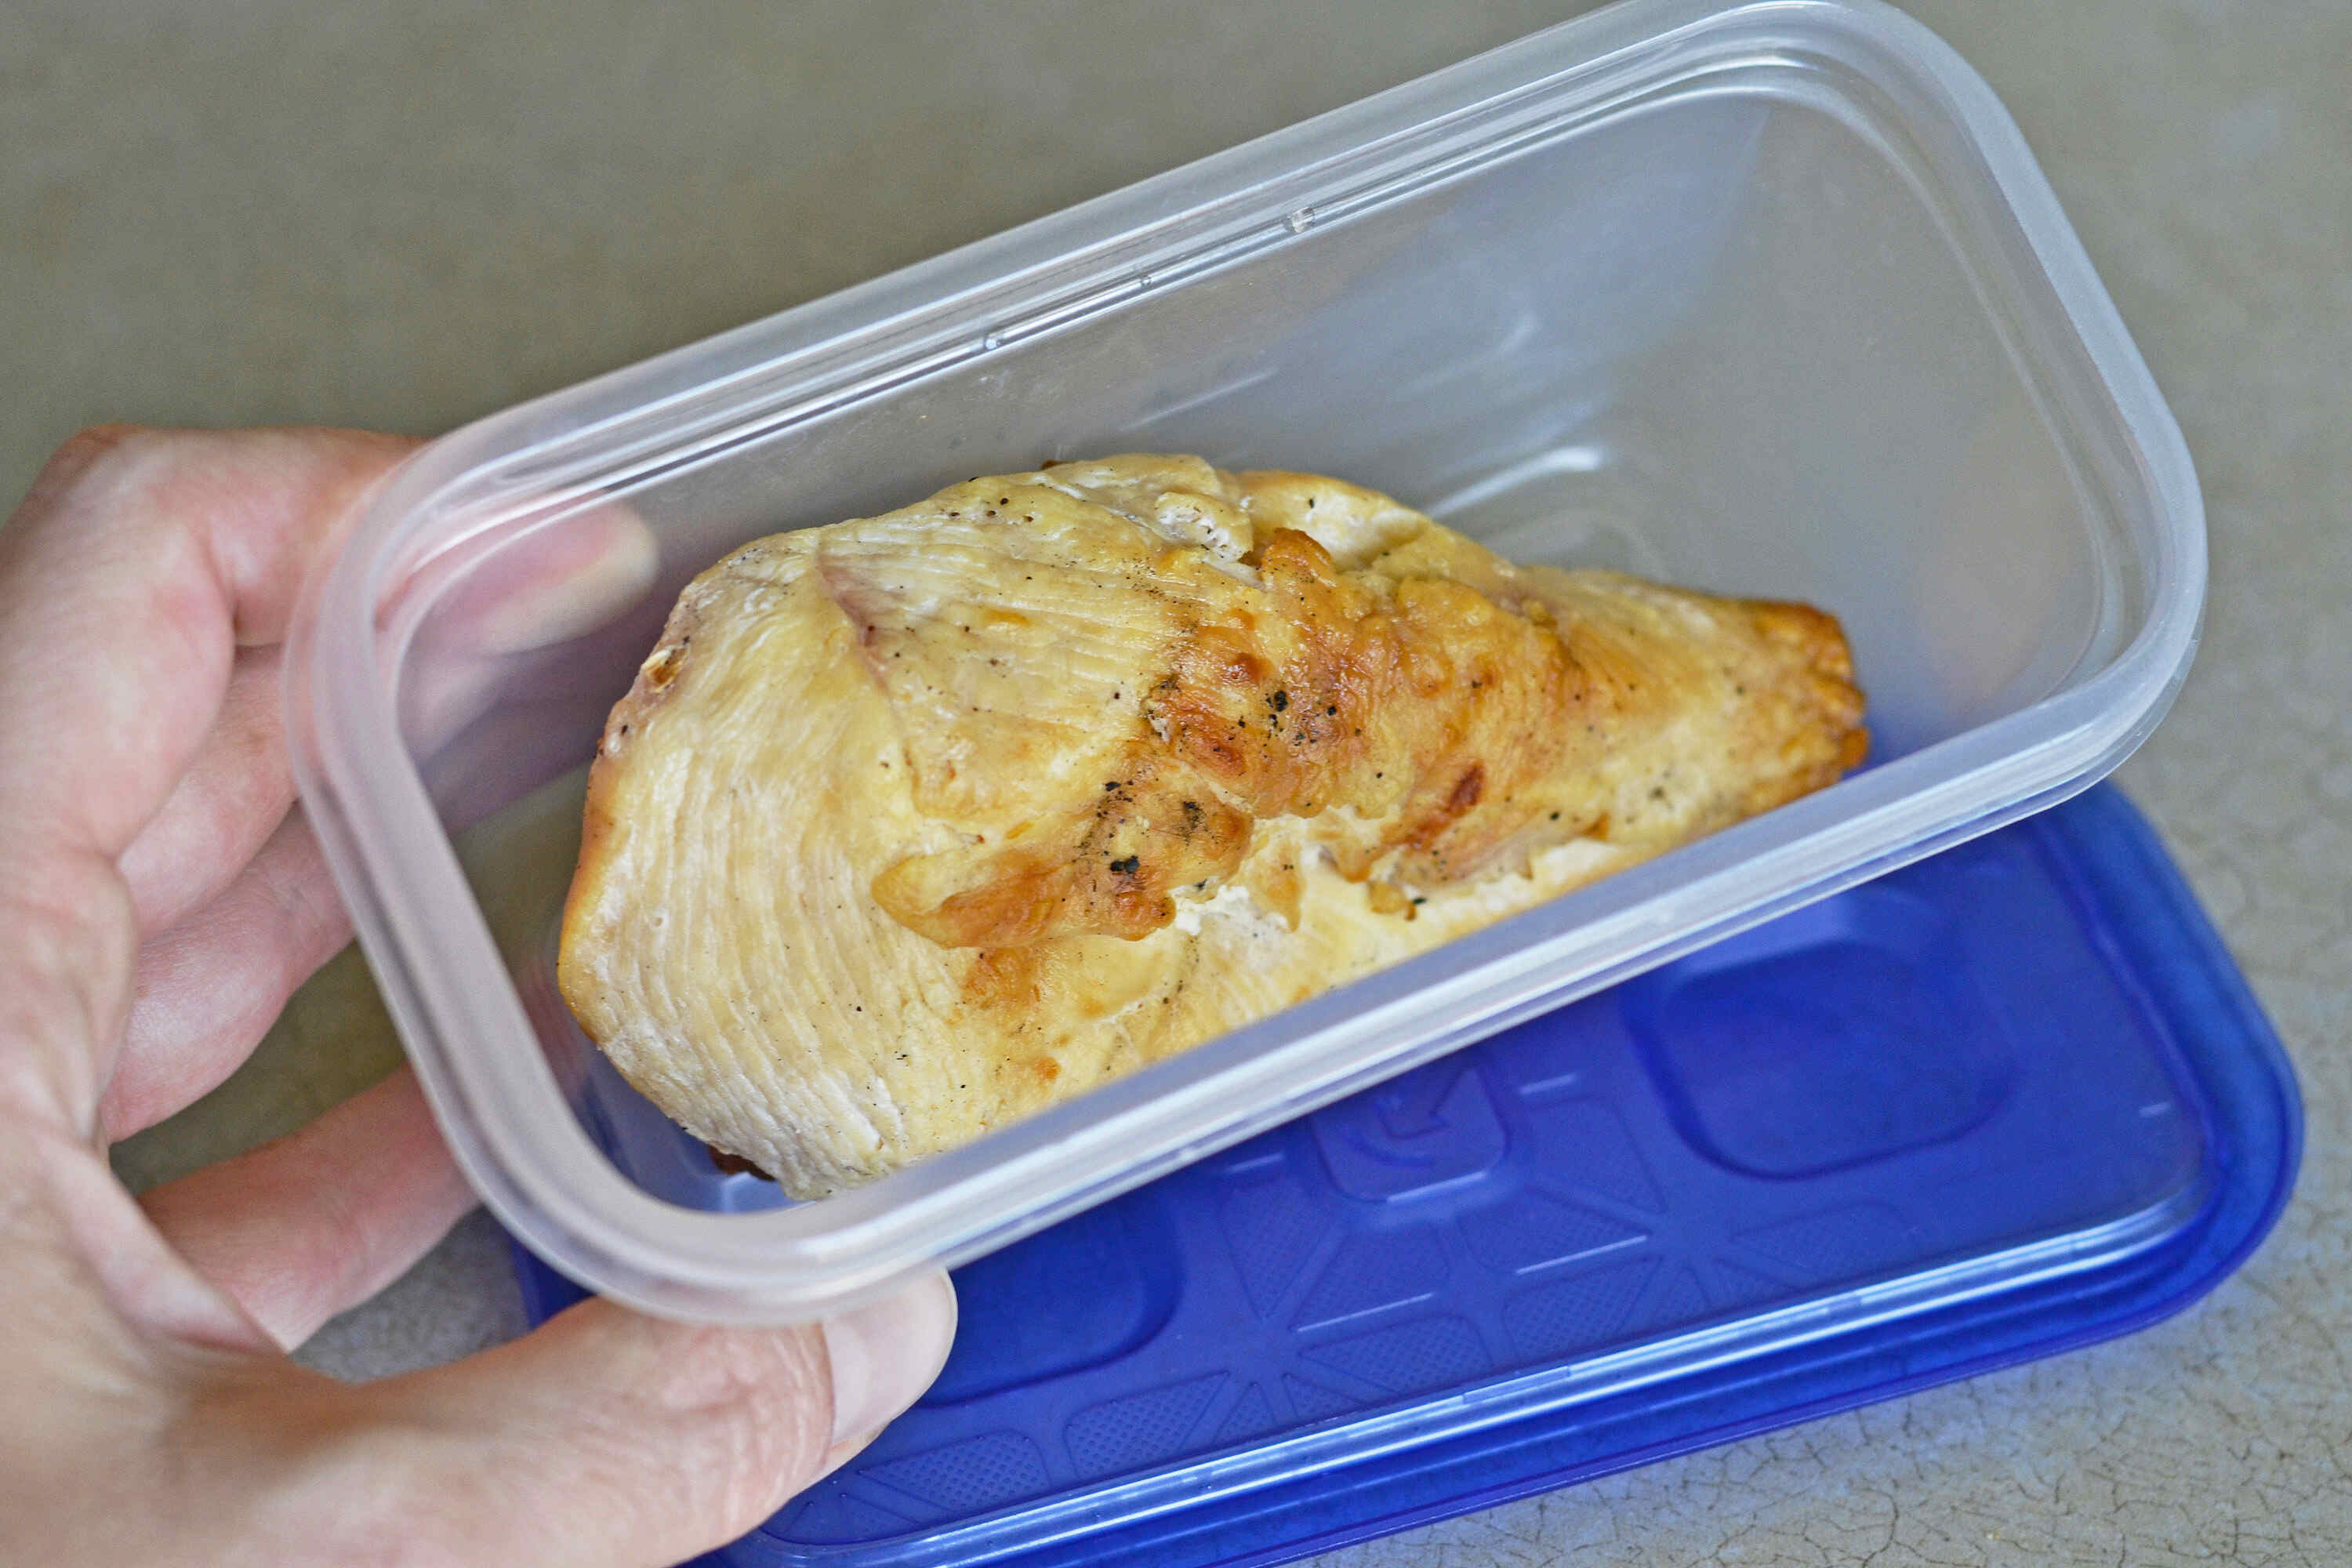
Serving and Enjoying
After confirming that the chicken breast is cooked to perfection, it’s time to savor the delicious results. Here are the final steps to serve and enjoy your cooked chicken breast:
Letting the Chicken Breast Rest
Before slicing into the chicken breast, it’s important to let it rest for a few minutes. This allows the juices to redistribute within the meat, resulting in a more tender and flavorful chicken breast. Here’s how to let it rest:
- Remove the chicken breast from the toaster oven and place it on a cutting board or a plate.
- Cover the chicken breast loosely with aluminum foil to keep it warm.
- Let the chicken breast rest for about 5 minutes. This allows the temperature to even out and the juices to settle back into the meat.
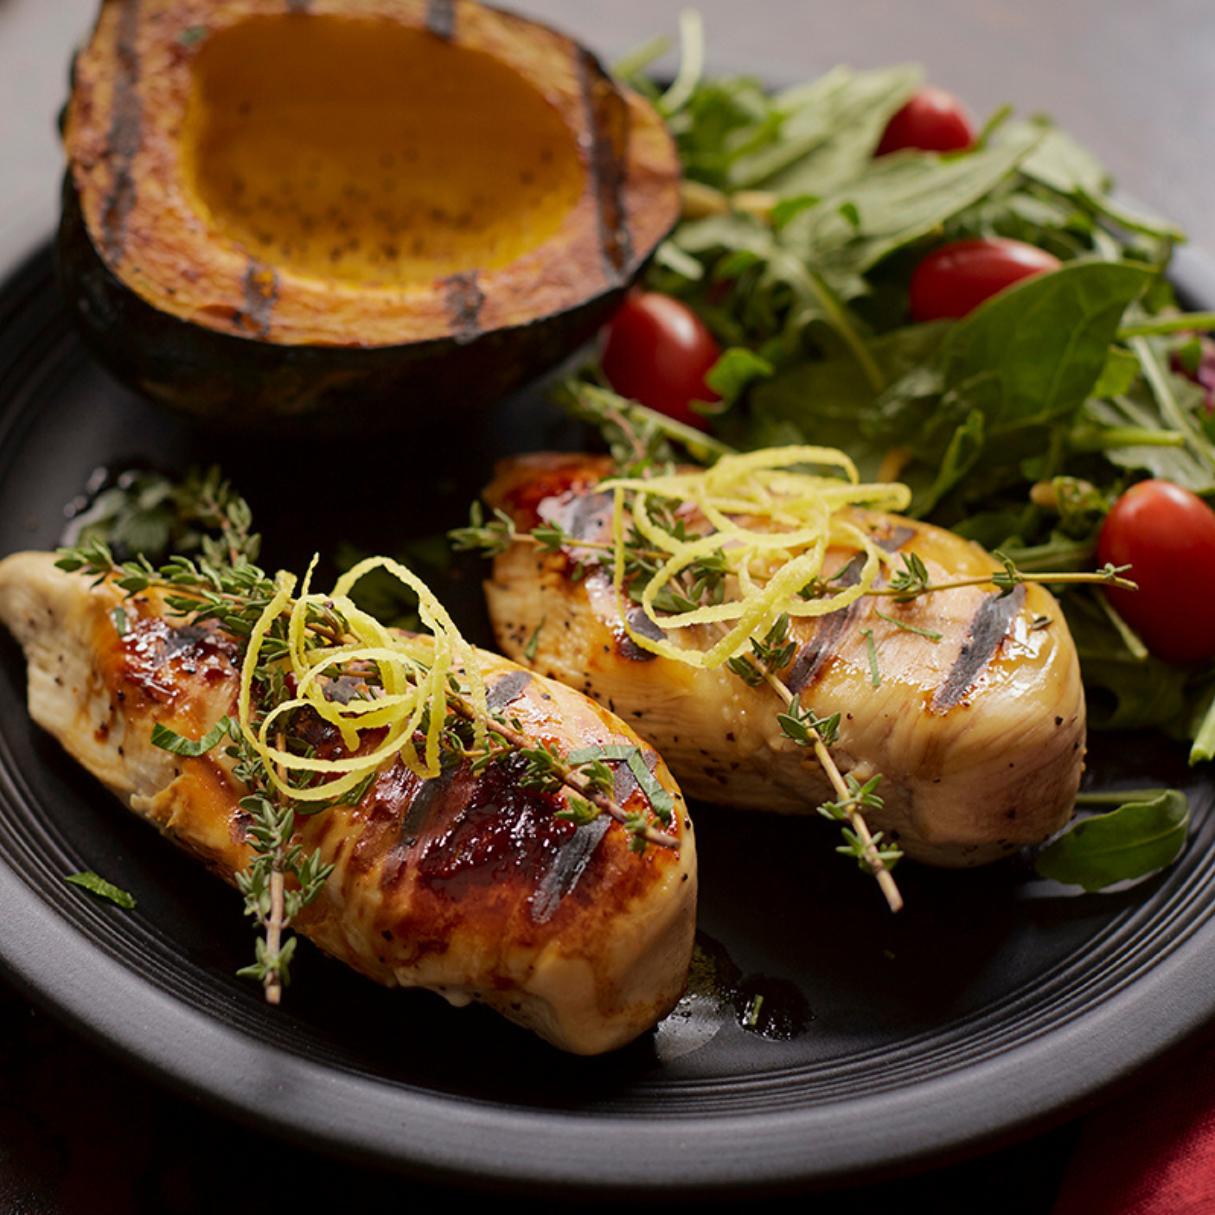
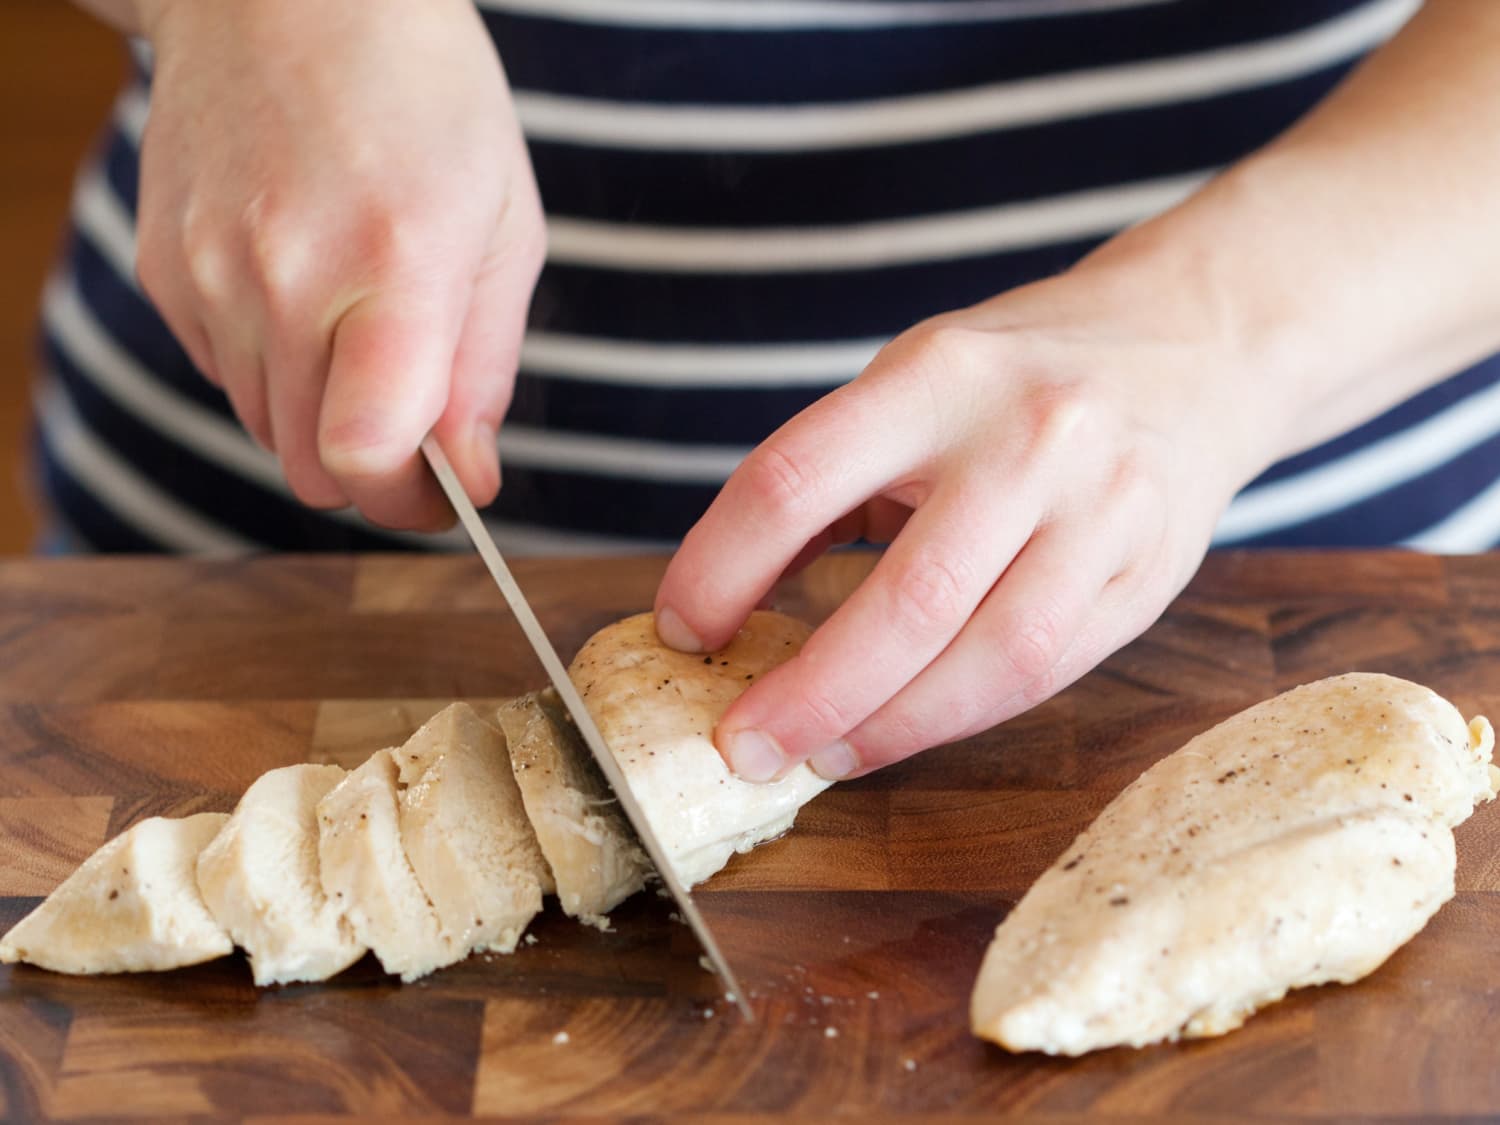
Slicing and Serving the Cooked Chicken Breast
Now that the chicken breast has rested, it’s time to slice and serve it. Follow these steps to achieve perfectly cut pieces:
- Use a sharp knife to slice the chicken breast against the grain. This means cutting across the fibers of the meat, which helps ensure tenderness.
- Start by cutting the chicken breast into thin slices, about ½ inch (1.3 cm) thick.
- You can slice the chicken breast on a bias for an elegant presentation, or simply cut it into regular slices.
Pairing it with Your Favorite Sides
The cooked chicken breast is now ready to be enjoyed. Serve it with your favorite sides to create a well-rounded and satisfying meal. Here are some mouthwatering ideas for side dishes to complement your chicken breast:
- Steamed vegetables, such as broccoli, carrots, or green beans.
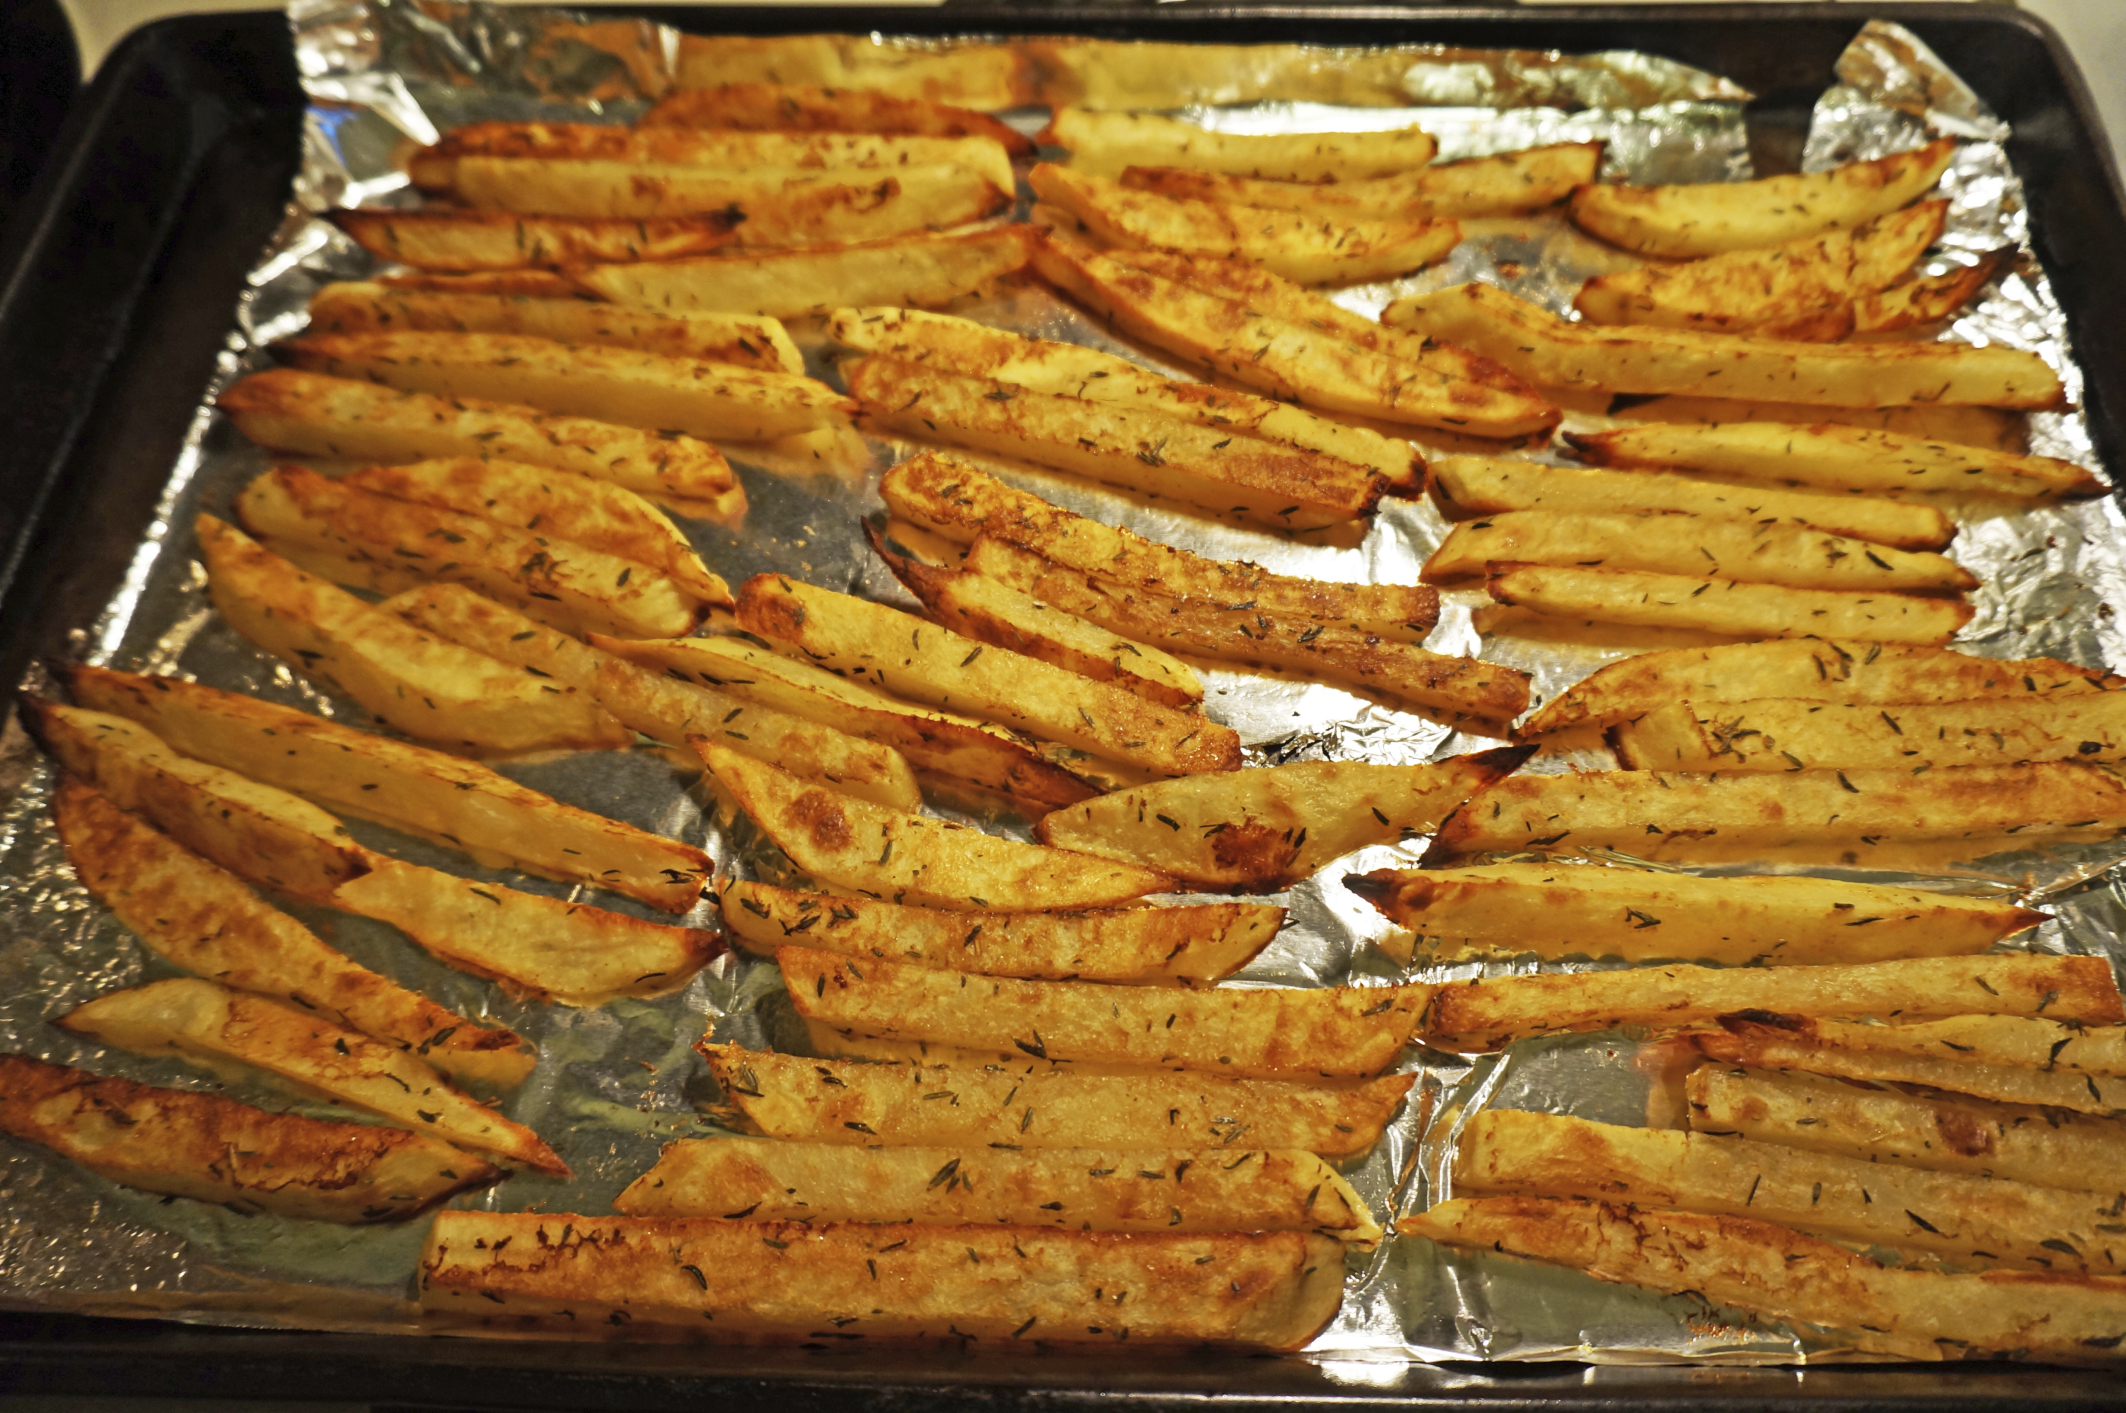
- Roasted potatoes or sweet potatoes.
- A fresh salad with mixed greens, cherry tomatoes, and a tangy vinaigrette.
- Grains like quinoa, couscous, or rice.
- Sautéed mushrooms or onions for extra flavor.
- A crusty bread roll or dinner roll to complete the meal.
Don’t forget to garnish your chicken breast with fresh herbs or a squeeze of lemon juice for an extra burst of flavor. Experiment with different combinations to find your favorite pairing.
Now that you have sliced your chicken breast and prepared the sides, it’s time to sit back, relax, and savor the deliciousness of your homemade chicken breast meal.
Conclusion
Cooking chicken breast in a toaster oven is a convenient and efficient way to enjoy a flavorful and juicy meal. By following the steps outlined in this article, you can achieve perfectly cooked chicken breast that is sure to impress your taste buds.
Remember to start by properly preparing the chicken breast, seasoning it to your liking, and preheating the toaster oven. Adjust the settings, place the chicken breast in the toaster oven, and monitor its cooking progress. Use a meat thermometer or test the texture with a fork to ensure the chicken breast is cooked through.
Once the chicken breast is done, allow it to rest for a few minutes, and then slice it into tender and delicious pieces. Serve the cooked chicken breast with your favorite sides to complete a well-rounded and satisfying meal.
Whether you’re a student, a busy professional, or simply don’t have access to a full-sized oven, cooking chicken breast in a toaster oven offers a practical and tasty solution. Get creative with seasonings, experiment with different cooking times and temperatures, and enjoy the convenience and versatility that a toaster oven provides.
So, why not give it a try? Grab your toaster oven, gather your ingredients, and cook up a delicious chicken breast meal that will leave you wanting more. Happy cooking!
Frequently Asked Questions about How Long To Cook Chicken Breast In Toaster Oven
Was this page helpful?
At Storables.com, we guarantee accurate and reliable information. Our content, validated by Expert Board Contributors, is crafted following stringent Editorial Policies. We're committed to providing you with well-researched, expert-backed insights for all your informational needs.
0 thoughts on “How Long To Cook Chicken Breast In Toaster Oven”