Articles
How Long To Cook Chicken Breasts On Stove Top
Modified: October 20, 2024
Find out the perfect cooking time for tender and juicy chicken breasts on the stovetop with our informative articles. Master the art of stove-top cooking today!
(Many of the links in this article redirect to a specific reviewed product. Your purchase of these products through affiliate links helps to generate commission for Storables.com, at no extra cost. Learn more)
Introduction
Cooking chicken breasts on the stovetop can be a quick and convenient way to prepare a delicious and nutritious meal. Whether you’re an experienced cook or just starting out in the kitchen, this article will guide you through the process of cooking chicken breasts on the stovetop to perfection.
Stovetop cooking provides a versatile method for preparing chicken breasts, allowing you to control the cooking time and temperature for optimal results. By mastering this technique, you can achieve juicy and flavorful chicken breasts that are perfect for a wide range of dishes, from salads and sandwiches to stir-fries and pasta.
Before we dive into the cooking process, let’s talk about how to choose the right chicken breasts for stovetop cooking. It is important to select chicken breasts that are fresh, properly trimmed, and of a suitable size to ensure even cooking. Let’s explore this further in the following section.
Key Takeaways:
- Master the art of stovetop chicken breast cooking for versatile, flavorful, and tender results. Choose high-quality ingredients, season creatively, and achieve the perfect sear for a delicious dining experience.
- Elevate your stovetop chicken breast game with tips like experimenting with flavors, making pan sauces, and trying different cooking techniques. Embrace creativity and enjoy the culinary journey!
Choosing the Right Chicken Breasts
When it comes to cooking chicken breasts on the stovetop, choosing the right ones can make a significant difference in the final result. Here are some key factors to consider when selecting your chicken breasts:
- Freshness: Look for chicken breasts that are firm to the touch, with no unpleasant odor. Avoid those with slimy or discolored patches, as it may indicate spoilage.
- Trimming: Opt for boneless, skinless chicken breasts, as they are easier to work with and cook more evenly. If needed, you can trim any excess fat or connective tissue from the chicken breasts.
- Size: Aim for chicken breasts that are of similar size and thickness. This ensures that they cook at the same rate, preventing one piece from drying out while the other remains undercooked.
- Breast Cut: Consider the type of chicken breast cut you prefer. While boneless, skinless chicken breasts are the most common option, you can also choose bone-in chicken breasts or chicken breast halves depending on your recipe and personal preference.
- Organic and Free-Range: If possible, opt for organic and free-range chicken breasts. These are often more flavorful and have been raised without hormones or antibiotics.
Taking these factors into account will help you ensure that you have high-quality chicken breasts that are perfect for stovetop cooking. Once you have selected the right chicken, the next step is to prepare them for cooking, as we’ll explore in the following section.
Preparing the Chicken Breasts
Before you start cooking the chicken breasts on the stovetop, it is important to properly prepare them for the best results. Here’s a step-by-step guide on how to prepare the chicken breasts:
- Rinsing: Start by rinsing the chicken breasts under cold running water. This helps remove any residual blood or loose particles.
- Patting Dry: Use paper towels to pat the chicken breasts dry. Ensuring they are dry will help achieve a better sear during cooking.
- Pounding: If your chicken breasts are uneven in thickness, you can place them between two sheets of plastic wrap and gently pound them with a meat mallet or a rolling pin. This will help even out the thickness, ensuring more consistent cooking.
- Marinating: While not necessary, you can marinate the chicken breasts to infuse them with extra flavor. Choose a marinade of your choice or simply season the chicken breasts directly. Let them marinate in the refrigerator for at least 30 minutes or up to overnight for maximum flavor.
- Brining: Another option to enhance the juiciness and flavor of the chicken breasts is to brine them. Brining involves soaking the chicken in a saltwater solution for a specific period. This helps to retain moisture and add flavor. If you choose to brine, make sure to rinse the chicken thoroughly before cooking to remove excess salt.
By following these preparation steps, you can ensure that your chicken breasts are clean, dry, and ready to be cooked to perfection on the stovetop. The next step is to season the chicken breasts, which we’ll delve into in the following section.
Seasoning the Chicken Breasts
Seasoning the chicken breasts is an essential step in creating flavorful and delicious results. Here are some tips and ideas for seasoning your chicken breasts:
- Salt and Pepper: Start with the basics. Sprinkle both sides of the chicken breasts with salt and pepper to enhance the natural flavors.
- Herbs and Spices: Get creative with your seasoning by adding herbs and spices. Some popular options include garlic powder, paprika, thyme, rosemary, oregano, or a blend of your favorite herbs and spices.
- Marinades and Sauces: If you marinated the chicken breasts beforehand, you can use the leftover marinade as a flavor enhancer. Alternatively, brush the chicken breasts with your favorite sauce (such as barbecue sauce, teriyaki sauce, or lemon-garlic butter) during cooking for added moisture and taste.
- Citrus and Vinegar: Squeeze some fresh lemon, lime, or orange juice over the chicken breasts before cooking. The acidity will not only add tanginess but also help tenderize the meat.
- Oil and Butter: Rub a small amount of oil (such as olive oil or vegetable oil) or melted butter onto the chicken breasts. This helps to prevent sticking to the pan and adds a rich flavor and crispiness to the surface.
- Customize to Your Taste: Experiment with different combinations of seasonings to suit your personal preferences. From Cajun seasoning to chipotle rubs, the possibilities for customizing the flavor of your chicken breasts are endless.
Once you have seasoned the chicken breasts to your liking, it’s time to move on to the stovetop cooking process. In the next section, we’ll walk you through the steps of preheating the stovetop for optimal cooking results.
Preheating the Stove Top
Before you start cooking the chicken breasts on the stovetop, it’s important to properly preheat the stove. Preheating ensures that the pan and oil reach the desired temperature, allowing for proper browning and even cooking of the chicken breasts. Follow these steps to preheat the stove top:
- Select the Right Pan: Choose a heavy-bottomed skillet or frying pan that is large enough to comfortably fit your chicken breasts without overcrowding. A cast iron skillet or stainless steel pan are good options, as they distribute heat evenly.
- Heat the Pan: Place the pan on the stove over medium-high heat. Allow it to heat for a few minutes until it becomes hot. You can test the temperature by flicking a few drops of water onto the pan – if they sizzle and evaporate quickly, the pan is ready.
- Add Oil or Butter: Once the pan is hot, add a small amount of oil or butter to the pan. Swirl it around, ensuring that the entire surface of the pan is coated evenly. This will prevent the chicken breasts from sticking and help achieve a golden, crispy exterior.
- Heat the Oil: Allow the oil or butter to heat for a minute or two until it shimmers or starts to lightly smoke. This indicates that the oil is hot and ready for cooking.
By properly preheating the stove top and the pan, you will create the ideal cooking environment for your chicken breasts. This will result in a beautifully seared and flavorful outer crust while keeping the inside moist and tender. Now that the stove is preheated, let’s move on to the next step: cooking the chicken breasts on the stovetop.
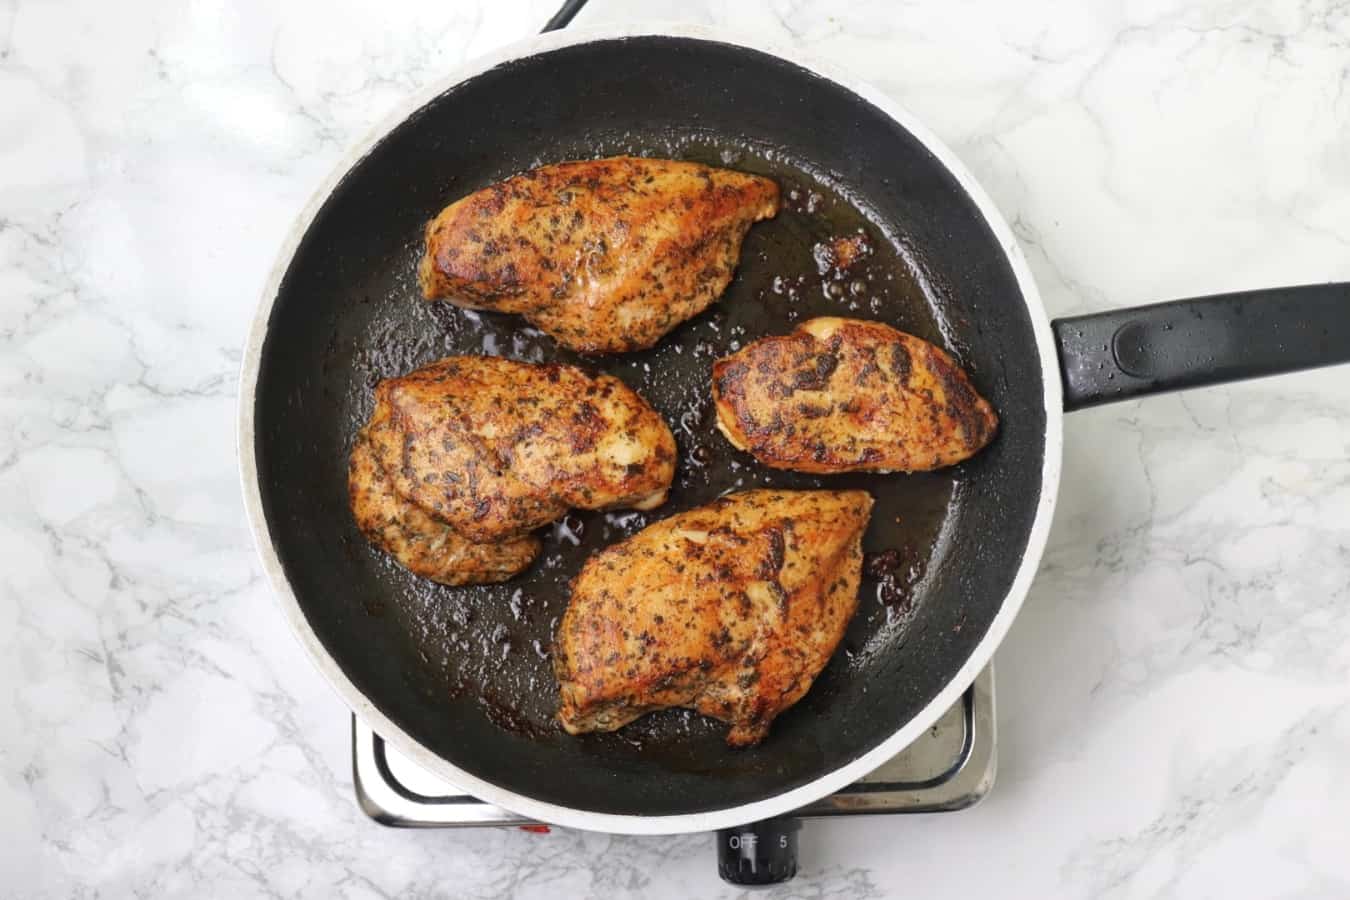
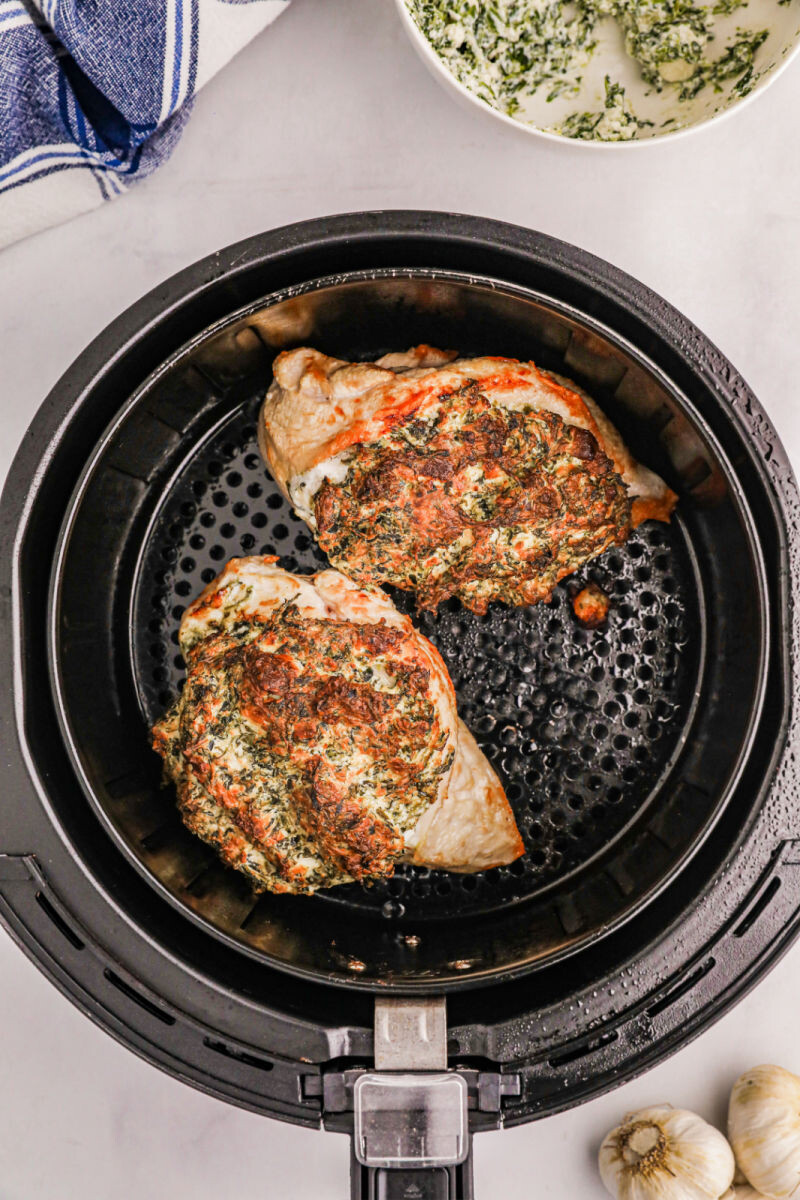
For juicy and tender chicken breasts on the stove top, cook them for 6-8 minutes per side over medium heat. Use a meat thermometer to ensure they reach an internal temperature of 165°F (75°C).
Read more: How To Stew Chicken On Stove Top
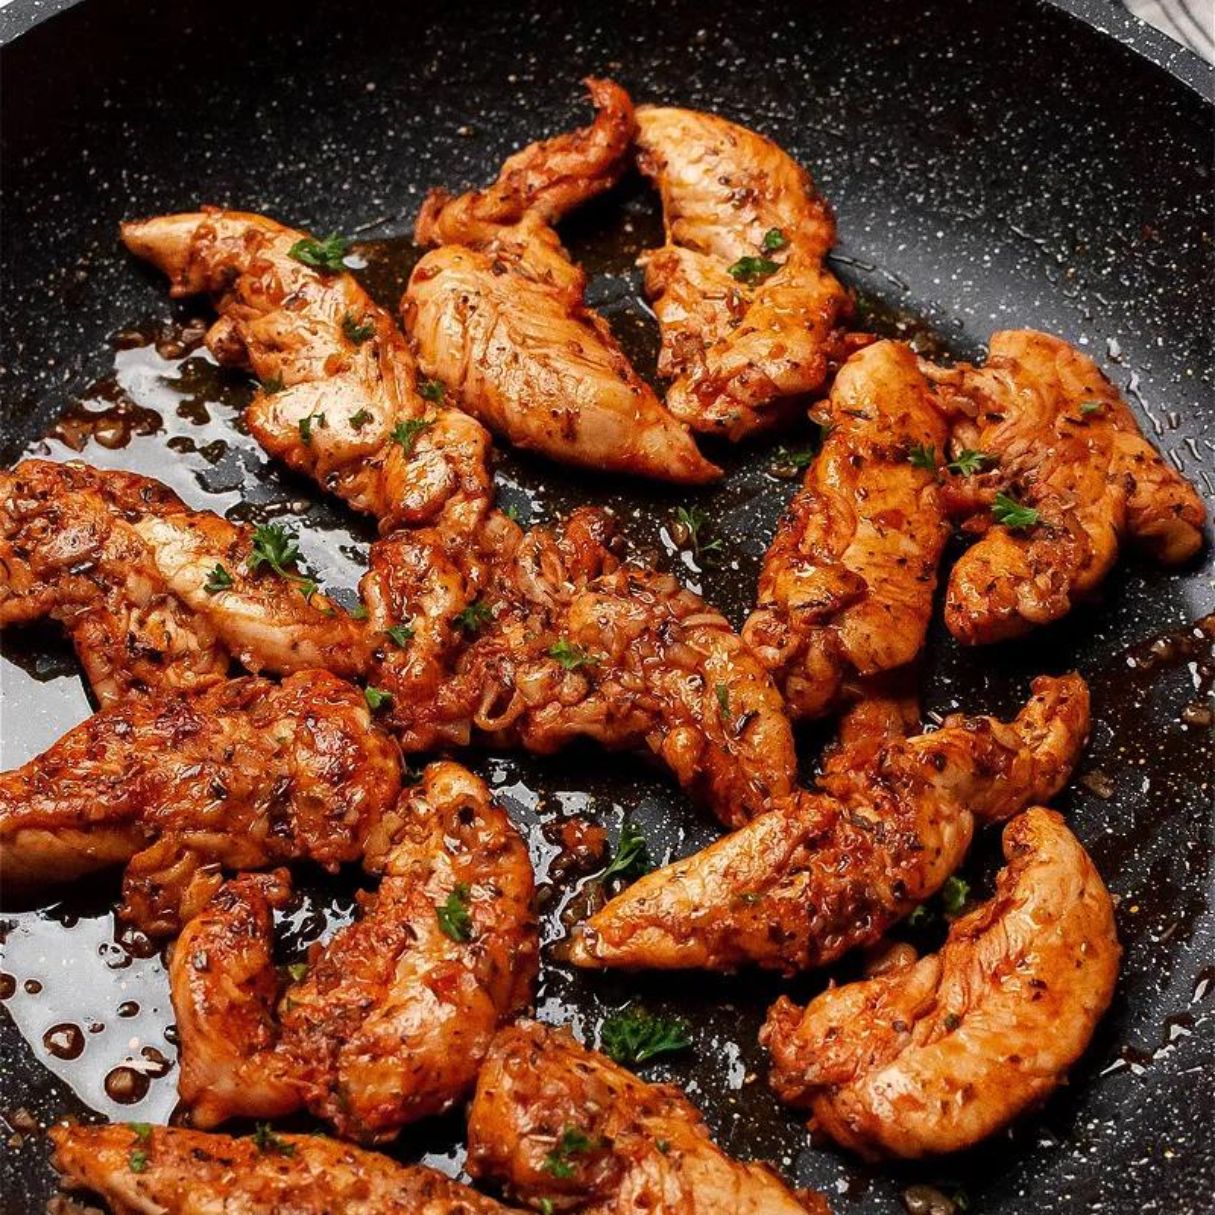
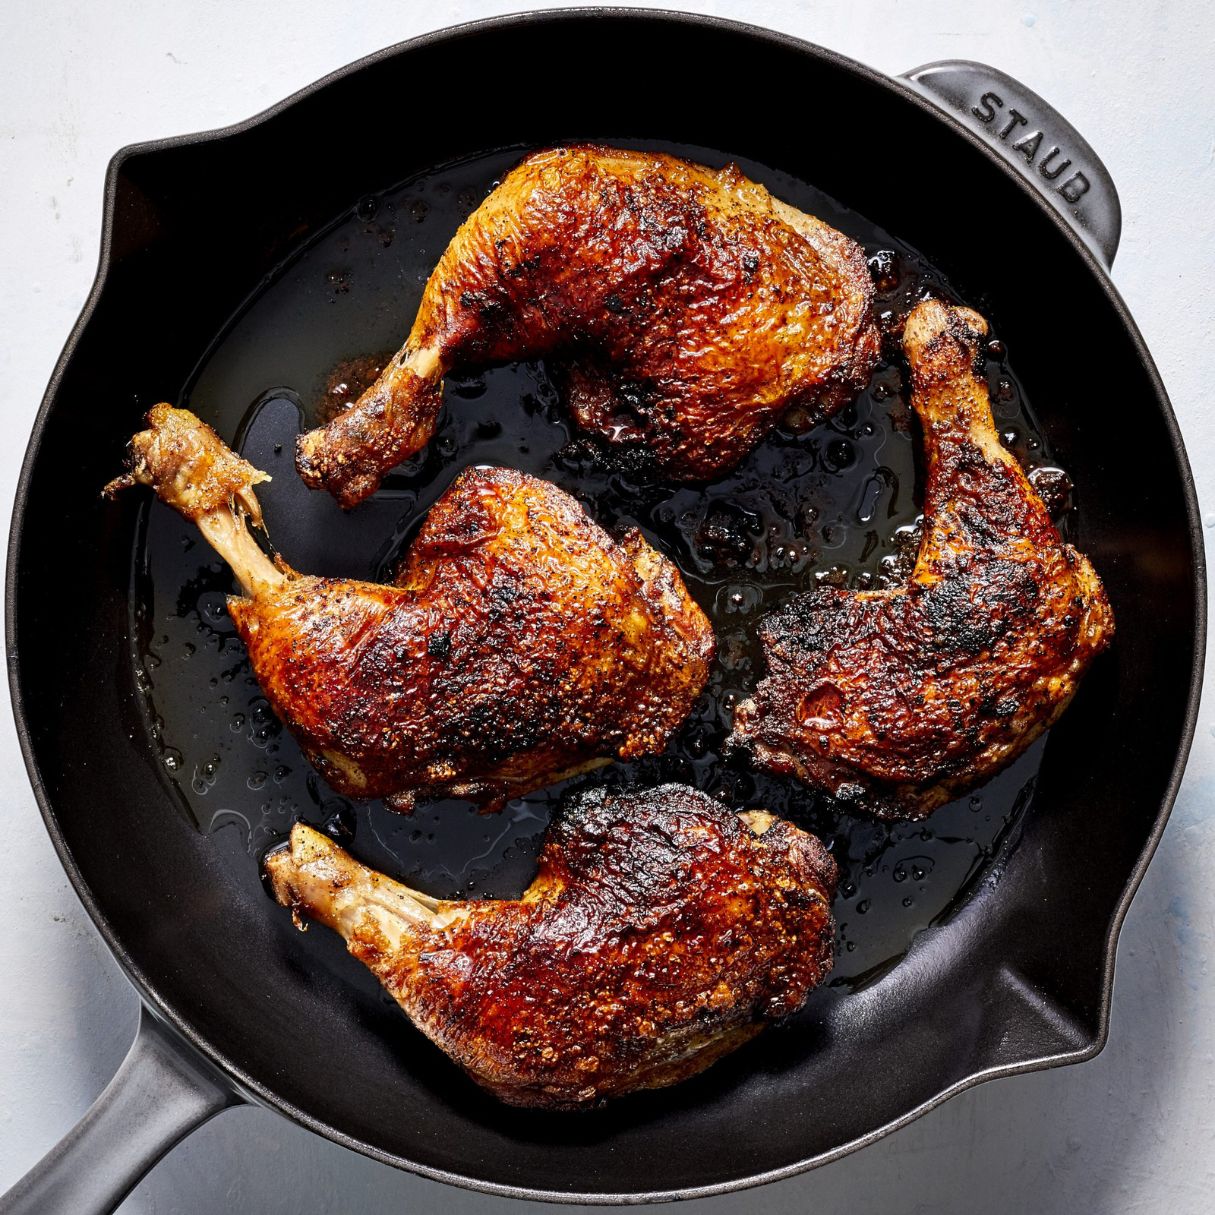
Cooking the Chicken Breasts
Now comes the exciting part – cooking the chicken breasts on the stovetop! Follow these steps to achieve perfectly cooked chicken breasts:
- Place the Chicken Breasts in the Pan: Carefully place the seasoned chicken breasts in the preheated pan, ensuring they are in a single layer and not overcrowded. If necessary, cook the chicken breasts in batches to avoid overcrowding the pan.
- Cook on One Side: Let the chicken breasts cook undisturbed for about 6-8 minutes on the first side. This allows for a nice sear to develop, creating a flavorful golden-brown crust.
- Flip the Chicken Breasts: Use tongs or a spatula to carefully flip the chicken breasts to the other side. Cook for an additional 6-8 minutes. The total cooking time may vary depending on the thickness of the chicken breasts.
- Adjust Heat if Needed: If the chicken is browning too quickly or the pan is smoking excessively, reduce the heat slightly to prevent burning.
- Check for Doneness: To ensure that the chicken is fully cooked, use a meat thermometer to check the internal temperature. The chicken breasts are done when the thickest part reaches an internal temperature of 165°F (74°C).
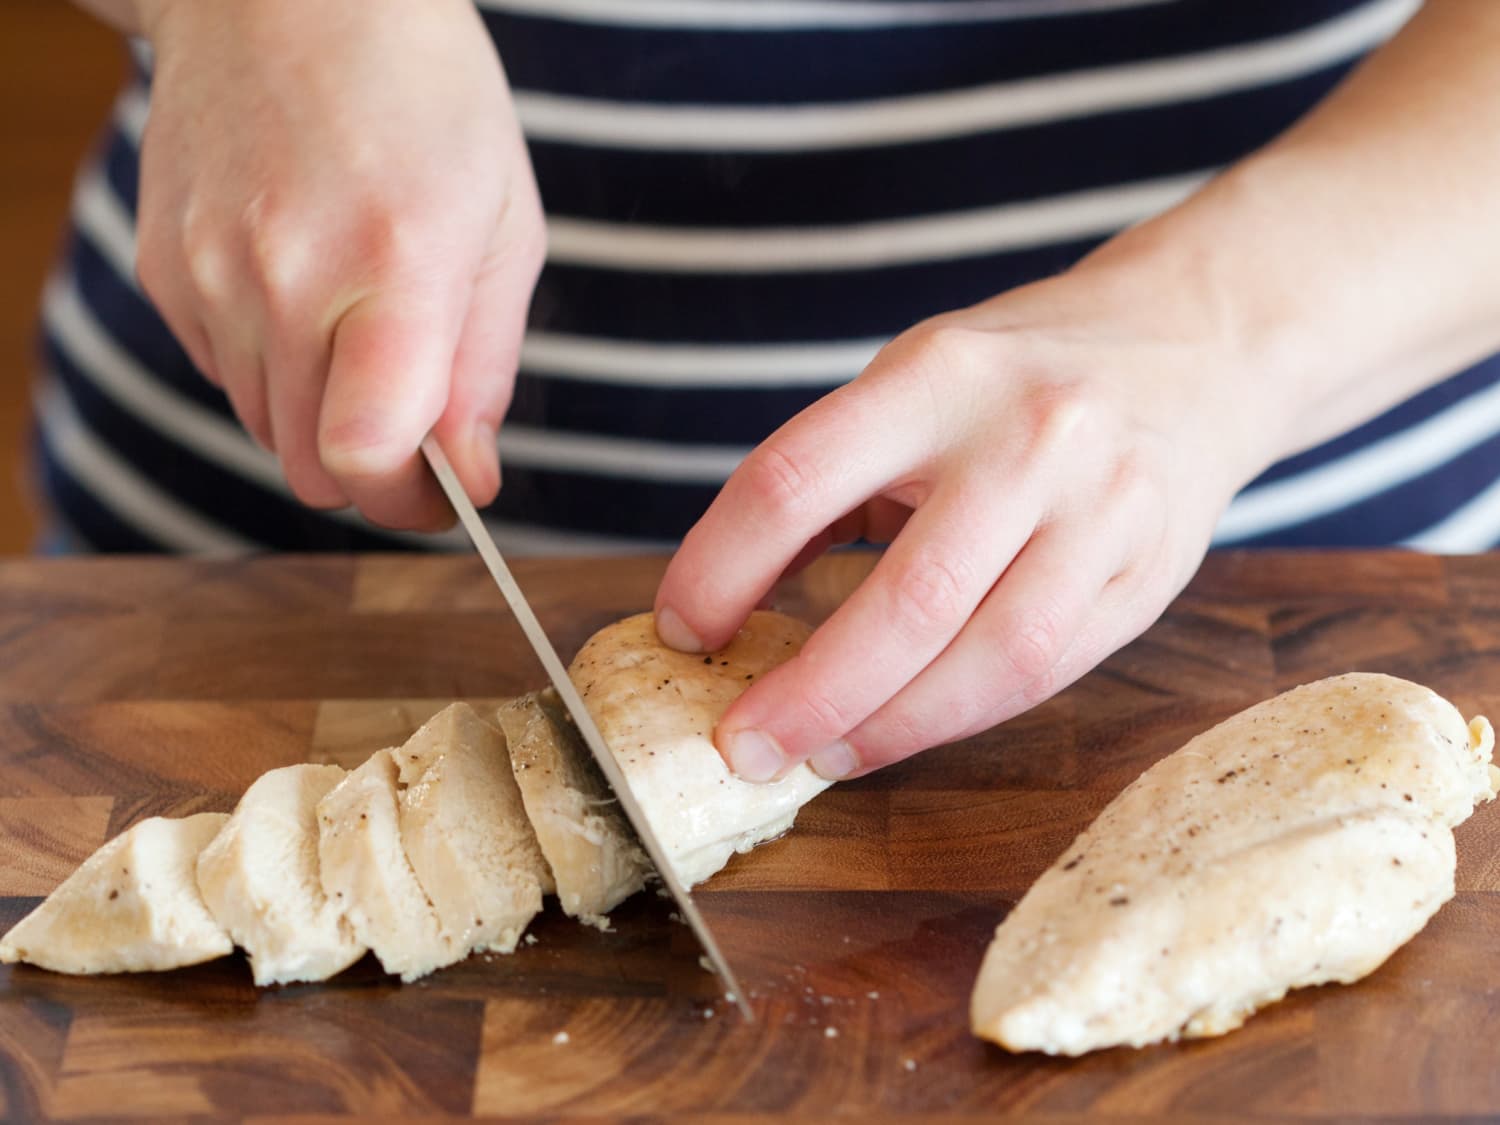
- Rest Before Serving: Once the chicken breasts are cooked to perfection, remove them from the pan and place them on a clean cutting board. Allow them to rest for a few minutes before slicing or serving. This step helps the juices redistribute, resulting in tender and juicy chicken.
Remember to adjust the cooking time based on the thickness of the chicken breasts to avoid overcooking or undercooking. With these steps, you’ll be able to achieve beautifully cooked chicken breasts with a flavorful crust. In the next section, we’ll discuss how to check for doneness.
Checking for Doneness
Ensuring that your chicken breasts are cooked to the proper internal temperature is crucial for food safety and to guarantee that they are fully cooked. Here are a few methods to check for doneness:
- Using a Meat Thermometer: The most accurate way to determine if your chicken breasts are cooked is by using a meat thermometer. Insert the thermometer probe into the thickest part of the chicken breast, away from any bones. The internal temperature should read 165°F (74°C) when the chicken is fully cooked.
- Checking the Juices: If you don’t have a meat thermometer, you can also check the color and clarity of the juices that run out of the chicken breasts. Pierce the thickest part of the breast with a fork or the tip of a knife, and if the juices run clear with no traces of pink, it is a good sign that the chicken is done.
- Slicing the Chicken: Another way to check the doneness is by slicing through the thickest part of the chicken breast. The meat should be opaque throughout with no signs of pinkness or rawness. The juices should also run clear.
It is important to note that chicken is fully cooked and safe to eat when it reaches an internal temperature of 165°F (74°C). Undercooked chicken can pose health risks, so be sure to check the doneness before serving.
Once your chicken breasts are cooked to perfection and have reached the proper internal temperature, it’s time to move on to the final steps of resting and serving, which we’ll explore in the next section.
Resting and Serving the Chicken Breasts
After your chicken breasts have been cooked to perfection, it’s essential to allow them to rest before serving. Resting the chicken breasts helps ensure that the juices redistribute evenly throughout the meat, resulting in a more tender and flavorful final dish. Here’s what you need to do:
- Transfer to a Plate or Cutting Board: Use tongs or a spatula to carefully transfer the cooked chicken breasts from the pan to a clean plate or cutting board. Avoid stacking them to prevent them from becoming soggy.
- Let Them Rest: Allow the chicken breasts to rest for about 5-10 minutes. This resting period gives the proteins in the meat a chance to relax and allows the juices to redistribute, ensuring moist and succulent chicken.
- Slice or Serve: Once the resting time is over, you can choose to slice the chicken breasts into thin strips or serve them as whole pieces, depending on your recipe or preference. Slice against the grain to maximize tenderness.
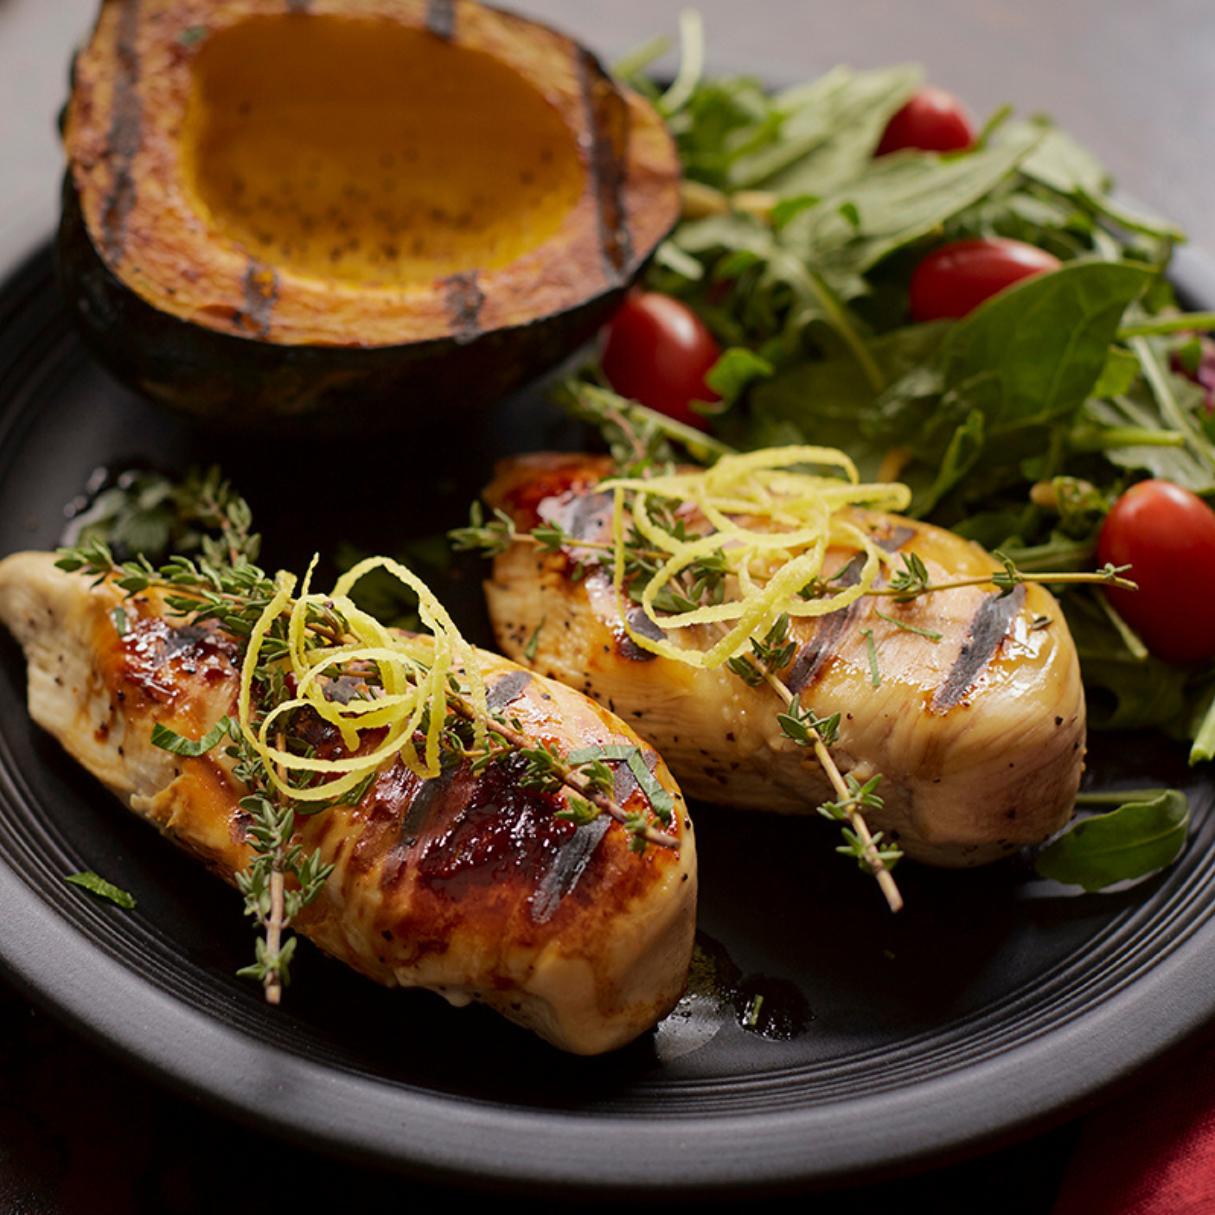
- Accompaniments and Garnishes: Serve the chicken breasts with your favorite accompaniments and garnishes, such as a side of vegetables, mashed potatoes, rice, or a fresh salad. You can also drizzle a sauce or gravy over the chicken for added flavor.
- Enjoy and Serve: Once plated and garnished, your beautifully cooked chicken breasts are ready to be enjoyed. Savor the delicious flavors and enjoy the rewards of your stovetop cooking efforts.
Remember, a well-rested chicken breast is key to achieving a tender and juicy result. By allowing the meat to rest, you ensure a more enjoyable dining experience. Now that you know how to rest and serve the chicken breasts, let’s move on to some additional tips and variations to further elevate your stovetop chicken cooking skills.
Tips and Variations
Here are some additional tips and variations to help you make the most out of your stovetop chicken breast cooking:
- Use a Meat Tenderizer: If you want to further tenderize your chicken breasts, consider using a meat tenderizer tool or marinating them in a tenderizing marinade containing ingredients like yogurt, pineapple juice, or buttermilk.
- Experiment with Flavors: Don’t be afraid to get creative with your seasoning and marinade choices. Try adding spices, herbs, citrus zest, or even a splash of your favorite hot sauce to amp up the flavor profile.
- Add Aromatics: Enhance the aroma and taste of your chicken breasts by adding aromatic ingredients such as minced garlic, finely chopped onions, or fresh herbs like thyme or rosemary to the pan during cooking.
- Make Pan Sauces: After cooking the chicken breasts, you can deglaze the pan with a liquid like chicken broth or white wine, and then add butter or cream to create a flavorful pan sauce. Drizzle the sauce over the chicken before serving.
- Try Different Cooking Techniques: While stovetop cooking is great, don’t limit yourself to just one method. Explore other cooking techniques like grilling, baking, or even sous vide to achieve different textures and flavors.
- Freeze for Meal Prep: If you have leftover cooked chicken breasts, you can freeze them for future use. Simply store them in an airtight container or freezer bag, and they can be easily thawed and added to salads, sandwiches, or stir-fries later on.
By incorporating these tips and variations into your stovetop chicken breast cooking, you can add a new dimension of flavor and excitement to your meals. Remember to adjust cooking times and techniques based on your preferences and desired level of doneness. Now, it’s time to put your newfound knowledge into practice and enjoy delicious stovetop-cooked chicken breasts!
Read more: How To Fry Chicken On Stove Top
Conclusion
Mastering the art of cooking chicken breasts on the stovetop opens up a world of culinary possibilities. With the right techniques and a little creativity, you can create flavorful and tender chicken breasts that are perfect for a variety of dishes.
From choosing the right chicken breasts and properly preparing them, to seasoning and cooking them to perfection, each step contributes to the final delicious outcome. Remember to always use fresh, high-quality ingredients and follow food safety guidelines to ensure a safe and enjoyable cooking experience.
By preheating the stove top, achieving a golden sear, and checking for doneness, you can confidently cook chicken breasts that are moist, flavorful, and cooked to perfection. Don’t forget the importance of resting the chicken before serving, as this allows the juices to redistribute and results in even more delicious and tender meat.
Don’t be afraid to experiment with different seasonings, marinades, and cooking techniques to customize your chicken breast dishes to your liking. Whether you’re hosting a dinner party or preparing a quick weeknight meal, stovetop cooking allows for versatility and convenience.
Now armed with the knowledge and tips provided in this article, it’s time to get in the kitchen and start cooking those delicious stovetop chicken breasts. Enjoy the process, savor the flavors, and impress your family and friends with your culinary skills!
Frequently Asked Questions about How Long To Cook Chicken Breasts On Stove Top
Was this page helpful?
At Storables.com, we guarantee accurate and reliable information. Our content, validated by Expert Board Contributors, is crafted following stringent Editorial Policies. We're committed to providing you with well-researched, expert-backed insights for all your informational needs.

0 thoughts on “How Long To Cook Chicken Breasts On Stove Top”