Home>Articles>How Long To Cook Chicken Breast On Indoor Grill
Articles
How Long To Cook Chicken Breast On Indoor Grill
Modified: August 17, 2024
Discover the perfect cooking time for chicken breast on an indoor grill with our informative articles. Cook a flavorful and juicy chicken breast every time!
(Many of the links in this article redirect to a specific reviewed product. Your purchase of these products through affiliate links helps to generate commission for Storables.com, at no extra cost. Learn more)
Introduction
Grilling chicken breasts on an indoor grill is a fantastic way to enjoy delicious and tender meat without having to fire up an outdoor barbecue. Whether you’re a seasoned griller or a beginner cook, knowing the right techniques and cooking times can make all the difference in creating a perfectly cooked chicken breast. In this article, we will guide you on how long to cook chicken breast on an indoor grill, ensuring that you achieve juicy and flavorful results every time.
Grilling chicken breasts is a popular cooking method that brings out the natural flavors of the meat while creating a beautiful charred crust. However, it’s important to note that cooking times may vary depending on the size and thickness of the chicken breast, as well as the specific indoor grill you are using. As such, it’s crucial to understand the basics of preparing and cooking chicken breast on an indoor grill to achieve the desired level of tenderness and doneness.
Before we dive into the specifics of cooking times, let’s take a look at how to properly prepare the chicken breast for grilling. This step is essential in ensuring that the chicken retains its moisture and flavor throughout the cooking process.
Key Takeaways:
- Achieve juicy and flavorful grilled chicken breasts by following proper preparation, preheating, and cooking techniques. Remember to adjust cooking times based on the thickness of the chicken for perfect results every time.
- Grilling chicken breasts on an indoor grill is an art and a science. Experiment with flavors, herbs, and spices to create your own unique masterpiece. Enjoy the process and savor the mouthwatering results!
Preparing the Chicken Breast
Properly preparing the chicken breast before grilling is crucial for a flavorful and juicy end result. Here are the steps you should follow:
- Start by selecting high-quality chicken breasts. Look for ones that are fresh, skinless, and boneless. Organic or free-range chicken breasts tend to have a richer flavor.
- Before cooking, it’s essential to trim any excess fat or skin from the chicken breasts. This will prevent flare-ups and ensure even cooking.
- Next, you can choose to marinate the chicken breasts to infuse them with additional flavors. Popular marinade options include lemon and herb, teriyaki, or garlic and rosemary. Allow the chicken to marinate in the refrigerator for at least 30 minutes, but preferably a few hours or overnight for maximum flavor.
- When you are ready to grill, remove the chicken breasts from the marinade and let them sit at room temperature for about 15 minutes. This allows for more even cooking.
- Before placing the chicken breasts on the grill, lightly season them with salt and pepper or any preferred spices. This will add an extra layer of flavor.
Following these preparation steps will ensure that your chicken breasts are ready for the grill with optimal flavor and tenderness. Once you’ve prepared the chicken, it’s time to preheat your indoor grill.
Preheating the Indoor Grill
Preheating your indoor grill is an essential step to ensure even cooking and to create those beautiful grill marks on the chicken breasts. Here’s how to preheat your indoor grill:
- Make sure your indoor grill is clean and free of any residue or debris. This will prevent any unwanted flavors or the risk of flare-ups.
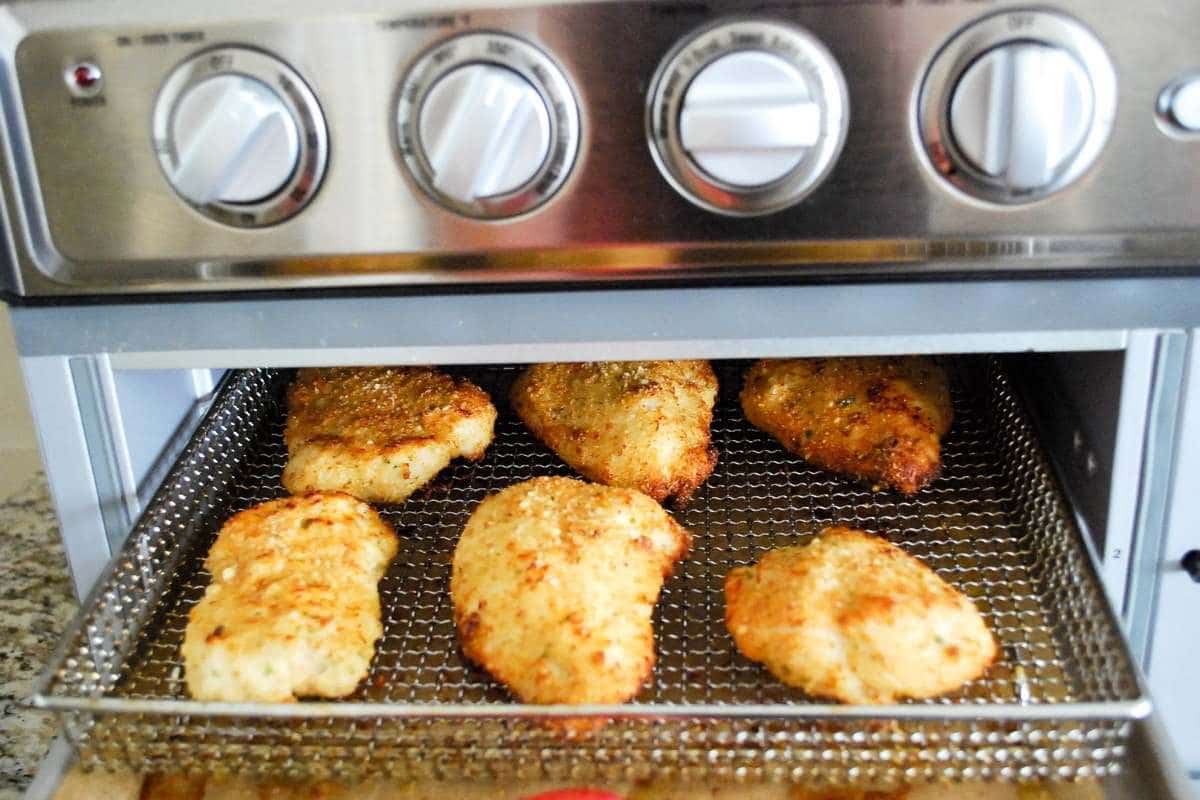
- Plug in your indoor grill and set the temperature to medium-high heat. This setting will allow for a good sear while ensuring the interior of the chicken cooks evenly.
- Allow the grill to preheat for about 5-10 minutes. This gives it enough time to reach the desired cooking temperature.
- During the preheating process, you might notice some slight smoke or a faint smell. This is normal and is a result of the grill heating up.
Once your indoor grill is properly preheated, you’re ready to start cooking the chicken breasts. Let’s move on to the next step.
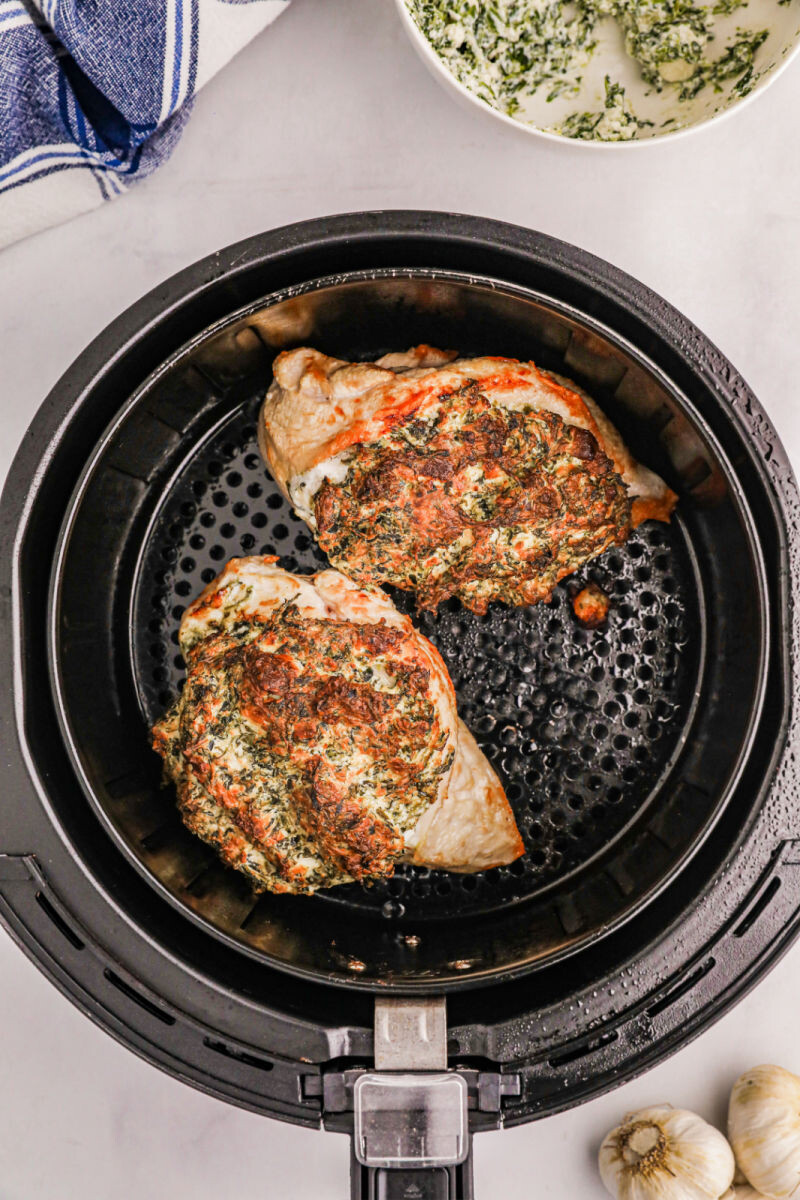
Cooking the Chicken Breast
Now that your indoor grill is preheated, it’s time to cook the chicken breasts. Follow these steps to ensure a perfectly cooked and flavorful result:
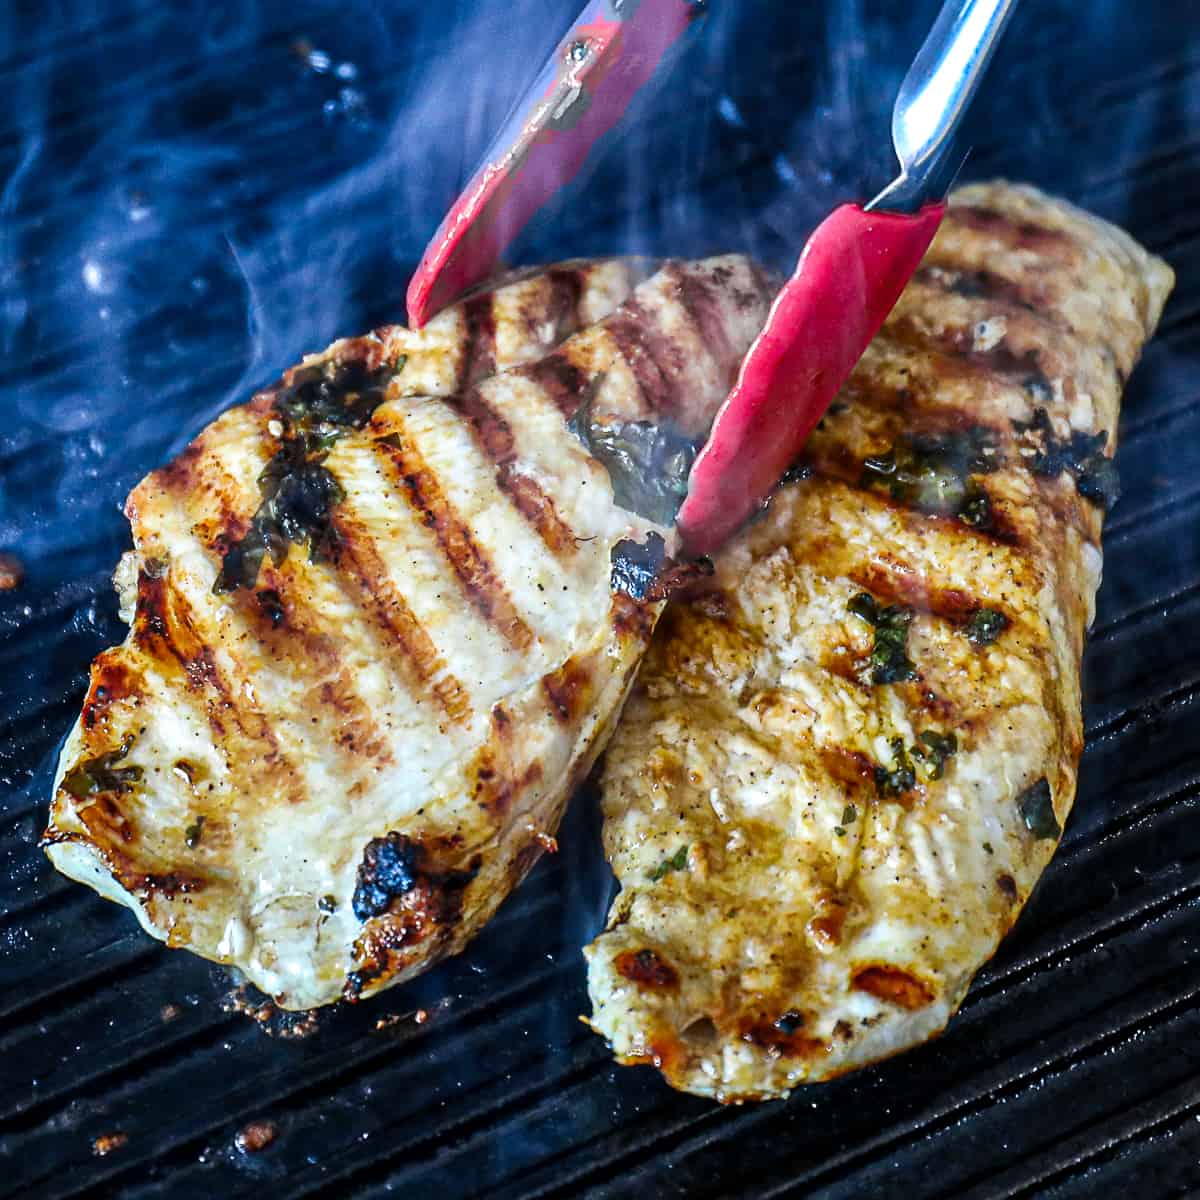
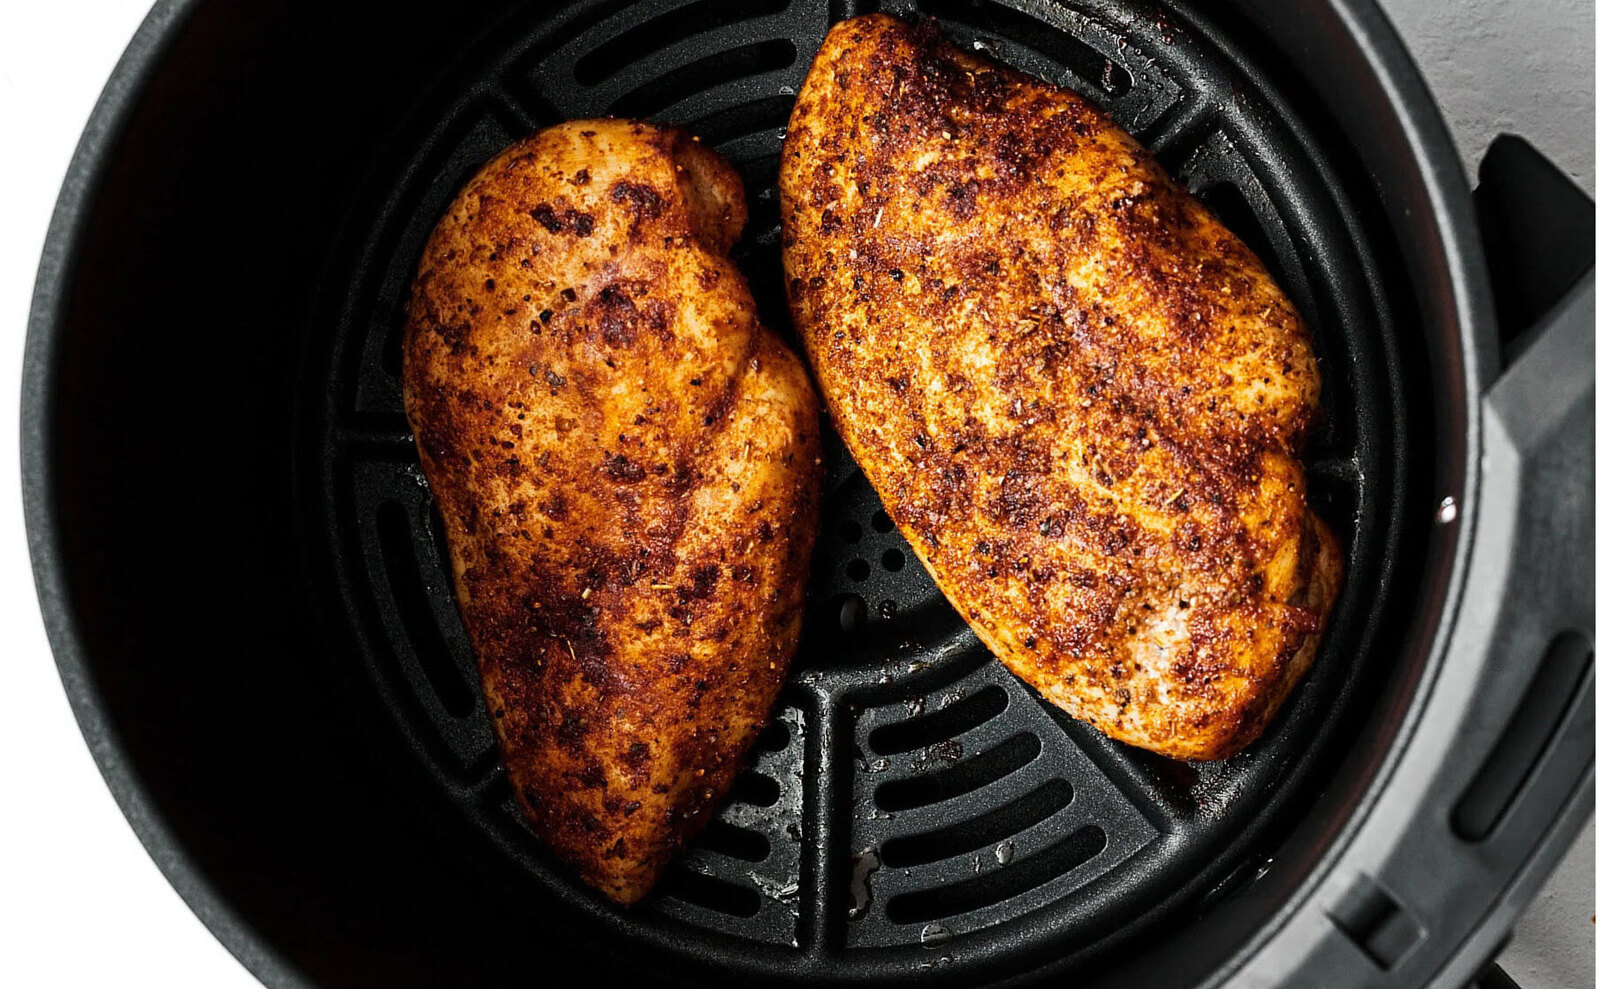
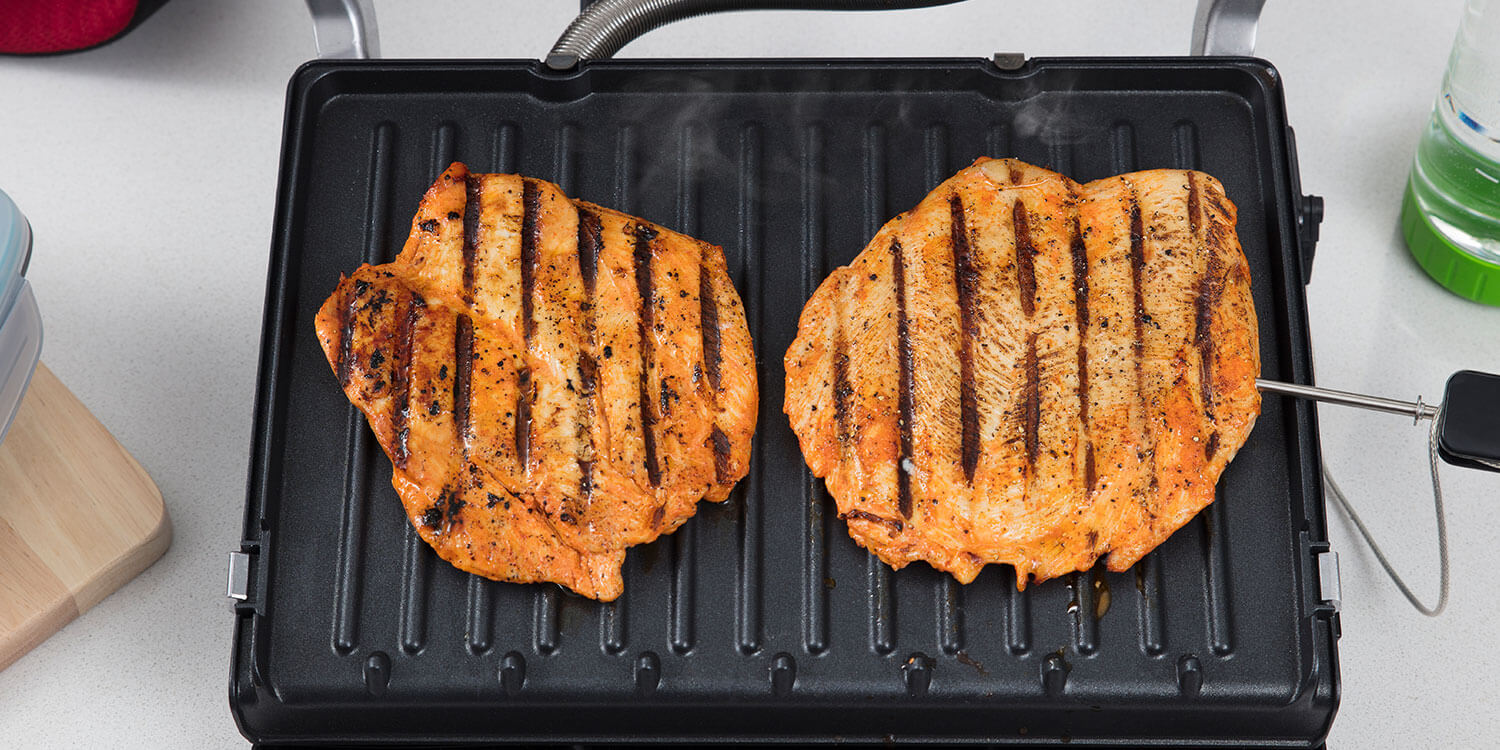
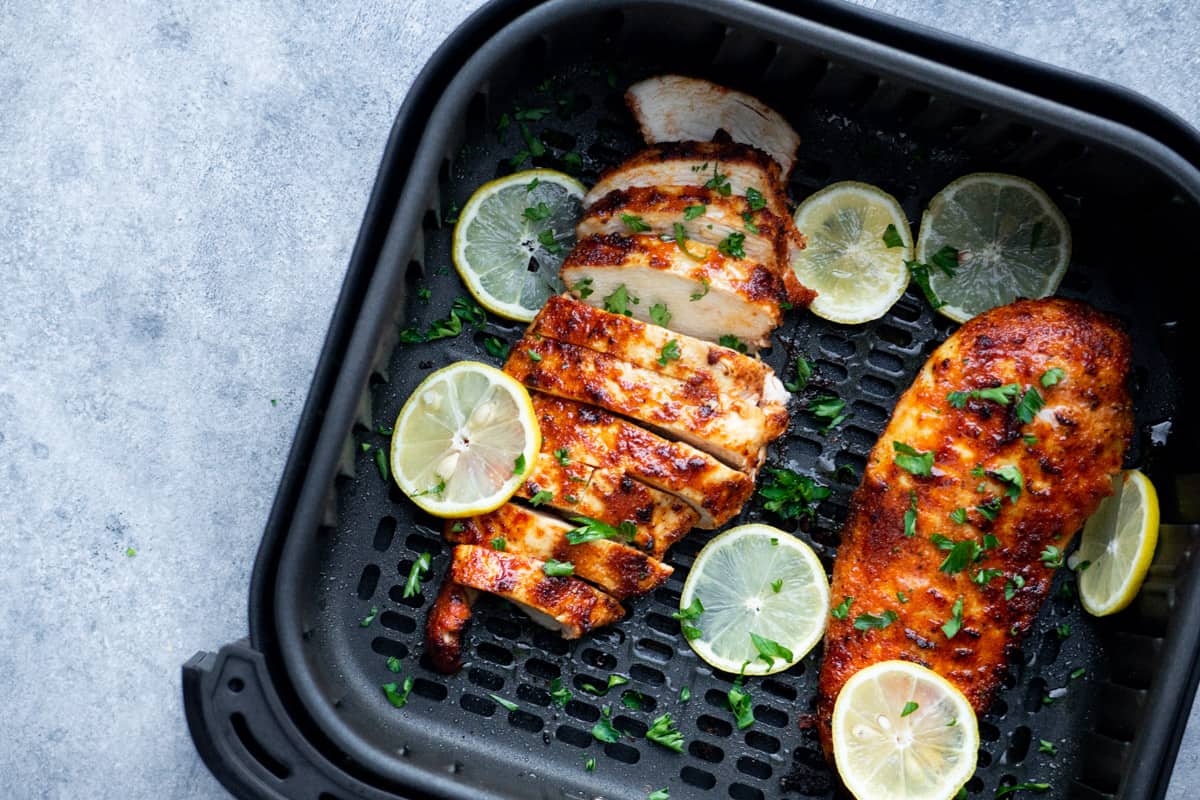
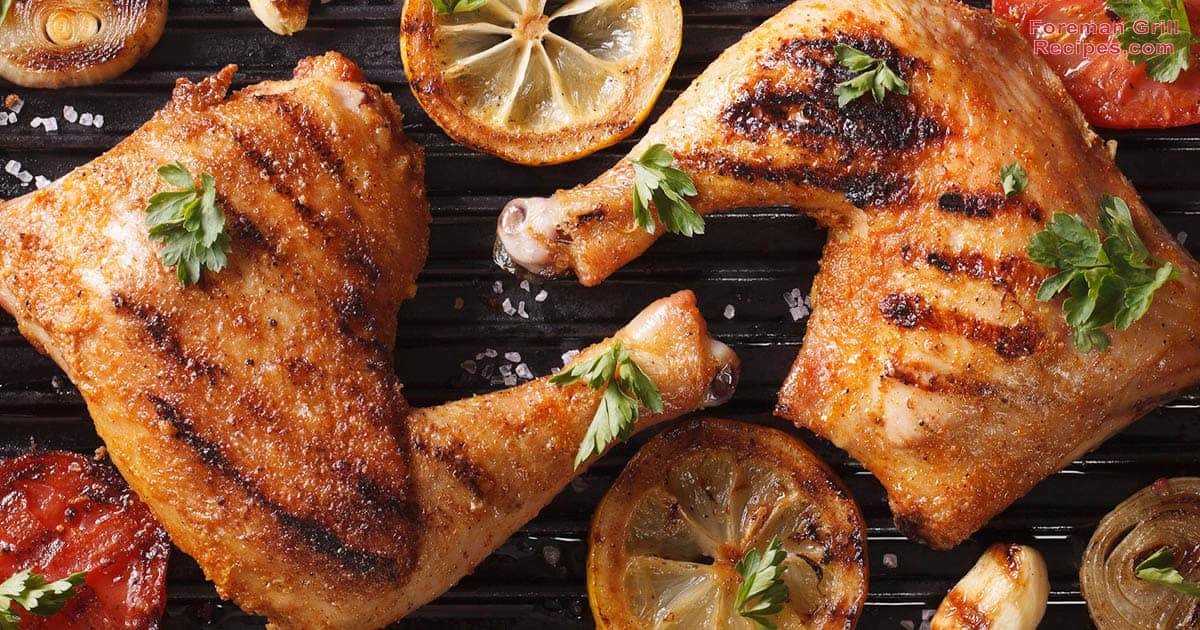
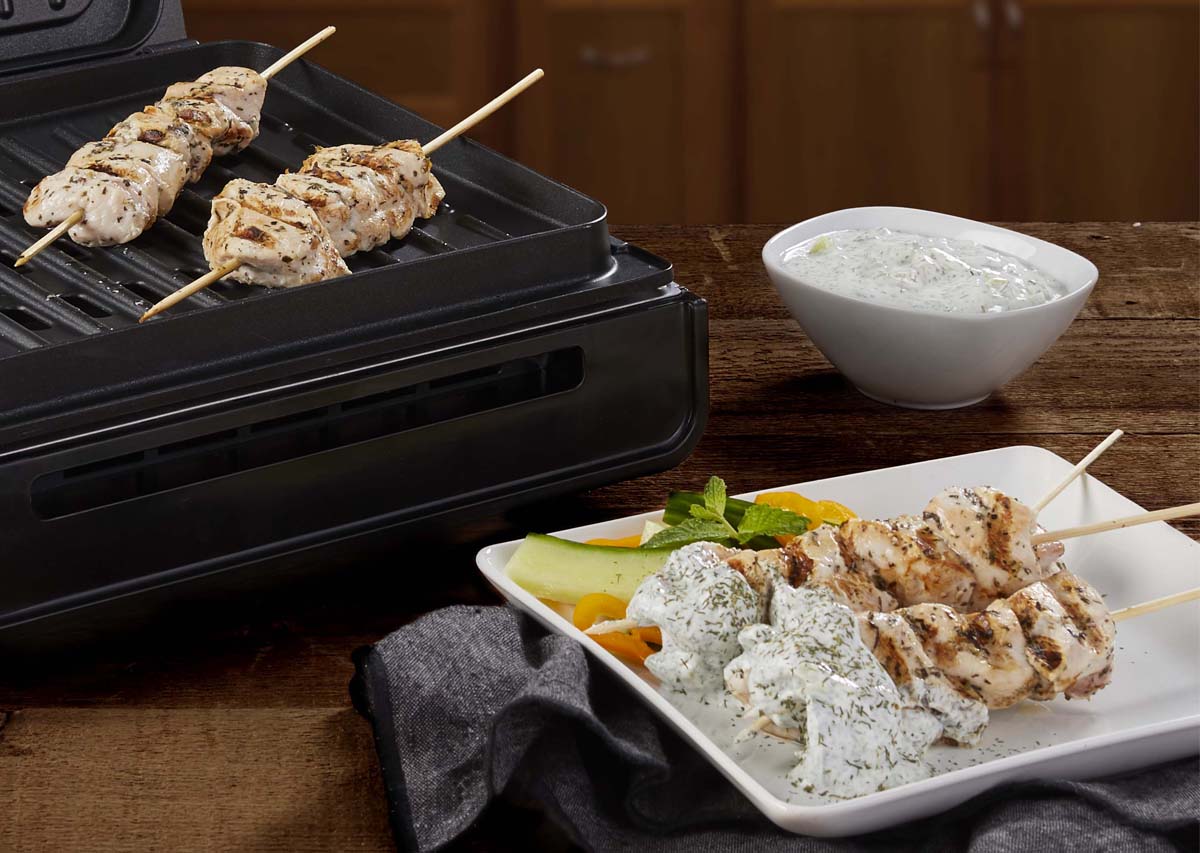
- Place the chicken breasts on the preheated grill, positioning them at a slight angle to achieve those classic grill marks.
- Cook the chicken breasts for about 6-8 minutes on one side, without constantly flipping or moving them. This allows for a good sear and helps to lock in the juices.
- After the first side has cooked, flip the chicken breasts using tongs or a spatula. Continue grilling for another 6-8 minutes on the other side. The overall cooking time may vary depending on the thickness of the chicken breasts. Thicker breasts may require a few more minutes of cooking time.
- During the cooking process, it’s important to monitor the temperature of the chicken. The internal temperature should reach 165°F (74°C) to ensure that the chicken is fully cooked and safe to eat.
Remember, resist the temptation to constantly flip or press down on the chicken while it’s cooking. This can cause the juices to escape and result in dry chicken breast. Instead, let the chicken cook undisturbed for optimal flavor and texture.
Once the chicken breasts have reached the desired temperature, it’s time to check for doneness and remove them from the grill.
Preheat your indoor grill to medium-high heat. Cook the chicken breast for 6-8 minutes on each side, or until the internal temperature reaches 165°F.
Checking the Doneness
Checking the doneness of the chicken breasts is crucial to ensure they are cooked to perfection. Here are a few methods you can use to determine if the chicken is done:
- Temperature: Use a meat thermometer to check the internal temperature of the chicken breast. It should reach a minimum of 165°F (74°C) to ensure it is fully cooked and safe to eat.
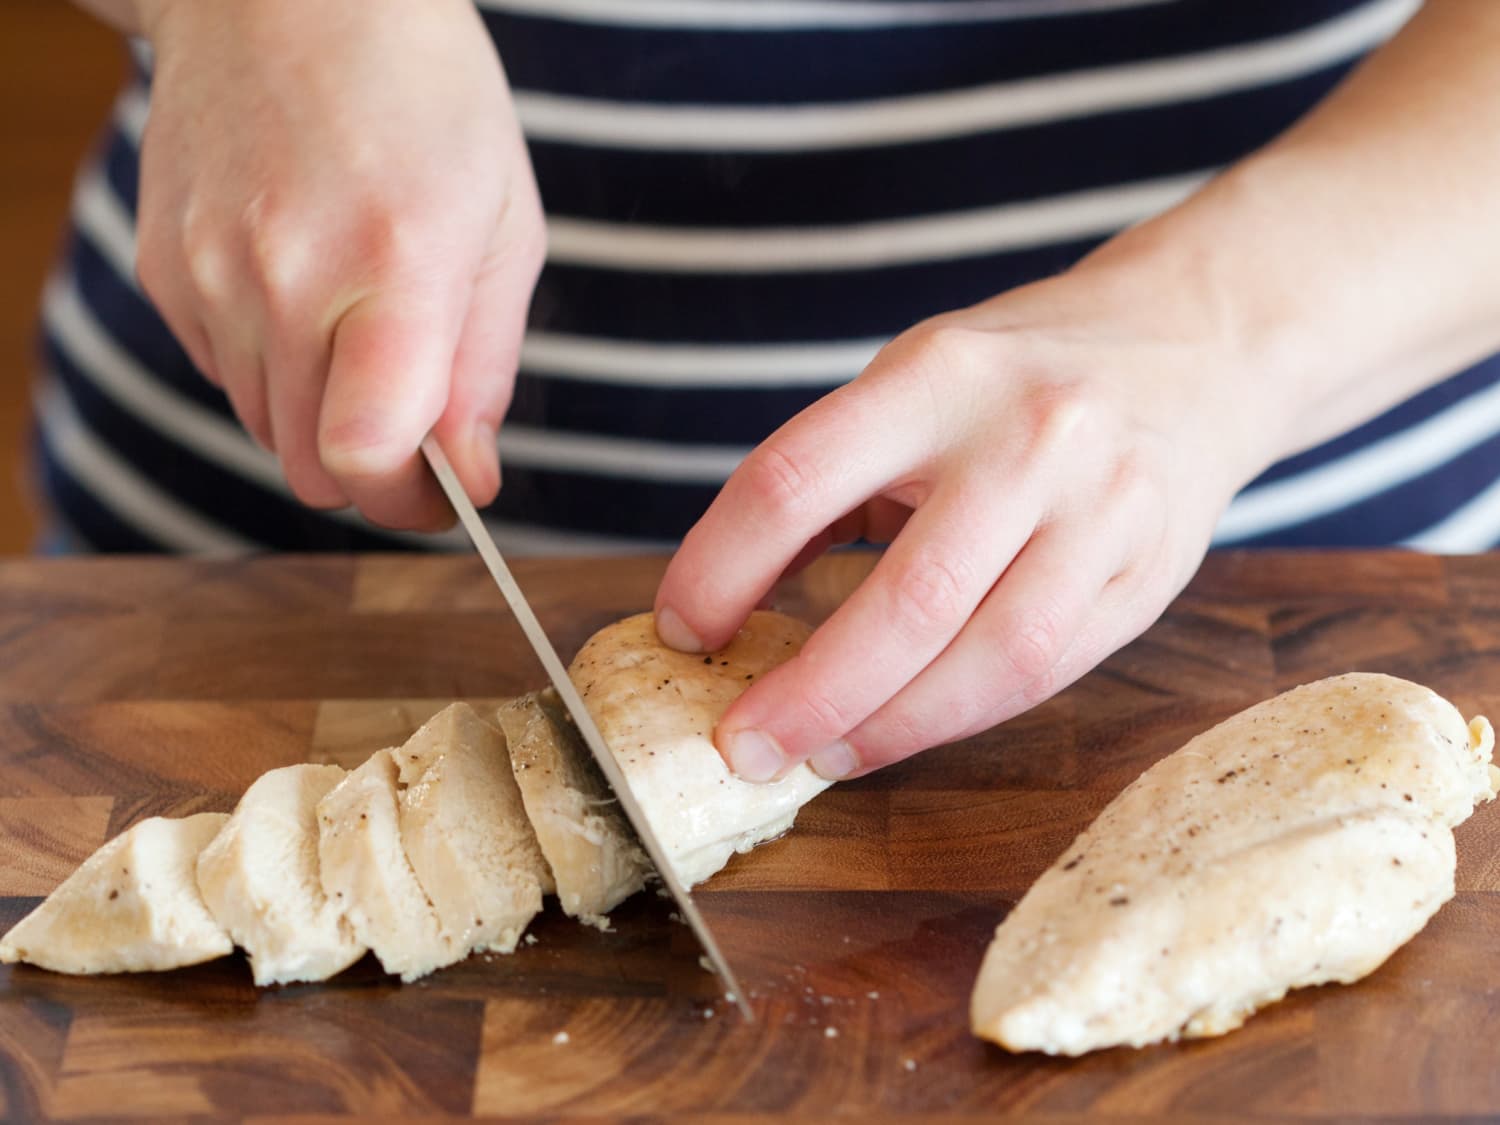
- Visual Inspection: Cut into the thickest part of the chicken breast with a sharp knife. The juices should run clear, not pink, and the meat should be opaque and slightly firm.
- Touch Test: Use the touch test method by pressing the chicken breast with your finger. It should feel firm but still spring back slightly. If it feels too soft, it may need a few more minutes of cooking time.
Remember, it’s better to slightly undercook the chicken and allow it to rest rather than overcooking it, as it can result in dry and tough meat. Once you’ve determined that the chicken breasts are cooked to your desired level of doneness, it’s time to remove them from the grill.
Let’s move on to the final step of removing and resting the chicken breasts.
Removing and Resting the Chicken Breast
After confirming that the chicken breasts are cooked to perfection, it’s important to remove them from the grill and allow them to rest before serving. Follow these steps:
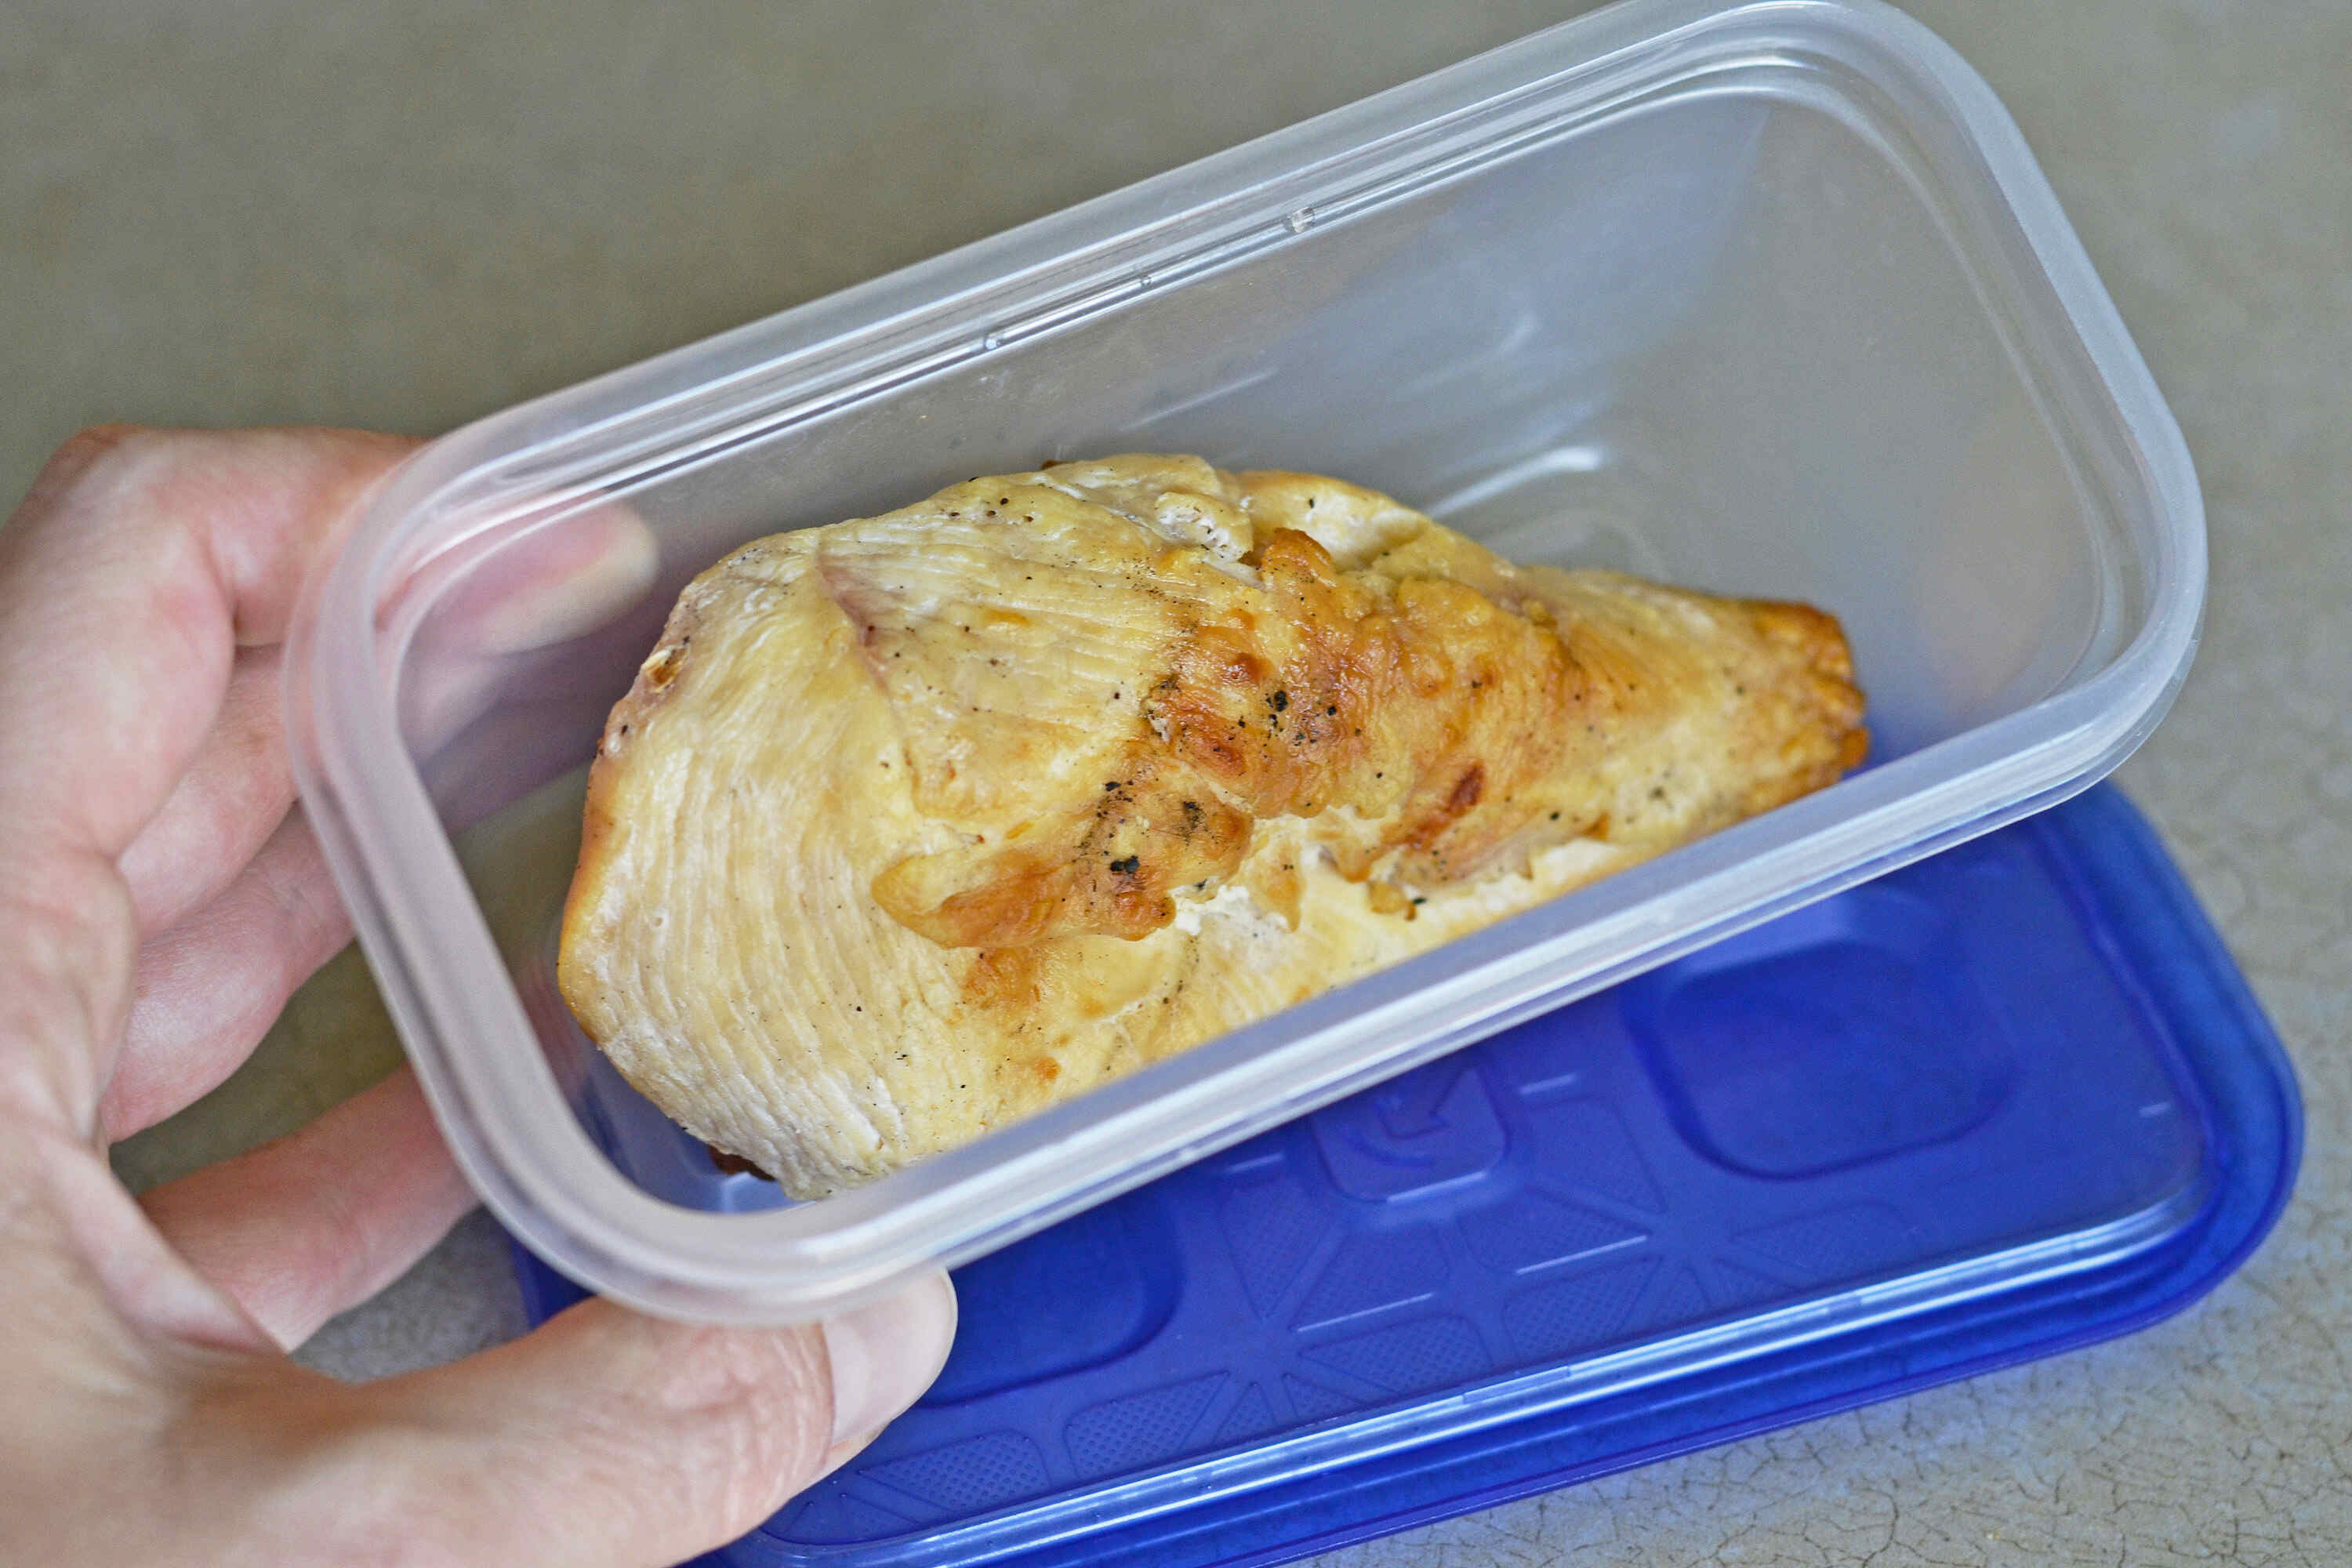
- Using tongs or a spatula, carefully remove the chicken breasts from the grill and transfer them to a clean plate or cutting board.
- Allow the chicken breasts to rest for about 5-10 minutes. This resting period allows the juices to redistribute throughout the meat, resulting in a more flavorful and tender chicken breast.
- While the chicken is resting, cover it loosely with aluminum foil. This helps to retain the heat and further aids in the redistribution of juices.
During the resting period, avoid cutting into the chicken breast. This may cause the juices to escape, resulting in drier meat. Instead, allow the chicken to rest undisturbed.
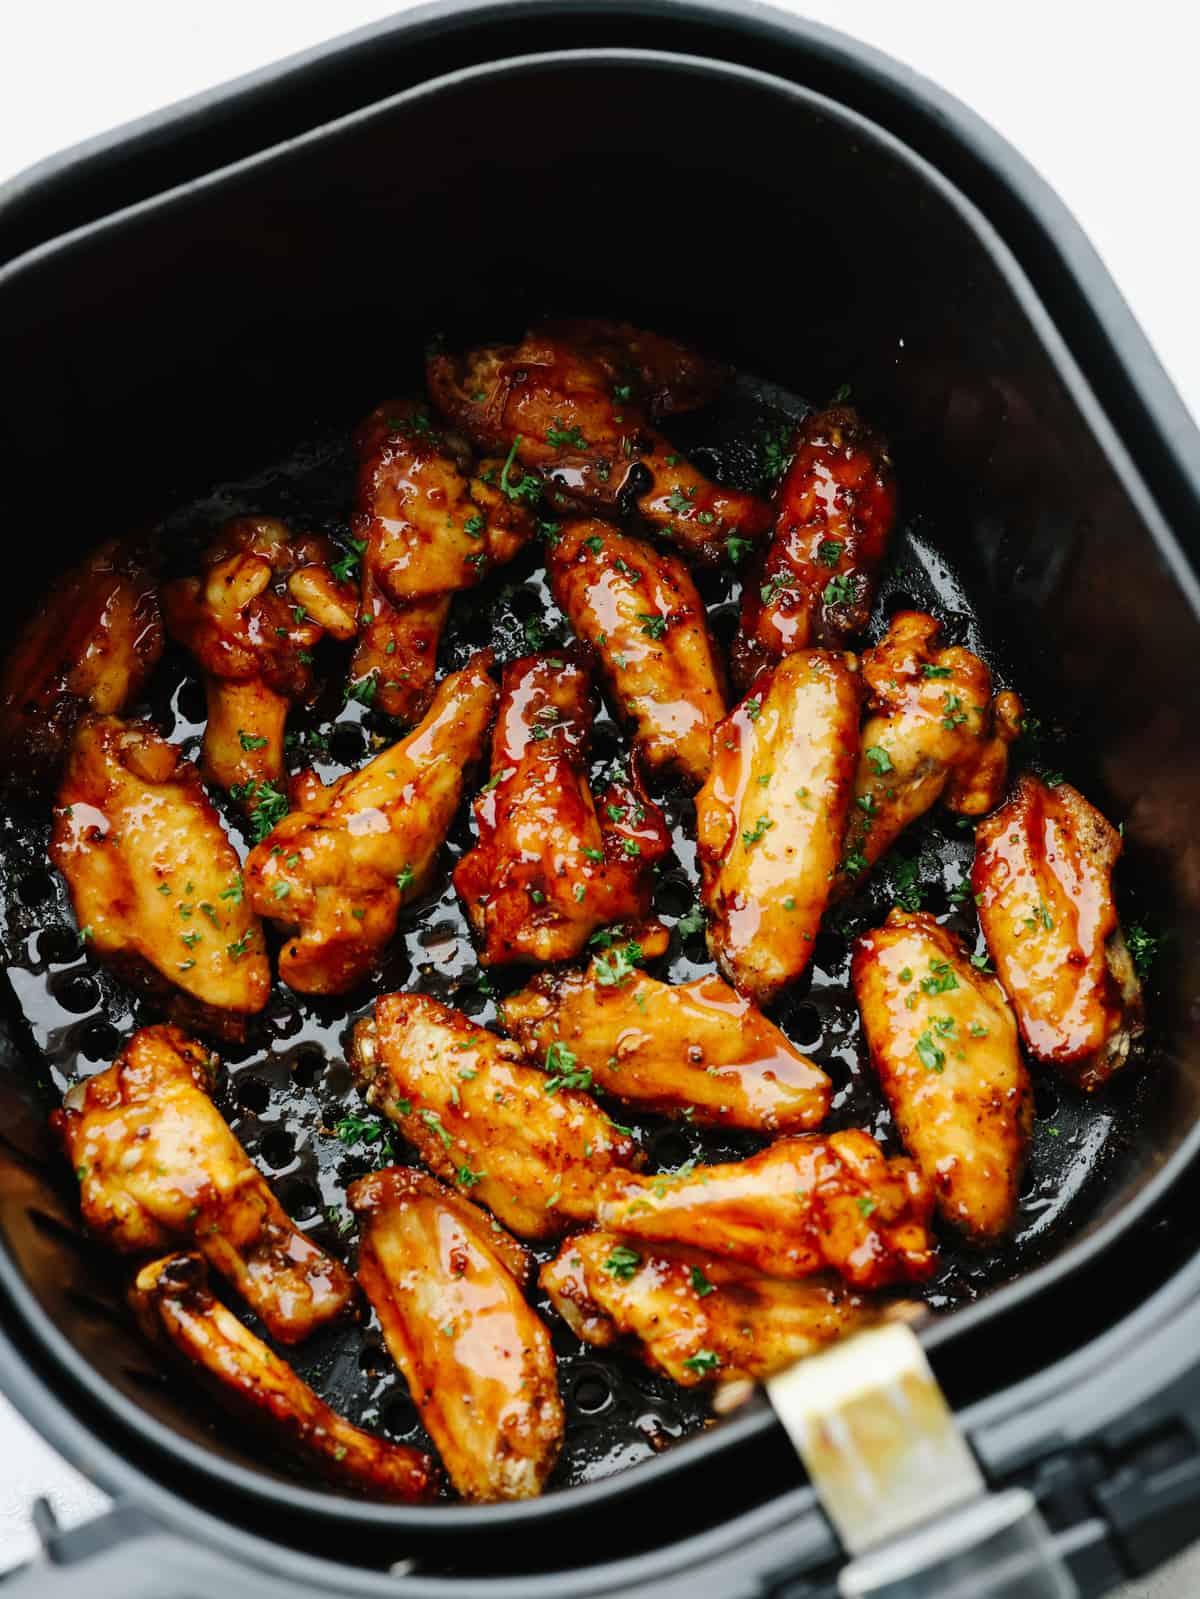
Once the resting period is over, your perfectly grilled chicken breast is ready to be served and enjoyed. Whether you choose to serve it as the main dish, slice it for sandwiches, or incorporate it into salads and pastas, you can be confident in the succulent and flavorful results.
Final Thoughts
Grilling chicken breasts on an indoor grill is a convenient and delicious way to enjoy this versatile protein. By following the proper preparation steps, preheating the grill, cooking the chicken breasts to the correct temperature, and allowing them to rest, you can achieve juicy and flavorful results every time.
Remember, the cooking times mentioned in this article are guidelines, and it’s essential to adjust them based on the thickness and size of your chicken breasts. With practice and experimentation, you will find the perfect cooking time that suits your taste.
So, fire up your indoor grill, grab some chicken breasts, and get ready to savor a mouthwatering and satisfying meal!
Final Thoughts
Grilling chicken breasts on an indoor grill is a convenient and delicious way to enjoy this versatile protein. By following the proper preparation steps, preheating the grill, cooking the chicken breasts to the correct temperature, and allowing them to rest, you can achieve juicy and flavorful results every time.
Remember, the cooking times mentioned in this article are guidelines, and it’s essential to adjust them based on the thickness and size of your chicken breasts. With practice and experimentation, you will find the perfect cooking time that suits your taste.
One of the key factors in grilling chicken breasts is maintaining a balance between achieving a flavorful charred crust and ensuring the interior is cooked to perfection. This can be achieved by preheating the grill, cooking the chicken over medium-high heat, and avoiding constant flipping or pressing down on the meat.
Additionally, don’t forget the importance of proper preparation and seasoning, which can greatly enhance the flavor of your grilled chicken breasts. Choose high-quality chicken, trim any excess fat or skin, and marinate the chicken for added taste. And don’t forget to let the chicken rest after grilling to seal in the juices and maximize tenderness.
Lastly, remember that grilling is both an art and a science. It may take a few tries to find your perfect grilling technique and achieve consistently delicious results. Don’t be afraid to experiment with different flavors, herbs, and spices to create your own unique grilled chicken breast masterpiece.
So, fire up your indoor grill, grab some chicken breasts, and get ready to savor a mouthwatering and satisfying meal. Enjoy the process, and happy grilling!
Frequently Asked Questions about How Long To Cook Chicken Breast On Indoor Grill
Was this page helpful?
At Storables.com, we guarantee accurate and reliable information. Our content, validated by Expert Board Contributors, is crafted following stringent Editorial Policies. We're committed to providing you with well-researched, expert-backed insights for all your informational needs.
0 thoughts on “How Long To Cook Chicken Breast On Indoor Grill”