Home>Articles>How Long To Cook Green Beans And Potatoes In Electric Pressure Cooker
Articles
How Long To Cook Green Beans And Potatoes In Electric Pressure Cooker
Modified: September 2, 2024
Discover the perfect cooking time for green beans and potatoes in an electric pressure cooker in this informative article. Learn how to cook these nutritious veggies with ease.
(Many of the links in this article redirect to a specific reviewed product. Your purchase of these products through affiliate links helps to generate commission for Storables.com, at no extra cost. Learn more)
Introduction
Welcome to the world of cooking with an electric pressure cooker! If you’ve recently acquired this versatile kitchen appliance, you’re in for a treat. In this article, we will explore the process of cooking green beans and potatoes in an electric pressure cooker, providing you with a simple and efficient way to prepare this delicious and nutritious side dish.
Electric pressure cookers have gained immense popularity in recent years due to their ability to cook food quickly and evenly. Whether you’re a busy professional, a parent juggling multiple responsibilities, or simply someone who appreciates the convenience of modern cooking, the electric pressure cooker is a game-changer. Not only does it save time, but it also retains the flavors and nutrients of the ingredients, resulting in delectable and wholesome meals.
Green beans and potatoes are a classic combination that makes for a satisfying and hearty side dish. With the electric pressure cooker, you can achieve tender and flavorful green beans and perfectly cooked potatoes in a fraction of the time it would take using traditional stovetop cooking methods.
In the following sections, we will guide you through the step-by-step process of cooking green beans and potatoes in an electric pressure cooker. From preparing the ingredients to setting the cooking time and pressure level, we will cover all the necessary details to ensure your dish turns out deliciously every time.
So, grab your electric pressure cooker and let’s get started on this culinary adventure!
Key Takeaways:
- Cooking green beans and potatoes in an electric pressure cooker offers a time-saving, nutrient-preserving, and flavor-enhancing method for creating a delicious and wholesome side dish. Embrace the convenience and versatility of this modern cooking technique for impressive results.
- By following step-by-step instructions and helpful tips, you can master the art of cooking green beans and potatoes in an electric pressure cooker. Experiment with seasonings, adjust cooking times, and customize the dish to suit your preferences, creating a uniquely flavorful and tender side dish.
Benefits of Using an Electric Pressure Cooker
Using an electric pressure cooker offers a myriad of benefits that make it a valuable addition to any kitchen. Here are some compelling reasons why you should consider incorporating this versatile appliance into your cooking routine:
- Time-saving: One of the biggest advantages of using an electric pressure cooker is the significant reduction in cooking time. The high-pressure environment created inside the appliance allows food to cook faster compared to traditional cooking methods. What would typically take hours can now be accomplished in a matter of minutes, making it ideal for busy individuals who want to enjoy homemade meals without spending a lot of time in the kitchen.
- Energy-efficient: Electric pressure cookers are designed to maximize energy efficiency. The sealed cooking environment prevents heat from escaping, ensuring that the appliance uses minimal energy during the cooking process. This not only saves you money on utility bills but also contributes to a greener and more sustainable lifestyle.
- Preserves nutrients and flavors: The rapid cooking time of an electric pressure cooker helps retain the essential nutrients and flavors of the ingredients. The sealed environment traps steam and moisture, preventing the loss of vitamins and minerals that can occur with other cooking methods. Additionally, the intensified flavors resulting from this cooking process add a depth of taste to your dishes.
- Versatility: Electric pressure cookers are incredibly versatile appliances that can handle a wide variety of cooking tasks. From steaming vegetables and cooking grains to preparing stews and soups, an electric pressure cooker can be used for almost any type of recipe. This versatility makes it an indispensable tool for exploring new recipes and expanding your culinary repertoire.
- Consistency and convenience: Cooking with an electric pressure cooker ensures consistent results every time. The controlled cooking environment and precise temperature and pressure settings eliminate guesswork, allowing you to achieve perfect results consistently. Additionally, the convenience of one-pot cooking reduces the need for multiple pans and simplifies the cleanup process after the meal.
As you can see, using an electric pressure cooker offers numerous benefits that can improve your cooking experience and overall lifestyle. With its time-saving capabilities, energy efficiency, nutrient preservation, versatility, and convenience, an electric pressure cooker is a must-have appliance for modern kitchen enthusiasts.
How to Cook Green Beans and Potatoes in an Electric Pressure Cooker
Now that you are familiar with the benefits of using an electric pressure cooker, let’s dive into the step-by-step process of cooking green beans and potatoes in this versatile appliance. Follow these instructions to achieve tender, flavorful, and perfectly cooked green beans and potatoes:
Step 1: Preparing the Ingredients
Start by gathering all the necessary ingredients for the dish. You will need fresh green beans, potatoes (either red or white), vegetable broth or water, olive oil, minced garlic, salt, and pepper. Wash the green beans, trim the ends, and cut them into bite-sized pieces. Peel the potatoes (if desired) and cut them into evenly sized cubes.
Step 2: Adding the Ingredients to the Electric Pressure Cooker
Place the green beans and potatoes into the electric pressure cooker pot. Add the vegetable broth or water, ensuring that it covers the vegetables but does not exceed the maximum fill line of the cooker. Drizzle olive oil over the vegetables, followed by minced garlic, salt, and pepper to taste.
Step 3: Setting the Cooking Time and Pressure Level
Consult the instruction manual provided with your electric pressure cooker for recommended cooking times. As a general guideline, set the cooking time for green beans and potatoes to 3-4 minutes on high pressure. Adjust the pressure level based on the options available on your cooker. Different models may have different pressure settings, such as low, medium, and high.
Step 4: Cooking the Green Beans and Potatoes
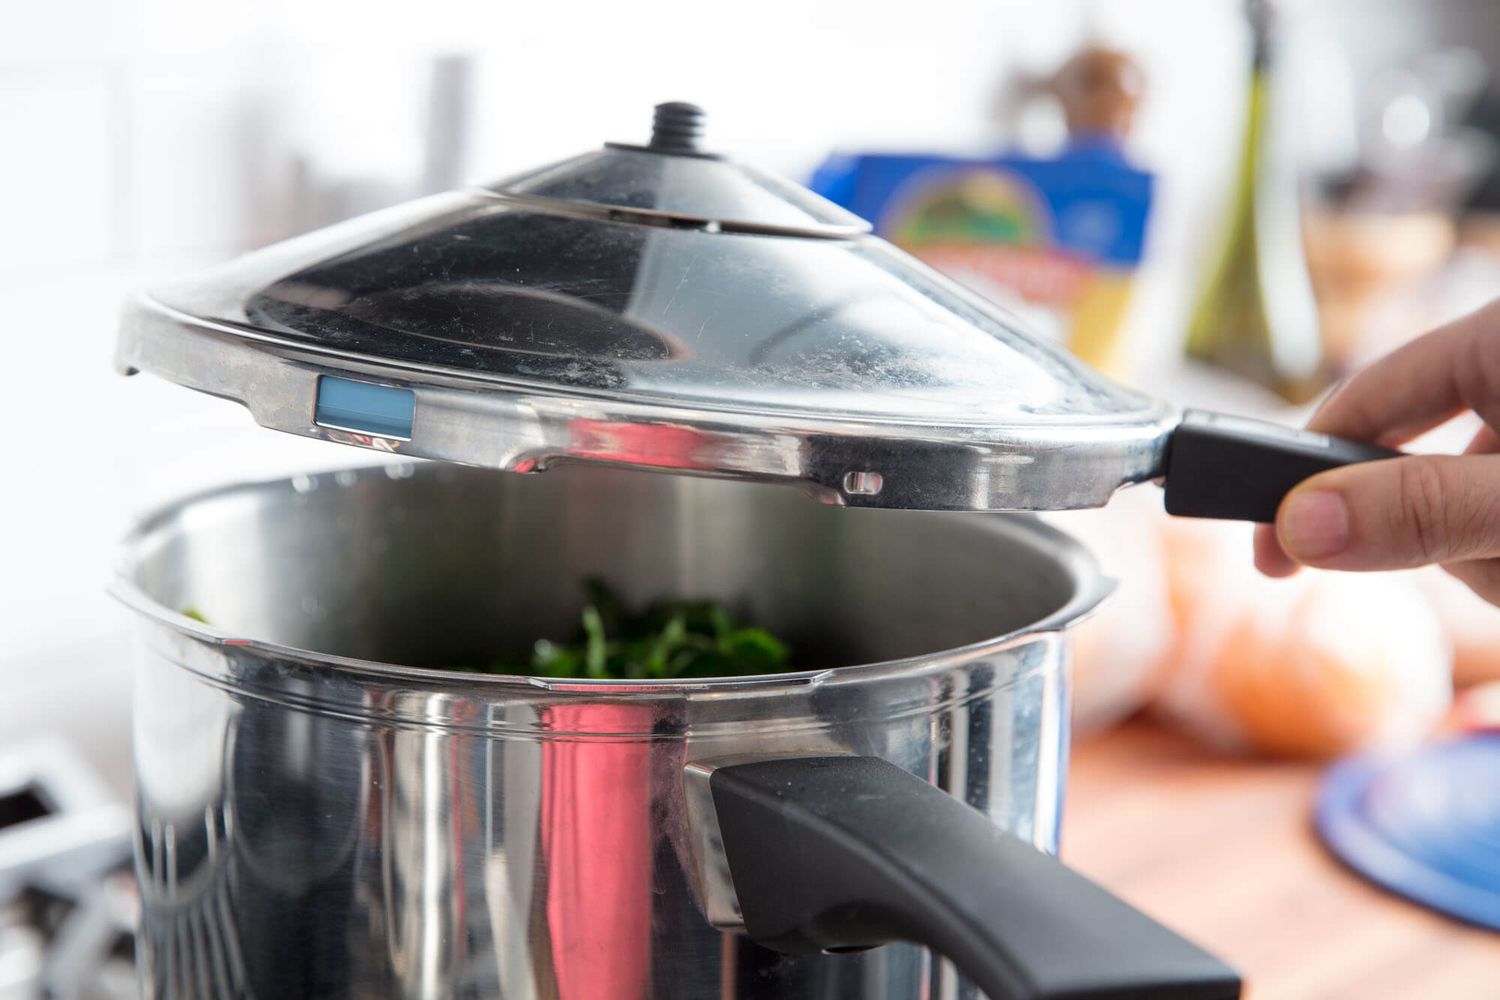
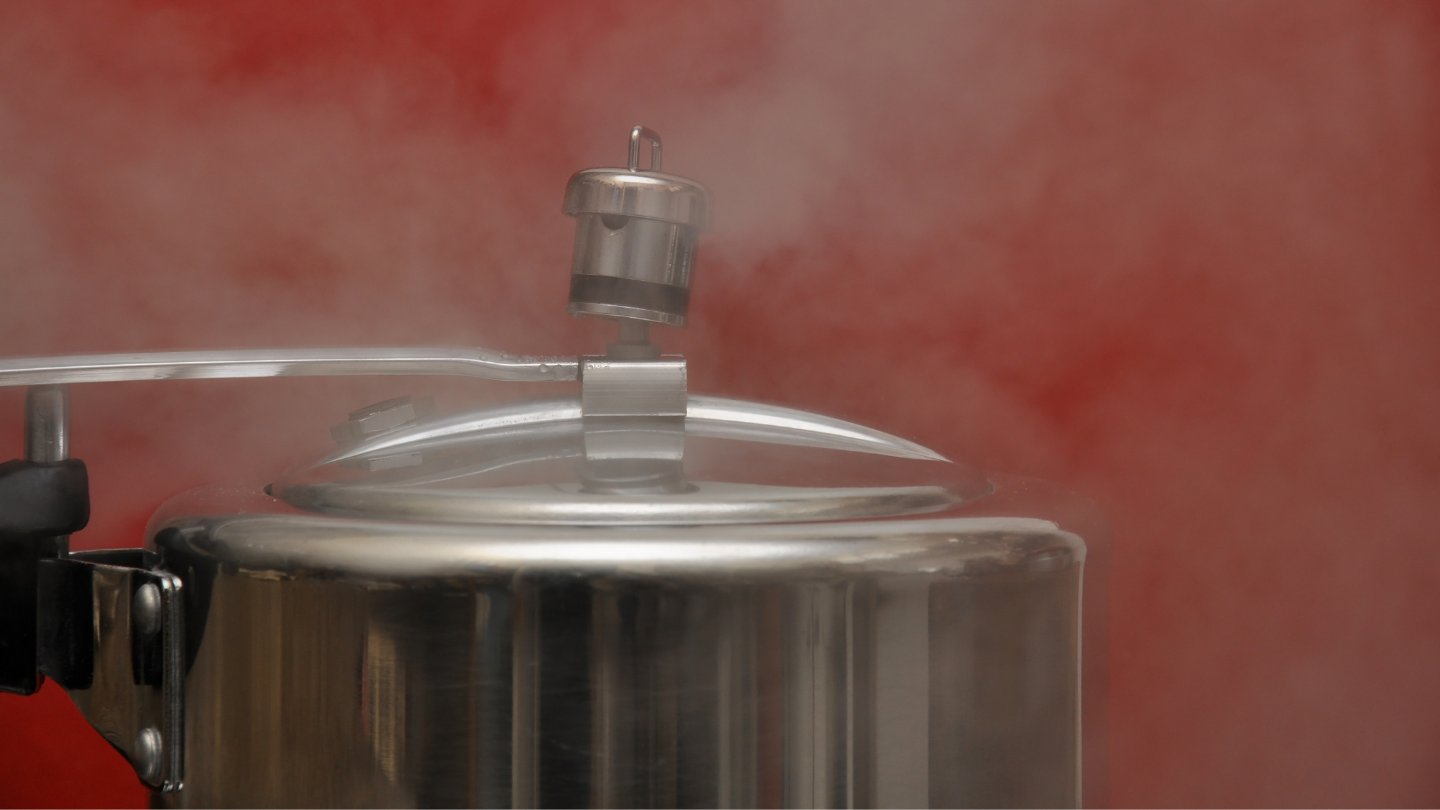
Once you have set the cooking time and pressure level, secure the lid on the electric pressure cooker and ensure the venting knob is set to the “Sealing” position. Then, select the desired pressure cooking function on your cooker, such as “Pressure Cook” or “Manual.” The cooker will take some time to build up pressure, and then it will begin the cooking process.
Step 5: Releasing the Pressure and Serving
After the cooking time is complete, carefully release the pressure from the cooker according to the manufacturer’s instructions. This can be done through a natural pressure release (letting the pressure drop on its own) or a quick pressure release (carefully venting the remaining pressure using the release valve). Once the pressure is released and the lid is safe to open, remove the lid and give the green beans and potatoes a gentle stir.
Transfer the cooked green beans and potatoes to a serving dish and garnish with fresh herbs, if desired. Serve them hot as a delightful side dish alongside your favorite main course.
Remember, cooking times may vary depending on your specific electric pressure cooker model, the quantity of vegetables, and your preferred level of tenderness. It’s always a good idea to consult your appliance’s instruction manual and make adjustments accordingly.
Now, enjoy your deliciously cooked green beans and potatoes, knowing that you have prepared them effortlessly and efficiently with the help of your electric pressure cooker!
Step 1: Preparing the Ingredients
Before diving into the process of cooking green beans and potatoes in an electric pressure cooker, it’s essential to prepare the ingredients properly to ensure a delicious and satisfying result. Here’s how to prepare the ingredients:
1. Green Beans: Start by selecting fresh green beans from your local market or grocery store. Look for beans that are vibrant green in color with crisp textures. As a general rule, choose smaller beans as they tend to be more tender. Wash the green beans thoroughly under running water to remove any dirt or debris. Trim the ends of the beans using a sharp knife or simply snap them off with your fingers.
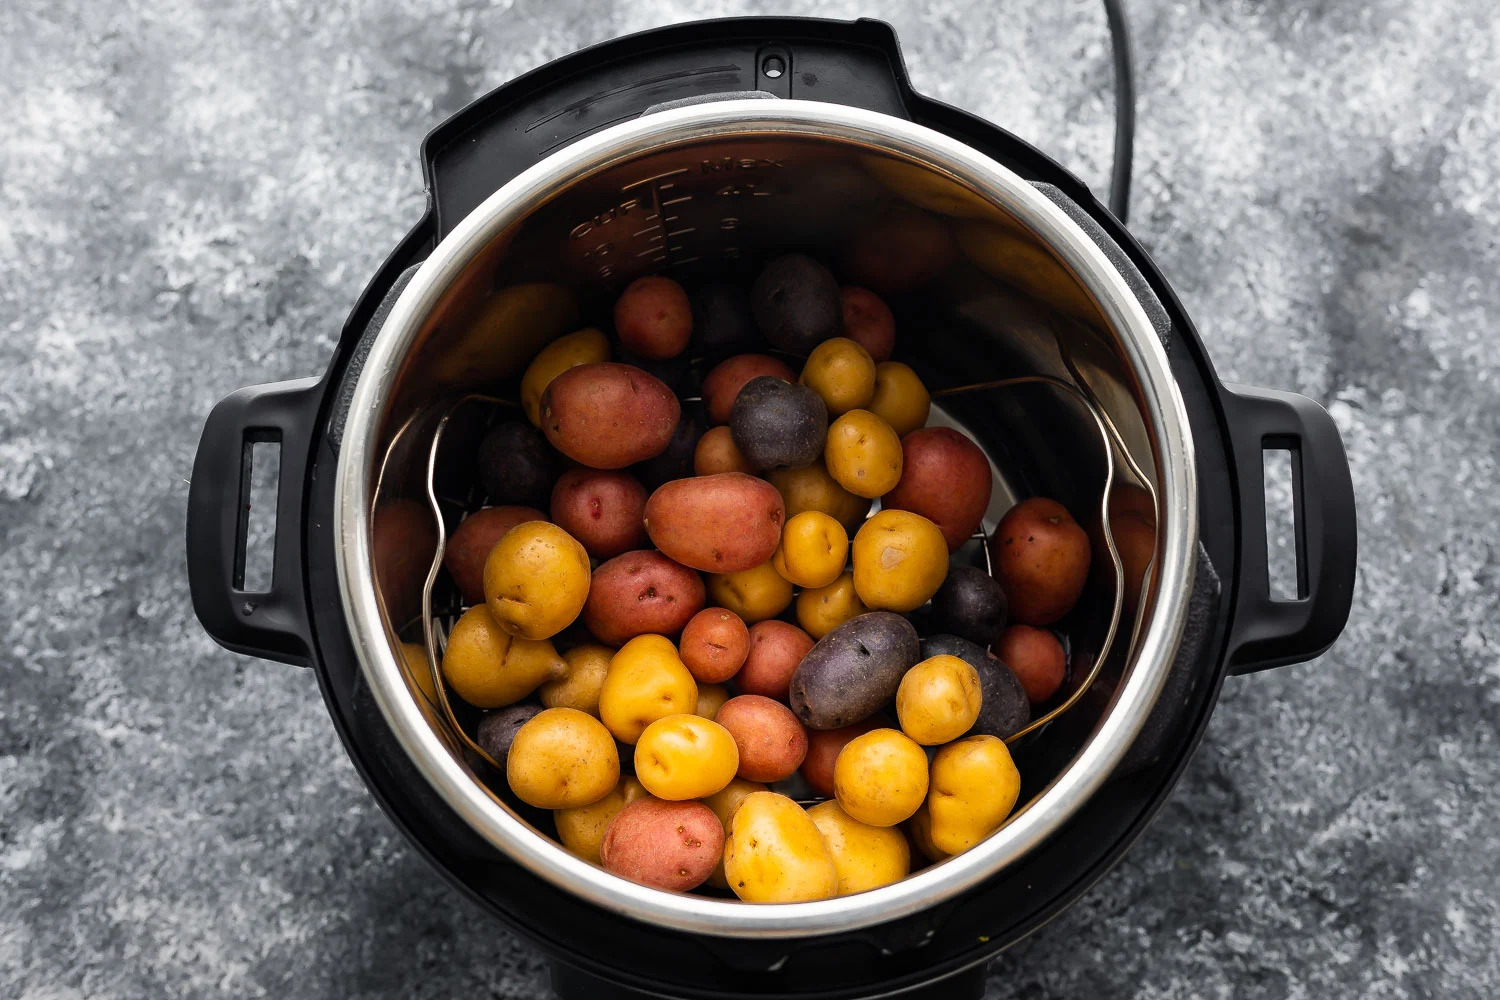
2. Potatoes: For this recipe, you can use either red potatoes or white potatoes, depending on your preference. Wash the potatoes under running water to remove any dirt or residue. Peel the potatoes if desired, or you can leave the skin on for added texture and nutrients. Cut the potatoes into evenly sized cubes to ensure even cooking.
3. Vegetable Broth or Water: To add flavor to the dish, you’ll need a liquid component. You can choose to use vegetable broth or water. Vegetable broth will enhance the overall taste, but if you don’t have any on hand, water works just fine. The amount of liquid required depends on the quantity of green beans and potatoes you’re using. Ensure that the liquid covers the vegetables but does not exceed the maximum fill line of your electric pressure cooker.
4. Olive Oil: Olive oil adds a touch of richness and helps coat the green beans and potatoes, enhancing the flavors. Drizzle a small amount of olive oil over the vegetables before cooking. You can adjust the amount based on your preference.
5. Minced Garlic: Garlic elevates the taste and aroma of the dish. Finely mince fresh garlic cloves to release their flavors. You can adjust the amount of garlic according to your taste preferences. If you’re a garlic lover, feel free to add more, but if you’re not a fan, you can reduce the quantity or omit it altogether.
6. Seasonings: To enhance the flavors of the green beans and potatoes, season them with salt and pepper. The amount of seasoning required depends on your taste preferences. Start with a small amount and adjust as needed. You can also add other herbs or spices of your choice to customize the flavors.
Once you have gathered all the ingredients and prepared them accordingly, you’re ready to move on to the next step – adding the ingredients to the electric pressure cooker. By taking the time to properly prepare the ingredients, you set yourself up for a delicious and satisfying meal.
Step 2: Adding the Ingredients to the Electric Pressure Cooker
Now that you have prepared the ingredients for cooking green beans and potatoes, it’s time to add them to the electric pressure cooker. Follow these simple steps to ensure the ingredients are properly added:
1. Electric Pressure Cooker: Ensure that your electric pressure cooker is clean and in good working condition. This will help maintain the quality of the dish and ensure safe cooking.
2. Pot: Place the pot of the electric pressure cooker on a stable surface. It’s important to use the designated pot that comes with your specific model of the appliance to ensure proper fit and function.
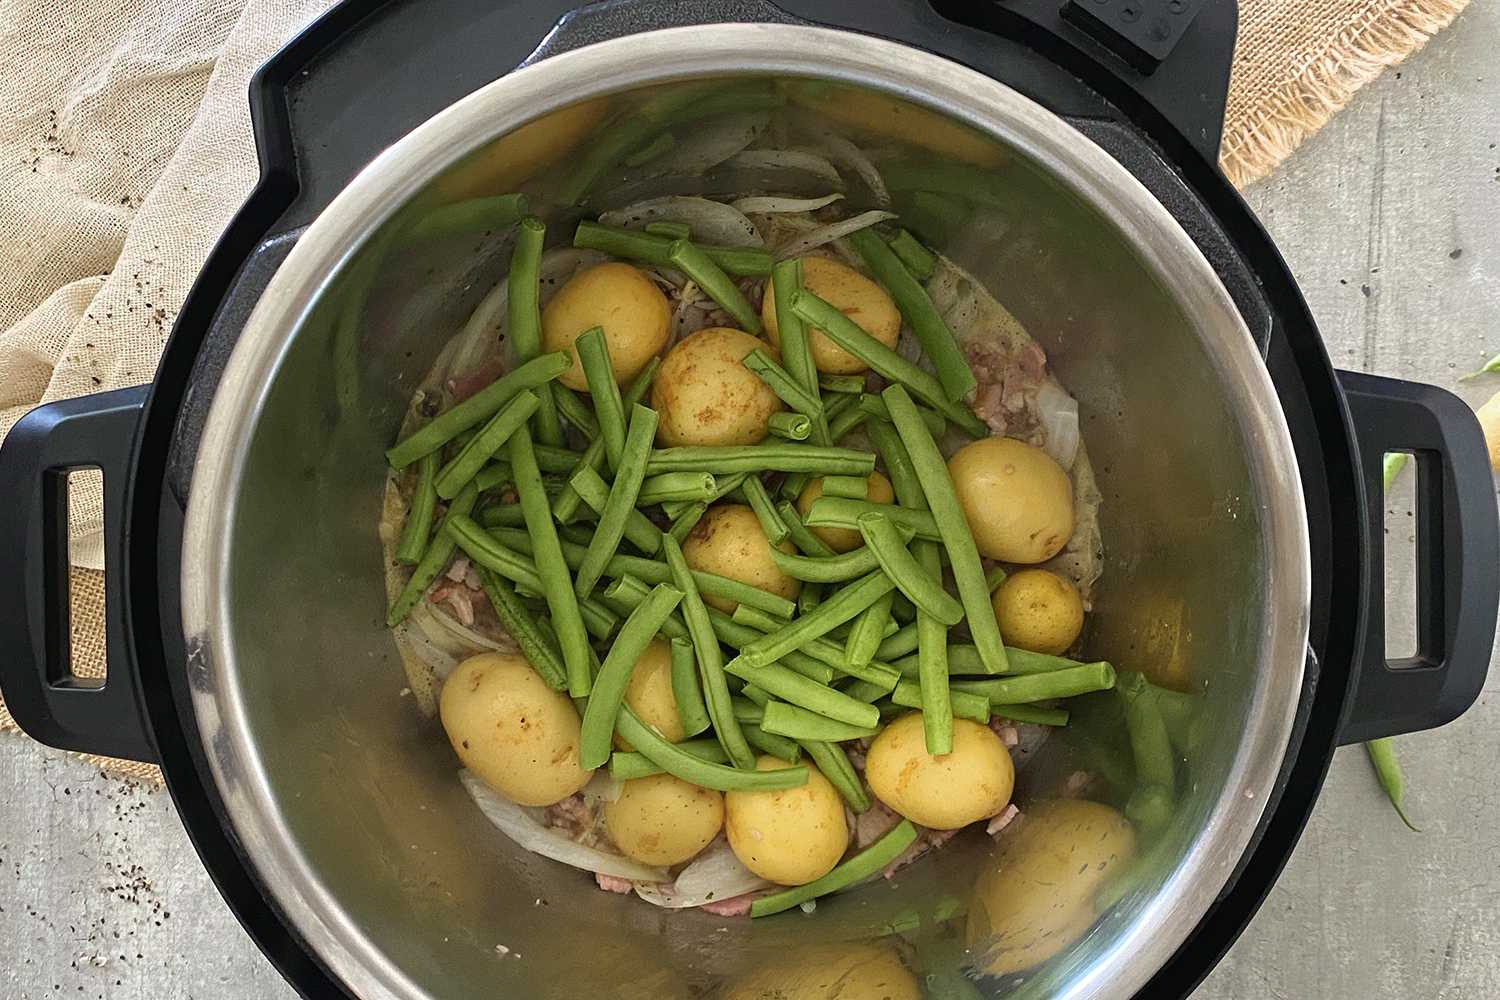
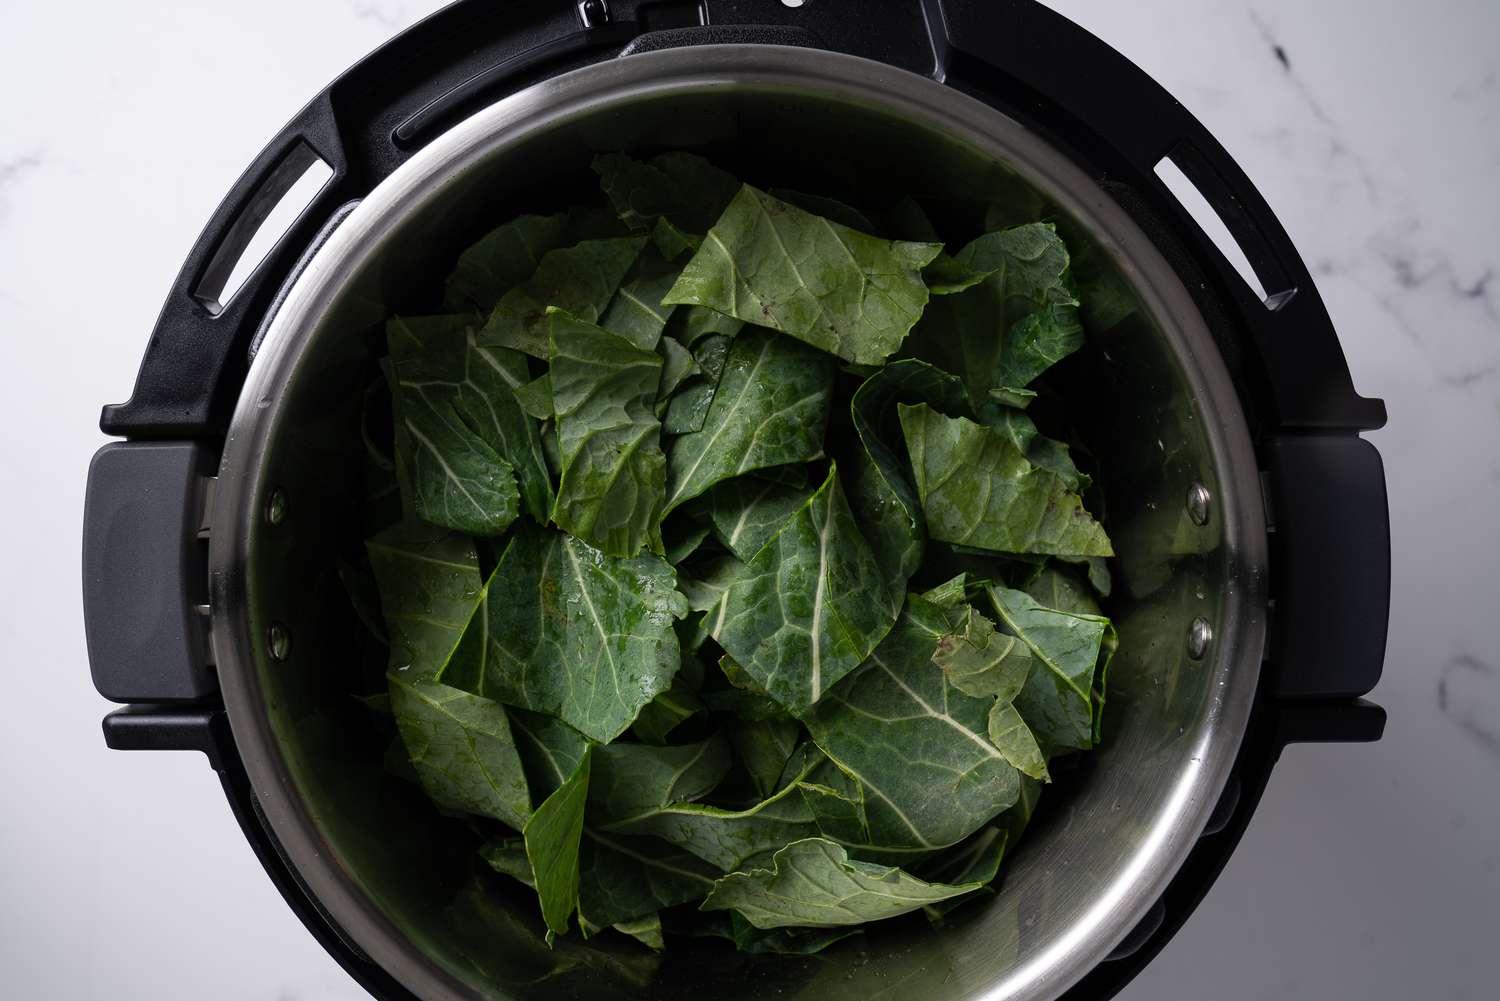
3. Green Beans and Potatoes: Transfer the prepared green beans and cubed potatoes to the pot of the electric pressure cooker. Spread them out evenly, creating a single layer if possible. This will help ensure even cooking and prevent overcrowding. If you are cooking a large quantity of green beans and potatoes, you may need to do this in multiple batches or use a larger capacity electric pressure cooker.
4. Liquid: Add the vegetable broth or water to the pot, ensuring that it covers the green beans and potatoes. The amount of liquid required may vary based on the specific recipe and your personal preference. However, it’s important not to exceed the maximum fill line indicated on your electric pressure cooker.
5. Olive Oil and Seasonings: Drizzle a small amount of olive oil over the green beans and potatoes. This will help enhance the flavors and prevent sticking. Sprinkle the minced garlic, salt, and pepper evenly over the vegetables. You can adjust the amount of seasonings based on your taste preferences.
6. Optional Ingredients: If desired, you can add additional herbs, spices, or seasonings to further customize the flavors of the dish. Popular options include garlic powder, onion powder, paprika, or dried herbs like thyme or rosemary. Experiment with different combinations to create the perfect blend of flavors.
Once all the ingredients are in the pot of the electric pressure cooker, gently toss them together to ensure they are evenly coated with the oil and seasonings. This will help distribute the flavors throughout the dish.
Now that the ingredients are properly added, it’s time to move on to the next step – setting the cooking time and pressure level. With everything in place, you are one step closer to enjoying delicious green beans and potatoes cooked to perfection in your electric pressure cooker.
Step 3: Setting the Cooking Time and Pressure Level
Setting the cooking time and pressure level correctly is crucial to ensure that the green beans and potatoes in your electric pressure cooker are cooked to perfection. Follow these steps to adjust the settings based on your specific model and cooking preferences:
1. Consult the Instruction Manual: Every electric pressure cooker model is unique, so it’s important to refer to the instruction manual that accompanies your specific appliance. This manual will provide guidance on recommended cooking times and pressure levels for various ingredients, including green beans and potatoes.
2. Recommended Cooking Time: Green beans and potatoes typically require a shorter cooking time compared to other ingredients. As a general guideline, the cooking time for green beans and potatoes in an electric pressure cooker is around 3 to 4 minutes on high pressure. However, this may vary depending on the size of the vegetables and your desired level of tenderness.
3. Adjust the Pressure Level: Electric pressure cookers usually have multiple pressure settings, such as low, medium, and high. For green beans and potatoes, it’s best to choose the high-pressure setting. This will ensure that the vegetables cook quickly and evenly, resulting in a tender texture.
4. Personal Preference: The cooking time and pressure level can be adjusted based on your personal preferences. If you prefer your green beans to have more bite or your potatoes to be slightly firmer, you can reduce the cooking time slightly. Similarly, if you prefer them to be softer, you can increase the cooking time. Keep in mind that it may require some trial and error to find the perfect cooking time and pressure level that suits your taste.
5. Safety Precautions: Always follow the safety guidelines provided by the manufacturer. Ensure that the lid is securely locked in place and that the venting knob is set to the “Sealing” position before initiating the cooking process. This will prevent steam from escaping and allow the pressure to build inside the cooker.
6. Start the Cooking Process: Once the cooking time and pressure level are adjusted according to your preference, start the cooking process as per the instructions provided by your electric pressure cooker. This may involve selecting the appropriate cooking mode, such as “Pressure Cook” or “Manual,” and pressing the start button.
Now that the cooking time and pressure level have been set, your electric pressure cooker will work its magic to cook the green beans and potatoes to perfection. Be sure to observe the cooking process and follow any additional steps or precautions specified in your appliance’s manual.
In the next step, we will move on to the exciting part – cooking the green beans and potatoes in the electric pressure cooker.
Step 4: Cooking the Green Beans and Potatoes
With the cooking time and pressure level set, it’s time to let your electric pressure cooker work its magic and cook the green beans and potatoes. Follow these steps to ensure a successful cooking process:
1. Secure the Lid: Before you begin cooking, make sure the lid of your electric pressure cooker is securely locked in place. This will create a sealed environment that allows the pressure to build up inside the cooker.
2. Set the Venting Knob: Check that the venting knob is set to the “Sealing” position. This will prevent steam from escaping during the cooking process and allow pressure to build up inside the pot.
3. Start the Cooking Process: Depending on the specific model of your electric pressure cooker, select the appropriate cooking mode, such as “Pressure Cook” or “Manual.” Press the start button to initiate the cooking process. The cooker will take some time to build up pressure before it starts cooking.
4. Cooking Duration: The green beans and potatoes will cook fairly quickly in an electric pressure cooker. As a general guideline, set the cooking time to around 3 to 4 minutes on high pressure. However, cooking times may vary depending on your appliance’s specifications and the texture you desire.
5. Cooking Progress: Once the cooking process starts, you will notice that the pressure indicator on your electric pressure cooker will rise, indicating that pressure is building inside the pot. The cooker will then reach the desired pressure level and begin cooking the green beans and potatoes.
6. Cooking Completion: After the pre-set cooking time has elapsed, the electric pressure cooker will automatically switch to the keep-warm mode or will emit a signal to indicate that the cooking process is complete. At this point, the green beans and potatoes should be tender and deliciously cooked.
7. Natural Pressure Release or Quick Pressure Release: Depending on the recipe and personal preference, you can choose between a natural pressure release or a quick pressure release. A natural pressure release involves letting the pressure drop naturally over time, which can take anywhere from a few minutes to around 10 minutes. A quick pressure release involves carefully venting the remaining pressure from the cooker using the release valve, following the manufacturer’s instructions. Be cautious when releasing the pressure, as the steam inside the cooker will be very hot.
Now that the green beans and potatoes have been cooked to perfection, it’s time to move on to the final step – releasing the pressure and serving the delicious dish!
Step 5: Releasing the Pressure and Serving
With the green beans and potatoes beautifully cooked in your electric pressure cooker, it’s time to release the pressure and prepare them for serving. Follow these steps for a safe and satisfying serving process:
1. Natural Pressure Release: If you choose the natural pressure release method, simply leave the electric pressure cooker undisturbed after the cooking process is complete. The pressure inside the cooker will gradually decrease on its own over a period of time, allowing the flavors to continue mingling. The time required for natural pressure release may vary depending on the specific cooker and the amount of pressure built up during cooking. Never force open the lid until the pressure has completely released.
2. Quick Pressure Release: If you prefer to release the pressure more quickly, you can opt for a quick pressure release. Follow the manufacturer’s instructions to safely perform a quick pressure release. Use caution when opening the release valve to avoid contact with the hot steam. Allow the pressure to escape completely before attempting to open the lid.
3. Opening the Lid: Once the pressure has been fully released and it is safe to do so, carefully remove the lid of the electric pressure cooker. Be mindful of any remaining steam, as it may still be hot. Open the lid away from your face to avoid any potential accidents.
4. Giving it a Stir: Using a heat-resistant utensil, gently stir the cooked green beans and potatoes in the electric pressure cooker. This will help distribute the flavors and ensure that the ingredients are well combined. The green beans should be tender, while the potatoes should be soft and cooked through.
5. Serving the Dish: Transfer the cooked green beans and potatoes to a serving dish using a slotted spoon or tongs. The liquid remaining in the pot can be strained and used as a flavorful broth or gravy, if desired. Garnish the dish with fresh herbs like parsley or dill for an added touch of freshness and visual appeal.
6. Pairing and Enjoying: Green beans and potatoes make for a versatile side dish that complements a wide range of main courses. Serve them alongside grilled chicken, roasted beef, or even veggie burgers for a complete and satisfying meal. The simplicity of this dish allows the flavors to shine through, making it a perfect addition to any dining occasion.
Remember to adjust the seasoning, if needed, before serving. Add a sprinkle of salt and pepper to taste or drizzle some olive oil for added richness. Enjoy the delicious combination of tender green beans and perfectly cooked potatoes, knowing that you have achieved this tasty dish with the help of your electric pressure cooker.
Now that you have successfully released the pressure, served the dish, and are ready to enjoy, sit back, relax, and savor the flavors of your perfectly cooked green beans and potatoes!
Cook green beans and potatoes in an electric pressure cooker for 3-4 minutes on high pressure for a tender-crisp texture. Quick release the pressure and enjoy!
Tips for Cooking Green Beans and Potatoes in an Electric Pressure Cooker
When cooking green beans and potatoes in an electric pressure cooker, a few tips can help you achieve the best results. Consider the following suggestions to enhance the flavors and textures of your dish:
1. Cut the vegetables evenly: When preparing the green beans and potatoes, try to cut them into similar sizes. This ensures that they cook evenly, preventing some pieces from becoming overcooked while others remain undercooked.
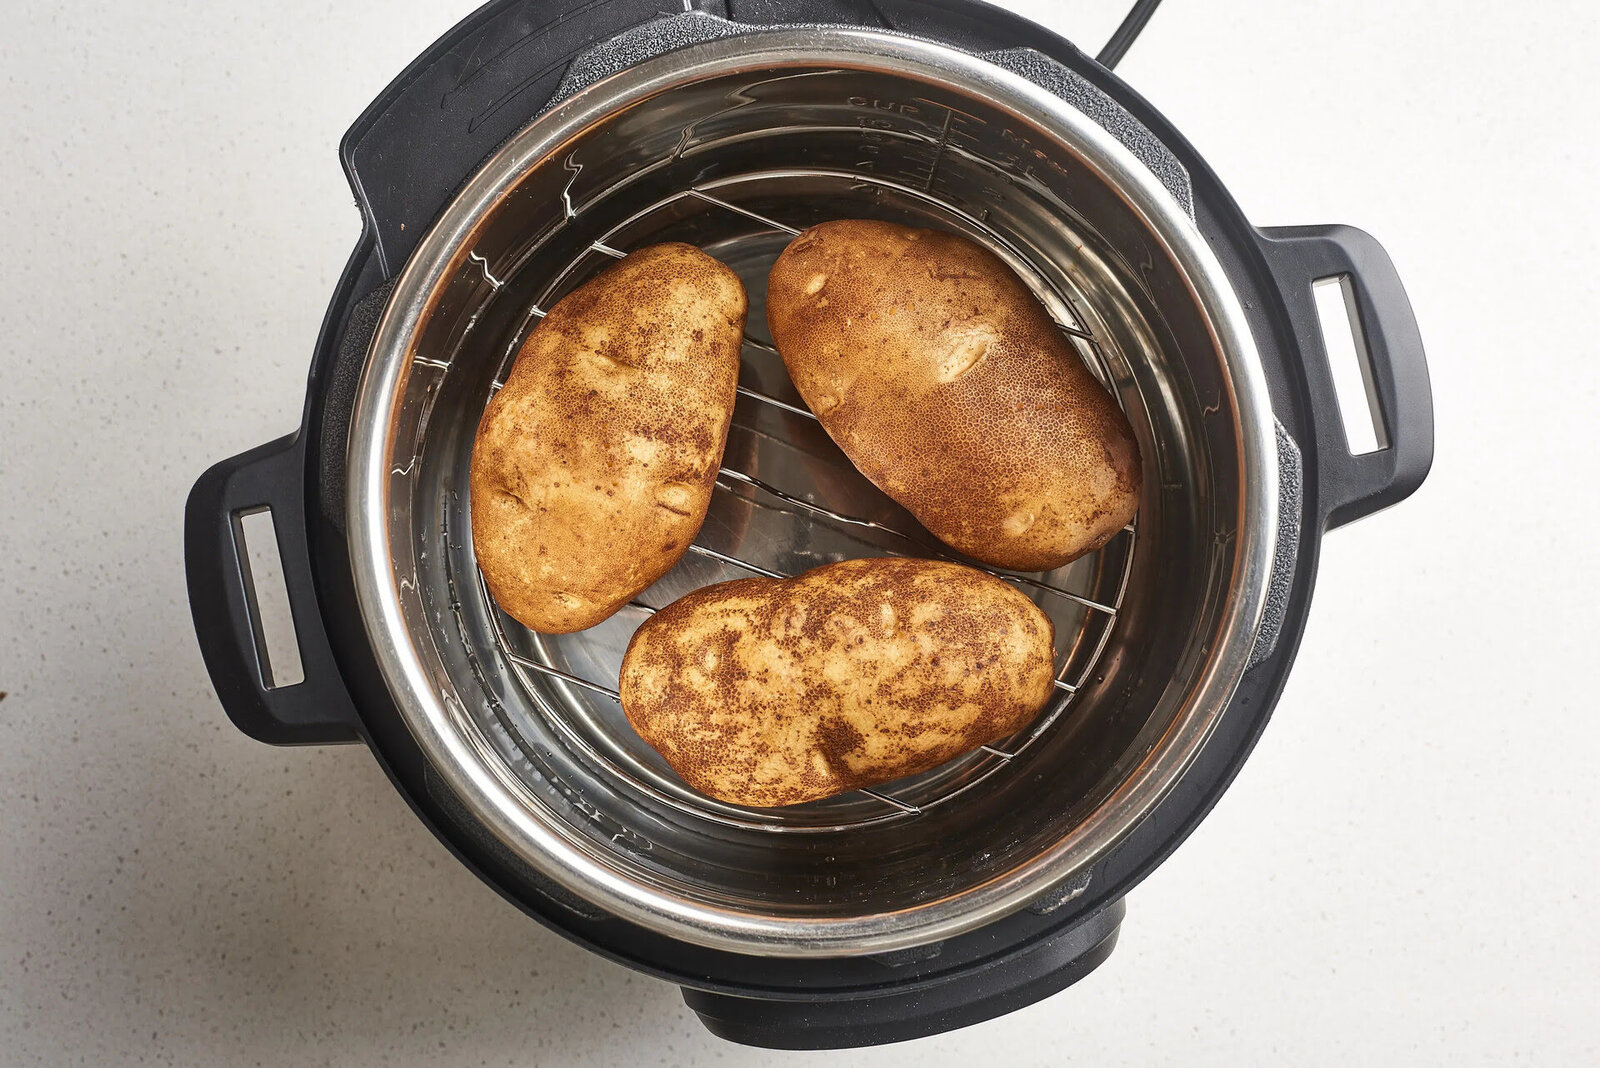
2. Use the trivet for steaming: If you prefer your green beans to be steamed rather than submerged in liquid, consider using a trivet or steamer basket. Simply place the trivet in the bottom of the electric pressure cooker and arrange the green beans on top. This method allows the vegetables to be gently steamed while retaining their vibrant color and crisp texture.
3. Customize the seasonings: While the basic combination of garlic, salt, and pepper is delicious, feel free to experiment with additional seasonings to suit your taste. You can incorporate herbs like thyme or rosemary, or even add a touch of lemon zest or chili flakes for a subtle kick. Don’t be afraid to get creative and tailor the seasonings to your preferences.
4. Be mindful of the cooking time: The cooking time for green beans and potatoes in an electric pressure cooker is relatively short. Keep an eye on the cooking process to prevent the vegetables from becoming mushy or overcooked. Adjust the cooking time slightly if you prefer a firmer texture or reduce it if you like them softer.
5. Use quick release for crispness: If you desire a crisper texture for the green beans, consider using a quick pressure release method. This helps to maintain their crunch and vibrant color. On the other hand, if you prefer the beans to be more tender, opt for a natural pressure release, allowing them to cook a little longer in residual heat.
6. Add other vegetables or proteins: Green beans and potatoes serve as a versatile base for additional ingredients. Feel free to include other vegetables like carrots, peas, or bell peppers to create a colorful medley. You can also add protein sources like sliced sausage, diced chicken, or tofu to make it a heartier one-pot meal.
7. Adjust the liquid for desired consistency: The amount of liquid you add to the electric pressure cooker will determine the consistency of the dish. If you prefer a thicker, stew-like consistency, use less liquid. For a more soupy or saucy texture, increase the amount of vegetable broth or water.
8. Season after cooking: While it’s common to add seasonings before cooking, consider reserving some fresh herbs, lemon juice, or a sprinkle of Parmesan cheese to add just before serving. This will bring a burst of freshness and bright flavors to the dish.
By following these tips, you will be well-equipped to create a delectable and customized dish of green beans and potatoes in your electric pressure cooker. Enjoy the versatility and convenience of this cooking method while bringing out the best flavors from these classic ingredients!
Conclusion
Cooking green beans and potatoes in an electric pressure cooker is a convenient and efficient way to prepare a delicious and nutritious side dish. With its ability to retain flavors, preserve nutrients, and significantly reduce cooking time, the electric pressure cooker has become a valuable tool in modern kitchens.
In this article, we have explored the step-by-step process of cooking green beans and potatoes in an electric pressure cooker, from preparing the ingredients to releasing the pressure and serving the dish. By following these guidelines and incorporating some helpful tips, you can achieve perfectly cooked green beans with a tender texture and flavorful potatoes.
The benefits of using an electric pressure cooker extend beyond just saving time. Its energy efficiency, versatility, and ability to consistently deliver flavorful and well-cooked meals make it a must-have appliance for any cooking enthusiast or busy individual.
Remember to experiment with seasonings and adjust cooking times to suit your preferences. The possibilities are endless – you can incorporate additional vegetables, proteins, or custom spices to create a dish that is uniquely yours.
So, next time you’re in the mood for a delectable side dish, grab your electric pressure cooker and embark on the culinary adventure of cooking green beans and potatoes. Enjoy the convenience, versatility, and delicious results that this remarkable kitchen appliance offers.
With a little practice and experimentation, you’ll master the art of cooking green beans and potatoes in your electric pressure cooker. Embrace this modern cooking method and savor the flavors, knowing that you have achieved an impressive dish with minimal effort.
So, why wait? Dust off your electric pressure cooker, gather your ingredients, and let the aroma of perfectly cooked green beans and potatoes fill your kitchen. Happy cooking!
Frequently Asked Questions about How Long To Cook Green Beans And Potatoes In Electric Pressure Cooker
Was this page helpful?
At Storables.com, we guarantee accurate and reliable information. Our content, validated by Expert Board Contributors, is crafted following stringent Editorial Policies. We're committed to providing you with well-researched, expert-backed insights for all your informational needs.


0 thoughts on “How Long To Cook Green Beans And Potatoes In Electric Pressure Cooker”