Home>Articles>How Do I Make Dry Beans In An Electric Pressure Cooker
Articles
How Do I Make Dry Beans In An Electric Pressure Cooker
Modified: September 2, 2024
Learn how to make delicious and healthy dry beans in an electric pressure cooker with our informative articles. Discover tips and tricks for perfectly cooked beans every time.
(Many of the links in this article redirect to a specific reviewed product. Your purchase of these products through affiliate links helps to generate commission for Storables.com, at no extra cost. Learn more)
Introduction
Welcome to the world of electric pressure cookers, where convenience and efficiency meet deliciousness. If you’re a fan of delicious and nutritious meals but don’t have hours to spare, then an electric pressure cooker is your new best friend. In this article, we’ll specifically explore how to make dry beans in an electric pressure cooker, unlocking a world of flavor and health benefits in a fraction of the time.
Dry beans are a staple in many cuisines around the world. Packed with protein, fiber, and essential nutrients, they are a budget-friendly and versatile ingredient that can be used in soups, stews, salads, and more. However, cooking dry beans on the stovetop can be a time-consuming process, often requiring soaking overnight and long simmering times.
This is where the electric pressure cooker comes to the rescue. With its ability to quickly and effectively cook foods under pressure, an electric pressure cooker can transform tough and dry beans into tender and flavorful delights in a fraction of the time. It not only saves you hours of cooking time, but also helps to retain the nutritional value of the beans.
But why should you choose an electric pressure cooker over a traditional stovetop method? The answer lies in the convenience and versatility it offers. Electric pressure cookers are equipped with pre-set functions and timers, allowing you to set it and forget it. This means you can go about your day while your beans cook to perfection, without the need for constant monitoring.
Another benefit is the energy efficiency of electric pressure cookers. They use less energy compared to stovetop cooking methods, making them an eco-friendly option. Plus, with their advanced safety features, you can cook with peace of mind, knowing that the pressure cooker will regulate and release pressure safely.
Now that you’re convinced of the benefits of using an electric pressure cooker for cooking dry beans, let’s dive into the specifics of choosing the right type of beans and preparing them for cooking. Get ready to elevate your meals with perfectly cooked, flavorful dry beans that will leave your taste buds begging for more.
Key Takeaways:
- Elevate your meals with perfectly cooked, flavorful dry beans in a fraction of the time using an electric pressure cooker. Enjoy the convenience, energy efficiency, and versatility it offers for creating delicious and nutritious dishes.
- Master the art of cooking dry beans in an electric pressure cooker with proper sorting, soaking, and seasoning. Troubleshoot common issues to achieve optimal results and savor the incredible taste and texture of your homemade beans.
Benefits of Using an Electric Pressure Cooker for Dry Beans
When it comes to cooking dry beans, using an electric pressure cooker can be a game-changer. Not only does it save you time and energy, but it also offers several benefits that make it an ideal choice for preparing delicious and nutritious meals. Here are some of the key advantages of using an electric pressure cooker for cooking dry beans:
1. Time-saving: One of the greatest advantages of using an electric pressure cooker is its ability to significantly reduce cooking time. While traditional stovetop methods can take hours to cook dry beans, an electric pressure cooker can cook them in a fraction of the time. The high-pressure environment inside the cooker helps to break down the tough fibers of the beans, resulting in tender and evenly cooked beans in less time.
2. Nutritional value: Electric pressure cookers are designed to retain the nutritional value of food. When cooking dry beans under pressure, the nutrients are locked in, minimizing nutrient loss compared to other cooking methods. This means you can enjoy all the health benefits of dry beans while still enjoying their delicious taste and texture.
3. Energy efficiency: Electric pressure cookers are more energy efficient compared to traditional cooking methods. The sealed cooking environment prevents heat and steam from escaping, reducing cooking time and energy consumption. This not only saves you money on your energy bills but also contributes to a more sustainable and eco-friendly lifestyle.
4. Convenience: Electric pressure cookers are designed with user-friendly features and pre-set functions, making them incredibly convenient to use. Simply add your soaked or rinsed dry beans, set the cooking time and pressure level, and let the pressure cooker do the rest. You can go about your daily activities or relax while your beans cook to perfection, without the need for constant monitoring.
5. Flavor infusion: The high-pressure cooking environment of an electric pressure cooker helps to intensify flavors and enhance the taste of dry beans. The pressure helps to break down the tough fibers, allowing the beans to absorb the flavors of any seasonings or spices you add. This results in beans that are not only tender but also rich in flavor.
6. Versatility: Electric pressure cookers are incredibly versatile appliances that can be used for a wide range of cooking tasks. In addition to cooking dry beans, you can use them to prepare soups, stews, meats, grains, and even desserts. Investing in an electric pressure cooker opens up a world of culinary possibilities and allows you to experiment with different recipes.
These are just a few of the many benefits of using an electric pressure cooker for cooking dry beans. Not only will you save time and energy, but you’ll also enjoy delicious and nutritious meals that are packed with flavor. So, why wait? Get yourself an electric pressure cooker and experience the wonders it can do for your dry beans and beyond.
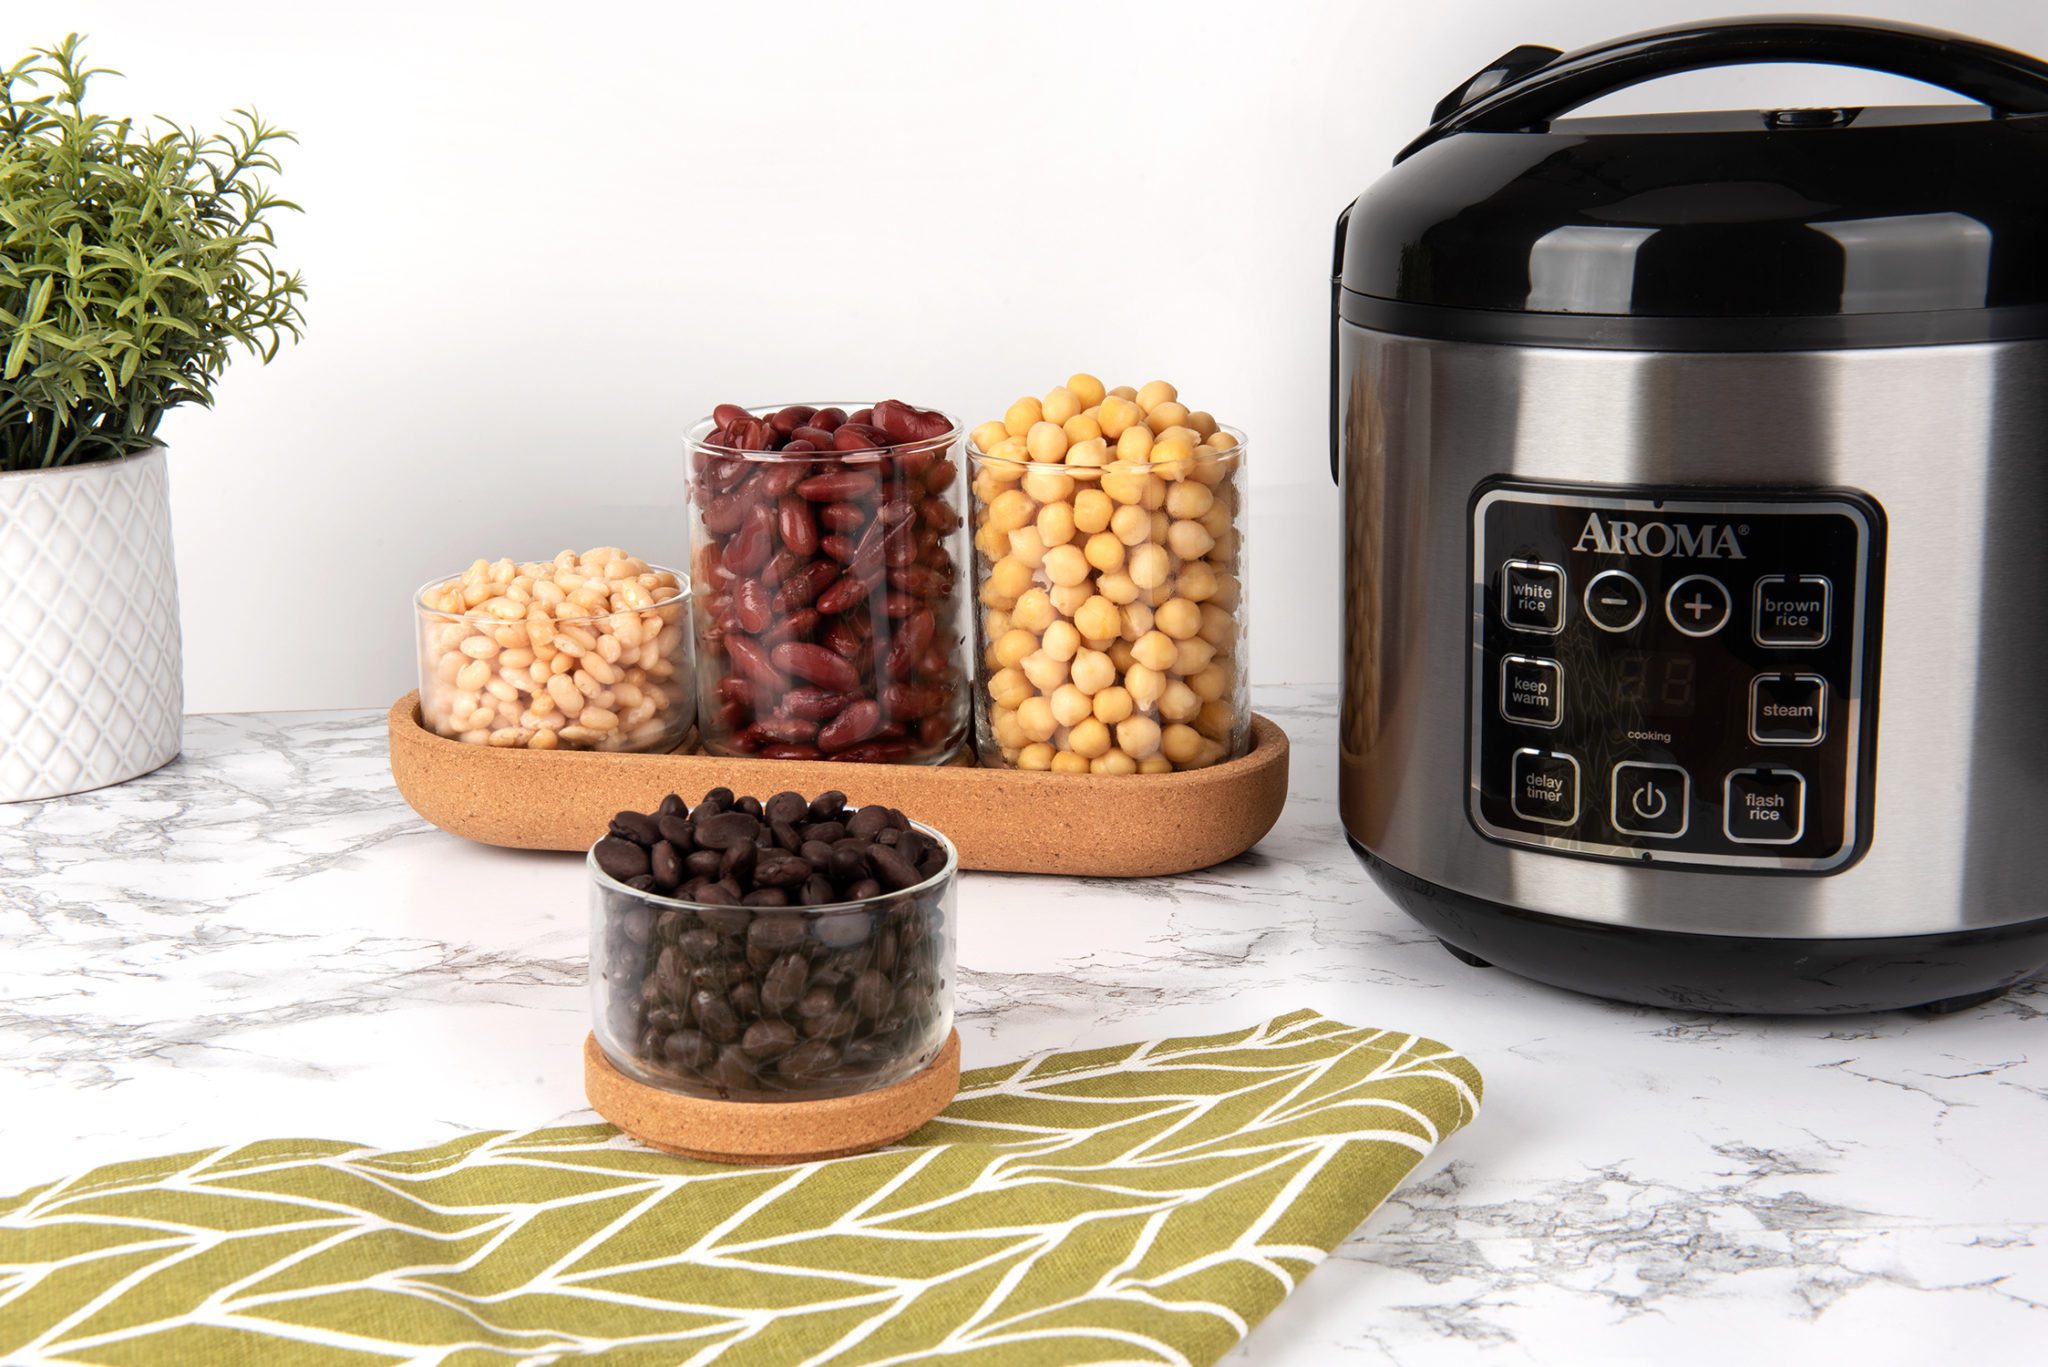
Choosing the Right Type of Dry Beans
When it comes to cooking dry beans in an electric pressure cooker, choosing the right type of beans is essential for achieving optimal results. With an abundance of options available, it can be overwhelming to select the perfect type of beans for your recipes. Here are some factors to consider when choosing the right type of dry beans:
1. Cooking Time: Different varieties of dry beans have varying cooking times. Some beans, like black beans and pinto beans, cook relatively quickly, while others, such as chickpeas or kidney beans, take longer. Consider the cooking time you are willing to invest and choose beans accordingly. Keep in mind that cooking times may also vary based on the size and condition of the beans.
2. Flavor and Texture: Each type of dry bean has its own unique flavor and texture profile. Navy beans are creamy and mild, while lentils are earthy and tender. Consider the flavor and texture you desire in your recipes, and choose beans that will complement your dish.
3. Recipe Compatibility: Consider the recipes you plan to prepare with dry beans. If you’re making a chili or a Mexican-inspired dish, kidney beans or black beans would be suitable. For Mediterranean recipes, chickpeas or white beans work well. Matching the type of beans to your desired cuisine will enhance the authenticity and taste of your dishes.
4. Dietary Restrictions: If you have specific dietary restrictions or preferences, such as a gluten-free or low-sodium diet, choose beans that align with your needs. Many packages of dry beans will indicate if they are gluten-free, low-sodium, or organic. This way, you can ensure your meals are tailored to your dietary requirements.
5. Availability: Consider the availability of different types of dry beans in your local grocery store or market. Some varieties may be more readily available than others, depending on your location. It’s always helpful to explore local culinary traditions and experiment with different types of beans that are readily accessible in your area.
When selecting dry beans, it’s important to note that their sizes can vary. If you’re unsure about the appropriate cooking time for a particular type of bean, you can always consult the instruction manuals and cooking guides available for your electric pressure cooker. These resources often provide recommended cooking times based on the size and condition of the beans.
So, whether you’re craving a steaming hot bowl of black bean soup or a hearty plate of lentil curry, choosing the right type of dry beans is an essential step in achieving the perfect texture and flavor. Take a moment to explore the varieties available and consider the factors mentioned above. With the right beans on hand, you’ll be well on your way to creating delicious and satisfying meals in your electric pressure cooker.
Preparing Dry Beans for Cooking
Before you can start cooking dry beans in your electric pressure cooker, it’s important to properly prepare them. Prepping dry beans involves two crucial steps: sorting and soaking. Following these steps will help remove any impurities, improve the texture of the beans, and reduce cooking time. Here’s how to prepare dry beans for cooking:
1. Sorting: Start by sorting through your dry beans to remove any foreign objects, damaged beans, or debris. Spread the beans on a clean surface or a large plate and visually inspect them. Remove any stones, twigs, or discolored beans that you come across. While rare, it’s best to check and ensure the quality of the beans before cooking.
2. Soaking: Soaking dry beans is an important step to rehydrate them and help reduce cooking time. There are two common methods for soaking beans: overnight soaking and quick soaking.
– Overnight Soaking: This is the traditional method of soaking dry beans. Rinse the sorted beans under cold water, then transfer them to a large bowl or container. Add enough water to cover the beans by a few inches. Allow the beans to soak overnight, or for at least 8 hours. This slow soaking method helps to soften the beans and reduce their cooking time.
– Quick Soaking: If you’re short on time, you can opt for the quick soaking method. Rinse the sorted beans under cold water and transfer them to a large pot. Add enough water to cover the beans by a few inches. Bring the water to a boil, then remove the pot from heat. Let the beans sit in the hot water for 1-2 hours. This method accelerates the soaking process, but keep in mind that the beans may not be as tender as with the overnight soaking method.
3. Rinsing: After soaking, regardless of the method used, it’s important to thoroughly rinse the beans under cold water. This helps to remove any residual soaking liquid, further cleans the beans, and ensures a fresh taste.
Once your dry beans are properly sorted, soaked, and rinsed, they are ready to be cooked in your electric pressure cooker. The soaking process helps to soften the beans, reduce cooking time, and yield a more consistent texture. Follow the specific cooking instructions provided by the manufacturer of your electric pressure cooker for the best results.
Now that you know how to prepare dry beans for cooking, you’re one step closer to enjoying perfectly cooked and flavorful beans in your electric pressure cooker. So, roll up your sleeves, get your beans ready, and let your pressure cooker work its magic.
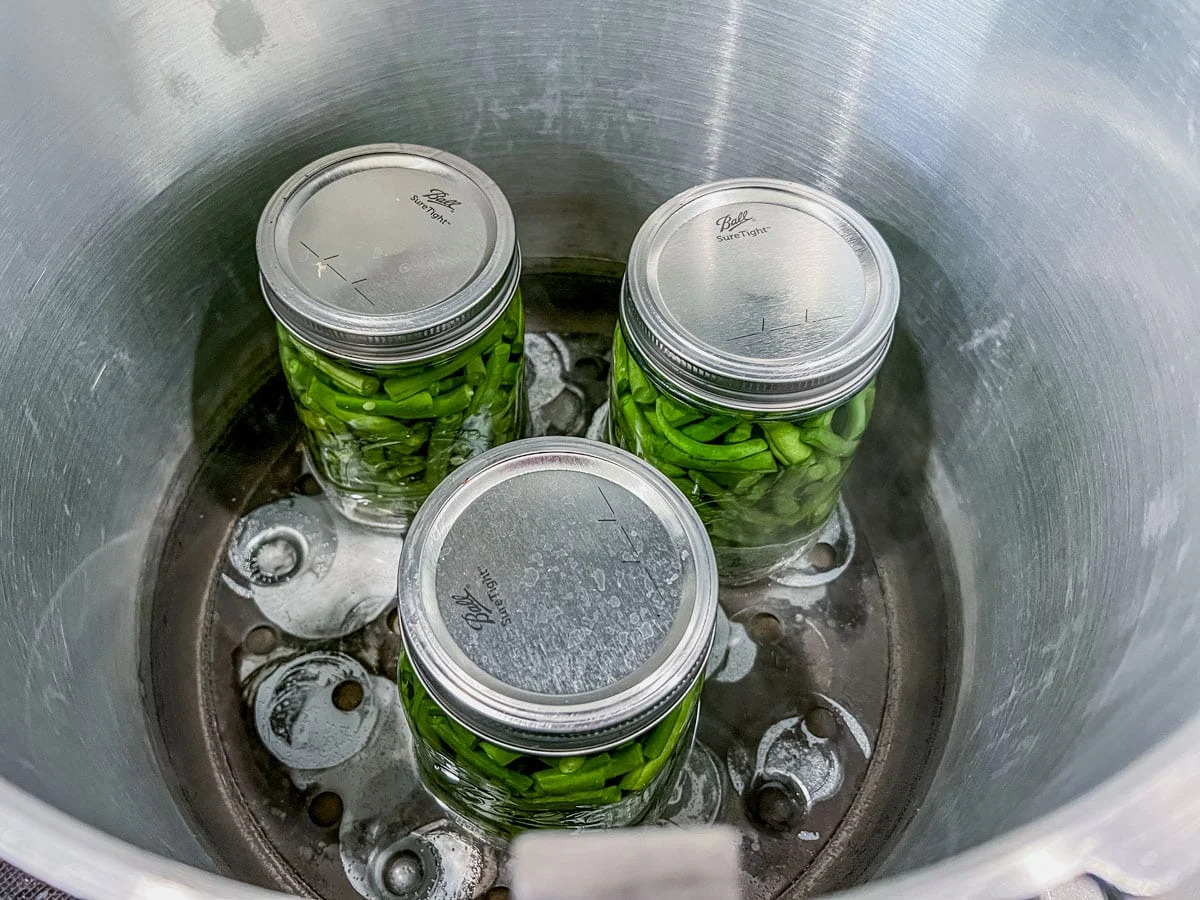
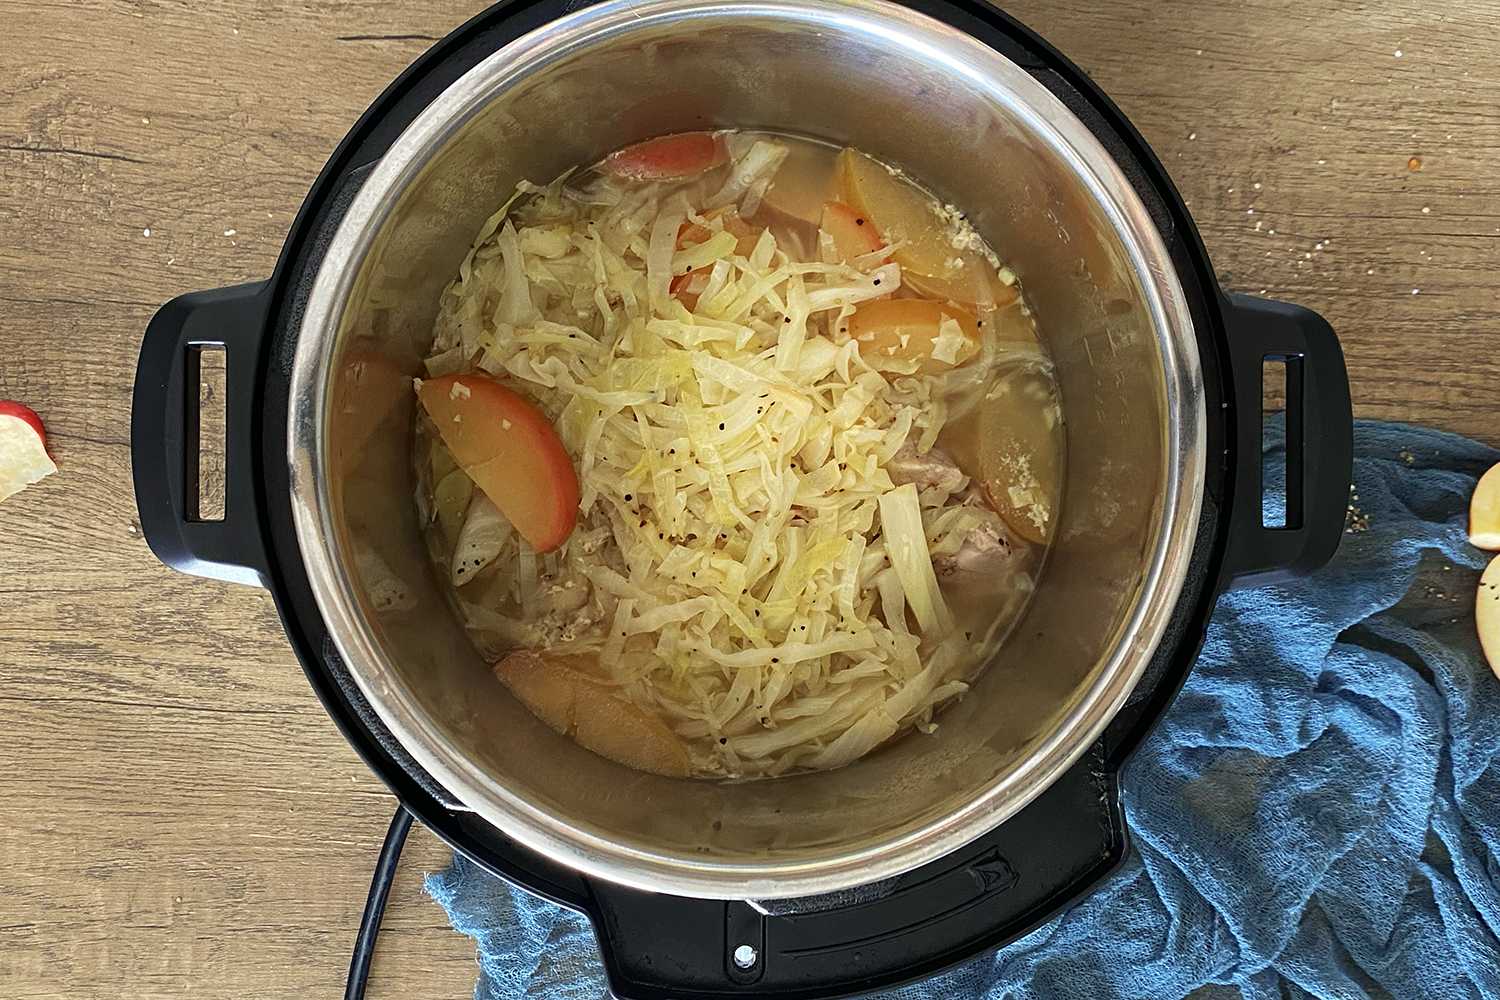
Cooking Dry Beans in an Electric Pressure Cooker
Now that your dry beans are prepped and ready, it’s time to start cooking them in your electric pressure cooker. With its high-pressure cooking capabilities, the electric pressure cooker will transform your dry beans into tender and flavorful morsels in a fraction of the time compared to traditional stovetop methods. Here are the steps to cook dry beans in an electric pressure cooker:
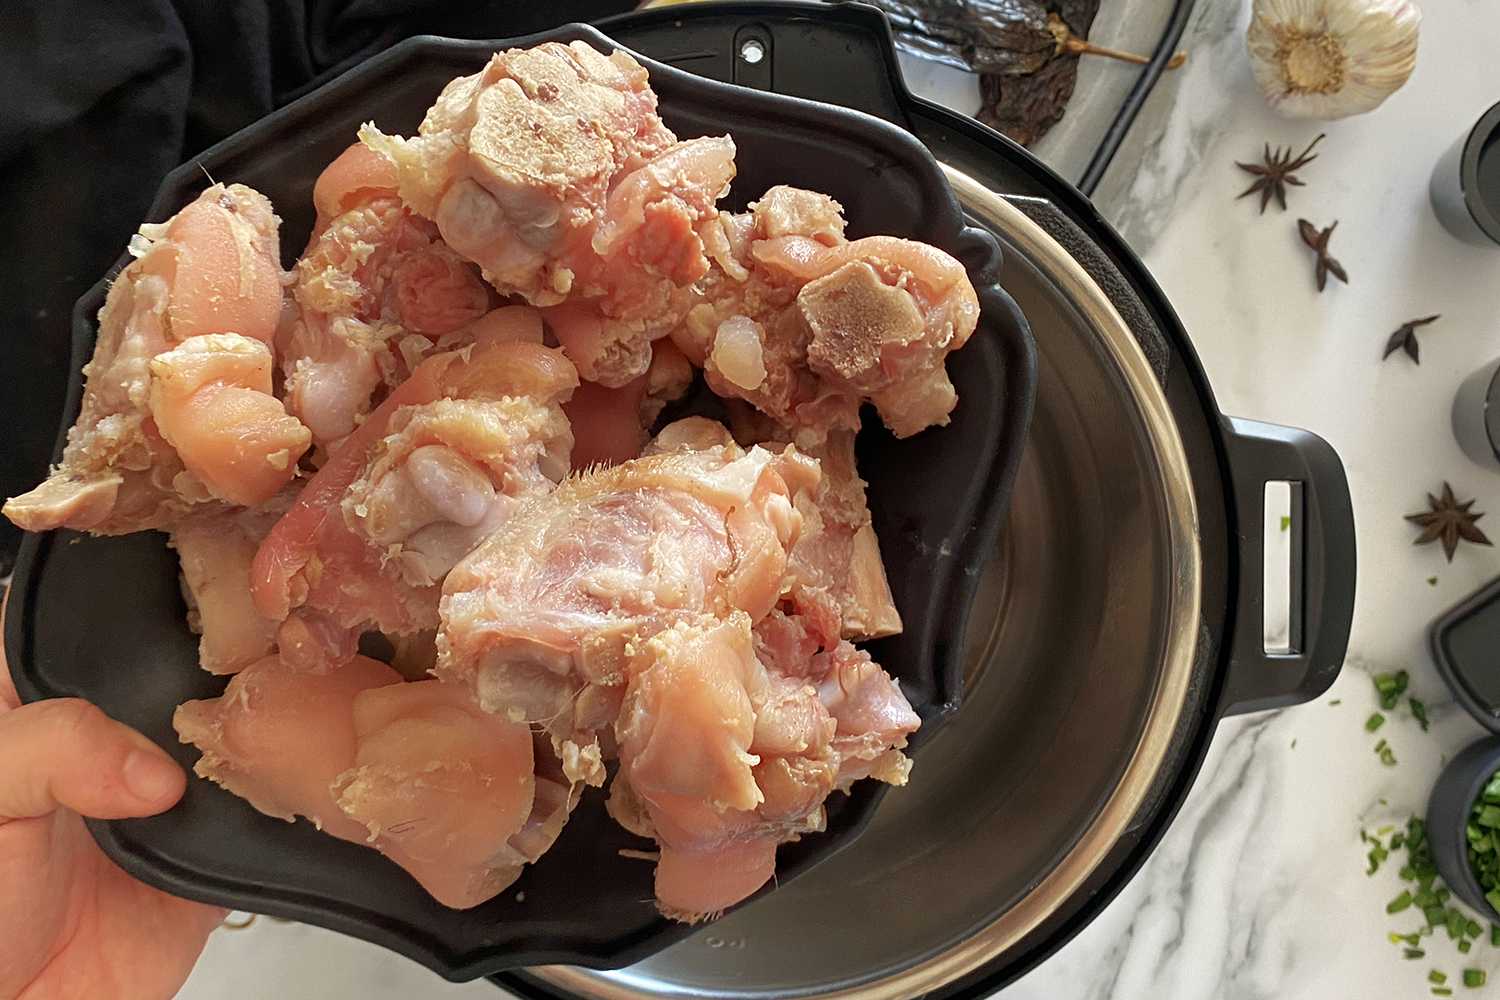
1. Add the Beans: Start by adding the soaked and rinsed beans to the inner pot of your electric pressure cooker. Make sure not to overfill the pot, as the beans will expand during cooking. As a general rule, fill the pot no more than halfway with beans and liquid.
2. Add Liquid: Pour enough liquid into the pot to cover the beans. Water is the most common choice, but you can also use vegetable broth, chicken broth, or a combination of both for added flavor. The liquid should be about 1-2 inches above the level of the beans.
3. Close and Seal: Place the lid on the electric pressure cooker and ensure it is properly sealed. Follow the manufacturer’s instructions for securing the lid and locking it in place.
4. Select Cooking Time and Pressure Level: Set the desired cooking time and pressure level according to the type of beans you’re using and the recipe you’re following. Each electric pressure cooker will have specific instructions for selecting the appropriate settings. In general, cooking times for dry beans range between 20-40 minutes, depending on the variety and the desired texture.
5. Start Cooking: Once you have selected the cooking time and pressure level, start the cooking process by activating the pressure cooker. This may involve pressing a specific button or turning a dial, depending on the model of your electric pressure cooker. The cooker will take some time to build up pressure before the actual cooking time begins.
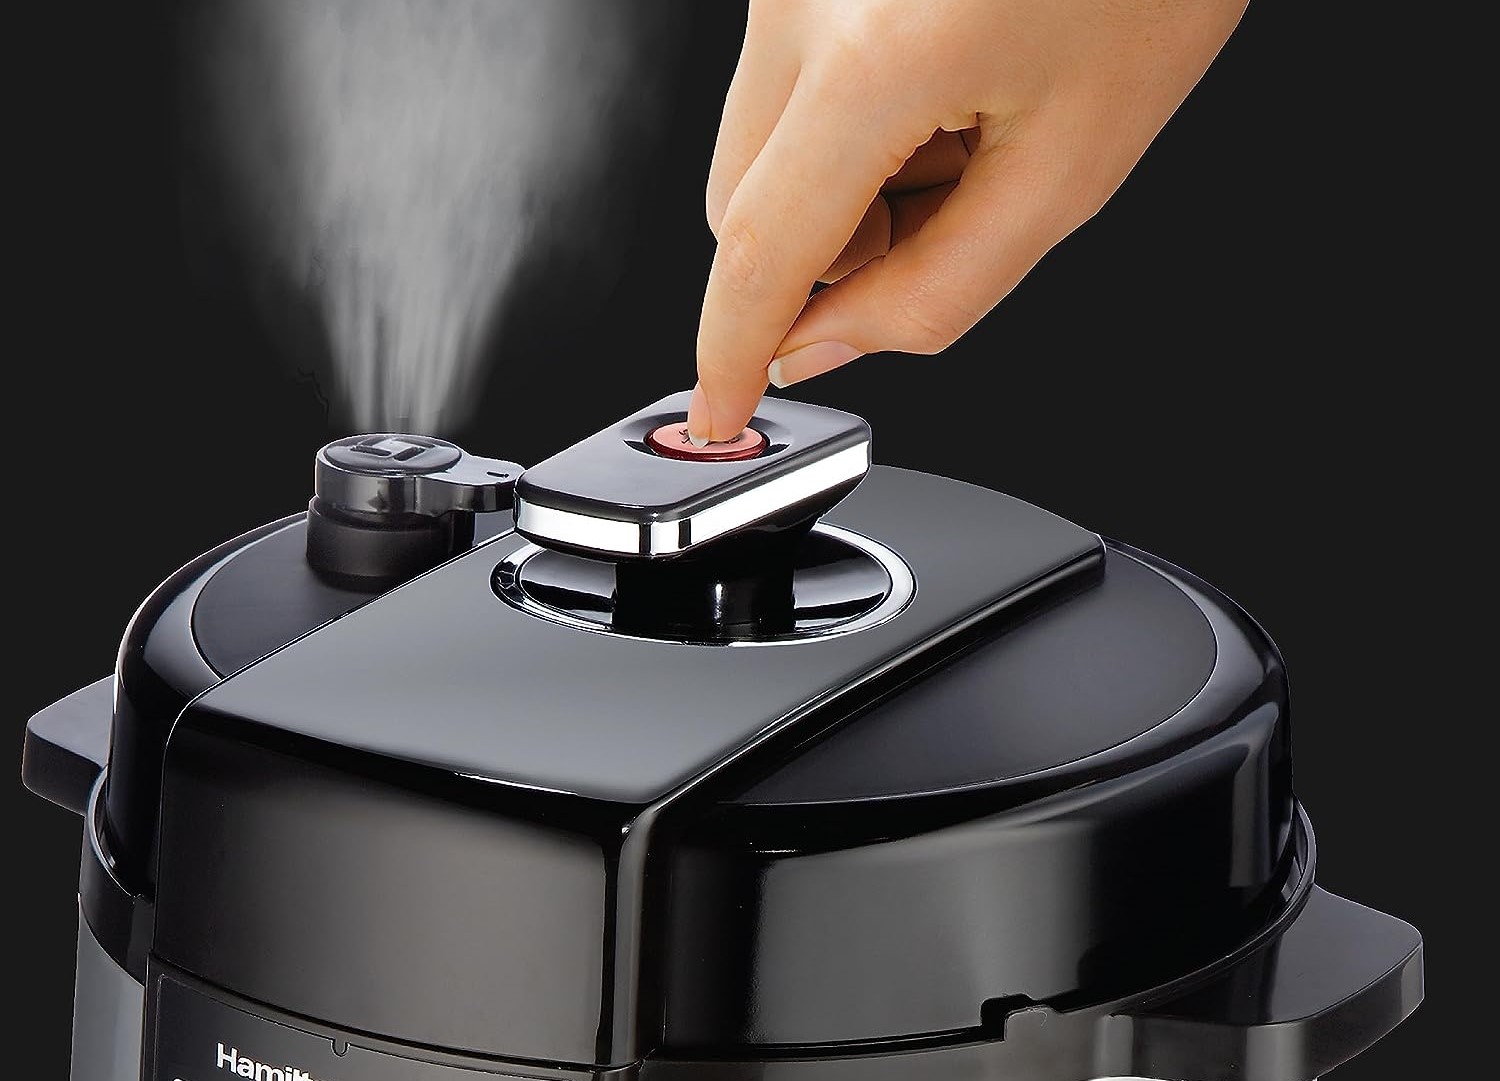
6. Cook and Release Pressure: Once the cooking time is complete, the electric pressure cooker will automatically switch to a “keep warm” mode, or you may need to manually switch it off. At this point, you have two options for releasing the pressure: natural pressure release (NPR) or quick release (QR).
– Natural Pressure Release (NPR): This method allows the pressure to release naturally over a period of time. Simply leave the pressure cooker undisturbed for 10-15 minutes, allowing the pressure to release on its own. After the designated time, carefully open the lid once the pressure valve has dropped.
– Quick Release (QR): For this method, carefully and gradually move the pressure valve to the “venting” position to quickly release the pressure. Be cautious of the hot steam that will be released. Only open the lid once the pressure valve has fully dropped and there is no more steam escaping.
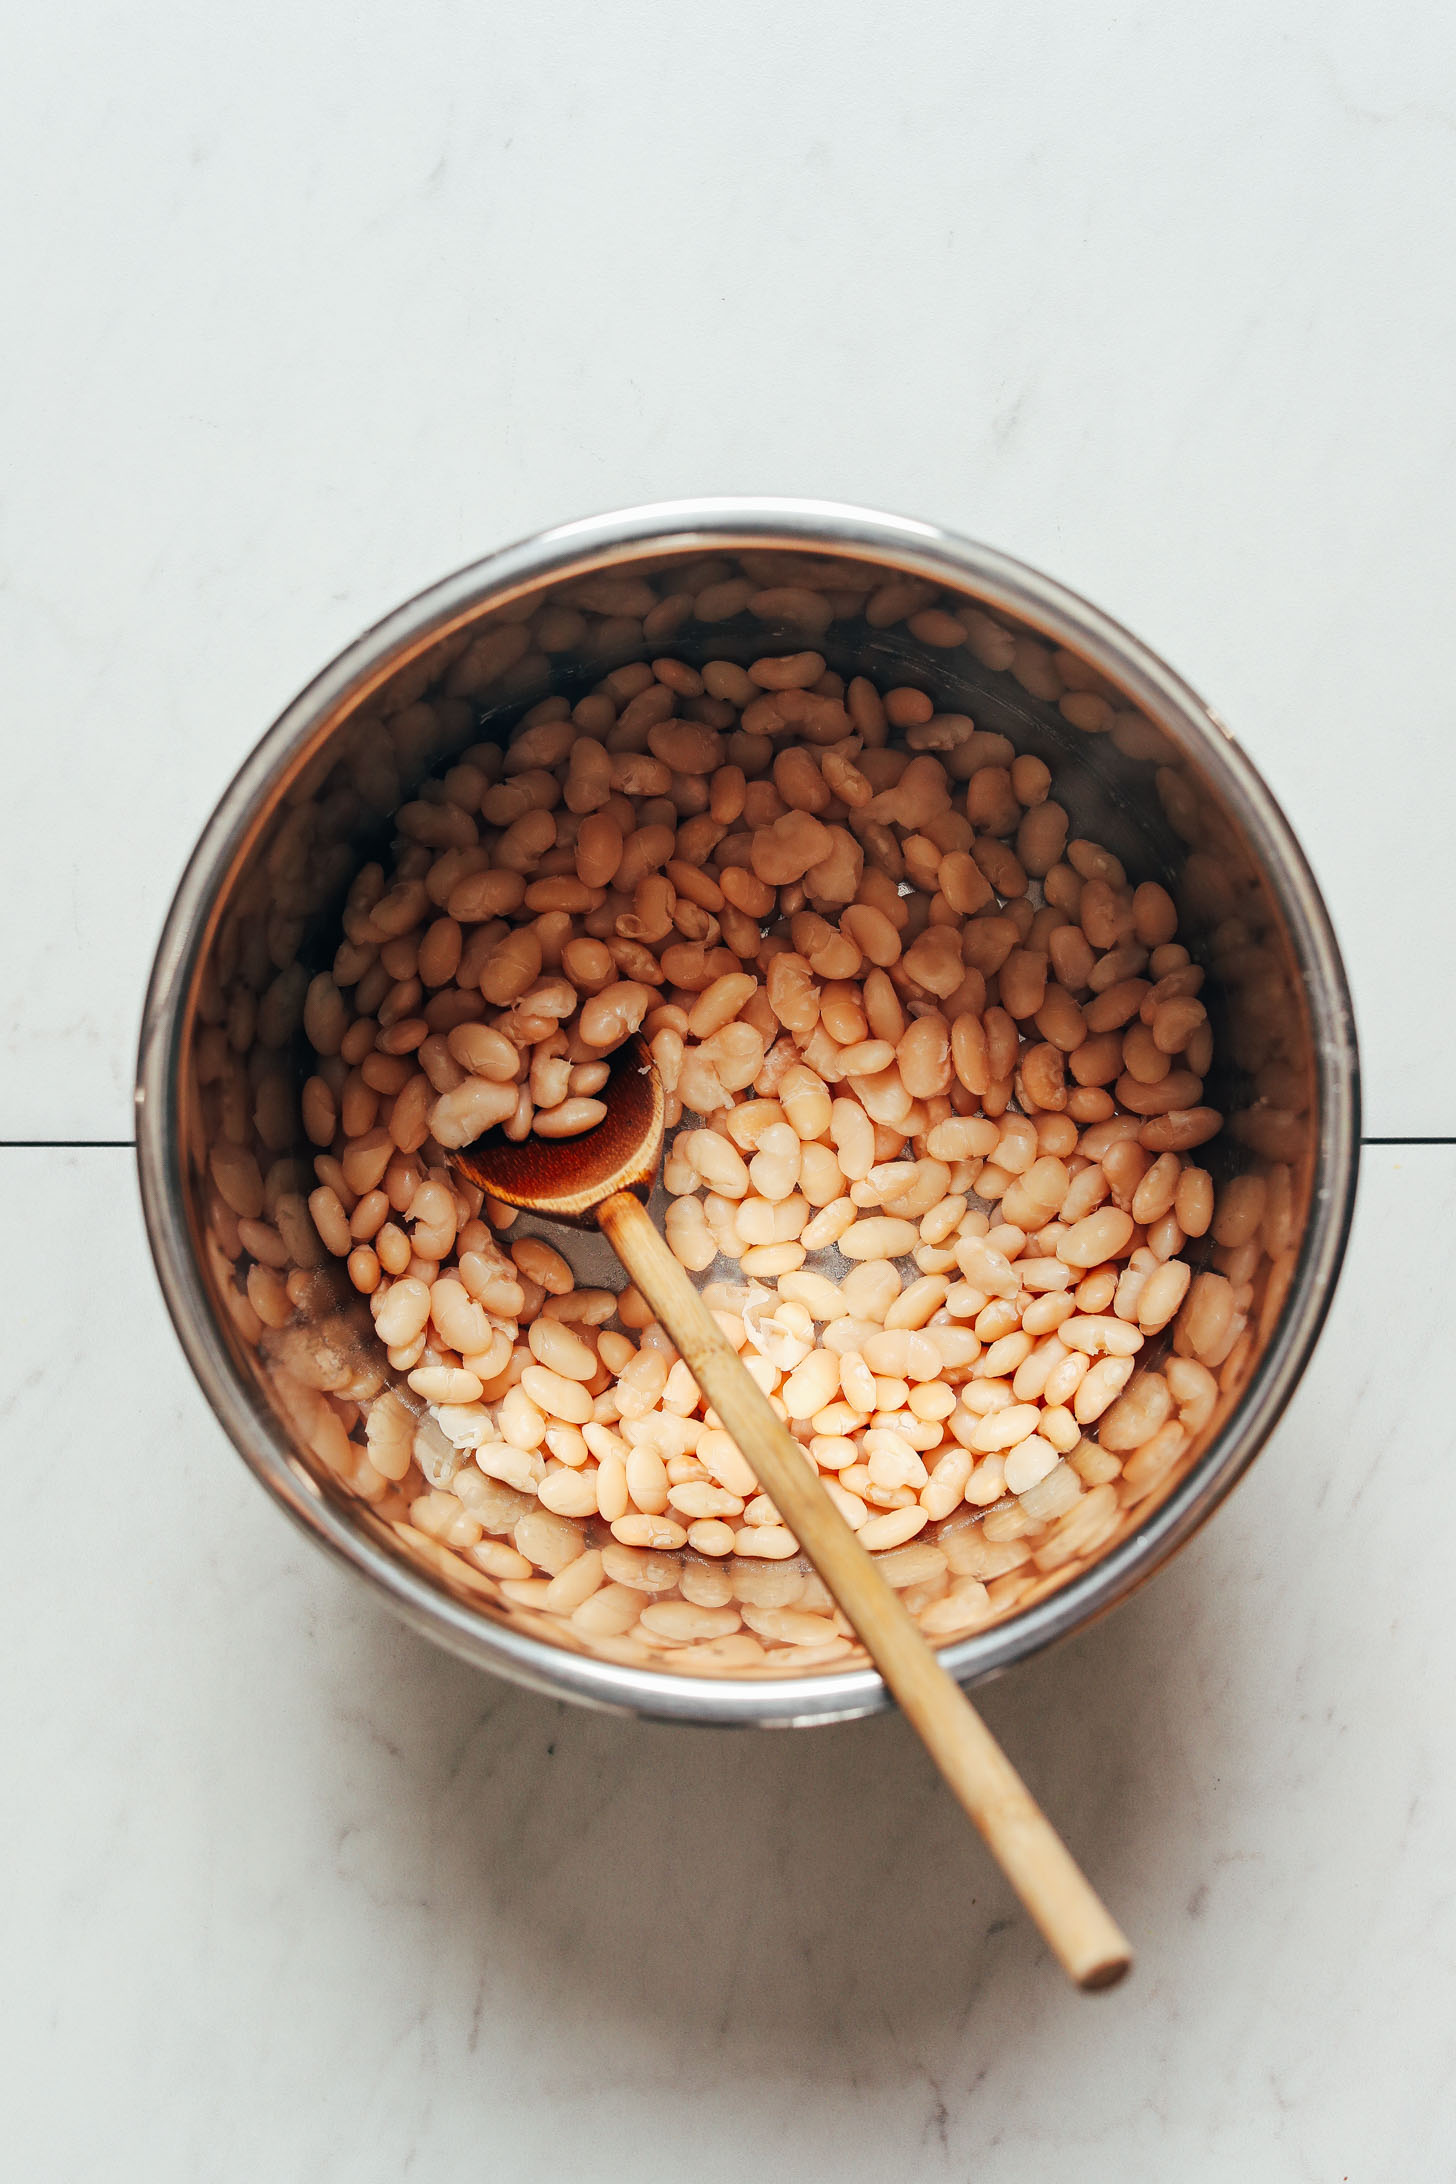
After releasing the pressure, open the lid of the electric pressure cooker and check the beans for doneness. If they are not yet tender enough, you can continue to cook them for an additional few minutes under pressure.
Once your dry beans are cooked to perfection, you can incorporate them into a variety of dishes like soups, salads, or even enjoy them on their own. The electric pressure cooker will have not only reduced your cooking time but also infused the beans with delicious flavors, making them a versatile addition to your culinary repertoire.
Remember, always refer to your specific electric pressure cooker’s instruction manual for detailed cooking times and pressure settings for different varieties of dry beans. Now, it’s time to savor the incredible taste and texture of your homemade, perfectly cooked dry beans!
Before cooking dry beans in an electric pressure cooker, make sure to soak them for at least 4 hours or overnight to reduce cooking time and improve digestibility.
Natural Pressure Release vs. Quick Release for Dry Beans
When cooking dry beans in an electric pressure cooker, you have two options for releasing the pressure: natural pressure release (NPR) or quick release (QR). Both methods have their advantages and it’s important to understand when to use each one to achieve the best results. Here’s a breakdown of natural pressure release vs. quick release for dry beans:
1. Natural Pressure Release (NPR): Natural pressure release involves allowing the pressure to drop gradually on its own without any intervention. After the cooking time is complete, you simply leave the electric pressure cooker undisturbed, and it will naturally release the pressure over a period of time. Here’s why you might choose NPR for cooking dry beans:
– Prevent Bean Splitting: Beans, especially larger varieties like chickpeas or kidney beans, can be prone to splitting or bursting if subjected to quick pressure release. The gentle release of pressure with NPR helps to prevent this and ensures that the beans retain their shape.
– Evens Out Texture: Natural pressure release allows the beans to slowly absorb the liquid and rehydrate evenly, resulting in a consistent texture throughout. It helps to minimize the risk of some beans being undercooked while others are overcooked or mushy.
– Preserves Nutrients: NPR helps to retain the nutrients present in the beans. The slow release of pressure helps to minimize nutrient loss during the cooking process, ensuring that you get the maximum nutritional benefit from your dry beans.
2. Quick Release (QR): Quick release involves manually releasing the pressure from the electric pressure cooker immediately after the cooking time is complete. This method rapidly releases the pressure by carefully and gradually moving the pressure valve to the “venting” position. Here are some situations where you might opt for QR when cooking dry beans:
– Save Time: If you’re short on time or need to quickly release the pressure to prevent overcooking the beans, QR is the way to go. It rapidly depressurizes the cooker, allowing you to access the cooked beans and proceed with the next steps of your recipe.
– Altering Texture: Quick release can also be used to deliberately alter the texture of the beans. If you prefer a softer or more mushy texture for your dish, QR can help achieve that result. However, be cautious as overcooking or using QR for delicate beans like lentils can lead to them becoming too mushy or disintegrated.
– When Recipe Calls for It: Some recipes specifically call for quick release to control the timing and texture of the beans. If a recipe specifically instructs you to use QR, it’s best to follow those guidelines to achieve the intended results.
Ultimately, deciding between natural pressure release and quick release for dry beans depends on the desired texture, time constraints, and the specific recipe being prepared. For most dry beans, natural pressure release is recommended to ensure a consistent texture and avoid splitting. However, quick release can be employed if you’re looking to save time or achieve a softer texture for certain dishes.
Always consult the instruction manual provided by the manufacturer of your electric pressure cooker for specific guidance on releasing pressure. Remember to handle the pressure release valve with caution and avoid placing your hand or face directly above it to prevent any potential burns from the hot steam.
By understanding the differences between natural pressure release and quick release for dry beans, you can confidently choose the method that best suits your needs and enjoy perfectly cooked beans in your electric pressure cooker.
Seasoning and Flavoring Options for Cooked Dry Beans
Cooked dry beans are a blank canvas ready to be transformed into a flavorful and satisfying dish. While they have a naturally earthy and nutty taste, it’s the seasonings and flavorings that can take them to the next level. Whether you’re preparing a simple side dish or a hearty main course, here are some seasoning and flavoring options to enhance the taste of your cooked dry beans:
1. Onions and Garlic: Start by sautéing finely chopped onions and minced garlic in a bit of oil or butter for added depth of flavor. These aromatic ingredients add a savory and aromatic base to the beans.
2. Herbs: Fresh or dried herbs can elevate the flavor profile of your cooked dry beans. Popular choices include thyme, rosemary, parsley, oregano, or cilantro. Add a sprinkle of your preferred herbs during the cooking process or as a garnish to add freshness and complexity.
3. Spices: Experiment with spices to add a punch of flavor to your beans. Options like cumin, paprika, chili powder, turmeric, or smoked paprika can bring warmth and a hint of smokiness to your dish. Adjust the amount of spices based on your desired level of heat and intensity.
4. Citrus: A splash of citrus juice or zest can brighten up the flavors of your beans. Squeeze in some fresh lemon, lime, or orange juice, or grate the zest to add a refreshing and tangy twist.
5. Vinegar: A splash of vinegar, such as apple cider vinegar or balsamic vinegar, can add a tangy and acidic note to your cooked beans. It helps to balance flavors and cut through the richness.
6. Salt and Pepper: Don’t forget the basics! Season your cooked beans with salt and pepper to enhance their natural flavors. Remember to taste as you go and adjust the seasoning accordingly.
7. Stock or Broth: Instead of using plain water, consider cooking your dry beans in vegetable broth, chicken broth, or beef broth. This will infuse the beans with additional depth and richness.
8. Hot Sauce or Salsa: If you prefer a spicier kick, add some hot sauce or salsa to your cooked beans. Choose your favorite variety and adjust the amount based on your heat preference.
9. Cheese or Dairy: For a creamy and indulgent twist, stir in some grated cheese, such as Parmesan or cheddar, or a dollop of sour cream or Greek yogurt. The richness and tanginess of the dairy can add a delightful touch to your beans.
10. Additional Ingredients: Feel free to customize your cooked beans with additional ingredients of your choice. You can add diced tomatoes, bell peppers, corn, cooked bacon, or even diced ham to create a more complex and flavorful dish.
Remember, seasoning and flavoring options can vary depending on the type of beans and the recipe you’re following. Feel free to experiment and adjust the seasonings based on your personal taste preferences. Taste your beans as you go and make any necessary adjustments to ensure they are perfectly seasoned and delicious.
With these seasoning and flavoring options in your culinary arsenal, you can transform a simple pot of cooked dry beans into a tantalizing and memorable dish that will leave everyone asking for seconds.
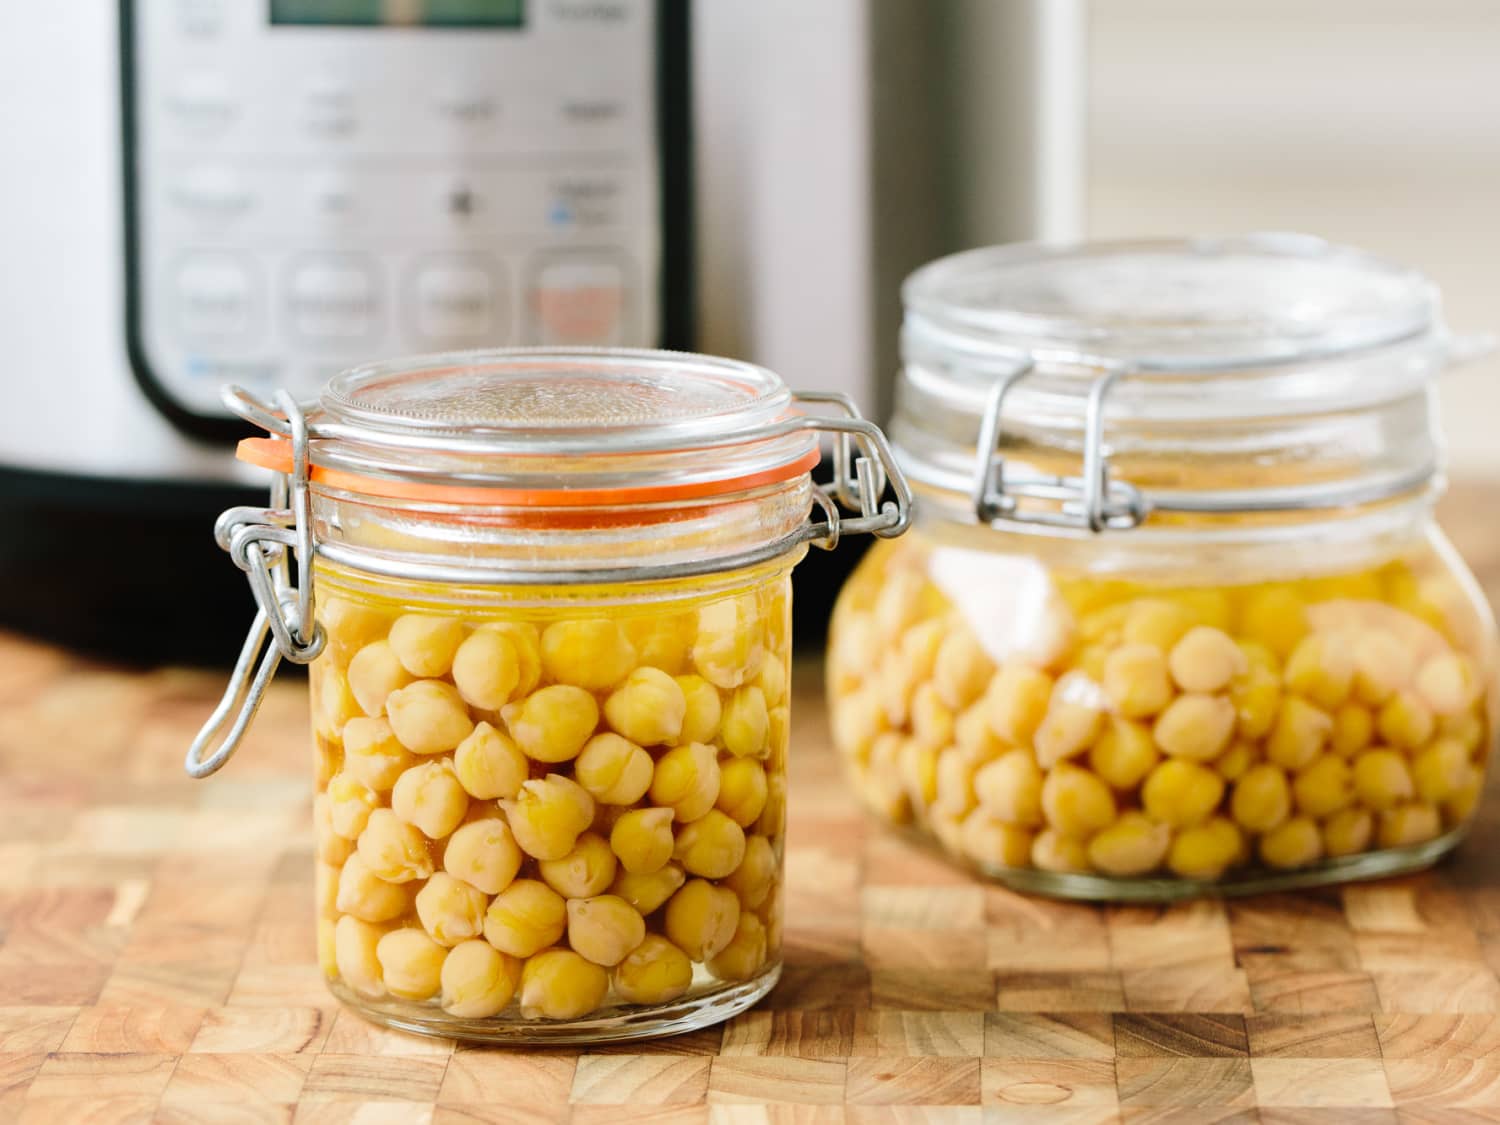
Tips for Properly Storing Cooked Dry Beans
After cooking a batch of delicious dry beans, it’s important to properly store any leftovers to maintain their freshness and quality. Follow these tips for properly storing cooked dry beans:
1. Cooling: Allow the cooked dry beans to cool completely before transferring them to storage containers. Rapid temperature changes can promote bacterial growth, so it’s essential to let them cool naturally at room temperature.
2. Divide into Portions: If you cooked a large batch of beans and don’t plan on using them all at once, divide them into smaller portions. This makes it easier to store and allows you to only thaw or reheat what you need for each meal.
3. Storage Containers: Use airtight containers or resealable bags to store your cooked dry beans. Make sure the containers are clean and dry before transferring the beans to prevent any moisture build-up that could lead to spoilage.
4. Label and Date: Remember to label the containers with the type of beans and the date of cooking. This will help you keep track of their freshness and prevent any confusion when you reach for them later.
5. Refrigeration: If you plan on using the cooked dry beans within a few days, store them in the refrigerator. They can typically stay fresh for up to 3-4 days when refrigerated at a temperature below 40°F (4°C).
6. Freezing: For longer-term storage, consider freezing the cooked dry beans. They can last for up to 6 months in the freezer. Transfer the beans into a freezer-safe container or bag, making sure to remove as much air as possible to prevent freezer burn. Leave some headspace as the beans will expand when frozen.
7. Thawing: When you’re ready to use the frozen cooked beans, thaw them overnight in the refrigerator or for a few hours at room temperature. Avoid thawing them on the countertop, as this can promote bacterial growth.
8. Reheating: To reheat the stored cooked dry beans, you can do so on the stovetop or in the microwave. Add a splash of water or broth to prevent them from drying out and heat them until warmed through. Stir occasionally to ensure even heating.
9. Discard if Spoiled: Always inspect the cooked dry beans before consuming them. If you notice any signs of spoilage, such as an off smell, mold, or unusual texture, discard them immediately for safety reasons.
By following these storage tips, you can enjoy the convenience of having cooked dry beans on hand whenever you need them. Whether you refrigerate or freeze them, proper storage ensures that your cooked beans remain fresh, flavorful, and ready to be used in your favorite recipes.
Troubleshooting Common Issues While Cooking Dry Beans in an Electric Pressure Cooker
Cooking dry beans in an electric pressure cooker can yield fantastic results, but sometimes issues may arise during the cooking process. Here are some common issues that you may encounter and troubleshooting tips to help you overcome them:
1. Undercooked Beans: If your dry beans are still undercooked after the recommended cooking time, there are a few possible reasons. The first could be that you didn’t soak the beans long enough before cooking. Ensure that you soak them according to the recommended time for the specific variety of beans. Another reason could be an issue with the pressure cooker sealing properly. Check that the lid is properly locked and sealed before starting the cooking process. Lastly, older beans may take longer to cook, so adjust the cooking time accordingly if you suspect your beans are older.
2. Overcooked or Mushy Beans: Overcooked or mushy beans can result from cooking them for too long or using a high pressure setting. To prevent this, be mindful of the recommended cooking times for dry beans and adjust the pressure level accordingly. Additionally, if you’re using smaller or more delicate beans, reduce the cooking time to avoid overcooking.
3. Bean Bursting: Certain beans, like kidney beans or black-eyed peas, can burst while cooking, which can be messy and affect the texture of the dish. To prevent bean bursting, make sure to properly soak the beans overnight or use the quick soak method to hydrate them. You can also pre-boil these beans for a few minutes before pressure cooking to help soften the outer skin and reduce the risk of bursting.
4. Excessive Foam: Sometimes, dry beans can produce excessive foam during the cooking process, which can lead to clogging the pressure release valve. To minimize foam, make sure to rinse the beans thoroughly before cooking. Additionally, adding a small amount of cooking oil while cooking can help reduce foam. If excessive foam still persists, you can try adding a tablespoon of vinegar to the cooking liquid.
5. Bland Taste: If your cooked beans taste bland, it may be because you didn’t season them properly. Make sure to add salt and other seasonings during the cooking process to infuse the beans with flavor. If you’ve already cooked the beans without enough seasoning, you can try adding additional seasonings after cooking to enhance the taste.
6. Burn Error: Some electric pressure cookers may occasionally display a “burn” error message due to the beans sticking to the bottom of the pot and triggering the heat sensors. To prevent this, ensure that you have enough liquid in the pot to create steam and maintain proper pressure. If you encounter a burn error, release the pressure, carefully open the lid, and scrape off any stuck beans from the bottom. Add more liquid as needed, then resume cooking.
7. Uneven Cooking: Unevenly cooked beans can happen if some beans are larger or denser than others. To ensure more even cooking, sort and rinse the beans thoroughly before cooking to remove any damaged or malformed ones. Additionally, stirring the beans gently during cooking can help distribute heat and promote even cooking.
By understanding and troubleshooting these common issues, you can confidently cook dry beans in your electric pressure cooker and achieve perfectly cooked results. Remember to follow the specific instructions for your pressure cooker model and adjust cooking times and pressure levels as needed. With a bit of practice, you’ll become a pro at cooking delicious and tender dry beans every time!
Conclusion
Cooking dry beans in an electric pressure cooker opens up a world of possibilities for quick, delicious, and nutritious meals. With the convenience of an electric pressure cooker, you can enjoy flavorful and tender beans in a fraction of the time compared to traditional stovetop methods. From black beans and chickpeas to pinto beans and lentils, the options are endless for creating hearty soups, stews, salads, and more.
We explored the benefits of using an electric pressure cooker for cooking dry beans, including time-saving capabilities, retention of nutritional value, energy efficiency, and overall convenience. The ability to infuse flavors, the versatility of the appliance, and its advanced safety features make it a valuable addition to any kitchen.
Choosing the right type of dry beans is crucial for achieving the desired texture and taste. Consider factors such as cooking time, flavor profile, recipe compatibility, dietary restrictions, and availability when selecting your beans. Properly preparing the dry beans by sorting and soaking ensures optimal cooking results.
When it comes to cooking dry beans in an electric pressure cooker, following the recommended cooking times, selecting the appropriate pressure level, and releasing pressure correctly are key. Whether you choose natural pressure release or quick release depends on the recipe’s requirements and the desired texture of the beans.
Seasoning and flavoring options allow you to customize the taste of your cooked dry beans. From onions and garlic to herbs, spices, citrus, and more, experiment with different combinations to create mouthwatering dishes that suit your palate.
After enjoying your cooked dry beans, remember the importance of proper storage. Divide the beans into portions and place them in airtight containers or resealable bags in the refrigerator or freezer. Thaw and reheat as needed, ensuring safety and preserving their freshness for future meals.
In the event of troubleshooting issues while cooking dry beans, understanding the reasons behind undercooked or mushy beans, bean bursting, excessive foam, bland taste, burn errors, or uneven cooking allows you to make necessary adjustments and achieve optimal results.
In conclusion, cooking dry beans in an electric pressure cooker offers a fast, efficient, and flavorful way to incorporate these nutrient-packed legumes into your meals. With the right techniques, seasonings, and troubleshooting know-how, you can elevate the humble dry bean into a delicious culinary creation that will tantalize your taste buds and nourish your body.
So, don’t hesitate to explore the world of dry beans and unleash the full potential of your electric pressure cooker. With creativity, experimentation, and a dash of culinary expertise, you’ll be delighting your family and friends with delectable dishes featuring perfectly cooked dry beans in no time.
Frequently Asked Questions about How Do I Make Dry Beans In An Electric Pressure Cooker
Was this page helpful?
At Storables.com, we guarantee accurate and reliable information. Our content, validated by Expert Board Contributors, is crafted following stringent Editorial Policies. We're committed to providing you with well-researched, expert-backed insights for all your informational needs.

0 thoughts on “How Do I Make Dry Beans In An Electric Pressure Cooker”