Home>Articles>How To Can Green Beans With An Electric Pressure Cooker
Articles
How To Can Green Beans With An Electric Pressure Cooker
Modified: December 6, 2023
Learn how to can green beans with an electric pressure cooker in this informative article. Discover the step-by-step process and enjoy your home-preserved beans all year round!
(Many of the links in this article redirect to a specific reviewed product. Your purchase of these products through affiliate links helps to generate commission for Storables.com, at no extra cost. Learn more)
Introduction
Preserving fresh vegetables is a great way to enjoy their flavors long after the harvest season has ended. Canning is a popular method of preservation that allows you to store vegetables, like green beans, for an extended period of time. With the help of an electric pressure cooker, the canning process becomes even easier and more efficient.
In this article, we will guide you through the steps of canning green beans with an electric pressure cooker. From gathering the necessary ingredients and equipment to properly sealing and processing the jars, you’ll learn how to preserve your green beans while maintaining their freshness and nutritional value.
By canning your own green beans, you not only gain the satisfaction of knowing exactly what goes into your food, but you also ensure that you have a supply of delicious and nutrient-rich vegetables available year-round. Let’s dive into the process and get ready to can some delicious green beans!
Key Takeaways:
- Preserve the flavors of the harvest season year-round by canning green beans with an electric pressure cooker. Enjoy the satisfaction of homemade goodness and the convenience of readily available delicious vegetables.
- Take full control over the ingredients and ensure a healthier, more flavorful end product by canning your own green beans. Embrace a sustainable way of living and expand your culinary possibilities with the knowledge and skills gained from this article.
Step 1: Gathering the Ingredients and Equipment
Before you begin the canning process, it’s essential to gather all the necessary ingredients and equipment. Here are the items you’ll need:
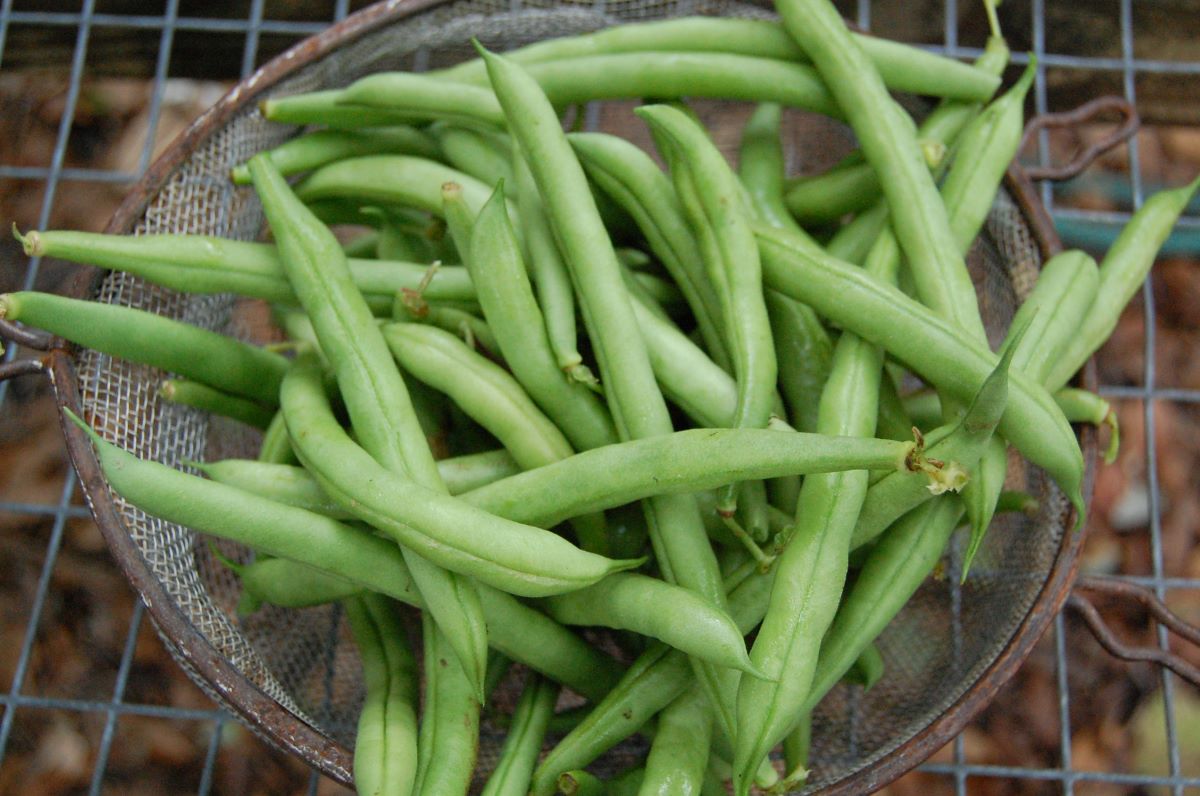
- Fresh green beans: It’s best to use freshly harvested green beans for optimal flavor and texture. Ensure that the beans are tender and free from any blemishes.
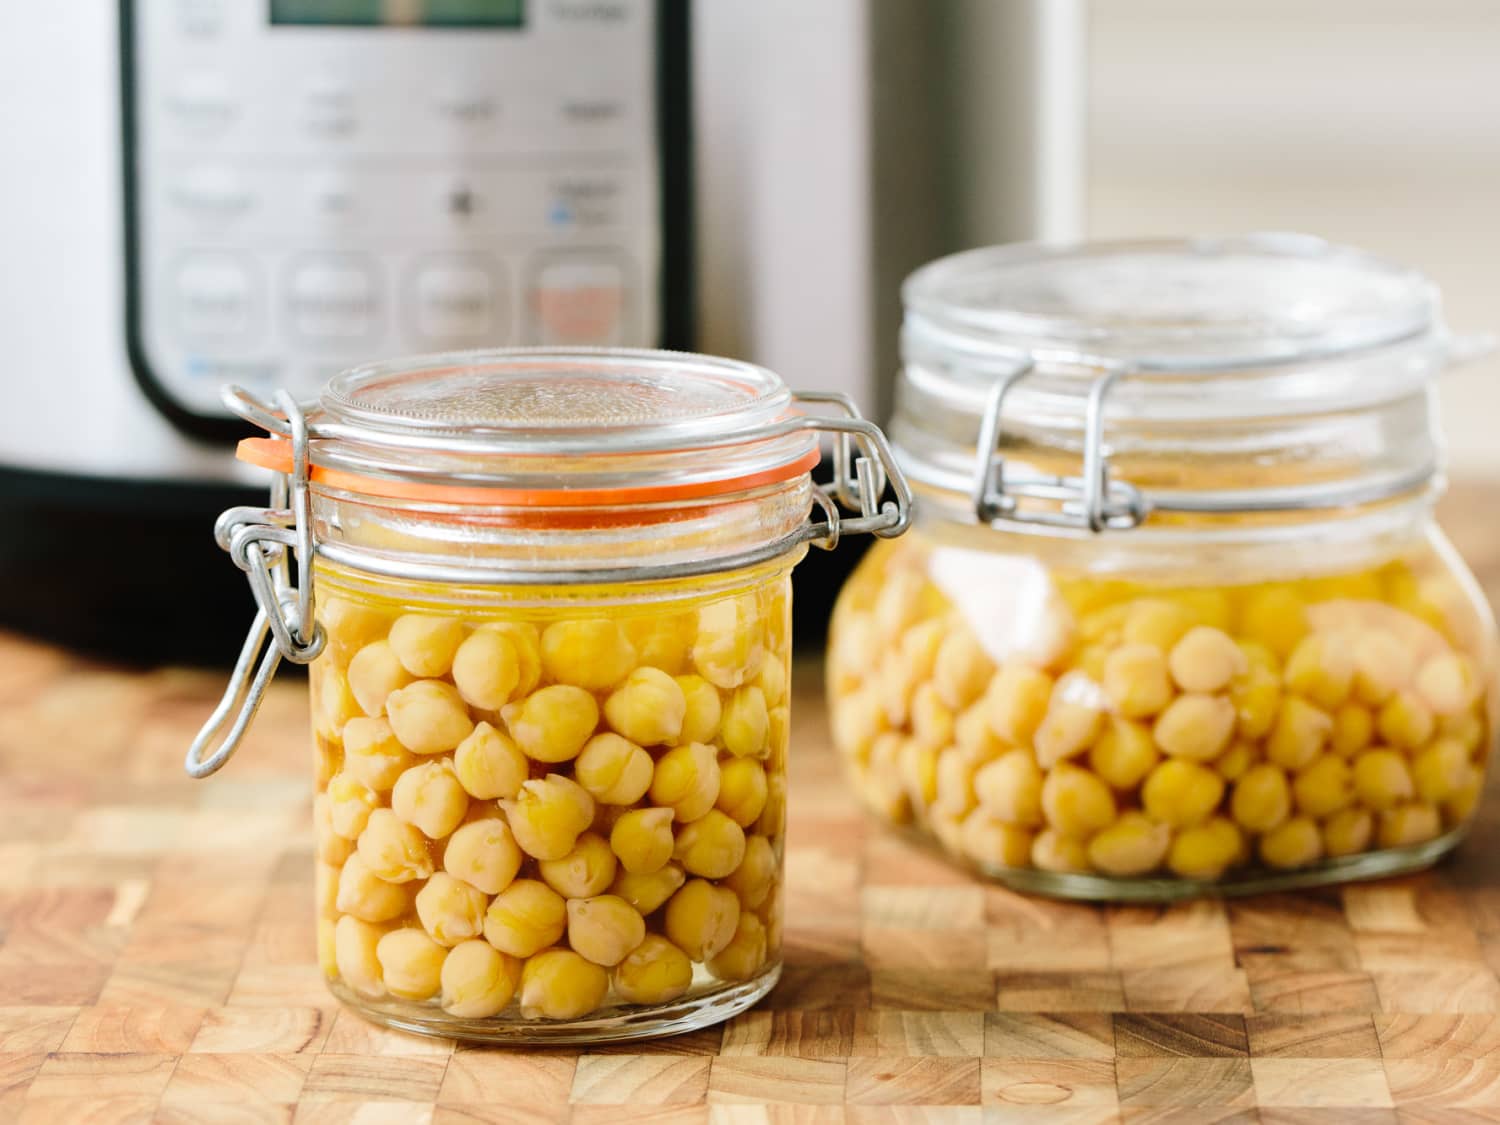
- Jars: Choose canning jars specifically designed for canning purposes. Mason jars are a popular option and come in various sizes. Make sure the jars are clean and free of cracks or chips.
- Lids and rings: You’ll need corresponding lids and rings for each jar. The rings are reusable, but the lids need to be new to ensure a proper seal.
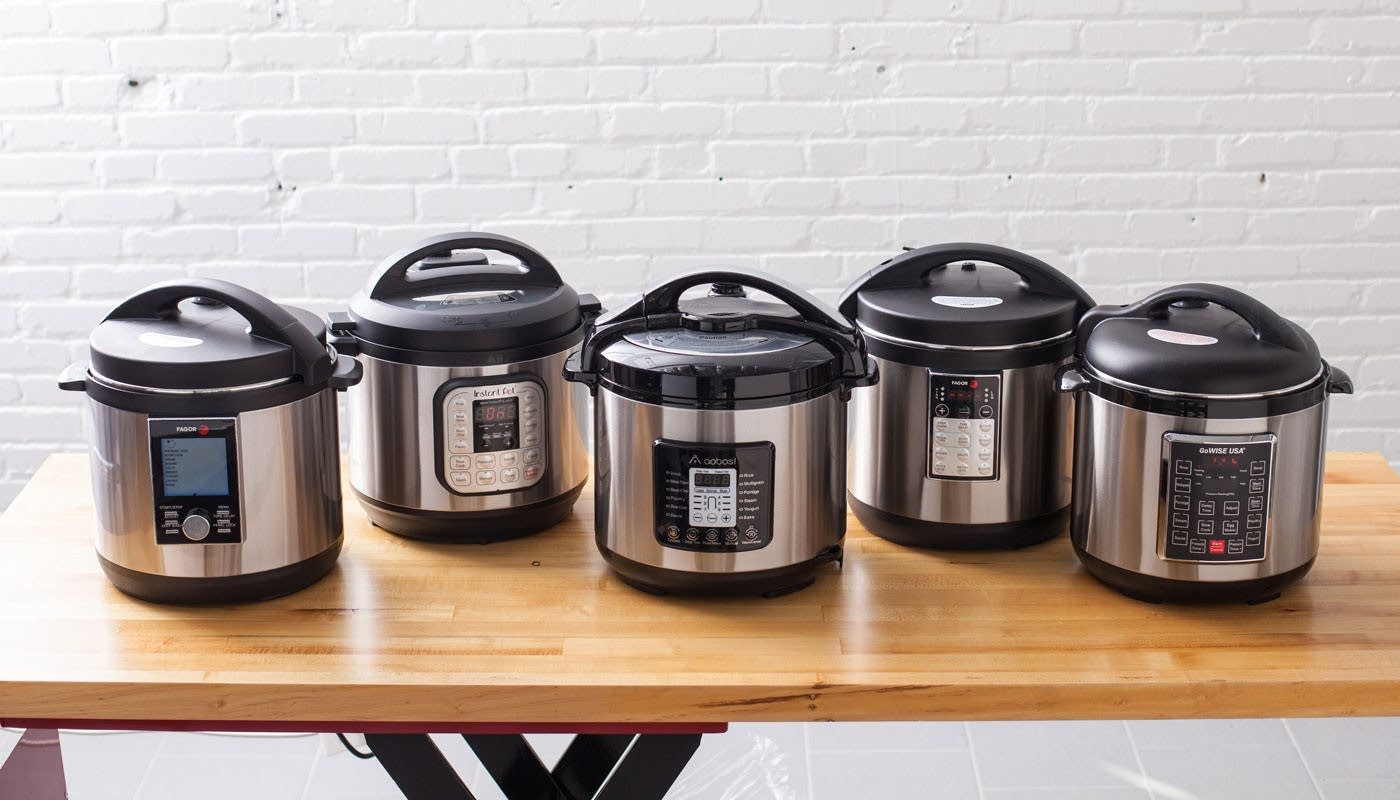
- Electric pressure cooker: An electric pressure cooker is essential for safely processing the canned green beans. Ensure that your pressure cooker is in good working condition.
- Canning salt: Canning salt is used to enhance the flavor of the green beans and preserve their crispness. It is specifically formulated for canning, so avoid using regular table salt.
- Water: You’ll need water for blanching the green beans, packing the jars, and processing them in the pressure cooker.
- Optional seasonings: If desired, you can add seasonings like garlic, dill, or red pepper flakes to the jars for additional flavor.
By gathering all the necessary ingredients and equipment beforehand, you’ll ensure a smooth and efficient canning process. Now that you have everything ready, it’s time to move on to the next step: preparing the green beans.
Step 2: Preparing the Green Beans
Properly preparing the green beans is an essential step in the canning process. Follow these steps to ensure that your green beans are ready for canning:
- Start by washing the green beans thoroughly under running water. Remove any dirt, debris, or damaged beans.
- Trim the ends of the green beans. Cut off and discard the stem end of each bean. You can also remove any strings if present.
- Decide on the desired size of the beans. You can choose to leave them whole or cut them into smaller pieces. Keep in mind that smaller pieces may be easier to pack into the jars.
- Once you have trimmed and cut the green beans, it’s time to blanch them. Blanching helps preserve the color, texture, and nutritional value of the beans. Fill a large pot with water and bring it to a boil.
- Add the green beans to the boiling water and let them cook for about two minutes. This helps to slightly cook the beans and kill any bacteria or enzymes that could affect the quality of your canned green beans.
- After two minutes, remove the green beans from the boiling water and immediately transfer them to a bowl of ice water. This process, known as shock or ice bath, stops the cooking process and helps retain the vibrant green color.
- Drain the green beans well and set them aside. They are now ready to be packed into the canning jars.
By properly preparing the green beans, you ensure that they are clean, trimmed, and blanched to perfection. This step sets the foundation for delicious and well-preserved canned green beans. Now that your green beans are prepared, let’s move on to the next step: blanching the green beans.
Step 3: Blanching the Green Beans
Blanching is a crucial step in the canning process as it helps to preserve the color, texture, and nutritional value of the green beans. Follow these steps to blanch the green beans before packing them into the jars:
- Bring a large pot of water to a rolling boil. You’ll need enough water to fully submerge the green beans.
- While the water is coming to a boil, prepare an ice bath by filling a large bowl or sink with cold water and ice cubes.
- Carefully add the green beans to the boiling water and let them cook for 2 to 3 minutes. The exact cooking time may vary depending on the size and tenderness of the beans, so keep a close eye on them.
- After the blanching time is up, use a slotted spoon or tongs to quickly transfer the green beans from the boiling water to the ice bath. Plunge them into the cold water to stop the cooking process and preserve their vibrant green color.
- Allow the green beans to sit in the ice bath for about 2 to 3 minutes, or until they are completely cooled. This will crisp them up and lock in their fresh flavor.
- Once the green beans are cooled, drain them well and pat them dry with a clean kitchen towel or paper towels.
Blanching the green beans not only helps to maintain their color and texture but also prevents them from losing their nutrients during the canning process. These blanched beans are now ready to be packed into the canning jars. So let’s move on to the next step: packing the green beans into jars.
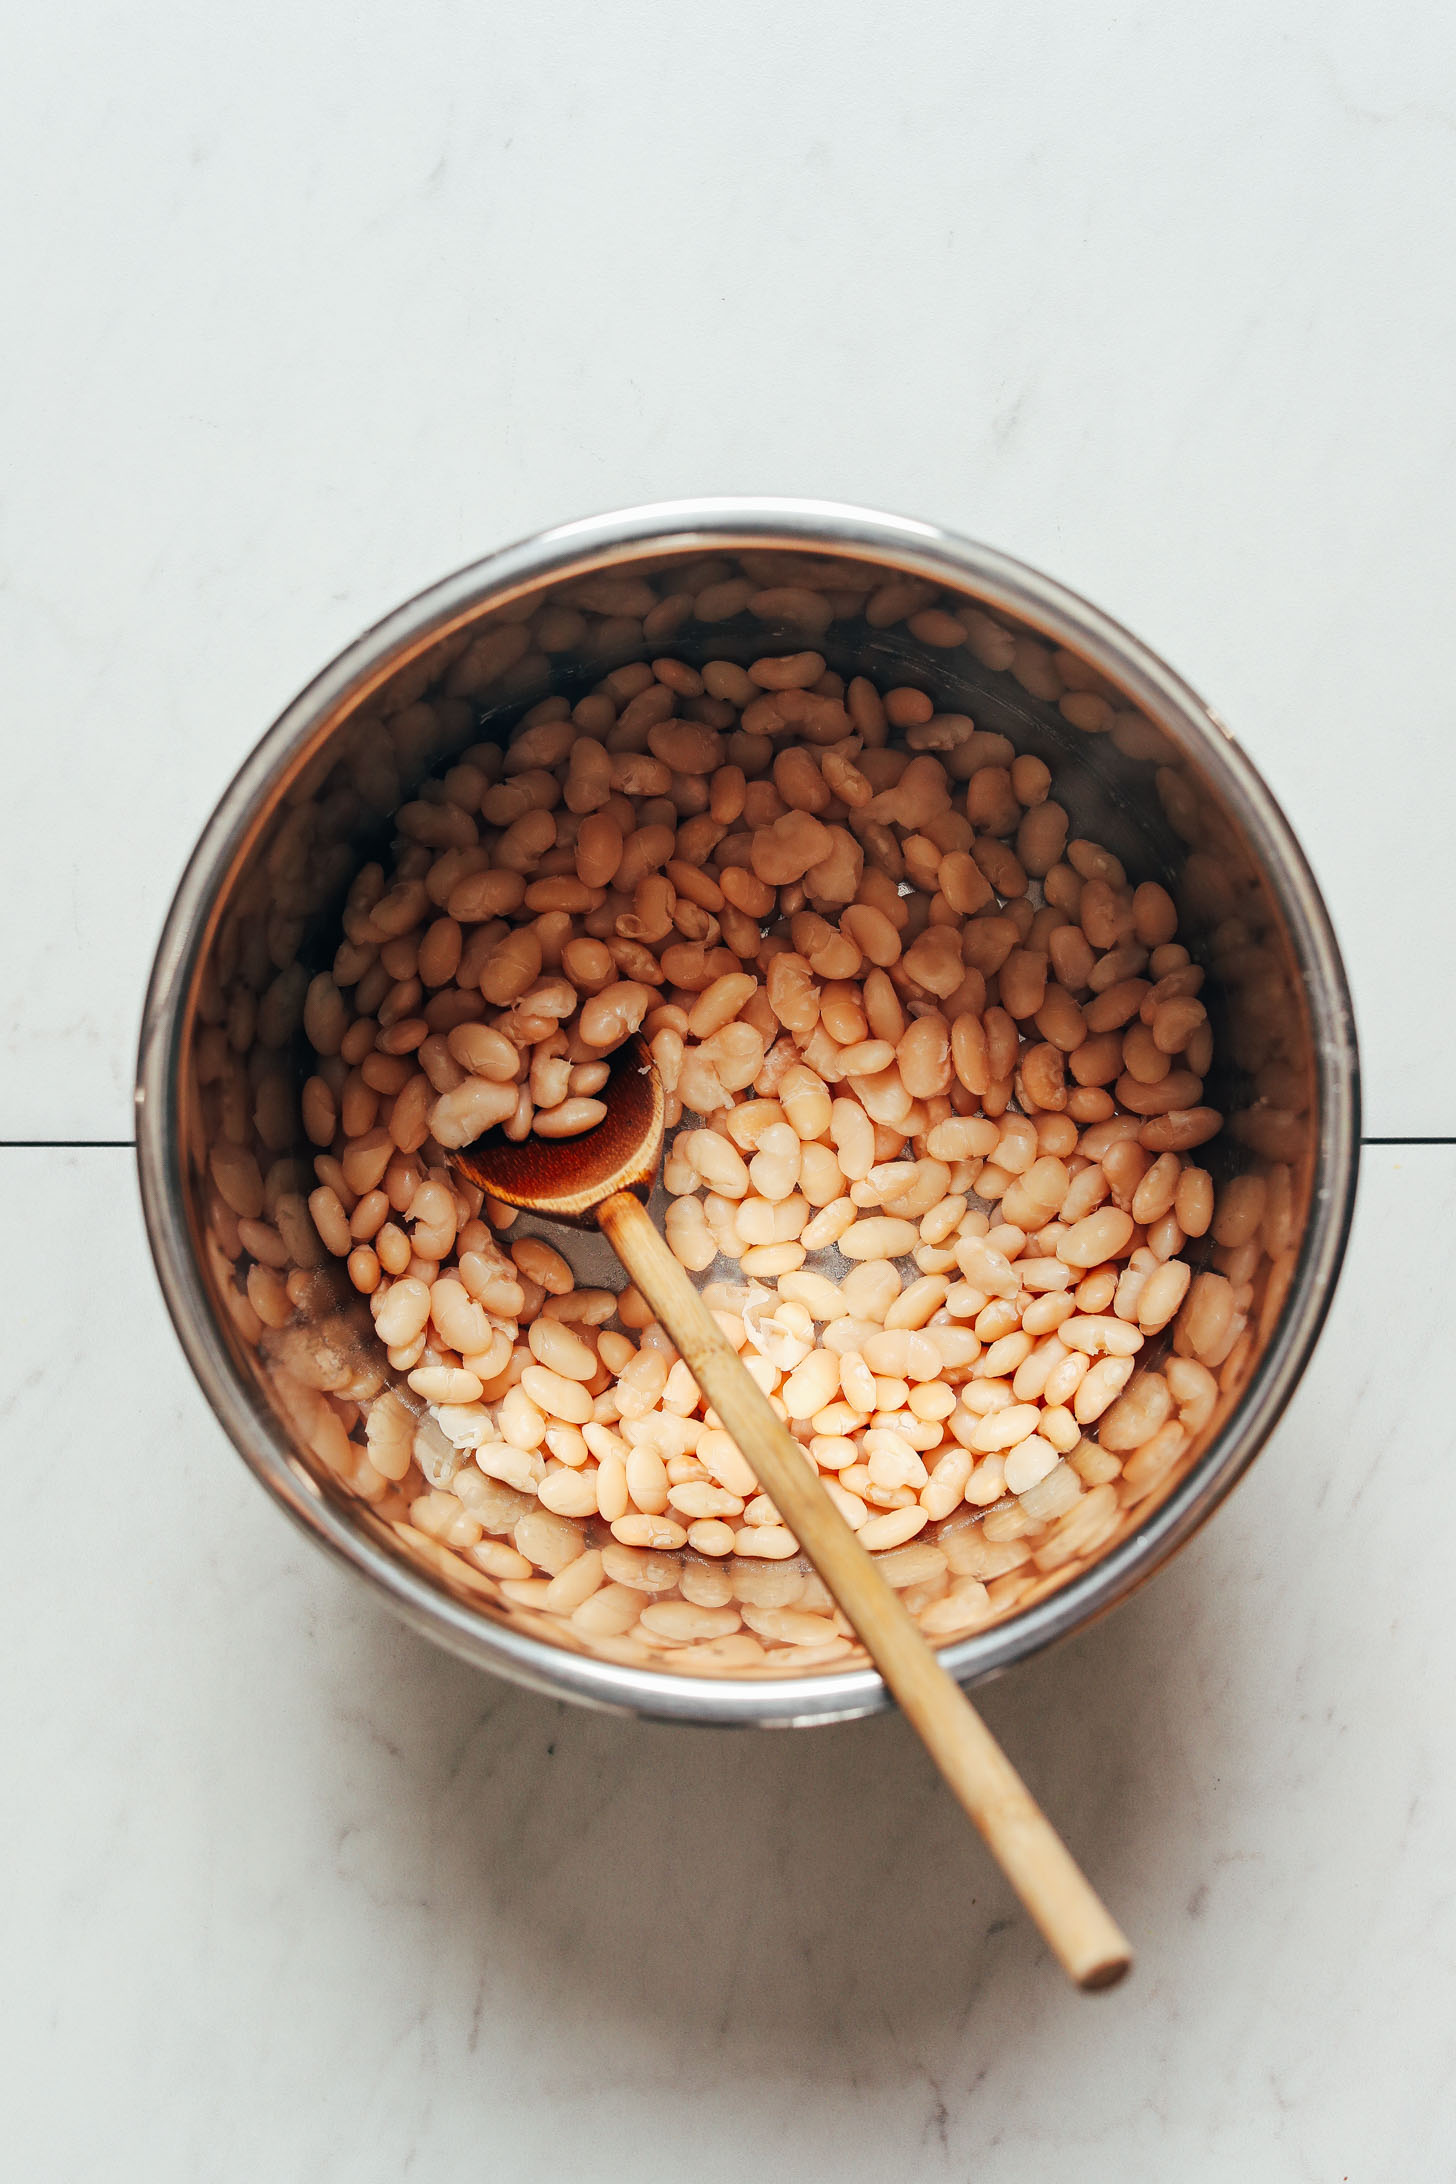
Step 4: Packing the Green Beans into Jars
Now that you have blanched and prepared the green beans, it is time to pack them into the canning jars. Follow these steps to ensure proper packing:
- Start by sterilizing your canning jars and lids. You can do this by running them through a dishwasher cycle or by boiling them in a large pot of water for 10 minutes. This step helps to prevent any bacteria from contaminating your canned green beans.
- Remove the sterilized jars from the dishwasher or boiling water and place them on a clean kitchen towel or cooling rack.
- Take one jar at a time and fill it with the blanched green beans. You can choose to pack them tightly for a fuller jar or leave some space if you prefer less compacted beans.
- Using a clean and non-metallic utensil, such as a plastic spatula, gently press down on the green beans in the jar to remove any air pockets.
- Continue filling and packing the remaining jars with the green beans until all the jars are filled.
- Ensure that there is about 1 inch (2.5 cm) of headspace at the top of each jar. This space allows for proper expansion during the canning process.
Packing the green beans into the jars requires careful attention to ensure they are properly filled and compacted. Proper packing will result in evenly canned and flavor-packed green beans. Now that the jars are filled, let’s move on to the next step: adding liquid and seasonings to the jars.
When canning green beans with an electric pressure cooker, make sure to follow the recommended processing time and pressure for your specific altitude to ensure safe preservation.
Step 5: Adding Liquid and Seasonings to the Jars
Once the green beans are packed into the canning jars, it’s time to add the necessary liquid and seasonings to enhance their flavor. Follow these steps to ensure the best results:
- In a large pot, heat the water that will be used to cover the green beans in the jars. You will need enough water to completely submerge the beans.
- To each jar, add 1/2 teaspoon of canning salt. This helps to enhance the flavor and preserve the crispness of the green beans.
- Next, you can choose to add additional seasonings to the jars, such as garlic cloves, dill sprigs, or red pepper flakes. This step is optional but can add a delicious twist to your canned green beans.
- Carefully pour the hot water over the green beans in each jar, leaving about 1 inch (2.5 cm) of headspace at the top. The hot water will help to create the necessary heat for processing the jars and preserving the green beans.
- Using a non-metallic utensil, such as a plastic knife or a chopstick, gently remove any air bubbles by running it along the sides of the jar.
- Wipe the rims of the jars with a clean, damp cloth to remove any spills or residue. This ensures a proper seal between the lids and the jars.
Adding the liquid and seasonings to the jars helps to enhance the flavor and preservation of the green beans. With these added ingredients, you’re one step closer to enjoying delicious and well-seasoned canned green beans. Now that the jars are prepared, let’s move on to the next step: sealing the jars.
Step 6: Sealing the Jars
Properly sealing the canning jars is crucial to ensure the long-term preservation of your green beans. Follow these steps to seal the jars securely:
- Before sealing the jars, ensure that the rims are clean and free from any residue or spills. This ensures a tight seal.
- Take a lid from the hot water where they were placed and shake off any excess water.
- Place the lid on top of the jar, ensuring it is centered and sits flat on the rim.
- Screw the ring onto the jar, but do not overtighten. It should be tightened just enough to hold the lid in place during processing.
- Repeat this process for all the jars, ensuring that each one is properly sealed with a lid and ring.
It’s important not to overtighten the rings as this can prevent air from escaping during the canning process. A properly sealed jar will allow for some air release while still maintaining a reliable seal. With the jars sealed, we’re now ready to move on to the next step: processing the jars in the electric pressure cooker.
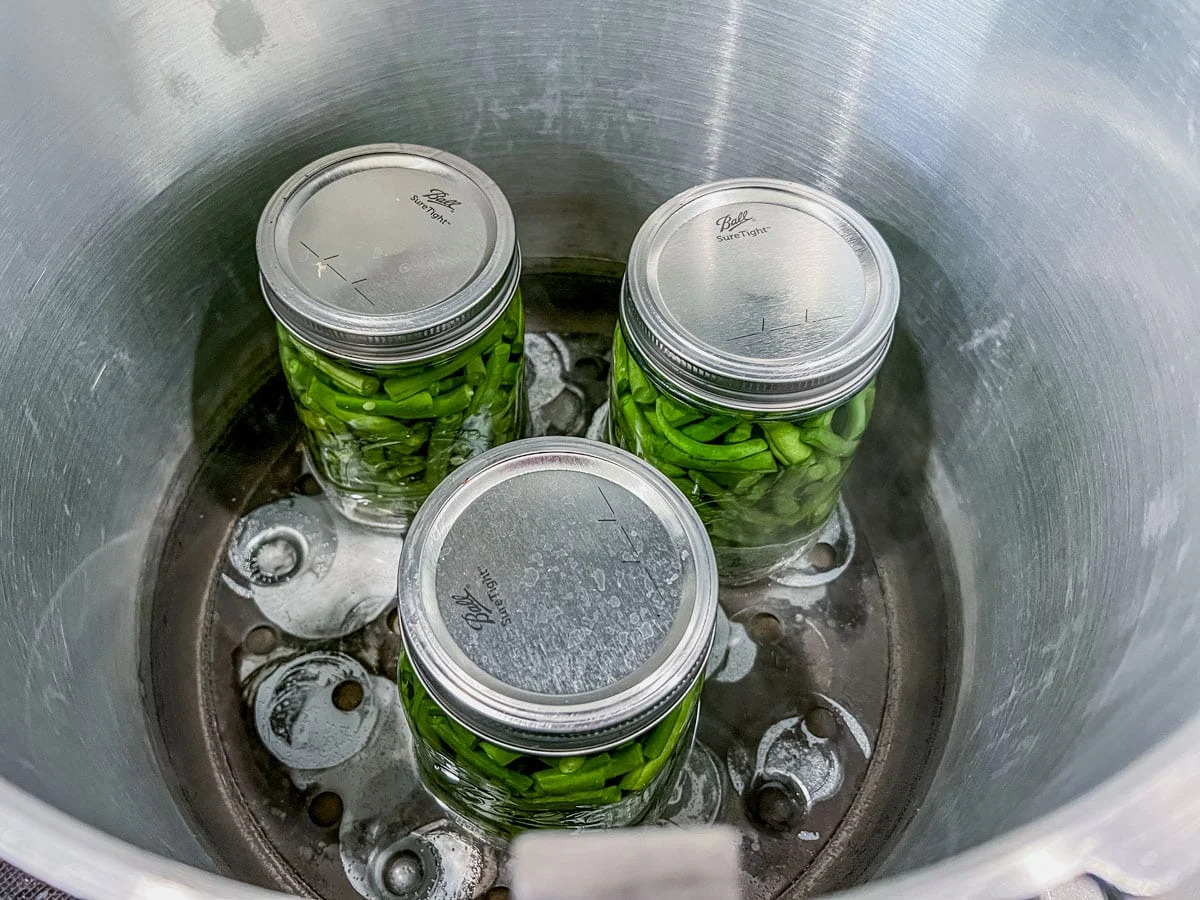
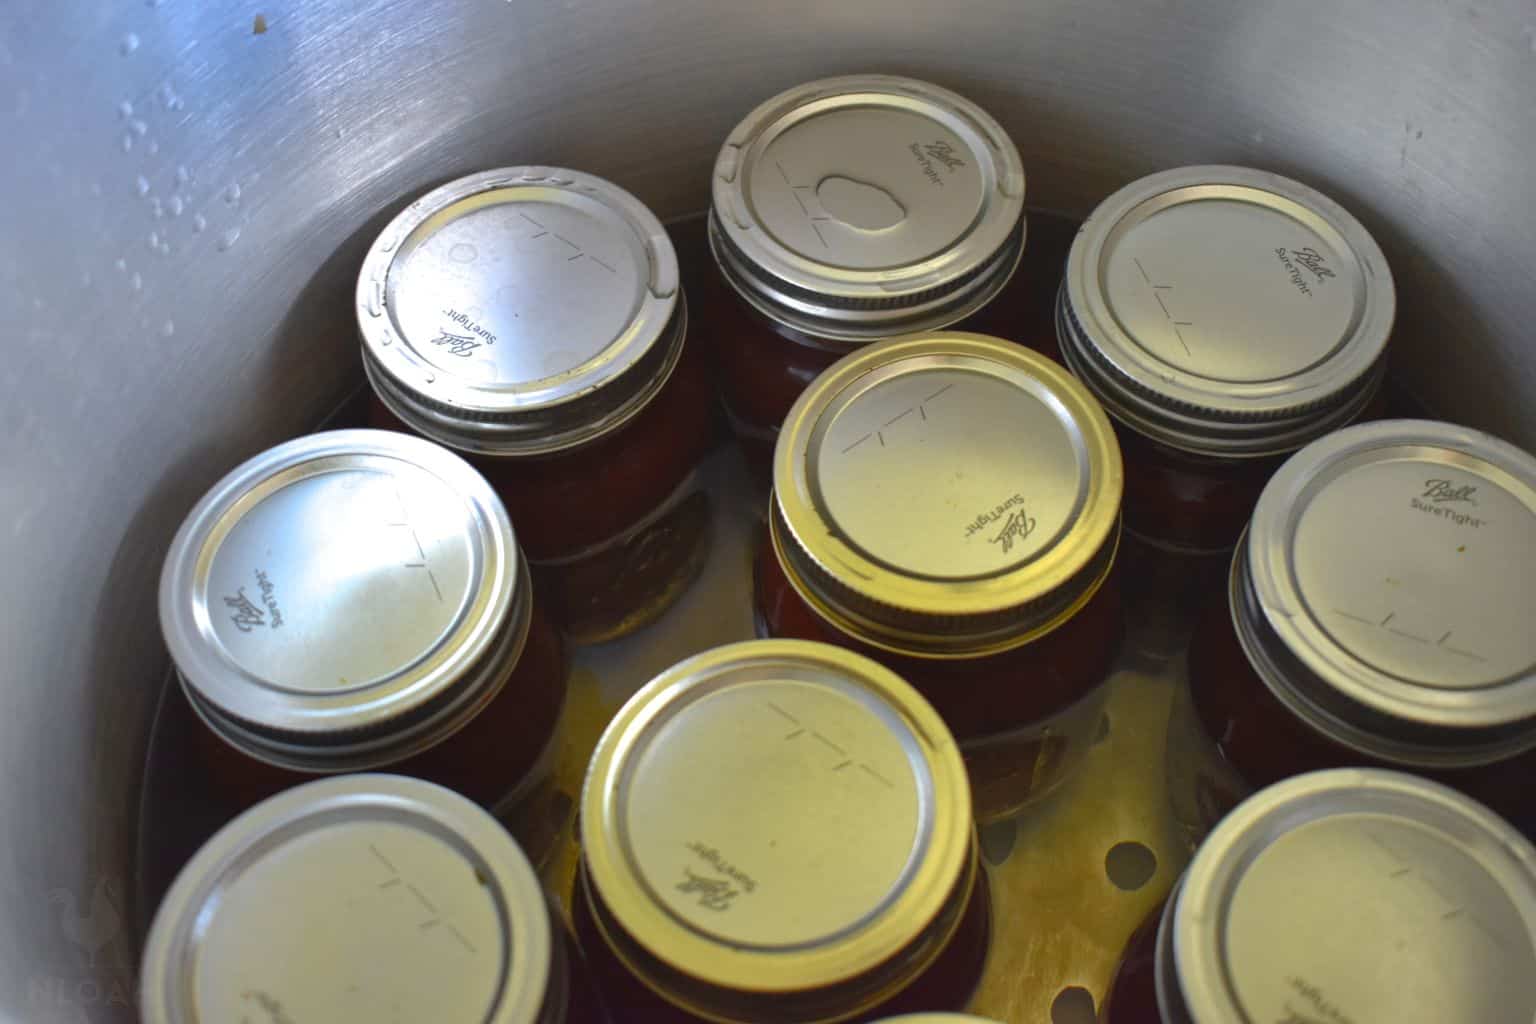
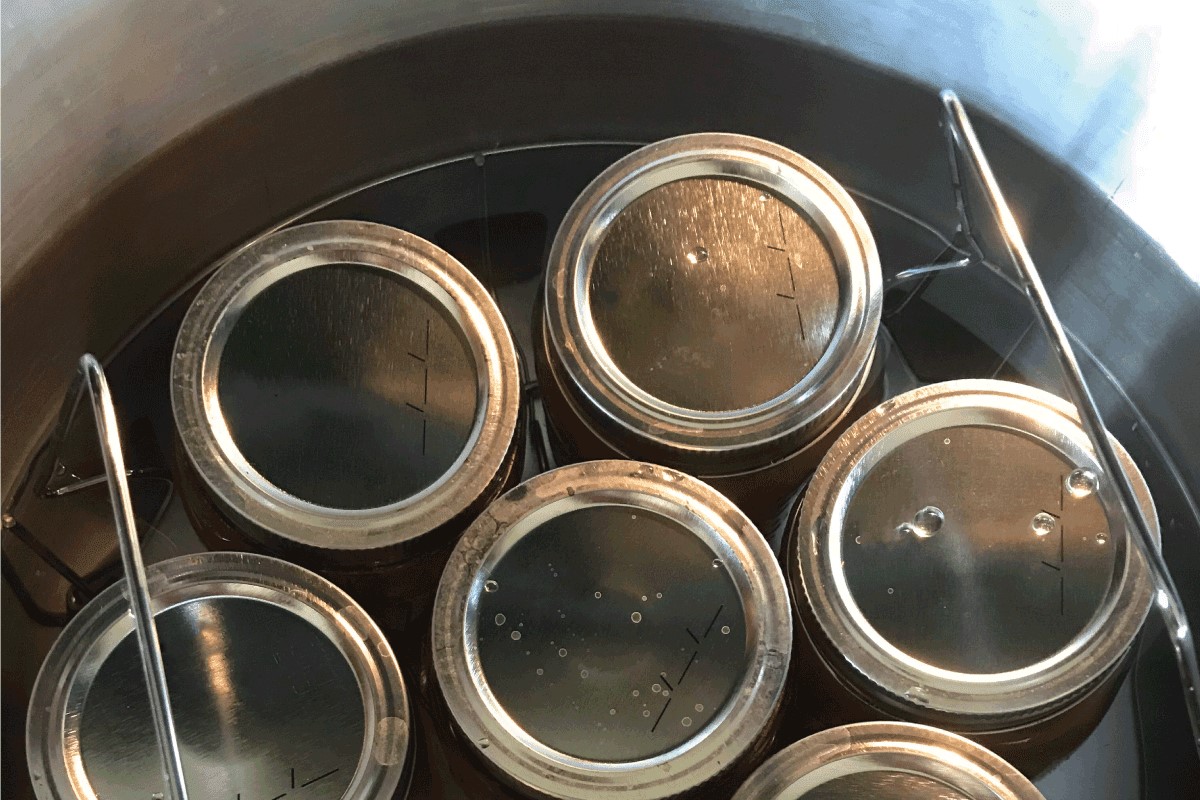
Step 7: Processing the Jars in the Electric Pressure Cooker
Processing the jars in an electric pressure cooker is a crucial step in the canning process as it ensures the proper heat and pressure needed for safe preservation. Follow these steps to process the jars:
- Place the filled and sealed jars into the electric pressure cooker, ensuring they are spaced evenly and not touching.
- Add water to the pressure cooker according to the manufacturer’s instructions. The water level should be sufficient to create steam and generate the necessary pressure.
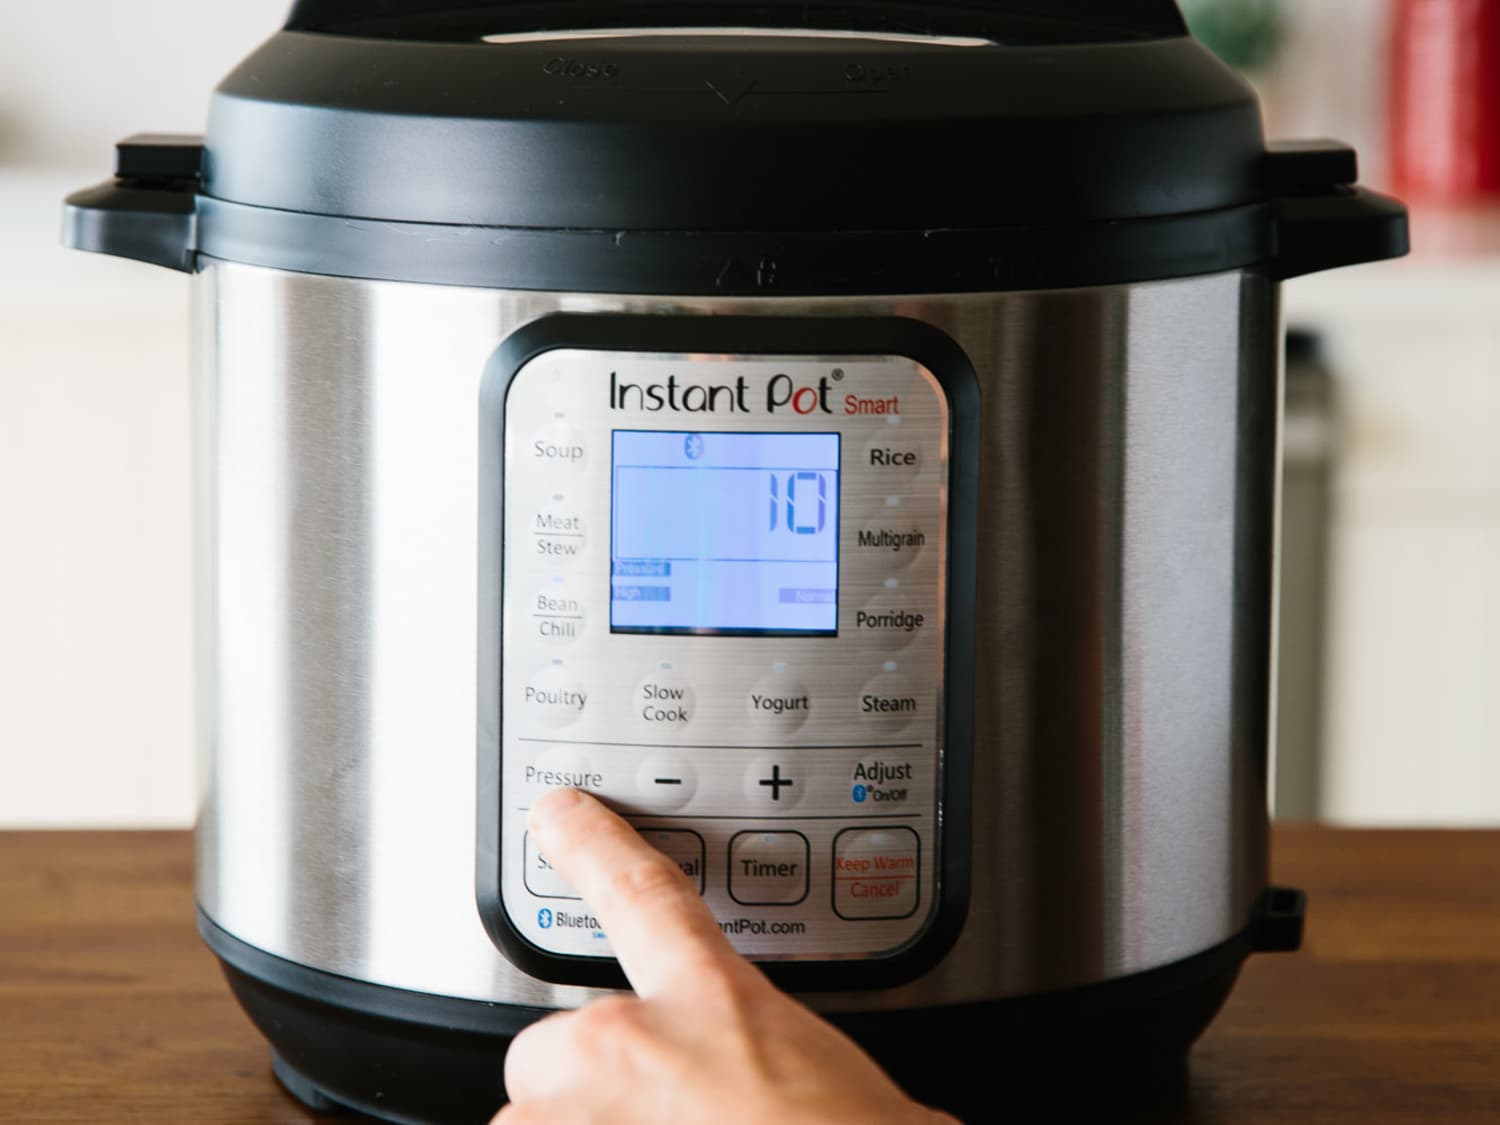
- Close the lid of the pressure cooker securely and set the pressure according to the recommended guidelines for canning green beans. This information can be found in the user manual of your specific electric pressure cooker.
- Turn on the pressure cooker and allow it to reach the desired pressure. Once it reaches the recommended pressure, set the timer for the specified processing time.
- During the processing time, the pressure cooker will maintain the appropriate heat and pressure required for safe canning. This process effectively kills any bacteria or microorganisms that could spoil the green beans.
- After the processing time is complete, turn off the pressure cooker and allow it to naturally release the pressure. Avoid rushing the release process to prevent any sudden temperature changes that can affect the jars.
- Once the pressure is fully released, carefully remove the jars from the pressure cooker and place them on a cooling rack or kitchen towel.
Processing the jars in the electric pressure cooker ensures the safe preservation of your green beans by creating the necessary heat and pressure. With this step complete, we’re almost at the end of the canning process. The final step is to cool and store the canned green beans.
Step 8: Cooling and Storing the Canned Green Beans
After the jars have been processed in the electric pressure cooker, it’s important to allow them to cool properly before storing them. Follow these steps to ensure the safe and effective cooling and storage of your canned green beans:
- Once you have removed the jars from the pressure cooker, place them on a cooling rack or a clean kitchen towel.
- Allow the jars to cool completely at room temperature. This can take several hours, so be patient and avoid touching the jars while they are cooling.
- As the jars cool, you may hear a popping sound. This is a good sign and indicates that the jars are properly sealed. The popping sound occurs when the vacuum seal forms, pulling down the lid and creating an airtight seal.
- Check the jars for any signs of leakage or improper seal. Ensure that the lids are concave and do not move when pressed down in the center. Any jars with a compromised seal should be refrigerated and consumed promptly.
- Once the jars have cooled completely and you have ensured that the seals are intact, label the jars with the date of canning. This will help you keep track of their freshness and use them in the proper order.
- Store the canned green beans in a cool, dark, and dry place such as a pantry or cellar. They can be stored for up to one year, but it’s best to consume them within six to eight months for the best quality.
Properly cooling and storing the canned green beans ensures their longevity and maintains their flavor and nutritional value. With this final step complete, congratulations! You have successfully canned your own green beans using an electric pressure cooker.
Now, whenever you’re ready to enjoy the delicious taste of fresh green beans, simply open a jar, and savor the flavors of your home-canned produce. Happy cooking!
Read more: How To Can With An Electric Pressure Cooker
Conclusion
Canning green beans with an electric pressure cooker is a rewarding and efficient method of preserving the flavors of the harvest season. By following the step-by-step process outlined in this article, you can enjoy the taste of freshly harvested green beans year-round.
From gathering the ingredients and equipment to preparing the green beans, blanching them, and packing them into jars, each step plays a vital role in the canning process. Adding the right amount of liquid and seasonings, sealing the jars properly, and processing them in the electric pressure cooker ensures the safe preservation of the green beans.
Remember to allow the jars to cool completely, check the seals, and store the canned green beans in a cool, dark place to maintain their quality. With proper storage, your canned green beans can be enjoyed for up to one year.
By canning your own green beans, you have full control over the ingredients, ensuring a healthier and more flavorful end product. You can enjoy the satisfaction of knowing exactly what goes into your food and the convenience of having a readily available supply of delicious vegetables on hand.
So, grab your electric pressure cooker and get ready to embark on a journey of preserving the flavors of the season. Canning your own green beans not only allows you to enjoy their taste and nutritional benefits, but it also adds a touch of homemade goodness to all your recipes.
With the knowledge and skills gained from this article, you can confidently preserve green beans and other vegetables, expanding your culinary possibilities and embracing a more sustainable way of living. Happy canning!
Frequently Asked Questions about How To Can Green Beans With An Electric Pressure Cooker
Was this page helpful?
At Storables.com, we guarantee accurate and reliable information. Our content, validated by Expert Board Contributors, is crafted following stringent Editorial Policies. We're committed to providing you with well-researched, expert-backed insights for all your informational needs.

0 thoughts on “How To Can Green Beans With An Electric Pressure Cooker”