Home>Articles>How Much Does It Cost To Start A Plumbing Business

Articles
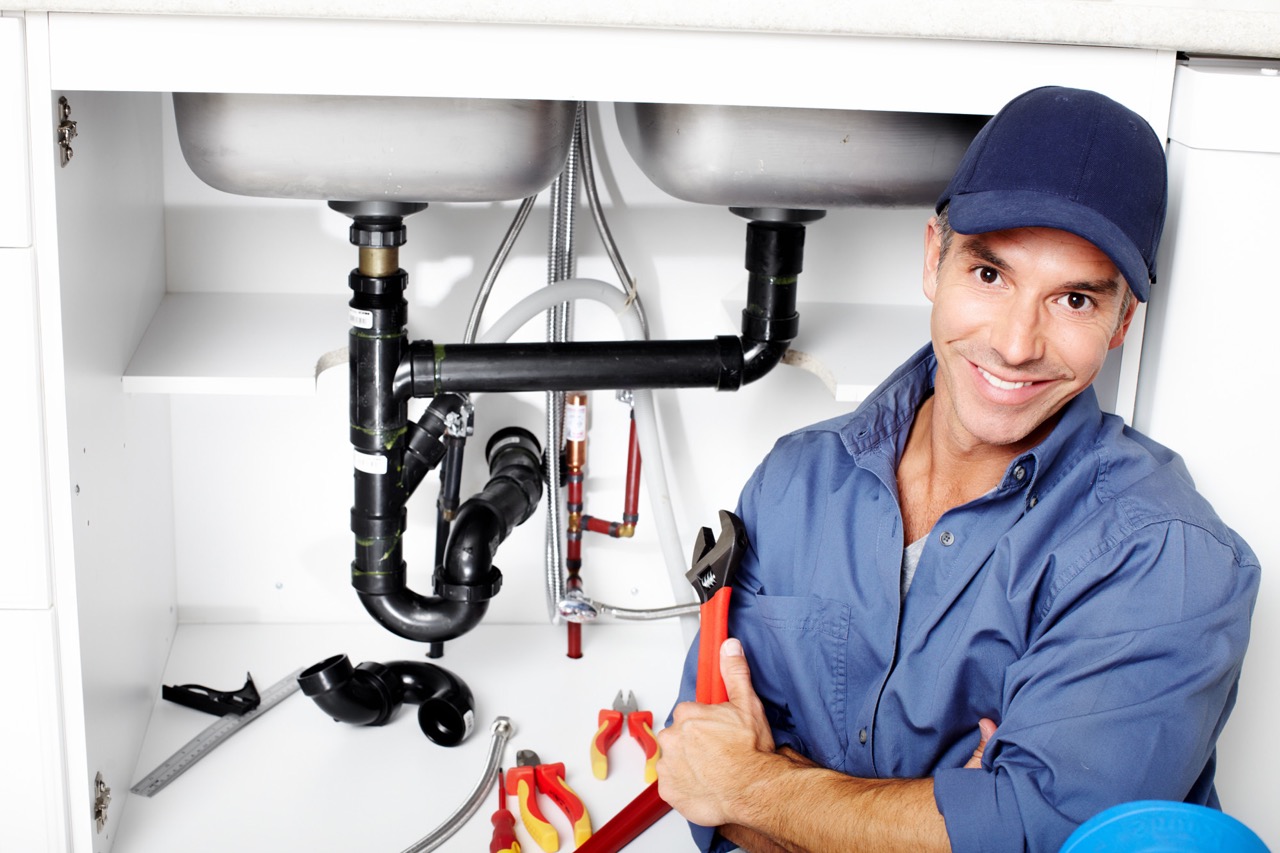
How Much Does It Cost To Start A Plumbing Business
Modified: August 31, 2024
Learn how much it costs to start a plumbing business with our informative articles. Discover key insights and tips to help you get started in the industry.
(Many of the links in this article redirect to a specific reviewed product. Your purchase of these products through affiliate links helps to generate commission for Storables.com, at no extra cost. Learn more)
Introduction
Starting a plumbing business can be a lucrative venture for those with plumbing expertise and a passion for entrepreneurship. As a plumber, you have the opportunity to provide essential services to residential and commercial clients, ensuring the smooth functioning of their plumbing systems. However, before diving into this exciting venture, it is crucial to understand the necessary steps and costs involved in starting a plumbing business.
In this article, we will guide you through the legal requirements, business planning, startup costs, equipment and supplies, licensing and permits, insurance, marketing and advertising, staffing and training, operational expenses, pricing and profitability, and financial projections associated with starting a plumbing business.
By familiarizing yourself with these aspects, you can make informed decisions and set your business up for success. So, let’s get started!
Key Takeaways:
- Starting a successful plumbing business requires thorough planning, adherence to legal requirements, strategic budgeting, and a commitment to providing reliable and professional services to clients.
- Effective marketing, skilled staffing, careful financial projections, and continuous learning are essential for long-term success in the competitive plumbing industry. Embrace challenges, exceed expectations, and strive for excellence.
Read more: How Much Does A Plumbing Business Owner Make
Legal Requirements
Before starting a plumbing business, it is essential to understand and fulfill the legal requirements to operate your business legally. Here are some key considerations:
- Business Structure: Decide on the legal structure of your business, such as a sole proprietorship, partnership, limited liability company (LLC), or corporation. Consult a legal professional to determine which structure is most suitable for your business.
- Business Name Registration: Choose a unique and catchy name for your plumbing business and register it with the appropriate government agency. Check for any trademarks or existing businesses with similar names to avoid legal complications.
- Obtain Permits and Licenses: Research and obtain the necessary permits and licenses required to operate a plumbing business in your jurisdiction. This may include a plumbing contractor’s license, which typically requires proof of experience, passing an exam, and meeting specific educational requirements.
- Insurance: Ensure you have the proper insurance coverage to protect yourself, your employees, and your clients. This may include general liability insurance, worker’s compensation insurance, and commercial auto insurance.
- Tax Obligations: Understand your tax obligations and register for an employer identification number (EIN) if necessary. Consult an accountant or tax professional for guidance on tax filings and recordkeeping requirements specific to your business.
- Health and Safety Regulations: Familiarize yourself with and comply with local health and safety regulations regarding plumbing work. This may include adhering to specific codes, obtaining permits for certain projects, and ensuring proper ventilation and safety equipment.
It is crucial to research and comply with all legal requirements to avoid penalties or legal disputes down the line. Consulting with a business attorney or regulatory agency can provide further guidance tailored to your specific location and circumstances.
Business Plan
A well-crafted business plan is essential for the success of your plumbing business. It serves as a roadmap that outlines your goals, target market, services, competitive analysis, marketing strategy, financial projections, and more. Here are the key components to include in your plumbing business plan:
- Executive Summary: Provide an overview of your business, including your mission statement, business structure, and goals.
- Company Description: Describe your plumbing business, including the services you offer, target market, competitive advantage, and unique selling proposition.
- Market Analysis: Conduct market research to identify your target audience, their needs, and the competition. Determine your pricing strategy and positioning in the market.
- Organizational Structure: Outline the key roles and responsibilities within your business, including management, operations, and customer service.
- Services: Detail the plumbing services you will offer, such as residential plumbing repairs, commercial installations, drain cleaning, or remodeling projects.
- Marketing and Sales Strategy: Define how you will attract and retain customers. This may involve online marketing, social media presence, partnerships with local businesses, and networking within the community.
- Financial Projections: Create a realistic financial forecast, including startup costs, monthly expenses, revenue projections, and anticipated profits. This will help you assess the feasibility of your business and secure financing if needed.
- Operations and Management: Describe the day-to-day operations of your plumbing business, including vehicle maintenance, equipment inventory, and scheduling.
- Risk Management: Identify potential risks and develop strategies to mitigate them. This may include having backup equipment, obtaining insurance coverage, and implementing safety protocols.
- Growth Plan: Outline your plans for future growth, whether it’s expanding into new service areas, hiring additional staff, or offering specialized plumbing services.
- Exit Strategy: Consider your long-term goals and plans for eventually exiting or selling the business.
A comprehensive business plan not only helps you clarify your business vision and goals but also serves as a valuable tool when seeking funding from investors or applying for loans. Regularly review and update your business plan as your plumbing business grows and evolves.
Startup Costs
Starting a plumbing business requires a significant investment in both time and money. It is crucial to carefully plan and budget for the various startup costs involved. Here are some of the key expenses to consider:
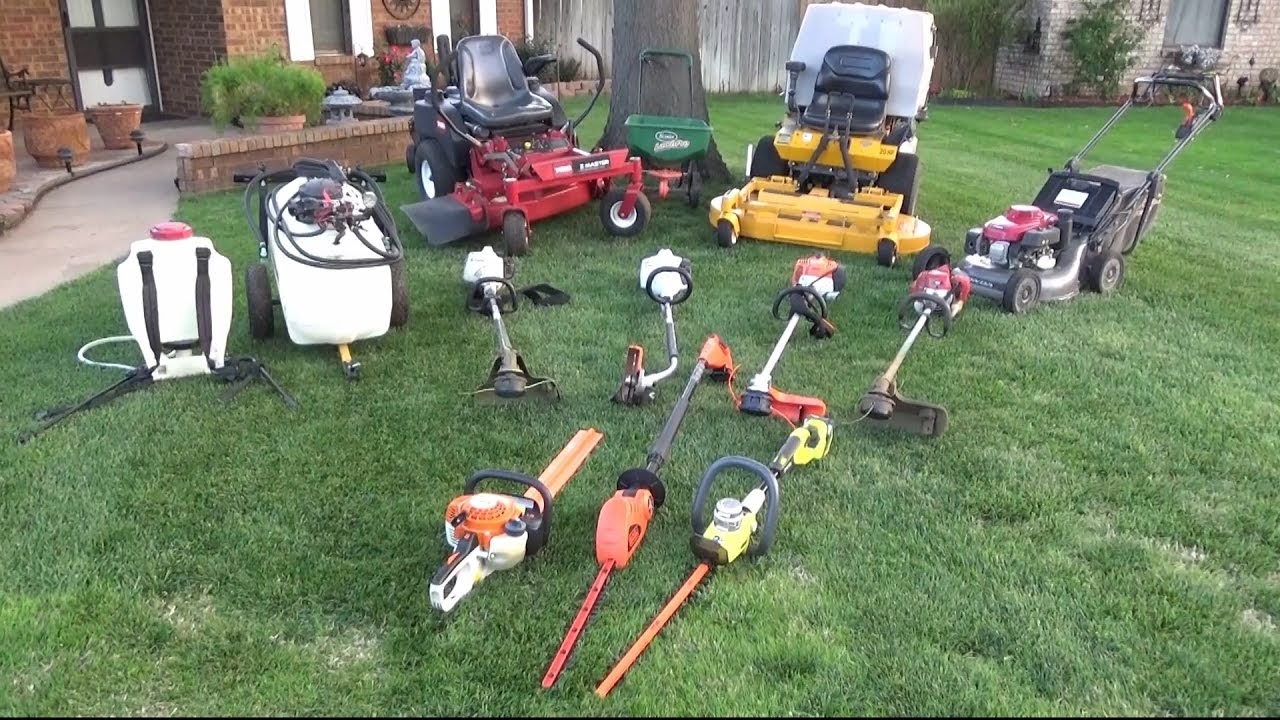
- Equipment and Tools: Invest in high-quality plumbing tools and equipment, including pipe cutters, wrenches, soldering kits, drain snakes, and power tools. Additionally, budget for vehicle expenses if you plan to have a dedicated work van or truck.
- Office Setup: Set up a designated office space with essential items such as a computer, printer, phone system, and office furniture.
- Inventory and Supplies: Stock up on plumbing supplies, including pipes, fittings, valves, fixtures, sealants, and other materials needed for repairs and installations.
- Marketing Materials: Allocate funds for creating a professional website, designing a logo, printing business cards, and creating other marketing materials to promote your business.
- Software and Technology: Invest in plumbing-specific software for estimating job costs, managing scheduling and invoicing, and improving overall efficiency.
- Training and Certifications: Allocate budget for any necessary training courses or certifications to improve your skills and credibility as a plumber.
- Professional Services: Consider hiring professionals such as accountants, attorneys, and business consultants to handle legal, financial, and strategic aspects of your business.
- Insurance: Account for the cost of insurance coverage, including general liability insurance, worker’s compensation insurance, and commercial auto insurance.
- Licenses and Permits: Include the cost of obtaining the necessary licenses and permits to legally operate your plumbing business.
- Initial Marketing and Advertising: Set aside a budget for digital marketing campaigns, local advertising, and promoting your services to target customers.
It is essential to conduct thorough research and obtain quotes from suppliers and service providers to accurately estimate your startup costs. Creating a detailed budget will help you secure financing, whether through personal savings, business loans, or partnerships.
Remember that while startup costs can be significant, they are an investment in the long-term success of your plumbing business. As you gain experience and build a solid customer base, these costs will be offset by the revenue generated.
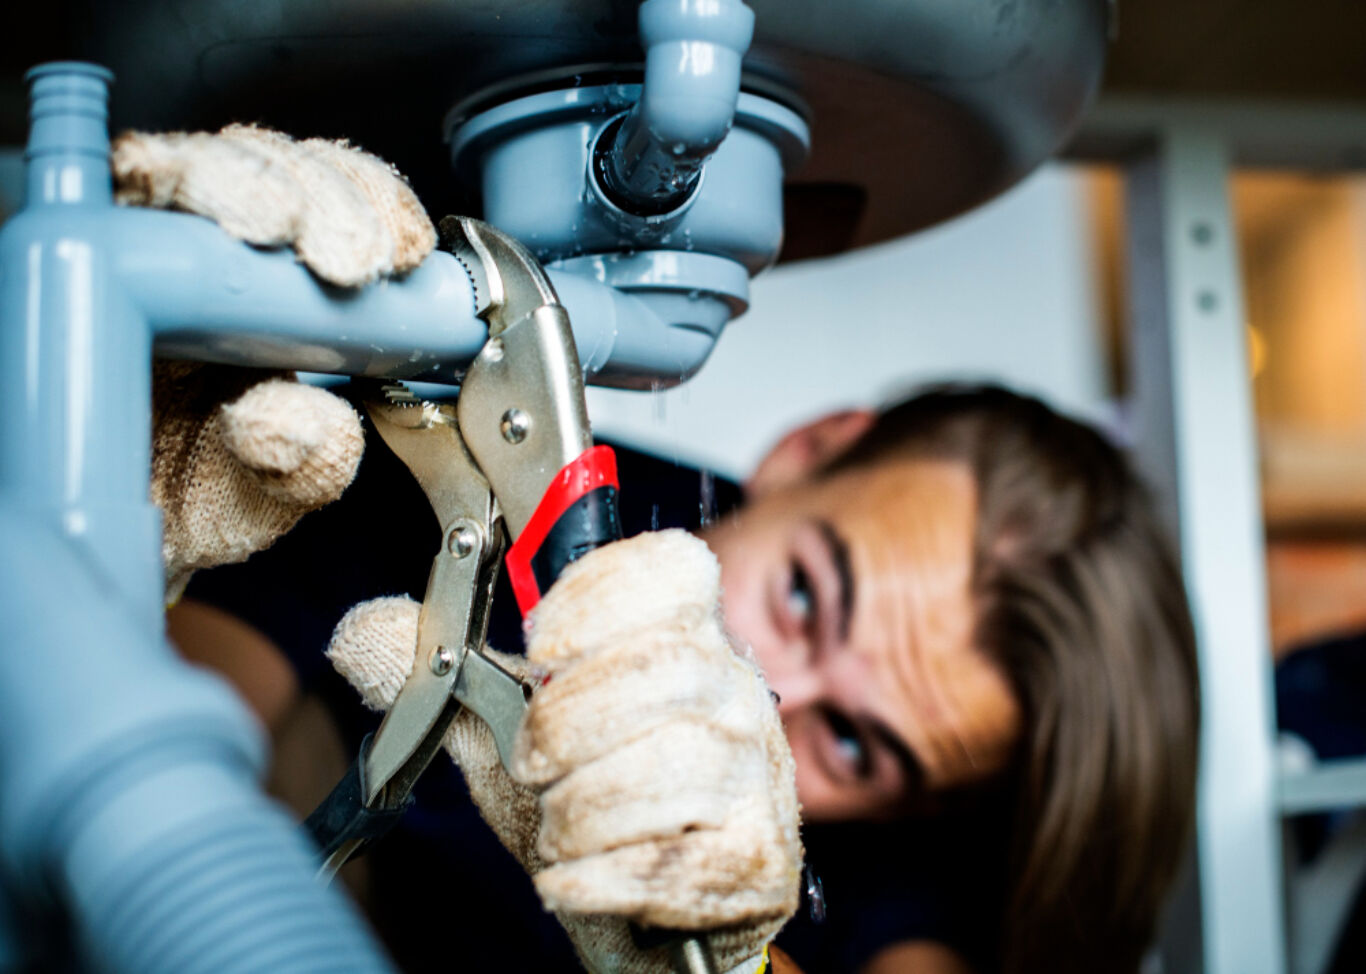
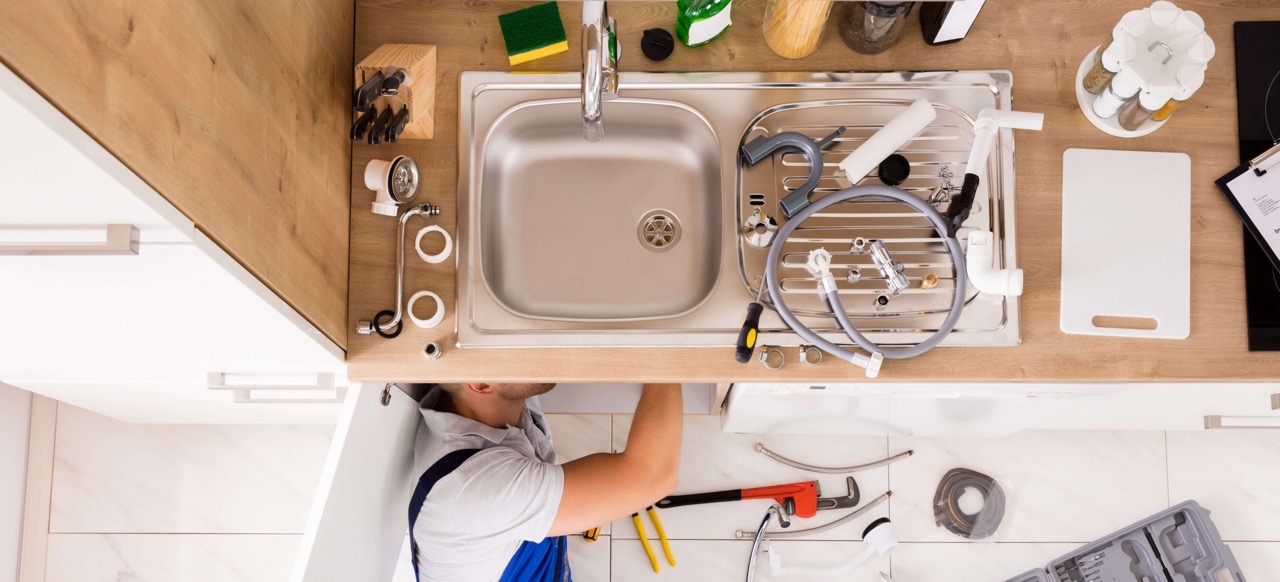
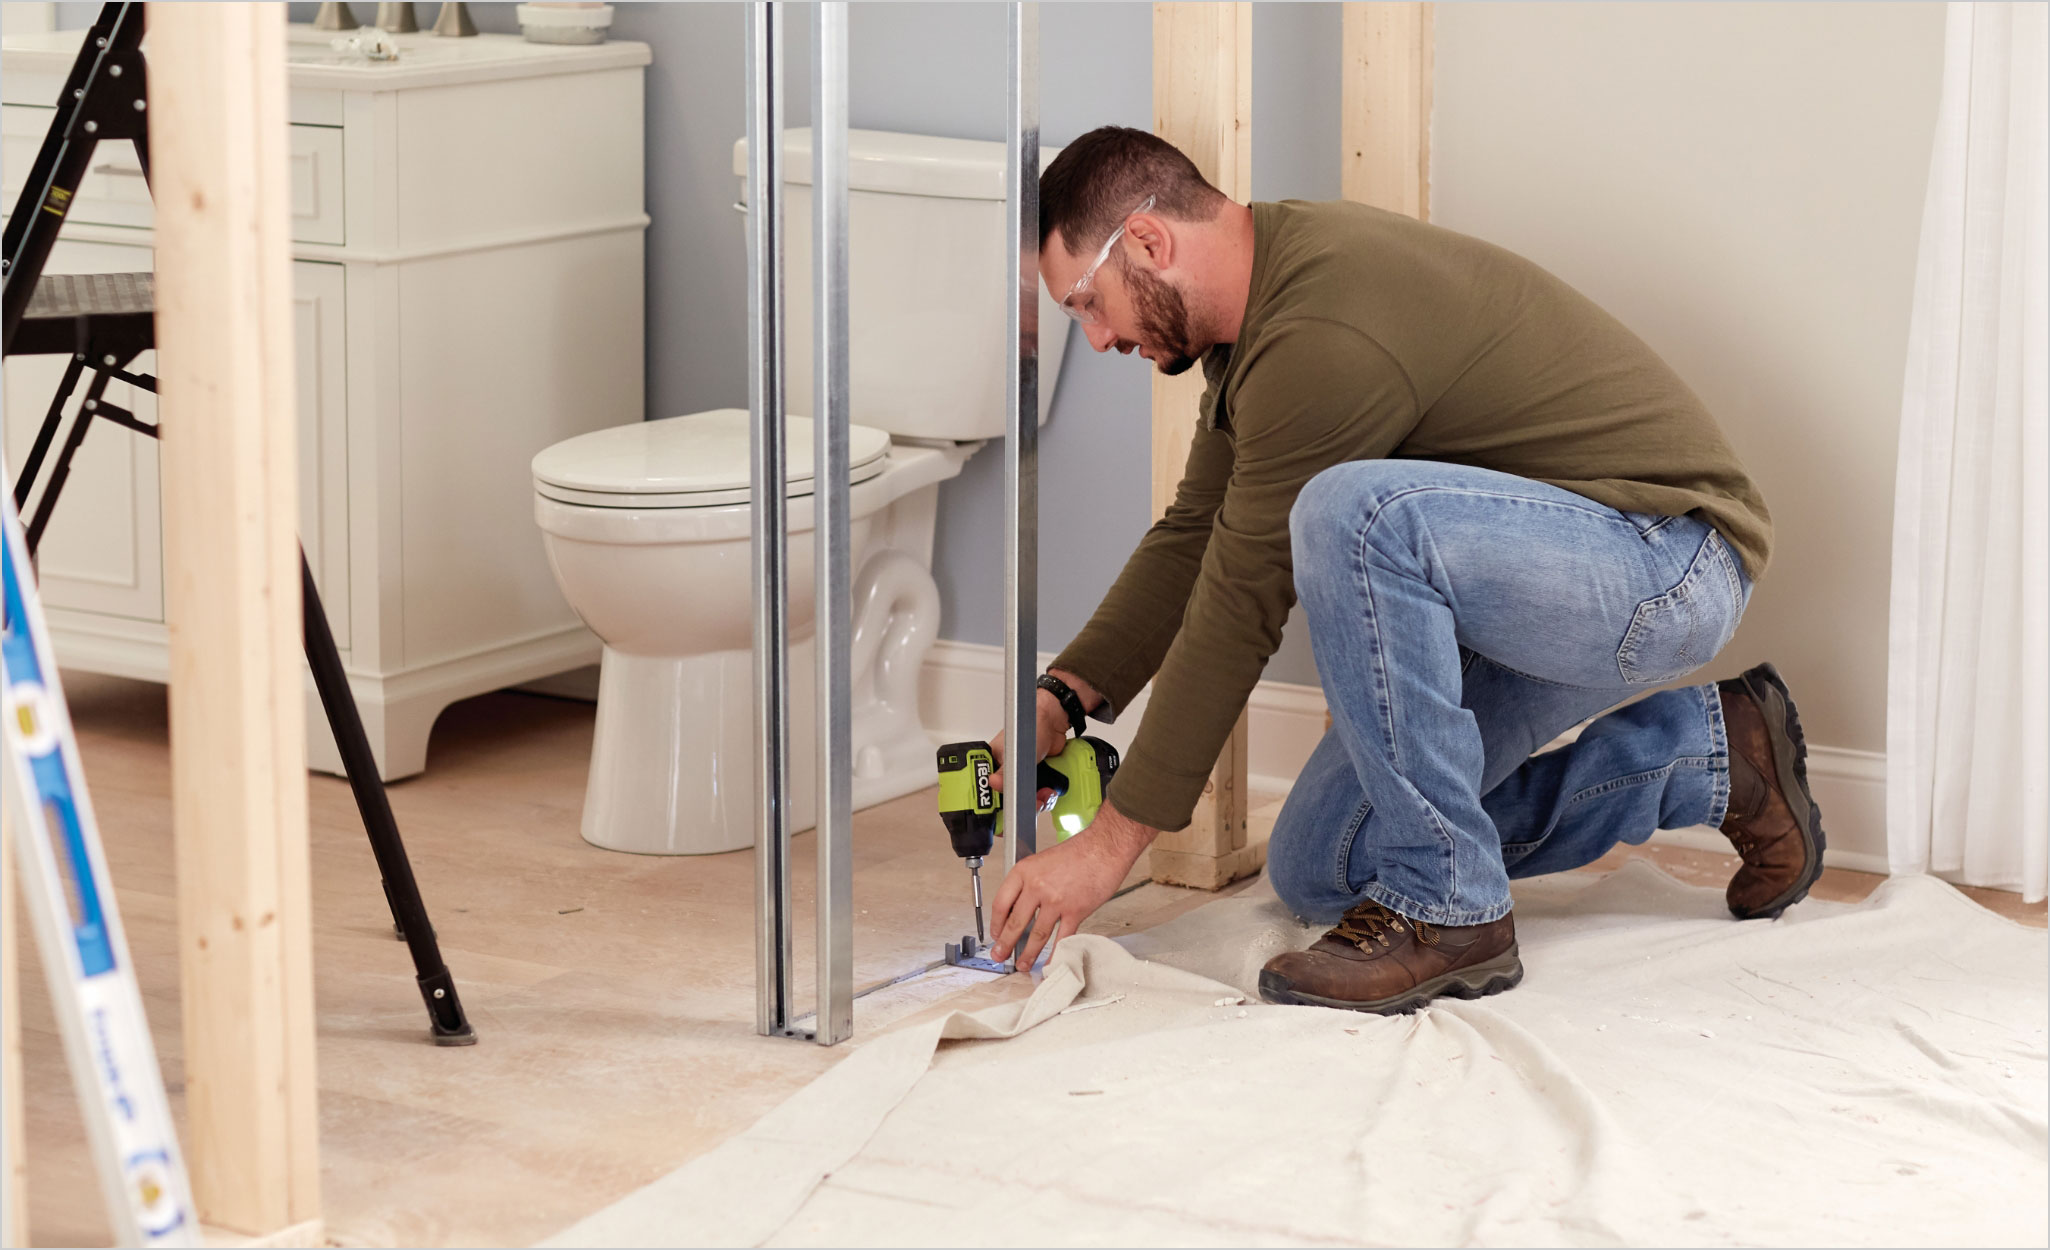
Equipment and Supplies
As a plumbing business, having the right equipment and supplies is crucial to provide efficient and effective services to your clients. Here are some essential items you will need:
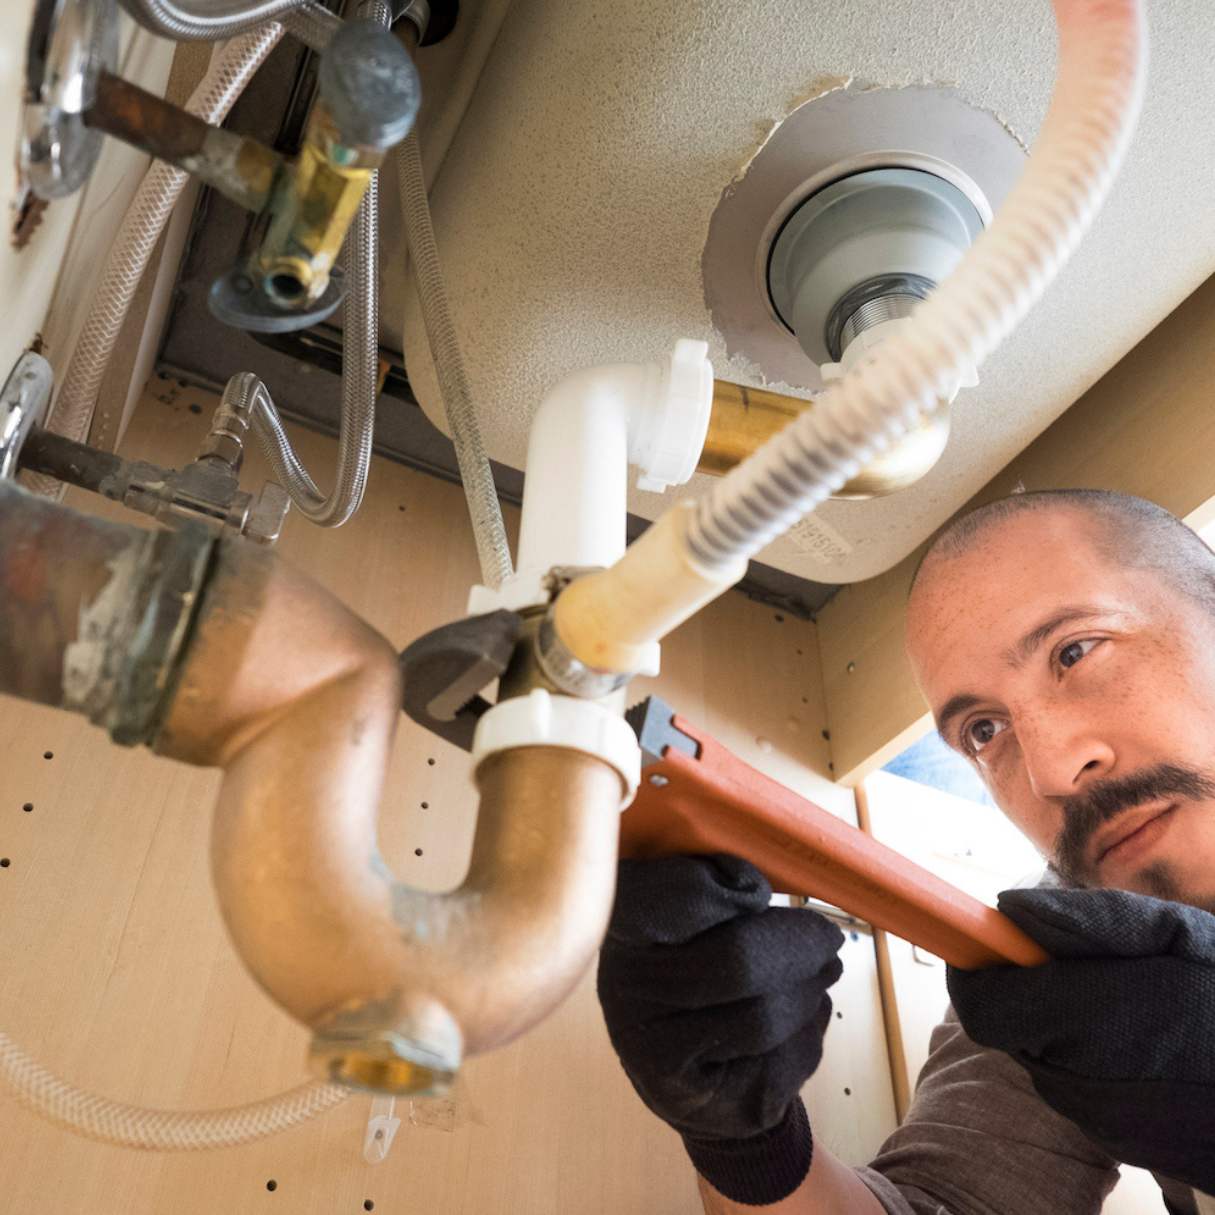
- Tools: Invest in high-quality plumbing tools such as pipe cutters, wrenches (adjustable and pipe), soldering kits, pipe threading machines, drain augers, and power tools. These tools will enable you to handle a wide range of plumbing repairs and installations.
- Vehicles: If you plan to offer on-site services, consider purchasing a work van or truck to transport your tools, equipment, and supplies. Ensure it is equipped with proper storage solutions to keep everything organized and accessible.
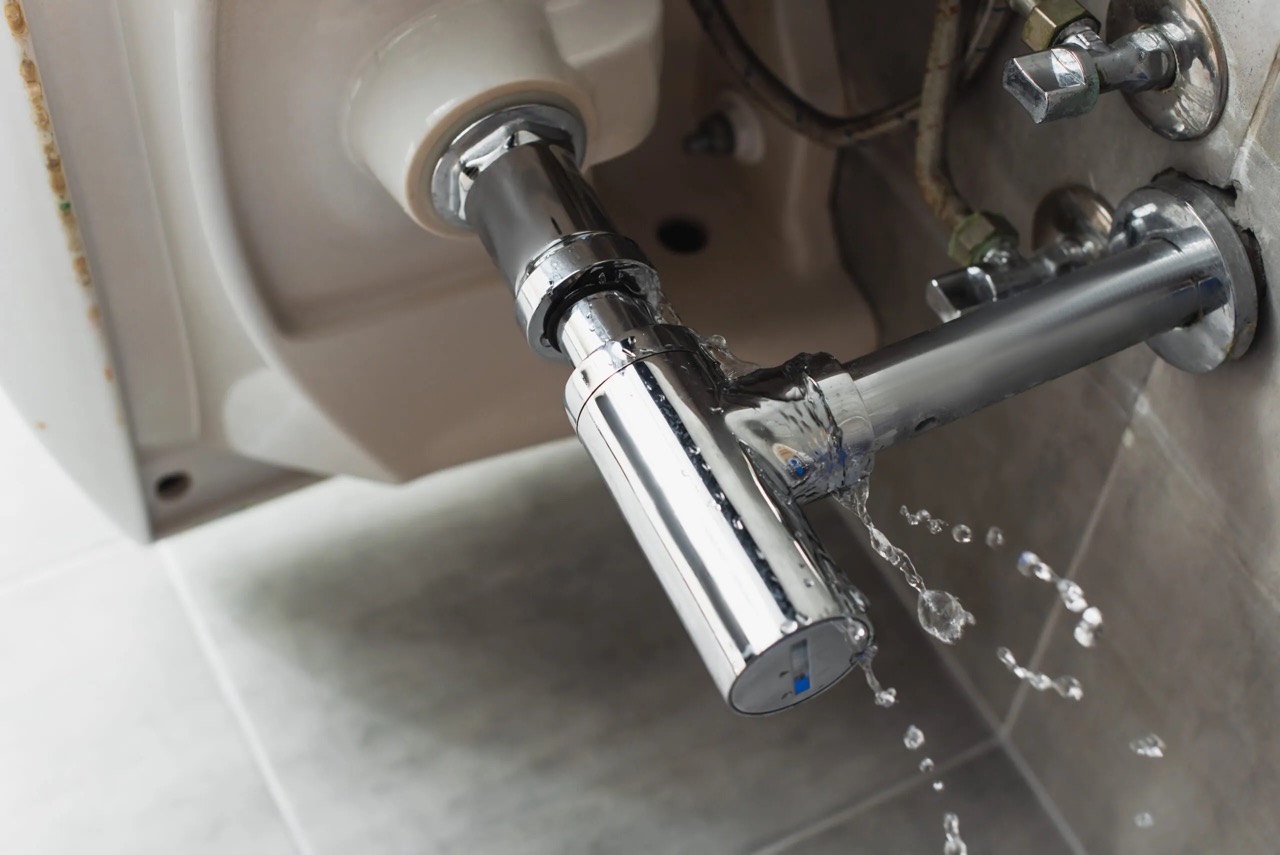
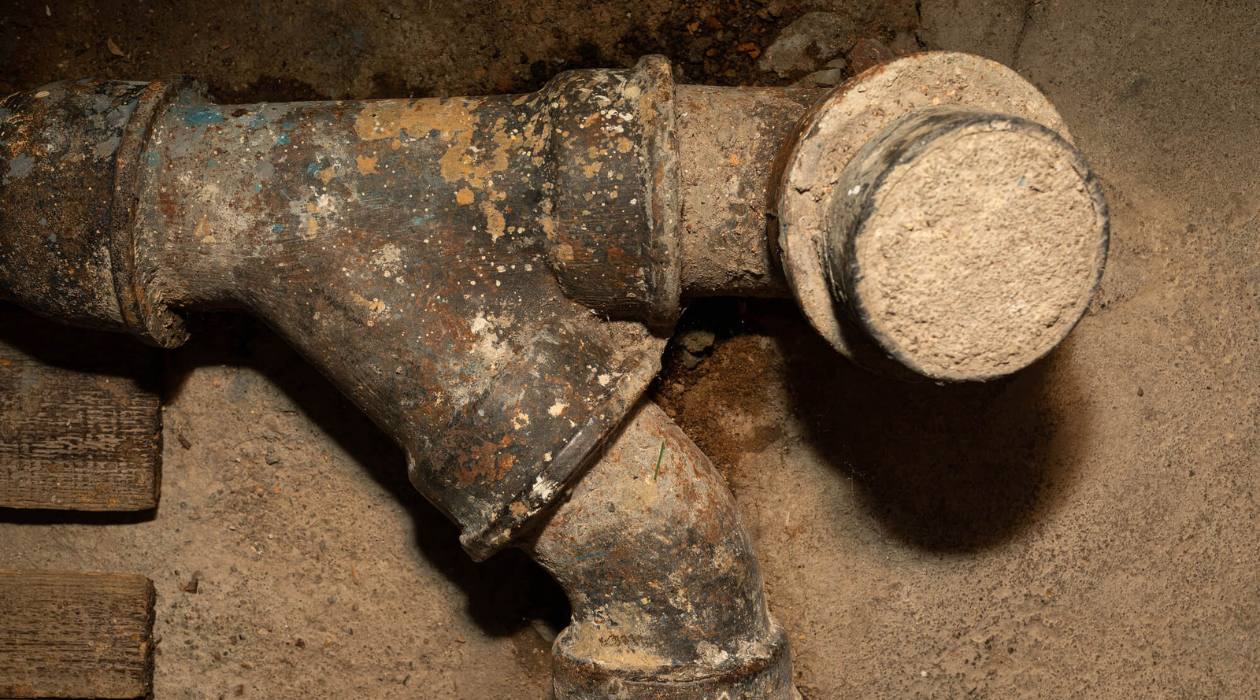
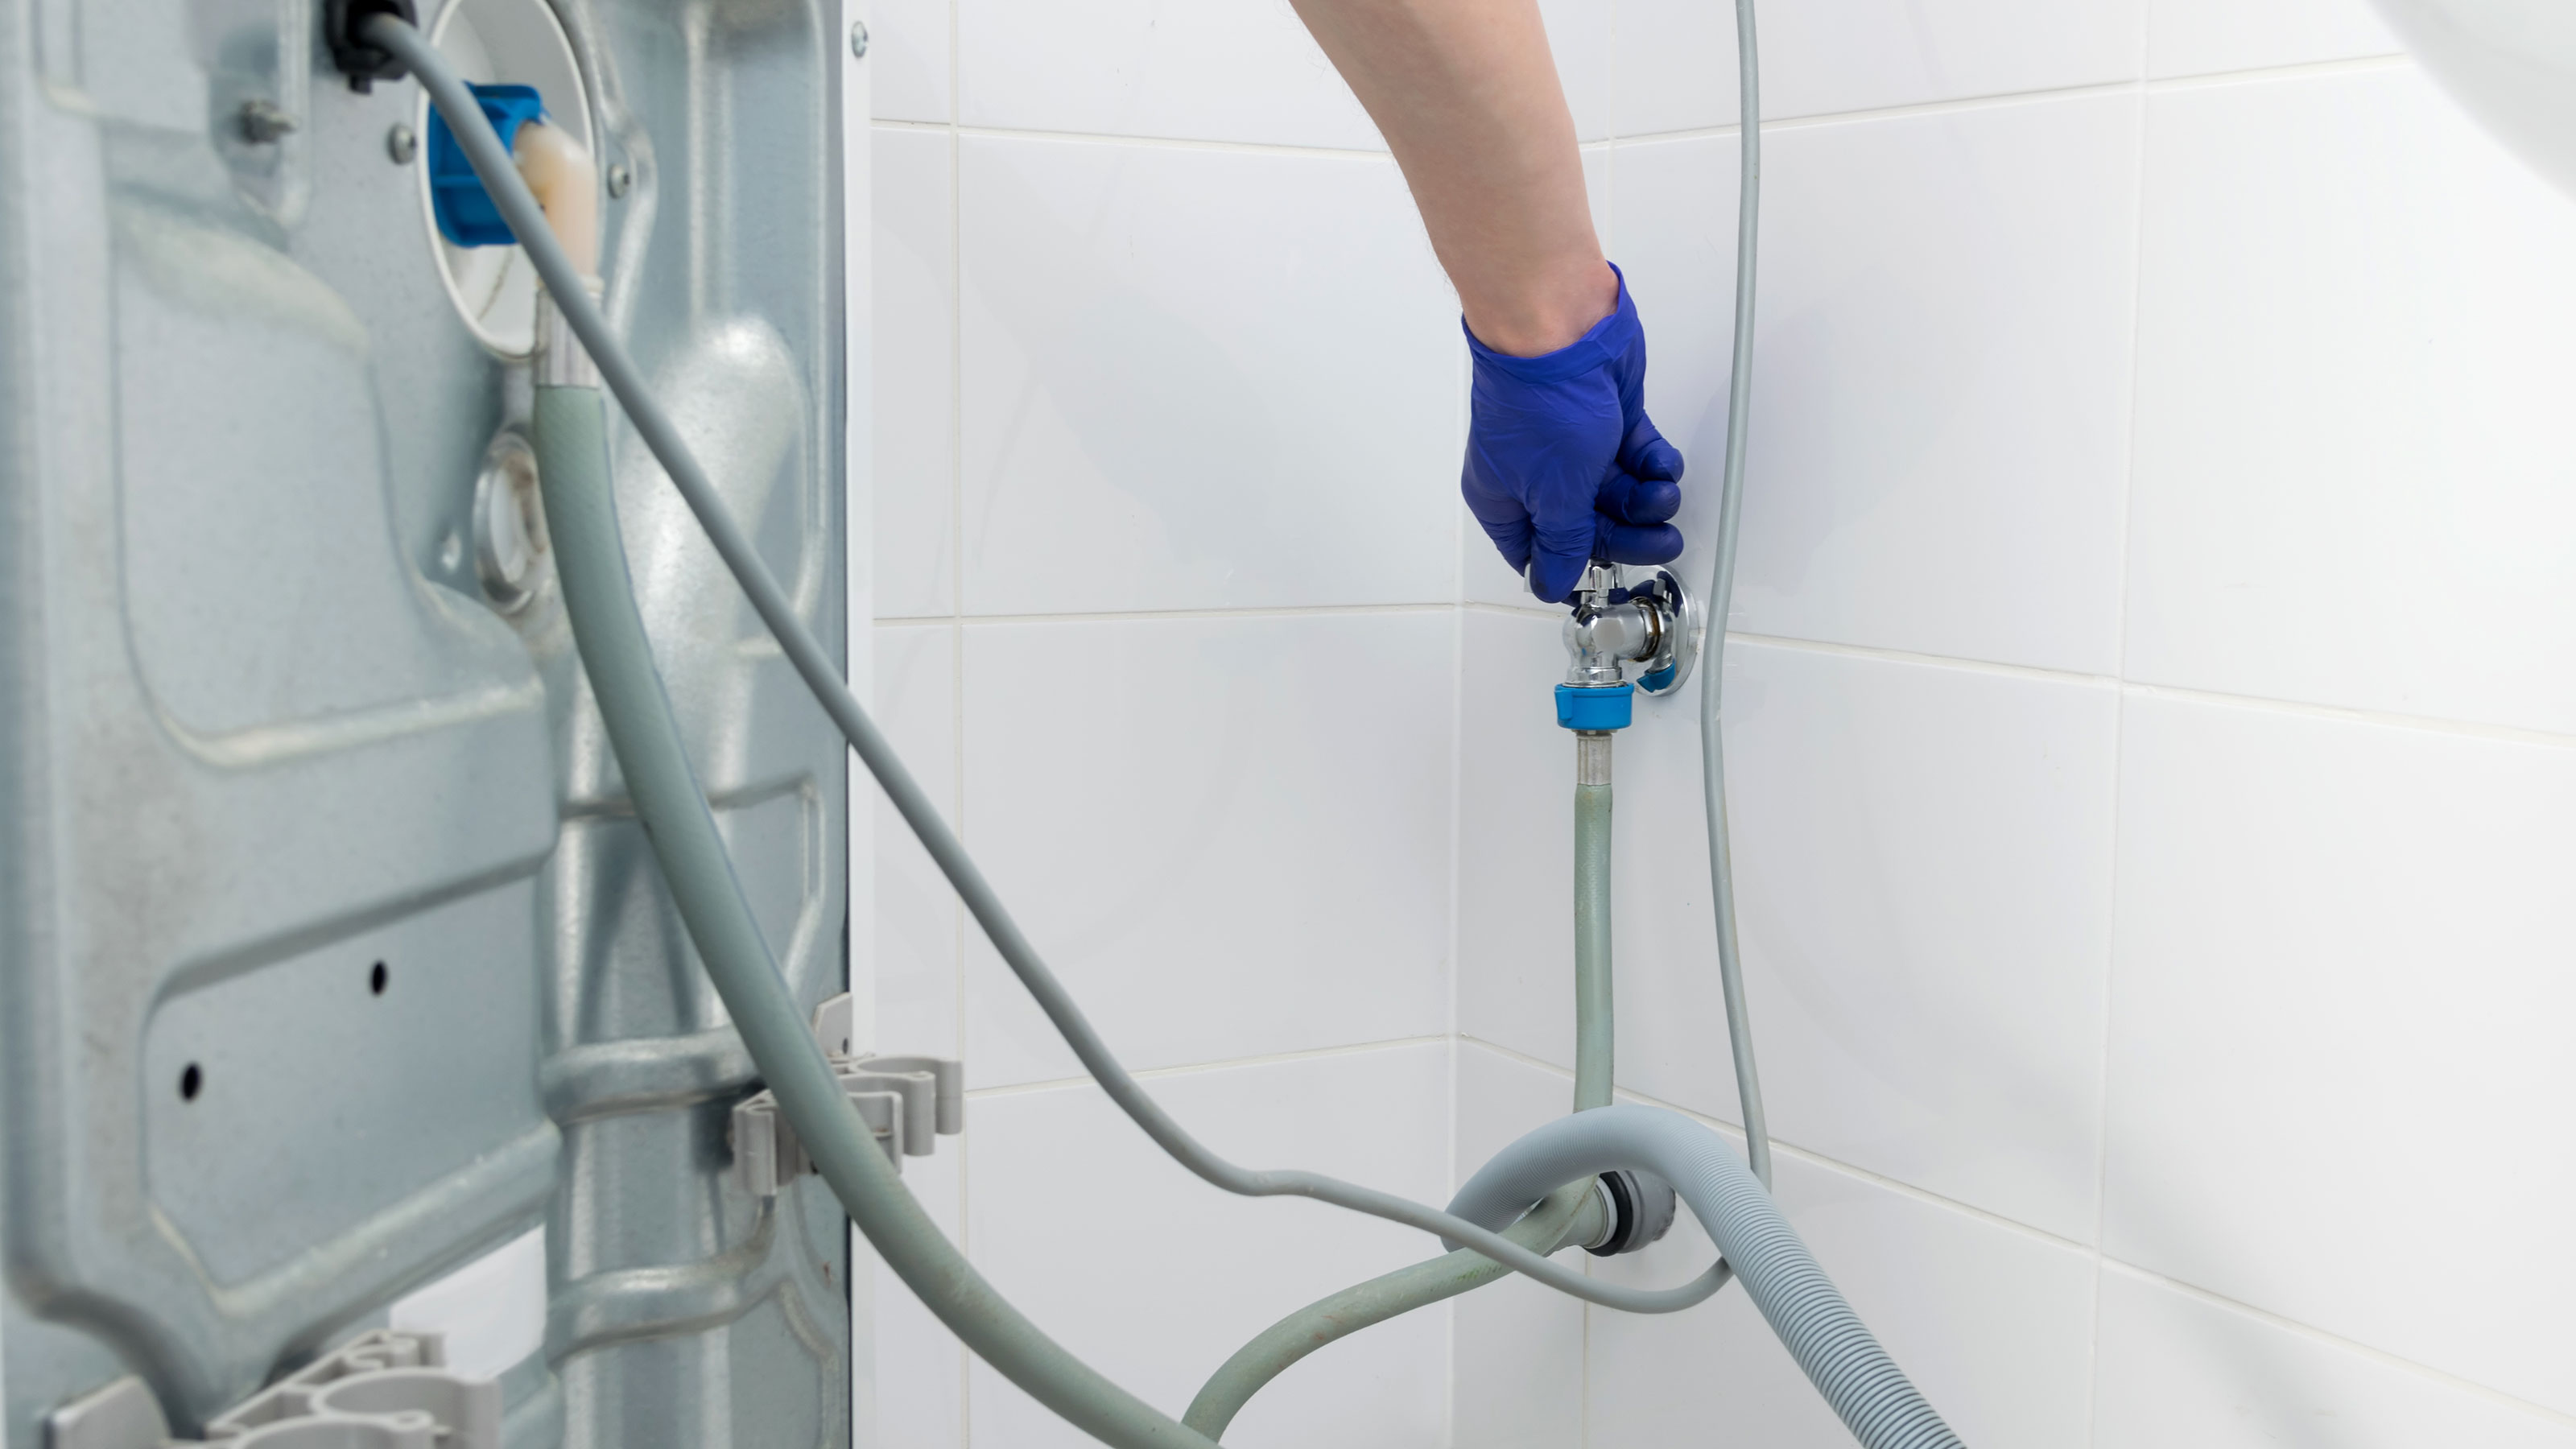
- Plumbing Materials: Stock up on various plumbing materials, including pipes (copper, PVC, or PEX), fittings, valves, faucets, toilets, sinks, showerheads, and drain cleaning equipment. Having a well-stocked inventory will allow you to handle different types of plumbing projects efficiently.
- Safety Equipment: Ensure you have the necessary safety equipment, including gloves, safety glasses, hard hats, and protective clothing. Safety should always be a top priority when working on plumbing projects.
- Diagnostic Tools: Invest in diagnostic tools such as pipe cameras, leak detectors, and pressure gauges. These tools will help you identify plumbing issues accurately and efficiently.
- Office Supplies: Stock up on office supplies such as paper, pens, folders, and computer software for accounting, invoicing, and job scheduling.
- Plumbing-Specific Software: Consider investing in plumbing-specific software to help you streamline your business operations. This could include job estimating software, scheduling software, or customer management systems.
When purchasing equipment and supplies, it’s important to strike a balance between quality and cost-effectiveness. Look for reputable suppliers that offer reliable products at competitive prices. Consider leasing equipment if purchasing outright is not financially feasible at the beginning.
Regular maintenance and periodic calibration of your equipment are essential to ensure they remain in good working condition. This will help prevent breakdowns and delays in servicing your clients’ plumbing needs.
By investing in the right equipment and supplies, you can offer professional and reliable plumbing services, gaining the trust and loyalty of your customers.
Licensing and Permits
Obtaining the necessary licenses and permits is crucial to operate your plumbing business legally and professionally. The specific requirements may vary depending on the jurisdiction in which you operate, so it is important to research and comply with the regulations in your area. Here are some common licensing and permits you may need:
- Plumbing Contractor’s License: In many jurisdictions, you will need to obtain a plumbing contractor’s license to legally operate a plumbing business. This license typically requires meeting specific experience and educational requirements, passing an exam, and demonstrating knowledge of local plumbing codes and regulations.
- Business License: Check with your local government agency to determine if you need a general business license to operate your plumbing business. This license ensures that you are complying with local regulations and paying the necessary fees.
- Trade License: Some areas may require you to obtain a trade license if you are offering specialized plumbing services, such as gas line installations or backflow prevention testing. This license ensures that you have the necessary expertise to perform specific plumbing tasks safely and professionally.
- Home Improvement Contractor’s License: If you plan to offer residential plumbing services, you may need to obtain a home improvement contractor’s license. This license ensures that you are knowledgeable about building and safety codes related to plumbing installations and repairs in residential properties.
- Building Permits: For larger plumbing projects, such as remodels or new construction, you may need to obtain building permits. These permits ensure that your work complies with local building codes and is inspected for safety and quality.
- Environmental Permits: If your plumbing services involve activities that may impact the environment, such as installing or servicing septic systems, you may need to obtain environmental permits. These permits ensure that you are following proper procedures to protect the environment and public health.
It is advisable to consult with your local licensing board or regulatory agency to understand the specific licensing and permit requirements in your area. Failing to obtain the necessary permits and licenses can result in penalties, legal issues, and damage to your business reputation.
Remember to renew your licenses and permits as required and stay updated on any changes or additional requirements imposed by the regulatory authorities. Compliance with licensing and permit regulations demonstrates your commitment to professionalism and ensures that you are operating within the legal boundaries of your plumbing business.
Insurance
Having the right insurance coverage is crucial for protecting your plumbing business against potential risks and liabilities. Plumbing work involves inherent risks, such as property damage, bodily injury, or accidents, so it is essential to have adequate insurance in place. Here are some types of insurance to consider:
- General Liability Insurance: This insurance protects your business from third-party claims for property damage, bodily injury, or personal injury. It covers legal costs, medical expenses, and damages resulting from accidents or incidents related to your plumbing services.
- Worker’s Compensation Insurance: If you have employees, worker’s compensation insurance is typically required by law in most jurisdictions. This insurance covers medical expenses, lost wages, disability benefits, and rehabilitation costs for employees who are injured or become ill on the job.
- Commercial Auto Insurance: If you use vehicles for your plumbing business, such as vans or trucks, commercial auto insurance is necessary to protect your vehicles, drivers, and any third-party property damage or bodily injury that may occur during business-related transportation.
- Professional Liability Insurance: Also known as Errors and Omissions (E&O) insurance, professional liability insurance provides coverage in case your advice, recommendations, or work as a plumber causes financial losses or damages to a client. This insurance is especially important if you offer design or consulting services.
- Property Insurance: Property insurance protects your business assets, including tools, equipment, inventory, and office space, against damages caused by fire, theft, vandalism, or natural disasters.
- Bonding Insurance: Bond insurance, such as a surety bond, may be required in certain situations, such as bidding on government contracts. It provides financial protection to your clients in case you fail to fulfill your contractual obligations.
It is important to work with an experienced insurance agent who understands the specific risks and needs of the plumbing industry. They can help assess your business requirements and recommend the appropriate coverage limits and types of insurance policies to protect your business adequately.
Remember that insurance is not only for your protection but also for the peace of mind of your clients. Being properly insured demonstrates professionalism, trustworthiness, and a commitment to providing quality services.
Research the costs involved in starting a plumbing business, including licensing, insurance, equipment, and marketing. Create a detailed business plan to estimate your startup expenses.
Marketing and Advertising
Effective marketing and advertising strategies are essential for promoting your plumbing business and attracting clients. With the right approach, you can establish a strong presence in your local market and stand out from the competition. Here are some key strategies to consider:
- Website: Create a professional website that showcases your services, expertise, and contact information. Optimize it for search engines to improve visibility in online searches and ensure it is mobile-friendly for users on the go.
- Local SEO: Implement local search engine optimization (SEO) strategies to appear prominently in local search results. This involves optimizing your website with location-specific keywords, claiming your business on online directories, and encouraging positive online reviews from satisfied customers.
- Social Media: Establish a presence on relevant social media platforms such as Facebook, Instagram, and LinkedIn. Share engaging content related to plumbing tips, educational articles, before-and-after project photos, and customer testimonials. Engage with your audience by responding to comments and inquiries promptly.
- Online Reviews and Testimonials: Encourage your satisfied clients to leave reviews and testimonials on platforms like Google My Business, Yelp, and Angie’s List. Positive reviews can greatly influence potential customers’ decision-making process.
- Referral Program: Offer incentives to existing customers who refer your services to their friends, family, or colleagues. Word-of-mouth referrals can be a powerful marketing tool for attracting new clients.
- Networking: Join local business associations, attend industry events, and actively network with professionals in related fields such as contractors, home builders, and real estate agents. Building relationships and referrals within your community can lead to valuable partnerships and new business opportunities.
- Print Advertising: Consider targeted print advertising in local newspapers, magazines, or community newsletters. This can be especially effective for reaching older demographics who may prefer traditional advertising methods.
- Branded Merchandise: Strengthen brand visibility by creating branded merchandise such as t-shirts, hats, or vehicle decals. Use these items as giveaways to clients or wear them during job visits to increase brand recognition.
- Email Marketing: Maintain regular communication with your existing customer base through email newsletters or promotions. Provide valuable content, exclusive discounts, and updates about your services to cultivate customer loyalty.
It’s important to monitor the success of your marketing efforts and adjust strategies as needed. Track the source of new leads and customers to determine which marketing channels are most effective for your plumbing business.
Remember, building a strong reputation and delivering exceptional service are essential elements of effective marketing. Satisfied customers will not only become repeat clients but also serve as brand ambassadors, recommending your services to others.
Staffing and Training
When running a plumbing business, staffing and training play a critical role in providing excellent service to your customers. Building a skilled and reliable team will help ensure the success and growth of your business. Here are some important considerations:
- Hiring Plumbers: Seek out experienced and licensed plumbers who have the necessary skills and knowledge to handle a variety of plumbing tasks. Look for individuals who demonstrate professionalism, attention to detail, and excellent problem-solving abilities.
- Apprenticeships and Internships: Consider offering apprenticeships or internships to aspiring plumbers. This can provide valuable hands-on training and help you groom potential employees who align with your business values and work ethic.
- Professional Development: Invest in ongoing training and professional development opportunities for your staff. This could include attending industry conferences, seminars, or online courses to stay updated on the latest plumbing techniques, technologies, and regulations.
- Certifications and Licenses: Encourage your plumbers to pursue additional certifications and licenses relevant to their roles. This can enhance their expertise and credibility, giving your business a competitive edge.
- Team Building and Communication: Foster a positive work environment by promoting open communication, teamwork, and collaboration among your staff. Regular team meetings and training sessions can help improve efficiency and cohesiveness.
- Evaluations and Feedback: Conduct regular performance evaluations and provide constructive feedback to your employees. Recognize their achievements and address any areas that need improvement. This will help motivate and empower your team to deliver exceptional service.
- Customer Service Training: Provide customer service training to your staff to ensure that they interact professionally and courteously with clients. Excellent customer service is crucial for building strong relationships and generating positive reviews and referrals.
- Employee Benefits: Offer competitive wages, benefits, and incentives to attract and retain talented plumbers. This could include health insurance, retirement plans, paid time off, and performance-based bonuses. Investing in your employees’ well-being shows that you value their contributions and fosters loyalty.
By focusing on staffing and training, you can build a team of skilled plumbers who are committed to providing high-quality workmanship and exceptional customer service. A well-trained and motivated team will not only satisfy your clients but also contribute to the growth and success of your plumbing business.
Read more: How Much Does Plumbing Repair Cost
Operational Expenses
Running a plumbing business involves various operational expenses that need careful consideration in order to maintain profitability. By identifying and managing these expenses effectively, you can ensure the smooth functioning of your business. Here are some key operational expenses to consider:
- Rent or Mortgage: If you operate your business from a physical location, factor in the cost of rent or mortgage payments for your office space, warehouse, or showroom.
- Utilities: Include expenses for electricity, water, heating, cooling, and internet services needed to run your office and maintain equipment.
- Vehicle Expenses: Consider the costs of fuel, maintenance, repairs, and insurance for your work vehicles. Regular maintenance is crucial to keep your vehicles in good working condition and minimize unexpected breakdowns.
- Tools and Supplies: Budget for ongoing expenses related to purchasing tools, equipment, and plumbing supplies. This includes replenishing stock, upgrading tools, and maintaining an inventory of necessary items.
- Marketing and Advertising: Allocate a portion of your budget for marketing and advertising efforts, such as website maintenance, online advertising, print materials, and promotional activities. Continuously investing in marketing is important to maintain a steady stream of clients.
- Insurance Premiums: Take into account the costs of various insurance policies, including general liability insurance, worker’s compensation insurance, commercial auto insurance, and property insurance.
- Software and Technology: Incorporate expenses for plumbing-specific software, accounting software, project management tools, and other technology solutions that help streamline your operations and improve efficiency.
- Office Expenses: Budget for office supplies, including stationery, paper, printer ink, and other necessary items for day-to-day operations. Consider expenses for office furniture, equipment repairs, and maintenance.
- Professional Services: Include expenses for professional services like accounting, legal consultations, and business consulting. These services help ensure compliance with regulations and allow you to make informed decisions for your business.
- Training and Education: Budget for ongoing training and education for you and your staff. This can include seminars, conferences, and online courses to stay updated on industry trends, techniques, and regulations.
Regularly reviewing and analyzing these operational expenses will help you identify areas where you can potentially reduce costs or find more cost-effective solutions. Research suppliers, negotiate contracts, and explore discounts to make the most of your budget.
By effectively managing operational expenses, you can optimize your profitability and ensure that your plumbing business remains financially sustainable and successful in the long term.
Pricing and Profitability
Setting the right prices for your plumbing services is crucial to ensure profitability and sustainability for your business. Determining your pricing structure requires careful consideration of various factors. Here are some key considerations to keep in mind:
- Cost of Materials and Labor: Calculate the cost of materials, including pipes, fittings, fixtures, and other supplies, as well as labor expenses for each plumbing project. Consider both direct and indirect labor costs, such as wages, benefits, and overhead expenses.
- Industry Standards: Research industry benchmarks and pricing standards to get an idea of what your competitors are charging for similar plumbing services. However, avoid solely relying on competitors’ prices as the sole basis for your pricing strategy, as your costs and business model may differ.
- Profit Margin: Determine the desired profit margin for your business. Consider the level of competition in your area, your business’s position in the market, and the perceived value of your services when setting profit margins.
- Value-Based Pricing: Consider the unique value you bring to clients when establishing your pricing. If you offer specialized skills, exceptional customer service, or quick response times, you may be able to command higher prices than your competitors.
- Project Complexity and Scope: Take into account the complexity and scope of each plumbing project. Jobs that require specialized expertise, additional equipment, or extensive time commitment should be priced accordingly to ensure profitability.
- Estimating Accuracy: Ensure your cost estimates are accurate and incorporate all relevant factors to avoid underpricing jobs. Carefully assess the materials, labor, and time required for each project to provide reliable and competitive estimates.
- Discounts and Promotions: Decide if you want to offer any discounts or promotions to attract new customers or incentivize repeat business. Ensure these discounts do not negatively impact your overall profitability.
- Customer Perception: Consider how your pricing may influence customers’ perception of your services. Very low prices may sometimes raise doubts about the quality of your work, while excessively high prices may deter potential clients. Find the right balance that reflects the value you provide.
Regularly review and analyze your pricing strategy to ensure it aligns with your business goals and market conditions. Monitor your costs, profitability, and customer feedback to make necessary adjustments. By maintaining a healthy balance between competitive pricing, profitability, and quality service, you can create a strong foundation for long-term success in the plumbing industry.
Financial Projections
Developing accurate financial projections is essential for planning and managing the financial health of your plumbing business. Financial projections provide a glimpse into the future and help you make informed decisions regarding budgeting, pricing, and growth strategies. Here are some key aspects to consider when creating financial projections:
- Sales Forecast: Estimate your projected sales revenue based on your pricing strategy, target market, and anticipated demand for your plumbing services. Analyze historical data, market trends, and competitor insights to make realistic forecasts.
- Operating Expenses: Forecast your expenses, including employee wages, insurance premiums, marketing costs, office rent, utilities, equipment maintenance, and other operational costs. Consider any potential increases in expenses due to inflation or changes in the market.
- Profit Margin: Based on your pricing strategy and projected sales, calculate your expected profit margin. This will help you determine if your pricing is sufficient to cover costs and generate a desirable level of profit.
- Cash Flow: Create a cash flow forecast to track the movement of money into and out of your business. This includes your projected revenues, expenses, investments, loan repayments, and collections from clients. Maintaining a healthy cash flow is essential for meeting financial obligations and sustaining day-to-day operations.
- Investments and Financing: Consider any investments you plan to make in equipment, technology, or hiring additional staff. Evaluate different financing options, such as loans or lines of credit, if you require additional capital for business expansion or unforeseen expenses.
- Break-Even Analysis: Conduct a break-even analysis to determine the point at which your revenues will cover your fixed and variable costs. This analysis helps you assess the minimum level of sales needed to operate without incurring a loss.
- Profit and Loss Statement: Prepare a projected profit and loss statement to show your expected revenues, costs, and resulting net income over a specific period. This statement provides a snapshot of your business’s financial performance.
- Return on Investment (ROI): Evaluate the potential return on investment for various business decisions, such as purchasing new equipment or exploring new markets. Assess the time frame required to recoup your investment and the potential long-term profitability.
Regularly review and update your financial projections as you gather more data and your business evolves. Compare your actual results to your projections to identify any variances and make necessary adjustments to your financial strategies.
Financial projections serve as a valuable tool for setting goals, making informed decisions, and attracting potential investors or lenders. They provide a roadmap for your plumbing business’s financial success and enable you to navigate the ever-changing landscape of the industry.
Conclusion
Starting and running a successful plumbing business requires careful planning, dedication, and a comprehensive understanding of the industry. In this article, we have explored the essential aspects of starting a plumbing business, including legal requirements, business planning, startup costs, equipment and supplies, licensing and permits, insurance, marketing and advertising, staffing and training, operational expenses, pricing and profitability, and financial projections.
By adhering to the legal requirements, creating a solid business plan, and budgeting for the necessary startup costs, you can lay a strong foundation for your plumbing business. Investing in high-quality equipment and supplies, obtaining the necessary licenses and permits, and having the right insurance coverage will ensure that you can provide reliable and professional services to your clients.
Marketing and advertising initiatives, such as building a professional website, engaging in local SEO, and utilizing social media platforms, will help you attract and retain clients. Additionally, staffing your team with skilled and trained plumbers, prioritizing customer service, and managing operational expenses will contribute to the success and profitability of your business.
Financial projections and careful budgeting will assist you in making informed decisions, managing cash flow, and setting prices that ensure profitability. Regularly reviewing and adjusting your strategies based on market changes and customer feedback will help you stay competitive and adaptable in the ever-evolving plumbing industry.
Remember, building a successful plumbing business takes time, effort, and continuous learning. Stay updated on industry trends, regulations, and best practices to maintain your competitive edge. Provide exceptional service, build strong relationships with clients, and strive for excellence at every step.
With determination, passion, and a commitment to quality, your plumbing business has the potential to thrive and make a positive impact in the lives of your customers. Embrace the challenges, embrace the opportunities, and always strive to exceed expectations.
Frequently Asked Questions about How Much Does It Cost To Start A Plumbing Business
Was this page helpful?
At Storables.com, we guarantee accurate and reliable information. Our content, validated by Expert Board Contributors, is crafted following stringent Editorial Policies. We're committed to providing you with well-researched, expert-backed insights for all your informational needs.


0 thoughts on “How Much Does It Cost To Start A Plumbing Business”