Articles
What Is Plastic Plumbing
Modified: August 31, 2024
Learn all about plastic plumbing with our informative articles. Discover tips, techniques, and step-by-step guides for successful installations and repairs.
(Many of the links in this article redirect to a specific reviewed product. Your purchase of these products through affiliate links helps to generate commission for Storables.com, at no extra cost. Learn more)
Introduction
Plastic plumbing has gained popularity in recent years due to its durability, affordability, and ease of installation. Whether you are a DIY enthusiast or a professional plumber, understanding the basics of plastic plumbing can be incredibly useful for various projects. In this article, we will guide you through the step-by-step process of plastic plumbing, from choosing the right materials to installing fixtures.
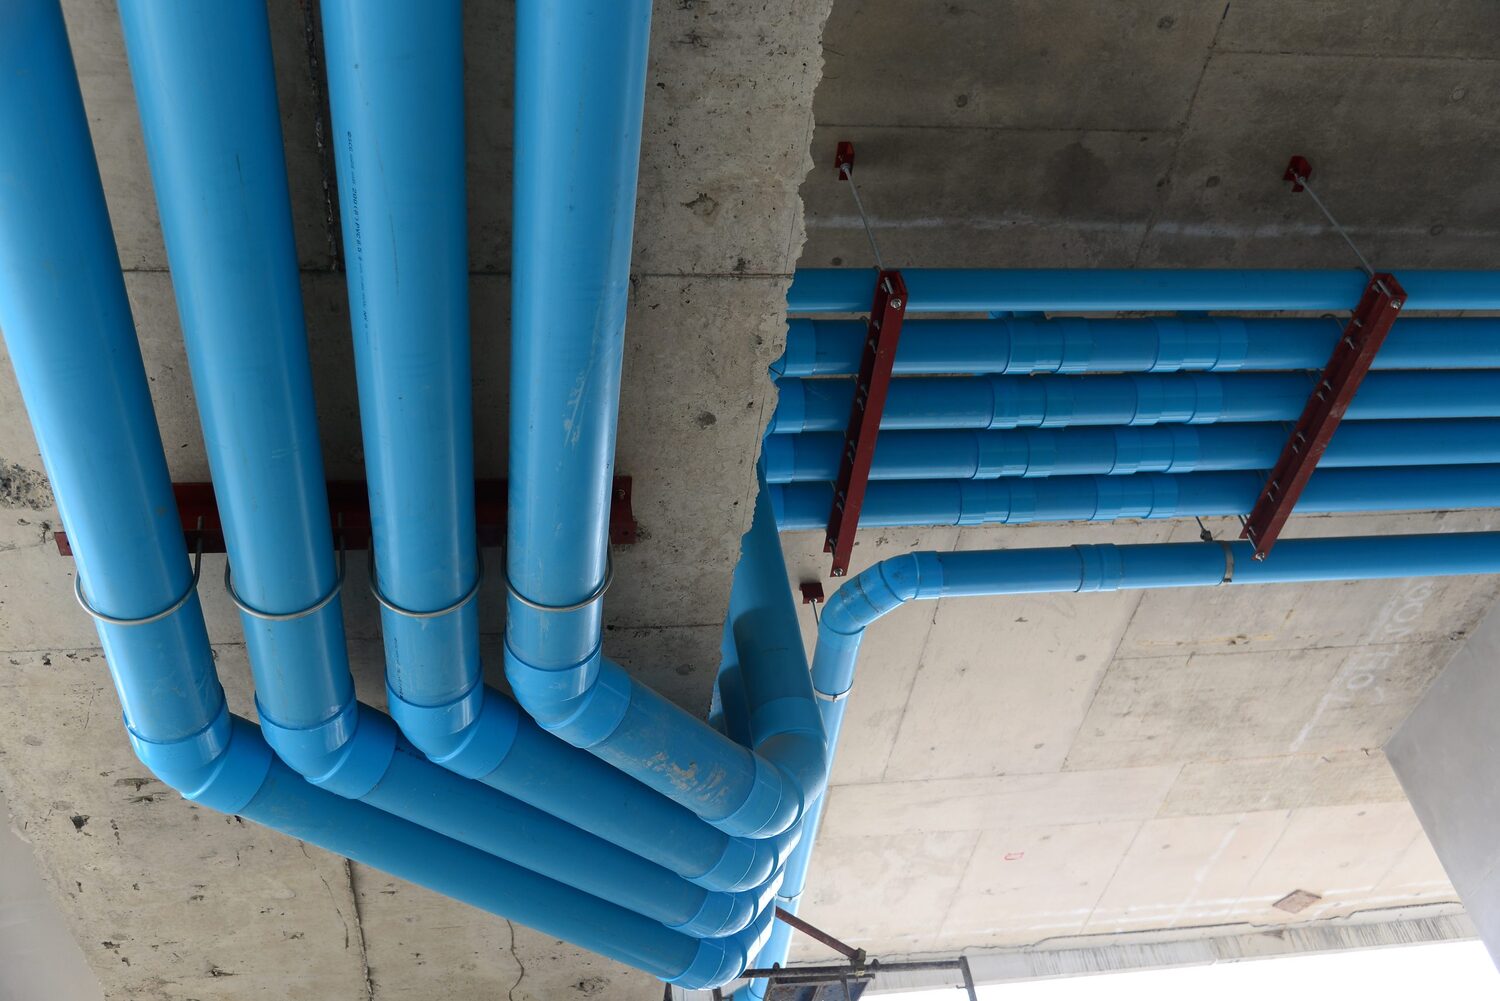
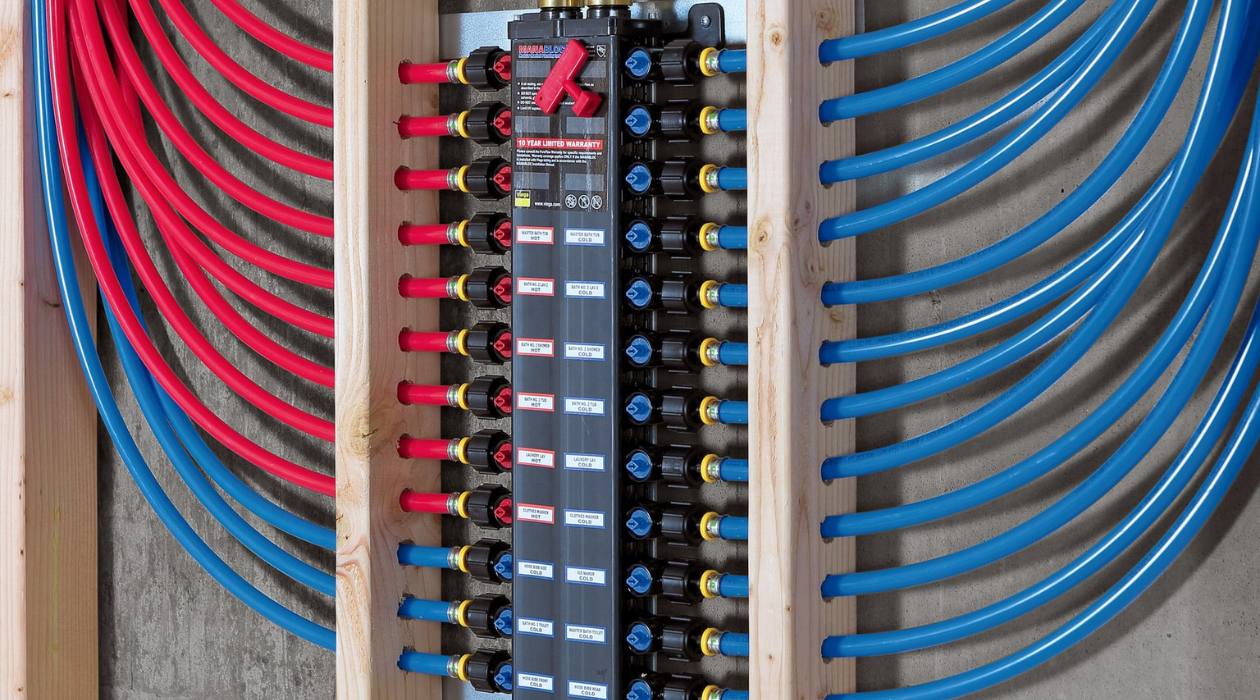
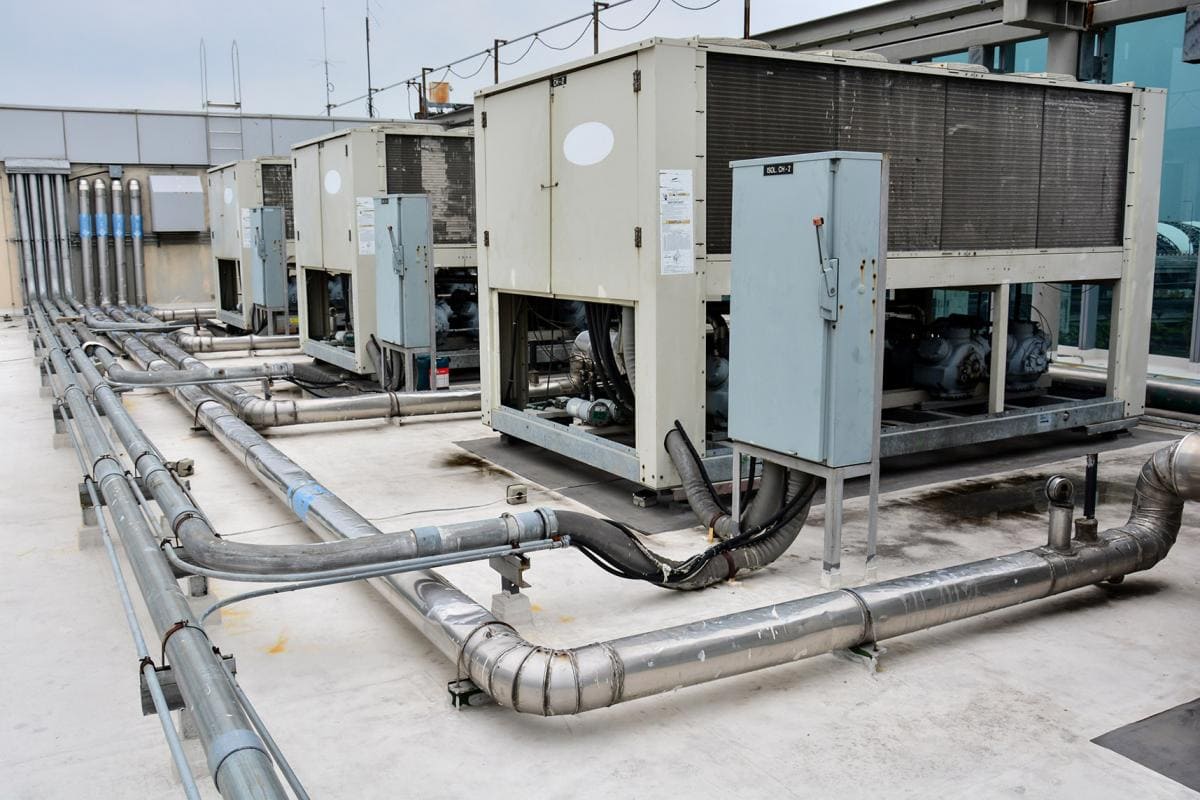
Plastic pipes and fittings are commonly made from PVC (polyvinyl chloride), CPVC (chlorinated polyvinyl chloride), and PEX (cross-linked polyethylene). These materials are lightweight, corrosion-resistant, and compatible with a wide range of plumbing systems. Plastic plumbing is commonly used for water supply lines, drainage systems, and even underground installations.
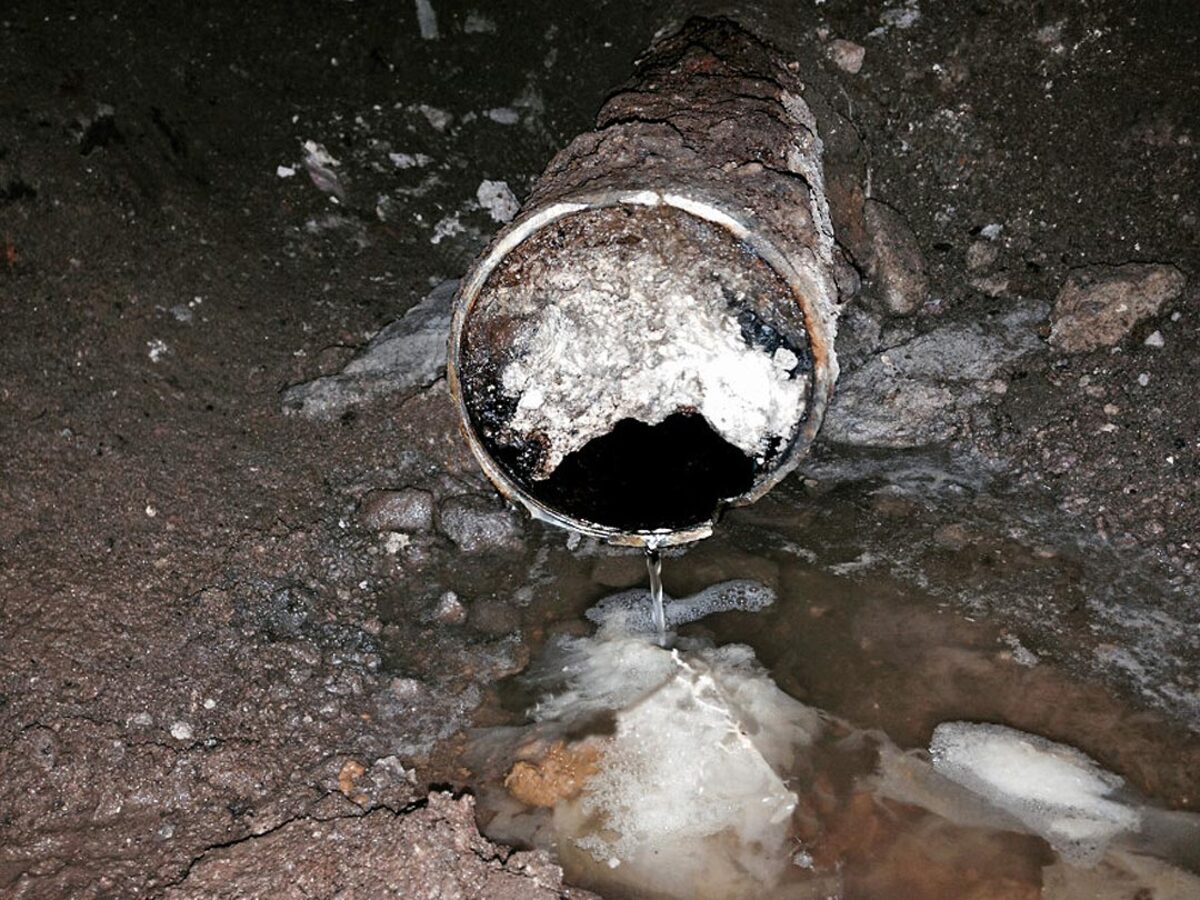
One of the key advantages of plastic plumbing is its cost-effectiveness. Plastic pipes and fittings are relatively inexpensive compared to other materials, and they require minimal maintenance, reducing long-term costs. Additionally, plastic plumbing systems are resistant to rust and corrosion, ensuring a longer lifespan and dependable performance for your plumbing needs.
Another significant benefit of plastic plumbing is its ease of installation. With basic tools and a little knowledge, you can successfully complete a plastic plumbing project without extensive training or professional help. This makes it an attractive option for DIY enthusiasts who want to tackle plumbing projects on their own.
However, like any plumbing project, it’s essential to follow the proper procedures to ensure a successful outcome. This article will provide you with a comprehensive guide on how to plan, measure, cut, join, and install plastic plumbing to meet your specific needs.
Before we dive into the technical aspects of plastic plumbing, let’s gather the necessary tools and materials to get the job done efficiently.
Key Takeaways:
- Plastic plumbing offers a cost-effective, durable, and easy-to-install solution for DIY enthusiasts and professional plumbers. Understanding the basics, choosing the right materials, and following proper procedures are essential for a successful plumbing project.
- Accurate measurement, proper jointing methods, and thorough testing and inspection are crucial for the longevity and reliability of a plastic plumbing system. Adhering to local building codes and regulations ensures safety and compliance.
Read more: What Is Plumbing?
Materials and Tools Needed
Before starting your plastic plumbing project, it’s important to gather all the necessary materials and tools. Here is a list of items you’ll need:
1. Plastic pipes: Depending on your specific project requirements, you may need PVC, CPVC, or PEX pipes. These pipes come in various sizes and lengths, so make sure to choose the appropriate ones for your plumbing system.
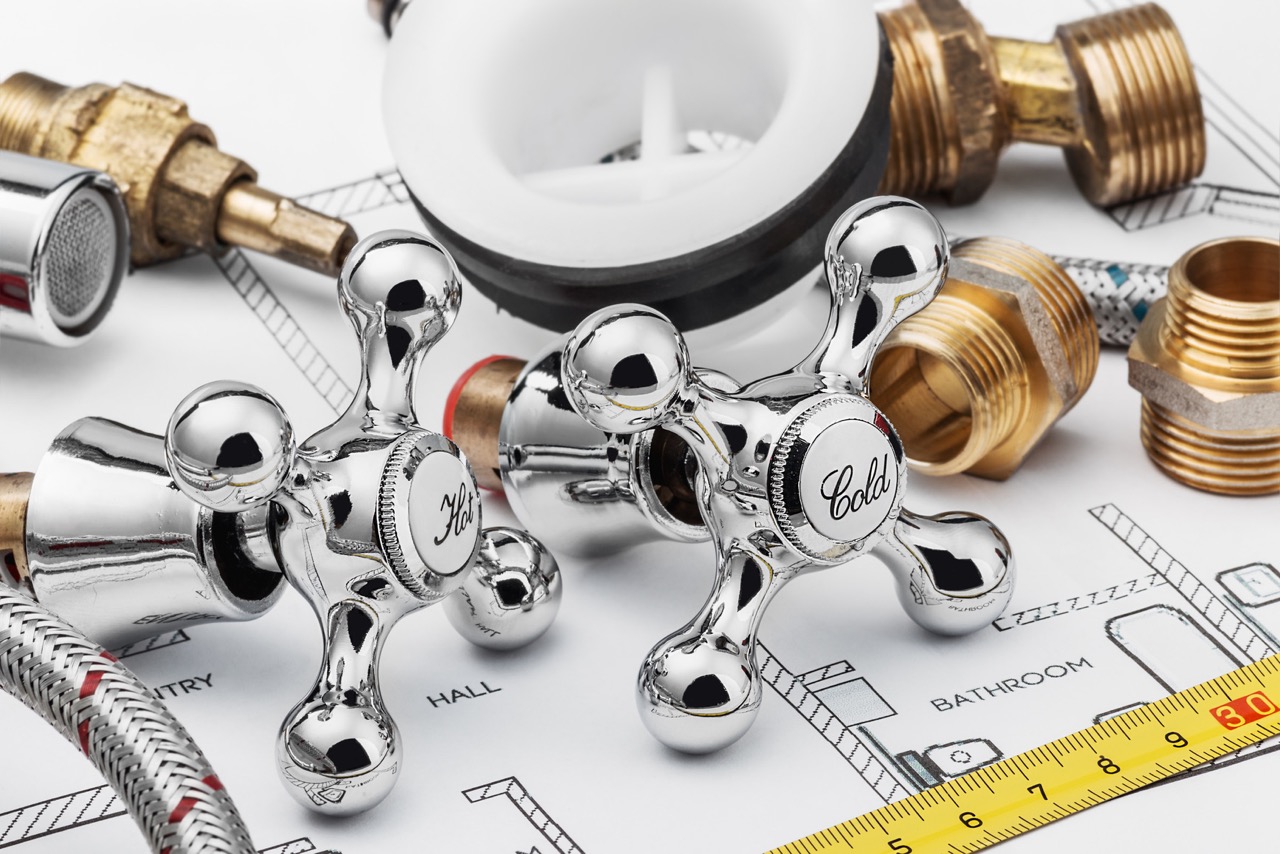
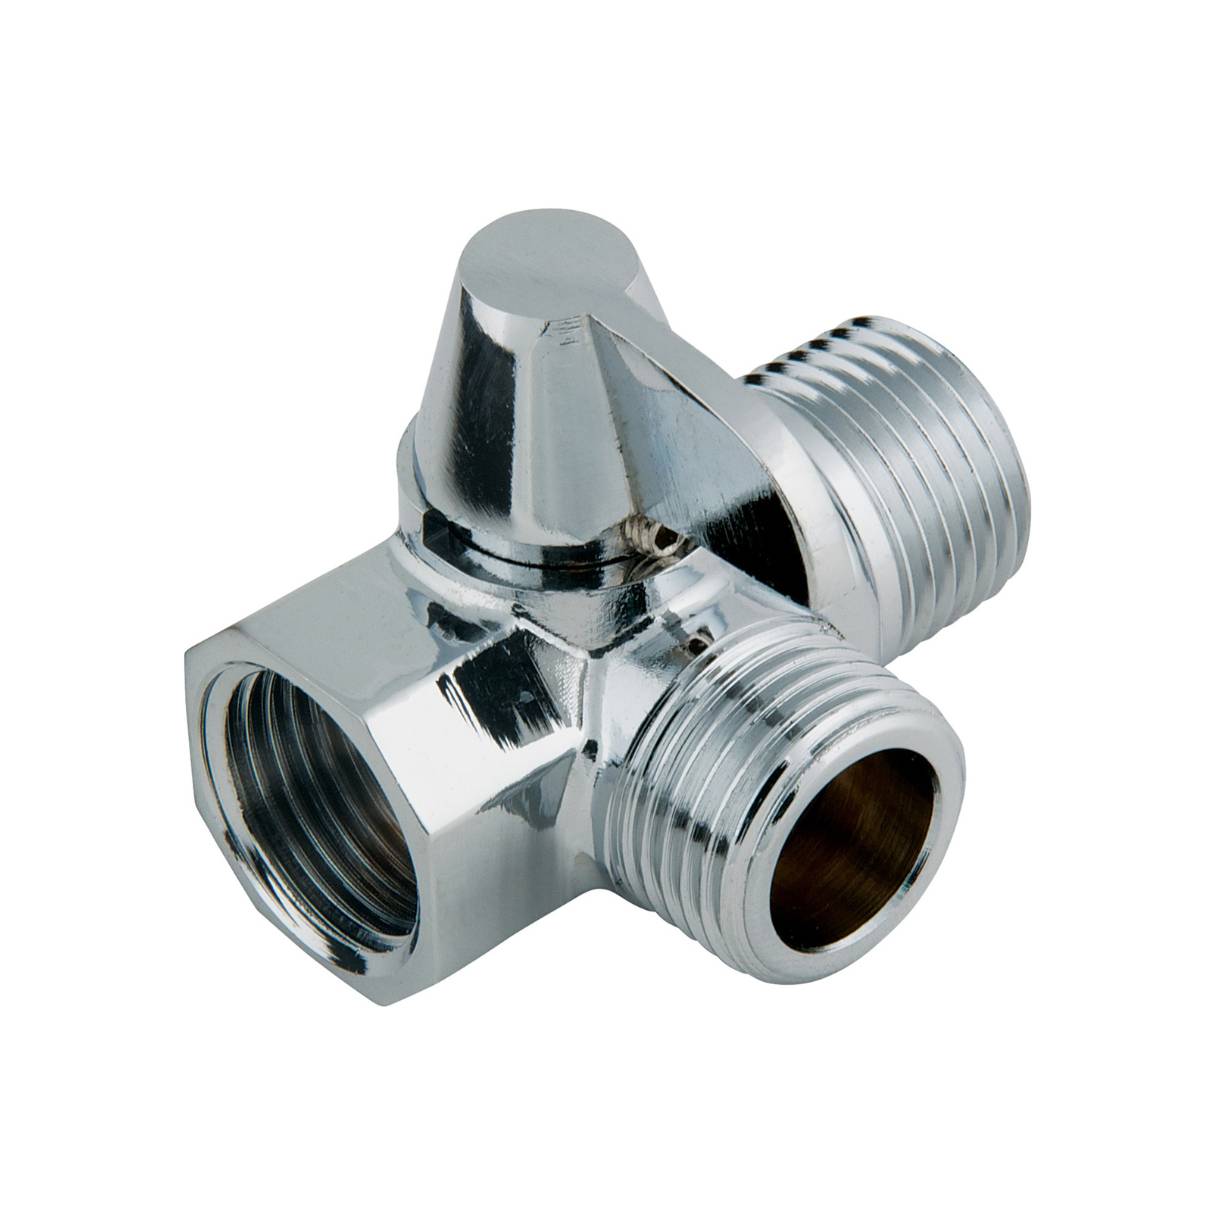
2. Plastic fittings: Fittings are used to connect and redirect the flow of water in your plumbing system. They include couplings, elbows, tees, valves, and adapters. Purchase fittings that are compatible with your chosen plastic pipes.
3. Pipe cutter: A pipe cutter is essential for cutting plastic pipes accurately and cleanly. Make sure to use a cutter that is designed specifically for plastic pipes to avoid damaging the material.
4. Measuring tape: Accurate measurements are crucial for a successful plumbing installation. Use a measuring tape to determine the length and dimensions of the pipes and fittings.
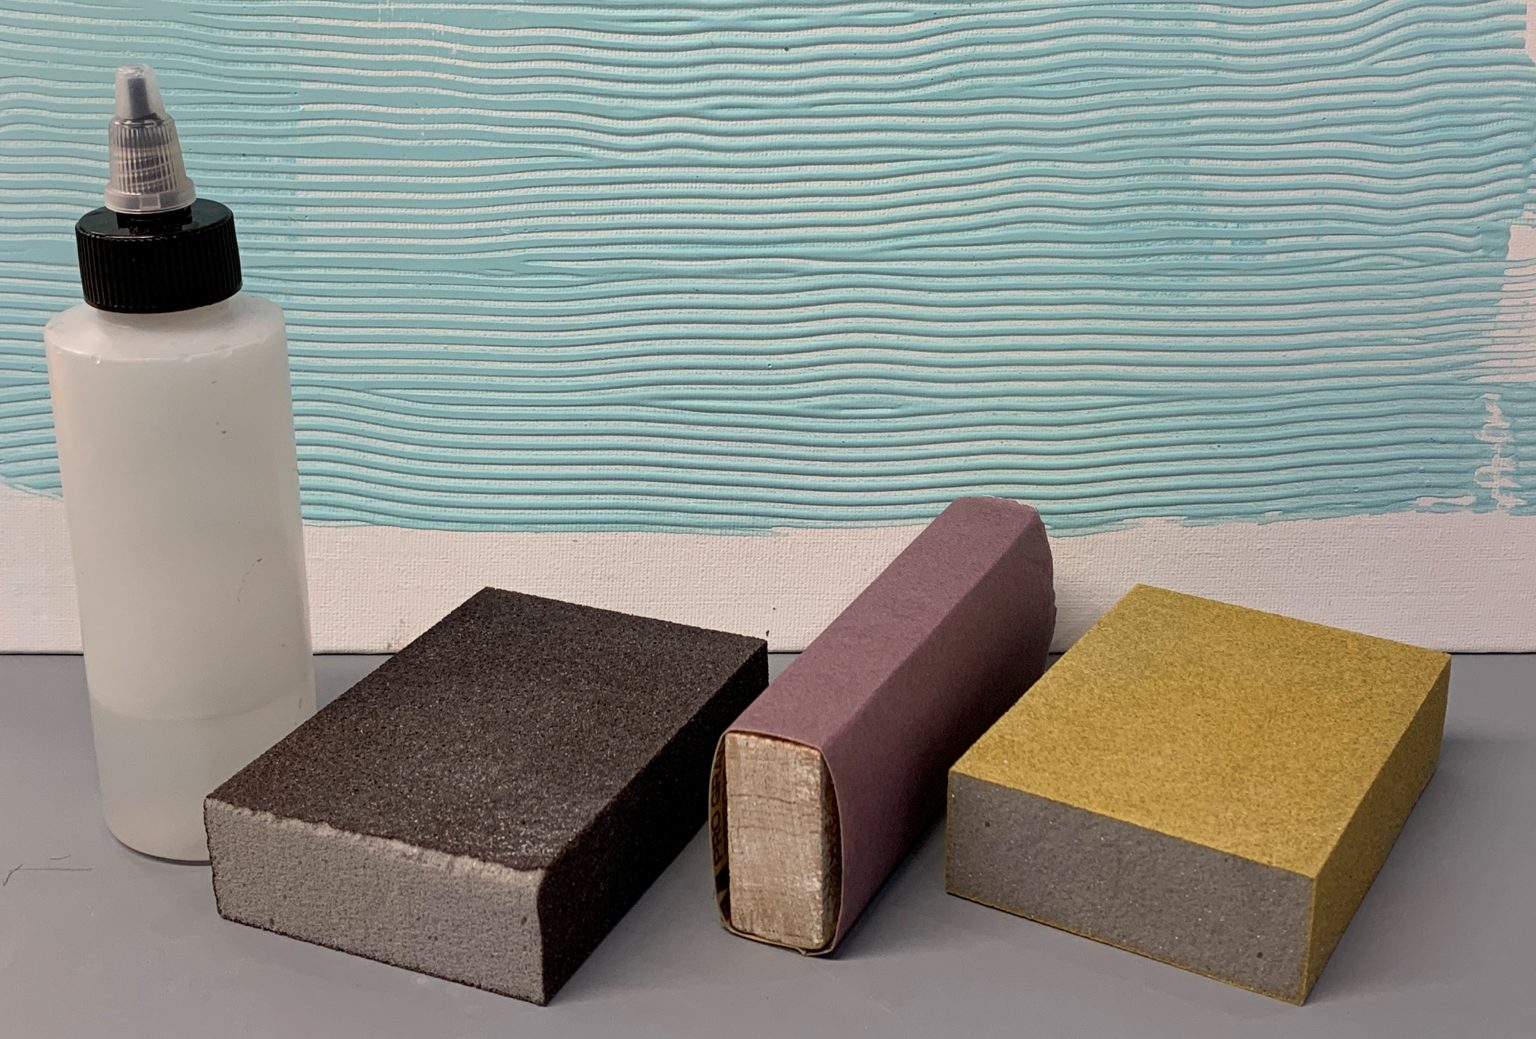
5. Deburring tool: After cutting the plastic pipes, a deburring tool is used to remove any burrs or rough edges. This ensures a smooth and snug fit when joining the pipes and fittings.
6. Pipe primer and cement: PVC and CPVC pipes require a primer and cement for secure and leak-proof joints. Make sure to choose a primer and cement that is specifically formulated for plastic pipes.
7. PEX crimping tool: If you’re working with PEX pipes, you’ll need a crimping tool to securely connect the pipes with crimp rings or stainless-steel clamps.
8. Pipe straps or clips: These are used to secure the plastic pipes to the wall or ceiling and prevent them from sagging or moving once installed.
9. Adjustable wrench: An adjustable wrench is necessary for tightening and loosening fittings, connections, and valves.
10. Safety equipment: Always prioritize your safety when working on any plumbing project. Wear protective gloves, goggles, and a mask to protect yourself from any potential hazards.
Make sure to gather all the necessary materials and tools before starting your plastic plumbing project. This will ensure a smooth and efficient installation process, saving you time and minimizing any potential setbacks.
Step 1: Understanding Plastic Plumbing
Before you begin your plastic plumbing project, it’s important to have a solid understanding of how plastic plumbing systems work. This will help you plan and execute your installation with precision. Here are some key concepts to grasp:
1. Types of plastic pipes: Plastic plumbing systems primarily use PVC, CPVC, and PEX pipes. PVC pipes are rigid and commonly used for drainage systems, while CPVC pipes are resistant to high temperatures and are suitable for both hot and cold water supply lines. PEX pipes, on the other hand, are flexible and often used for water supply lines.
2. Pipe sizes: Plastic pipes come in different sizes, commonly referred to as “nominal sizes.” The actual outer diameter (OD) of PVC and CPVC pipes remains consistent, while the inner diameter (ID) can vary. PEX pipes, however, are sized based on the inside diameter (ID). It’s crucial to select the right pipe sizes for your plumbing system to ensure proper water flow.
3. Pressure ratings: Plastic pipes have specific pressure ratings that indicate their ability to handle water pressure. These ratings are marked on the pipes and must be considered when choosing the appropriate pipes for your project. Ensure that the pressure rating matches the requirements of your plumbing system.
4. Joining methods: Plastic pipes can be joined using various methods. PVC and CPVC pipes are typically connected using solvent welding, where a primer and cement are applied to the pipes before being joined together. PEX pipes, on the other hand, require a crimping tool to attach crimp rings or stainless-steel clamps.
5. Building codes and regulations: It’s essential to familiarize yourself with local building codes and regulations related to plastic plumbing installations. These codes ensure the safety and compliance of your plumbing system, and failure to adhere to them can lead to costly repairs or even legal issues.
By understanding these fundamental aspects of plastic plumbing, you’ll be better equipped to plan and execute your installation correctly. This knowledge will also help you make informed decisions regarding pipe sizes, joining methods, and compliance with building codes and regulations.
Now that you have a good grasp of the basics, let’s move on to the next step: choosing the right plastic pipes and fittings for your project.
Step 2: Choosing the Right Plastic Pipes and Fittings
Choosing the correct plastic pipes and fittings is crucial for the success of your plumbing project. Here are some factors to consider when selecting your materials:
1. Pipe material: Determine the appropriate type of plastic pipe for your specific application. PVC pipes are commonly used for drainage systems, while CPVC pipes are suitable for both hot and cold water supply lines. PEX pipes are flexible and often used for water supply lines due to their ease of installation.
2. Pipe size: Consider the required pipe size based on the water flow rate and pressure requirements of your plumbing system. The size of the pipe will impact the overall performance and efficiency of your plumbing system.
3. Pressure rating: Ensure that the plastic pipes you choose have a pressure rating that matches the demands of your plumbing system. The pressure rating will determine the pipes’ ability to withstand the water pressure without any leakage or failure.
4. Fitting compatibility: Select plastic fittings that are compatible with the chosen type of plastic pipes. Different types of plastic pipes require specific fittings designed for their respective material, ensuring a secure and leak-free connection.
5. Jointing method: Consider the jointing method required for the chosen plastic pipes and fittings. PVC and CPVC pipes typically use solvent welding, where a primer and cement are applied to create a strong bond. PEX pipes, on the other hand, require a crimping tool to secure the connection with crimp rings or stainless-steel clamps.
6. Building codes and regulations: Familiarize yourself with local building codes and regulations pertaining to plastic plumbing installations. Ensure that your chosen pipes and fittings comply with these regulations to guarantee the safety and performance of your plumbing system.
When selecting plastic pipes and fittings, it’s important to consult with a plumbing professional or refer to trusted resources to ensure you make informed decisions. Choosing the right materials for your plumbing project will contribute to the longevity and efficiency of your system.
Now that you have chosen the appropriate pipes and fittings, it’s time to move on to the next step: cutting and measuring plastic pipes.
Step 3: Cutting and Measuring Plastic Pipes
Cutting and measuring plastic pipes accurately is crucial to ensure proper fit and functionality in your plumbing system. Follow these steps to cut and measure plastic pipes effectively:
1. Measure the pipe: Use a measuring tape to determine the required length of the plastic pipe. Measure precisely from one end to the desired point of cut. Mark the measurement clearly using a pencil or marker.
2. Prepare the pipe cutter: Select a pipe cutter that is specifically designed for cutting plastic pipes. Adjust the cutter blade to fit the size of the pipe and tighten it securely. Ensure that the blade is sharp and in good condition for a clean and precise cut.
3. Cut the pipe: Place the pipe cutter around the marked point on the pipe. Hold the cutter firmly in place and rotate it around the pipe, tightening the blade gradually with each rotation. Continue rotating the cutter until the pipe is cut cleanly. Avoid applying too much pressure, as it can crush or deform the pipe.
4. Remove burrs: After cutting the pipe, use a deburring tool to remove any rough edges or burrs from the cut end. Slide the deburring tool along the cut edge in a circular motion to smooth out any imperfections. This will ensure a proper and secure fit when joining the pipes.
5. Double-check the measurement: Before proceeding with the installation, double-check the measurement of the cut pipe to ensure it matches your requirements. Accurate measurements are vital for precise fittings and leak-free connections.
6. Repeat for additional cuts: If you need to cut multiple pipes, repeat the process for each piece. Be consistent with your measurements and ensure that all the cut pipes are of the same length.
By following these steps, you can accurately measure and cut plastic pipes for your plumbing project. Remember to wear safety gloves and goggles to protect yourself from any potential hazards. Now that you have your cut pipes ready, let’s move on to the next step: joining plastic pipes and fittings.
When working with plastic plumbing, always use the correct solvent cement for the type of plastic you are using. This will ensure a strong and secure bond between the pipes and fittings.
Read more: What Is Plastic Used For In Construction
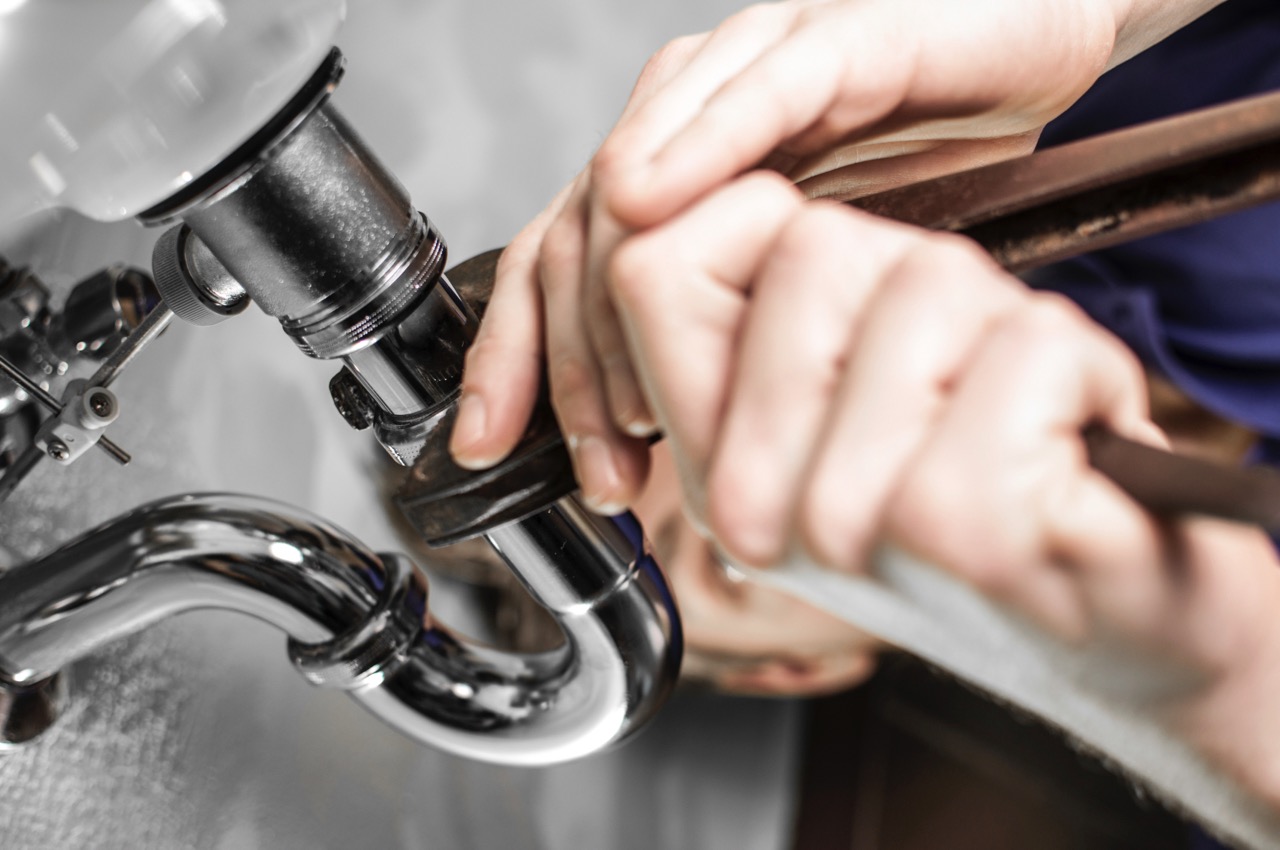
Step 4: Joining Plastic Pipes and Fittings
Joining plastic pipes and fittings is a critical step in constructing your plumbing system. Properly connected pipes ensure a secure and leak-free installation. Here are the steps to join plastic pipes and fittings:
1. Prepare the pipes and fittings: Ensure that the pipe ends and fittings are clean and free from any debris or moisture. Use a clean cloth or rag to wipe away any dirt or water.
2. Solvent welding (for PVC and CPVC pipes): Apply a primer to the outside of the pipe end and the inside of the fitting socket. Next, apply a layer of solvent cement to the same areas. Quickly insert the pipe end into the fitting socket and give it a slight twist to ensure even distribution of the cement. Hold the joint firmly for a few seconds to allow it to set. Repeat the process for all the required joints.
3. Crimping (for PEX pipes): Slide a crimp ring or stainless-steel clamp onto the pipe. Insert the fitting into the pipe end until it reaches the shoulder of the fitting. Place the crimping tool over the crimp ring or clamp and squeeze it firmly. Make sure the crimp is secure and tight. Repeat the process for all the necessary joints.
4. Check for proper alignment: Ensure that the pipes and fittings are aligned correctly and securely. Misalignment or loose connections can lead to leaks or compromised performance of your plumbing system.
5. Allow curing or setting time: Depending on the type of cement or adhesive used, you may need to allow some curing or setting time for the joints to fully harden and bond. Follow the manufacturer’s instructions for the recommended curing time before proceeding with the next steps.
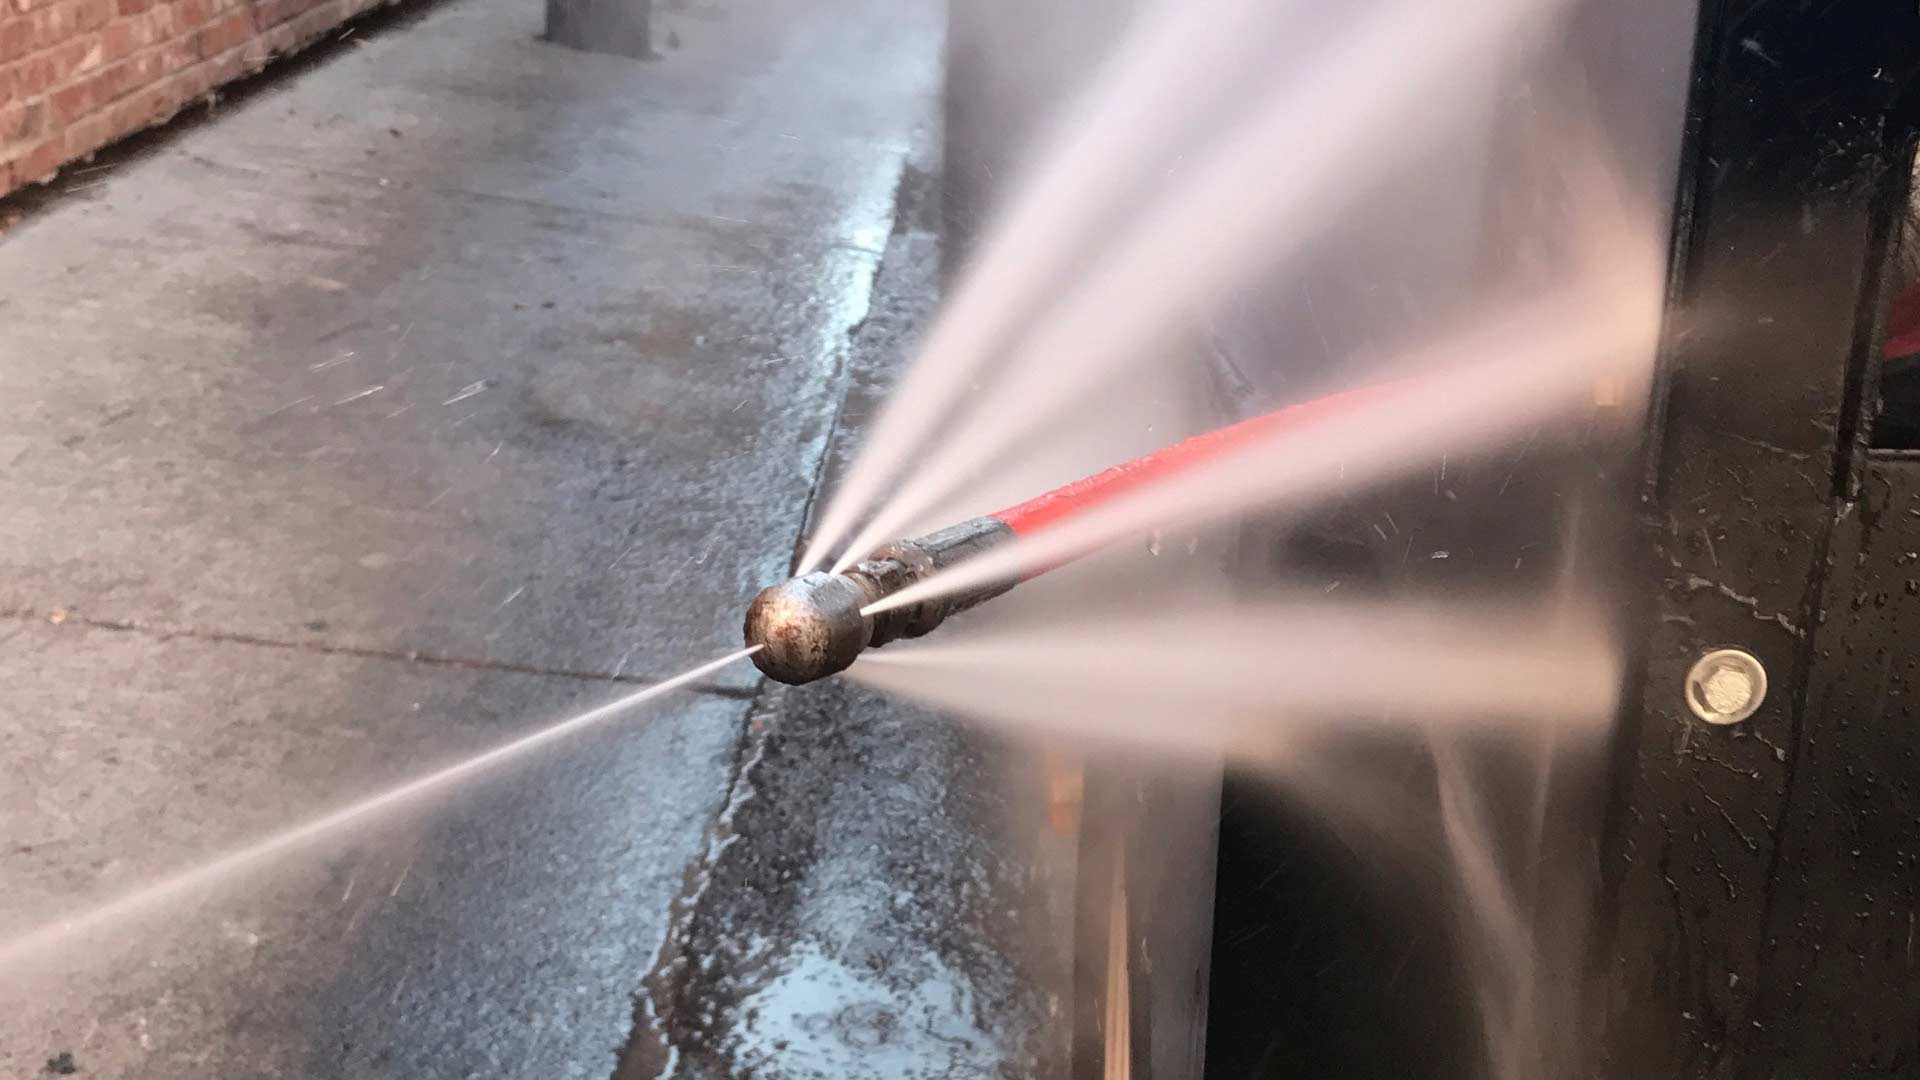
6. Test for leaks: Once the joints have cured, test the connections for any leaks or drips. Turn on the water supply and inspect each joint carefully. If you notice any leaks, tighten the fittings or make necessary adjustments.
By following these steps, you can successfully join plastic pipes and fittings for your plumbing system. Remember to use the appropriate jointing method for the specific type of plastic pipes you are working with. Now it’s time to move on to the next step: installing plastic plumbing fixtures.
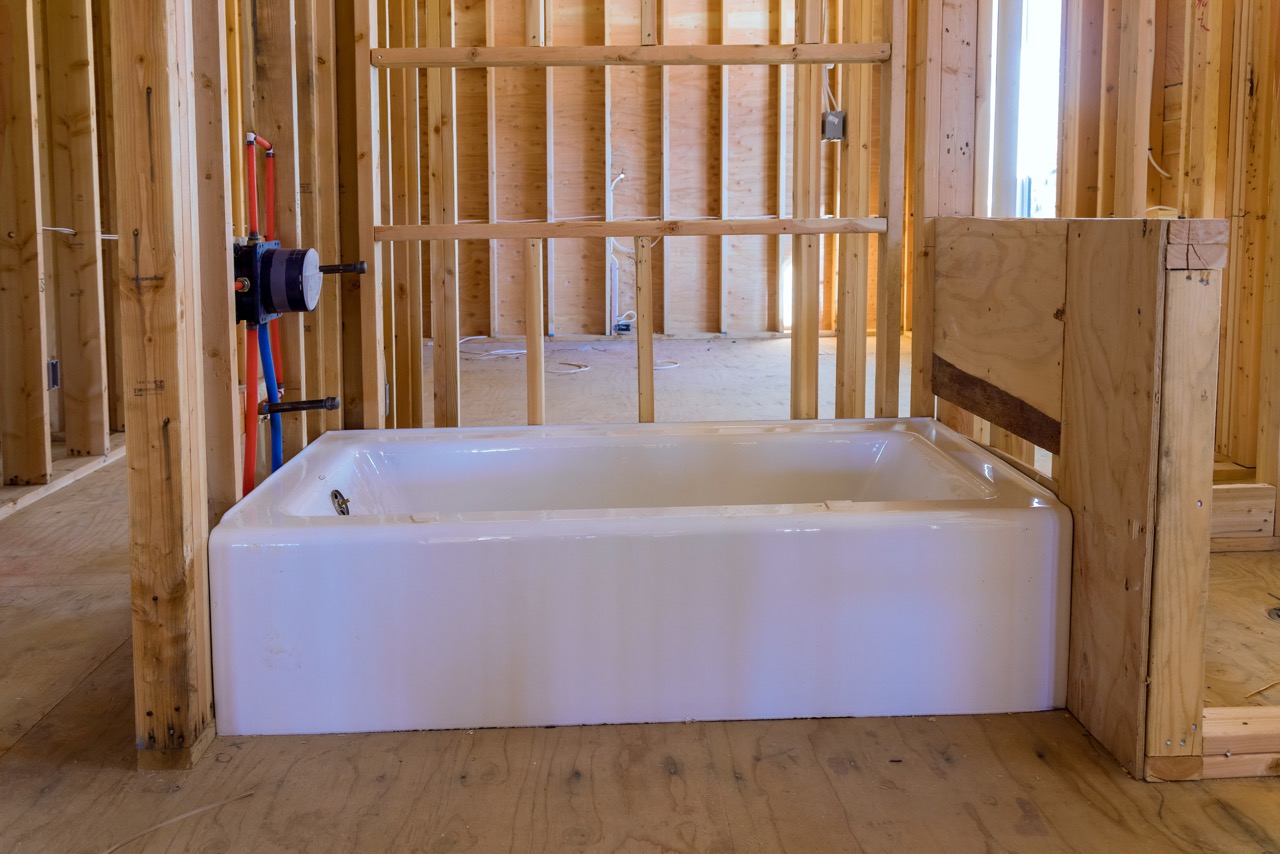
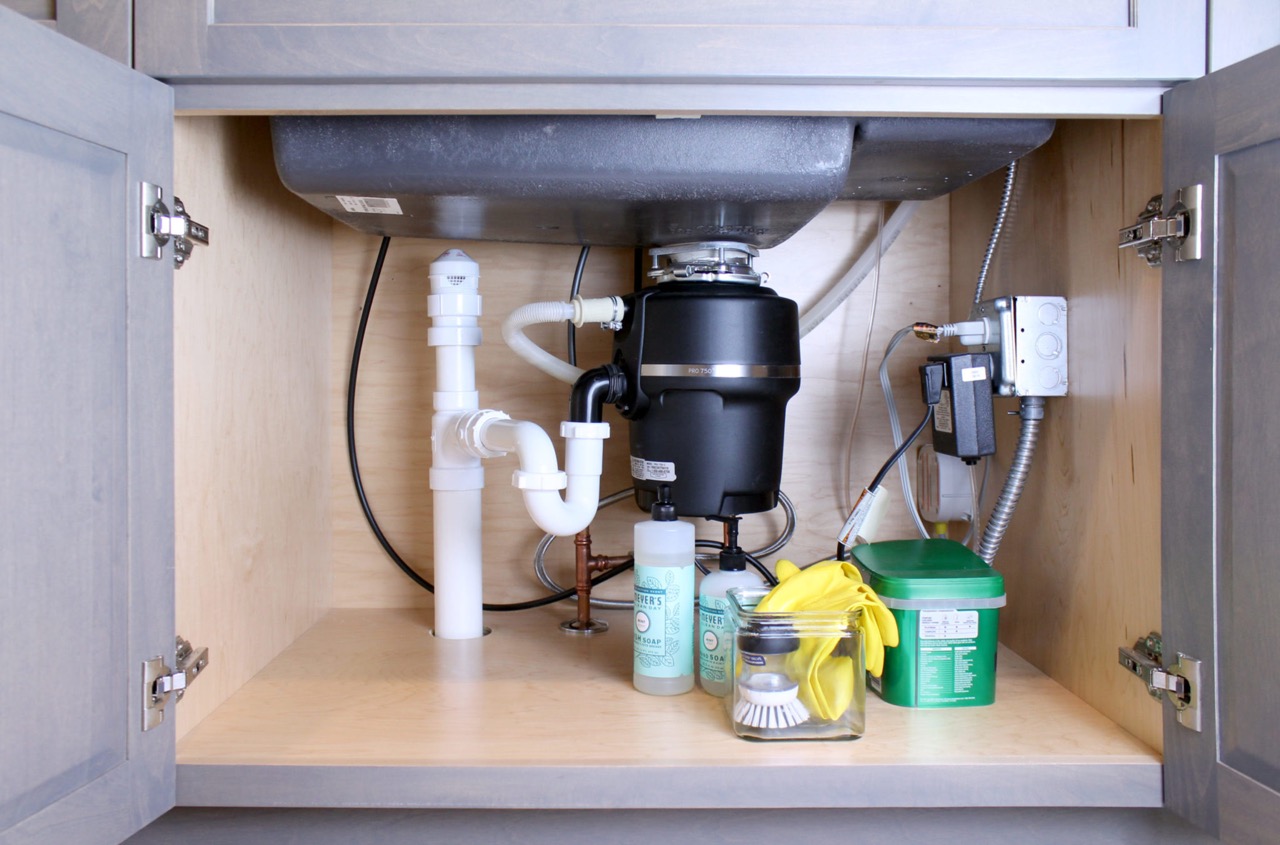
Step 5: Installing Plastic Plumbing Fixtures
Installing plastic plumbing fixtures is the next step in completing your plumbing system. Whether it’s a sink, toilet, shower, or other plumbing fixtures, here’s how to install them:
1. Gather the necessary fixtures: Ensure you have all the required fixtures, including the appropriate plastic pipes, fittings, and hardware for each installation.
2. Follow manufacturer instructions: Read and follow the manufacturer’s instructions for each specific plumbing fixture. Each fixture may have slight variations in the installation process.
3. Prepare the area: Clear the area where the fixture will be installed. Ensure that the plumbing rough-in is complete and that the necessary water supply lines are in place.
4. Connect water supply lines: Connect the plastic pipes to the water supply lines using the appropriate fittings and jointing methods. Ensure that the connections are secure and leak-free.
5. Install drain lines: For fixtures such as sinks or showers, connect the plastic drain lines to the main plumbing system. Use fittings and jointing methods suitable for drain applications.
6. Secure the fixture: Properly secure the fixture to the wall or the floor using the provided hardware or brackets. Ensure that it is level and stable before proceeding.
7. Install faucets and fittings: Install the faucets, showerheads, or other fittings according to the manufacturer’s instructions. Use the appropriate fittings and jointing methods to ensure a secure connection.
8. Test the fixture: Turn on the water supply and test the fixture for leaks or drips. Check all connections, faucets, and drains to ensure they are functioning properly.
9. Make necessary adjustments: If you notice any leaks or issues, make the necessary adjustments to the connections or fittings. Tighten any loose connections or replace faulty parts as needed.
10. Seal around the fixture: Use plumber’s putty or silicone caulk to seal around the edges of the fixture to prevent water leakage and ensure a neat appearance.
By following these steps, you can successfully install plastic plumbing fixtures in your system. Remember to follow the manufacturer’s instructions and use the appropriate fittings and jointing methods for each fixture. Now it’s time for the final step: testing and inspecting the plastic plumbing system.
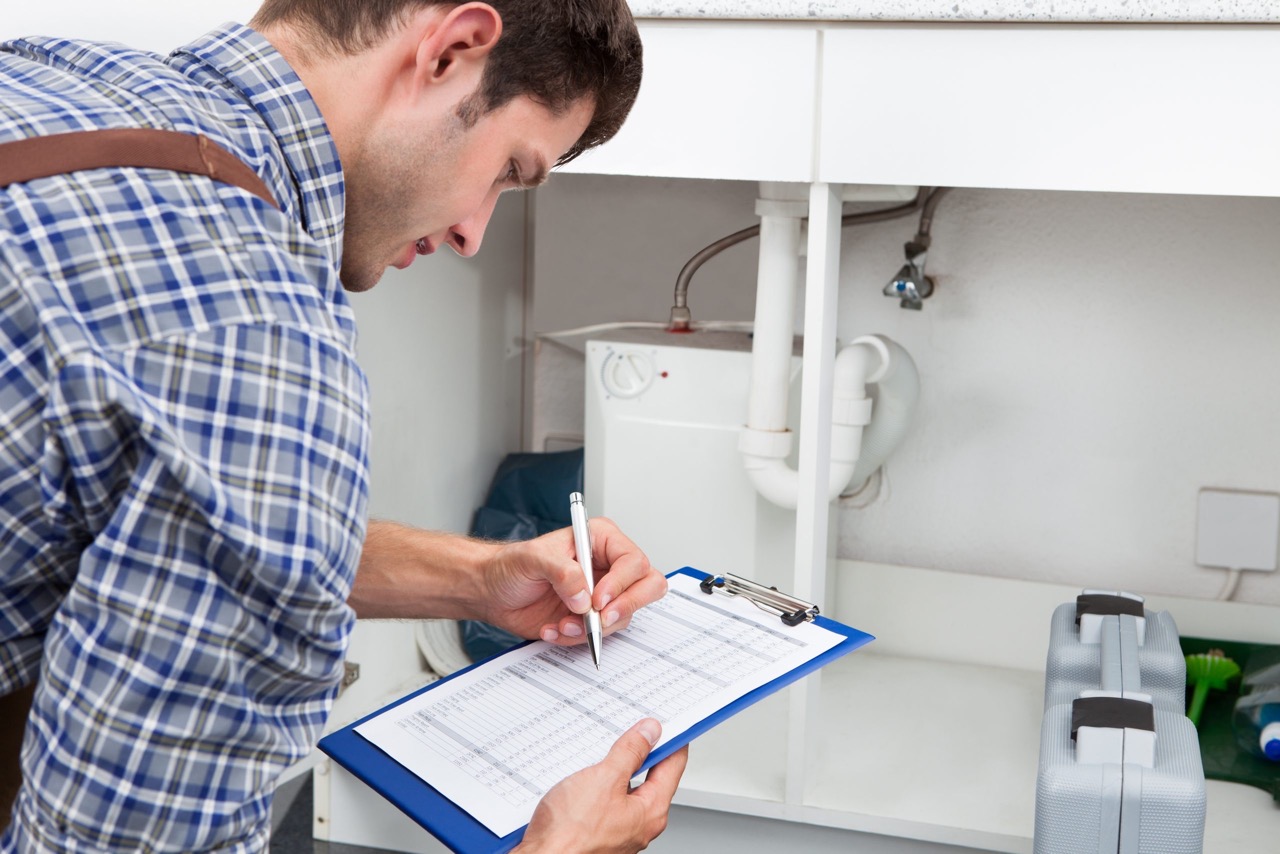
Step 6: Testing and Inspecting the Plastic Plumbing System
After completing the installation of your plastic plumbing system, it’s crucial to thoroughly test and inspect it to ensure it operates correctly and without any issues. Follow these steps to test and inspect your plastic plumbing system:
1. Close all access points: Ensure that all access points, such as valves and faucets, are closed before starting the testing process.
2. Fill the system: Open the main water supply valve to fill the plumbing system with water. Allow the water to flow freely for a few minutes to flush out any debris or air bubbles.
3. Check for leaks: Inspect all joints, connections, and fittings for any signs of leaks. Check for dripping or pooling water and listen for any unusual sounds. Address any leaks by tightening connections or replacing faulty parts.
4. Test individual fixtures: Test each individual plumbing fixture, such as faucets, showers, or toilets, to ensure they are functioning properly. Check for proper water flow and drainage.
5. Check water pressure: Use a pressure gauge to measure the water pressure in your plumbing system. Ensure it falls within the recommended range for your specific installation. High water pressure can strain pipes and fixtures, while low pressure can cause inadequate water flow.
6. Verify proper drainage: Ensure that drains are carrying away water efficiently and without any blockages. Check for slow drainage or gurgling sounds, which may indicate a clog.
7. Perform a flushing test: Flush toilets and run large volumes of water through drains to observe how the plumbing system handles the flow. Confirm that there are no issues with water backing up or drainage problems.
8. Inspect for proper ventilation: Check that the plumbing system has proper venting to prevent airlock issues and allow for efficient drainage. Ensure that vent pipes are clear and free from obstructions.
9. Ensure compliance with local regulations: Verify that your plastic plumbing system meets all local building codes and regulations. This is crucial for the safety and legal compliance of your plumbing installation.
10. Make necessary adjustments: If any issues are detected during testing or inspection, make the necessary adjustments or repairs. Address any leaks, drainage problems, or fixture malfunctions promptly.
By meticulously testing and inspecting your plastic plumbing system, you can identify and address any potential issues before they escalate into major problems. Regular maintenance and periodic inspections will help ensure the longevity and reliability of your plumbing system.
With the completion of this final step, you have successfully installed and tested your plastic plumbing system. Congratulations! You can now enjoy the benefits of a well-functioning and efficient plumbing system in your home or project.
Remember to consult local plumbing codes and regulations and seek professional advice if needed. Happy plumbing!
Conclusion
Plastic plumbing offers a durable, cost-effective, and easy-to-install solution for various plumbing projects. With the right materials, tools, and knowledge, you can successfully plan, execute, and maintain a reliable plastic plumbing system.
In this comprehensive guide, we covered the key steps involved in plastic plumbing, including understanding the basics of plastic pipes, selecting the appropriate materials, accurately cutting and measuring pipes, joining pipes and fittings, installing fixtures, and testing and inspecting the system. Following these steps will ensure a successful plumbing installation.
By choosing the right type of plastic pipes, considering the size and pressure rating requirements, and using proper jointing methods, you can create a robust plumbing system that will stand the test of time. It’s important to adhere to local building codes and regulations to ensure the safety and compliance of your installation.
Regular testing, inspection, and maintenance of your plastic plumbing system are crucial to identify and address any issues promptly. This will help prevent leaks, blockages, and other potential problems that may disrupt the functionality of the system.
Whether you’re a DIY enthusiast or a professional plumber, having a solid understanding of plastic plumbing techniques empowers you to confidently tackle plumbing projects of various sizes and complexities.
Remember, if you’re unsure or uncomfortable with any aspect of the installation process, it’s always advisable to consult with a professional plumber who can provide expert guidance and assistance.
Plastic plumbing can offer an efficient and reliable solution for your water supply and drainage needs. By following the steps outlined in this guide and using best practices, you can enjoy the benefits of a well-designed and properly installed plastic plumbing system for years to come.
Frequently Asked Questions about What Is Plastic Plumbing
Was this page helpful?
At Storables.com, we guarantee accurate and reliable information. Our content, validated by Expert Board Contributors, is crafted following stringent Editorial Policies. We're committed to providing you with well-researched, expert-backed insights for all your informational needs.
0 thoughts on “What Is Plastic Plumbing”