Home>Gardening & Outdoor>Outdoor Structures>How To Run Plumbing To A Shed
Outdoor Structures
How To Run Plumbing To A Shed
Modified: October 20, 2024
Learn how to run plumbing to your shed and create a functional outdoor space with our expert guide. Discover the best practices for installing plumbing in outdoor structures.
(Many of the links in this article redirect to a specific reviewed product. Your purchase of these products through affiliate links helps to generate commission for Storables.com, at no extra cost. Learn more)
Introduction
Running plumbing to a shed can greatly enhance its functionality and convenience, transforming it into a versatile space for various activities. Whether you plan to create a workshop, an art studio, or a cozy retreat, having access to water opens up a world of possibilities. From installing a sink for washing up after tinkering in the shed to setting up a small bathroom for added comfort, a well-executed plumbing system can make your shed a more functional and enjoyable space.
In this comprehensive guide, we will explore the process of running plumbing to a shed, providing valuable insights and practical tips to help you tackle this project with confidence. From planning and gathering the necessary materials to digging trenches, installing pipes, and connecting the plumbing to the main source, we will cover each step in detail. Additionally, we will discuss the importance of testing the system to ensure its efficiency and reliability.
Whether you are a seasoned DIY enthusiast or embarking on your first plumbing project, this guide will equip you with the knowledge and understanding needed to successfully run plumbing to your shed. With careful planning and the right approach, you can create a well-functioning plumbing system that aligns with your specific needs and enhances the usability of your shed.
Let's dive into the intricacies of running plumbing to a shed, empowering you to transform this space into a more functional and versatile environment.
Key Takeaways:
- Transform your shed into a versatile space by running plumbing, allowing for activities like art studios or cozy retreats. Plan meticulously, gather materials, dig trenches, install pipes, connect to the main source, and test the system for reliability.
- Running plumbing to your shed opens up a world of possibilities, from installing sinks for cleanup to adding bathrooms for comfort. With careful planning, precise installation, and thorough testing, your shed becomes a functional and enjoyable environment.
Read more: How To Run Plumbing In A House
Planning the Plumbing System
Before diving into the physical aspects of installing plumbing in your shed, it’s crucial to start with a well-thought-out plan. Begin by envisioning how you intend to use the shed and what plumbing fixtures will be necessary to support those activities. Consider whether a simple utility sink will suffice or if a more comprehensive setup, including a toilet and shower, is required.
Assess the layout of your shed and determine the most practical location for the plumbing fixtures. This may involve considering the proximity to the main water source, the ease of access for installation, and the functionality of the chosen placement. Additionally, factor in the potential need for drainage and ventilation systems, especially if you plan to include a toilet or shower.
Once you have a clear idea of the plumbing fixtures and their placement, it’s time to create a detailed blueprint of the system. This blueprint should outline the route of the pipes, the location of shut-off valves, and any additional components, such as a water heater or filtration system, if necessary. Taking the time to plan the plumbing system meticulously will streamline the installation process and minimize potential challenges along the way.
Consider consulting with a professional plumber or someone experienced in plumbing installations, especially if you’re new to this type of project. Their expertise can provide valuable insights and ensure that your plan aligns with industry standards and local building codes. By incorporating their advice into your planning process, you can enhance the functionality and efficiency of your shed’s plumbing system.
Remember that a well-executed plan sets the foundation for a successful plumbing installation. By carefully considering your needs, the layout of the shed, and seeking expert guidance when necessary, you can create a plumbing system that meets your requirements and enhances the usability of your shed.
Gathering the Necessary Materials
With a clear plan in place, the next step in the process of running plumbing to a shed involves gathering the essential materials and tools required for the installation. Ensuring that you have all the necessary items beforehand can streamline the project and prevent unnecessary delays.
Here’s a list of materials and tools you may need to gather:
- Pipes: Depending on your specific requirements, you may need PVC, copper, or PEX pipes for the water supply lines. For drainage, consider the appropriate pipes and fittings.
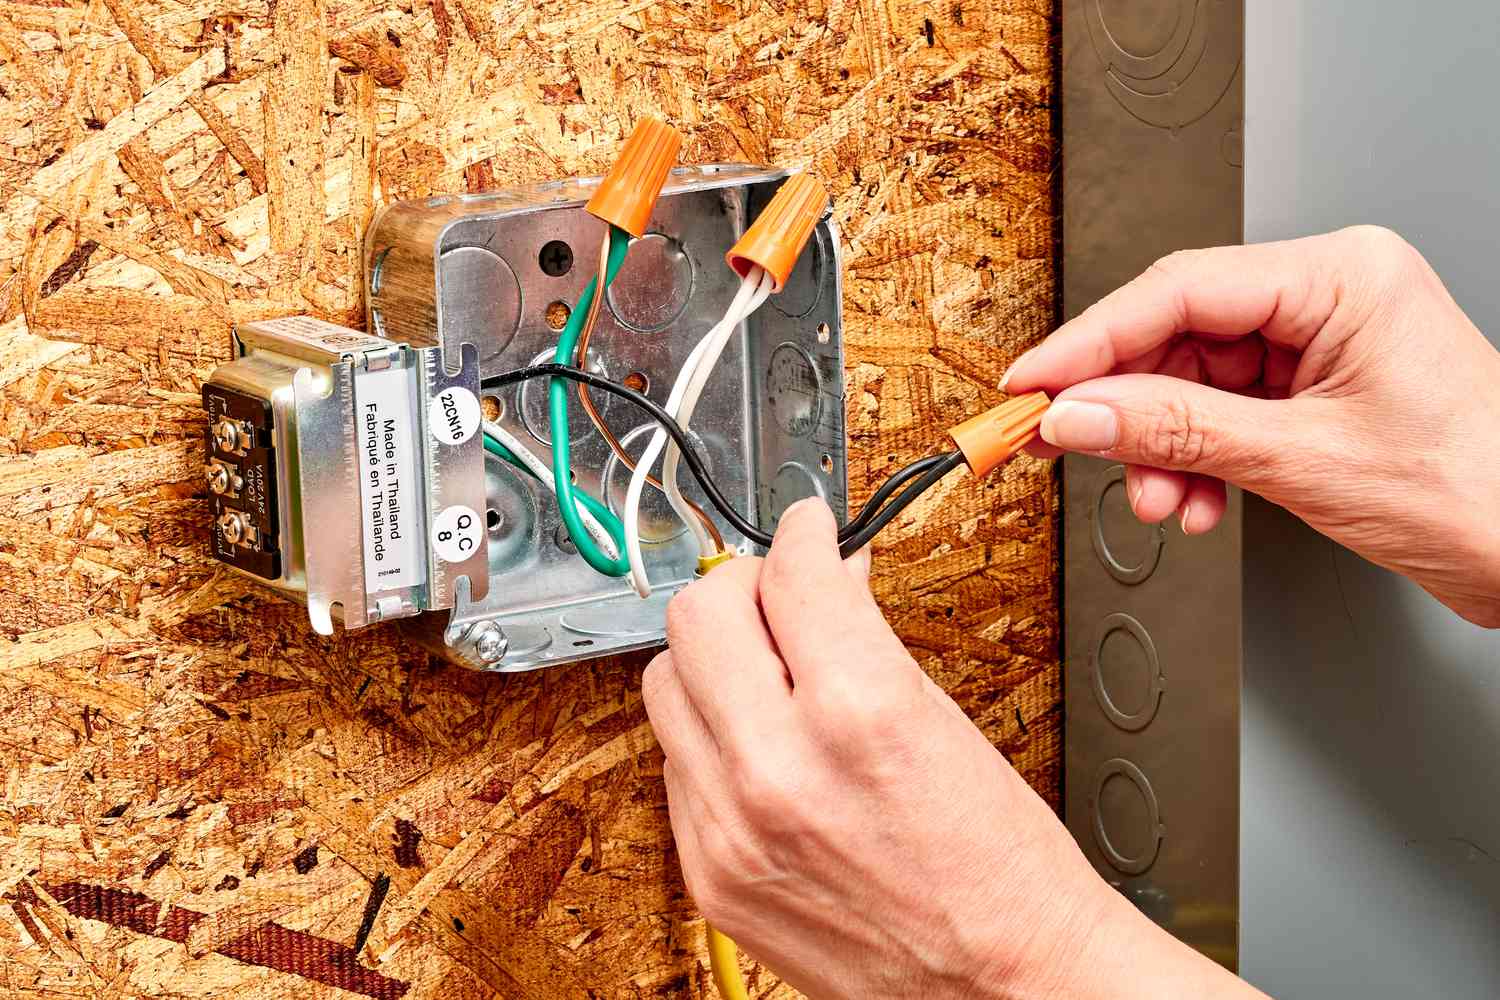
- Fittings and Connectors: These include elbows, tees, couplings, and other fittings required to connect the pipes and create a functional plumbing system.
- Shut-Off Valves: Install shut-off valves at strategic points to control the flow of water and isolate specific sections of the plumbing system if needed.
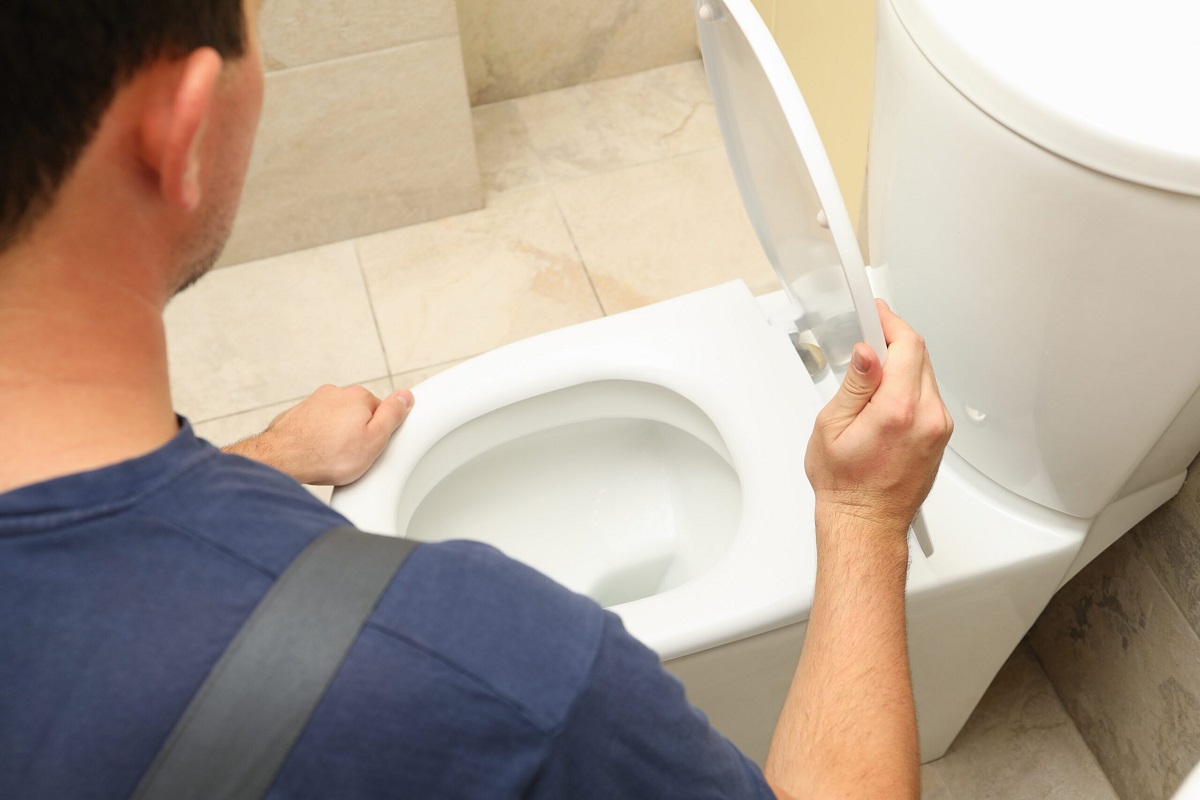
- Fixtures: If you plan to include a sink, toilet, or shower, ensure that you have the necessary fixtures ready for installation.
- Sealants and Adhesives: Depending on the type of pipes and fittings used, you may need sealants, adhesives, or thread tape to ensure watertight connections.
- Tools: Common tools required for the installation include a pipe cutter, wrenches, a level, a hacksaw, a measuring tape, and a drill for creating access points.
- Safety Gear: Prioritize safety by having protective gear such as gloves, safety goggles, and a dust mask, especially when working with pipes and fittings.
It’s important to ensure that the materials and tools you gather align with your specific plumbing plan and the local building codes. Quality materials and proper tools contribute to the durability and reliability of the plumbing system, so invest in products that meet industry standards.
Consider creating a checklist to verify that you have all the necessary materials and tools before starting the installation. This proactive approach can help you avoid interruptions and make the process more efficient.
By gathering the required materials and tools in advance, you set the stage for a smooth and organized plumbing installation, bringing you closer to the goal of enhancing the functionality of your shed.
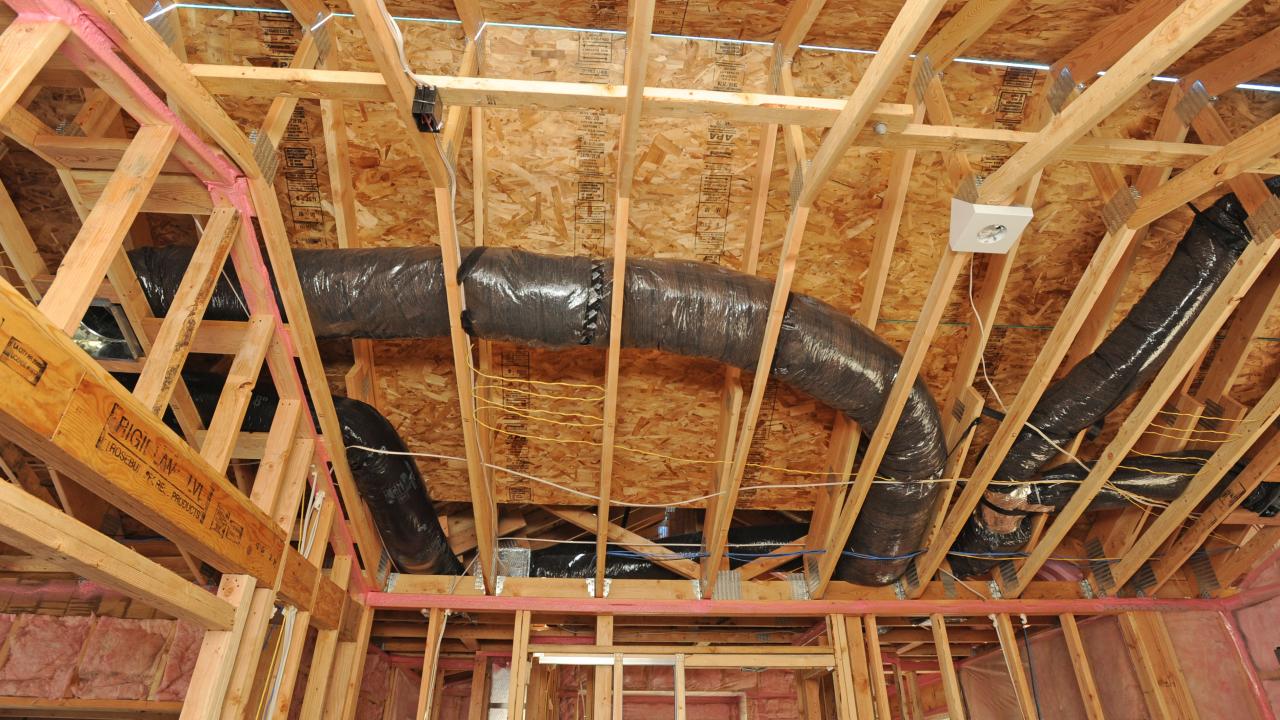
Digging Trenches for Pipes
Once you have the necessary materials and a solid plan in place, it’s time to prepare the groundwork for the plumbing installation by digging trenches for the pipes. This step is crucial, as it sets the foundation for the entire plumbing system and requires careful attention to detail.
Here are the key steps involved in digging trenches for the pipes:
- Marking the Trenches: Use spray paint or stakes and string to mark the path where the trenches will be dug. Ensure that the markings align with the blueprint of your plumbing system, indicating the locations for both the supply and drainage lines.
- Excavation: With the trench path clearly marked, begin excavating the soil to the appropriate depth and width for the pipes. The depth will depend on local building codes and the type of pipes being used, while the width should allow for proper placement and alignment.
- Considerations for Drainage: If your plumbing system includes drainage lines, ensure that the trenches have the necessary slope to facilitate proper drainage. This may require careful planning to maintain a consistent gradient throughout the trench path.
- Obstacles and Utilities: Take note of any potential obstacles or underground utilities in the trench path, such as tree roots, electrical lines, or gas pipes. Exercise caution and, if necessary, consult with utility companies to identify and avoid any conflicts.
- Backfilling: Once the pipes are installed and the system is tested, backfill the trenches carefully, ensuring that the soil is compacted in layers to prevent settling and potential damage to the pipes.
It’s important to approach the trenching process with precision and patience, as the accuracy of the trenches directly impacts the functionality and longevity of the plumbing system. Additionally, be mindful of safety considerations while excavating, especially if using heavy equipment or working in challenging soil conditions.
By diligently following these steps and maintaining a focus on precision and safety, you can lay the groundwork for a reliable and efficient plumbing system in your shed. The next phase of installing the pipes will build upon this foundational work, bringing you closer to the realization of a fully functional and versatile shed space.
When running plumbing to a shed, make sure to use PEX piping for flexibility and durability. Plan the layout carefully to minimize the number of joints and connections, and consider insulating the pipes to prevent freezing in cold weather.
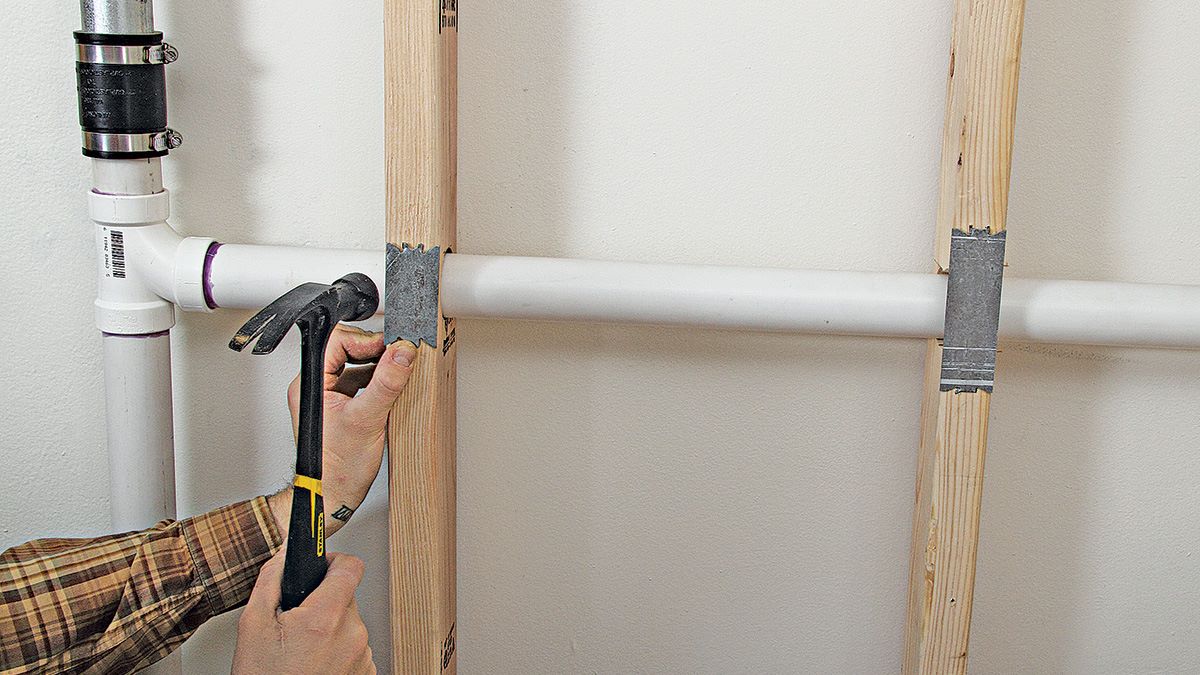
Installing the Pipes
With the trenches in place, the next critical phase of running plumbing to a shed involves the meticulous installation of the pipes. This step demands precision and attention to detail to ensure the integrity and functionality of the plumbing system.
Here’s a systematic approach to installing the pipes for your shed’s plumbing system:
- Preparation: Before laying the pipes, thoroughly clean and inspect them to ensure they are free from debris and damage. Additionally, dry-fit the pipes and fittings to confirm their alignment and make any necessary adjustments.
- Assembly: Begin assembling the pipes and fittings according to the blueprint of your plumbing system. For PVC pipes, use appropriate solvent cement and ensure that the connections are secure and leak-free. If using copper or PEX pipes, follow the recommended methods for joining and securing the connections.
- Placement: Carefully place the assembled pipes into the trenches, following the designated path outlined in your plumbing plan. Take care to maintain the proper alignment and slope for drainage lines, ensuring that they facilitate efficient wastewater removal.
- Securement and Support: Use appropriate hangers, straps, or supports to secure the pipes in place, preventing sagging or shifting over time. Proper support is essential for maintaining the integrity of the plumbing system and preventing potential damage.
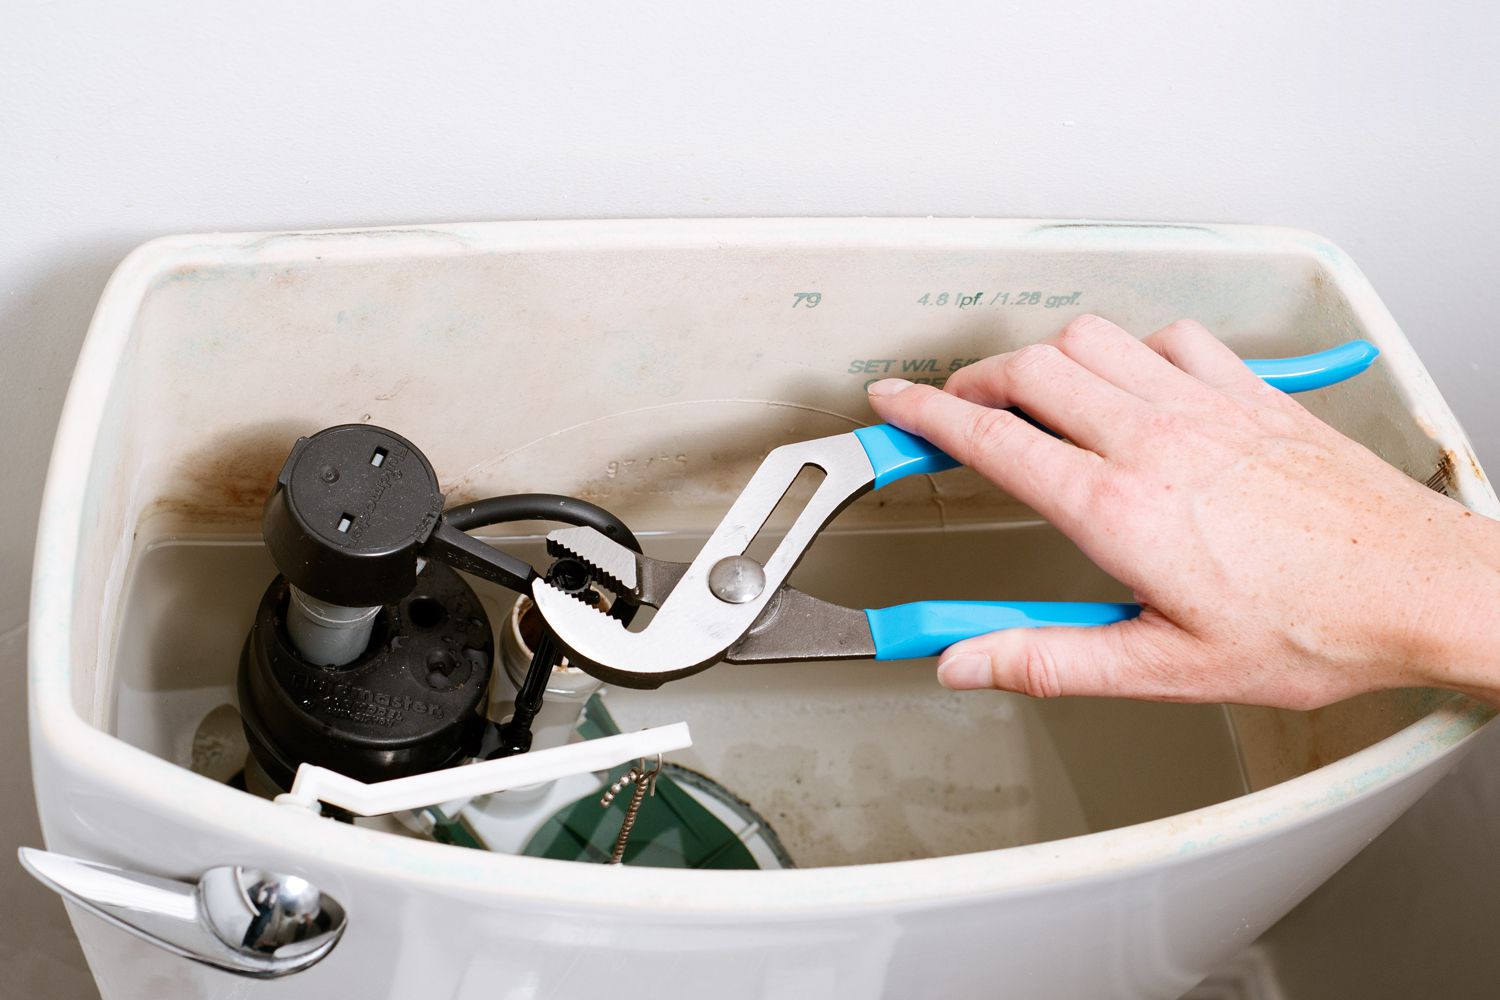
- Testing Joints: After installing the pipes, conduct a thorough inspection of all joints and connections to ensure they are properly sealed and leak-free. Address any issues immediately to prevent complications during the subsequent phases of the installation.
Throughout the installation process, prioritize accuracy and adherence to the plumbing plan, making adjustments as necessary to maintain the system’s integrity. Additionally, ensure that the pipes are adequately protected from potential damage, especially in areas where they may be exposed to external elements or foot traffic.
By approaching the installation of the pipes with care and precision, you lay the groundwork for a reliable and efficient plumbing system in your shed. The next steps, including connecting the plumbing to the main source and testing the system, will further refine the functionality and usability of your shed space.
Read more: How To Build A Run-In Shed For Horses
Connecting the Plumbing to the Main Source
As the installation of the pipes in your shed nears completion, the pivotal stage of connecting the plumbing to the main water source comes into focus. This crucial step requires meticulous attention to detail and adherence to plumbing standards to ensure a seamless integration with the existing water supply.
Here’s a comprehensive approach to connecting the plumbing to the main source:
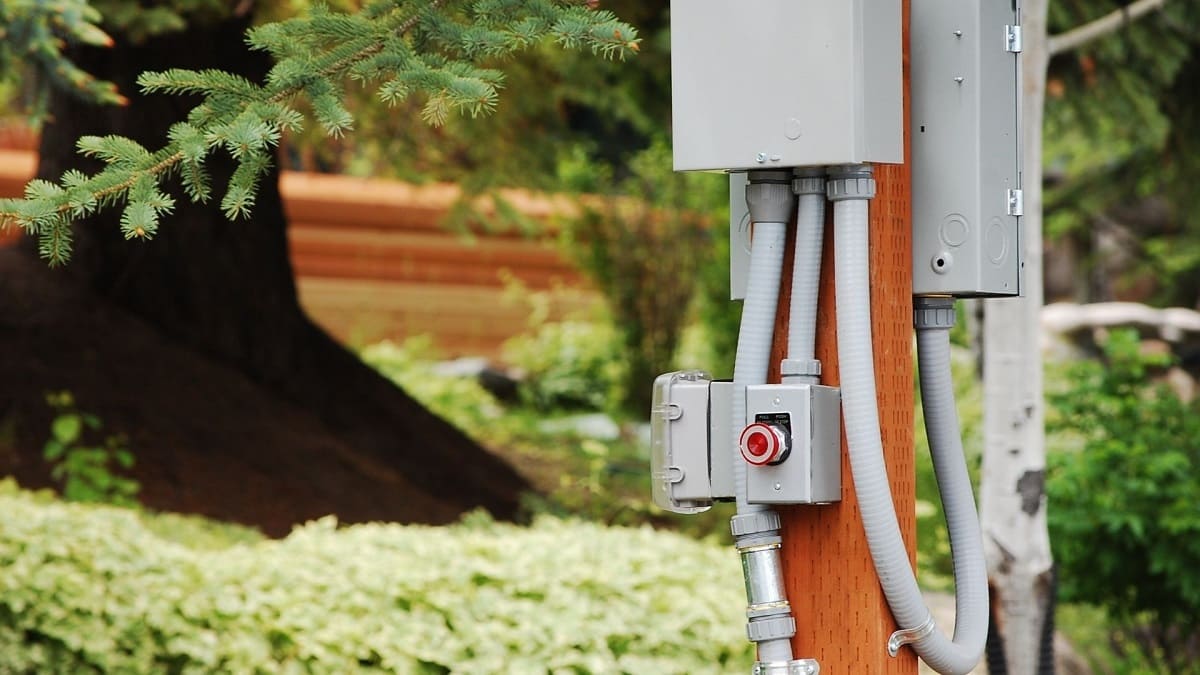
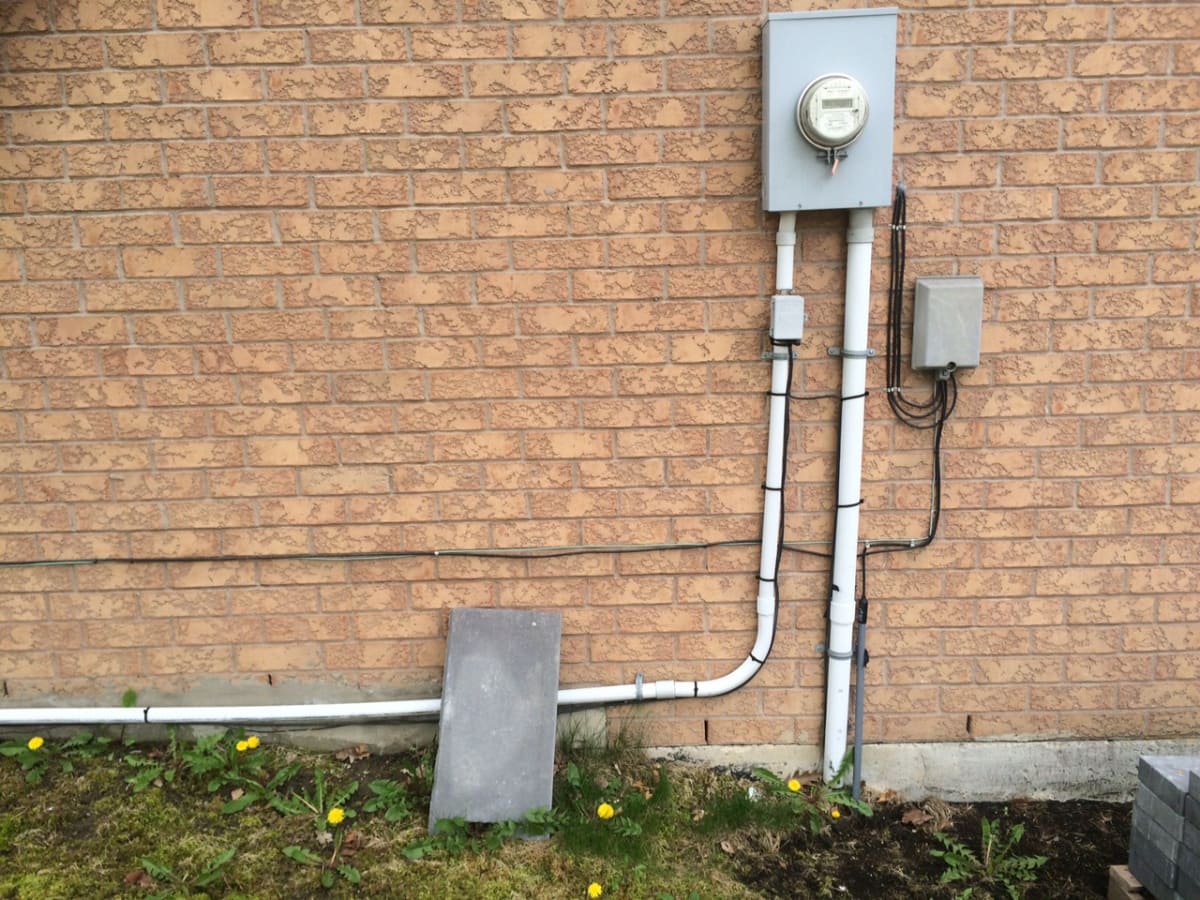
- Locating the Main Water Supply: Identify the main water line that supplies your property, typically located near the water meter or at the point where the municipal supply enters your premises. Exercise caution and, if necessary, seek professional assistance to locate and access the main supply line.
- Shut-Off and Preparation: Shut off the main water supply to your property before making any connections. Prepare the existing water line by cleaning and, if required, cutting it to create a suitable access point for connecting the new plumbing from the shed.
- Connection Method: Depending on the type of pipes in your shed’s plumbing system, employ the appropriate method for connecting to the main water supply. This may involve using compression fittings, soldering for copper pipes, or crimping for PEX pipes, ensuring secure and leak-free connections.
- Pressure Testing: After connecting the plumbing to the main source, conduct a pressure test to verify the integrity of the newly integrated section. This test involves pressurizing the system and monitoring for any drops in pressure, which could indicate leaks or faulty connections.
- Regulatory Compliance: Ensure that the connection to the main water supply aligns with local building codes and regulations. Compliance with these standards is essential for the safety and functionality of the plumbing system.
Throughout this process, prioritize safety and precision, especially when working with the main water supply. If you are uncertain about any aspect of this connection, consider enlisting the expertise of a licensed plumber to oversee or assist with this critical phase.
By methodically connecting the plumbing to the main source, you bring the vision of a fully functional and versatile shed space closer to reality. The subsequent step of testing the system will provide the assurance of a reliable and efficient plumbing setup, enhancing the usability of your shed for various activities.
Testing the System
With the plumbing installation and connection to the main water source completed, the final and crucial phase involves testing the system to ensure its functionality, integrity, and reliability. Thorough testing is essential to identify and address any potential issues before putting the plumbing system in your shed to regular use.
Here’s a systematic approach to testing the plumbing system:
- Pressure Test: Begin by conducting a pressure test to assess the integrity of the entire plumbing system, including the newly installed components. This test involves pressurizing the system and monitoring for any drops in pressure, which could indicate leaks or faulty connections.
- Functional Checks: Test each plumbing fixture, such as sinks, toilets, and showers, to ensure they operate as intended. Check for proper drainage, water flow, and any signs of leaks or malfunctions. Address any issues promptly to ensure the optimal performance of the fixtures.
- Hot Water System (if applicable): If your shed’s plumbing includes hot water supply, verify the functionality of the water heater and the delivery of hot water to the designated fixtures. Ensure that the temperature settings align with your preferences and local regulations.
- Drainage Evaluation: Assess the drainage system by running water through the fixtures and observing the flow and removal of wastewater. Look for any signs of slow drainage or backups, which may indicate issues with the drainage lines or venting.
- Compliance and Safety: Verify that the entire plumbing system complies with local building codes and safety standards. This includes the proper installation of shut-off valves, adherence to material requirements, and the overall safety and functionality of the system.
Throughout the testing phase, maintain a keen eye for any irregularities or potential areas of concern. Addressing any issues at this stage is crucial for ensuring the long-term reliability and efficiency of the plumbing system in your shed.
Consider documenting the testing process and the results obtained, creating a reference for future maintenance and troubleshooting. This proactive approach can help you address any issues that may arise after the initial installation and testing phase.
By thoroughly testing the plumbing system, you can gain confidence in its functionality and reliability, paving the way for the enhanced usability and convenience of your shed space. With a well-executed and thoroughly tested plumbing system, your shed becomes a versatile environment ready to support a variety of activities and needs.
Conclusion
Embarking on the journey of running plumbing to a shed opens up a world of possibilities, transforming this space into a versatile and functional environment. From installing a sink for convenient cleanup to incorporating a bathroom for added comfort, a well-executed plumbing system enhances the usability and appeal of your shed.
Throughout this comprehensive guide, we’ve delved into the intricacies of planning, gathering materials, trenching, installing pipes, connecting to the main water source, and testing the plumbing system. Each phase of this process plays a vital role in creating a reliable and efficient plumbing setup that aligns with your specific needs and enhances the functionality of your shed.
By meticulously planning the plumbing system, considering the layout of your shed, and envisioning the desired fixtures, you set the stage for a successful installation. Gathering the necessary materials and tools in advance streamlines the process, ensuring that you have everything required to bring your plan to fruition.
Digging trenches for the pipes and installing them with precision and care establishes the foundational framework of the plumbing system. Connecting the plumbing to the main water source demands meticulous attention to detail and compliance with plumbing standards, ensuring a seamless integration with the existing supply.
Thoroughly testing the system is the final step in this journey, providing the assurance of a reliable and efficient plumbing setup. By conducting pressure tests, evaluating the functionality of fixtures, and ensuring compliance with safety standards, you can confidently embrace the enhanced usability and convenience of your shed space.
As you reflect on this comprehensive guide, envision the myriad possibilities that a well-planned and expertly installed plumbing system brings to your shed. Whether it’s a workshop, an art studio, or a cozy retreat, the addition of plumbing elevates the potential of your shed, making it a more inviting and versatile space for your pursuits and passions.
With the knowledge and insights gained from this guide, you are well-equipped to embark on the journey of running plumbing to your shed, transforming it into a functional and enjoyable environment that aligns with your unique needs and aspirations.
Frequently Asked Questions about How To Run Plumbing To A Shed
Was this page helpful?
At Storables.com, we guarantee accurate and reliable information. Our content, validated by Expert Board Contributors, is crafted following stringent Editorial Policies. We're committed to providing you with well-researched, expert-backed insights for all your informational needs.


0 thoughts on “How To Run Plumbing To A Shed”