Articles
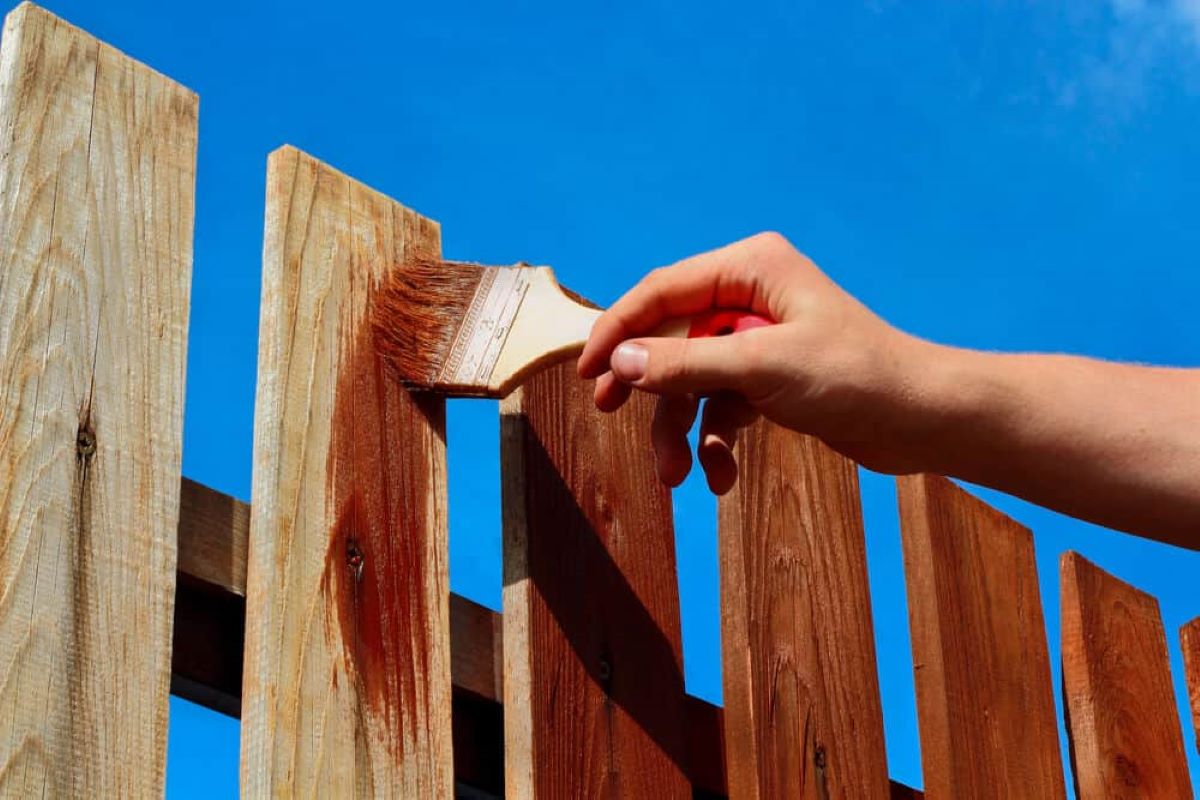
How Much Stain Do I Need For Fence
Modified: February 23, 2024
Want to know how much stain you need for your fence? Check out our articles for expert advice and tips on calculating the right amount of stain for your project.
(Many of the links in this article redirect to a specific reviewed product. Your purchase of these products through affiliate links helps to generate commission for Storables.com, at no extra cost. Learn more)
Introduction
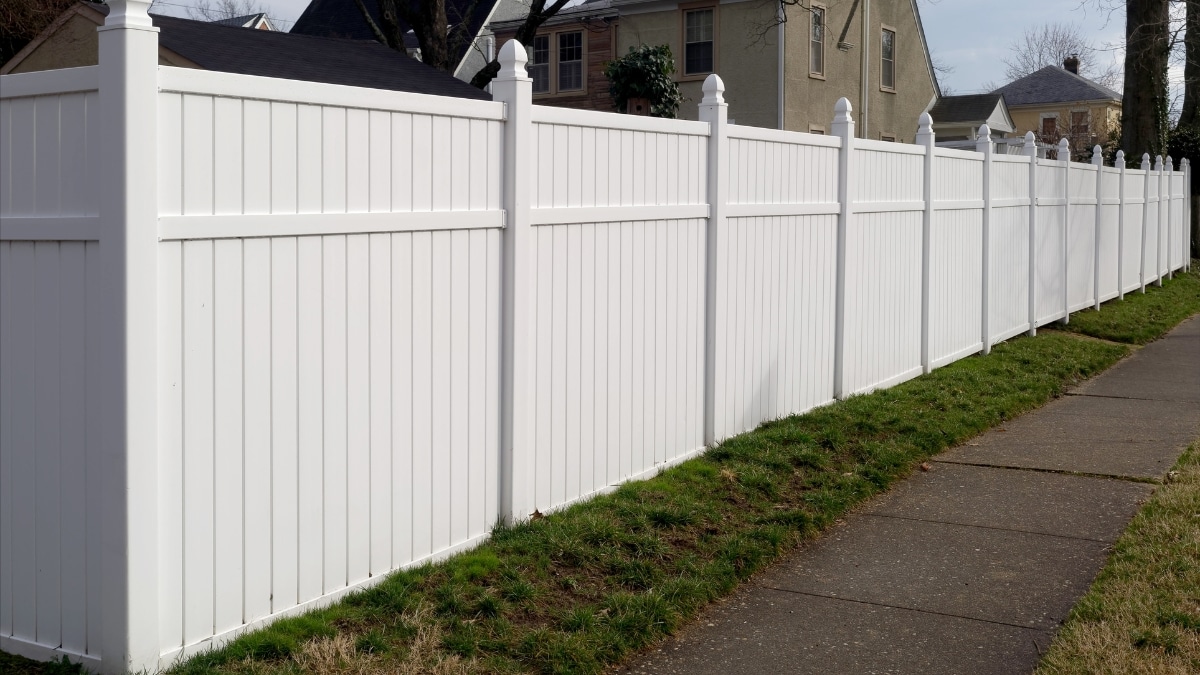
Fencing is a popular and practical way to enhance the privacy and aesthetics of your property. Whether you’re building a new fence or refreshing an existing one, adding a fresh coat of stain can make a significant difference in its appearance and durability. However, one common question arises when it comes to staining a fence: How much stain do I need?
Calculating the right amount of stain is crucial to ensure you have enough for complete coverage without wasting excess product. In this article, we will explore the factors you need to consider and the steps to determine how much stain you will need for your fence.
Before diving into the calculations, it’s important to note that different stain brands and types may have different coverage rates. It’s always advisable to check the manufacturer’s guidelines for the specific stain you intend to use. In general, we will provide you with a comprehensive approach to estimate the amount of stain required for your fence.
Key Takeaways:
- Calculate the total surface area of your fence by measuring the length and height, then divide it by the stain coverage per gallon to estimate the amount of stain needed. Always round up and have extra for touch-ups or multiple coats.
- Consider factors like fence size, material, surface condition, stain type, and number of coats to accurately estimate the amount of stain needed. Understanding stain coverage per gallon is crucial for a successful fence staining project.
Read more: How Many Fence Pickets Do I Need
Factors to Consider
Several factors come into play when determining how much stain you will need for your fence. It’s essential to take these factors into account to ensure an accurate estimation:
- Fence Size: The size of your fence plays a significant role in determining the amount of stain required. Larger fences will naturally require more stain compared to smaller ones. Take note of the length and height of your fence for accurate calculations.
- Fence Material: The material of your fence can also impact the amount of stain needed. Different materials, such as wood or vinyl, may have different absorption rates, which can affect the coverage area and therefore the amount of stain required.
- Surface Condition: The condition of your fence’s surface will also impact stain absorption. If your fence is older or weathered, it may require more stain to achieve the desired coverage compared to a newer fence.
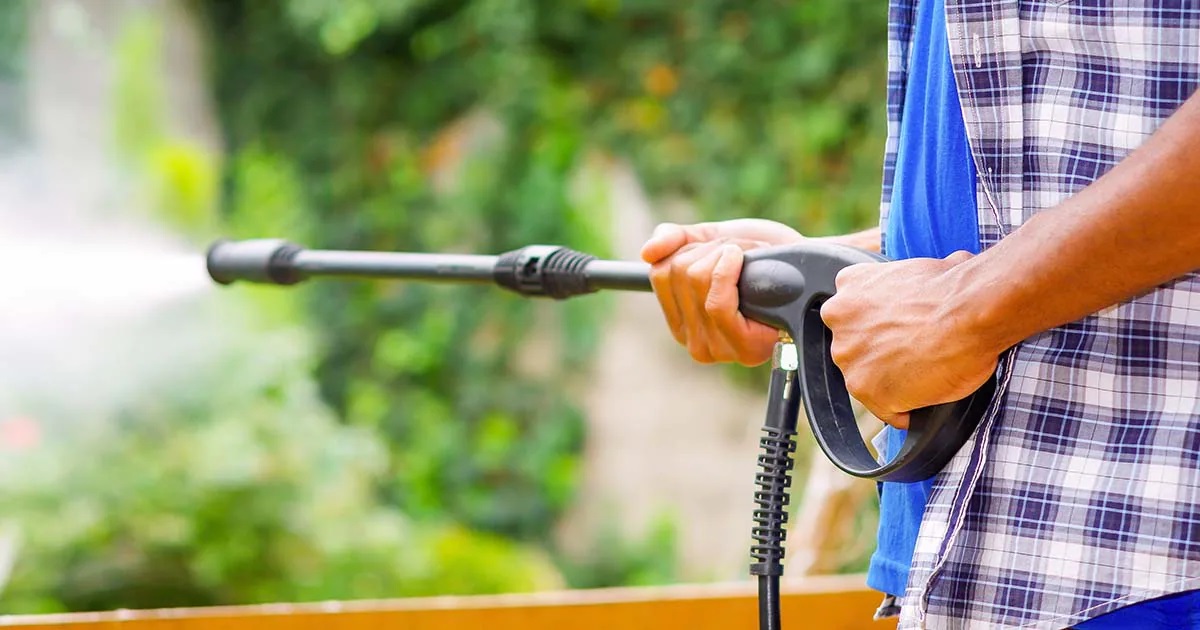
- Stain Type and Application Method: The type of stain you choose and the application method can affect coverage rates. Depending on the stain’s consistency and how you plan to apply it (brush, roller, or sprayer), you may need more or less stain to achieve the desired results.
- Number of Coats: Determine whether you plan to apply one or multiple coats of stain. Applying multiple coats will require more stain compared to a single coat application.
By considering these factors carefully, you can more accurately estimate the amount of stain needed and avoid both underestimating and wasting excess product.
Determining the Fence Size
Before you can calculate the amount of stain needed for your fence, you must determine its size. This involves measuring both the length and height of the fence.
To determine the length, measure the distance along the perimeter of the fence. Start at one corner and measure all the way around, including any gates or openings. Make sure to measure in linear feet.
Next, measure the height of the fence. This is the distance from the top of the fence to the ground. Measure at multiple points along the fence line to account for any variations in height.
You now have the two key measurements needed to calculate the surface area of your fence. Multiply the length and height together to get the total surface area in square feet.
For example, if your fence is 50 linear feet long and 6 feet high, the total surface area would be 300 square feet (50 feet x 6 feet = 300 square feet).
Having an accurate measurement of the fence size will provide a basis for estimating the amount of stain required for full coverage.
Calculating the Surface Area
Once you have determined the size of your fence, the next step is to calculate the surface area. The surface area is the total amount of space on the fence that needs to be covered with stain.
To calculate the surface area, you need to consider the different sides of the fence that will require staining. A typical fence consists of the following parts:
- Front side: This is the side that faces outward and is typically the most visible. Measure the length and height of this side and multiply them to get the surface area.
- Back side: This is the side that faces inward towards your property. Measure the length and height just like the front side and multiply them.
- Top railings: If your fence has top railings, measure their length and multiply by the height to determine the surface area.
- Individual pickets/boards: If your fence has individual pickets or boards, measure the width and height of each one and multiply them to get the surface area of each picket or board. Then, sum up the surface areas of all the individual pickets/boards.
Add up the surface areas of these different parts to get the total surface area of your fence. This will give you an accurate estimate of how much stain you will need.
It is important to note that if you plan to stain only one side of the fence (e.g., only the front side), you will only need to calculate the surface area for that specific side. However, if you are staining all sides of the fence, make sure to include all relevant measurements in your calculations.
Measure the length and height of your fence to calculate the square footage. One gallon of stain typically covers 150-200 square feet, so divide the total square footage by the coverage to determine how much stain you need.
Stain Coverage per Gallon
Before you can estimate the amount of stain needed for your fence, it’s important to understand the concept of stain coverage per gallon. Stain coverage refers to the area that can be covered by one gallon of stain.
The coverage rate of stain can vary depending on the brand, type, and quality of the product. Typically, stain coverage is provided in square feet per gallon. For example, a stain may have a coverage rate of 250 square feet per gallon.
It’s crucial to check the manufacturer’s guidelines or product label to determine the specific coverage rate for the stain you will be using. This information can usually be found on the back of the container or on the manufacturer’s website.
Keep in mind that the coverage rate mentioned by the manufacturer is an approximate estimate and can vary based on factors such as the application method, surface texture, and porosity of the material being stained. Adjustments might be necessary based on your specific circumstances.
To ensure a more accurate estimate, it’s always advisable to have a slightly higher amount of stain than the calculated surface area. This will account for any wastage, touch-ups, or a second coat, if required.
By understanding the coverage rate per gallon, you can now move on to estimating the amount of stain needed for your fence.
Read more: How Much Greenery Do I Need For Garland
Estimating the Amount of Stain Needed
To estimate the amount of stain needed for your fence, you will need to combine the information you’ve gathered thus far. Start by calculating the total surface area of your fence, as discussed earlier.
Once you have the total surface area, divide it by the stain coverage per gallon. This will give you an estimate of how many gallons of stain you will need.
For instance, if your fence has a total surface area of 500 square feet and the stain you’re using has a coverage rate of 250 square feet per gallon, you would divide 500 by 250. The result is 2 gallons of stain needed.
Remember, this number represents the minimum amount of stain required for a single coat. If you plan to apply multiple coats or need extra for touch-ups, it’s advisable to have some extra stain on hand.
If your calculations yield a fraction of a gallon, it’s best to round up to the nearest whole number. It’s better to have a little more stain than to run out and risk having inconsistent coverage on your fence.
Additionally, if you’re planning to use different stains or colors on different parts of your fence, perform the calculations for each section separately and add them together to get the total amount of stain needed.
Keep in mind that it’s always better to have a bit of stain left over rather than run out unexpectedly. Having extra stain can be useful for future touch-ups or other projects.
By following these steps, you can estimate the amount of stain needed for your fence and ensure you have sufficient product to complete the project successfully.
Conclusion
Staining your fence can give it a fresh new look while providing protection against the elements. However, determining how much stain you need for your fence can be a challenging task. By considering the factors mentioned earlier, such as fence size, material, surface condition, stain type, and number of coats, you can get a more accurate estimation.
Calculating the surface area of your fence is crucial in determining the amount of stain required. Take into account all the different sides of the fence, including the front, back, top railings, and individual pickets or boards, if applicable.
Understanding the stain coverage per gallon is also important as different stains can vary in their coverage rates. Check the manufacturer’s guidelines to determine the specific coverage rate for the stain you will be using.
By dividing the total surface area of your fence by the stain coverage per gallon, you can estimate the number of gallons of stain needed. It’s recommended to round up to the nearest whole number and have some extra stain on hand to account for any touch-ups or a second coat.
Remember to always follow the manufacturer’s instructions for proper application and drying time between coats. Additionally, consider factors like weather conditions and the condition of the wood before staining your fence.
Estimating the right amount of stain ensures you have enough product to complete the project while avoiding excessive waste or the inconvenience of running out during the process.
With these considerations in mind, you can confidently plan and execute your fence staining project, enhancing its beauty and longevity for years to come.
Frequently Asked Questions about How Much Stain Do I Need For Fence
Was this page helpful?
At Storables.com, we guarantee accurate and reliable information. Our content, validated by Expert Board Contributors, is crafted following stringent Editorial Policies. We're committed to providing you with well-researched, expert-backed insights for all your informational needs.


0 thoughts on “How Much Stain Do I Need For Fence”