Home>Renovation & DIY>Home Renovation Guides>How Much Grout Do I Need For Backsplash
Home Renovation Guides
How Much Grout Do I Need For Backsplash
Published: February 8, 2024
Find out how much grout you need for your backsplash with our comprehensive home renovation guide. Get expert tips and advice for your next project.
(Many of the links in this article redirect to a specific reviewed product. Your purchase of these products through affiliate links helps to generate commission for Storables.com, at no extra cost. Learn more)
Introduction
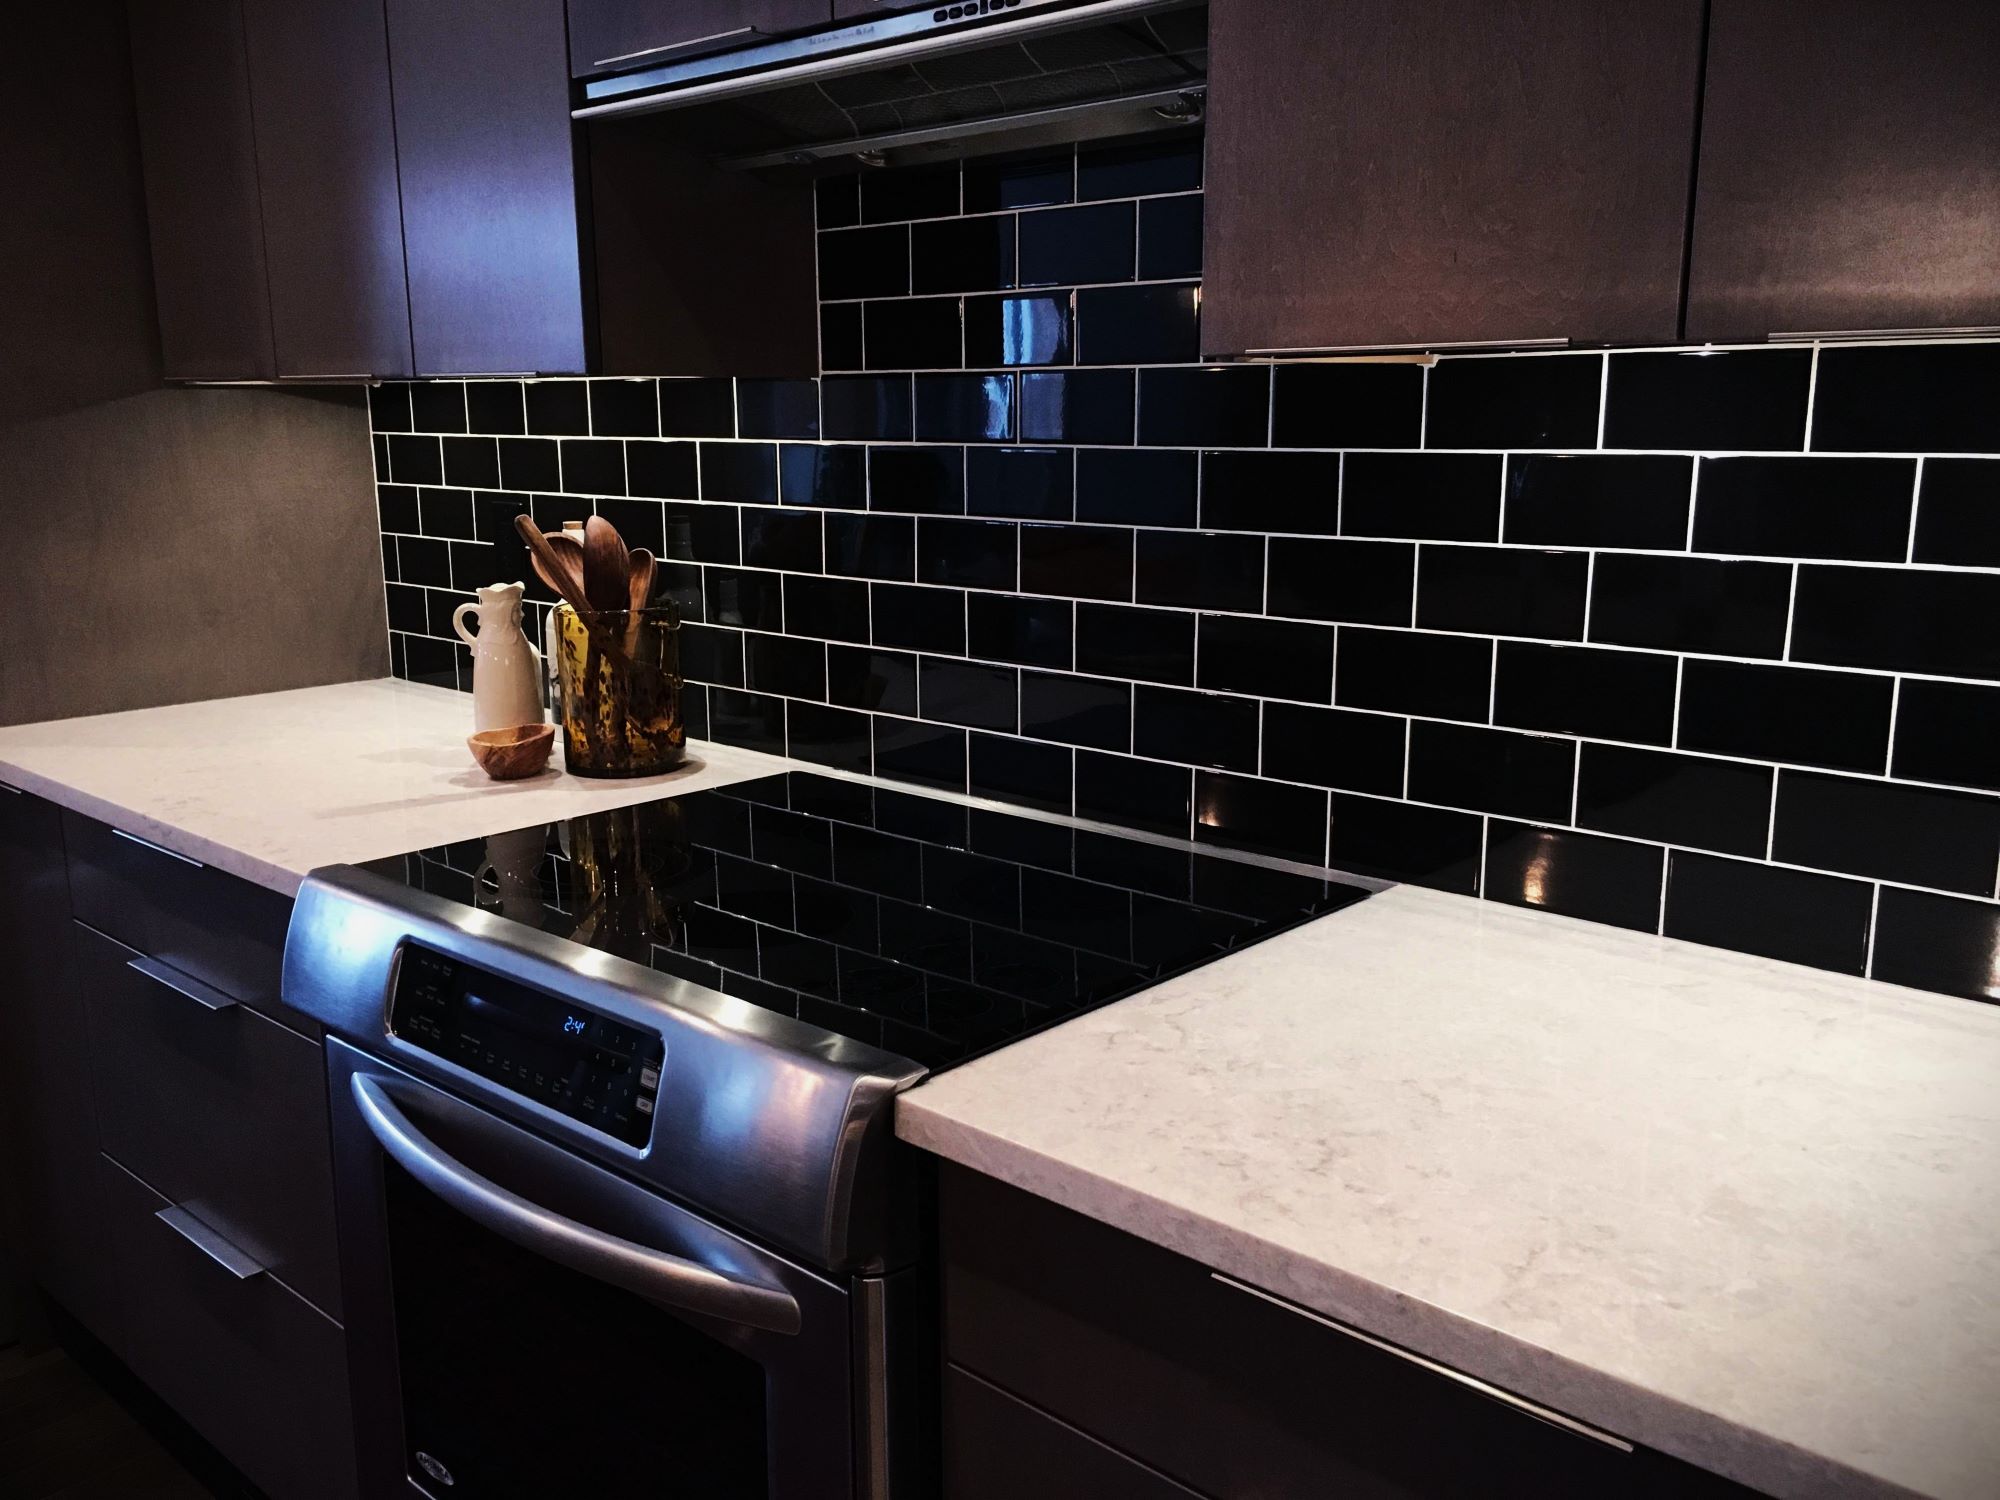
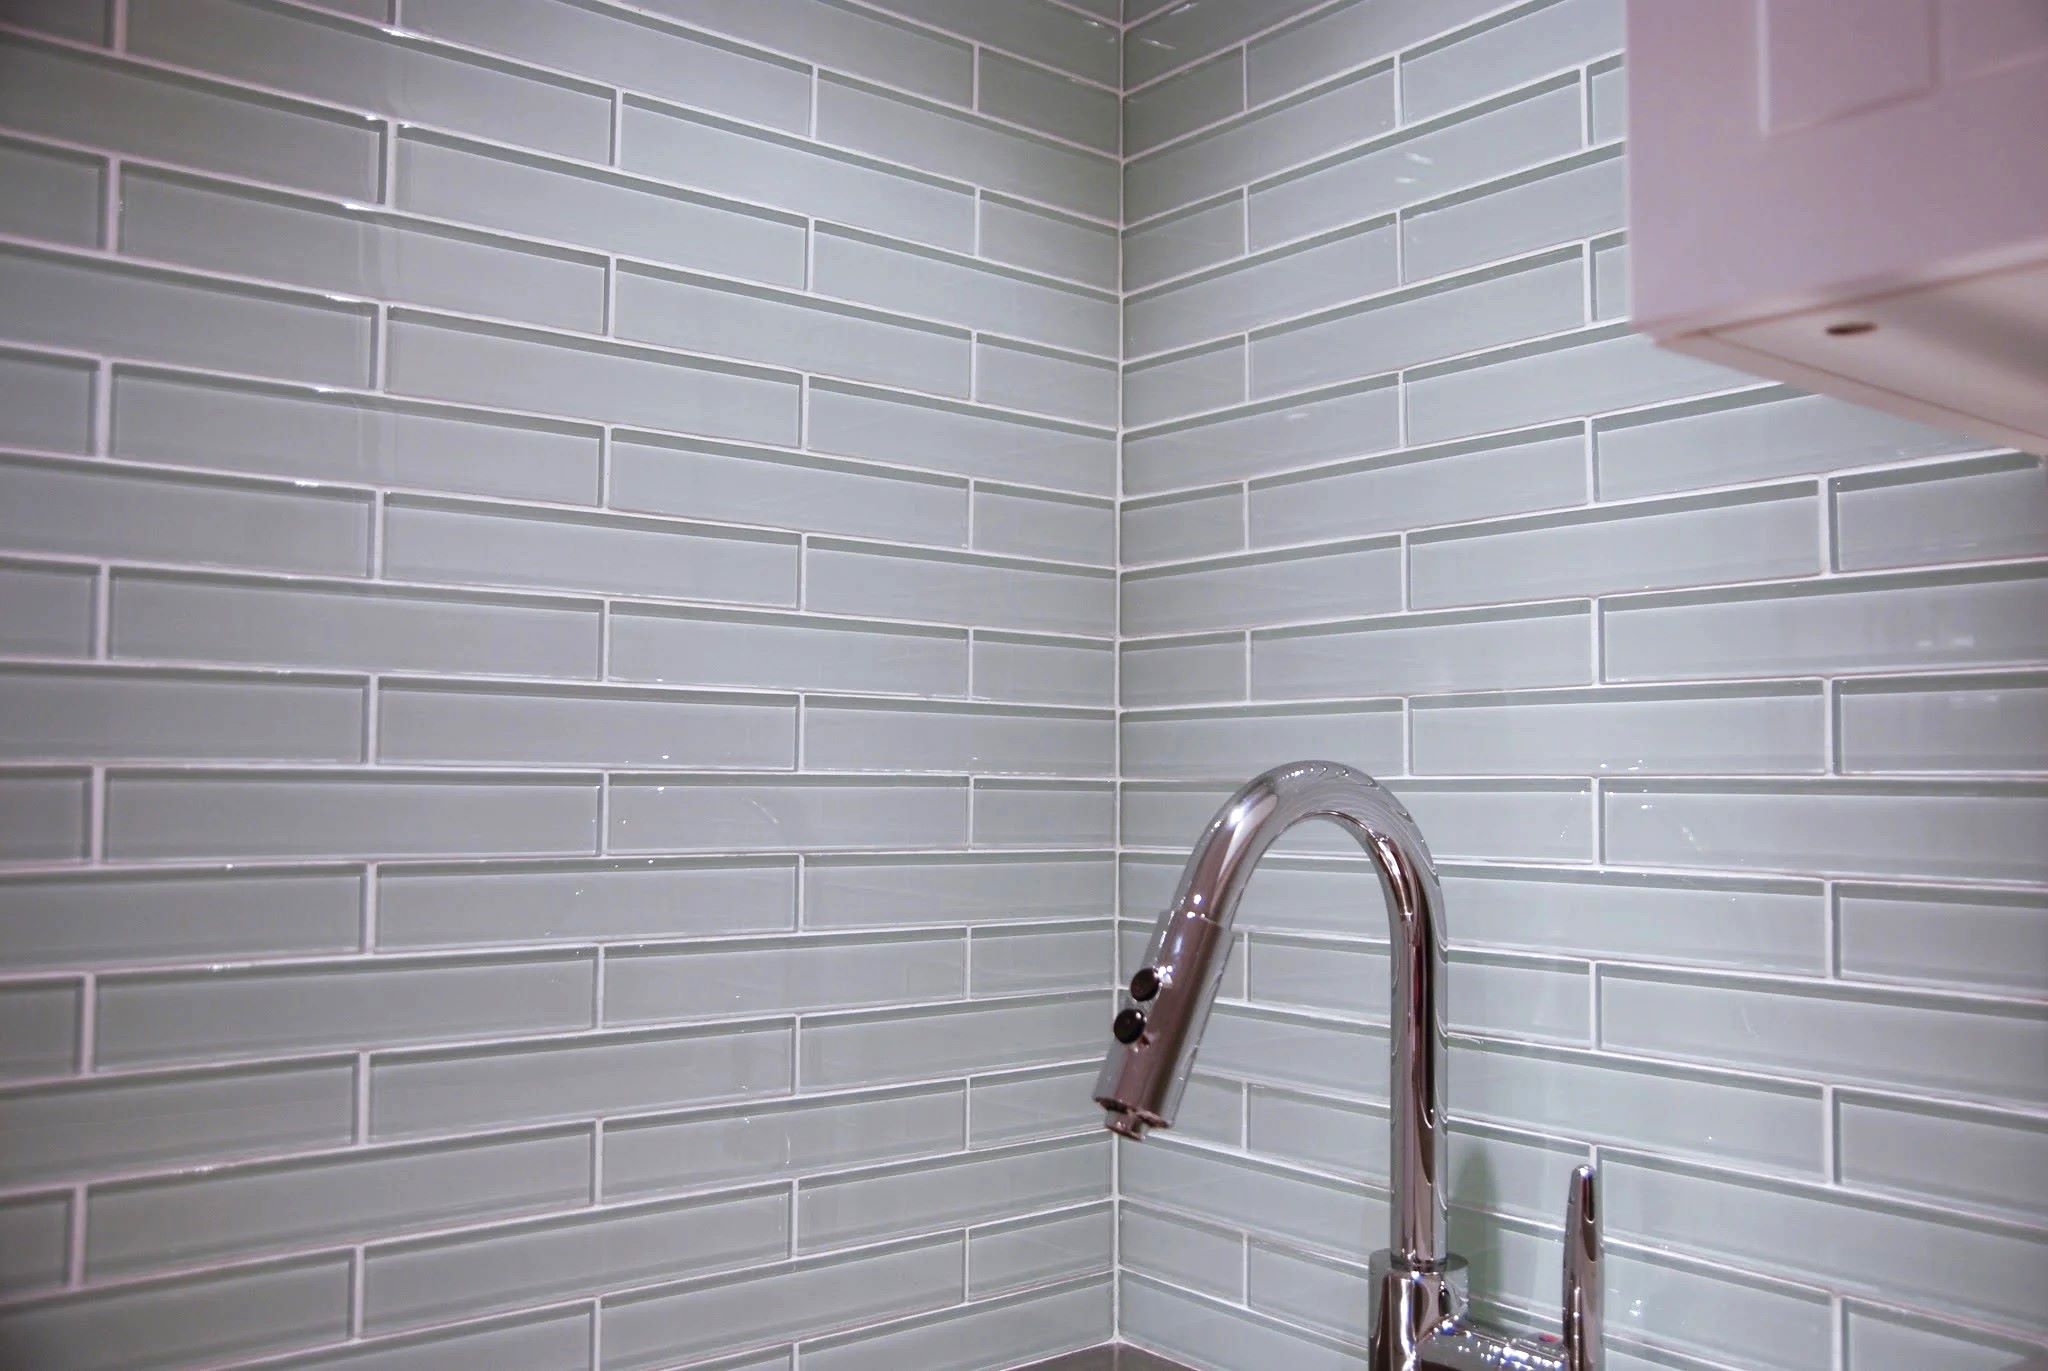
Grout is a crucial element in any tiling project, serving both functional and aesthetic purposes. It not only fills the gaps between tiles but also enhances the overall look of the installation. When it comes to a backsplash, grout plays a significant role in tying together the design of the space. Whether you're a seasoned DIY enthusiast or a first-time renovator, understanding how much grout you need for your backsplash project is essential for a successful and satisfying outcome.
In this comprehensive guide, we will delve into the intricacies of grout coverage, explore the methods for calculating the amount of grout required for your backsplash, and provide valuable tips for purchasing and using grout effectively. By the end of this article, you will have a clear understanding of the grouting process, empowering you to tackle your backsplash project with confidence and precision.
Let's embark on this journey to unravel the mysteries of grout and equip ourselves with the knowledge and expertise needed to achieve a stunning and durable backsplash installation.
Key Takeaways:
- Calculating grout for a backsplash involves measuring the area, considering tile size and joint width, and factoring in grout waste. This ensures a smooth tiling process without running out of grout.
- Choosing the right grout type, prioritizing color selection, and following application tips are crucial for a stunning backsplash. Quality tools and sealing the grout enhance durability and aesthetic appeal.
Read more: How To Do Grout For Backsplash
Understanding Grout Coverage
Grout coverage refers to the area that a specific quantity of grout can effectively cover when applied to a surface. Understanding grout coverage is essential for ensuring that you purchase the right amount of grout for your backsplash project. The coverage of grout can vary depending on factors such as the type of grout, tile size, and joint width.
Factors Affecting Grout Coverage
-
Type of Grout: Different types of grout, such as sanded and unsanded grout, have varying coverage capacities. Sanded grout is typically used for wider tile joints, offering greater stability and durability. On the other hand, unsanded grout is suitable for thinner joints and delicate tile materials.
-
Tile Size: The size of the tiles being used directly impacts grout coverage. Larger tiles generally require less grout, as there are fewer joints to fill. Conversely, smaller tiles necessitate more grout to cover the increased number of joints.
-
Joint Width: The width of the joints between tiles significantly influences grout coverage. Wider joints demand more grout to fill the spaces adequately, while narrower joints require less grout.
Estimating Grout Coverage
To estimate the grout coverage for your backsplash project, it's crucial to consider the total square footage of the tiled area and the dimensions of the tiles and joints. By multiplying the tile length by the tile width, you can determine the size of each tile. Then, by adding up the total area of all the tiles, you can calculate the overall square footage of the tiled surface.
Next, take into account the width of the grout joints. Multiply the joint width by the total number of joints to ascertain the total grout lineal footage. This calculation will provide a clear understanding of the amount of grout needed to fill the joints between the tiles.
By comprehending the factors that influence grout coverage and employing precise estimation techniques, you can ensure that you purchase the appropriate quantity of grout for your backsplash project. This understanding will enable you to proceed with confidence, knowing that you have accounted for all the necessary variables to achieve a successful and visually appealing backsplash installation.
Calculating Grout Needed for Backsplash
When it comes to calculating the amount of grout needed for your backsplash, precision is key. By following a systematic approach, you can accurately determine the quantity of grout required for your specific project, thereby avoiding the inconvenience of running out of grout mid-installation or being left with excessive unused product.
Read more: How To Clean Backsplash Grout
Step 1: Measure the Backsplash Area
Begin by measuring the height and width of the backsplash area in inches. Multiply these two measurements to obtain the total square inches of the tiled surface.
Step 2: Determine Tile Size and Joint Width
Identify the size of the tiles that will be used for the backsplash. Measure the length and width of a single tile in inches. Additionally, measure the width of the grout joints between the tiles.
Step 3: Calculate Total Square Footage
Convert the total square inches of the backsplash area to square feet by dividing the measurement by 144 (since 1 square foot equals 144 square inches).
Step 4: Estimate Grout Lineal Footage
Multiply the number of tiles by the length of the grout joint to determine the total grout lineal footage. This calculation provides an accurate representation of the length of grout needed to fill the joints between the tiles.
Read more: How To Remove Backsplash Grout
Step 5: Consider Grout Waste
It's advisable to account for potential grout waste due to spillage, over-application, or unexpected factors. A common practice is to add an extra 10-20% to the calculated grout quantity to accommodate for such waste.
Step 6: Finalize the Grout Quantity
By factoring in the estimated grout waste, you can determine the final quantity of grout needed for your backsplash project. This figure ensures that you have sufficient grout to complete the installation while minimizing the risk of shortages.
By meticulously following these steps, you can confidently ascertain the precise amount of grout required for your backsplash, allowing for a seamless and efficient tiling process. This calculated approach empowers you to embark on your backsplash project with the assurance that you have accounted for all the essential variables, ultimately contributing to a successful and visually stunning outcome.
Tips for Buying and Using Grout
When it comes to buying and using grout for your backsplash project, several tips can streamline the process and ensure a successful outcome. From selecting the right type of grout to implementing best practices during application, these tips encompass valuable insights that can elevate your tiling experience.
1. Choose the Appropriate Grout Type
Selecting the right type of grout is crucial for achieving a durable and visually appealing backsplash. Consider factors such as the tile material, joint width, and the specific requirements of your project. Sanded grout is suitable for wider joints and offers enhanced strength, making it ideal for high-traffic areas. On the other hand, unsanded grout is designed for thinner joints and is compatible with delicate tile materials such as marble and glass.
Read more: How To Grout Stone Backsplash
2. Prioritize Color Selection
The color of the grout significantly impacts the overall aesthetic of the backsplash. Take the time to explore various grout color options and consider how each shade complements the tiles. It's advisable to obtain grout samples and test them against the tiles in different lighting conditions to ensure the chosen color achieves the desired visual effect.
3. Invest in Quality Grout Tools
Equipping yourself with high-quality grout tools, including a rubber grout float and grout sponge, can make a notable difference in the application process. These tools facilitate smooth and efficient grout application, ensuring that the joints are adequately filled and the excess grout is effectively removed without damaging the tiles.
4. Follow Manufacturer's Guidelines
Prior to using the grout, carefully review the manufacturer's instructions and recommendations. Adhering to these guidelines regarding mixing ratios, application techniques, and curing times is essential for achieving optimal results and maximizing the performance of the grout.
5. Implement Effective Grout Application Techniques
When applying the grout, work in small sections to prevent the grout from drying out before it can be properly smoothed and cleaned. Use a 45-degree angle to spread the grout diagonally across the tiles, ensuring that the joints are completely filled. After allowing the grout to set for a specified time, gently clean the tiles with a damp sponge to remove excess grout and achieve a polished finish.
Read more: How Long To Wait To Grout Backsplash
6. Seal the Grout
Once the grout has fully cured, consider applying a high-quality grout sealer to enhance its longevity and resistance to stains and moisture. This additional protective layer can prolong the lifespan of the grout, contributing to the overall durability of the backsplash installation.
By incorporating these tips into your grout-buying and application process, you can navigate the intricacies of grouting with confidence and precision. From informed decision-making during the purchasing phase to meticulous application techniques, these tips serve as valuable guidelines for achieving a flawless and enduring backsplash that elevates the aesthetic appeal of your space.
Conclusion
In conclusion, the process of determining the amount of grout needed for a backsplash project is a critical aspect of achieving a successful and visually appealing installation. By understanding the factors that influence grout coverage, such as the type of grout, tile size, and joint width, individuals can make informed decisions when purchasing and using grout. The meticulous calculation of grout quantity based on the measured area, tile size, and estimated waste ensures that the tiling process proceeds seamlessly, minimizing the risk of shortages or excess product.
Furthermore, the tips provided for buying and using grout offer valuable insights that can significantly impact the overall outcome of the backsplash installation. From selecting the appropriate grout type to implementing effective application techniques and prioritizing color selection, these tips empower individuals to navigate the grouting process with confidence and precision. Additionally, investing in quality grout tools and adhering to manufacturer's guidelines contribute to a smooth and efficient grouting experience, ultimately enhancing the durability and aesthetic appeal of the backsplash.
By incorporating these comprehensive guidelines and insights, individuals embarking on a backsplash project can approach the grouting process with a heightened level of expertise and assurance. The seamless integration of these practices not only streamlines the tiling process but also contributes to the creation of a visually stunning and enduring backsplash that elevates the overall design of the space.
In essence, the journey of grouting a backsplash is a harmonious blend of precision, creativity, and practicality. By embracing the intricacies of grout coverage, calculation, and application, individuals can transform their vision of a captivating and functional backsplash into a tangible reality. With the knowledge and expertise gained from this guide, individuals are well-equipped to embark on their backsplash projects with confidence, knowing that they possess the essential tools to achieve a remarkable and enduring installation.
Frequently Asked Questions about How Much Grout Do I Need For Backsplash
Was this page helpful?
At Storables.com, we guarantee accurate and reliable information. Our content, validated by Expert Board Contributors, is crafted following stringent Editorial Policies. We're committed to providing you with well-researched, expert-backed insights for all your informational needs.


0 thoughts on “How Much Grout Do I Need For Backsplash”