Home>Furniture & Design>Bathroom Accessories>How To Attach Tank To Toilet Bowl
Bathroom Accessories
How To Attach Tank To Toilet Bowl
Modified: August 19, 2024
Learn how to properly attach a tank to a toilet bowl with our step-by-step guide. Find the best bathroom accessories and installation tips for a seamless upgrade.
(Many of the links in this article redirect to a specific reviewed product. Your purchase of these products through affiliate links helps to generate commission for Storables.com, at no extra cost. Learn more)
Introduction
Attaching a tank to a toilet bowl may seem like a daunting task, but with the right tools and a clear understanding of the process, it can be a straightforward and rewarding DIY project. Whether you're replacing an old tank or installing a new one, this guide will walk you through the steps to ensure a secure and leak-free attachment.
Properly attaching the tank to the toilet bowl is crucial for the overall functionality and efficiency of your toilet. A secure attachment ensures that water flows seamlessly from the tank to the bowl, allowing for effective flushing and water conservation. Additionally, a well-attached tank prevents leaks and potential water damage, promoting a clean and hygienic bathroom environment.
By following the steps outlined in this guide, you can gain the confidence to tackle this task with ease. From gathering the necessary tools and materials to testing for leaks, each step is designed to help you achieve a successful attachment. Whether you're a seasoned DIY enthusiast or a novice homeowner looking to expand your skills, this guide will provide you with the knowledge and guidance needed to complete the task effectively.
So, roll up your sleeves, gather your tools, and let's dive into the process of attaching a tank to a toilet bowl. With a bit of patience and attention to detail, you'll soon have a securely attached tank that ensures the optimal performance of your toilet for years to come.
Key Takeaways:
- Ensure a smooth tank-to-toilet attachment by gathering tools and materials, positioning the tank accurately, and conducting a thorough leak test. This promotes a secure and efficient toilet system.
- Attaching a tank to a toilet bowl requires attention to detail and precision, ensuring a watertight seal and efficient operation. With the right tools and steps, you can confidently complete the installation for a clean and hygienic bathroom.
Read more: How To Attach Propane Tank To Grill
Step 1: Gather Necessary Tools and Materials
Before embarking on the task of attaching a tank to a toilet bowl, it's essential to gather all the required tools and materials. Having the right items at hand will streamline the process and ensure a smooth and efficient installation. Here's a comprehensive list of the necessary tools and materials:
Tools:
- Adjustable Wrench: This versatile tool will be essential for securing nuts and bolts during the attachment process.
- Screwdriver Set: A set of screwdrivers, including both flathead and Phillips head varieties, will be needed for various fastening tasks.
- Plumber's Tape: Also known as Teflon tape, this thin, white tape is used to seal pipe threads, preventing leaks in the connections.
- Level: Ensuring that the tank is positioned evenly and securely is crucial, and a level will help achieve this precision.
- Bucket: Having a bucket on hand will be useful for catching any water that may spill during the process.
Materials:
- Tank-to-Bowl Gasket: This rubber gasket creates a watertight seal between the tank and the bowl, preventing leaks.
- Tank-to-Bowl Bolts and Nuts: These bolts and nuts are specifically designed to secure the tank to the bowl, providing stability and support.
- Rubber Washers: These washers are placed between the tank and bowl and help to create a tight seal, preventing water leakage.
- Tank-to-Bowl Sponge Gasket: This gasket provides cushioning and support between the tank and bowl, reducing the risk of damage due to pressure and movement.
- Tank-to-Bowl Gasket and Bolt Kit: A comprehensive kit that includes all the necessary gaskets, bolts, and nuts for attaching the tank to the bowl.
By ensuring that you have all the tools and materials listed above, you'll be well-prepared to proceed with the next steps of attaching the tank to the toilet bowl. With these items at your disposal, you can approach the task with confidence, knowing that you have everything needed to complete the installation effectively.
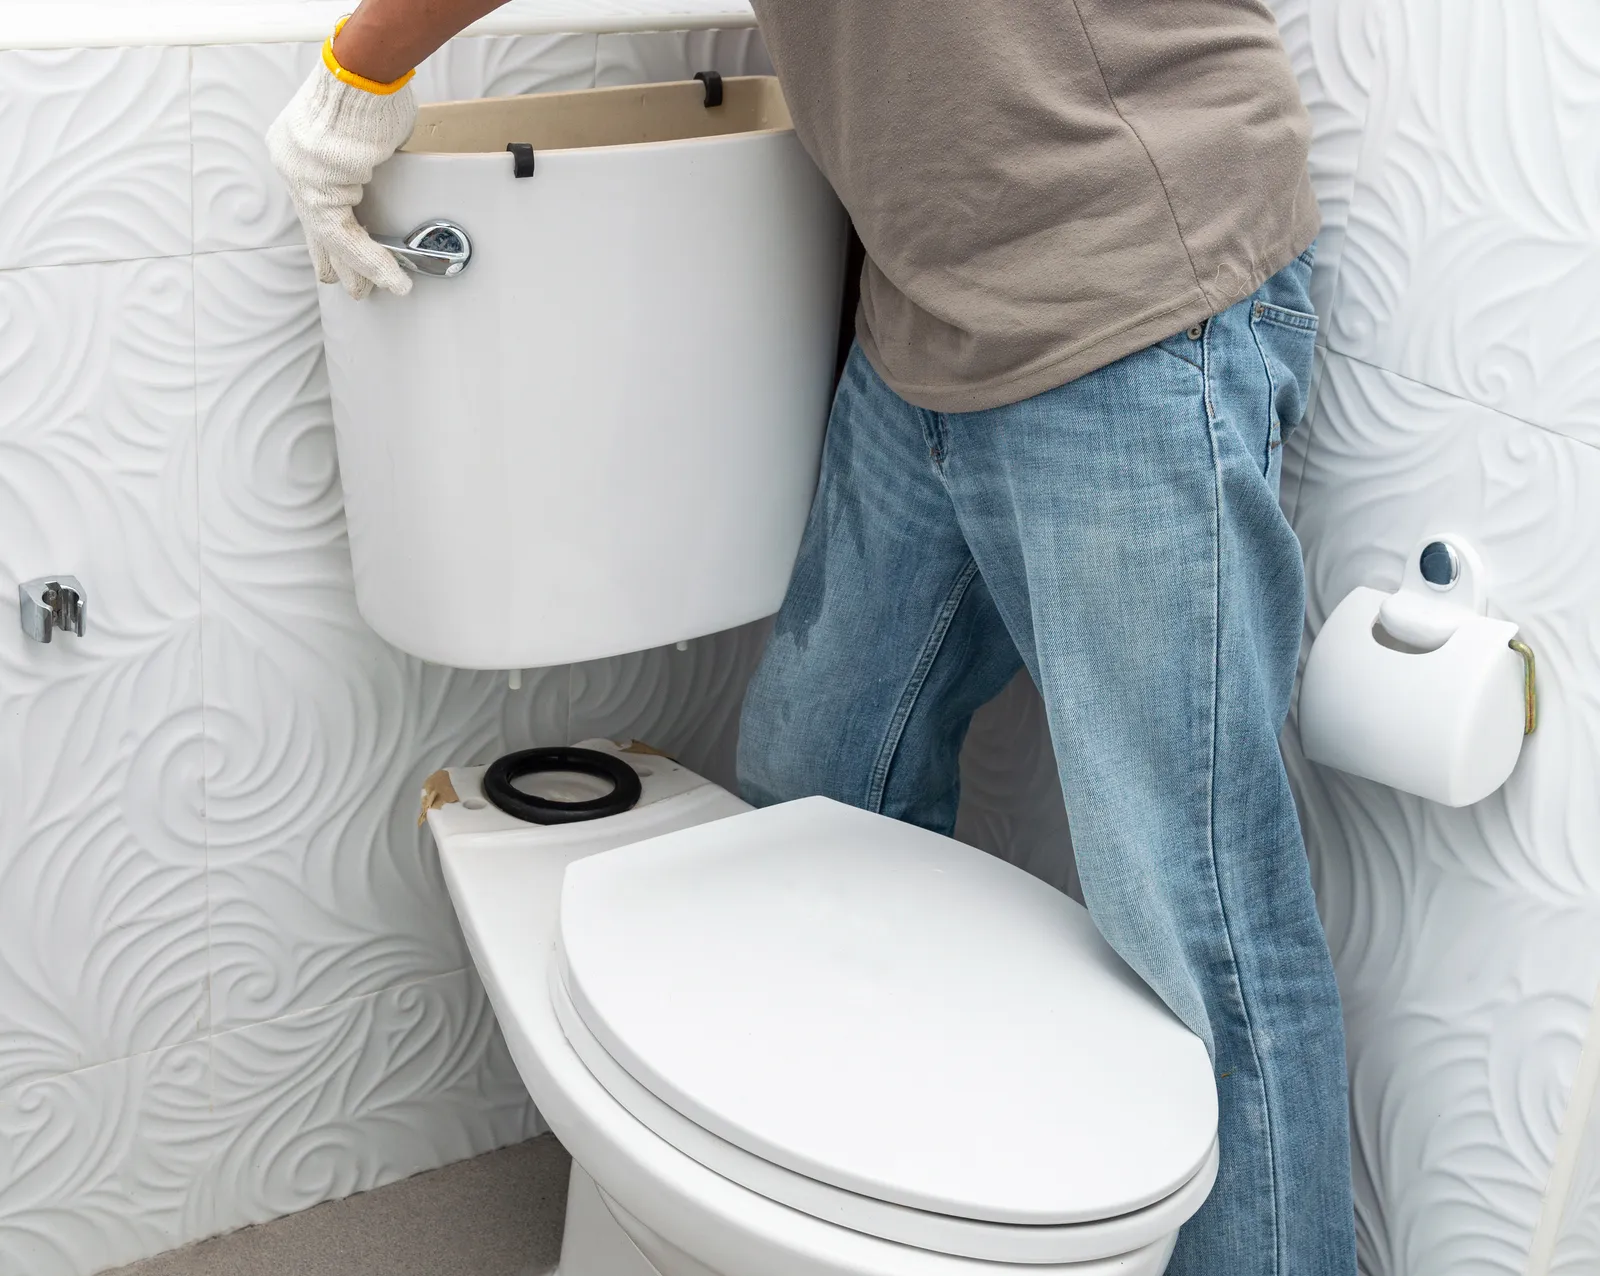
Step 2: Position the Tank
Once you have gathered all the necessary tools and materials, the next crucial step in attaching a tank to a toilet bowl is positioning the tank correctly. Proper positioning is essential for ensuring that the tank aligns securely with the bowl, allowing for efficient water flow and optimal functionality. Here's a detailed guide on how to position the tank effectively:
-
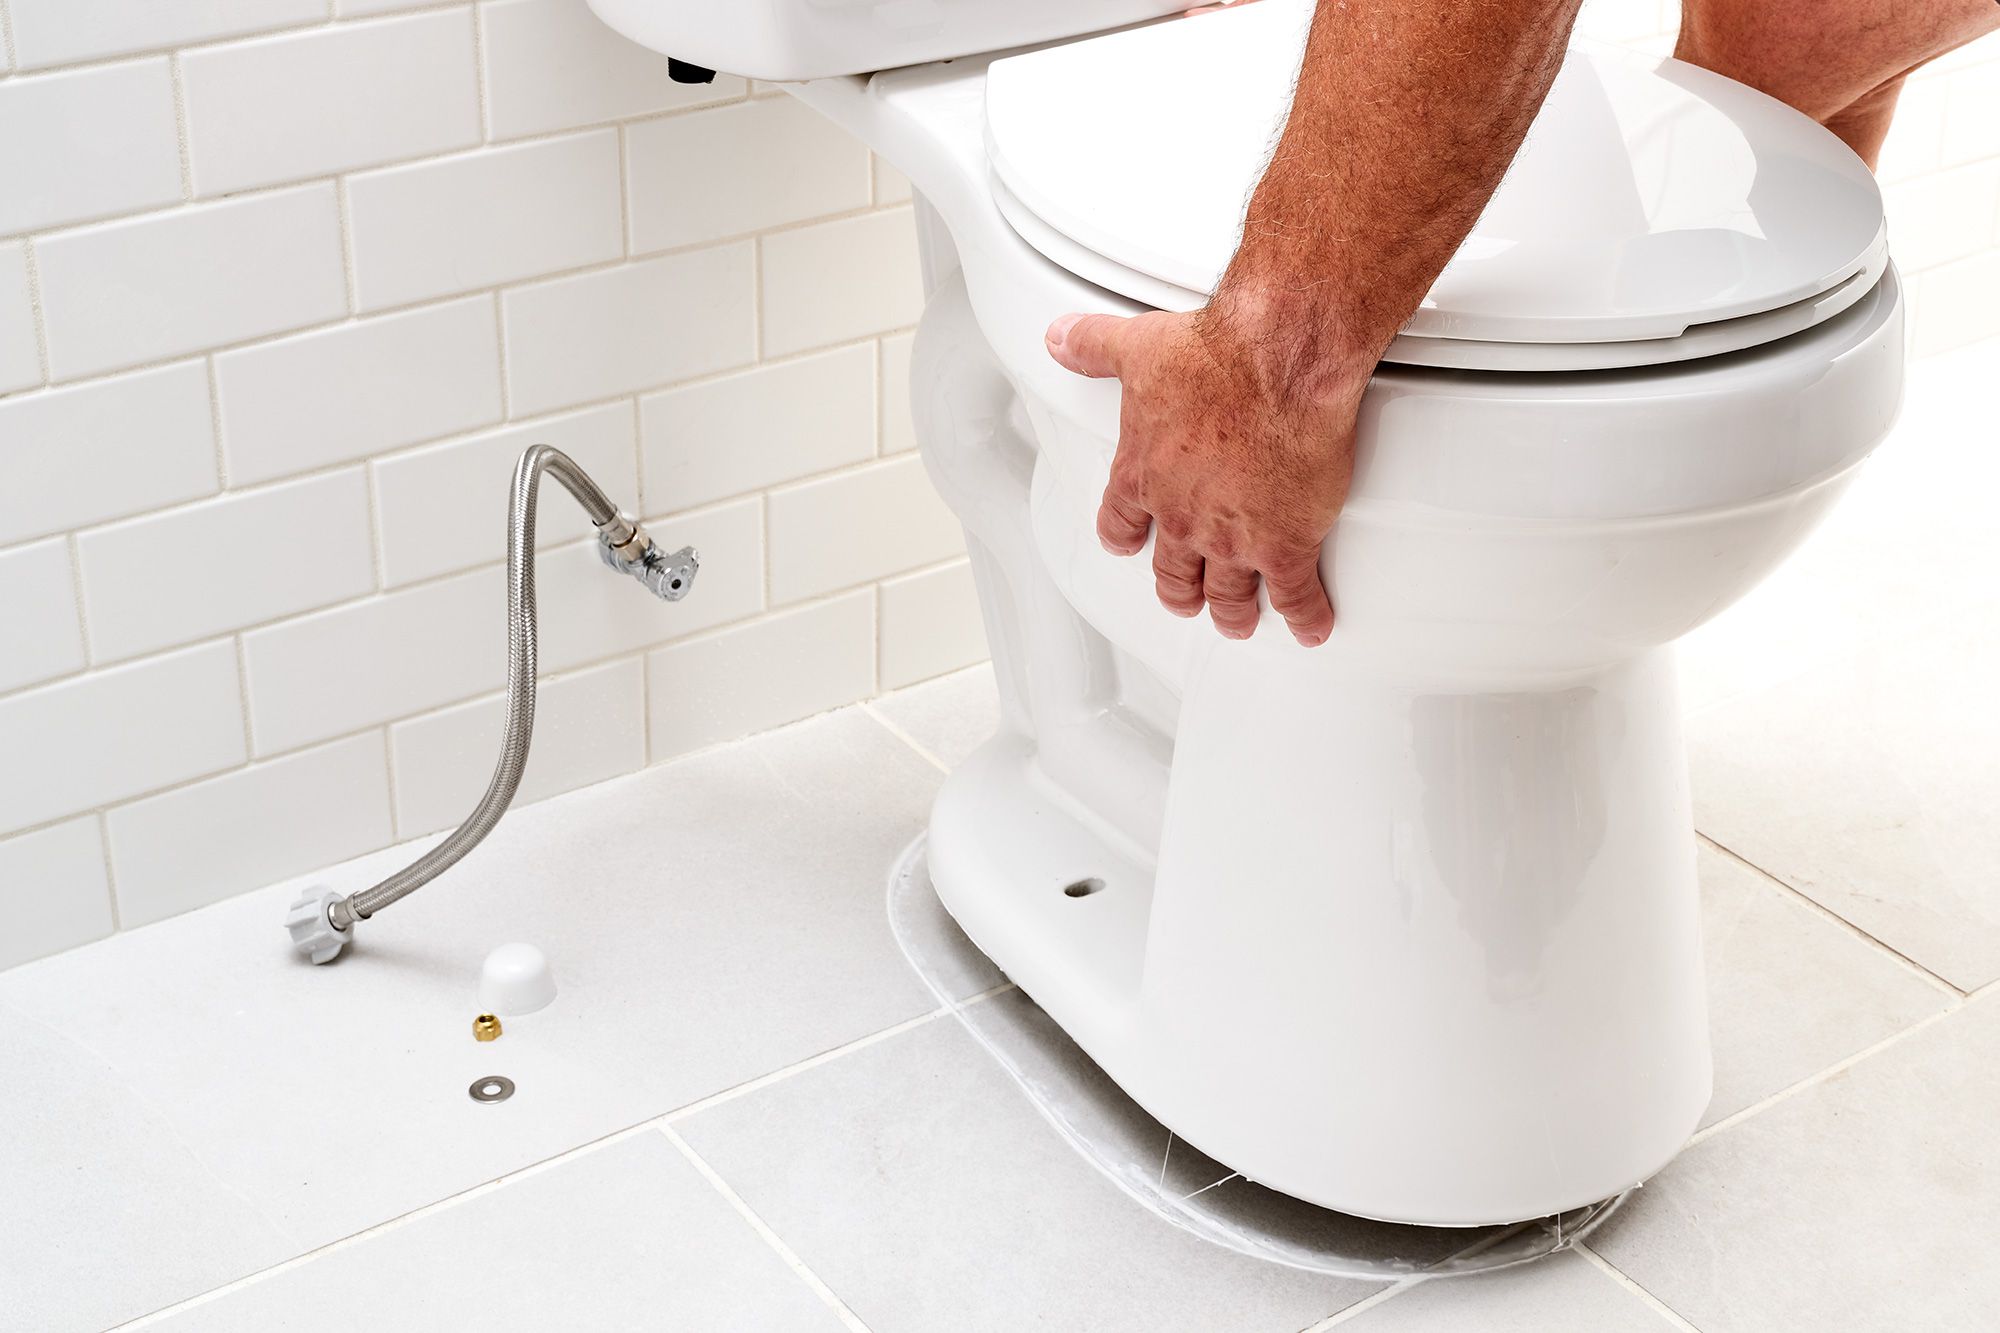
Clear the Work Area: Begin by clearing the area around the toilet to create ample space for maneuvering the tank. Remove any items or obstacles that may obstruct the installation process, ensuring a clear and accessible workspace.
-
Place the Tank: Carefully lift the tank and position it above the bowl, aligning the bolt holes on the tank with the corresponding openings on the bowl. Take care to position the tank evenly and squarely to ensure a secure and balanced attachment.
-
Use a Level: To verify that the tank is positioned correctly, place a level across the top of the tank. Adjust the tank as needed to ensure that it is level from front to back and side to side. This step is crucial for preventing any imbalance that could lead to leaks or instability.
-
Check for Clearance: Verify that there is sufficient clearance between the tank and the wall behind the toilet. Adequate clearance is essential to ensure that the tank fits comfortably and does not encounter any obstructions.
-
Adjust as Necessary: If the tank is not positioned correctly or is not level, make the necessary adjustments. Take your time to ensure that the tank is positioned accurately before proceeding to the next step.
By following these steps, you can effectively position the tank in preparation for attaching it to the toilet bowl. Taking the time to position the tank correctly sets the stage for a secure and stable attachment, laying the foundation for a well-functioning toilet system.
With the tank positioned accurately, you are now ready to proceed to the next step of attaching the tank to the bowl, bringing you one step closer to completing the installation with confidence and precision.
Read more: How To Remove Toilet Tank
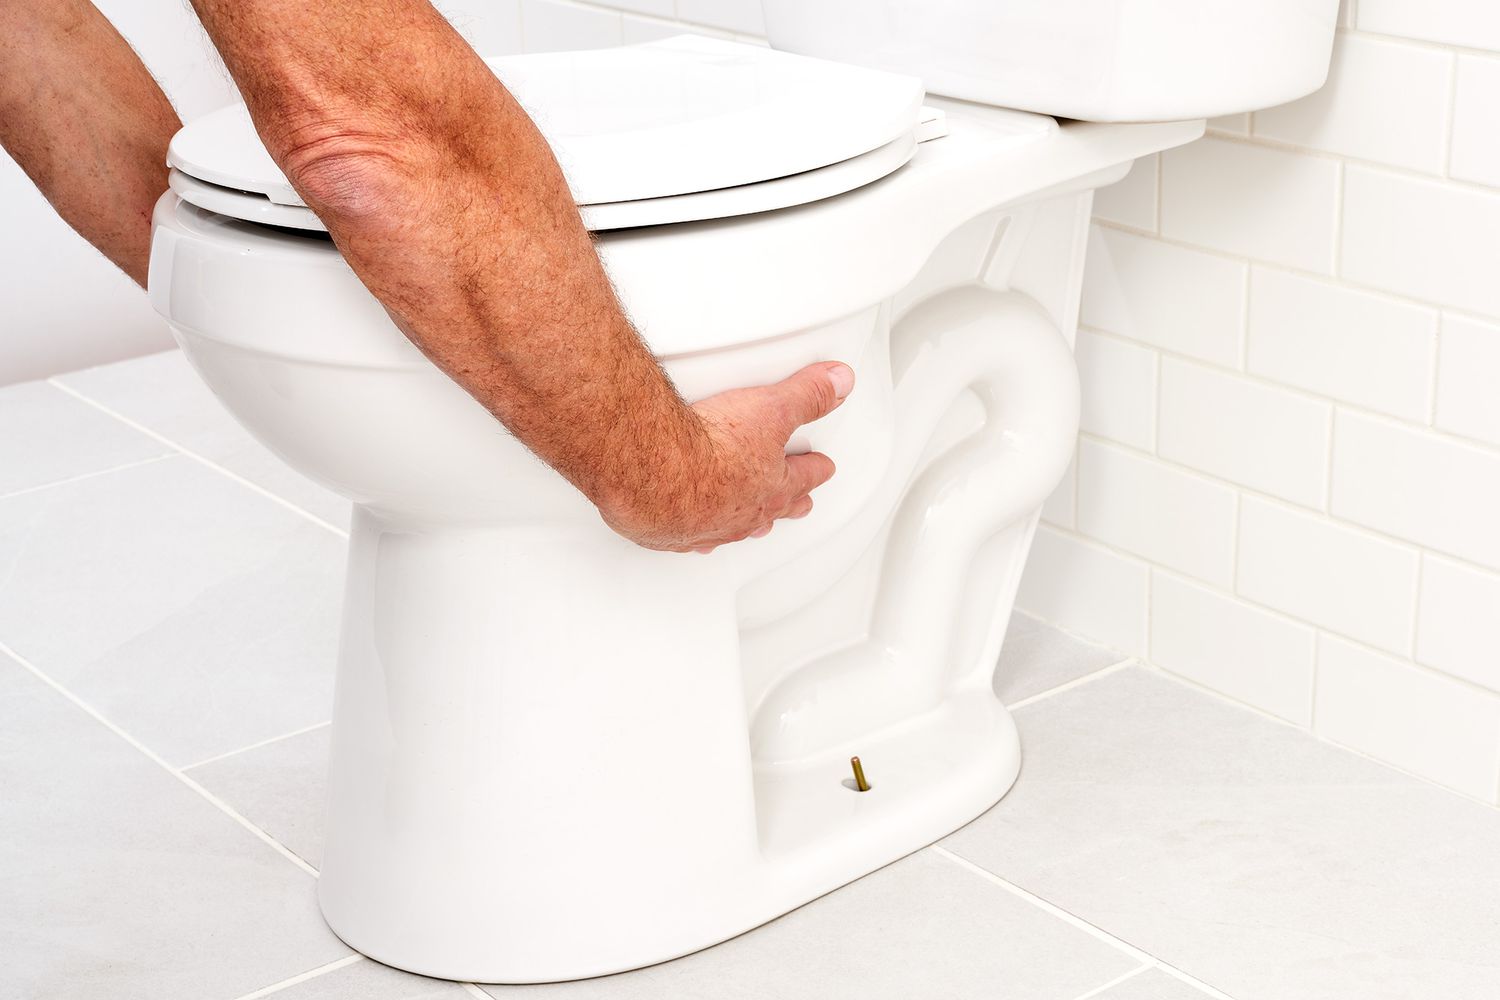
Step 3: Attach the Tank to the Bowl
Attaching the tank to the toilet bowl is a critical step in the installation process, as it establishes the secure connection necessary for the proper functioning of the toilet. This step requires attention to detail and precision to ensure a watertight seal and stability. Here's a detailed guide on how to effectively attach the tank to the bowl:
-
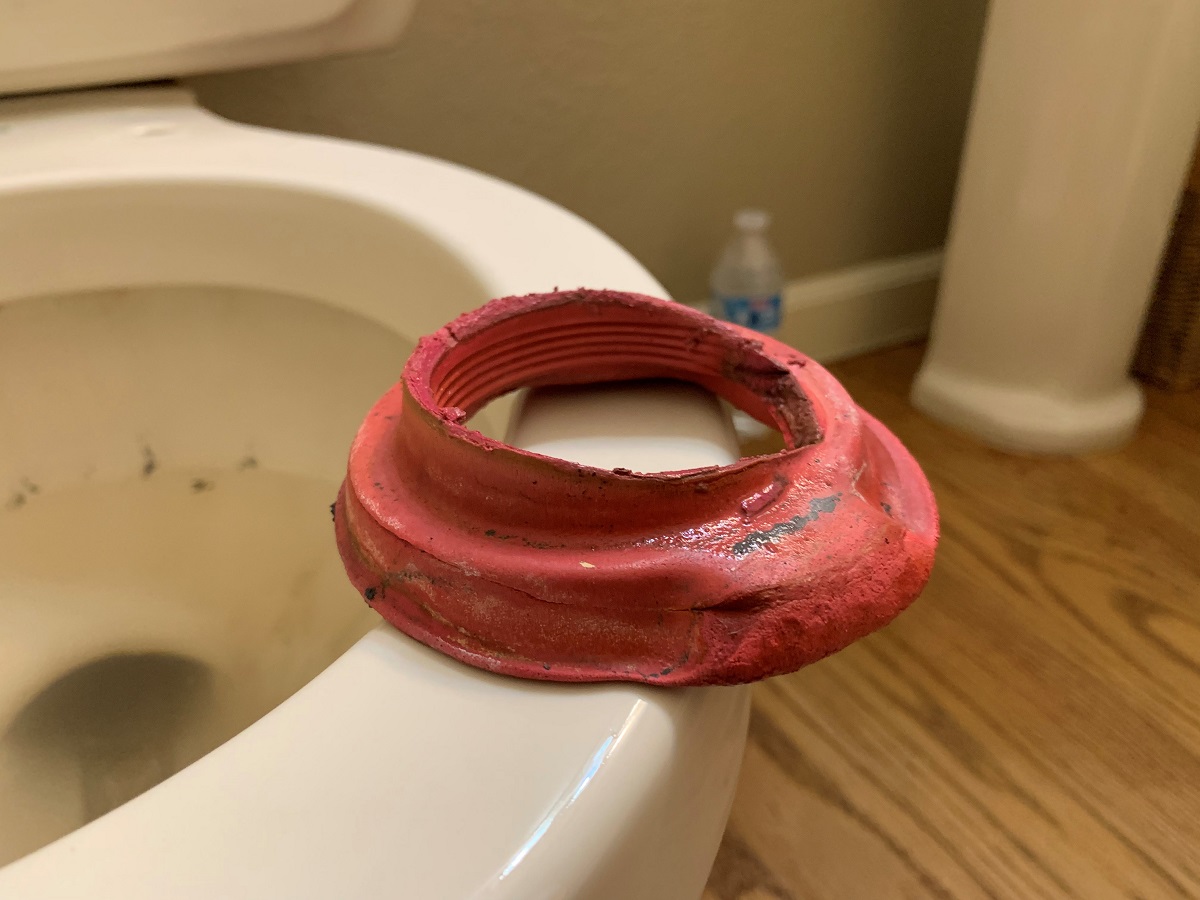
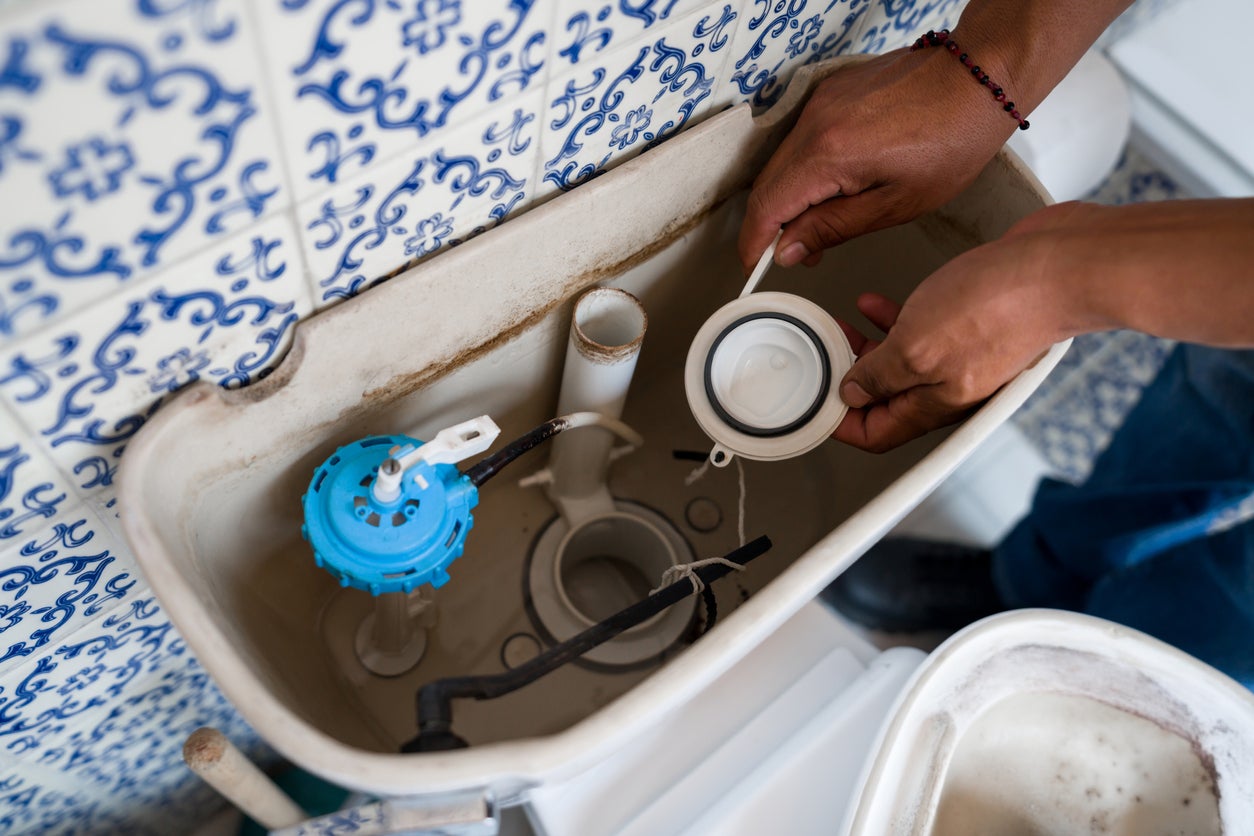
Place the Tank-to-Bowl Gasket: Begin by placing the tank-to-bowl gasket on the inlet of the bowl. This rubber gasket serves as a seal between the tank and the bowl, preventing water leaks and ensuring a secure attachment.
-
Insert Tank-to-Bowl Bolts: Insert the tank-to-bowl bolts through the mounting holes at the bottom of the tank, aligning them with the holes in the bowl. These bolts will provide the necessary support and stability for the tank.
-
Secure the Bolts with Nuts: Once the bolts are in place, secure them with nuts from underneath the bowl. Use an adjustable wrench to tighten the nuts, ensuring a snug fit that holds the tank securely in position.
-
Attach Rubber Washers: Place rubber washers on the tank-to-bowl bolts inside the tank. These washers help create a watertight seal and provide additional stability to the attachment.
-
Install Tank-to-Bowl Sponge Gasket: Install the tank-to-bowl sponge gasket on the tank-to-bowl bolts inside the tank. This gasket acts as a cushion, reducing the risk of damage due to pressure and movement between the tank and bowl.
-
Tighten the Bolts: Carefully tighten the tank-to-bowl bolts using a screwdriver or wrench, ensuring that the tank is securely attached to the bowl. Take care not to overtighten, as this could lead to damage or cracks in the porcelain.
-
Check for Alignment: Verify that the tank is aligned properly with the bowl and that the attachment is secure. Ensure that the tank sits evenly on the bowl without any wobbling or instability.
By following these steps, you can effectively attach the tank to the toilet bowl, establishing a secure and watertight connection. This crucial step sets the stage for the proper functioning of the toilet, ensuring efficient water flow and preventing leaks. With the tank securely attached to the bowl, you are now ready to proceed to the final step of testing for leaks, bringing you closer to the successful completion of the installation.
When attaching a tank to a toilet bowl, make sure to use the rubber gasket and bolts provided. Place the gasket on the inlet opening of the bowl, then carefully lower the tank onto the bowl and secure it with the bolts. Tighten the bolts evenly to prevent leaks.
Step 4: Test for Leaks
After attaching the tank to the toilet bowl, it is crucial to conduct a thorough leak test to ensure that the installation is watertight and free from any potential issues. Testing for leaks provides the opportunity to identify and address any concerns before the toilet is put into regular use, ultimately preventing water damage and promoting the efficient operation of the toilet system.
Here's a detailed guide on how to effectively test for leaks:
-
Fill the Tank: Start by carefully filling the tank with water to the recommended level. Use caution to avoid splashing or spilling water during this process.
-
Observe for Drips or Seepage: Once the tank is filled, closely observe the areas where the tank and bowl are connected, as well as the surrounding floor. Look for any signs of water drips, seepage, or pooling around the base of the toilet. Even small amounts of water can indicate a potential leak that needs to be addressed.
-
Inspect the Tank-to-Bowl Connection: Pay close attention to the tank-to-bowl connection, examining the bolts, gaskets, and washers for any signs of water leakage. Check for moisture or water droplets around these components, as they may indicate a faulty seal or loose attachment.
-
Flush the Toilet: After observing the tank for any initial signs of leakage, proceed to flush the toilet. As the flushing process occurs, continue to monitor the tank and bowl connection for any new signs of water leakage. The flushing action may reveal leaks that were not initially apparent during the filling stage.
-
Check for Floor Leaks: In addition to inspecting the tank and bowl, carefully examine the floor around the base of the toilet for any signs of water accumulation or dampness. Floor leaks can indicate issues with the wax ring seal or the toilet's base, requiring further attention and potential resealing.
-
Addressing Leaks: If any leaks are detected during the testing process, it is essential to address them promptly. This may involve tightening the tank-to-bowl bolts, replacing gaskets or washers, or adjusting the tank's positioning. By addressing leaks early on, you can prevent potential water damage and ensure the long-term integrity of the installation.
By following these steps and conducting a comprehensive leak test, you can verify the integrity of the tank-to-bowl attachment and address any potential issues before regular use. A successful leak test provides peace of mind, knowing that the installation is secure and free from water leakage, allowing you to confidently put the toilet into service without concerns about leaks or water damage.
Conclusion
In conclusion, attaching a tank to a toilet bowl is a task that requires careful attention to detail, precision, and the right tools and materials. By following the steps outlined in this guide, you can successfully complete the installation with confidence and ensure the optimal performance of your toilet system.
The process begins with gathering the necessary tools and materials, setting the stage for a smooth and efficient installation. With essential items such as an adjustable wrench, tank-to-bowl gaskets, bolts, and rubber washers at hand, you are well-prepared to proceed with the attachment process.
Positioning the tank correctly is a crucial step that sets the foundation for a secure and stable attachment. By clearing the work area, placing the tank, using a level to ensure proper alignment, and checking for clearance, you can establish the groundwork for a successful installation.
Attaching the tank to the bowl requires attention to detail and precision. From placing the tank-to-bowl gasket to tightening the bolts and conducting a thorough leak test, each step is essential for creating a watertight seal and ensuring the efficient operation of the toilet.
The final step of testing for leaks provides the opportunity to identify and address any concerns before putting the toilet into regular use. By filling the tank, observing for drips or seepage, and addressing any leaks promptly, you can ensure that the installation is free from water leakage and ready for use.
By completing the attachment process with care and attention to detail, you can enjoy the peace of mind that comes with a securely attached tank and a properly functioning toilet system. Whether you're a seasoned DIY enthusiast or a homeowner looking to expand your skills, this guide equips you with the knowledge and guidance needed to tackle the task effectively.
With a securely attached tank and a thorough leak test, you can confidently put the toilet into service, knowing that the installation is watertight and free from potential issues. By following the steps outlined in this guide, you can achieve a successful attachment, promoting a clean, hygienic, and efficient bathroom environment for years to come.
Frequently Asked Questions about How To Attach Tank To Toilet Bowl
Was this page helpful?
At Storables.com, we guarantee accurate and reliable information. Our content, validated by Expert Board Contributors, is crafted following stringent Editorial Policies. We're committed to providing you with well-researched, expert-backed insights for all your informational needs.
0 thoughts on “How To Attach Tank To Toilet Bowl”