Articles
How To Boil Eggs In An Electric Skillet
Modified: August 16, 2024
Learn how to easily boil eggs in an electric skillet with our informative articles. Discover the best techniques for perfect eggs every time.
(Many of the links in this article redirect to a specific reviewed product. Your purchase of these products through affiliate links helps to generate commission for Storables.com, at no extra cost. Learn more)
Introduction
Boiling eggs is a staple in many households. Whether you’re making deviled eggs for a party or preparing a quick and easy snack, knowing how to boil eggs to perfection is a valuable skill. While traditionally this has been done on the stovetop, there is another option that can make the process even easier and more convenient – boiling eggs in an electric skillet.
Using an electric skillet to boil eggs offers several benefits, such as precise temperature control, even heat distribution, and the ability to set a timer. These features ensure that your eggs come out consistently cooked with perfectly runny or firm yolks and tender whites.
In this article, we will guide you through the process of boiling eggs in an electric skillet. We will also provide tips and tricks to help you achieve the perfect boiled eggs every time. So let’s dive in and explore the benefits of using an electric skillet for boiling eggs!
Key Takeaways:
- Boiling eggs in an electric skillet offers precise temperature control, even heat distribution, and a timer function for consistently perfect eggs. It’s a convenient and efficient method for achieving delicious results every time.
- Selecting the right electric skillet and properly preparing it, along with choosing and preparing the eggs, are crucial for successful egg boiling. Following the step-by-step process and implementing helpful tips and tricks will elevate your boiled egg game and ensure a delicious outcome.
Read more: How To Boil Eggs In An Electric Kettle
Benefits of Boiling Eggs in an Electric Skillet
Boiling eggs in an electric skillet offers several advantages over traditional stovetop methods. Here are some key benefits:
- Temperature Control: Electric skillets allow for precise temperature control, ensuring that your eggs are cooked at the perfect temperature. This is especially helpful when trying to achieve the desired consistency of the yolks, whether it’s runny, soft, or hard-boiled.
- Even Heat Distribution: Electric skillets distribute heat evenly across the entire cooking surface, preventing hot spots that could result in unevenly cooked eggs. This means that each egg will be cooked consistently, giving you more control over the final result.
- Timer Function: Many electric skillets come with a built-in timer function, which allows you to set the cooking time for your eggs. This feature eliminates the need to constantly monitor the boiling process, making it convenient and hassle-free.
- More Cooking Space: Electric skillets typically have a larger cooking surface compared to a regular saucepan. This means you can boil a larger quantity of eggs in one batch, making it ideal for meal prepping, hosting gatherings, or simply cooking for a larger family.
- Energy Efficiency: Electric skillets are designed to be energy-efficient, which means they consume less electricity compared to stovetop burners. This not only saves you money on your energy bills but also reduces your carbon footprint.
- Easy Cleanup: Electric skillets often have non-stick coatings, making them easy to clean. Simply wipe off any residue with a damp cloth or sponge, and you’re good to go. This saves you time and effort compared to scrubbing pots and pans after boiling eggs on the stovetop.
These benefits make boiling eggs in an electric skillet a convenient and efficient method. Whether you’re a seasoned cook or a beginner in the kitchen, using an electric skillet will help you achieve perfectly boiled eggs every time with less stress and guesswork.
Choosing the Right Electric Skillet for Boiling Eggs
When it comes to boiling eggs in an electric skillet, choosing the right skillet is crucial for optimal results. Here are a few factors to consider when selecting an electric skillet:
- Size: Consider the size of the electric skillet based on the number of eggs you typically boil. If you plan to boil larger batches, opt for a skillet with a larger cooking surface that can accommodate multiple eggs comfortably.
- Temperature Control: Look for an electric skillet with precise temperature control settings. This will allow you to adjust the heat to the exact temperature needed for boiling eggs, ensuring consistent and accurate results.
- Non-Stick Surface: A non-stick surface is essential for easy cleanup and preventing eggs from sticking to the skillet. Look for skillets with a durable non-stick coating to ensure that your eggs slide out effortlessly once they’re cooked.
- Timer Function: Having a built-in timer function on the electric skillet is a useful feature. It allows you to set the cooking time and eliminates the need for constant monitoring. This ensures that your eggs are cooked to the desired doneness without any guesswork.
- Heat Distribution: Look for an electric skillet that provides even heat distribution across the entire cooking surface. This will prevent hot spots and ensure that all your eggs are cooked evenly.
- Power and Wattage: Consider the power and wattage of the electric skillet. Higher wattage skillets tend to heat up faster and are more efficient in maintaining a consistent temperature throughout the cooking process.
- Easy to Clean: Opt for an electric skillet that is easy to clean. Removable parts and dishwasher-safe components can make cleanup a breeze.
By considering these factors, you can choose an electric skillet that is well-suited for boiling eggs. Remember, the right skillet can make a significant difference in achieving perfectly boiled eggs with ease and convenience.
Preparing the Electric Skillet
Before you start boiling eggs in an electric skillet, it’s essential to properly prepare the skillet to ensure efficient and safe cooking. Follow these steps to prepare your electric skillet:
- Read the Manual: Familiarize yourself with the manufacturer’s instructions and safety guidelines provided in the user manual. This will help you understand the specific features and functions of your electric skillet.
- Wash the Skillet: Thoroughly wash the electric skillet with warm soapy water to remove any dirt or residue. Rinse it well and dry it completely before use.
- Check the Electrical Cord: Inspect the electrical cord for any signs of damage or fraying. If you notice any issues, it’s crucial to repair or replace the cord before using the skillet.
- Place the Skillet on a Stable Surface: Ensure that the surface on which you will be placing the electric skillet is sturdy and level. This will prevent any accidents or spills during the boiling process.
- Plug in the Skillet: Connect the electric skillet to a power outlet that can handle the appropriate voltage. Make sure the skillet is securely plugged in and ready for use.
- Preheat the Skillet: Turn on the electric skillet and preheat it to the desired temperature for boiling eggs. Refer to the manufacturer’s instructions for the recommended temperature settings.
Following these preparation steps will ensure that your electric skillet is in the best condition for boiling eggs. It’s important to take the necessary precautions and properly prepare the skillet to ensure safe and efficient cooking.
Step 1: Selecting and Preparing the Eggs
When boiling eggs in an electric skillet, the first step is to carefully choose and prepare the eggs for cooking. Follow these guidelines to select and prepare your eggs:
- Egg Selection: Choose fresh eggs for boiling. Fresh eggs have a firmer white and a more vibrant yolk, resulting in better texture and taste. If possible, select eggs that are close to their expiration date.
- Egg Quantity: Determine the number of eggs you want to boil. Keep in mind the capacity of your electric skillet and make sure not to overcrowd it. For even cooking, it’s best to boil a single layer of eggs in the skillet.
- Egg Piercing: Some people prefer to pierce the rounded end of the egg with a pin or egg piercer before boiling. This helps prevent the eggshell from cracking and allows any trapped air to escape during the boiling process.
- Egg Washing: It’s important to wash the eggs thoroughly under running water to remove any dirt or impurities on the shell. Gently rub the eggs with your hands or a soft brush to ensure they are clean.
- Room Temperature Eggs: For more even cooking, it’s recommended to let the eggs come to room temperature before boiling. This helps prevent cracking when the eggs are immersed in hot water.
- Egg Organization: To keep track of the cooking time and to prevent overcooking, consider marking the boiled eggs with a pencil or using a timer to remember the start time.
By following these steps, you can ensure that you have selected and prepared the eggs properly for boiling in the electric skillet. Taking care in the process will result in perfectly cooked eggs with delicious results.
Read more: How To Cook Eggs On An Electric Skillet
Step 2: Filling the Electric Skillet with Water
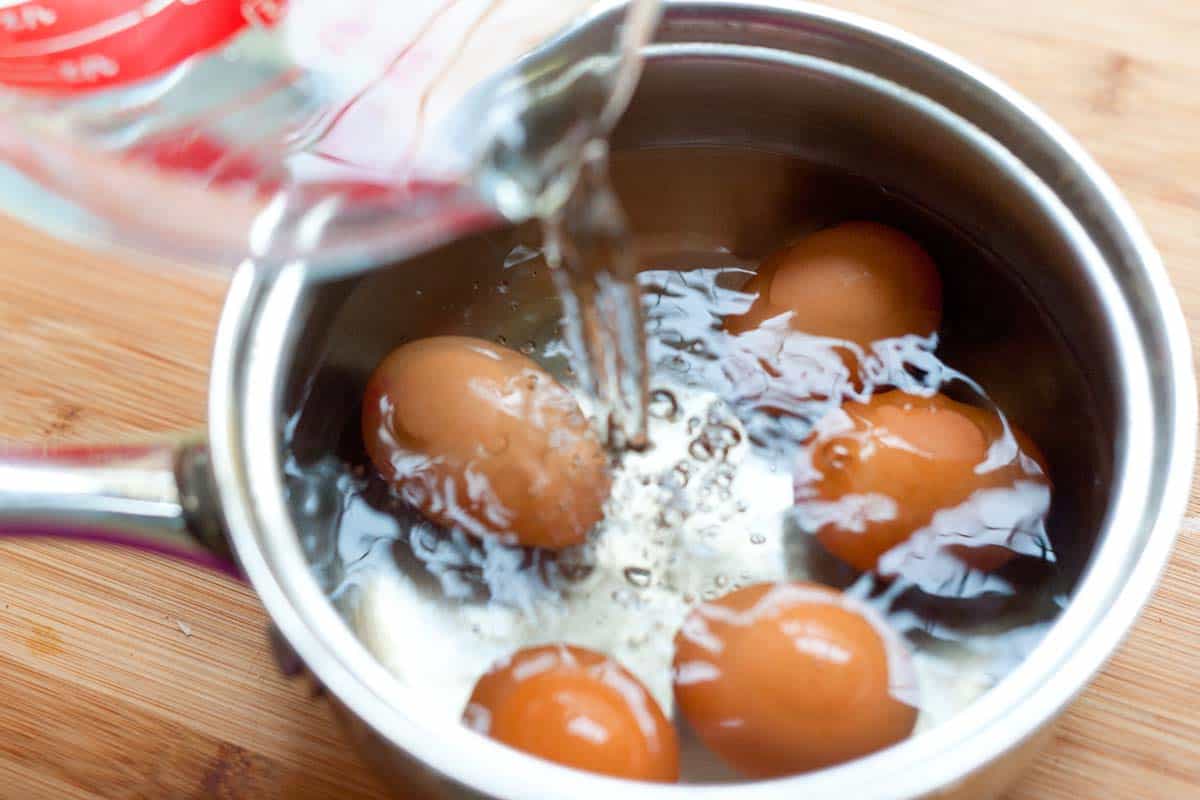
After selecting and preparing your eggs, the next step in boiling eggs in an electric skillet is to fill the skillet with water. Here’s how:
- Determine the Water Level: The amount of water you need depends on the size of the eggs and the size of your electric skillet. As a general guideline, aim to have enough water to completely cover the eggs by about an inch.
- Measure the Water: Use a measuring cup to accurately measure the desired amount of water. This ensures that you have the right water-to-egg ratio, which is crucial for proper cooking.
- Add the Water to the Skillet: Carefully pour the measured water into the electric skillet. Make sure that the water level is at least an inch above the eggs to ensure even cooking and prevent them from sticking to the bottom of the skillet.
- Place the Skillet Lid: Place the lid on the electric skillet. This helps to retain heat, promote even cooking, and reduce the cooking time.
- Set the Temperature: Turn on the electric skillet and set the temperature according to your desired level of doneness. Follow the manufacturer’s instructions for the recommended temperature settings.
By following these steps, you can ensure that your electric skillet is filled with the right amount of water for boiling the eggs. This will contribute to even cooking and help you achieve the desired consistency of the eggs.
Add a tablespoon of vinegar to the water when boiling eggs in an electric skillet to help prevent the eggs from cracking.
Step 3: Setting the Temperature and Timing
Setting the temperature and timing correctly is crucial for boiling eggs to perfection in an electric skillet. Follow these steps for optimal results:
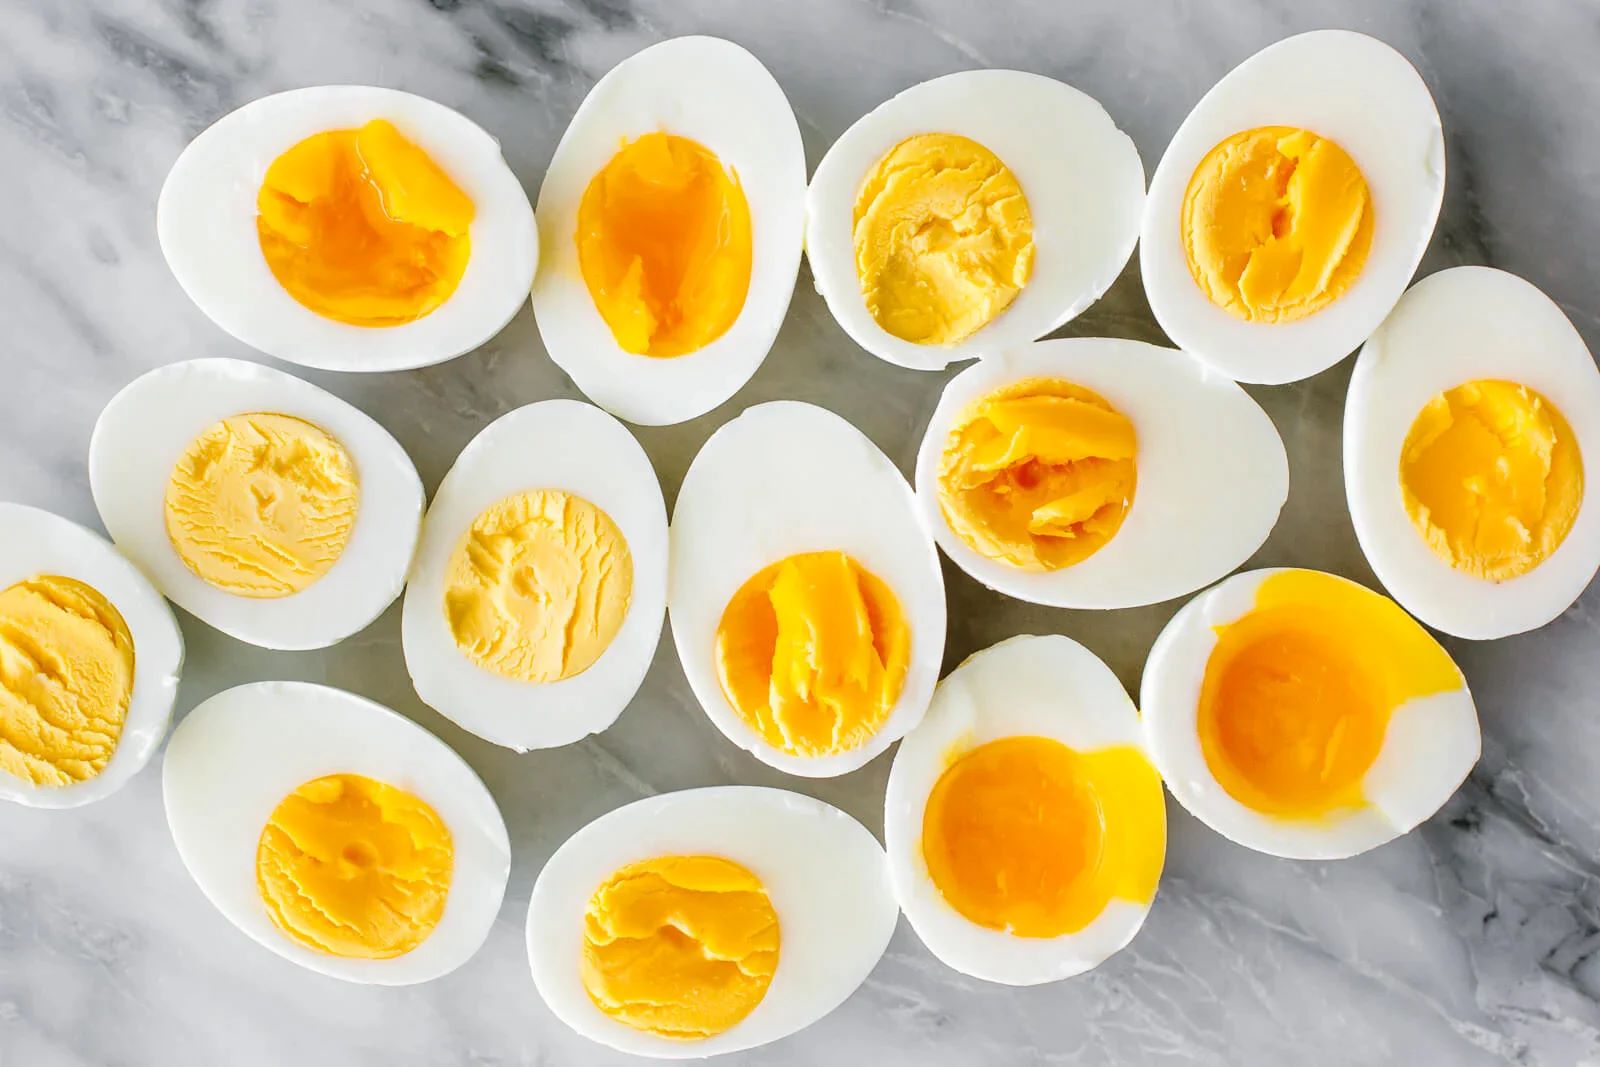
- Refer to the Egg Doneness Chart: To determine the desired level of doneness for your boiled eggs, refer to an egg doneness chart. This will help you identify the corresponding cooking time based on your preference, whether it’s soft-boiled, medium-boiled, or hard-boiled.
- Adjust the Temperature: Once you have identified the desired doneness and corresponding cooking time, adjust the temperature of the electric skillet accordingly. For example, if you want soft-boiled eggs, a lower temperature is needed, while hard-boiled eggs require a higher temperature.
- Start the Timer: As soon as you have set the temperature, start the timer for the recommended cooking time. This ensures that you don’t undercook or overcook the eggs and achieve the desired consistency.
- Monitor the Skillet: Keep an eye on the electric skillet throughout the boiling process. Ensure that the water is simmering gently and not boiling too vigorously. Adjust the temperature if necessary to maintain the desired level of heat.
- Doneness Test: If you’re unsure about the doneness of the eggs, you can perform a doneness test. Carefully remove one egg from the skillet using a slotted spoon and place it in a bowl of cold water. This will stop the cooking process. Gently tap the egg and observe its consistency to determine if it has been cooked to your liking.
By following these steps, you can set the temperature and timing correctly when boiling eggs in an electric skillet. This will ensure that your eggs are cooked to perfection with the desired level of doneness.
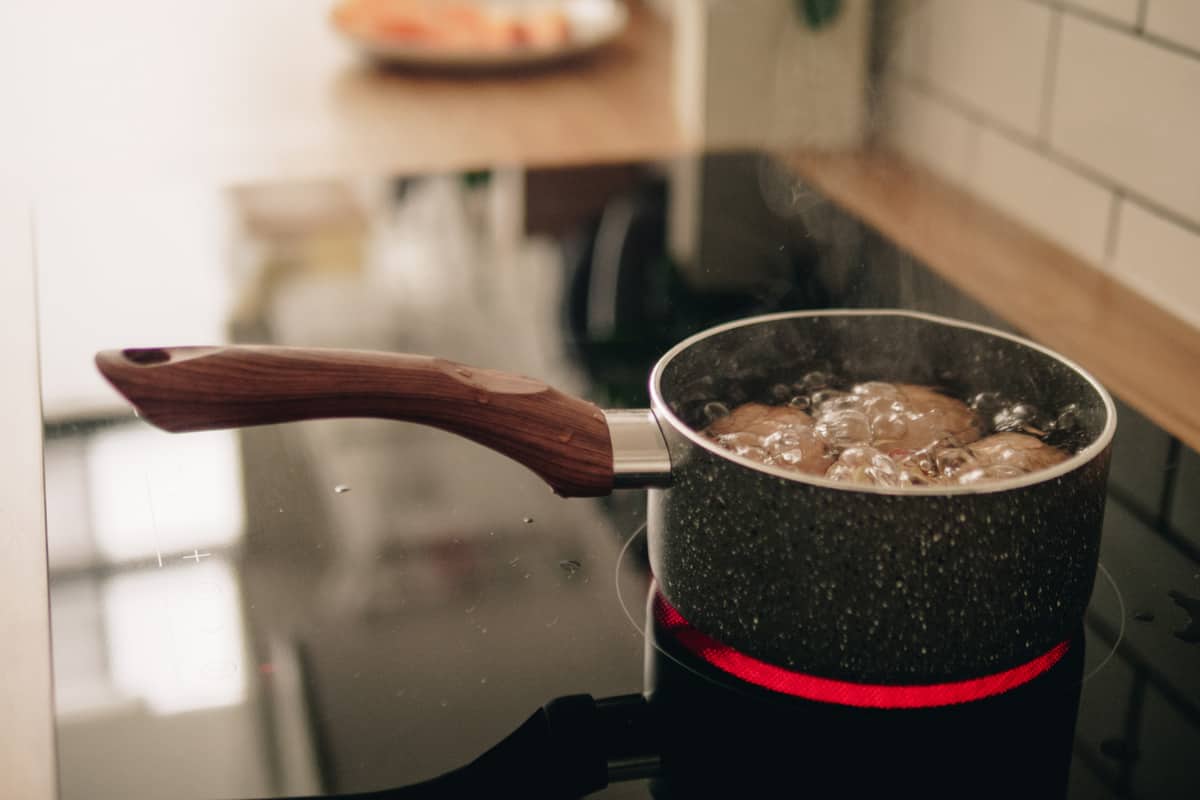
Step 4: Boiling the Eggs
Once you have set the temperature and timing in your electric skillet, it’s time to start boiling the eggs. Follow these steps for a successful boiling process:
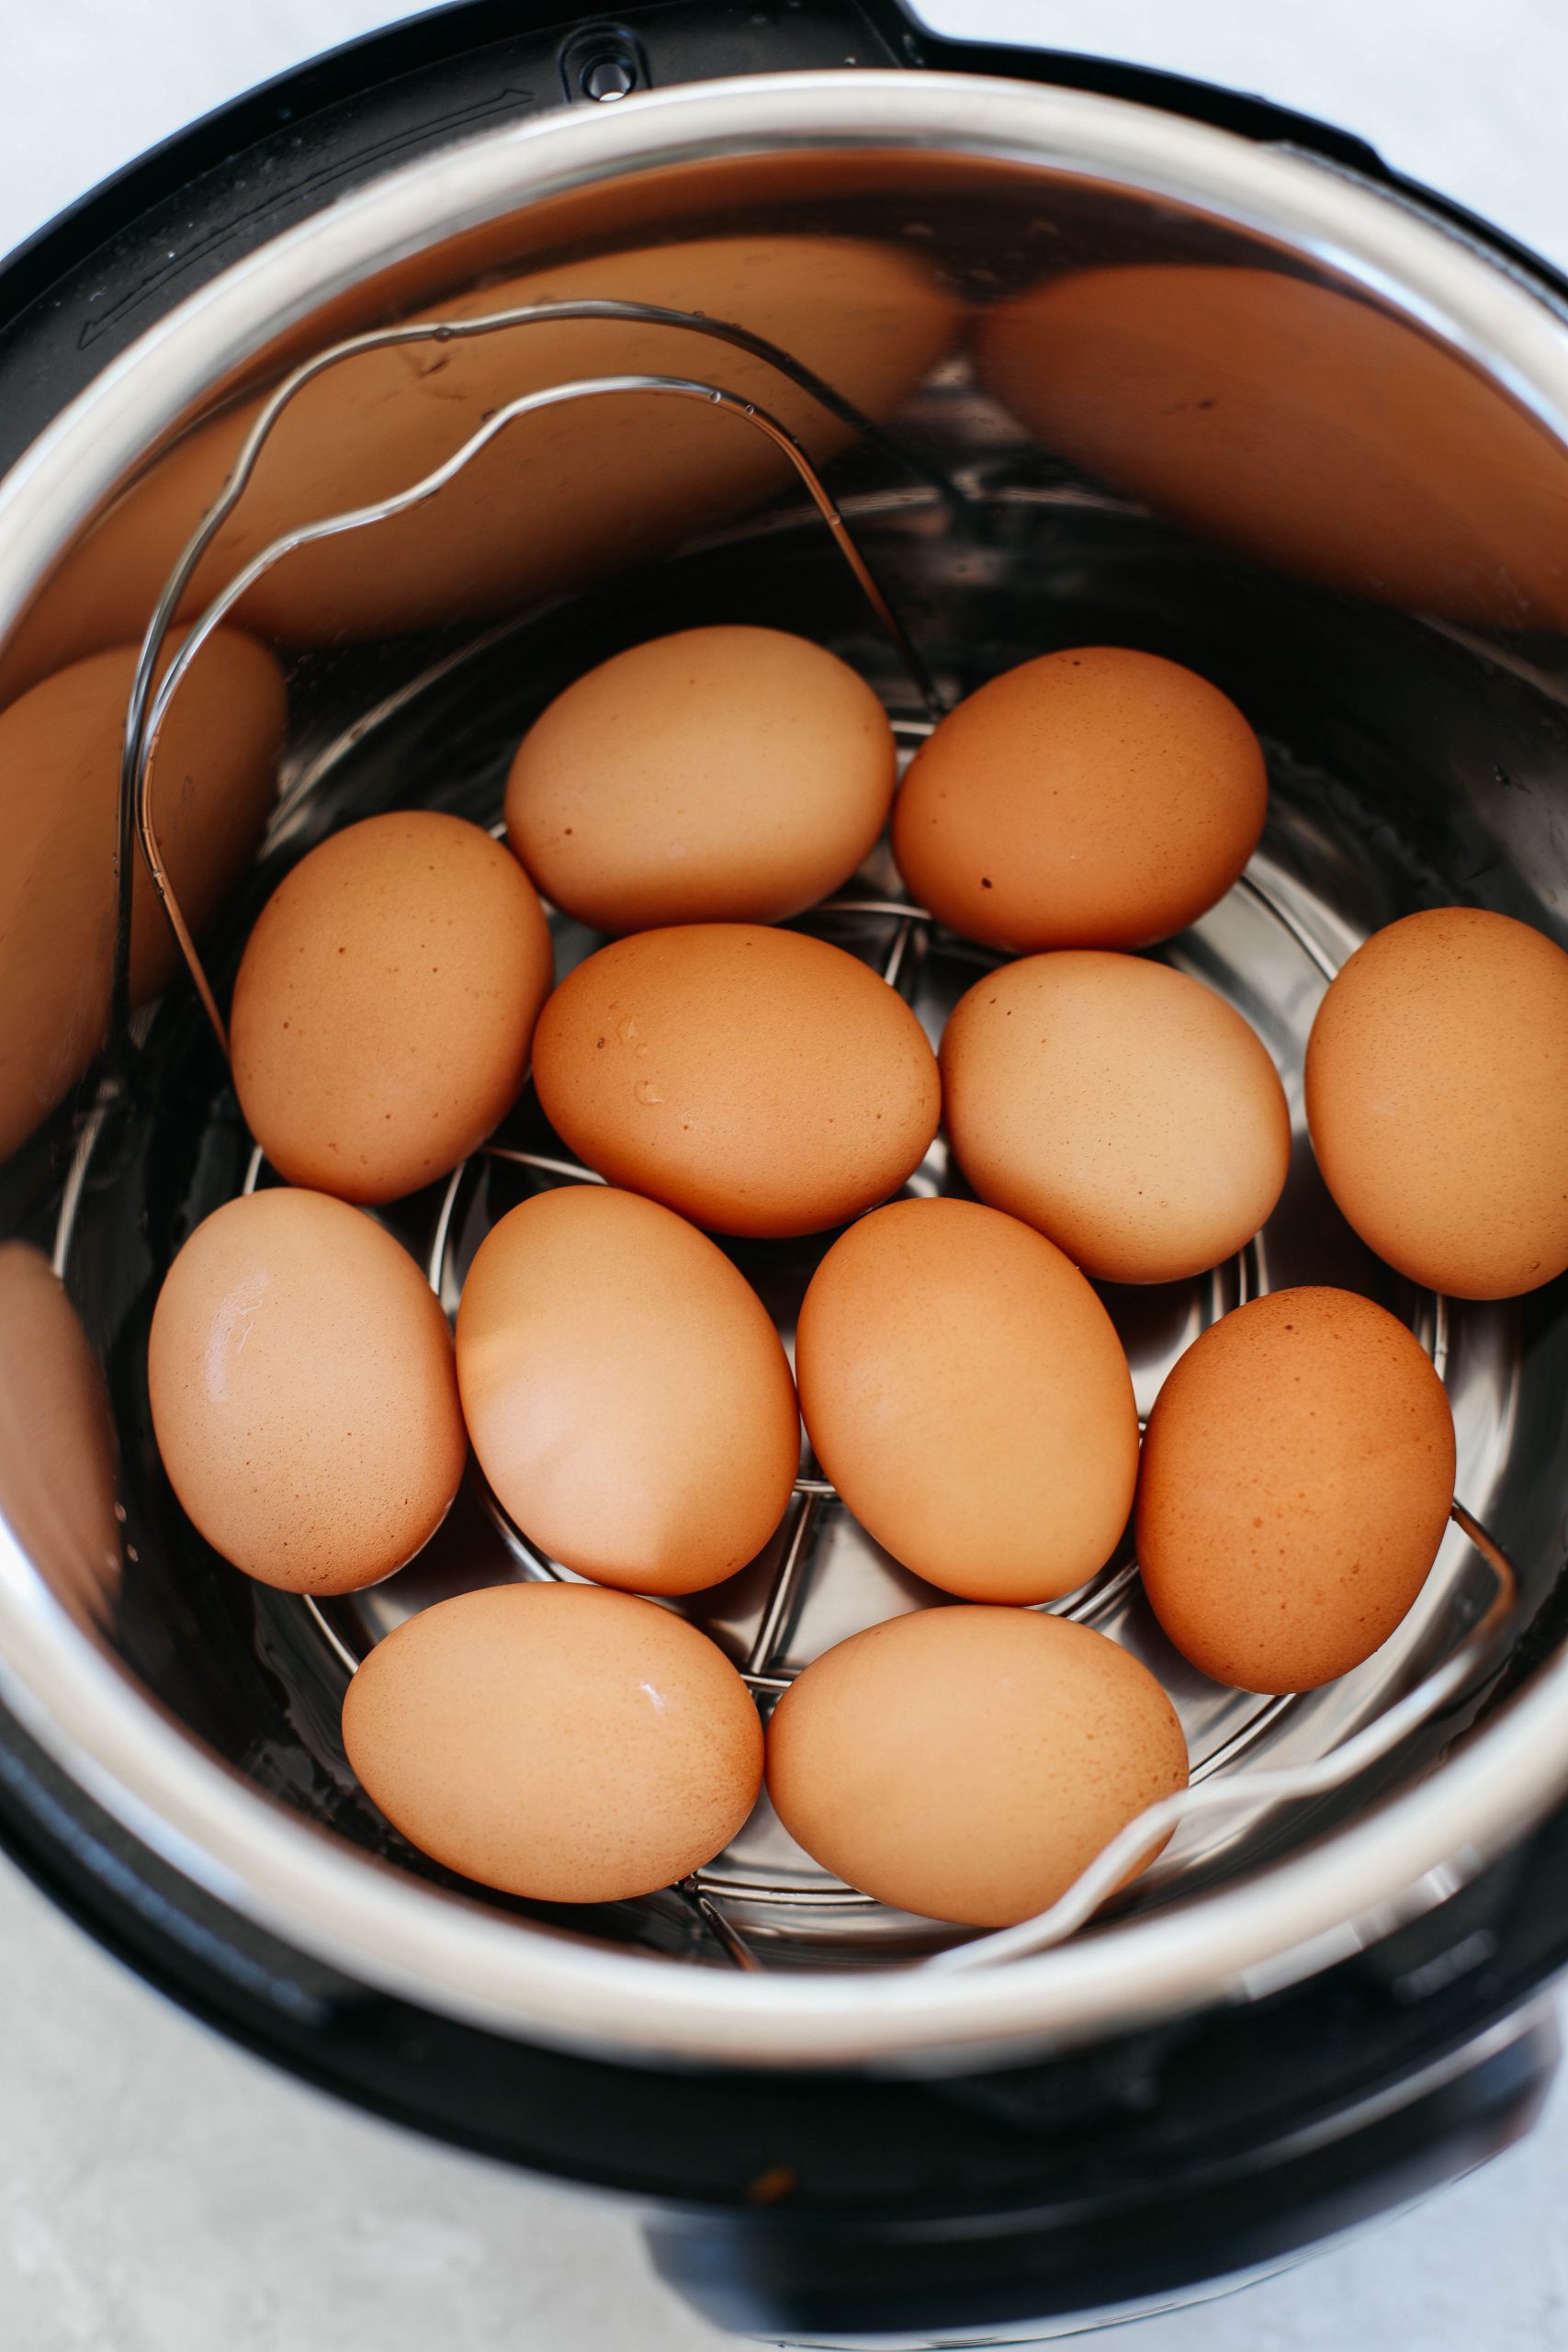
- Carefully Lower the Eggs: Using a slotted spoon or tongs, gently lower each prepared egg into the boiling water in the electric skillet. Be cautious to avoid splashing or dropping the eggs forcefully into the water.
- Ensure Even Placement: Position the eggs in a single layer at the bottom of the skillet. This helps ensure even cooking and prevents the eggs from bumping into each other, which could cause cracking.
- Close the Lid: Place the lid back on the electric skillet to trap the heat and maintain a steady boiling temperature. The lid helps to create a more controlled cooking environment and speeds up the boiling process.
- Allow for Continuous Boiling: Keep the water in the electric skillet at a steady boil throughout the cooking process. This ensures the eggs cook evenly and consistently.
- Avoid Stirring or Moving the Eggs: It’s important to resist the temptation to stir or move the eggs during the boiling process. This can lead to uneven cooking and increase the risk of cracking the eggs.
Following these steps will help you successfully boil the eggs in your electric skillet. Keeping the eggs submerged in the boiling water and maintaining a steady boil ensures they cook thoroughly and evenly.
Step 5: Checking the Doneness of the Eggs
Checking the doneness of the eggs is an essential step in the boiling process. Here’s how to determine if the eggs have reached the desired level of doneness:
- Timer Alert: Once the timer goes off and the recommended cooking time has elapsed, it’s time to check the doneness of the eggs. The timer serves as a reminder to avoid overcooking the eggs.
- Remove an Egg for Testing: Using a slotted spoon or tongs, carefully remove one egg from the boiling water and transfer it to a bowl of cold water. The cold water stops the cooking process and makes the eggs easier to handle.
- Observe Egg Consistency: Gently tap the egg on a flat surface or your palm to crack the shell slightly. Observe the consistency of the egg yolk and white. For example:
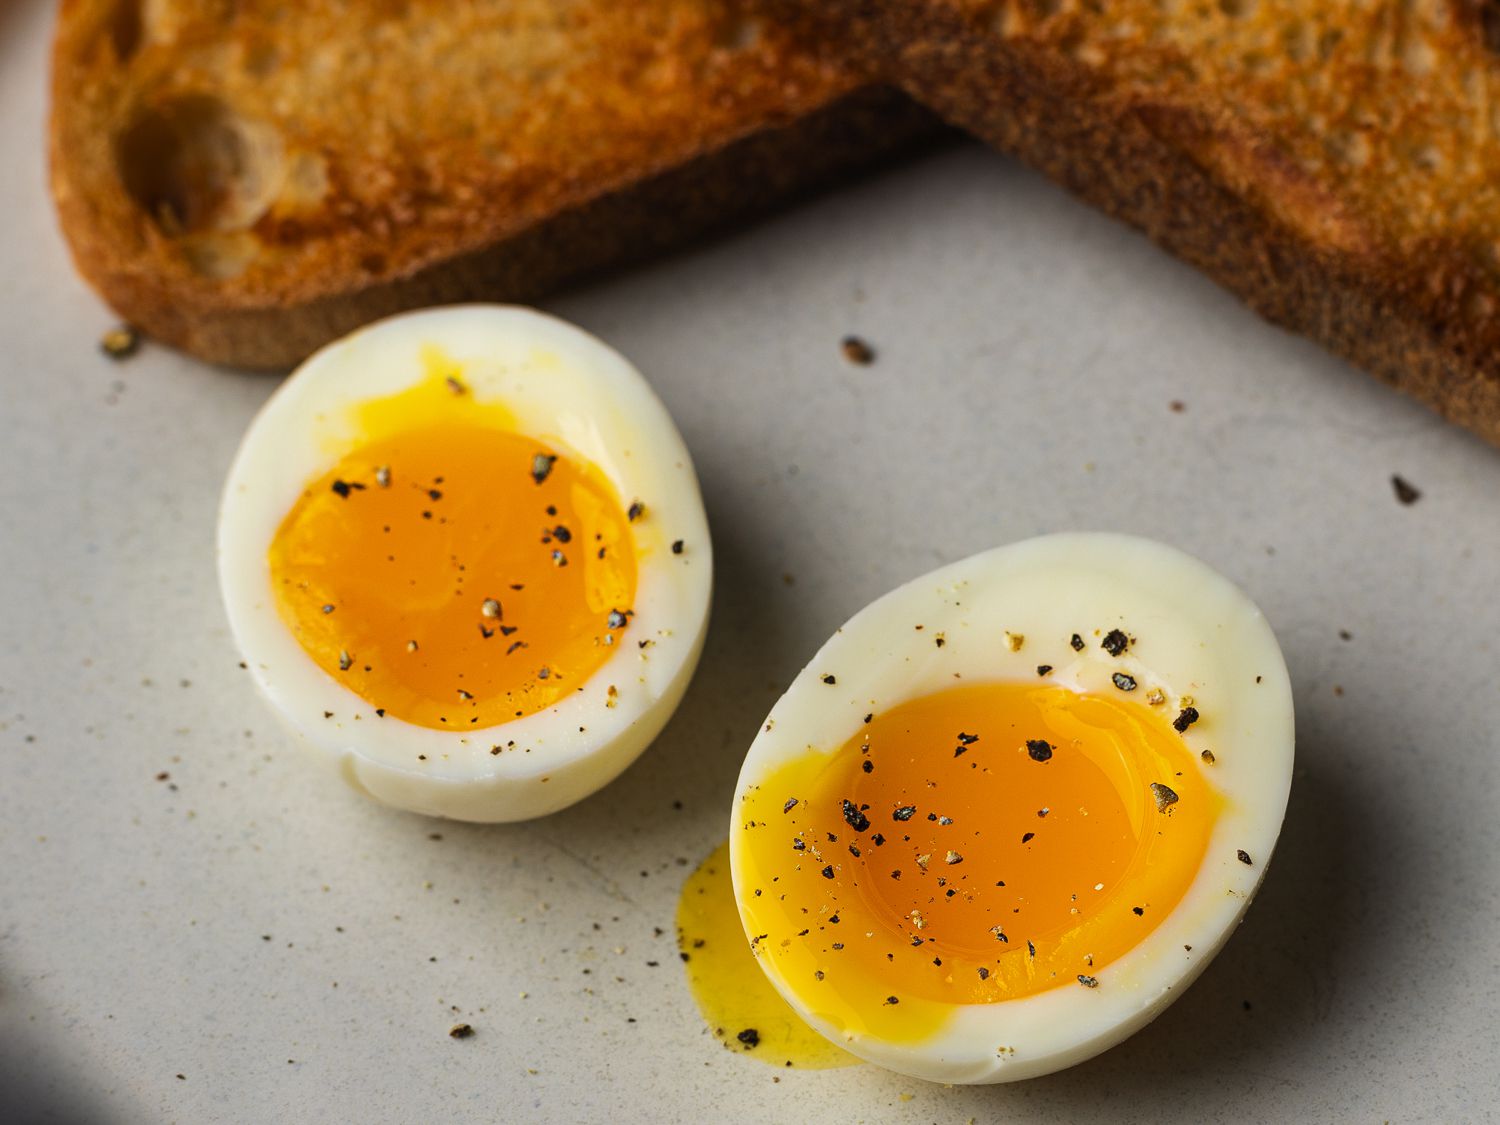
- If you prefer soft-boiled eggs, the yolk should still be runny, while the white should be set but tender.
- If you prefer medium-boiled eggs, the yolk should be slightly set with a soft, custard-like center, and the white should be fully set but not rubbery.
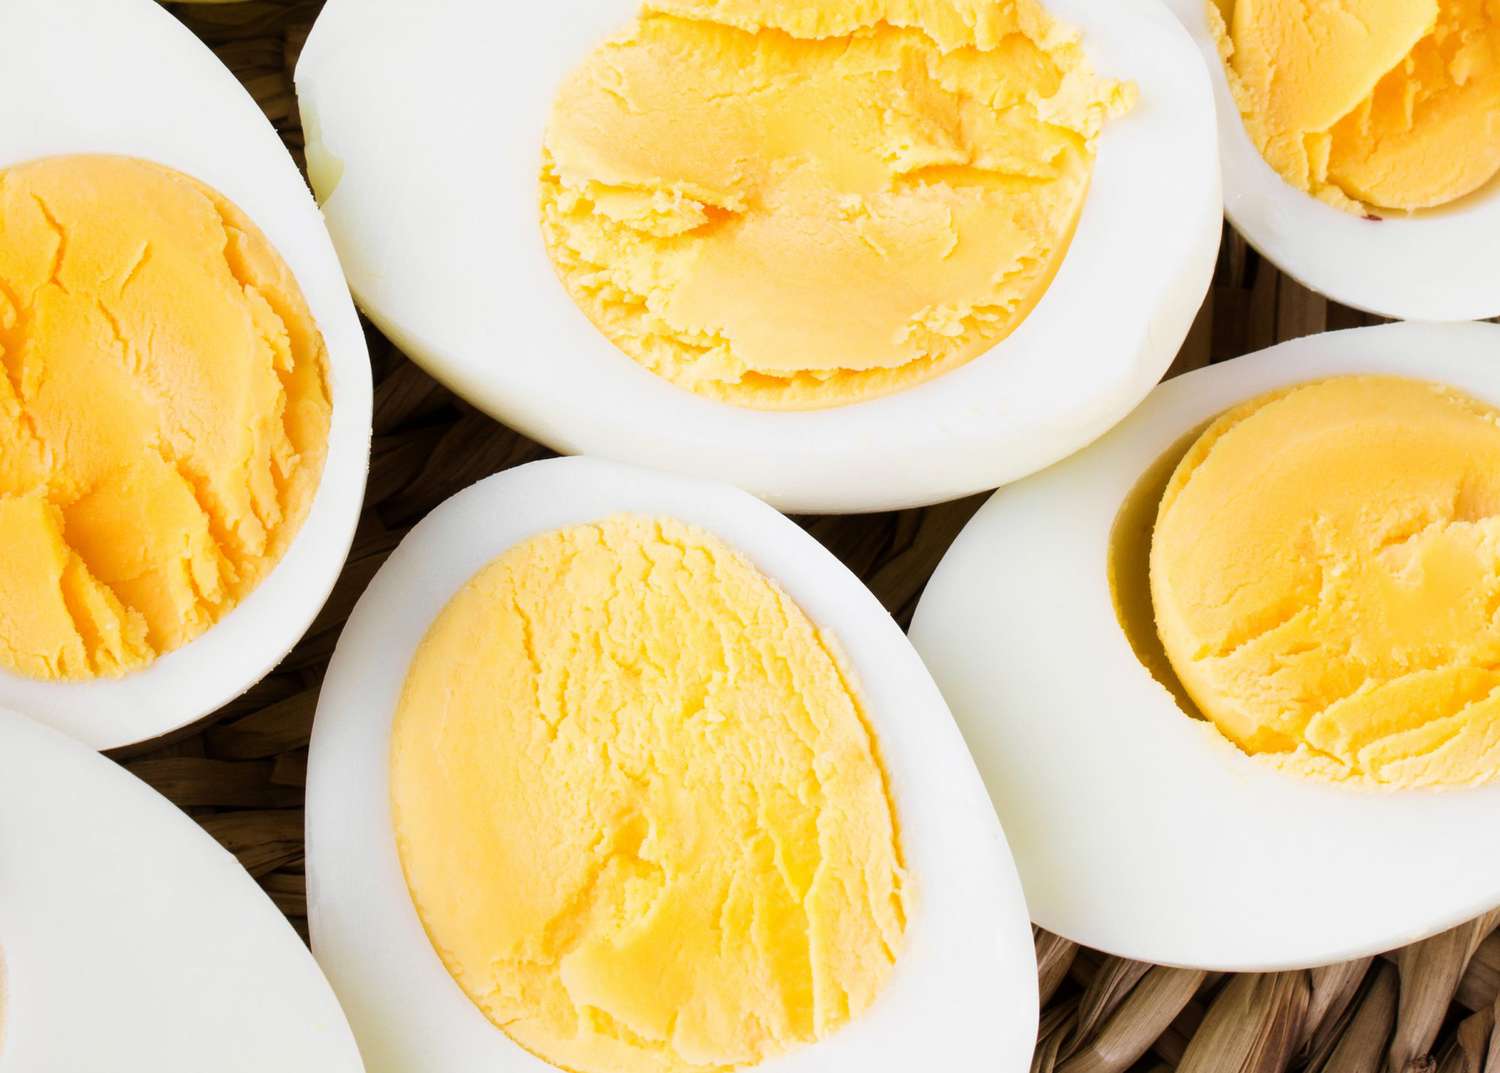
- If you prefer hard-boiled eggs, the yolk should be fully set and firm, and the white should be fully set without any hint of runniness.
- Adjust Cooking Time: Based on the observation of the test egg, you can adjust the cooking time if necessary. If the eggs aren’t cooked to your desired level, return the test egg to the boiling water and continue cooking for a few more minutes.
- Determine Doneness for Remaining Eggs: If the test egg is cooked to your liking, you can proceed to remove the remaining eggs from the boiling water. Plunge them into the cold water bath to stop the cooking process.
By following these steps, you can check the doneness of the eggs and ensure they are cooked to your preferred level of doneness. Adjusting the cooking time allows you to achieve the perfect consistency for your boiled eggs.
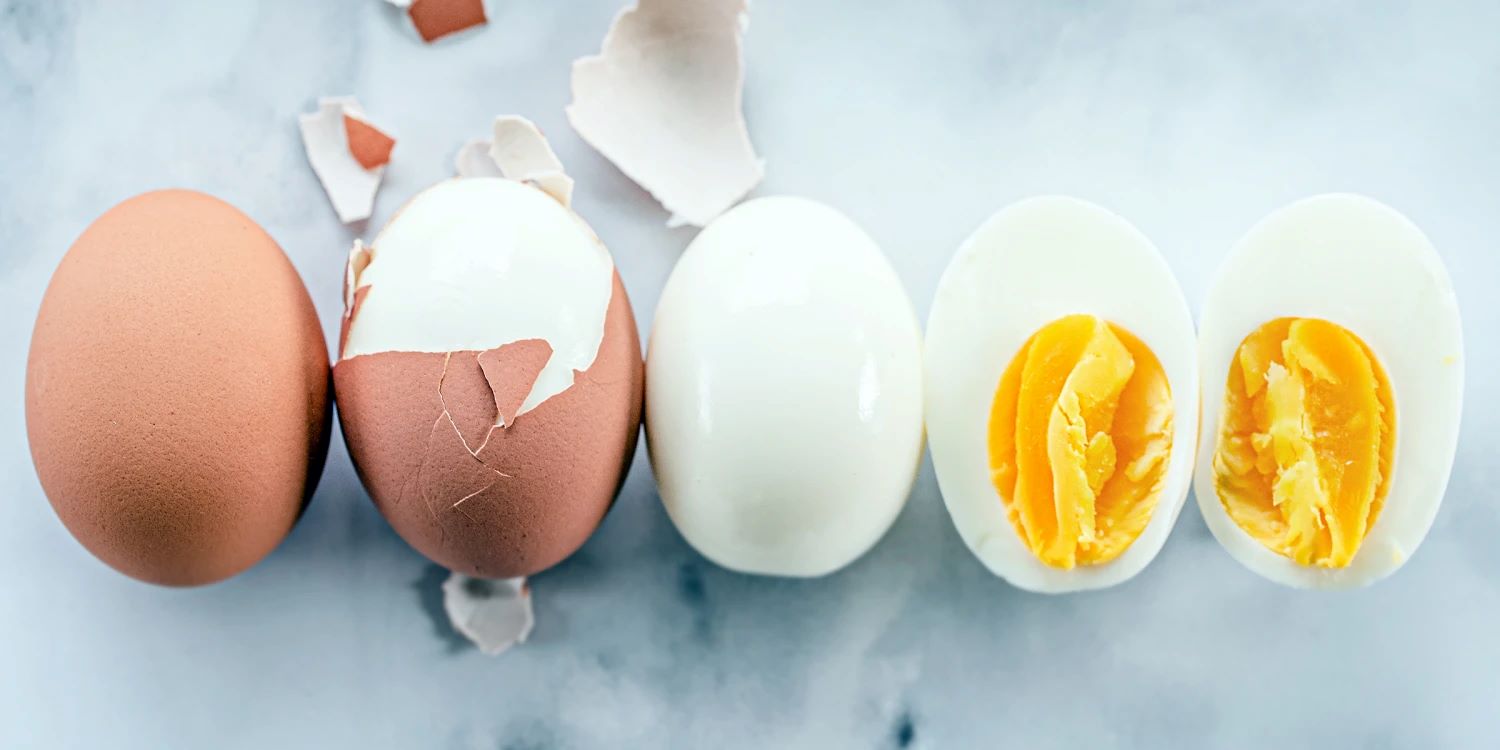
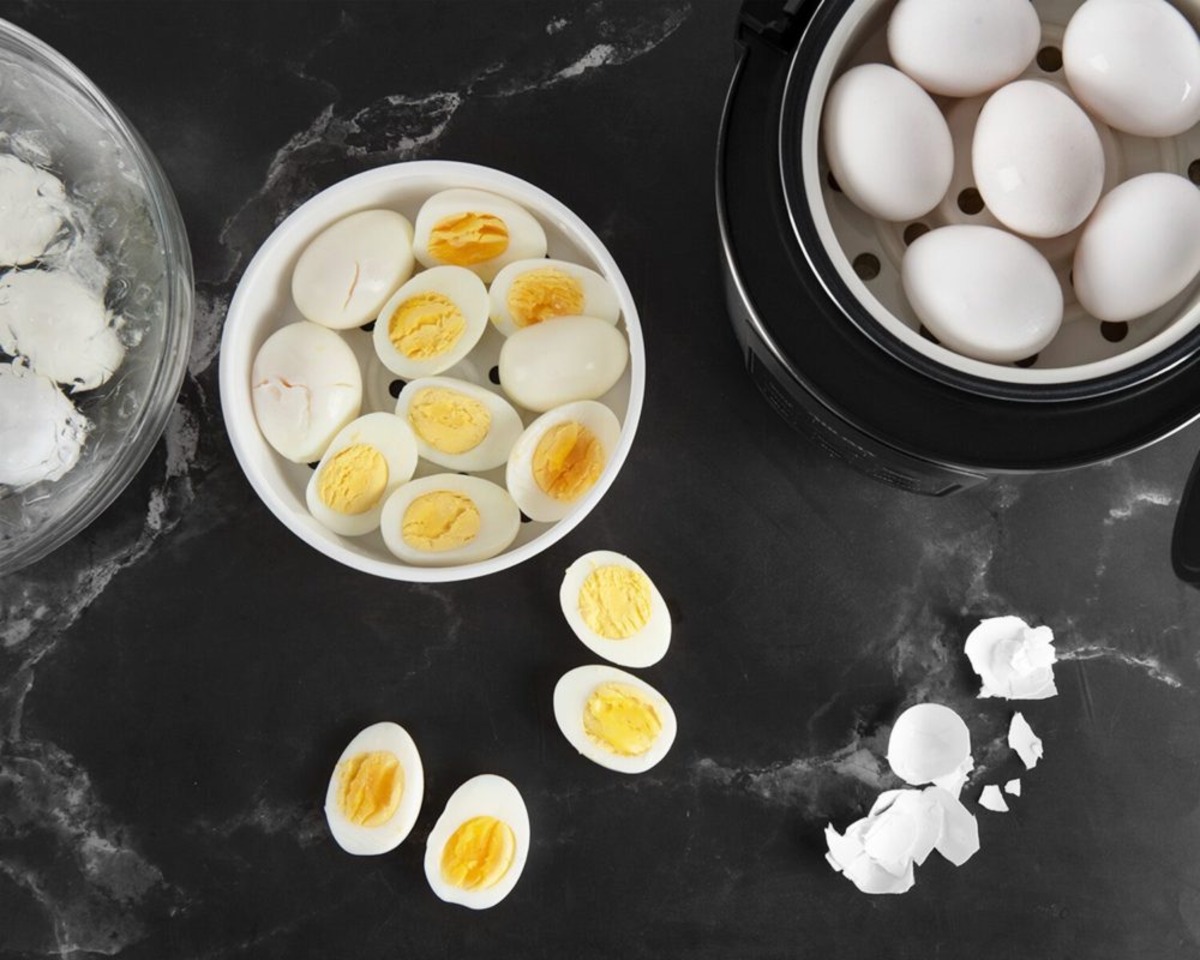
Step 6: Removing and Cooling the Eggs
After boiling the eggs in the electric skillet and determining their desired doneness, the next step is to remove and cool them properly. Follow these steps for safe and effective egg removal and cooling:
- Turn Off the Skillet: Before removing the eggs, turn off the electric skillet to prevent any further cooking.
- Use a Slotted Spoon: Carefully lift each egg from the boiling water using a slotted spoon. The slots in the spoon allow excess water to drain away, preventing the eggs from becoming excessively wet.
- Transfer to a Bowl of Cold Water: Place the eggs immediately into a bowl filled with cold water. The cold water bath serves two purposes: it stops the cooking process and helps the eggs cool down more quickly.
- Let the Eggs Cool: Allow the eggs to cool in the cold water for about 10-15 minutes. This helps in making the eggs easier to handle and peel without burning your fingers.
- Rotate the Eggs: If desired, gently rotate the eggs in the cold water occasionally. This promotes even cooling and prevents the yolks from settling too much to one side.
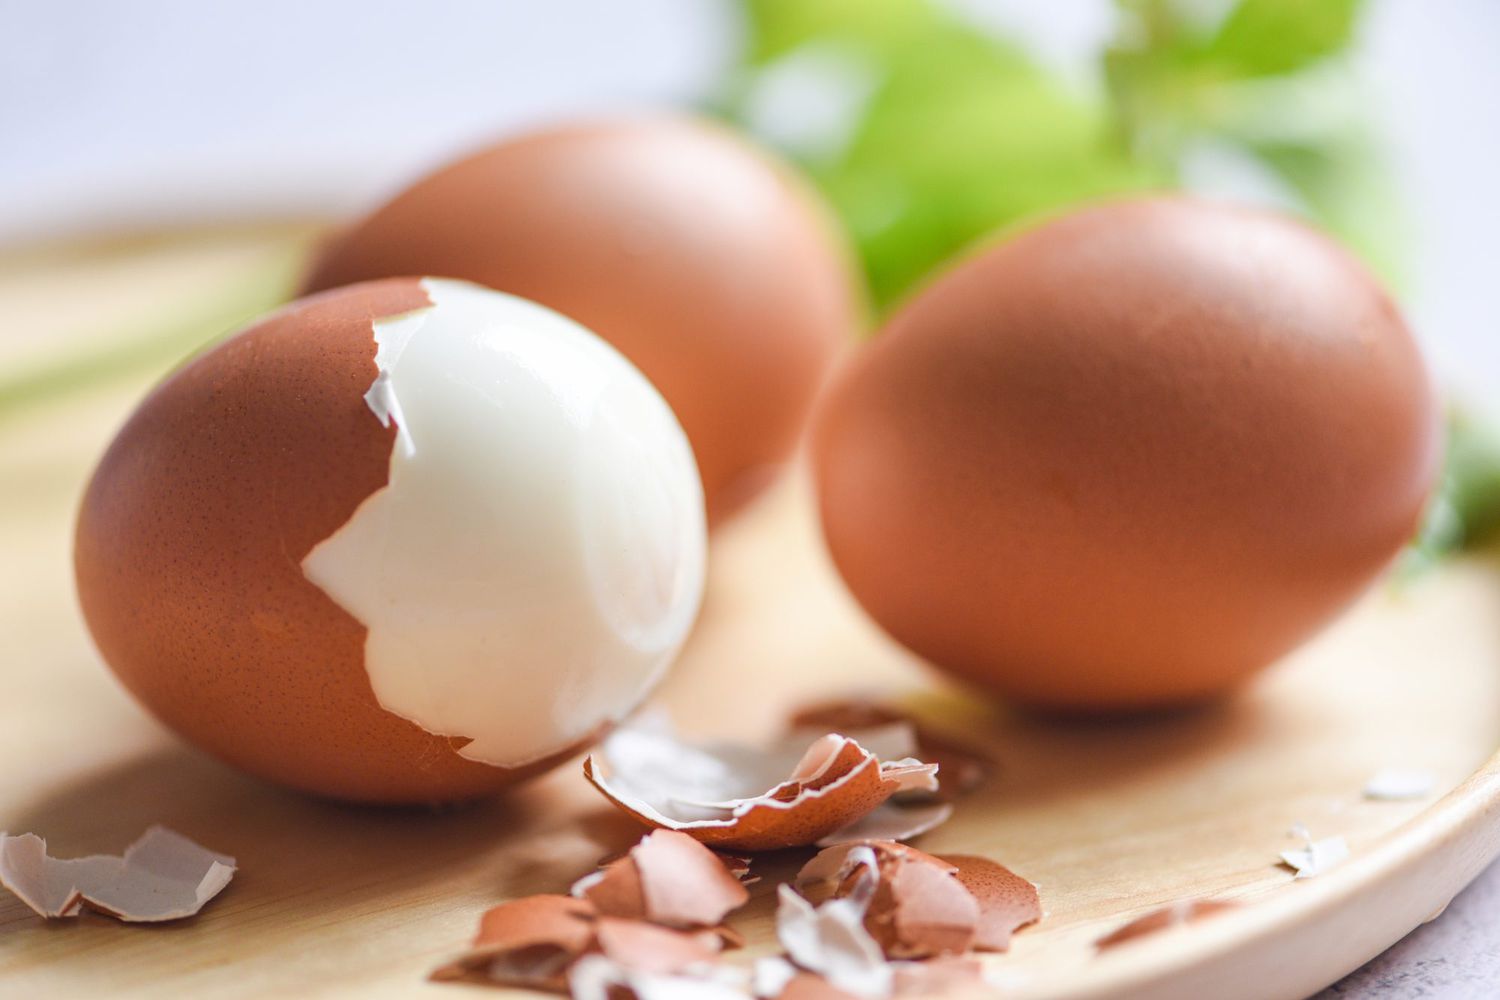
- Peel and Enjoy: Once the eggs have cooled sufficiently, remove them from the cold water and gently tap them against a hard surface to crack the shell. Begin peeling from the wider end of the egg, as it tends to have an air pocket that helps with easier peeling. Rinse the peeled eggs under running water to remove any residual shell fragments.
Following these steps will ensure that you remove and cool the boiled eggs properly. Cooling the eggs in cold water makes them easier to handle and peels, helping you to enjoy your perfectly boiled eggs with minimal effort.
Tips and Tricks for Perfectly Boiled Eggs
Boiling eggs in an electric skillet can yield delicious results, but it’s always helpful to have some additional tips and tricks to achieve perfectly boiled eggs. Here are some suggestions to enhance your egg-boiling prowess:
- Use Room Temperature Eggs: Allowing your eggs to come to room temperature before boiling helps to prevent cracking and promotes more even cooking.
- Prick the Eggs: To further reduce the risk of eggshell cracking, consider pricking the rounded end of each egg with a pin or egg pricker before boiling. This helps release trapped air, reducing the chance of cracks during the cooking process.
- Adjust Cooking Time: If you find that your eggs are consistently overcooked or undercooked, adjust the cooking time accordingly. Experiment with shorter or longer times to achieve your preferred level of doneness.
- Shock the Eggs: After boiling and cooling the eggs, consider giving them a quick shock by tapping them gently on a hard surface all over. This creates tiny cracks in the shell and allows water to seep in, making peeling easier.
- Peel Under Running Water: If you’re having trouble peeling the eggs, try peeling them under a gentle stream of running water. The water helps separate the shell from the egg, making it easier to peel off.
- Use Older Eggs for Easier Peeling: If you have the luxury of planning ahead, opt for using slightly older eggs for boiling. As eggs age, the pH level increases, which makes the egg whites adhere less to the inner membrane, resulting in easier peeling.
- Label and Store: If you’re boiling a large batch of eggs, consider labeling and storing them once cooled. This ensures that you can keep track of their freshness and avoid confusion in the refrigerator.
By implementing these tips and tricks, you can elevate your boiled egg game and consistently achieve perfectly cooked and easy-to-peel eggs. Remember, practice makes perfect, so don’t be afraid to experiment and find your own preferred method!
Conclusion
Boiling eggs in an electric skillet offers a convenient and efficient way to achieve perfectly cooked eggs with ease. The precise temperature control, even heat distribution, and timer function of an electric skillet make it an excellent tool for boiling eggs to your desired level of doneness.
Throughout this article, we discussed the benefits of using an electric skillet for boiling eggs, including consistent results, larger cooking capacity, and energy efficiency. We also provided guidance on selecting the right skillet, preparing the skillet, and the step-by-step process for boiling eggs.
By carefully selecting and preparing the eggs and filling the electric skillet with the right amount of water, you set the stage for successful egg boiling. Setting the temperature and timing accurately ensures that your eggs are cooked to the desired level of doneness. Checking the eggs’ doneness and properly removing and cooling them ensures a delicious end result.
Additionally, we shared some valuable tips and tricks to help you achieve perfectly boiled eggs every time. Whether it’s adjusting cooking time, shocking the eggs, or peeling under running water, these tips can enhance your egg boiling experience and help you achieve eggs with tender whites and a perfectly cooked yolk.
So, next time you’re in the mood for boiled eggs, consider using an electric skillet to streamline the process and enjoy consistent, delicious results. With the right skillet, proper preparation, and a little practice, you’ll soon become an expert at boiling eggs in an electric skillet!
Excited to expand your kitchen skills using your electric skillet? Check out our guide on Electric Skillet Cooking where we cover five versatile cooking methods sure to impress. And if you're curious about other quick kitchen hacks, learn Boiled Eggs techniques using a microwave oven. Both articles offer straightforward tips and tricks to master these cooking skills with ease. Keep cooking, keep mastering!
Frequently Asked Questions about How To Boil Eggs In An Electric Skillet
Was this page helpful?
At Storables.com, we guarantee accurate and reliable information. Our content, validated by Expert Board Contributors, is crafted following stringent Editorial Policies. We're committed to providing you with well-researched, expert-backed insights for all your informational needs.

0 thoughts on “How To Boil Eggs In An Electric Skillet”