Articles
How To Boil Eggs On The Stove Top
Modified: October 20, 2024
Learn how to boil eggs on the stove top with our informative articles. Easy steps and tips to get perfectly boiled eggs every time.
(Many of the links in this article redirect to a specific reviewed product. Your purchase of these products through affiliate links helps to generate commission for Storables.com, at no extra cost. Learn more)
Introduction
Boiling eggs on the stovetop is a simple yet essential cooking skill that everyone should have in their culinary repertoire. Whether you’re preparing deviled eggs, egg salad, or simply enjoying a nutritious breakfast, knowing how to boil eggs to perfection is crucial. In this article, we will guide you through the step-by-step process of boiling eggs on the stovetop, ensuring that you achieve perfectly cooked eggs every time.
Boiling eggs may seem like a straightforward task, but there are a few key factors that can significantly impact the end result. From the freshness of the eggs to the cooking time and cooling process, each step plays a crucial role in achieving the desired consistency and tastiness of your boiled eggs.
Not only is boiling eggs a practical skill, but it is also a versatile one. Whether you prefer soft-boiled, medium-boiled, or hard-boiled eggs, knowing how to cook them properly will allow you to achieve your preferred level of doneness. Plus, boiled eggs are not only delicious on their own but can also be used as a topping for salads, a filling for sandwiches, or a nutritious addition to various recipes.
In this article, we will walk you through the entire process of boiling eggs on the stovetop, starting from gathering the necessary materials to timing the boiling process and finally cooling and storing the boiled eggs. Additionally, we will provide helpful tips and tricks along the way to ensure your success in obtaining perfectly boiled eggs every time.
So, let’s dive in and learn how to master the art of boiling eggs on the stovetop!
Key Takeaways:
- Master the art of boiling eggs on the stovetop by following simple steps. Achieve your desired level of doneness and enjoy versatile, nutritious, and delicious boiled eggs in various recipes.
- Ensure freshness and safety by gathering materials, timing the boiling process, and properly cooling and storing boiled eggs. Practice food safety and enjoy perfectly cooked eggs every time.
Read more: How To Poach An Egg On Stove Top
Step 1: Gathering the necessary materials
Before you begin boiling eggs on the stovetop, it’s important to gather all the necessary materials to ensure a smooth and efficient cooking process. Here’s what you’ll need:
- Eggs: Choose fresh eggs for the best results. Make sure they are not cracked or damaged.
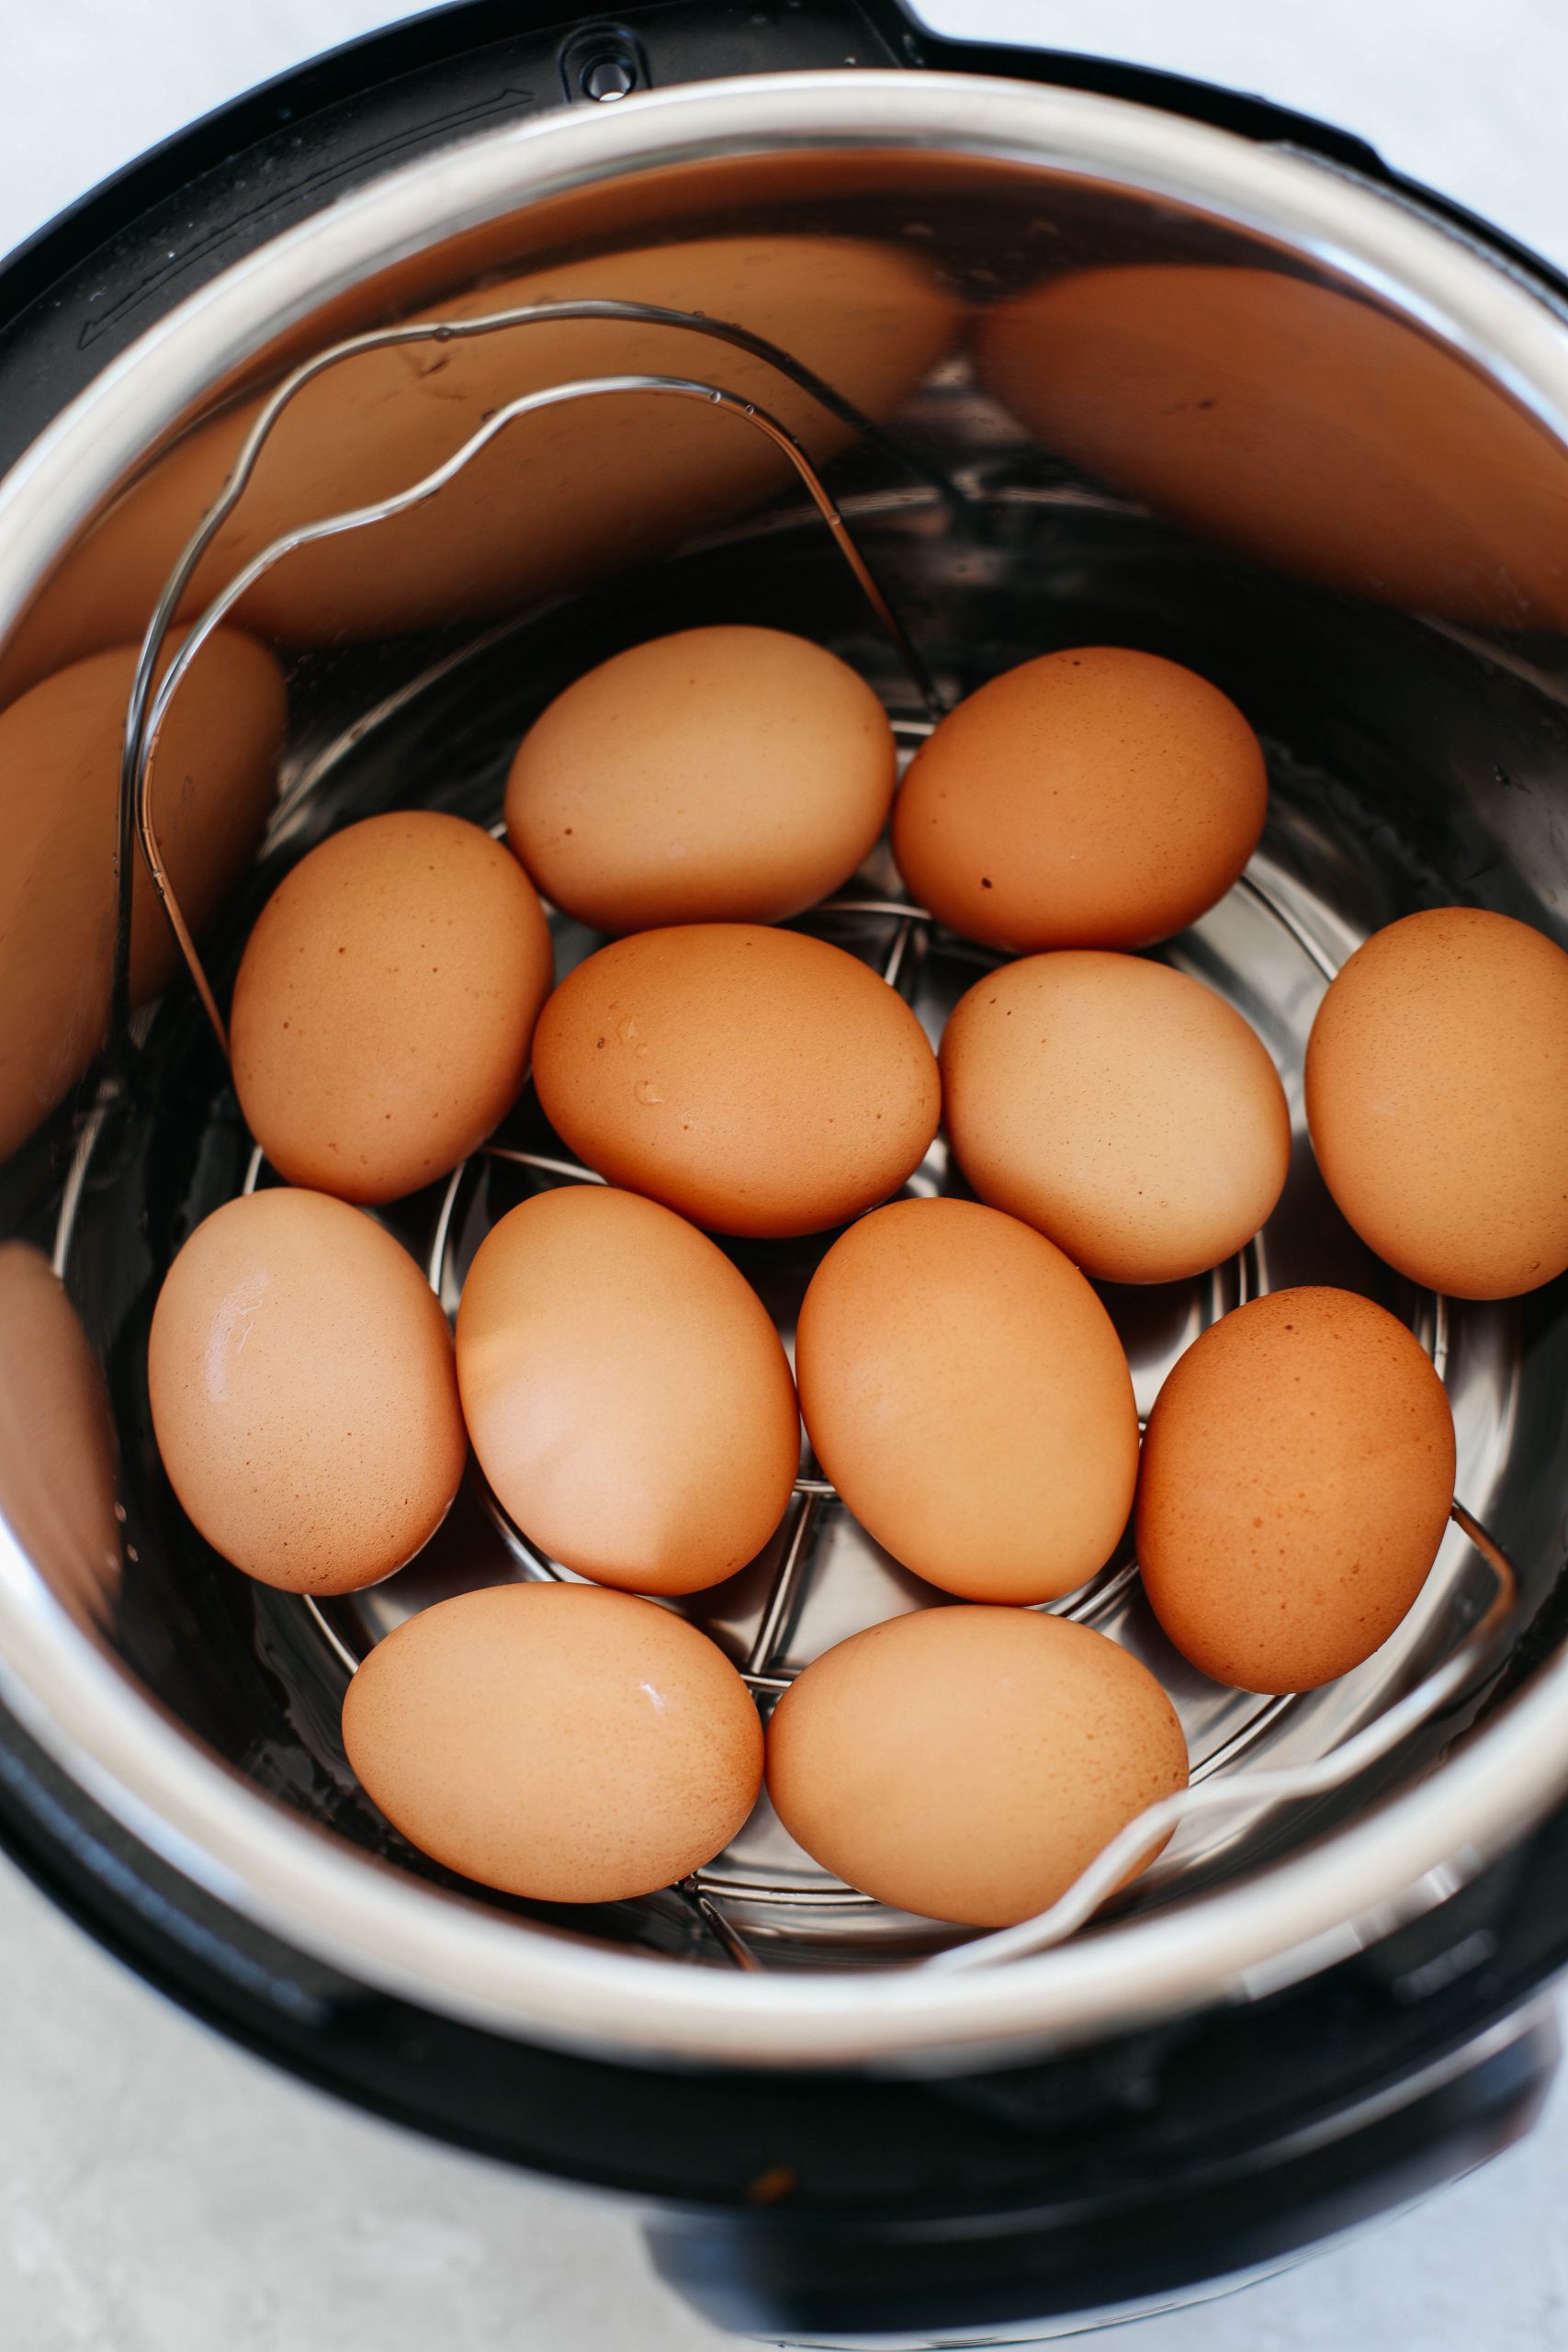
- Saucepan: Select a medium-sized saucepan that is large enough to hold all the eggs in a single layer.
- Water: You’ll need enough water to cover the eggs completely in the saucepan.
- Salt or vinegar (optional): Adding a small amount of salt or vinegar to the water can help prevent the eggs from cracking while boiling.
- Slotted spoon or tongs: These utensils will come in handy when removing the eggs from the boiling water.
- Bowl of ice water: Prepare a large bowl filled with ice water. This will be used to cool the boiled eggs quickly.
- Timer: You’ll need a timer to keep track of the boiling and cooling times.
Once you have gathered all the necessary materials, you’re ready to move on to the next step: preparing the eggs for boiling.
Pro Tip: For best results, it’s recommended to use eggs that are a few days old rather than extremely fresh eggs. This is because slightly older eggs are easier to peel after boiling.
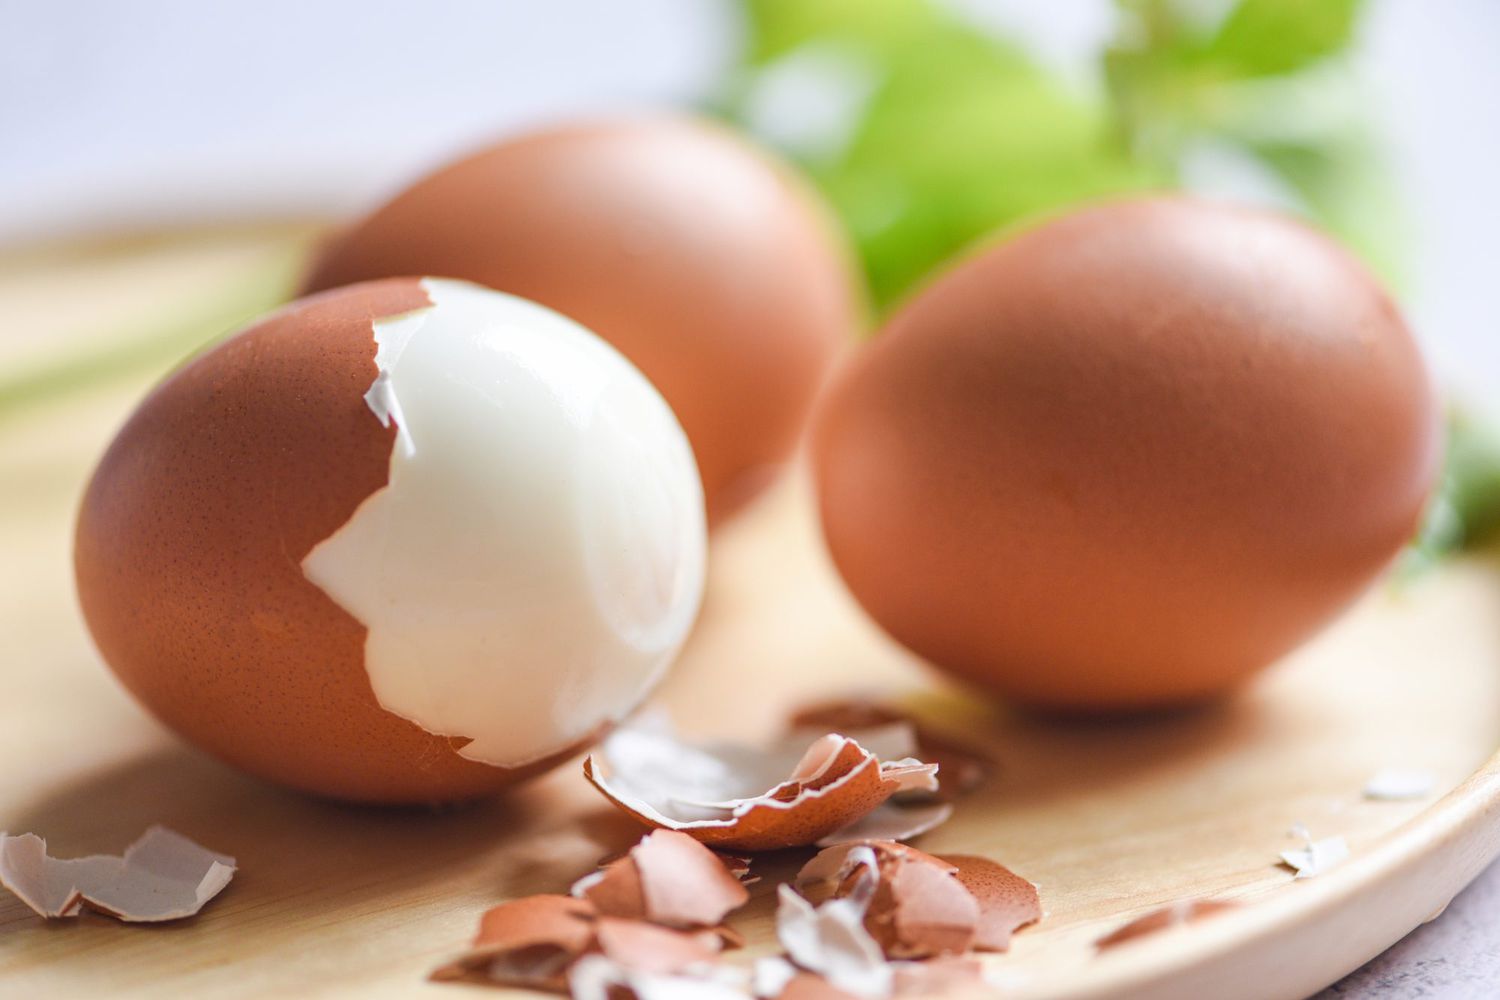
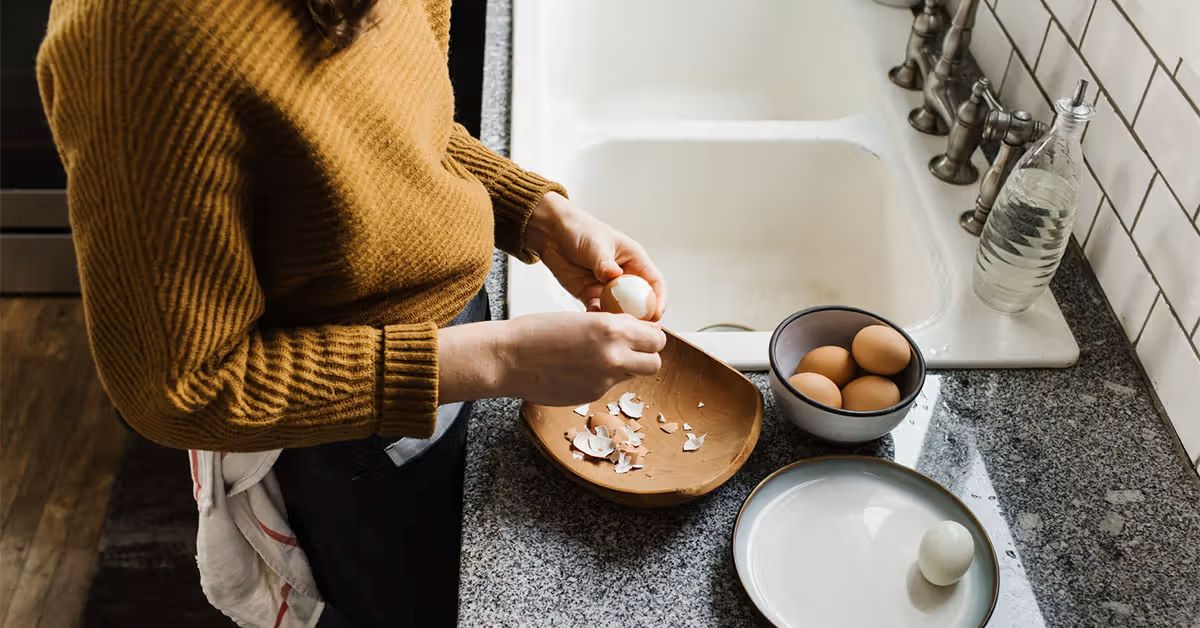
Step 2: Preparing the eggs
Before you can start boiling the eggs, it’s important to properly prepare them. Follow these steps to ensure the eggs are ready for cooking:
- Remove the eggs from the refrigerator: Take the eggs out of the refrigerator and allow them to come to room temperature. This will help prevent the eggs from cracking when they are added to boiling water.
- Inspect the eggs: Carefully examine each egg to make sure there are no cracks or visible damage. Cracked eggs should not be boiled, as they can leak out into the water and affect the cooking process.
- Wash the eggs (optional): Some people prefer to wash the eggs before boiling them to remove any dirt or bacteria. If you choose to do so, gently wash the eggs under lukewarm water. However, it’s important to note that commercial eggs are already thoroughly cleaned and washed, so washing them is generally unnecessary.
- Puncture the eggs (optional): Another optional step is to puncture the rounded end of each egg with a pin or egg pricker. This helps to release any air trapped inside the egg, preventing them from cracking during the boiling process.
Once you have completed these steps, your eggs are now prepared and ready to be boiled. The next step is to bring them to a rolling boil.
Pro Tip: If you plan to use your boiled eggs for recipes that require them to be peeled, it’s recommended to use eggs that are a few days old. Slightly older eggs are easier to peel compared to extremely fresh eggs.
Step 3: Boiling the eggs
Now that your eggs are prepared, it’s time to start the boiling process. Follow these steps to ensure your eggs are perfectly boiled:
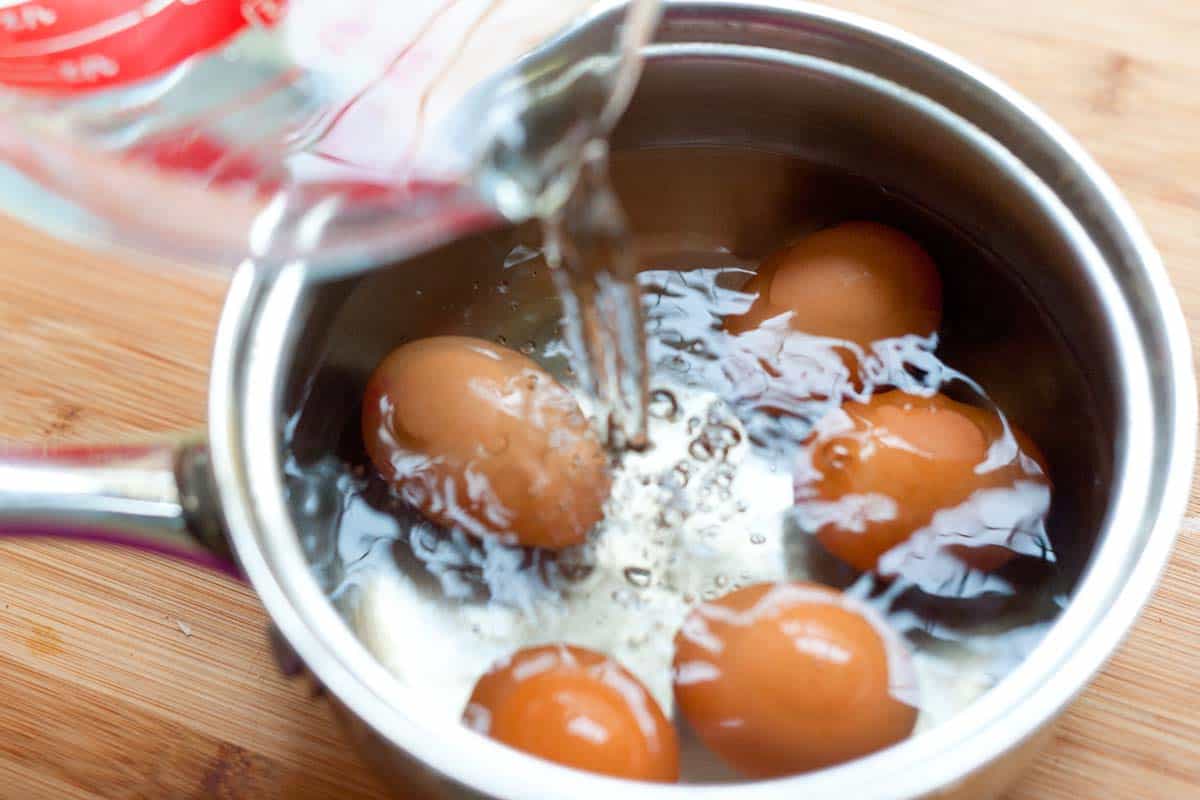
- Add water to the saucepan: Fill the saucepan with enough water to cover the eggs completely. You can add a pinch of salt or a splash of vinegar to the water, as this may help prevent the eggs from cracking.
- Place the eggs in the saucepan: Gently lower the prepared eggs into the saucepan, ensuring that they are in a single layer and not overcrowded. If needed, cook the eggs in batches.
- Heat the water: Place the saucepan on the stovetop over medium heat. Slowly bring the water to a gentle boil. Avoid using high heat, as rapid temperature changes can lead to cracked eggs.
- Reduce the heat: Once the water reaches a gentle boil, reduce the heat to low or medium-low. This will maintain a simmering temperature without causing the water to vigorously boil.
- Set the timer: Depending on your desired level of doneness, set the timer for the appropriate cooking time. Here are some general guidelines to follow:
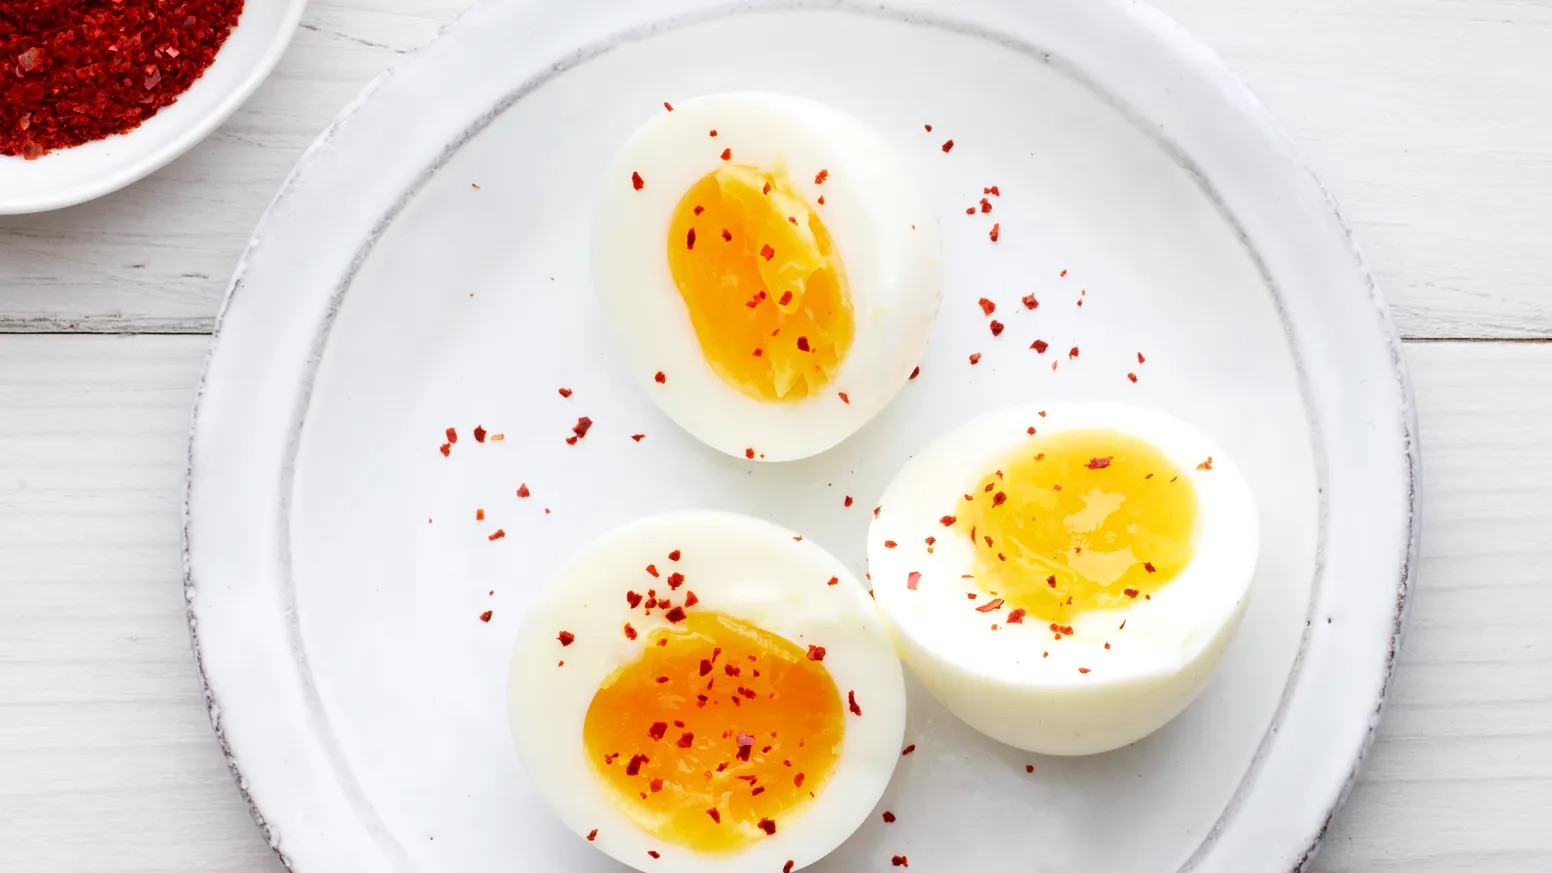
- Soft-boiled eggs: Cook for about 4 to 6 minutes for a runny yolk and firm whites.
- Medium-boiled eggs: Cook for around 6 to 8 minutes for a slightly soft yolk and firm whites.
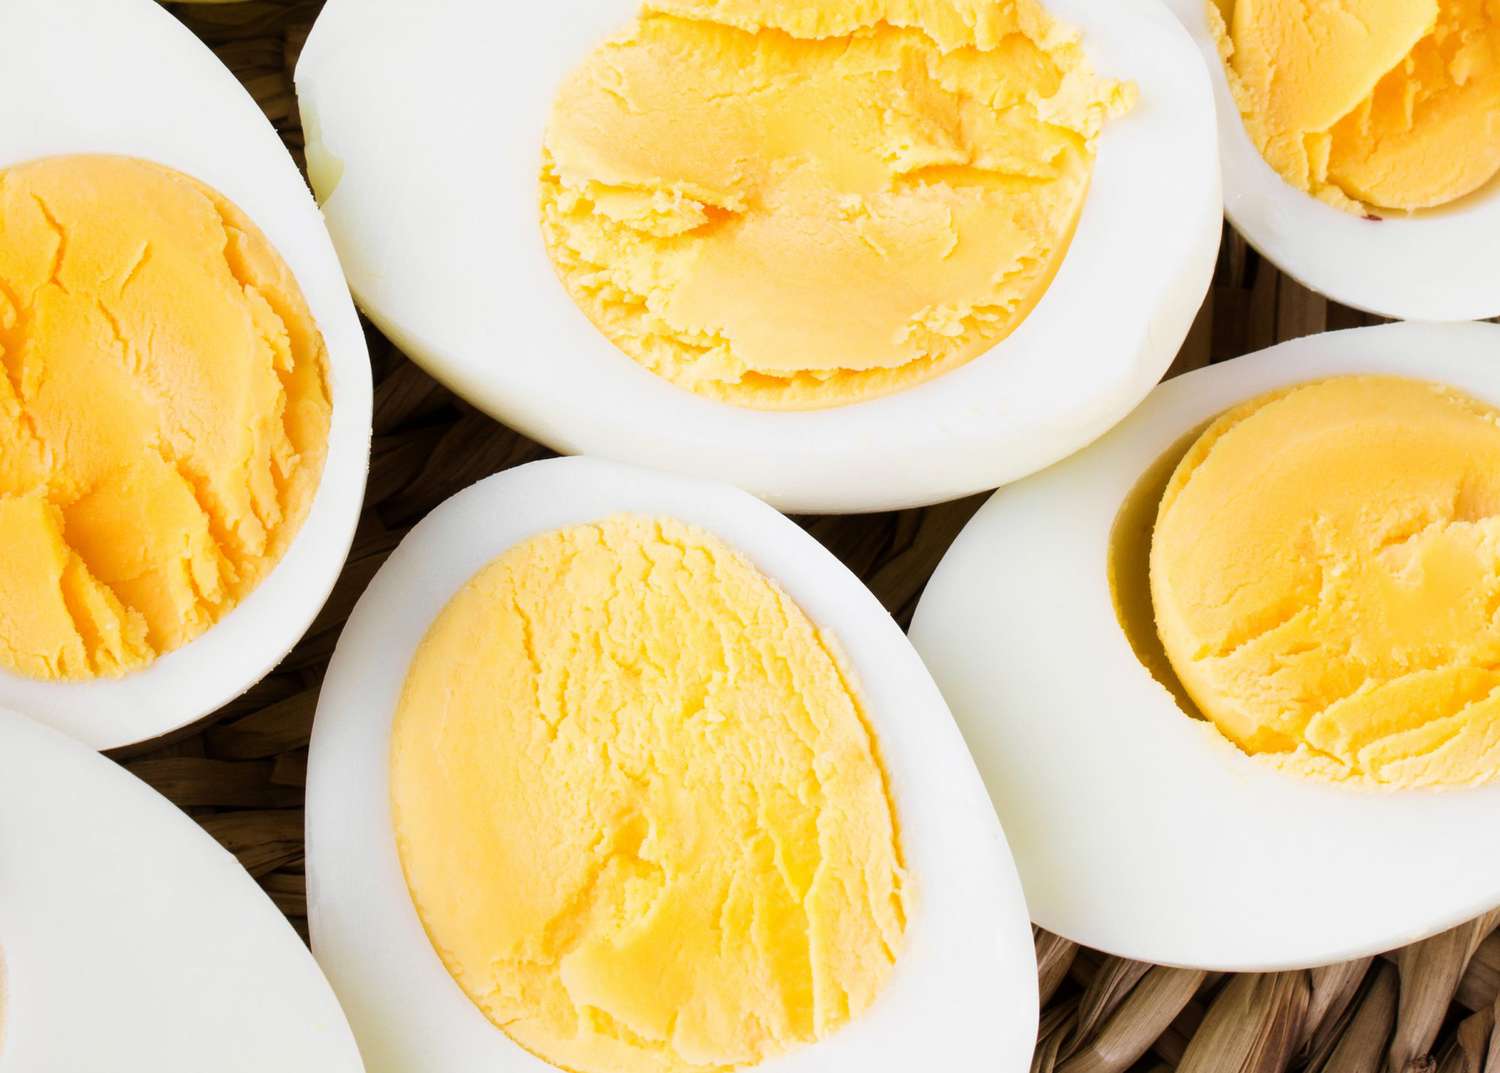
- Hard-boiled eggs: Cook for approximately 9 to 12 minutes for a fully set yolk and firm whites.
- Keep an eye on the eggs: While the eggs are simmering, occasionally check the water level to ensure it hasn’t evaporated too much. If needed, you can add a little more hot water to maintain the desired level.
Once the timer goes off, you’ve successfully boiled the eggs. It’s now time to move on to the next step: timing the boiling process to achieve the desired consistency.
Pro Tip: If you’re unsure about the cooking time for your desired level of doneness, you can do a quick test by removing one egg from the saucepan and carefully cracking it open to check the yolk’s consistency. If it’s not cooked to your liking, simply return the egg to the boiling water and continue cooking.
To boil eggs on the stove top, place the eggs in a single layer in a pot and cover with cold water. Bring the water to a boil, then reduce heat and simmer for 9-12 minutes for hard-boiled eggs.
Step 4: Timing the boiling process
Timing the boiling process is crucial to achieve the desired consistency of your boiled eggs. Follow these steps to ensure you get the perfect texture:
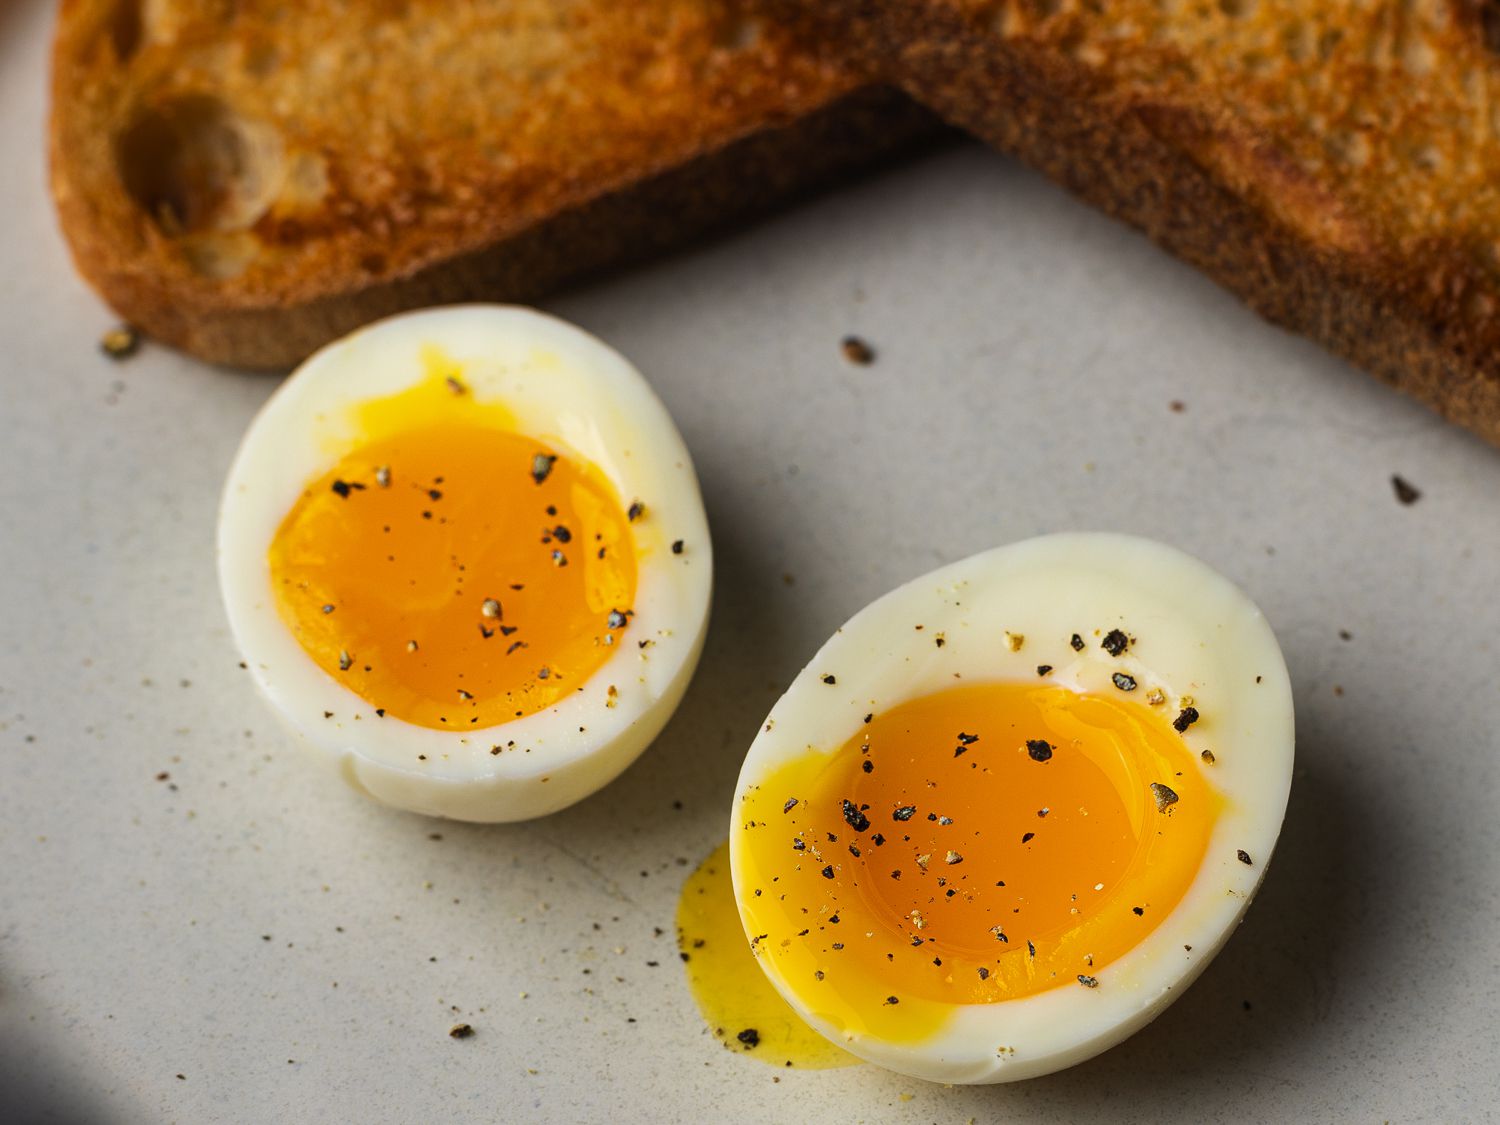
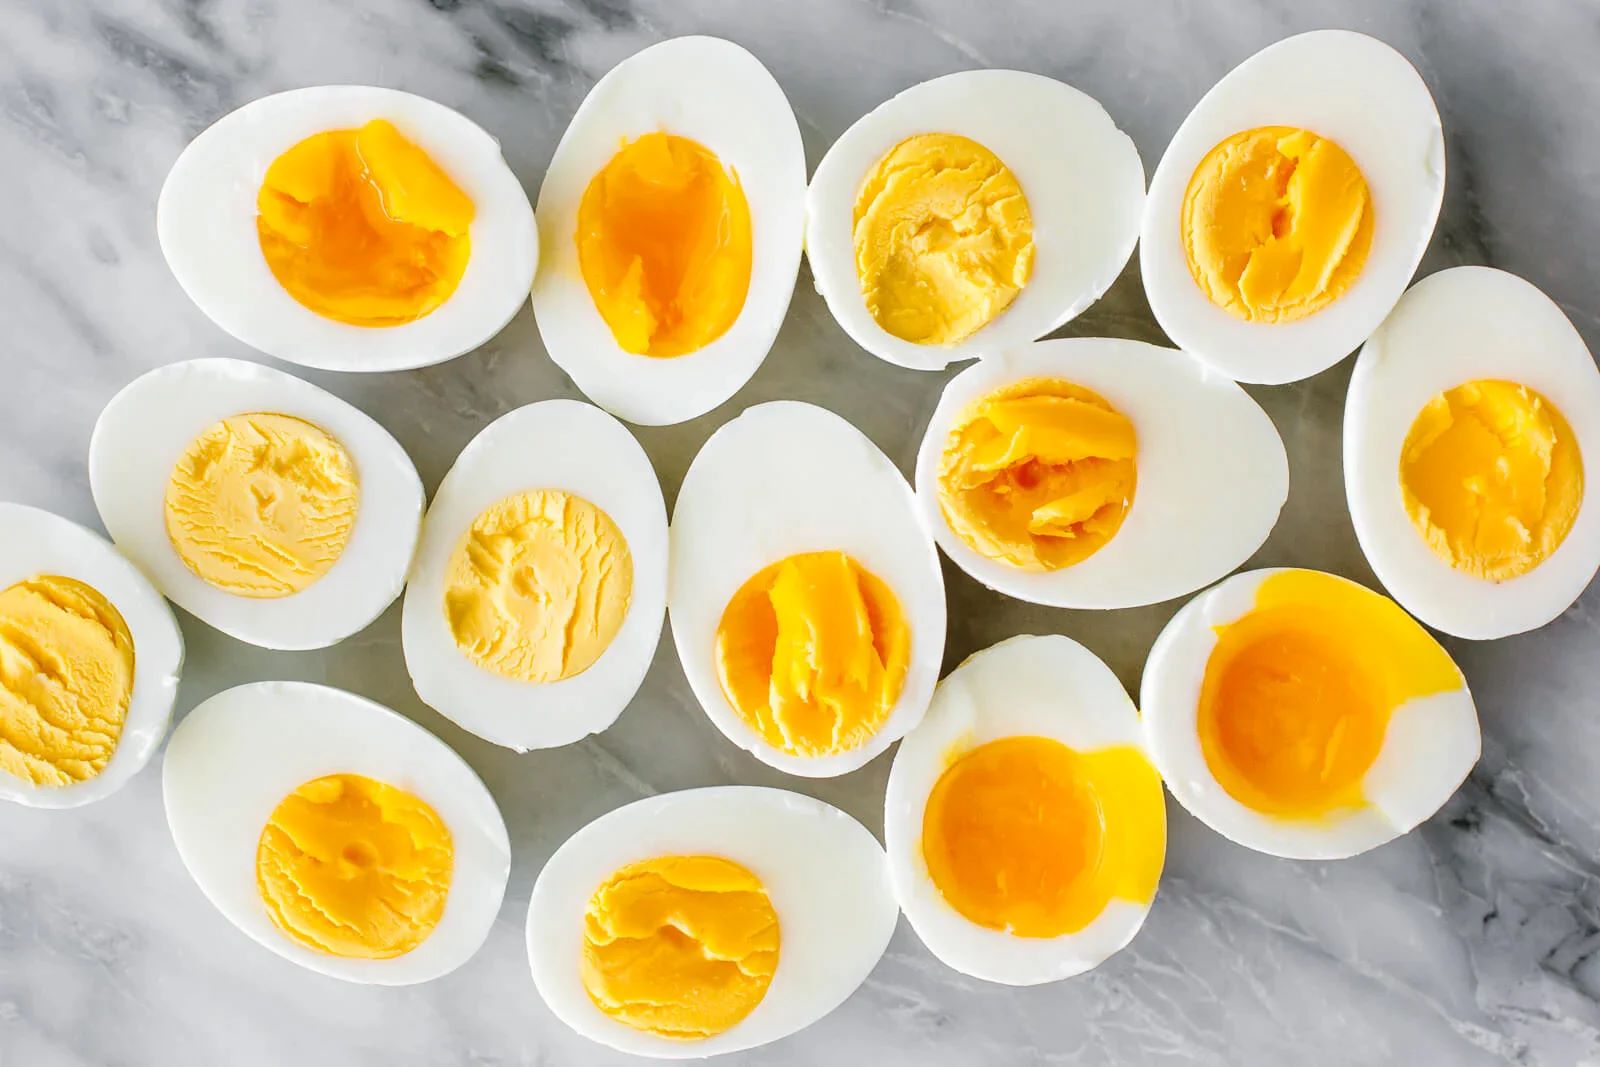
- Soft-boiled eggs: If you prefer your eggs with a runny yolk and firm whites, cook them for about 4 to 6 minutes. This will result in a creamy and indulgent yolk.
- Medium-boiled eggs: For a slightly soft and custardy yolk with firm whites, cook the eggs for approximately 6 to 8 minutes.
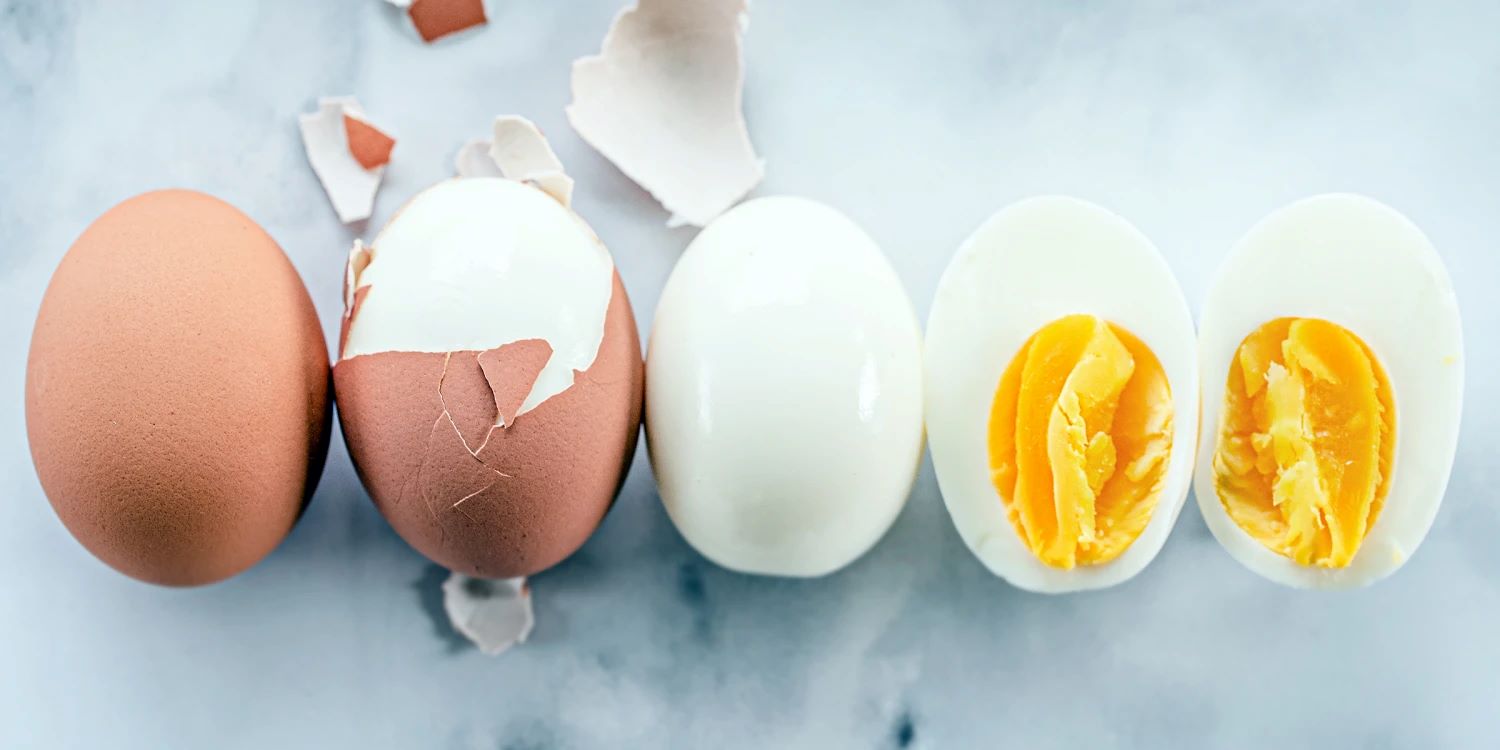
- Hard-boiled eggs: If you prefer a fully set yolk and firm whites, cook the eggs for around 9 to 12 minutes. This will give you a solid and well-cooked yolk.
It’s important to note that these timings are approximate and can vary depending on factors such as the size of the eggs and the altitude at which you are boiling them. You may need to adjust the cooking times according to your own preferences and conditions.
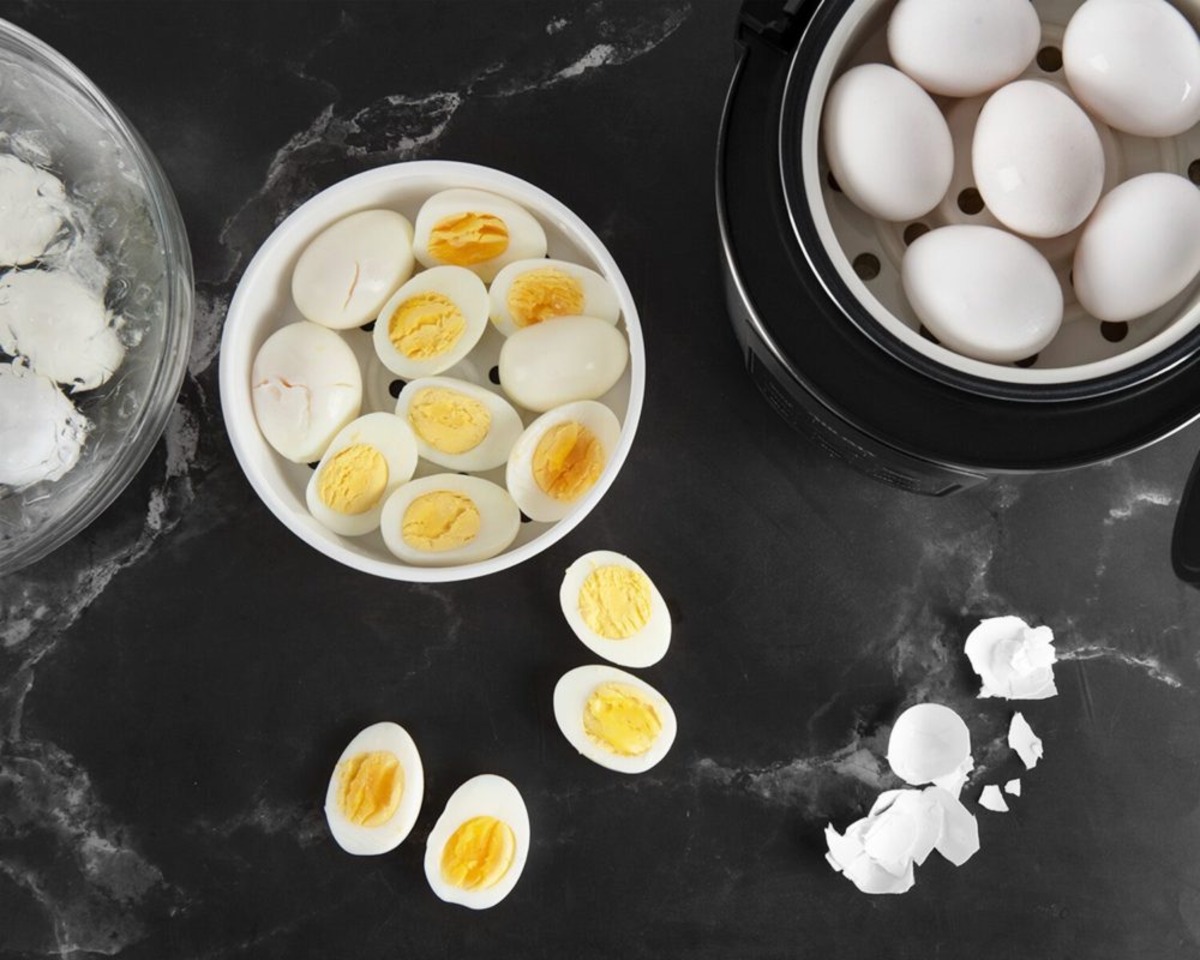
Once the eggs have been cooked for the desired time, carefully remove them from the boiling water using a slotted spoon or tongs. Place them in a bowl of ice water immediately to stop the cooking process and cool them down.
The ice water bath serves two purposes: it cools the eggs rapidly and helps prevent the yolks from turning gray. Leave the eggs in the ice water for about 5 minutes to ensure they are fully cooled and ready to be peeled.
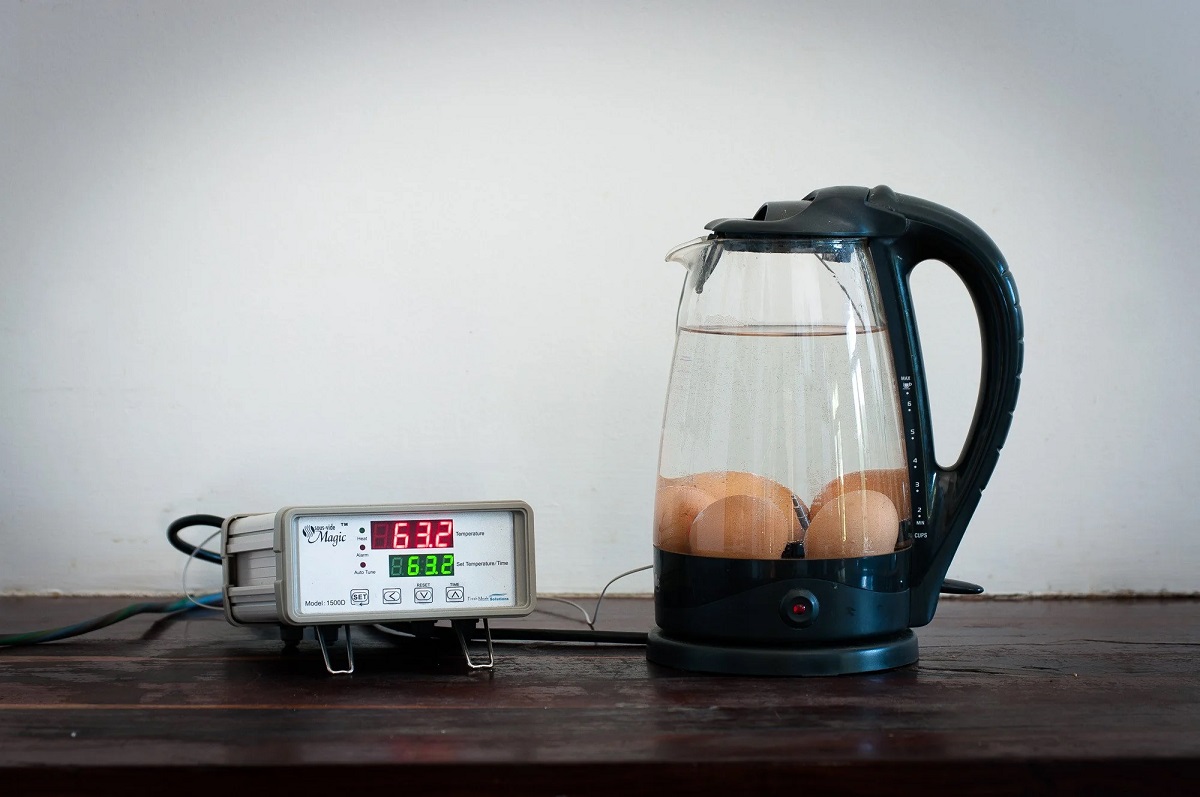
Pro Tip: If you prefer the convenience of consistency and want to achieve the same results every time, use a kitchen timer or an alarm to ensure precise timing. This will help you achieve consistently perfect boiled eggs.
Read more: How Long To Boil Eggs On Induction Cooktop
Step 5: Cooling and storing the boiled eggs
After boiling the eggs to perfection, it’s essential to properly cool and store them to maintain their freshness and prevent any potential food safety issues. Follow these steps to cool and store your boiled eggs:
- Remove the eggs from the ice water bath: Carefully lift the eggs out of the ice water using a slotted spoon or tongs. Gently pat them dry with a paper towel to remove any excess moisture.
- Inspect the eggs: Before storing the boiled eggs, take a moment to check for any cracks or damage that may have occurred during the boiling or cooling process. Discard any eggs that are cracked or have compromised shells.
- Choose the storage method: You have a few options for storing boiled eggs. You can keep them in their shells, which helps protect them and prolong their freshness. Alternatively, you can peel the eggs if you plan to use them in recipes or as a quick snack.
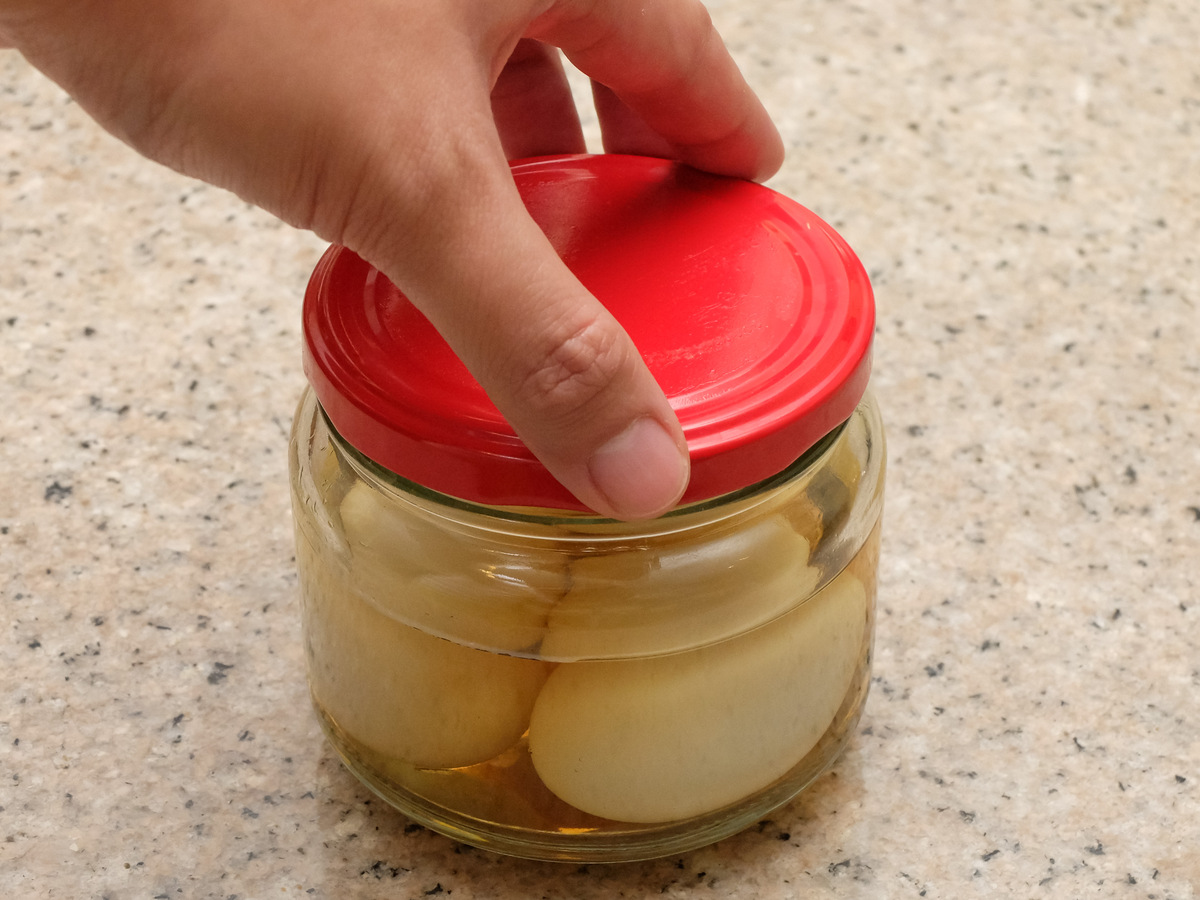
- Storage in the shell: If you opt to store the eggs in their shells, place them in a clean and dry container. You can store them in the refrigerator for up to one week. To easily differentiate between boiled and raw eggs, you can mark the boiled ones with an “B” or use a separate container.
- Peeling the eggs: If you choose to peel the eggs, it’s best to do so right before consuming or using them. Peel the eggs under cool running water to facilitate the peeling process and remove any remaining shell fragments.
- Storage without the shell: If you have peeled the eggs and don’t plan to use them immediately, place them in an airtight container or wrap them tightly with plastic wrap. Store them in the refrigerator and consume within 2-3 days.
Remember to always practice proper food safety when handling and storing boiled eggs. Wash your hands thoroughly before and after handling eggs, and refrigerate them promptly after boiling to prevent bacteria growth.
Pro Tip: If you’re unsure whether a boiled egg is still fresh, you can perform a simple freshness test. Spin the egg on a flat surface and observe its movement. A fresh egg will spin smoothly, while an older egg may wobble or not spin as freely.
By following these steps, you can ensure your boiled eggs remain fresh, delicious, and safe to consume. Enjoy your perfectly boiled eggs in salads, sandwiches, or enjoy them on their own as a nutritious snack.
Conclusion
Boiling eggs on the stovetop is a basic cooking skill that can bring delicious and versatile results to your meals. By following the steps outlined in this article, you can master the art of boiling eggs and achieve the desired level of doneness every time.
Gathering the necessary materials, preparing the eggs, boiling them for the appropriate time, and cooling and storing them correctly are all essential steps in the process. Each step plays a significant role in ensuring that your boiled eggs turn out perfectly cooked, with firm whites and creamy yolks.
Remember, the cooking times provided are guidelines, and you can adjust them based on your personal preferences. Soft-boiled, medium-boiled, or hard-boiled, the choice is yours.
Boiled eggs are not only a tasty and nutritious snack on their own, but they can also be used in various recipes. From salads and sandwiches to adding them as a protein-rich topping, boiled eggs can enhance the flavor and texture of your dishes.
It’s important to practice food safety by properly inspecting the eggs, cooling them in ice water, and storing them in the refrigerator in their shells or peeled, depending on your needs. This will help maintain their freshness and minimize any potential foodborne illnesses.
Now that you have learned the step-by-step process of boiling eggs on the stovetop, it’s time to put your newfound skills to use. So go ahead and enjoy the versatility and simplicity of boiled eggs in your favorite dishes!
Whether you’re a seasoned cook or just starting in the kitchen, boiling eggs is a fundamental skill that anyone can master. So next time you crave a delicious and healthy egg dish, remember that you have the knowledge and know-how to boil eggs on the stovetop like a pro.
Happy boiling and enjoy your perfectly cooked eggs!
Frequently Asked Questions about How To Boil Eggs On The Stove Top
Was this page helpful?
At Storables.com, we guarantee accurate and reliable information. Our content, validated by Expert Board Contributors, is crafted following stringent Editorial Policies. We're committed to providing you with well-researched, expert-backed insights for all your informational needs.
0 thoughts on “How To Boil Eggs On The Stove Top”