
Articles
How To Clean Jura Coffee Machine
Modified: February 20, 2024
Learn effective methods to clean your Jura coffee machine with our informative articles. Keep your coffee brewing at its best.
(Many of the links in this article redirect to a specific reviewed product. Your purchase of these products through affiliate links helps to generate commission for Storables.com, at no extra cost. Learn more)
Introduction
Having a Jura coffee machine is a true luxury. It allows you to enjoy a freshly brewed cup of coffee in the comfort of your own home, just like the one you would get from a professional barista. However, like any coffee machine, it requires regular cleaning and maintenance to ensure the best taste and longevity.
In this article, we will guide you through the process of cleaning your Jura coffee machine to maintain its performance and keep it running smoothly. Whether you have a Jura espresso machine or a Jura super-automatic coffee machine, these cleaning tips will help you achieve the best brewing results and prolong the lifespan of your appliance.
Key Takeaways:
- Regularly cleaning and descaling your Jura coffee machine is crucial to maintain optimal performance, flavor, and longevity. Follow the manufacturer’s instructions and keep a cleaning schedule to enjoy consistently delicious coffee.
- Properly cleaning the internal and external components of your Jura coffee machine, including the coffee grinder, brewing system, milk frother, and exterior, is essential for a rich and satisfying coffee experience. Remember to use filtered water and store your coffee beans properly for the best results.
Read more: How To Use Jura Coffee Machine
Supplies Needed
Before you start cleaning your Jura coffee machine, it’s important to gather the necessary supplies. Having these items on hand will make the cleaning process much more efficient and effective. Here’s what you’ll need:
- Clean, lint-free cloth or sponge
- Hot water
- Jura cleaning tablets
- Jura descaling solution
- Mild dish soap
- Clean water
- Soft bristle brush
Make sure you have these supplies readily available before proceeding with the cleaning steps.
Step 1: Preparation
Before you begin cleaning your Jura coffee machine, it’s important to prepare it properly. The preparation step ensures that the machine is ready for a thorough cleaning and that all removable parts are accessible.
- Turn off the machine: Start by turning off the Jura coffee machine and unplugging it from the power source. This step is crucial to ensure your safety and prevent any accidents during the cleaning process.
- Remove coffee beans: Empty the coffee bean container and remove any remaining coffee beans. It’s important to clean the container before refilling it to prevent any residue or stale coffee from affecting the taste of your brew.
- Take out the drip tray and spout: Carefully remove the drip tray and the spout from the machine. These parts are prone to collecting coffee drips and other debris, so it’s essential to clean them thoroughly.
- Empty water reservoir: Check the water reservoir and empty any remaining water. This ensures that you start with a clean slate and prevents any cross-contamination during the cleaning process.
Once you have completed these preparation steps, you are ready to move on to the actual cleaning process. By preparing your Jura coffee machine beforehand, you ensure a smooth and efficient cleaning experience.
Step 2: Cleaning the Coffee Grinder
The coffee grinder is a crucial component of your Jura coffee machine as it grinds the coffee beans to the desired consistency. Over time, the grinder may accumulate residue and oils from the coffee beans, affecting the quality and flavor of your brew. Here’s how to clean the coffee grinder:
- Remove the coffee bean hopper: Start by lifting or twisting off the coffee bean hopper from the top of the machine. This will give you access to the grinder mechanism.
- Brush away loose debris: Use a soft bristle brush to gently brush away any loose debris or coffee grounds from around the grinder. Pay close attention to the crevices and hard-to-reach areas.
- Clean the hopper and lid: If the coffee bean hopper and lid are removable, wash them with mild dish soap and warm water. Rinse them thoroughly and allow them to dry completely before reattaching.
- Run a cleaning cycle: Some Jura coffee machines have a built-in cleaning cycle for the grinder. Follow the instructions in your machine’s manual to initiate the cleaning cycle. This will help remove any built-up oils or residue from the grinder.
Once you have completed these steps, your coffee grinder should be clean and ready to deliver freshly ground coffee for your next brewing session. Cleaning the coffee grinder regularly ensures optimal performance and enhances the taste of your coffee.
Step 3: Cleaning the Coffee Brewing System
The coffee brewing system is where the magic happens in your Jura coffee machine. It’s essential to clean this part regularly to remove any coffee residue, oils, or mineral buildup that can affect the taste of your brew. Follow these steps to clean the coffee brewing system:
- Prepare a cleaning solution: Fill a container with hot water and add the appropriate amount of Jura cleaning tablets as directed in the packaging instructions. Dissolve the tablets thoroughly in the water.
- Place a container under the coffee spout: Position a container underneath the coffee spout to catch any cleaning solution that will be flushed through the system.
- Start the cleaning cycle: Depending on your Jura machine model, activate the cleaning cycle. This process will flush the cleaning solution through the brewing system, ensuring a thorough cleaning.
- Repeat the cleaning cycle: Running the cleaning cycle once may not be sufficient to remove all the residue. If necessary, repeat the cleaning cycle a second time for optimal results.
- Rinse with clean water: After completing the cleaning cycle, run a cycle with clean water to rinse out any remaining cleaning solution. This step ensures that your next brew is free from any cleaning agents.
Regularly cleaning the coffee brewing system is crucial to maintain the quality and flavor of your coffee. By following these steps, you ensure that your Jura coffee machine continues to deliver a rich and delicious brewing experience.
Regularly clean your Jura coffee machine by using Jura cleaning tablets and following the manufacturer’s instructions. This will help to remove any built-up coffee oils and maintain the machine’s performance.
Read more: How To Fix Jura Coffee Machine
Step 4: Descaling the Coffee Machine
Over time, mineral deposits can build up in your Jura coffee machine due to the natural presence of minerals in water. Descaling the coffee machine is essential to remove these deposits and keep your machine functioning optimally. Here’s how to descale your Jura coffee machine:
- Prepare the descaling solution: Follow the instructions on the Jura descaling solution packaging to prepare the solution. Mix it with the appropriate amount of water as directed.
- Pour the descaling solution into the water reservoir: Carefully pour the prepared descaling solution into the water reservoir of your Jura coffee machine.
- Start the descaling cycle: Depending on your Jura machine model, initiate the descaling cycle. This process will circulate the descaling solution through the internal components to remove mineral buildup.
- Collect the liquid waste: As the descaling cycle runs, make sure to place a container under the coffee spout to collect the liquid waste.
- Rinse the machine: Once the descaling cycle is completed, rinse the machine thoroughly by running multiple cycles with clean water. This will remove any remaining descaling solution from the internal components.
It is recommended to descale your Jura coffee machine every three to six months, depending on the hardness of the water used and the frequency of use. Regular descaling will maintain the performance and efficiency of your machine, ensuring the best brewing results.
Step 5: Cleaning the Milk Frother
If your Jura coffee machine comes with a milk frother, it’s important to clean it regularly to maintain its functionality and hygiene. Milk residue can accumulate in the frother, leading to clogs and affecting the taste of your milk-based drinks. Follow these steps to clean the milk frother:
- Detach the milk frother: Depending on your Jura machine model, detach the milk frother from the machine. This may involve twisting or pulling it off.
- Disassemble the components: Take apart the different components of the milk frother, such as the frothing wand, the milk container, and any other detachable parts. Check your machine’s manual for specific instructions on how to disassemble the milk frother.
- Wash with warm soapy water: Use mild dish soap and warm water to wash all the detachable components. Make sure to clean them thoroughly, paying special attention to any nooks or crevices where milk residue may be hiding.
- Rinse and dry: Rinse all the components with clean water to remove any soap residue. Allow them to air dry completely before reassembling the milk frother.
- Clean the frothing wand: Use a damp cloth or sponge to wipe down the frothing wand. Pay attention to any milk buildup on the surface. If necessary, use a soft bristle brush to clean hard-to-reach areas.
- Reassemble the milk frother: Once all the components are dry, reassemble the milk frother carefully, ensuring that everything is properly aligned and securely attached.
Regularly cleaning the milk frother will prevent milk residue from building up and ensure that you consistently achieve creamy and delicious foam for your beverages.
Step 6: Cleaning the Exterior
While it’s important to focus on the internal components of your Jura coffee machine, cleaning the exterior is also necessary to maintain its appearance and overall cleanliness. Follow these steps to clean the exterior of your Jura coffee machine:
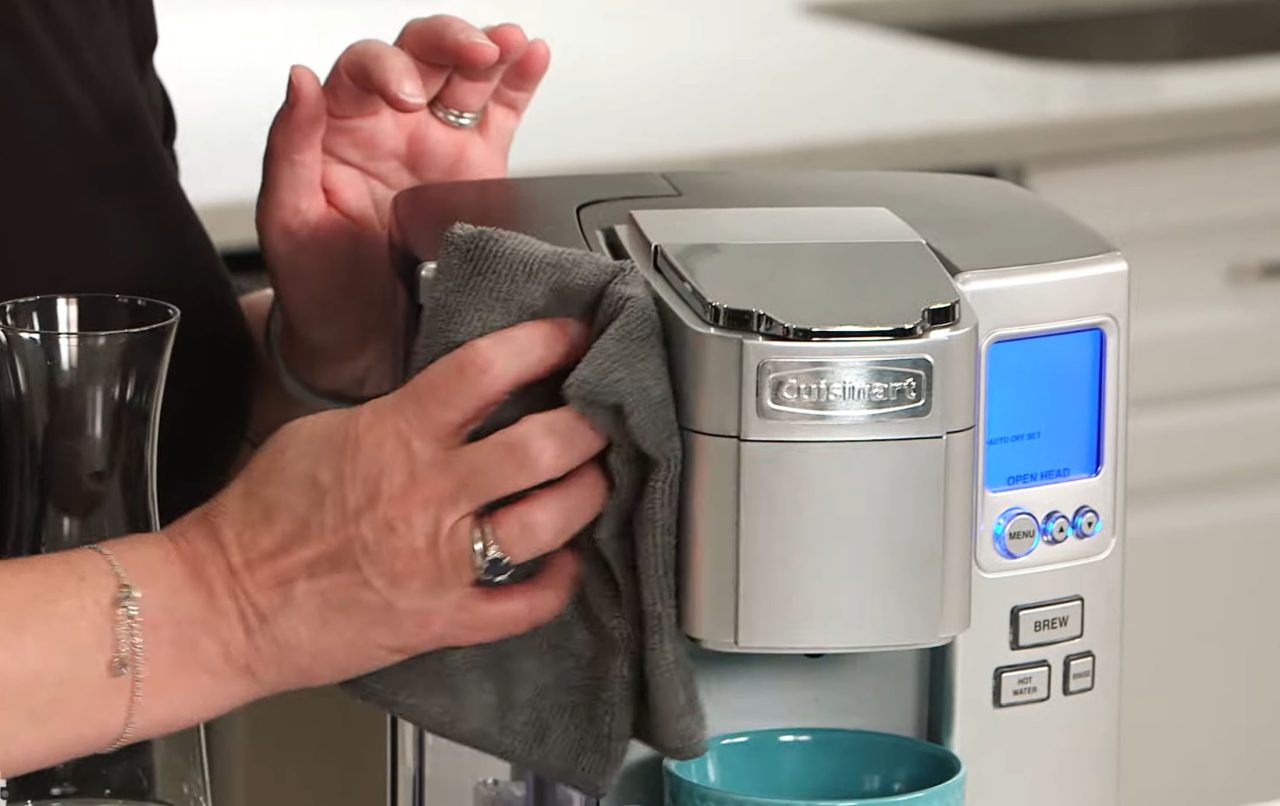
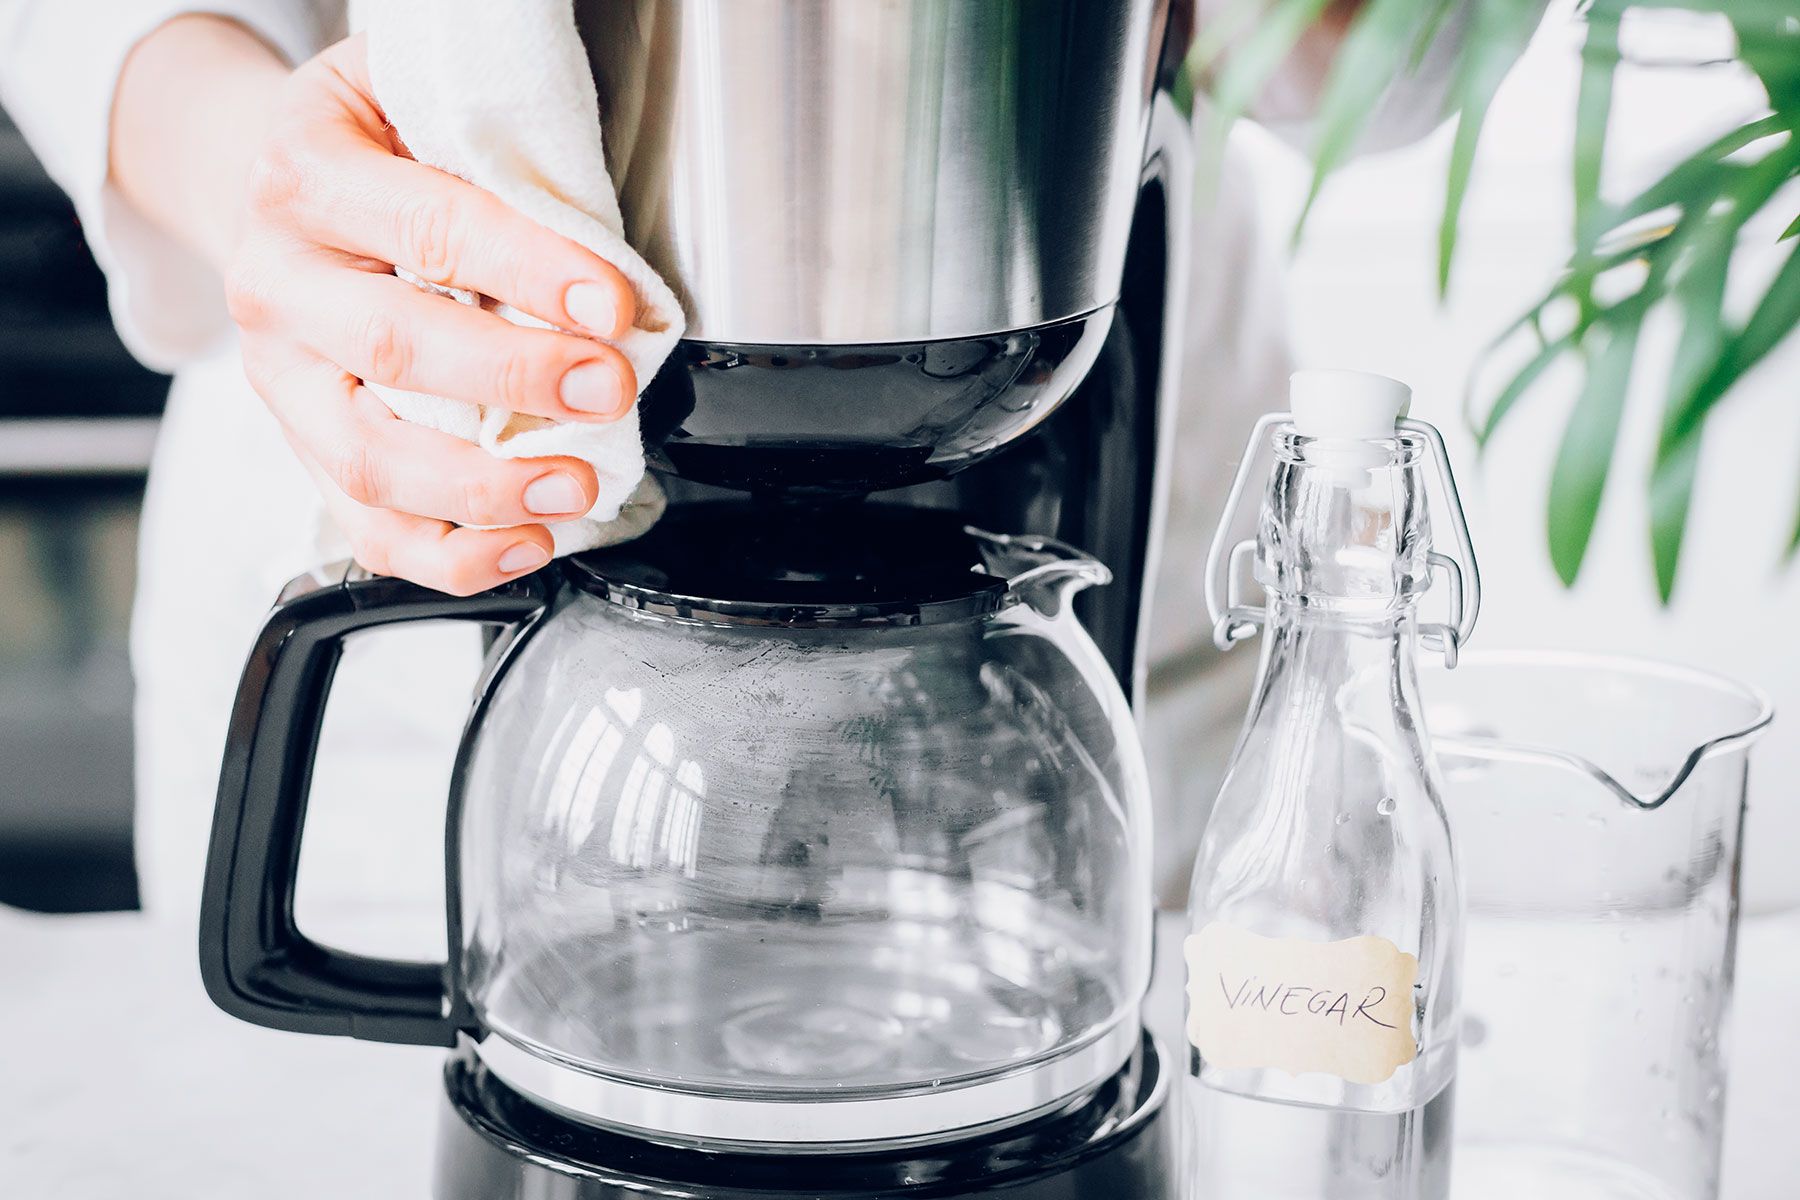
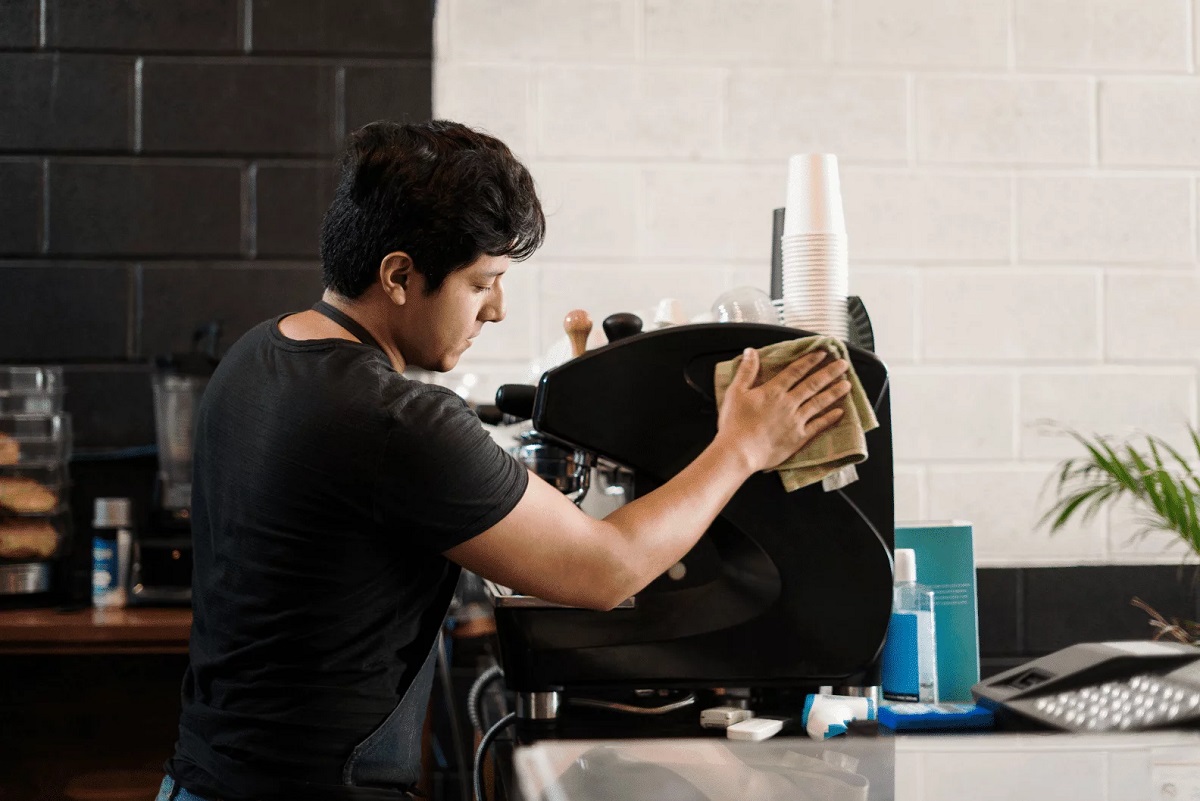
- Use a clean, lint-free cloth: Start by using a clean, lint-free cloth to wipe down the exterior surfaces of the coffee machine. This will help remove any dust or smudges that may have accumulated.
- Dampen the cloth: Lightly dampen the cloth with water or a mild cleaning solution. Be cautious not to use excessive water, as it can damage the machine.
- Clean in gentle circular motions: Gently wipe the exterior surfaces in circular motions, paying attention to any stains or stubborn spots. Avoid using abrasive cleaners or scrub brushes, as they may scratch the surface of your machine.
- Dry thoroughly: After wiping down the exterior, use a dry cloth to remove any moisture and ensure that the machine is completely dry.
In addition to cleaning the exterior, it’s important to regularly dust and clean the area around the coffee machine to prevent dust and debris from finding their way into the internal components.
By regularly cleaning the exterior, you not only maintain the visual appeal of your Jura coffee machine but also contribute to its overall cleanliness and longevity.
Step 7: Final Tips and Recommendations
Now that you have gone through the steps to clean your Jura coffee machine, here are some final tips and recommendations to keep in mind:
- Follow the manufacturer’s instructions: It’s important to refer to the user manual for your specific Jura coffee machine model. The manual will provide detailed instructions on cleaning and maintenance, as well as any specific recommendations.
- Keep a cleaning schedule: Set a regular cleaning schedule for your Jura coffee machine. This will ensure that you maintain its performance and prevent any buildup or hygiene issues.
- Use filtered water: Consider using filtered or purified water in your coffee machine. This can help reduce mineral buildup and extend the time between descaling cycles.
- Store coffee beans properly: Store your coffee beans in an airtight container in a cool, dark place. This will help preserve their freshness and flavor, minimizing the chance of any stale or rancid coffee affecting your brew.
- Replace parts as needed: Over time, certain parts of your Jura coffee machine may wear out or become less effective. Regularly check and replace components such as filters or seals as needed.
By following these final tips and recommendations, you can enjoy a consistently delicious cup of coffee and prolong the life of your Jura coffee machine.
Read more: Which Jura Coffee Machine To Buy
Conclusion
Maintaining the cleanliness and functionality of your Jura coffee machine is essential for achieving the best brewing results, prolonging its lifespan, and ensuring a delicious cup of coffee every time. By following the steps outlined in this article, you can effectively clean your Jura coffee machine and enjoy the optimal coffee-drinking experience.
From preparing the machine to cleaning the coffee grinder, coffee brewing system, milk frother, and exterior, each step plays a crucial role in keeping your Jura coffee machine in top shape. Regular descaling and adhering to a cleaning schedule will prevent mineral buildup and maintain the quality and flavor of your brew. Plus, using filtered water and properly storing your coffee beans will further enhance the taste and aroma of your coffee.
Remember to consult your Jura coffee machine’s manual for specific instructions and recommendations for your model. Additionally, don’t forget to replace parts as needed to keep your machine running smoothly.
With proper cleaning and maintenance, your Jura coffee machine will continue to deliver exceptional coffee for years to come, giving you the perfect start to your day and a satisfying caffeine boost when you need it. So, take the time to care for your machine, and enjoy the rich and robust flavors of freshly brewed coffee in the comfort of your own home.
Frequently Asked Questions about How To Clean Jura Coffee Machine
Was this page helpful?
At Storables.com, we guarantee accurate and reliable information. Our content, validated by Expert Board Contributors, is crafted following stringent Editorial Policies. We're committed to providing you with well-researched, expert-backed insights for all your informational needs.

0 thoughts on “How To Clean Jura Coffee Machine”