Articles
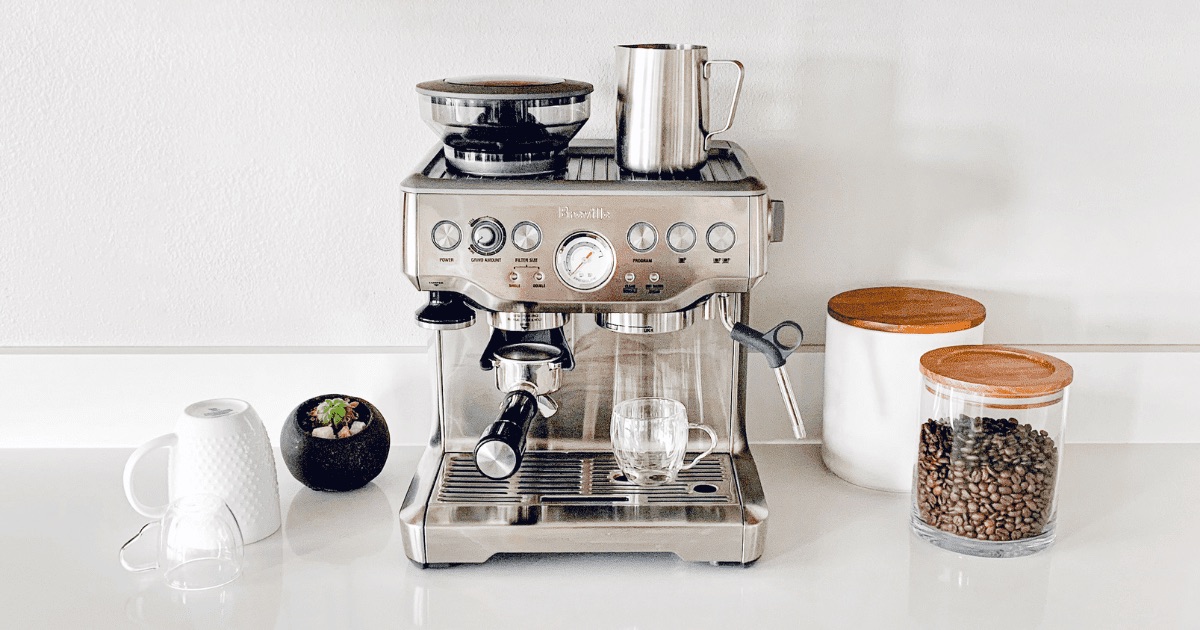
How To Clean Breville Coffee Machine
Modified: October 19, 2024
Learn how to effectively clean your Breville coffee machine with our informative articles. Enhance the lifespan and maintain the quality of your coffee maker.
(Many of the links in this article redirect to a specific reviewed product. Your purchase of these products through affiliate links helps to generate commission for Storables.com, at no extra cost. Learn more)
Introduction
Welcome to the comprehensive guide on how to clean your Breville coffee machine. A good cup of coffee starts with a clean machine, and regular cleaning is essential to maintain the taste and quality of your brew. Over time, coffee oils and mineral deposits can build up in your machine, affecting its performance and flavor. By following the steps outlined in this article, you can ensure that your Breville coffee machine is kept in optimal condition.
Not only does regular cleaning prolong the life of your machine, but it also helps prevent any potential health risks associated with bacterial growth. A clean machine will produce better-tasting coffee and ensure a consistently satisfying experience every time you brew.
Before we dive into the cleaning process, it’s important to mention that safety is of utmost importance. Always make sure to unplug your coffee machine and allow it to cool down before starting the cleaning process. By taking proper safety precautions and following the steps outlined in this guide, you’ll be able to keep your Breville coffee machine in top shape.
So, let’s gather our supplies and get ready to clean your Breville coffee machine from top to bottom!
Key Takeaways:
- Regularly cleaning your Breville coffee machine using simple supplies like vinegar and dish soap ensures optimal performance, longevity, and consistently delicious coffee. Follow the step-by-step guide for a satisfying coffee experience.
- Safety precautions, descaling, exterior cleaning, filter maintenance, and reassembly are key steps to keep your Breville coffee machine in top shape. Enjoy fresh, flavorful coffee by following this comprehensive cleaning guide.
Read more: How To Use A Breville Coffee Machine
Safety Precautions
Before starting the cleaning process, it’s important to ensure your safety and prevent any accidents. Follow these safety precautions while cleaning your Breville coffee machine:
- Unplug the machine: Before cleaning your coffee machine, always unplug it from the power source to avoid any electrical mishaps.
- Allow the machine to cool down: Coffee machines can get hot during use. Make sure to let it cool down completely before starting the cleaning process to avoid any burns or injuries.
- Read the instruction manual: Familiarize yourself with the instruction manual that came with your Breville coffee machine. It will provide specific information about cleaning and maintenance, including any manufacturer recommendations.
- Wear protective gloves: Some cleaning products can be harsh on the skin. Protect your hands by wearing gloves when handling cleaning solutions or hot water.
- Avoid using abrasive cleaners: Steer clear of using abrasive cleaners or scrub brushes that can damage the surfaces of your coffee machine. Stick to gentle cleaning solutions and soft cloths.
- Be cautious with hot water: If you are using hot water to clean your coffee machine, avoid splashing or dripping it on yourself. Keep a safe distance and handle it with care to prevent burns.
By taking these safety precautions, you can minimize the risks associated with cleaning your Breville coffee machine and ensure a safe and efficient cleaning process.
Supplies Needed
Before you start cleaning your Breville coffee machine, gather the following supplies:
- Warm water: You will need warm water for various cleaning steps. Ensure it is not too hot to avoid burns.
- White vinegar: Vinegar is an excellent natural cleaning agent that helps remove mineral deposits and coffee residue.
- Dish soap: Mild dish soap can be used to clean the exterior surfaces of your coffee machine.
- Clean cloth or sponge: Use a soft cloth or sponge for gentle cleaning and wiping down surfaces.
- Cleaning brush: A small brush with bristles will come in handy to clean hard-to-reach areas, such as the steam wand or filter holder.
- Paper towels or clean kitchen towels: These will be used to dry off various components after cleaning.
It’s important to note that these supplies are generally safe to use and won’t cause any damage to your Breville coffee machine. Always refer to the manufacturer’s instructions for any specific cleaning recommendations or restrictions.
Now that you have all the necessary supplies, let’s move on to the step-by-step process of cleaning your Breville coffee machine.
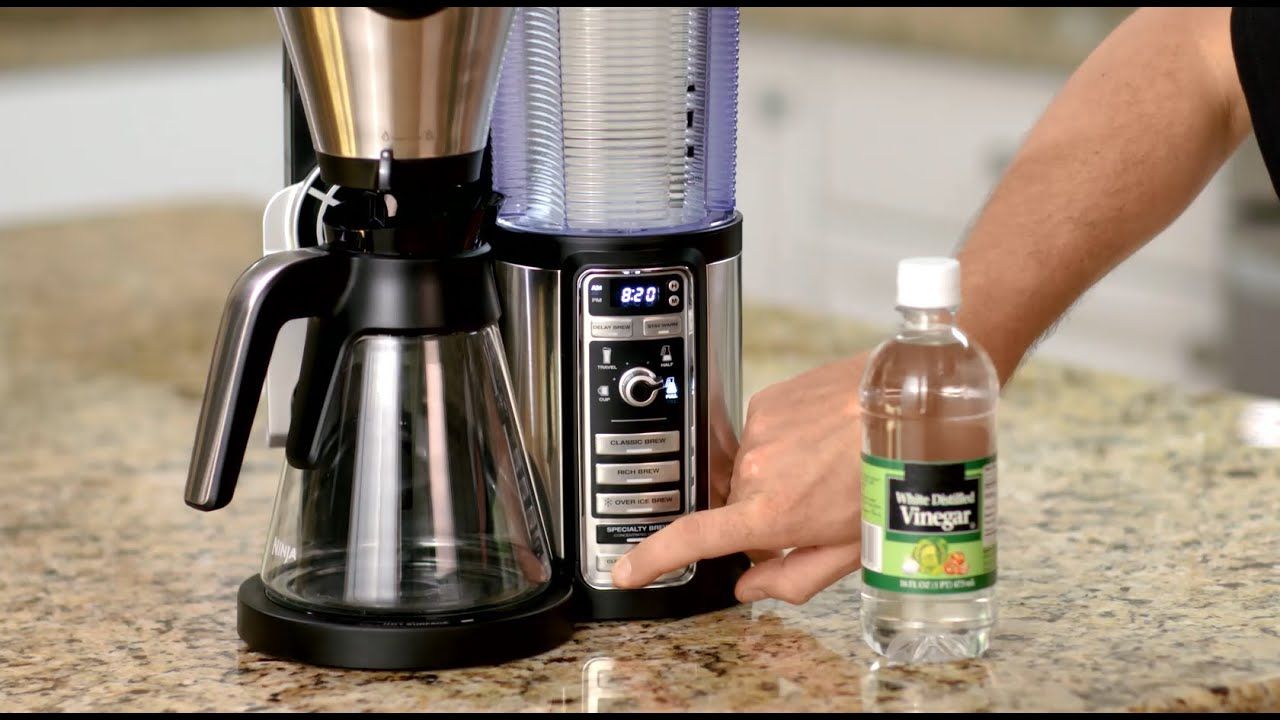
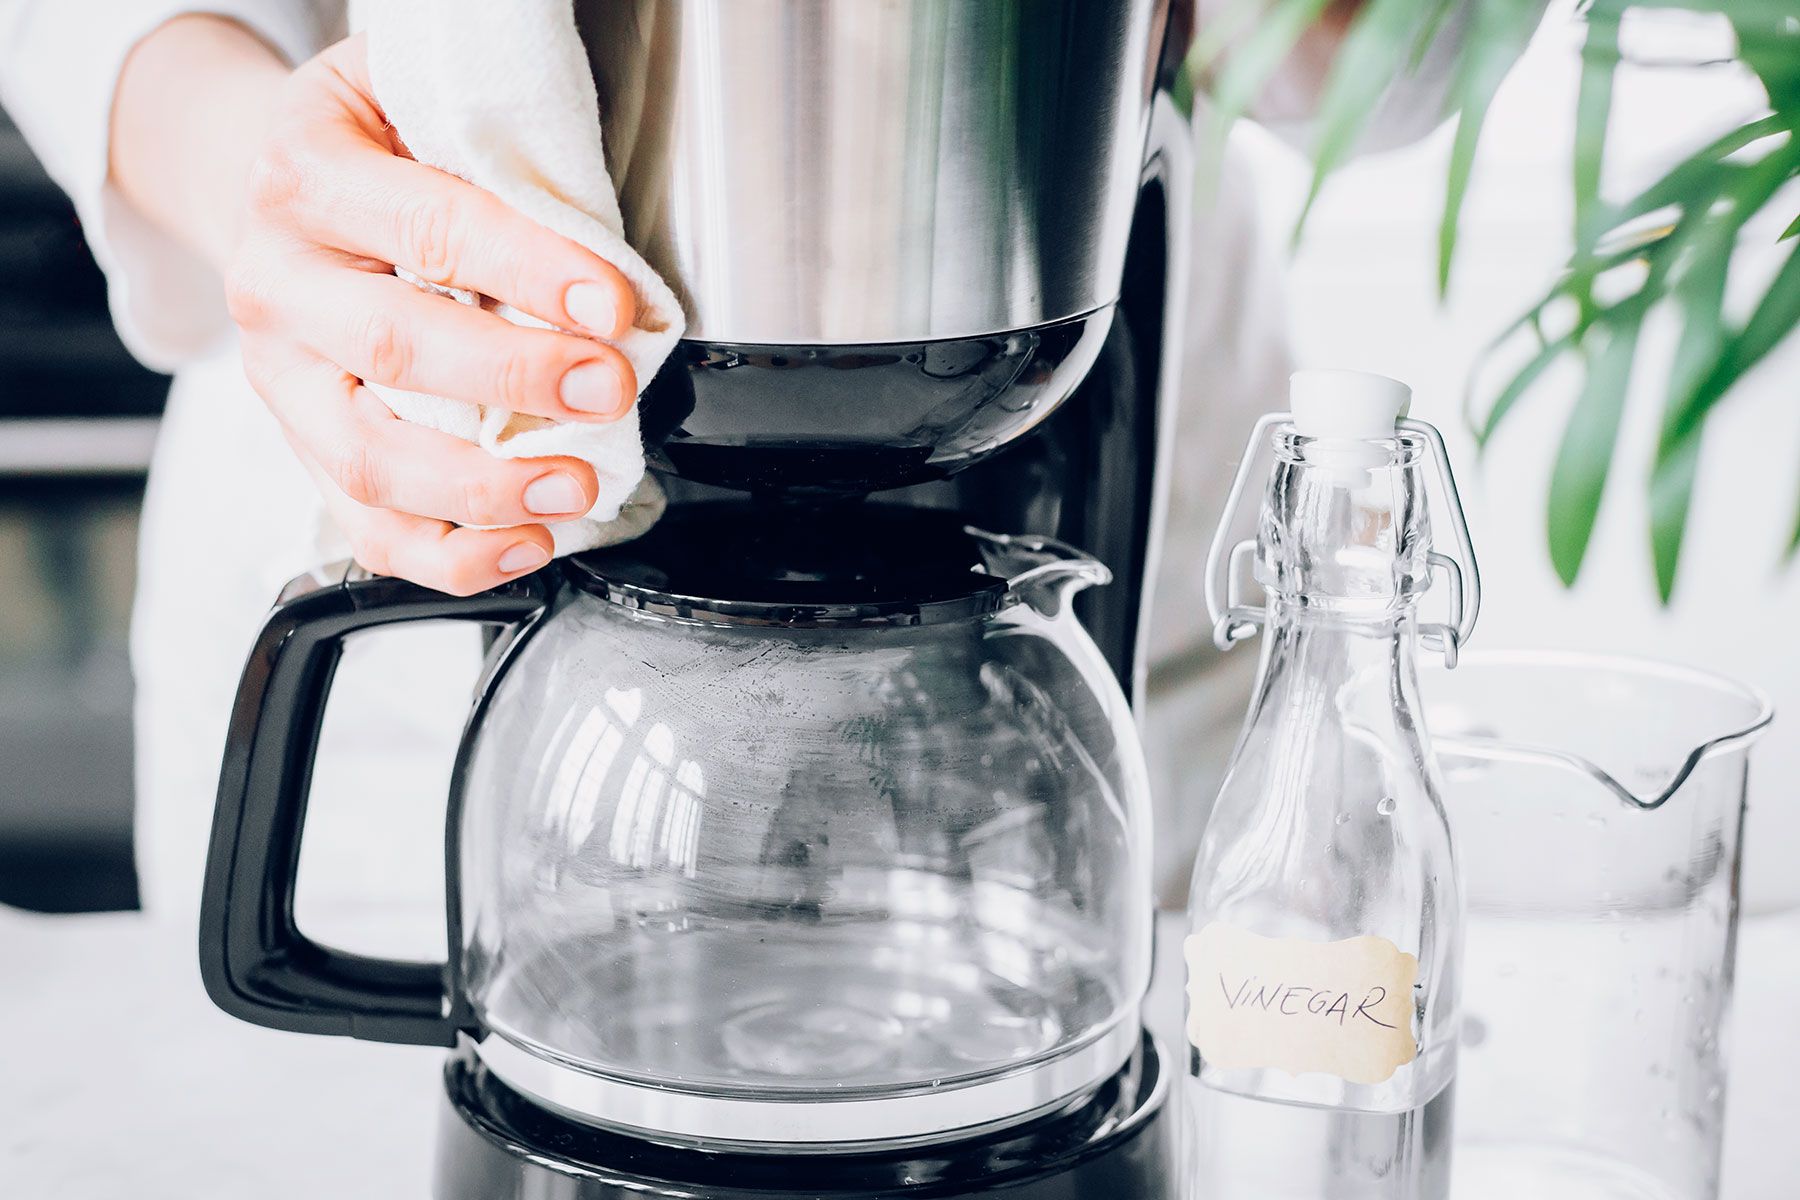
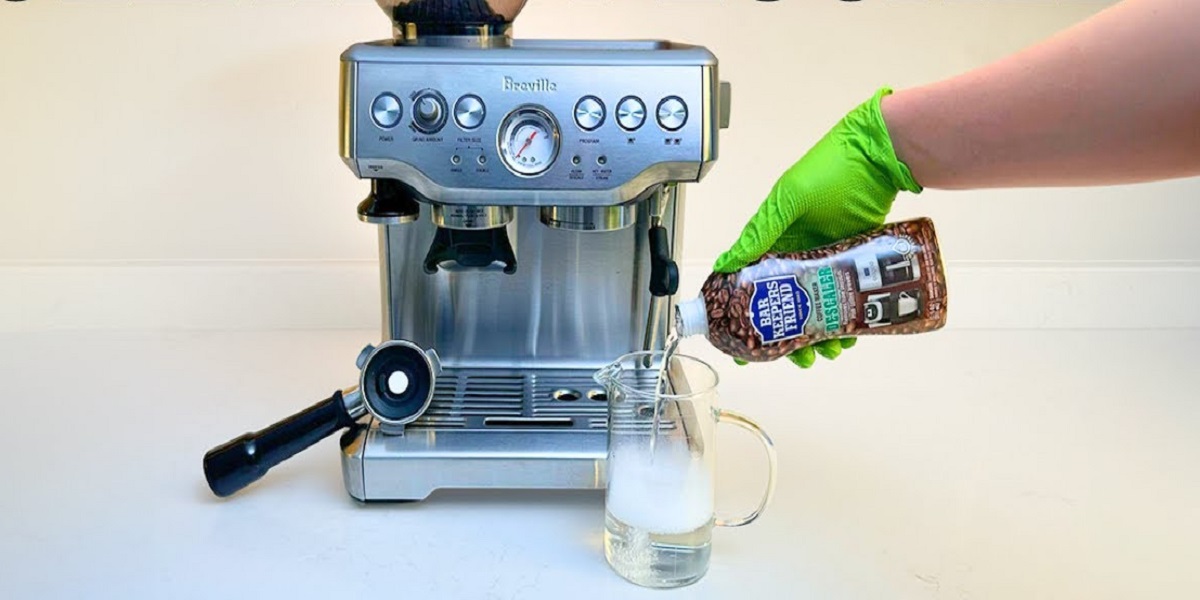
Step 1: Descaling
Descaling is an important step in cleaning your Breville coffee machine as it helps remove mineral deposits that can accumulate over time. Here’s how to descale your coffee machine:
- Prepare the descaling solution: Mix equal parts of water and white vinegar in a container. The exact measurements will depend on the capacity of your coffee machine, so refer to the manufacturer’s instructions for guidance.
- Empty the water tank: Make sure the water tank of your coffee machine is empty. If there is any remaining water, pour it out.
- Pour the descaling solution: Fill the water tank with the prepared descaling solution. Make sure to follow the recommended level indicated on the tank.
- Start the descaling process: Turn on your coffee machine and let it run through a brewing cycle. Allow the descaling solution to flow through the machine and into the carafe or cup. This will help remove any mineral build-up.
- Discard the solution: Once the brewing cycle is complete, empty the carafe or cup containing the descaling solution. Rinse it thoroughly with water.
- Rinse the machine: Fill the water tank with clean water and run a brewing cycle without any coffee grounds. This will help flush out any remaining descaling solution from the machine.
- Repeat if necessary: If there is still a vinegar scent or residue, you may need to repeat the descaling process or run additional clean water cycles until the smell and taste disappear.
- Clean the carafe: Don’t forget to clean the carafe separately with warm soapy water and rinse it thoroughly. This will remove any taste or odor from the descaling process.
Descaling your Breville coffee machine on a regular basis, about once every three months or as recommended by the manufacturer, will keep it functioning optimally and ensure you enjoy the best-tasting coffee.
Now that you’ve successfully descaled your coffee machine, let’s move on to the next step of cleaning the exterior.
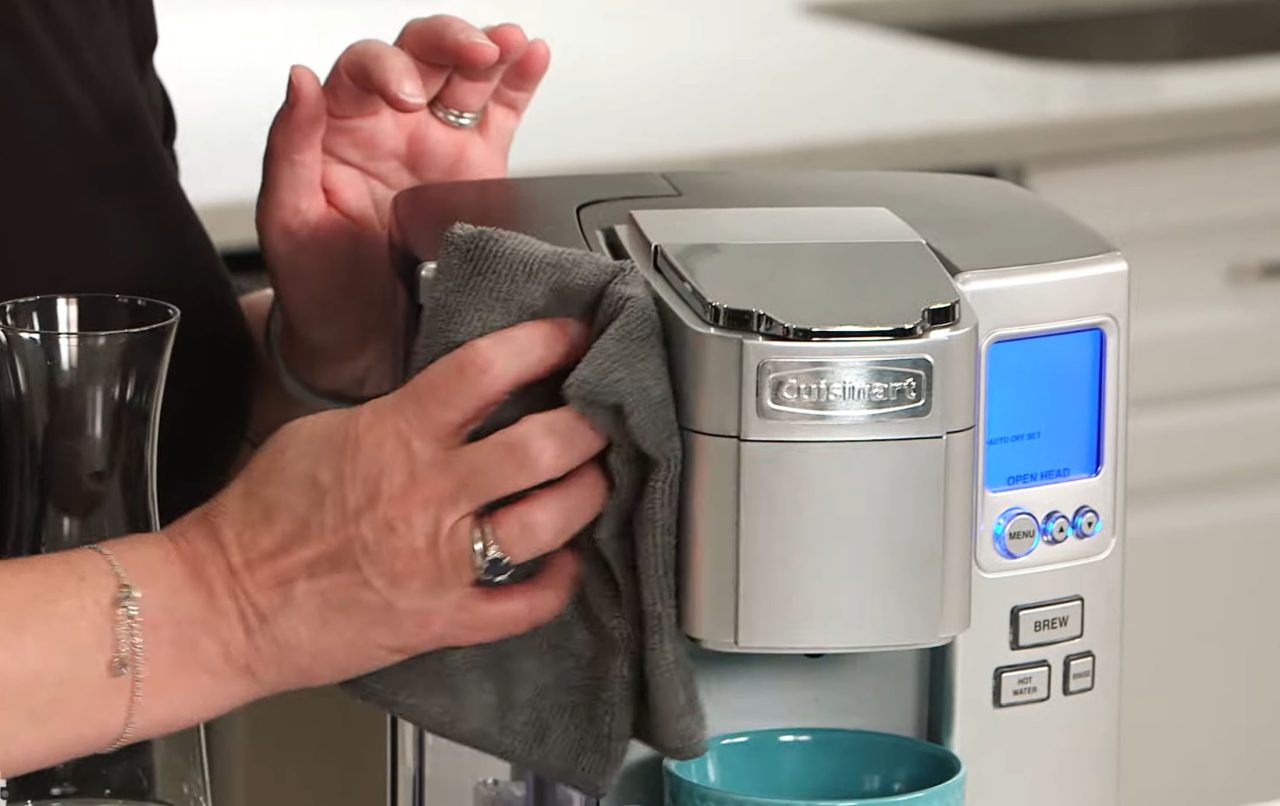
Step 2: Cleaning the Exterior
Keeping the exterior of your Breville coffee machine clean not only improves its appearance but also helps maintain hygiene. Here’s how you can clean the exterior surfaces:
- Prepare a soapy solution: Mix a few drops of mild dish soap with warm water in a container.
- Dampen a cloth or sponge: Dip a clean cloth or sponge into the soapy solution and wring out any excess water.
- Wipe down the exterior surfaces: Gently wipe down the exterior surfaces of the coffee machine, including the housing, buttons, and LCD display. Pay attention to any areas where grime or coffee stains may be present.
- Rinse the cloth: Rinse the cloth or sponge with clean water and wring out any excess moisture.
- Wipe off the soap residue: Go over the exterior surfaces that you cleaned with the soapy solution, this time using the damp cloth or sponge with clean water. This helps remove any soap residue.
- Dry the surfaces: Use a dry, clean cloth or paper towel to ensure that all surfaces are thoroughly dried. This helps prevent water spots or streaks.
- Clean the drip tray: Remove the drip tray from your coffee machine and empty any liquid. Wash it with warm, soapy water, rinse it thoroughly, and dry it before reinserting it into the machine.
Regularly cleaning the exterior of your Breville coffee machine not only keeps it looking great but also helps prevent the accumulation of dirt and grime over time.
Now that the exterior is sparkling clean, let’s move on to the next step: cleaning the filter and filter holder.
To clean a Breville coffee machine, regularly descale it with a descaling solution to remove mineral buildup and run a water-only cycle to rinse. Wipe the exterior with a damp cloth and clean the filter and carafe after each use.
Read more: How To Descale Breville Coffee Machine
Step 3: Cleaning the Filter and Filter Holder
The filter and filter holder of your Breville coffee machine are responsible for brewing the coffee. It’s essential to clean these components regularly to ensure optimal flavor and performance. Here’s how to clean the filter and filter holder:
- Remove the filter and filter holder: Depending on your Breville coffee machine model, you may need to twist or unlock the filter holder to remove it. Take out the filter and separate it from the filter holder.
- Discard any coffee grounds: Tap the filter to remove any remaining coffee grounds. Rinse both the filter and filter holder with warm water to remove any residue.
- Soak the filter and filter holder: Fill a container with warm water and a few drops of dish soap. Place the filter and filter holder in the soapy water and let them soak for a few minutes.
- Brush away residue: Use a small cleaning brush with soft bristles to gently scrub the filter and filter holder. Pay attention to any clogged holes or stubborn residue. Rinse them thoroughly with clean water.
- Dry the filter and filter holder: After rinsing, place the filter and filter holder on a clean towel or paper towel and allow them to air dry completely before reassembling.
Cleaning the filter and filter holder removes any coffee oils, residue, or particles that can affect the taste and quality of your brew. Make sure to perform this step regularly, ideally after every use or at least once a week.
With the filter and filter holder sparkling clean, let’s move on to the next step: cleaning the steam wand.
Step 4: Cleaning the Steam Wand
The steam wand of your Breville coffee machine is responsible for frothing milk and creating delicious cappuccinos and lattes. Regular cleaning of the steam wand is crucial to ensure proper functioning and eliminate any milk residue. Here’s how to clean the steam wand:
- Wipe the steam wand immediately after use: After frothing milk, it’s essential to wipe the steam wand with a clean, damp cloth to remove any milk residue before it hardens.
- Prepare a cleaning solution: Mix equal parts of warm water and white vinegar in a container. This solution helps remove any built-up milk residue.
- Soak the steam wand: Dip the steam wand into the cleaning solution and let it soak for about 10-15 minutes. This helps loosen any hardened milk residue.
- Scrub the steam wand: Use a small cleaning brush or a soft sponge to scrub the steam wand, focusing on the areas with residue build-up. Be gentle to avoid damaging the wand.
- Rinse the steam wand: Rinse the steam wand thoroughly with clean water to remove any remaining cleaning solution and residue.
- Repeat if necessary: If there are stubborn milk stains or residue, repeat the soaking and scrubbing process until the steam wand is completely clean.
- Wipe and dry the steam wand: After cleaning, wipe the steam wand with a clean, dry cloth or paper towel to remove any moisture.
Regularly cleaning the steam wand not only ensures the quality of your milk-based drinks but also prevents any milk residue from clogging the wand and affecting its functionality.
Now that the steam wand is clean, let’s move on to the next step: cleaning the drip tray.
Step 5: Cleaning the Drip Tray
The drip tray of your Breville coffee machine catches any excess water, spills, and coffee grounds. Regular cleaning of the drip tray helps maintain cleanliness and prevents any build-up that could lead to odors or mold growth. Here’s how to clean the drip tray:
- Remove the drip tray: Carefully pull out the drip tray from your Breville coffee machine.
- Discard any liquid: Dispose of any liquid collected in the drip tray. Empty it in the sink or drain.
- Wash the drip tray: Wash the drip tray with warm, soapy water. Use a mild dish soap and a sponge or cloth to clean the tray thoroughly.
- Rinse the drip tray: Rinse the drip tray with clean water to remove any soap residue.
- Dry the drip tray: Dry the drip tray with a clean towel or let it air dry completely before placing it back into the coffee machine.
- Clean the drip tray area: While the drip tray is removed, wipe down the area underneath it, including the rails or slots where the tray sits. This ensures that any trapped residue or moisture is removed.
Regularly cleaning the drip tray prevents the growth of mold or bacteria and ensures that your Breville coffee machine stays clean and hygienic. It is recommended to clean the drip tray every time you empty it or at least once a week, depending on your usage.
Now that the drip tray is clean, let’s move on to the final step: reassembling the pieces.
Step 6: Reassembling the Pieces
After cleaning the various components of your Breville coffee machine, it’s time to reassemble them to ensure it is ready for use. Here’s how to reassemble the pieces:
- Make sure all components are dry: Before reassembling, ensure that all the cleaned components, such as the filter, filter holder, steam wand, and drip tray, are completely dry to prevent any water-related issues.
- Insert the filter back into the filter holder: Place the filter back into the filter holder, ensuring it is securely seated and aligned with the holder’s slots or grooves.
- Attach the filter holder to the machine: Insert the filter holder back into the coffee machine, twisting or locking it into place according to the manufacturer’s instructions.
- Reinsert the drip tray: Slide the clean and dried drip tray back into its designated position under the coffee machine. Ensure it is properly aligned and securely in place.
- Double-check all connections: Before plugging in the machine, double-check that all components are properly reassembled and securely connected. This includes ensuring the steam wand is attached and the water tank is properly inserted.
- Plug in the machine: Once everything is in place, plug your Breville coffee machine back into a power source.
- Run a test cycle: To ensure everything is working correctly, run a test brewing cycle without any coffee grounds. This helps flush out any remaining traces of cleaning solutions or debris.
- Dispose of the test brew: Discard the liquid brewed during the test cycle and rinse the carafe or cup used for the test with clean water.
- It’s ready to brew: Your Breville coffee machine is now reassembled and ready to brew delicious coffee. Follow the user manual instructions for brewing your desired coffee beverage.
By properly reassembling the cleaned components of your Breville coffee machine, you can ensure its proper operation and enjoy a fresh and flavorful cup of coffee with each brew.
Congratulations! You have successfully cleaned and reassembled your Breville coffee machine. By following these steps regularly, you can prolong the life of your machine and ensure great-tasting coffee for many enjoyable moments ahead.
Remember, always refer to the manufacturer’s instructions for specific cleaning guidelines and recommendations tailored to your Breville coffee machine model.
Read more: How To Clean The Breville Espresso Machine
Conclusion
Cleaning your Breville coffee machine is essential to maintain its performance, prolong its lifespan, and ensure the best-tasting coffee. By following the step-by-step guide outlined in this article, you can easily clean your machine from top to bottom.
We began by emphasizing the importance of safety precautions, reminding you to unplug the machine, allow it to cool down, and read the instruction manual for specific cleaning guidelines.
Next, we discussed the supplies you will need, including warm water, white vinegar, dish soap, a clean cloth or sponge, a cleaning brush, and paper towels or clean kitchen towels.
We then delved into the step-by-step cleaning process, starting with descaling your coffee machine to remove mineral deposits. From there, we moved on to cleaning the exterior surfaces, the filter and filter holder, the steam wand, and the drip tray. Each step was explained in detail to ensure a thorough cleaning.
Finally, we discussed the importance of reassembling the cleaned components correctly, running a test cycle, and plugging in the machine before enjoying your next perfect cup of coffee.
Regularly cleaning your Breville coffee machine using the techniques outlined in this guide will not only keep it looking and functioning at its best but also guarantee a consistently satisfying coffee experience. Remember to consult your machine’s instruction manual for any model-specific guidelines or recommendations.
So, gather your supplies, follow the steps provided, and enjoy a clean and fresh cup of coffee every time you brew with your Breville coffee machine. Happy cleaning!
Frequently Asked Questions about How To Clean Breville Coffee Machine
Was this page helpful?
At Storables.com, we guarantee accurate and reliable information. Our content, validated by Expert Board Contributors, is crafted following stringent Editorial Policies. We're committed to providing you with well-researched, expert-backed insights for all your informational needs.


0 thoughts on “How To Clean Breville Coffee Machine”