Articles
How To Clean A Ninja Coffee Machine
Modified: August 20, 2024
Discover the best articles on how to clean a Ninja coffee machine. Step-by-step guides and tips to keep your coffee maker in perfect condition.
(Many of the links in this article redirect to a specific reviewed product. Your purchase of these products through affiliate links helps to generate commission for Storables.com, at no extra cost. Learn more)
Introduction
Welcome to our guide on how to clean a Ninja coffee machine. Whether you’re a coffee connoisseur or simply enjoy a cup of joe in the morning, proper maintenance and cleaning of your coffee machine are essential to ensure a delicious and satisfying brew every time. Over time, mineral deposits, coffee oils, and other impurities can build up in your machine, affecting the taste and quality of your coffee. Regular cleaning not only helps maintain the optimal performance of your coffee maker but also extends its lifespan.
Cleaning your Ninja coffee machine is a straightforward process that requires a few basic supplies and some simple steps. With our comprehensive guide, you’ll be able to clean and maintain your coffee machine with ease, ensuring that every cup is brewed to perfection.
Before we dive into the cleaning process, it’s important to note that safety should always be the top priority. Ensure that your Ninja coffee machine is unplugged before cleaning, and let it cool down after use to prevent any potential accidents.
Now, let’s gather our supplies and get started on cleaning your Ninja coffee machine!
Key Takeaways:
- Regularly cleaning your Ninja coffee machine with simple supplies like vinegar, water, and mild soap ensures optimal performance, extends its lifespan, and guarantees a delicious cup of coffee every time.
- Following safety precautions, gathering necessary supplies, and cleaning external parts, water reservoir, coffee filter, and more will keep your Ninja coffee machine in top shape for brewing the perfect cup of coffee.
Safety Precautions
Before we begin the cleaning process, it’s crucial to follow these safety precautions to ensure your well-being and avoid any accidents:
- Unplug the coffee machine: Always make sure to unplug your Ninja coffee machine from the power outlet before starting the cleaning process. This helps prevent any electrical accidents or shocks.
- Allow the machine to cool: Give your coffee machine some time to cool down before you start cleaning it. Hot surfaces can cause burns, so waiting for it to cool is vital.
- Handle with care: When cleaning the various parts of the coffee machine, be gentle to prevent any damage. Avoid using excessive force or scrubbing too hard, especially on delicate components.
- Read the user manual: Take a few minutes to familiarize yourself with the specific cleaning instructions provided in the user manual of your Ninja coffee machine. Each model may have slight variations in the cleaning process.
- Use recommended cleaning solutions: Stick to the recommended cleaning solutions and descaling agents specified in the user manual. Avoid using harsh chemicals or abrasive cleaners that could damage the machine.
- Dry thoroughly: After cleaning, ensure that all the parts are completely dry before reassembling the coffee machine. Moisture can lead to mold growth or malfunctioning of the machine.
- Keep water away from electrical components: Be cautious not to let water or any cleaning solutions come into contact with the electrical components of the coffee machine. This can cause damage to the machine and potential hazards.
By following these safety precautions, you can clean your Ninja coffee machine effectively and without any risks. Now, let’s move on to gathering the necessary supplies for the cleaning process!
Gather Supplies
Before you begin cleaning your Ninja coffee machine, it’s important to gather all the necessary supplies. Having everything on hand will make the cleaning process smoother and more efficient. Here’s a list of supplies you’ll need:
- White vinegar or descaling solution: Vinegar is a popular and effective natural cleaning agent that helps remove mineral deposits and coffee oils. Alternatively, you can use a descaling solution recommended by Ninja for a thorough cleaning.
- Water: You’ll need clean, fresh water for rinsing and running cleaning cycles.
- Microfiber cloth or soft sponge: These gentle cleaning tools will help clean the external parts of the coffee machine without scratching the surface.
- Small brush or toothbrush: A small brush or toothbrush can be handy for cleaning hard-to-reach areas and removing coffee residue.
- Mild dish soap: This gentle soap can be used for cleaning the coffee filter, drip stop, and other removable parts.
- Paper towels: These will be helpful for wiping down surfaces and absorbing excess moisture.
By gathering these supplies beforehand, you’ll have everything you need to clean your Ninja coffee machine efficiently and effectively. Let’s move on to the next step: cleaning the external parts of the machine!
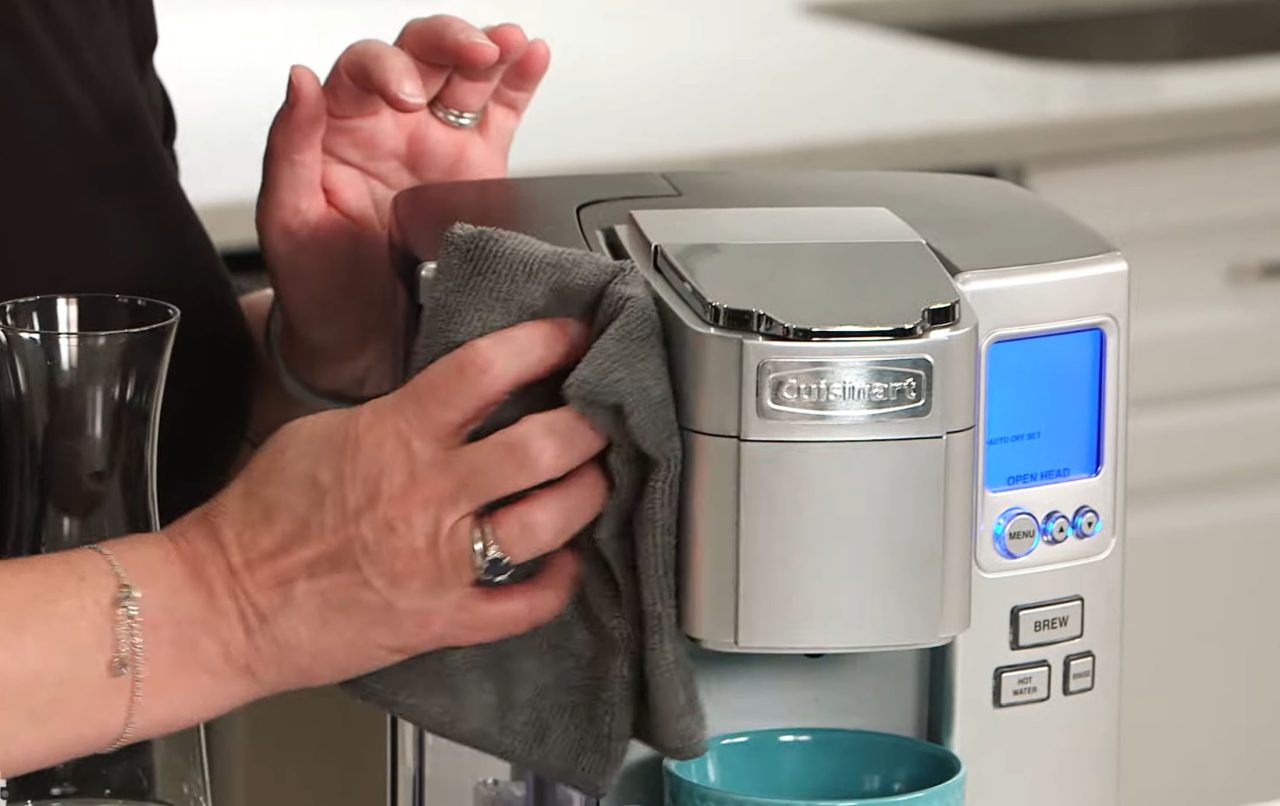
Clean External Parts
To begin the cleaning process, let’s focus on cleaning the external parts of your Ninja coffee machine. This step will help remove any dust, grime, or coffee stains that have accumulated on the surface. Here’s how to do it:
- Unplug the coffee machine: Ensure that your Ninja coffee machine is unplugged before starting the cleaning process for safety reasons.
- Dampen a microfiber cloth or soft sponge: Moisten the cloth or sponge with some warm water. Be careful not to use excessive water that could potentially seep into the machine.
- Gently wipe down the exterior: Wipe down the outer surface of the coffee machine, including the control panel, buttons, and any other plastic or metal parts. Pay attention to removing any coffee stains or residue that may have accumulated over time.
- Clean the carafe and lid: Remove the carafe and its lid from the machine. Wash them with mild dish soap, rinse thoroughly, and dry with a clean cloth. Be sure to remove any coffee stains or residue from the carafe and lid.
- Wipe down the warming plate: If your Ninja coffee machine has a warming plate, use a damp cloth to wipe it clean. Remove any dried coffee stains or residue from the plate.
- Clean the water reservoir: Remove the water reservoir from the coffee machine and clean it with mild dish soap and warm water. Rinse it thoroughly to ensure there is no soapy residue remaining.
- Dry all the parts: Once you’ve finished cleaning the external parts, make sure to dry them all thoroughly. Use a clean cloth or paper towels to absorb any excess moisture.
Cleaning the external parts of your Ninja coffee machine will not only keep it looking great but also ensure that no dirt or debris come into contact with your freshly brewed coffee. Now that the external parts are clean, let’s move on to cleaning the water reservoir.
Clean Water Reservoir
The water reservoir is an integral part of your Ninja coffee machine as it holds and supplies the water for brewing your coffee. Over time, mineral deposits and impurities can build up in the reservoir, affecting the taste and quality of your coffee. Follow these steps to clean the water reservoir:
- Remove the reservoir: Carefully detach the water reservoir from the coffee machine. Refer to your Ninja coffee machine’s user manual if you’re unsure how to remove it.
- Empty any remaining water: Pour out any remaining water from the reservoir into the sink.
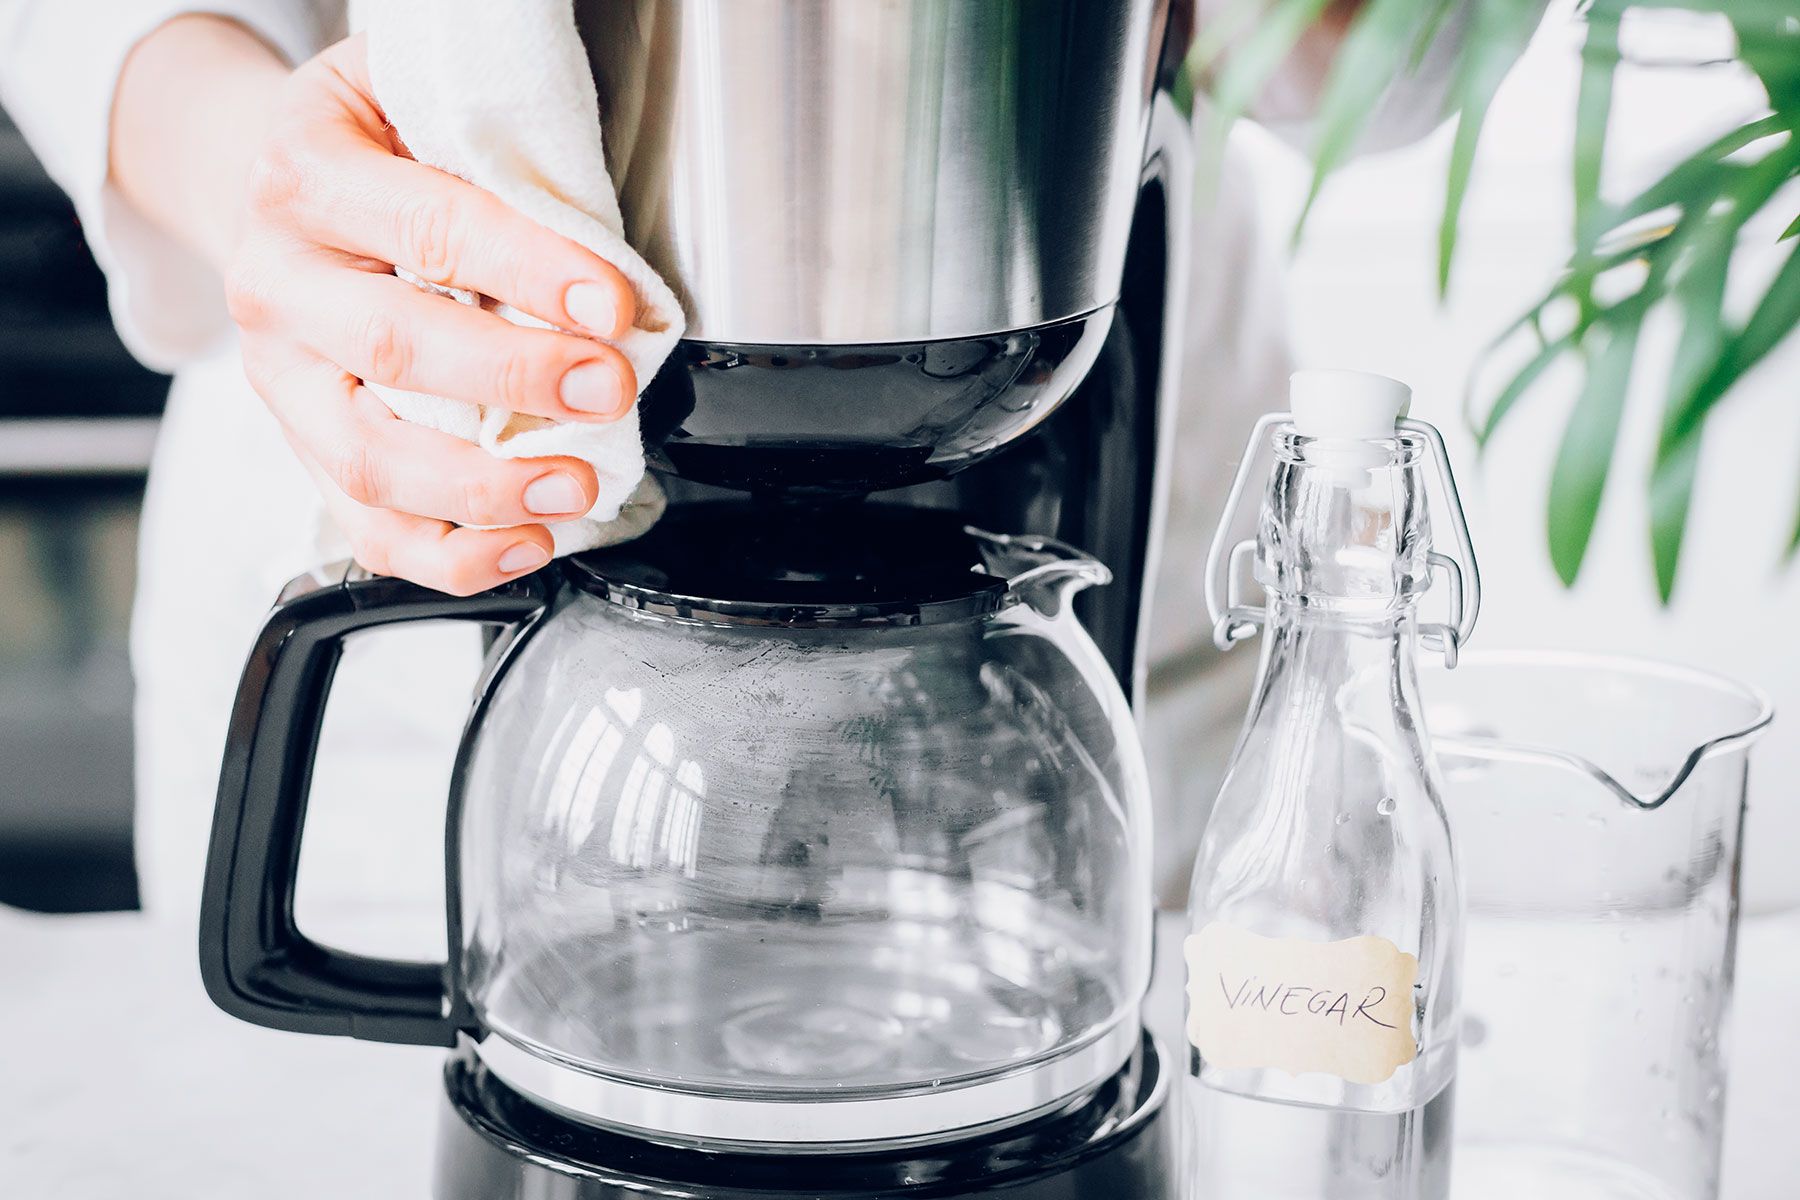
- Mix a cleaning solution: Prepare a mixture of equal parts white vinegar (or a descaling solution) and water in a separate container.
- Pour the cleaning solution: Pour the vinegar-water solution into the water reservoir until it reaches the maximum fill line. This solution will help dissolve mineral deposits and remove any impurities.
- Let it sit: Allow the vinegar-water solution to sit in the reservoir for about 15-20 minutes. This will give it enough time to break down any buildup.
- Scrub and rinse: Take a small brush or toothbrush and gently scrub the inside of the reservoir to loosen and remove any remaining residue. Rinse the reservoir thoroughly with clean water to remove any trace of the cleaning solution.
- Dry the reservoir: After rinsing, use a clean cloth or paper towels to dry the reservoir completely. Make sure there is no moisture left before reattaching it to the coffee machine.
By regularly cleaning the water reservoir, you ensure that your coffee machine can brew with clean, fresh water, resulting in a better-tasting cup of coffee. Now that the reservoir is clean, let’s move on to cleaning the coffee filter.
Read also: 14 Amazing Ninja Coffee Machine for 2025
Clean Coffee Filter
The coffee filter is responsible for trapping coffee grounds and ensuring a smooth and flavorful cup of coffee. Over time, oils and residue from the coffee beans can accumulate on the filter, affecting the taste and quality of your brew. Follow these steps to clean the coffee filter of your Ninja coffee machine:
- Remove the filter: Depending on your Ninja coffee machine model, the filter may be a permanent or reusable filter or a paper filter. Remove the appropriate filter from the coffee machine.
- Discard disposable filters: If you are using a paper filter, dispose of it properly and replace it with a fresh one.
- Wash reusable filter: If you have a reusable filter, wash it with mild dish soap and warm water. Use a sponge or brush to gently scrub away any coffee residue. Rinse the filter thoroughly to remove all soapy residue.
- Descale if necessary: If you notice any mineral deposits or discoloration on the reusable filter, you can soak it in a mixture of white vinegar and water for about 10-15 minutes. Scrub lightly and rinse thoroughly afterwards.
- Dry the filter: After cleaning, make sure to dry the filter completely before reinserting it into the coffee machine. A damp filter can affect the brewing process and the taste of your coffee.
Cleaning the coffee filter regularly ensures that your coffee brews with optimal flavor and minimizes any potential clogging or blockages. With the coffee filter cleaned, let’s move on to descaling the machine to remove mineral deposits and improve its performance.
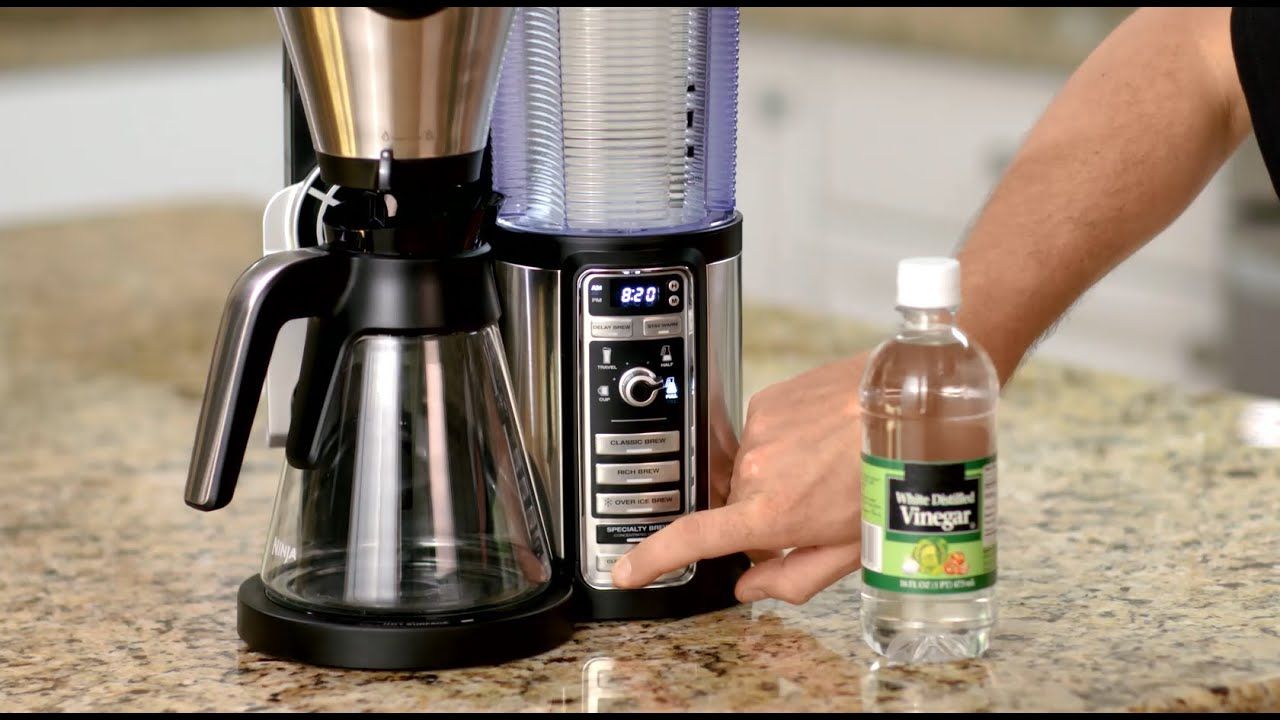
To clean a Ninja Coffee Machine, mix equal parts of water and vinegar and run it through a brewing cycle. Then run two more cycles with just water to rinse. Clean the filter and carafe with warm, soapy water.
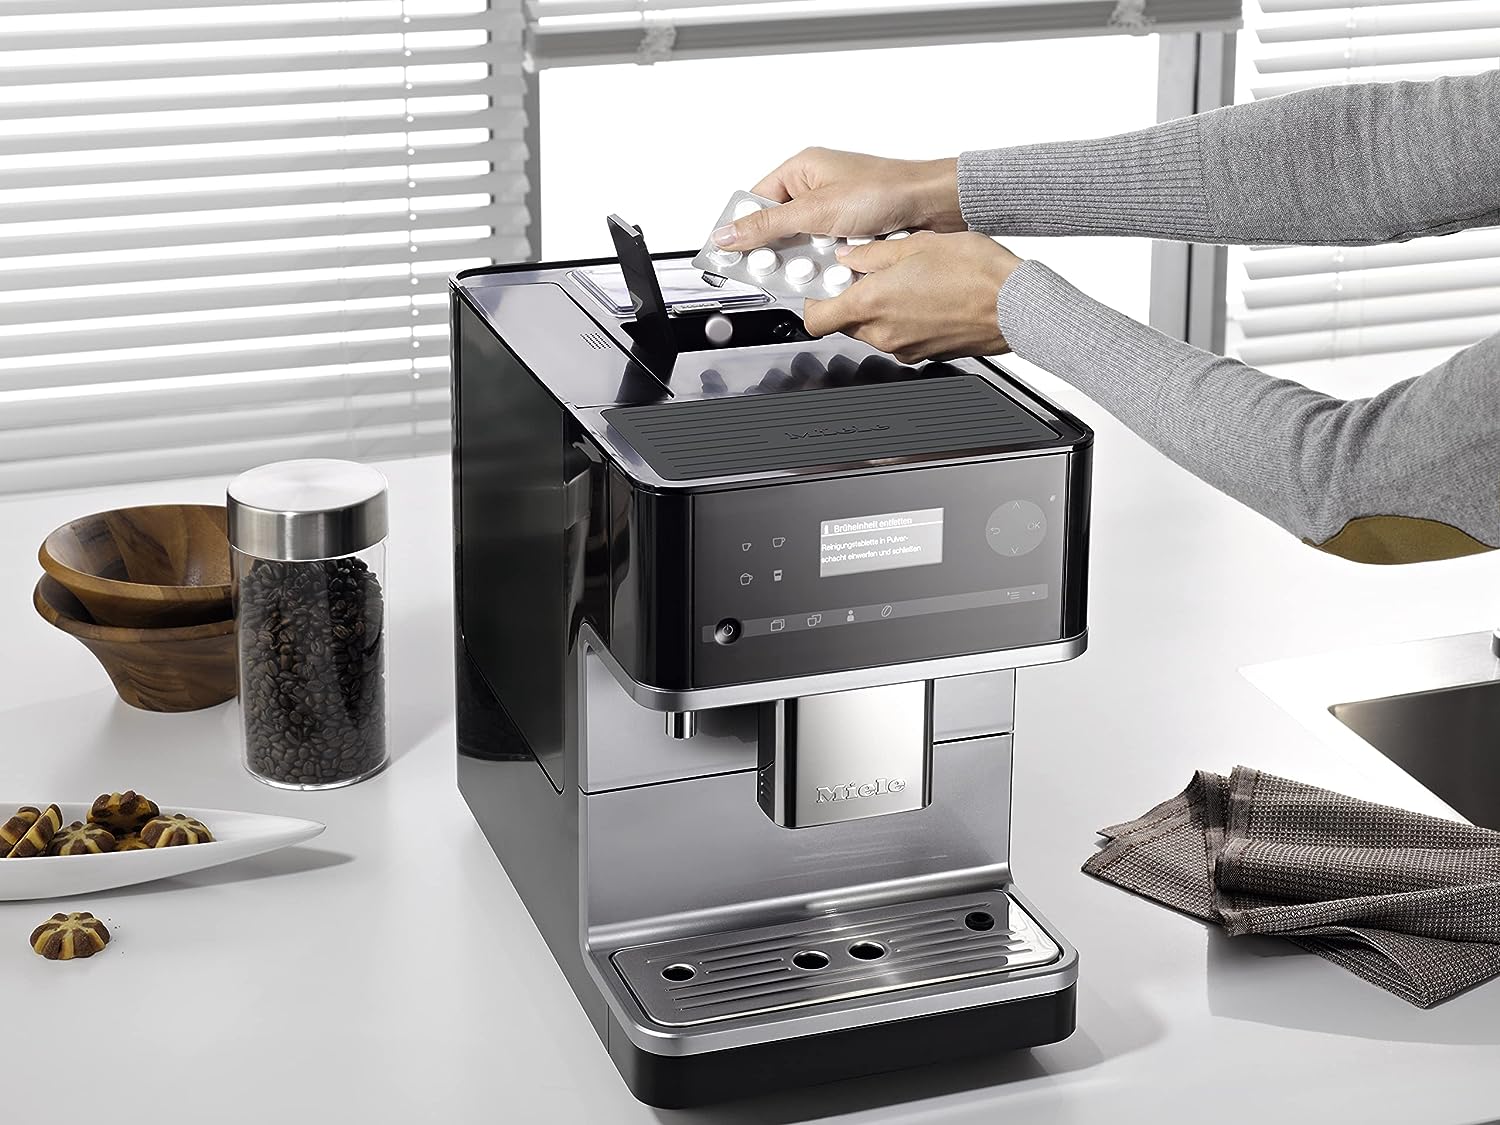
Descale the Machine
Over time, mineral deposits from the water used in your Ninja coffee machine can build up and affect its performance. Descaling is the process of removing these mineral deposits, also known as limescale, to maintain the optimal functionality of your machine. Follow these steps to descale your Ninja coffee machine:
- Prepare the descaling solution: Refer to the user manual of your Ninja coffee machine for the recommended descaling solution or descaling agent. Follow the instructions to prepare the solution, usually by mixing it with water.
- Remove any remaining water: Make sure the water reservoir is empty before proceeding with the descaling process.
- Pour the descaling solution into the water reservoir: Fill the water reservoir with the descaling solution, following the manufacturer’s instructions on the recommended amount.
- Start the cleaning cycle: Depending on your Ninja coffee machine model, follow the instructions in the user manual to initiate the descaling or cleaning cycle. The machine will run the solution through the brewing system, removing mineral deposits along the way.
- Rinse the machine: After the descaling cycle is complete, discard the liquid from the carafe and rinse the water reservoir thoroughly with clean water. Rinse the carafe and any other removable parts as well.
- Run clean water cycle(s): Fill the water reservoir with clean water and run one or more brewing cycles to ensure that any leftover descaling solution is completely flushed out. This step is crucial to avoid any lingering taste or odor from the descaling solution.
- Dry and reassemble: Once the clean water cycles are complete, dry all the parts thoroughly before reassembling your Ninja coffee machine. Make sure there is no moisture left to prevent mold or damage to the machine.
Descaling your Ninja coffee machine periodically, as recommended by the manufacturer, helps maintain its performance, extend its lifespan, and ensure that every cup of coffee is brewed to perfection. With the machine descaled, let’s move on to cleaning the drip stop.
Clean the Drip Stop
The drip stop is an essential component of your Ninja coffee machine that helps control the flow of brewed coffee into the carafe. Over time, coffee oils and residue can accumulate on the drip stop, causing it to clog and affect the coffee flow. Follow these steps to clean the drip stop:
- Locate the drip stop: Depending on your Ninja coffee machine model, the drip stop may be located under the brew basket or inside the brewing system. Consult your user manual if you’re unsure where to find it.
- Remove the drip stop: If the drip stop is removable, carefully detach it from the coffee machine. Refer to the user manual for specific instructions on how to remove it safely.
- Wash the drip stop: Wash the drip stop with mild dish soap and warm water. Use a small brush or toothbrush to gently scrub away any coffee residue or buildup. Pay close attention to any small openings or holes in the drip stop and ensure they’re free from blockages.
- Rinse thoroughly: Rinse the drip stop under clean water to remove any soapy residue. Check for any remaining coffee residue and make sure it’s completely clean before reassembling.
- Dry and reassemble: After cleaning and rinsing, dry the drip stop thoroughly with a clean cloth or paper towels. Ensure there is no moisture left before reattaching it to the coffee machine.
Regularly cleaning the drip stop prevents clogs and ensures a smooth flow of coffee into the carafe. With the drip stop clean, let’s move on to cleaning the brew basket.
Clean the Brew Basket
The brew basket in your Ninja coffee machine is where you place the coffee grounds for brewing. Over time, coffee oils, residue, and grounds can accumulate in the brew basket, affecting the flavor and quality of your coffee. Follow these steps to clean the brew basket:
- Remove the brew basket: Depending on your Ninja coffee machine model, the brew basket may be removable or built-in. If it’s removable, gently lift it out of the coffee machine.
- Discard coffee grounds: Empty the used coffee grounds from the brew basket into the compost or trash. Rinse out any remaining grounds.
- Wash with mild dish soap: Wash the brew basket with warm water and mild dish soap. Use a sponge or brush to scrub away any coffee residue or oils. Pay particular attention to the mesh or filter area of the brew basket.
- Rinse thoroughly: Rinse the brew basket under running water to remove any soapy residue. Check for any remaining coffee grounds or residue and make sure the brew basket is completely clean.
- Dry the brew basket: After cleaning and rinsing, use a clean cloth or paper towels to dry the brew basket thoroughly. Ensure there is no moisture left before placing it back into the coffee machine.
Cleaning the brew basket regularly ensures that your coffee brews with optimal flavor and prevents any clogs or blockages during the brewing process. With the brew basket clean, let’s move on to cleaning the thermal carafe.
Read more: How To Clean Melitta Coffee Machine
Clean the Thermal Carafe
The thermal carafe of your Ninja coffee machine is responsible for keeping your brewed coffee hot for an extended period. Over time, coffee stains, oils, and residue can accumulate inside the carafe, which can affect the taste and quality of your coffee. Here’s how to clean the thermal carafe:
- Empty the carafe: Pour out any remaining coffee from the thermal carafe into the sink or compost.
- Wash with warm soapy water: Fill the carafe with warm water and a small amount of mild dish soap. Use a soft cloth or sponge to scrub the interior of the carafe, paying close attention to any coffee stains or residue.
- Rinse thoroughly: Rinse the carafe under running water to remove all traces of soap. Ensure that no soapy residue remains inside.
- Descale if necessary: If you notice mineral deposits or discoloration inside the carafe, you can use a mixture of white vinegar and water to descale it. Fill the carafe with the vinegar-water solution and let it sit for about 15 minutes. Scrub lightly and rinse thoroughly afterward.
- Dry completely: After cleaning and rinsing, use a clean cloth or paper towels to dry the carafe thoroughly. Make sure there is no moisture left inside before placing the carafe back onto the coffee machine.
Cleaning the thermal carafe regularly keeps it free from coffee stains and ensures that your brewed coffee stays fresh and flavorful. With the thermal carafe clean, let’s move on to reassembling and testing the machine.
Reassemble and Test the Machine
Now that you’ve thoroughly cleaned each component of your Ninja coffee machine, it’s time to reassemble the parts and ensure everything is working correctly. Follow these steps to reassemble and test your machine:
- Ensure all parts are dry: Before reassembling, double-check that all the cleaned parts, including the carafe, brew basket, water reservoir, and drip stop, are completely dry. Any moisture left behind may affect the performance of the machine or even lead to mold growth.
- Reattach the drip stop and brew basket: Carefully reattach the drip stop to its original position if it was removed. Place the brew basket back into the designated area of the coffee machine.
- Insert the water reservoir: Slide the clean and dry water reservoir back into place in the coffee machine. Ensure it is securely and properly positioned.
- Perform a test brewing cycle: Fill the water reservoir with clean water according to the manufacturer’s guidelines. Place the thermal carafe back onto the warming plate. Start a brewing cycle without adding any coffee grounds to test the machine’s functionality and ensure that water flows smoothly into the carafe.
- Check for leaks or malfunctions: While the test brewing cycle is in progress, carefully observe the machine for any leaks or malfunctions. Ensure that water is flowing properly and that there are no unusual noises or issues.
- Dispose of the test brew: Discard the water from the test brew into the sink. Rinse the carafe and any other parts that came in contact with water during the test cycle.
Once you’ve reassembled and tested your Ninja coffee machine, you can confidently enjoy your delicious and freshly brewed cup of coffee. Remember to clean your coffee machine regularly to maintain its optimal performance and extend its lifespan. Cheers to a great cup of coffee every time!
Disclaimer: The information provided in this article is for informational purposes only. Please refer to your Ninja coffee machine’s user manual for specific cleaning instructions and recommendations.
Learn more about cleaning your Ninja Coffee machine with this video:
Cleaning Your Ninja Coffee Machine
Conclusion
Congratulations! You’ve successfully learned how to clean your Ninja coffee machine, ensuring that every cup of coffee you brew is fresh, delicious, and free from any unwanted residue or buildup. Regular cleaning and maintenance of your coffee machine are essential to keep it running smoothly and to extend its lifespan.
Throughout this guide, we walked you through each step of the cleaning process, from gathering the necessary supplies to reassembling and testing the machine. Remember to follow the safety precautions outlined at the beginning to ensure a safe and hassle-free cleaning experience.
By regularly cleaning the external parts, water reservoir, coffee filter, drip stop, brew basket, and thermal carafe, you can enjoy optimal performance from your Ninja coffee machine. Removing mineral deposits, coffee oils, and residue ensures that your coffee brews with maximum flavor and quality.
Don’t forget to consult your Ninja coffee machine’s user manual for any specific instructions or recommendations unique to your model. Each machine may have slight variations in the cleaning process, and the user manual is a valuable resource for all the information you need.
Now that you know how to clean your Ninja coffee machine, make it a regular part of your coffee routine. A clean machine not only enhances the taste of your coffee but also improves the overall longevity and functionality of your coffee maker.
So, get ready to brew the perfect cup of coffee every morning with a sparkling clean Ninja coffee machine. Enjoy the pure and flavorful aroma of freshly brewed coffee, knowing that your machine is clean and well-maintained.
Disclaimer: The information provided in this article is for informational purposes only. Please refer to your Ninja coffee machine’s user manual for specific cleaning instructions and recommendations.
Happy brewing!
Frequently Asked Questions about How To Clean A Ninja Coffee Machine
Was this page helpful?
At Storables.com, we guarantee accurate and reliable information. Our content, validated by Expert Board Contributors, is crafted following stringent Editorial Policies. We're committed to providing you with well-researched, expert-backed insights for all your informational needs.

0 thoughts on “How To Clean A Ninja Coffee Machine”