Home>Articles>How To Clean Outdoor Furniture For A Seasonal Refresh
Articles
How To Clean Outdoor Furniture For A Seasonal Refresh
Modified: October 20, 2024
Learn how to clean your outdoor furniture with these helpful articles. Refresh your space for the new season and enjoy your outdoor living area to the fullest.
(Many of the links in this article redirect to a specific reviewed product. Your purchase of these products through affiliate links helps to generate commission for Storables.com, at no extra cost. Learn more)
Introduction
As the weather warms up and the sun starts shining, it’s time to get your outdoor furniture ready for a seasonal refresh. After months of exposure to the elements, your outdoor furniture may have accumulated dirt, grime, and mildew, which can not only make it look dull and unappealing but also compromise its longevity. Cleaning your outdoor furniture not only helps to maintain its appearance but also ensures that it remains in good condition for years to come.
In this article, we will guide you through a step-by-step process to effectively clean your outdoor furniture and bring it back to life. Whether you have wood, wicker, metal, plastic, or fabric furniture, we have got you covered. So, grab your cleaning supplies, put on your gloves, and let’s get started!
Before diving into the cleaning process, it’s important to assess the condition of your outdoor furniture. Check for any signs of damage, such as loose screws, broken pieces, or frayed fabric. Addressing these issues before cleaning will ensure that you have a safe and functional furniture set.
Now that you have assessed the condition of your outdoor furniture, it’s time to gather the necessary cleaning supplies. The exact supplies you will need may vary depending on the material of your furniture, but some common items include:
- Mild dish soap or detergent
- Water (preferably warm)
- Bristle brush or sponge
- Soft cloth or microfiber towel
- Vinegar or bleach (for stubborn stains or mildew)
- Wood cleaner or oil (for wooden furniture)
- Wicker cleaner or oil (for wicker furniture)
- Metal cleaner or rust remover (for metal furniture)
- Plastic cleaner or UV protectant (for plastic or resin furniture)
- Fabric cleaner or upholstery shampoo (for outdoor fabric lounge chairs or hammocks)
With your cleaning supplies ready, it’s time to move on to the next step – removing the cushion covers and washing them. This will help freshen up the look of your outdoor furniture and ensure that you have a clean and comfortable seating area.
Stay tuned for the next step – cleaning the frames or surfaces of the furniture – where we will delve into specific cleaning techniques for different materials such as wood, wicker, metal, plastic, and fabric. By following these steps, you will be well on your way to a sparkling outdoor furniture setup that is sure to impress your family and friends.
Key Takeaways:
- Revitalize your outdoor furniture by following a step-by-step cleaning process tailored to different materials, ensuring a welcoming and stylish outdoor space for relaxation and enjoyment.
- Regular maintenance and proper care are essential for preserving the beauty and lifespan of outdoor furniture, creating a stunning and inviting outdoor oasis for unwinding and entertaining.
Read more: What To Clean Outdoor Furniture With
Step 1: Assess the Condition of Your Outdoor Furniture
Before diving into the cleaning process, it is essential to assess the condition of your outdoor furniture. This step will help you identify any damage or wear and tear that needs to be addressed before proceeding with the cleaning.
Start by visually inspecting each piece of furniture. Look for any signs of damage such as cracks, chips, or loose components. Check the stability of chairs and tables, ensuring that they are structurally sound. If you spot any issues, take note of them and plan to address them before cleaning.
Additionally, examine the fabric on cushions, pillows, or upholstery. Look for any rips, tears, or stains that may need extra attention during the cleaning process. Noting these areas will help you determine the appropriate cleaning method and products to use.
If your furniture has been exposed to extreme weather conditions, such as rain or snow, there is a chance that the wood may have warped or the metal may have rusted. Carefully inspect each piece to identify these signs of damage. Surface imperfections may be easily remedied, but more severe damage may require professional repair or replacement.
Lastly, consider the overall integrity of your furniture. Check for loose screws or fittings that could pose a safety hazard. Tighten any loose screws and ensure that all components are securely attached. If you come across any irreparable damage or safety concerns, it may be time to consider replacing the affected furniture.
By thoroughly assessing the condition of your outdoor furniture at the beginning of the cleaning process, you can ensure that you take appropriate measures to address any issues. This will help you maintain the functionality and durability of your furniture, allowing you to enjoy it for years to come.
Now that you have assessed the condition of your outdoor furniture, it’s time to gather the necessary cleaning supplies and move on to the next step – removing the cushion covers and washing them.
Step 2: Gather the Necessary Cleaning Supplies
Now that you have assessed the condition of your outdoor furniture, it’s time to gather the necessary cleaning supplies. Having the right tools and products on hand will make the cleaning process more efficient and effective.
The specific cleaning supplies you will need may vary depending on the material of your outdoor furniture. However, there are some common items that are essential for most cleaning tasks:
- Mild dish soap or detergent: This will be the main cleaning agent for removing dirt and stains.
- Water (preferably warm): Use water to dilute the cleaning solution and rinse off the surfaces of the furniture.
- Bristle brush or sponge: These tools will help scrub away grime and debris from the furniture surfaces.
- Soft cloth or microfiber towel: Use these to dry the furniture after cleaning and to apply any necessary treatments or finishes.
- Vinegar or bleach: These can be used for stubborn stains or to remove mildew from certain types of furniture.
Depending on the material of your outdoor furniture, you may also need specialized cleaning products. Here are some additional supplies you might require:
- Wood cleaner or oil: If you have wooden furniture, a wood cleaner or oil can help restore its natural shine and protect it from the elements.
- Wicker cleaner or oil: Wicker furniture requires special care. Use a wicker cleaner or oil to remove dirt and keep the fibers in good condition.
- Metal cleaner or rust remover: For metal furniture, a metal cleaner or rust remover can help eliminate rust and restore its original luster.
- Plastic cleaner or UV protectant: To clean and maintain plastic or resin furniture, use a specialized plastic cleaner or UV protectant to prevent fading and keep it looking new.
- Fabric cleaner or upholstery shampoo: If your outdoor furniture has fabric components, such as cushions or hammocks, a fabric cleaner or upholstery shampoo is necessary to remove stains and odors.
Before starting the cleaning process, make sure you have all the necessary supplies readily available. This will save you time and ensure a smooth cleaning experience. Additionally, read the labels of any specialized cleaning products and follow the instructions to achieve the best results for your specific furniture materials.
With your cleaning supplies at the ready, you are now prepared to move on to the next step – removing the cushion covers and washing them.
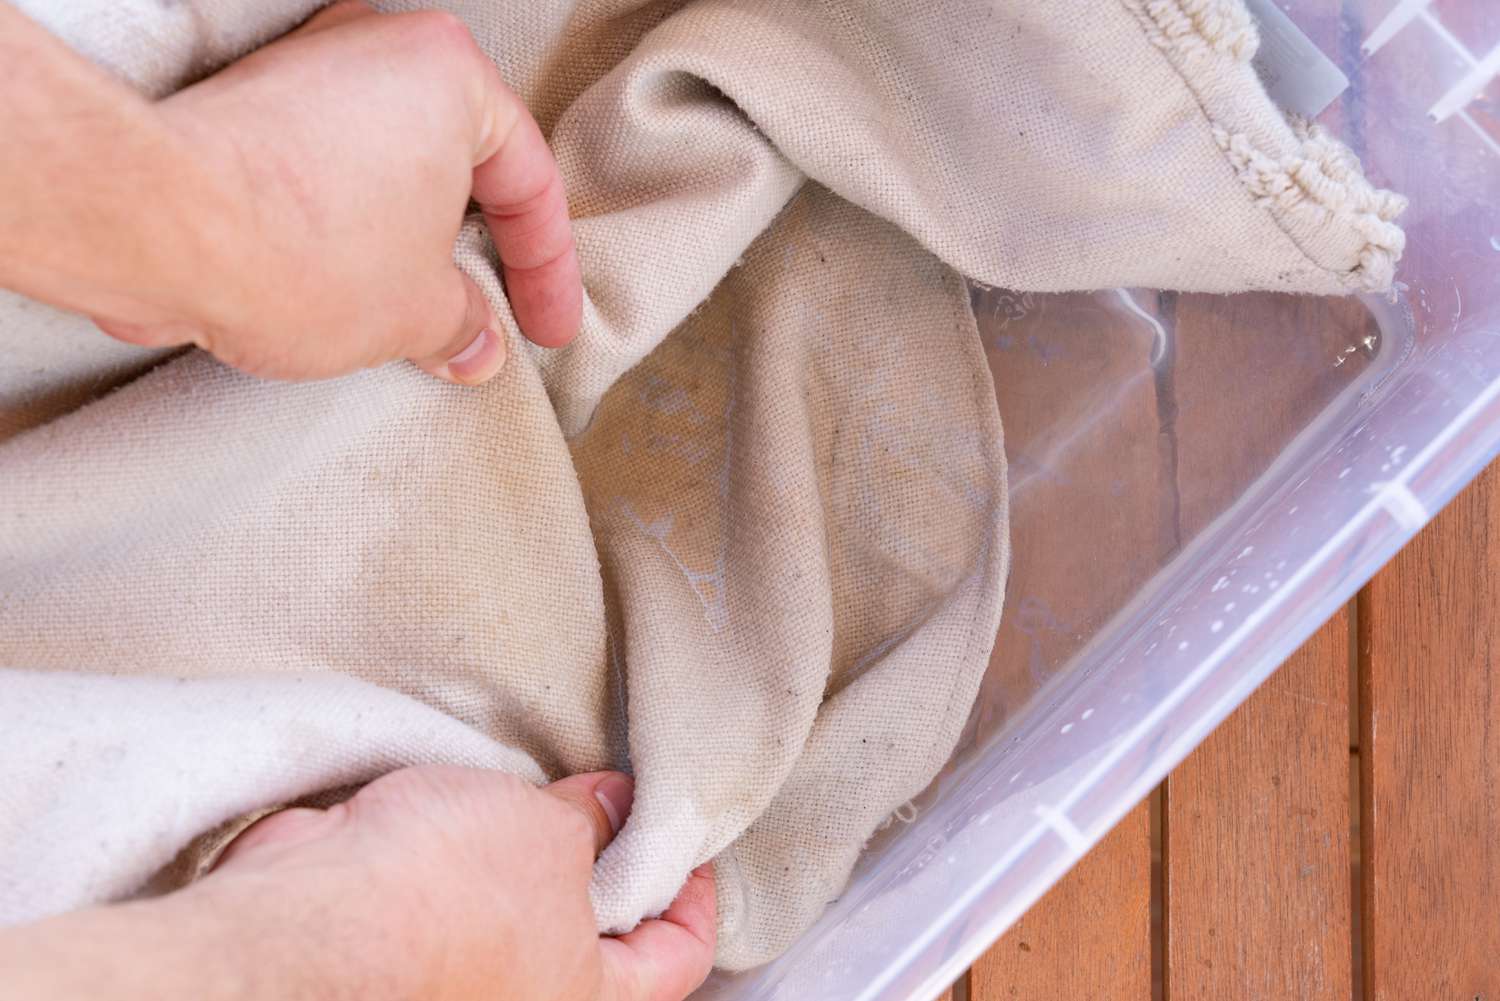
Step 3: Remove Cushion Covers and Wash Them
Now that you have gathered all the necessary cleaning supplies, it’s time to tackle one of the most important steps in the outdoor furniture cleaning process – removing the cushion covers and washing them.
Outdoor furniture cushions are often exposed to dirt, spills, and the elements, making them prone to stains and odors. By removing and washing the cushion covers, you can refresh their appearance and ensure a clean and comfortable seating area.
Before removing the cushion covers, check if they are machine-washable or require spot cleaning. Most cushion covers are safe for machine washing, but it’s essential to read the care instructions provided by the manufacturer.
If the cushion covers are removable, unzip or unfasten them from the cushions. Take care not to damage the zippers or buttons during the process. If you are unsure how to remove the covers, refer to the manufacturer’s instructions or seek guidance from their customer service.
Once the cushion covers are separated from the cushions, inspect them for any stains or soiling. Spot treat any visible stains with a mild detergent or stain remover, following the instructions on the product label.
When it comes to washing the cushion covers, there are a few options available:
- Machine washing: If the care instructions allow for machine washing, place the cushion covers in the washing machine. Use a gentle cycle, cold water, and a mild detergent. Avoid using bleach or fabric softener, as these can damage the fabric or cause discoloration.
- Hand washing: If the cushion covers are delicate or not suitable for machine washing, hand wash them in a basin or sink filled with lukewarm water and a gentle detergent. Gently agitate the fabric to remove any dirt or stains. Rinse thoroughly until the water runs clear.
- Spot cleaning: For small stains or localized dirt, spot cleaning may be sufficient. Dampen a clean cloth with a mild detergent solution and gently blot the stained areas. Rinse with a clean, damp cloth to remove any excess detergent.
After washing, rinse the cushion covers thoroughly to remove any detergent residue. Squeeze out the excess water gently and lay them flat to air dry. Avoid using a dryer, as high heat can shrink or damage the fabric.
If your cushion covers have lingering odors, you can sprinkle baking soda on them before washing. Allow it to sit for a few minutes to absorb the odors, then brush or shake off the baking soda before washing.
Once the cushion covers are clean and dry, reinsert the cushions and zip or fasten the covers back in place. Fluff the cushions to restore their shape and plumpness.
The removal and washing of cushion covers are essential steps in the outdoor furniture cleaning process. This not only cleans the visible parts of your furniture but also ensures a hygienic and comfortable seating experience.
With the cushion covers clean and back in place, it’s time to move on to the next step – cleaning the frames or surfaces of the furniture.
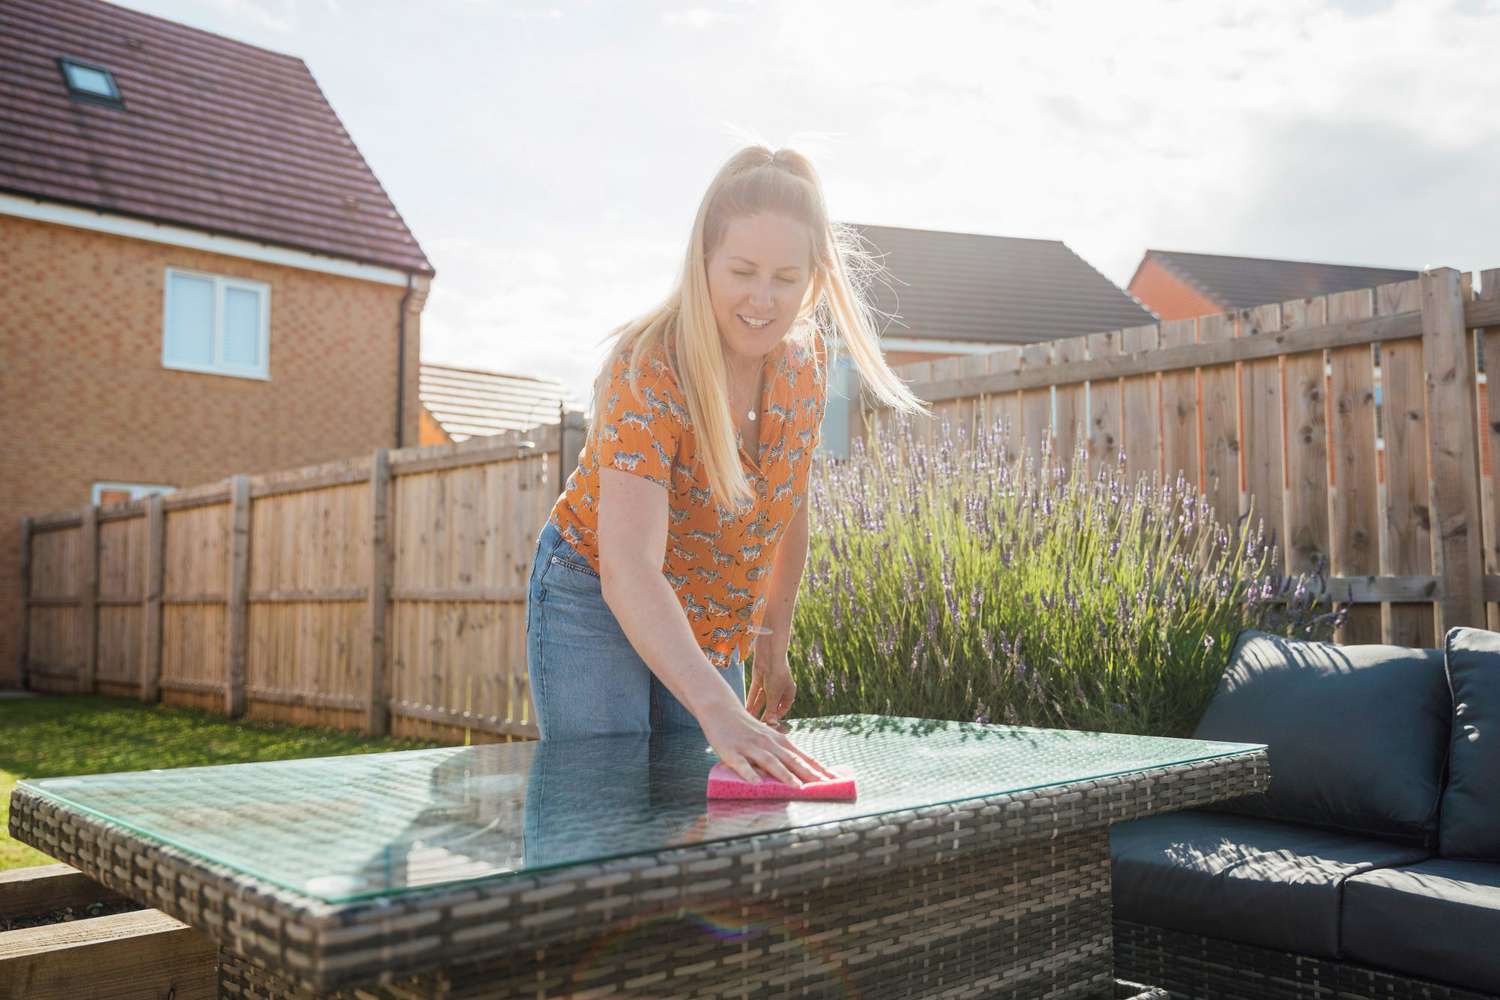
Step 4: Clean the Frames or Surfaces of the Furniture
Now that you have removed and washed the cushion covers, it’s time to focus on cleaning the frames or surfaces of your outdoor furniture. This step is crucial for removing dirt, grime, and other debris that may have accumulated over time.
The specific cleaning method will vary depending on the material of your furniture:
- Wood Furniture: For wood furniture, start by removing loose dirt and debris using a soft brush or cloth. Then, mix a mild solution of dish soap and water. Dip a cloth or sponge into the solution and gently scrub the surface of the wood. Rinse with clean water and allow it to air dry completely. If your wood furniture needs additional care or restoration, consider using a suitable wood cleaner or applying a protective oil or sealant.
- Wicker Furniture: Wicker furniture requires gentle cleaning to avoid damage. Use a soft brush or cloth to remove any loose dirt or debris. Mix a solution of mild soap and water, and dip a cloth or sponge into the mixture. Gently scrub the wicker, paying attention to any crevices or hard-to-reach areas. Rinse with clean water and pat dry with a soft cloth. To maintain the wicker’s condition, apply a specialized wicker oil or treatment as recommended by the manufacturer.
- Metal Furniture: Metal furniture can be prone to rust and corrosion. Start by using a soft brush or cloth to remove any loose dirt or rust flakes. Mix a solution of mild dish soap and warm water, and use a sponge or soft brush to clean the metal surfaces. Pay special attention to areas with rust spots, using a rust remover if necessary. Rinse with clean water and thoroughly dry the furniture to prevent further rusting. Apply a metal cleaner or protective coating to maintain the metal’s appearance and protect it from the elements.
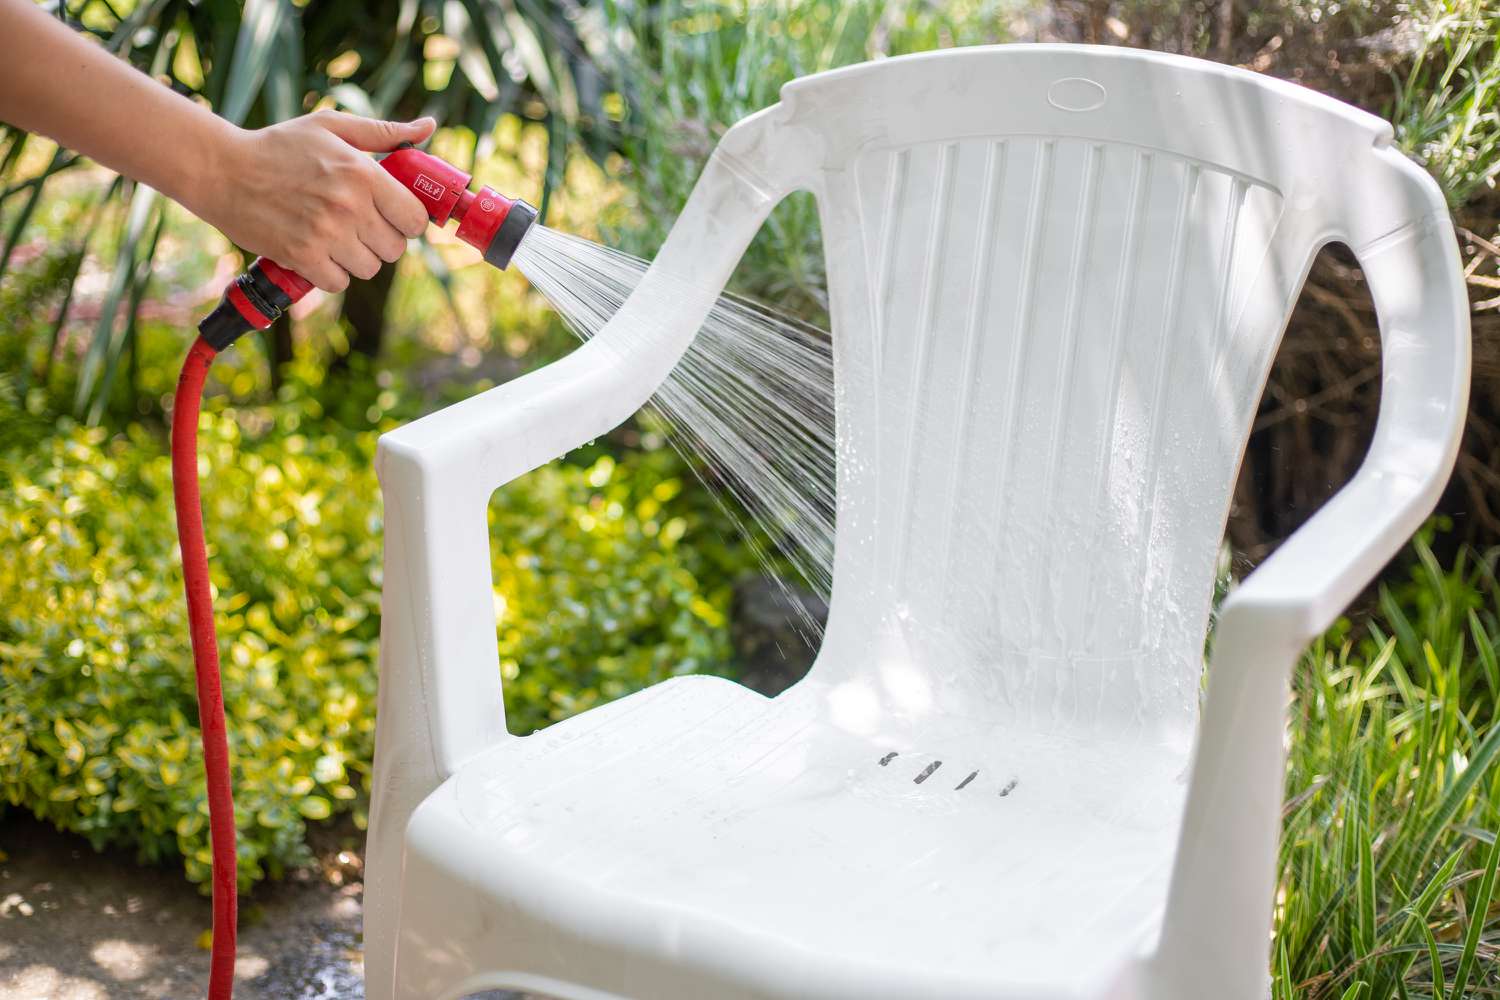
- Plastic or Resin Furniture: Plastic or resin furniture is relatively low-maintenance and easy to clean. Begin by wiping off any loose dirt or debris. Mix a solution of mild dish soap and warm water. Use a sponge, cloth, or soft brush to clean the plastic surfaces, working in circular motions. Rinse with clean water and towel dry or allow it to air dry. For added protection, apply a plastic cleaner or UV protectant to prevent fading and keep the furniture looking new.
Regardless of the material, it’s important to avoid using abrasive cleaners, harsh chemicals, or power washers, as they can damage the furniture’s surface or finish.
For stubborn stains or mildew, vinegar or bleach can be used in diluted form. Mix one part vinegar or bleach with nine parts water and apply it to the affected areas. Allow it to sit for a few minutes before gently scrubbing with a soft brush or cloth. Rinse thoroughly with clean water to remove any residue.
After cleaning, make sure to dry the frames or surfaces completely to prevent moisture buildup, which can lead to mold or damage. Use a soft cloth or towel to remove excess moisture and allow the furniture to air dry in a well-ventilated area.
By following these cleaning steps, you can restore the original shine and appearance of your outdoor furniture. Whether you have wood, wicker, metal, or plastic furniture, proper cleaning will not only enhance its aesthetic appeal but also prolong its lifespan.
With the frames or surfaces of your furniture cleaned, it’s time to move on to the next step – cleaning and treating wood furniture for optimal maintenance and protection.
Read more: How To Clean Wooden Outdoor Furniture
Step 5: Clean and Treat Wood Furniture
If you have wood furniture in your outdoor space, it requires special care to maintain its natural beauty and longevity. Cleaning and treating wood furniture will not only remove dirt and grime but also protect it from the elements.
Follow these steps to effectively clean and treat your wood outdoor furniture:
1. Remove Loose Dirt: Begin by using a soft brush or cloth to remove any loose dirt, dust, or debris from the surface of the wood. Pay attention to crevices and hard-to-reach areas.
2. Prepare a Cleaning Solution: Mix a mild solution of dish soap or specialized wood cleaner and water. Avoid using harsh chemicals or abrasive cleaners, as they can damage the wood’s finish.
3. Clean the Wood Surface: Dip a soft cloth or sponge into the cleaning solution and gently scrub the wood surface. Work in the direction of the wood grain to avoid leaving streaks or scratches. Pay extra attention to areas with stains or stubborn dirt. Rinse your cloth or sponge as needed during the process.
4. Remove Stains or Mildew: For tougher stains or mildew, you can create a solution of equal parts water and vinegar or hydrogen peroxide. Apply the solution to the affected areas using a cloth or sponge, and let it sit for a few minutes. Gently scrub the stains or mildew with a soft brush or cloth, then rinse thoroughly with clean water.
5. Rinse and Dry: After cleaning, rinse the wood surface with clean water to remove any residue. Make sure the entire piece of furniture is thoroughly rinsed. Use a soft cloth or towel to pat dry, removing excess moisture from the wood. Air drying is also recommended to ensure that the wood is completely dry before proceeding to the next step.
6. Apply Wood Sealant or Oil: Once the wood is dry, you can choose to apply a wood sealant or oil to protect and enhance its natural beauty. Consult the manufacturer’s instructions or ask for recommendations from a local home improvement store for the best product suited to your specific type of wood furniture.
7. Follow Application Guidelines: When applying the wood sealant or oil, follow the manufacturer’s instructions regarding the application method and frequency. Typically, you would use a brush or cloth to evenly apply the product onto the wood surface. Allow it to penetrate the wood for the recommended duration, then wipe off any excess with a clean cloth.
8. Maintain Regular Maintenance: To keep your wood furniture in optimal condition, it is essential to perform regular maintenance. This includes dusting the furniture with a soft cloth, promptly cleaning up any spills, and reapplying the wood sealant or oil as needed, especially after prolonged exposure to the elements.
By cleaning and treating your wood outdoor furniture, you can protect it from weathering, UV damage, and premature aging. Proper maintenance will not only extend its lifespan but also ensure that it continues to enhance the aesthetic appeal of your outdoor space for years to come.
With your wood furniture cleaned and treated, it’s time to move on to the next step – cleaning and restoring wicker furniture.
When cleaning outdoor furniture, use a mixture of mild soap and water to scrub the surfaces. Rinse thoroughly and allow to dry completely before using or storing.
Step 6: Clean and Restore Wicker Furniture
Wicker furniture adds a timeless charm to outdoor spaces, but it requires specific care to maintain its durability and appearance. Cleaning and restoring wicker furniture not only remove dirt and debris but also revitalize its natural beauty.
Follow these steps to effectively clean and restore your wicker outdoor furniture:
1. Remove Loose Dirt: Begin by using a soft brush or cloth to remove any loose dirt or debris from the wicker. Gently brush along the fibers and pay particular attention to any crevices or hard-to-reach areas.
2. Prepare a Cleaning Solution: Mix a solution of mild soap or specialized wicker cleaner and warm water. Avoid using harsh chemicals or abrasive cleaners, as they can damage the wicker material.
3. Clean the Wicker: Dip a soft brush or sponge into the cleaning solution and gently scrub the wicker furniture. Work in circular motions, making sure to clean all sides and surfaces. Pay extra attention to any stained or heavily soiled areas.
4. Rinse Thoroughly: After cleaning, rinse the wicker furniture with clean water to remove any soapy residue. Use a gentle stream of water or a damp cloth to ensure that all traces of the cleaning solution are removed.
5. Dry Properly: Wicker furniture tends to retain moisture, so it’s crucial to dry it thoroughly to prevent mold or damage. Wipe down the furniture with a soft cloth or towel, removing excess moisture. If possible, place the furniture in a well-ventilated area to air dry naturally.
6. Inspect for Damage: While the furniture is drying, inspect it for any signs of damage or wear. Look for loose strands, unraveling or fraying, and broken pieces. If you notice any issues, address them promptly by tightening loose strands or consulting a professional for repair.
7. Restore the Finish: To restore the natural shine and vitality of your wicker furniture, consider applying a specialized wicker oil. This will help rejuvenate the fibers and protect them from the elements. Follow the manufacturer’s instructions for application, using a soft cloth or brush to evenly coat the wicker surfaces.
8. Maintain Regular Care: To keep your wicker furniture looking its best, perform regular maintenance. Dust the furniture regularly with a soft brush or cloth to remove any surface debris. Avoid placing heavy objects on the furniture, and protect it from direct sunlight and extreme weather conditions.
By following these steps and providing proper care, you can clean and restore the natural beauty of your wicker furniture. With regular maintenance, your wicker outdoor furniture will continue to be an inviting and charming addition to your outdoor space for years to come.
With your wicker furniture cleaned and restored, it’s time to move on to the next step – cleaning and reviving metal furniture.
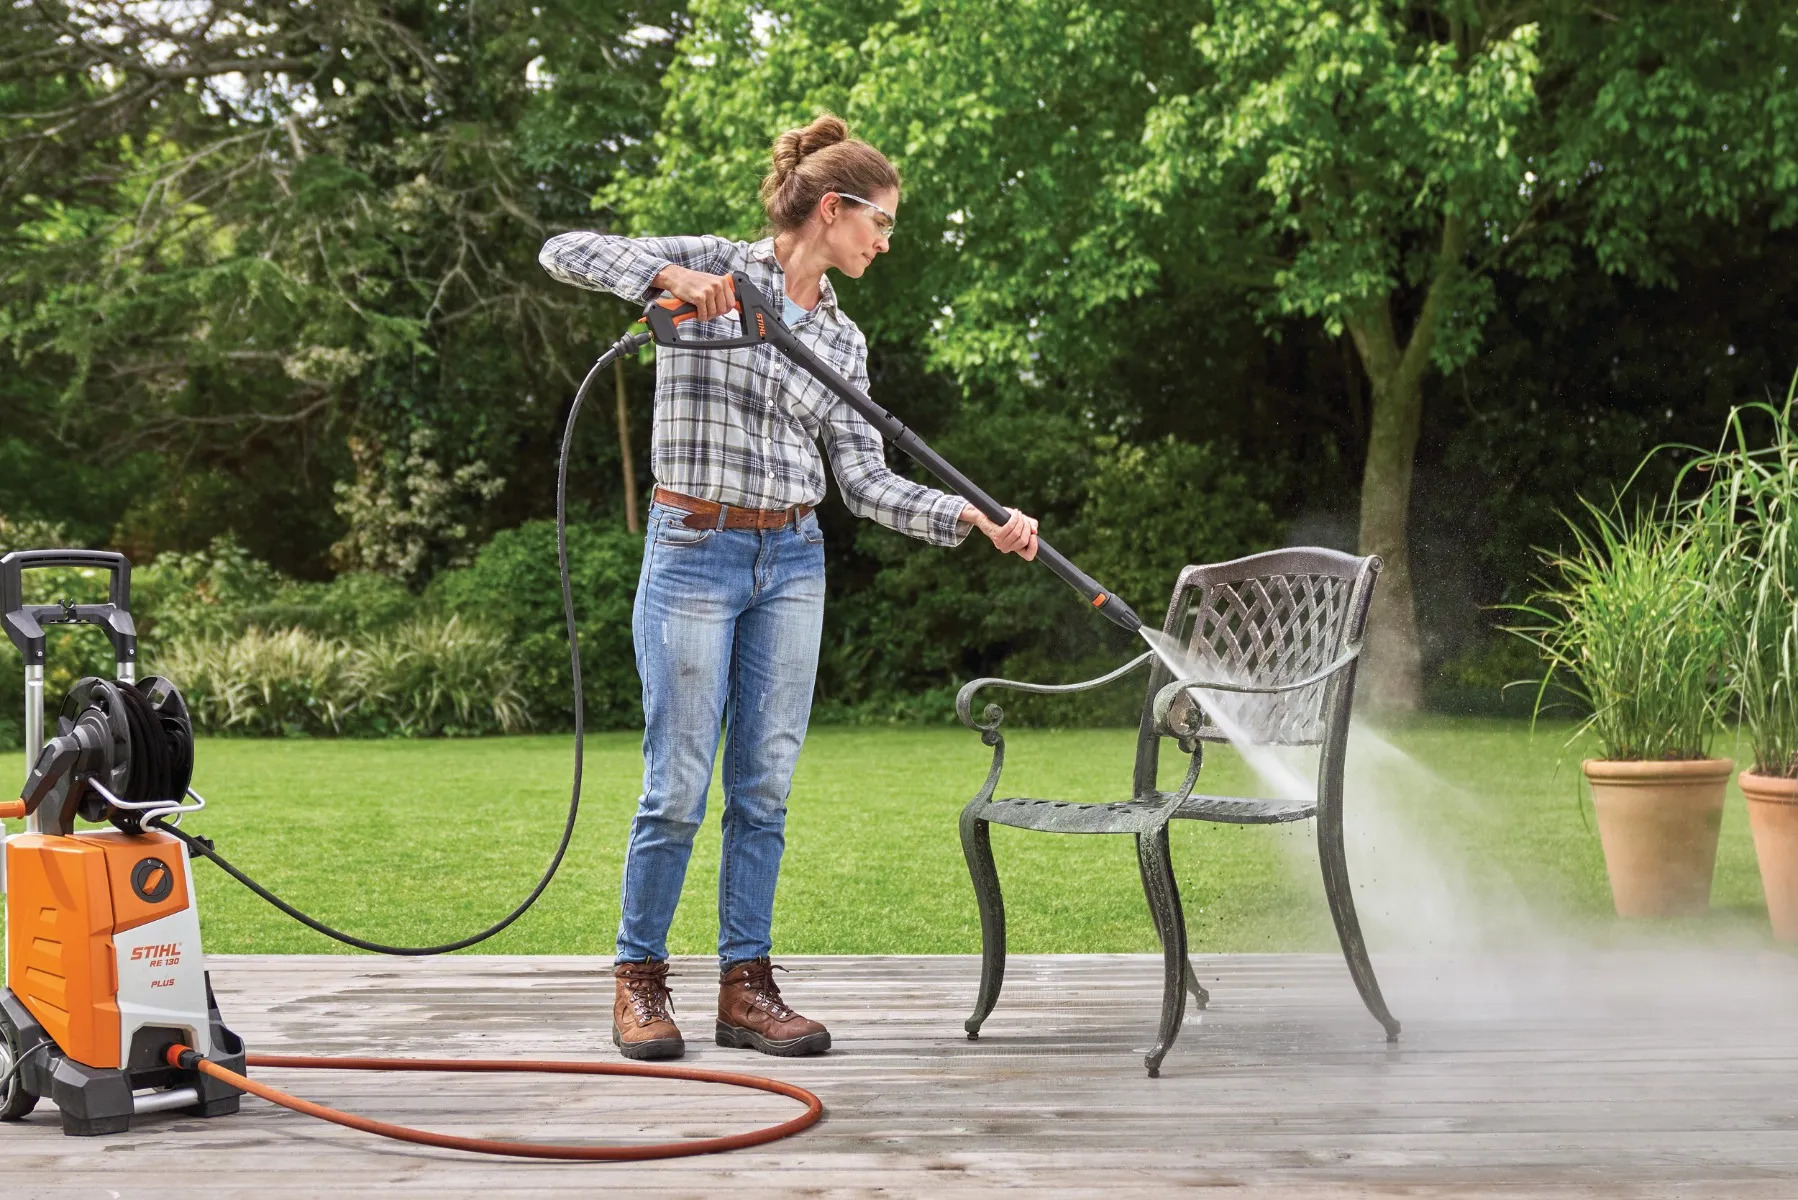
Step 7: Clean and Revive Metal Furniture
Metal furniture adds a modern and sleek look to outdoor spaces, but it can become dull and tarnished over time. Cleaning and reviving metal furniture not only remove dirt and grime but also restore its original shine and luster.
Follow these steps to effectively clean and revive your metal outdoor furniture:
1. Remove Loose Dirt: Start by using a soft brush or cloth to remove any loose dirt, dust, or debris from the metal furniture. Pay attention to intricate details or hard-to-reach areas.
2. Mix a Cleaning Solution: Prepare a solution of mild dish soap or specialized metal cleaner and warm water. Avoid using abrasive cleaners or bleach, as they can damage the metal’s finish.
3. Clean the Metal Surface: Dip a sponge or soft brush into the cleaning solution and gently scrub the metal surfaces. Pay extra attention to any areas with stains, rust, or tarnish. Use circular motions to ensure thorough cleaning.
4. Remove Rust or Tarnish: For stubborn rust or tarnish, you may need to use a rust remover or metal polish. Follow the instructions provided with the specific product and use a cloth or soft brush to apply it to the affected areas. Scrub gently to remove the rust or tarnish, then rinse with clean water.
5. Rinse and Dry Thoroughly: After cleaning, rinse the metal furniture with clean water to remove any soapy residue. Ensure that all cleaning solution is completely removed. Use a soft cloth or towel to dry the metal surface. This step is important to prevent water spots and potential corrosion.
6. Apply a Protective Coating: To revive the metal furniture and protect it from future damage, consider applying a metal protectant or wax. This will help prevent rust, corrosion, and fading. Follow the manufacturer’s instructions to apply the coating evenly and allow it to dry completely.
7. Maintain Regular Maintenance: To keep your metal furniture looking its best, perform regular maintenance. Dust the furniture regularly with a soft cloth to remove surface debris. Inspect for any signs of rust or damage, and address them promptly to prevent further deterioration. Additionally, avoid placing heavy or sharp objects directly on the furniture, as they can cause scratches or dents.
By following these steps, you can effectively clean and revive your metal outdoor furniture. Regular maintenance and proper care will help to prolong its lifespan and keep it looking stunning in your outdoor space for years to come.
With your metal furniture cleaned and revived, it’s time to move on to the next step – cleaning and refreshing plastic or resin furniture.
Step 8: Clean and Refresh Plastic or Resin Furniture
Plastic or resin furniture is known for its durability and low maintenance, making it a popular choice for outdoor spaces. However, over time, this type of furniture can become dull or dirty. Cleaning and refreshing plastic or resin furniture not only remove dirt and grime but also restore its appearance and extend its lifespan.
Follow these steps to effectively clean and refresh your plastic or resin outdoor furniture:
1. Remove Loose Dirt: Begin by using a soft brush or cloth to remove any loose dirt, dust, or debris from the furniture. Pay attention to crevices and hard-to-reach areas.
2. Prepare a Cleaning Solution: Mix a solution of mild dish soap or specialized plastic cleaner and warm water. Avoid using abrasive cleaners or bleach, as these can damage the plastic or resin material.
3. Clean the Furniture: Dip a sponge, cloth, or soft brush into the cleaning solution and gently scrub the surfaces of the plastic or resin furniture. Work in circular motions, ensuring that you clean all sides and crevices. Pay extra attention to any stains or heavily soiled areas.
4. Rinse Thoroughly: After cleaning, rinse the furniture with clean water to remove any soapy residue. Make sure to thoroughly rinse all surfaces, using a gentle stream of water or a damp cloth.
5. Remove Stubborn Stains: For stubborn stains, you may need to use a specialized stain remover or a mixture of vinegar and water. Apply the stain remover or vinegar solution to the affected areas and let it sit for a few minutes. Then, scrub gently with a sponge or cloth to remove the stain. Rinse thoroughly with clean water.
6. Dry Properly: After rinsing, use a soft cloth or towel to remove excess moisture from the furniture. Allow the furniture to air dry in a well-ventilated area or under the sun. Make sure it is completely dry before using or storing it to prevent mold or mildew growth.
7. Apply a UV Protectant: Plastic or resin furniture is susceptible to fading and discoloration due to sun exposure. To protect it from UV damage, apply a specialized UV protectant for plastic or resin furniture. Follow the manufacturer’s instructions to evenly apply the protectant and allow it to dry completely.
8. Maintain Regular Care: To keep your plastic or resin furniture looking its best, perform regular maintenance. Dust the furniture regularly with a soft cloth to remove surface debris. Avoid placing heavy or sharp objects directly on the furniture, as these may cause scratches or damage. Additionally, periodically reapply the UV protectant to ensure ongoing protection from the sun’s rays.
By following these steps, you can effectively clean and refresh your plastic or resin outdoor furniture, extending its lifespan and keeping it looking vibrant and welcoming in your outdoor space.
With your plastic or resin furniture cleaned and refreshed, it’s time to move on to the next step – cleaning and maintaining outdoor fabric loungers or hammocks.
Read more: How To Clean Mesh Outdoor Furniture
Step 9: Clean and Maintain Outdoor Fabric Loungers or Hammocks
Outdoor fabric loungers or hammocks provide a comfortable and relaxing space for you to enjoy the outdoors. However, they can easily accumulate dirt, stains, and mildew over time. Proper cleaning and maintenance of outdoor fabric are crucial to keep these pieces looking fresh and inviting. Follow these steps to effectively clean and maintain outdoor fabric loungers or hammocks:
1. Remove Loose Debris: Begin by shaking off or brushing away any loose debris, such as leaves or dirt, from the fabric. Use a soft brush or cloth to gently dislodge any trapped dirt or small particles.
2. Check the Care Instructions: Look for the care label or manufacturer’s instructions on the fabric. It is important to follow the specific recommendations for cleaning and maintenance, as different fabrics may require different methods and products.
3. Vacuum or Brush: Use a handheld vacuum or a soft brush attachment to remove any remaining loose dirt or dust from the fabric surface. This step will help to prepare the fabric for a deeper cleaning.
4. Spot Cleaning: If you notice any stains or soiled areas, tackle them with a spot-cleaning method. Start by testing a small, inconspicuous area of the fabric with a mild detergent or fabric cleaner. Gently blot or rub the soiled area with a soft cloth or sponge, working from the outside towards the center of the stain. Avoid rubbing vigorously to prevent damage to the fabric.
5. Machine or Hand Wash: Depending on the fabric type and care instructions, you may be able to machine wash or hand wash the fabric. If machine washable, ensure that you use a gentle cycle, mild detergent, and cold or lukewarm water. For hand washing, use a basin or sink filled with cool water and a mild detergent. Gently agitate the fabric and allow it to soak for a few minutes. Rinse thoroughly with clean water.
6. Dry Properly: After washing, let the fabric air dry completely. Hang it up outdoors or indoors in a well-ventilated area. Avoid direct sunlight as it may cause the colors to fade. Ensure that both sides of the fabric are completely dry before using or storing it, as dampness can lead to mold or mildew growth.
7. Apply Fabric Protector: To maintain the fabric’s resistance to stains and water, consider applying a fabric protector or waterproofing spray. Follow the product instructions and evenly apply the protector onto the clean, dry fabric. Allow it to dry completely before using the loungers or hammocks.
8. Regular Maintenance: Regularly brush or vacuum the fabric to remove any surface dirt or debris. If spills or stains occur, address them promptly with spot cleaning methods. Additionally, store the fabric loungers or hammocks in a dry, protected area during harsh weather or when not in use to prevent unnecessary wear and tear.
By following these steps, you can effectively clean and maintain your outdoor fabric loungers or hammocks, ensuring their longevity and keeping them in pristine condition. Take the time to properly care for these pieces, and you will be able to enjoy your outdoor space with comfort and style.
With your outdoor fabric loungers or hammocks cleaned and maintained, it’s time to move on to the final step – reassembling and arranging your outdoor furniture setup.
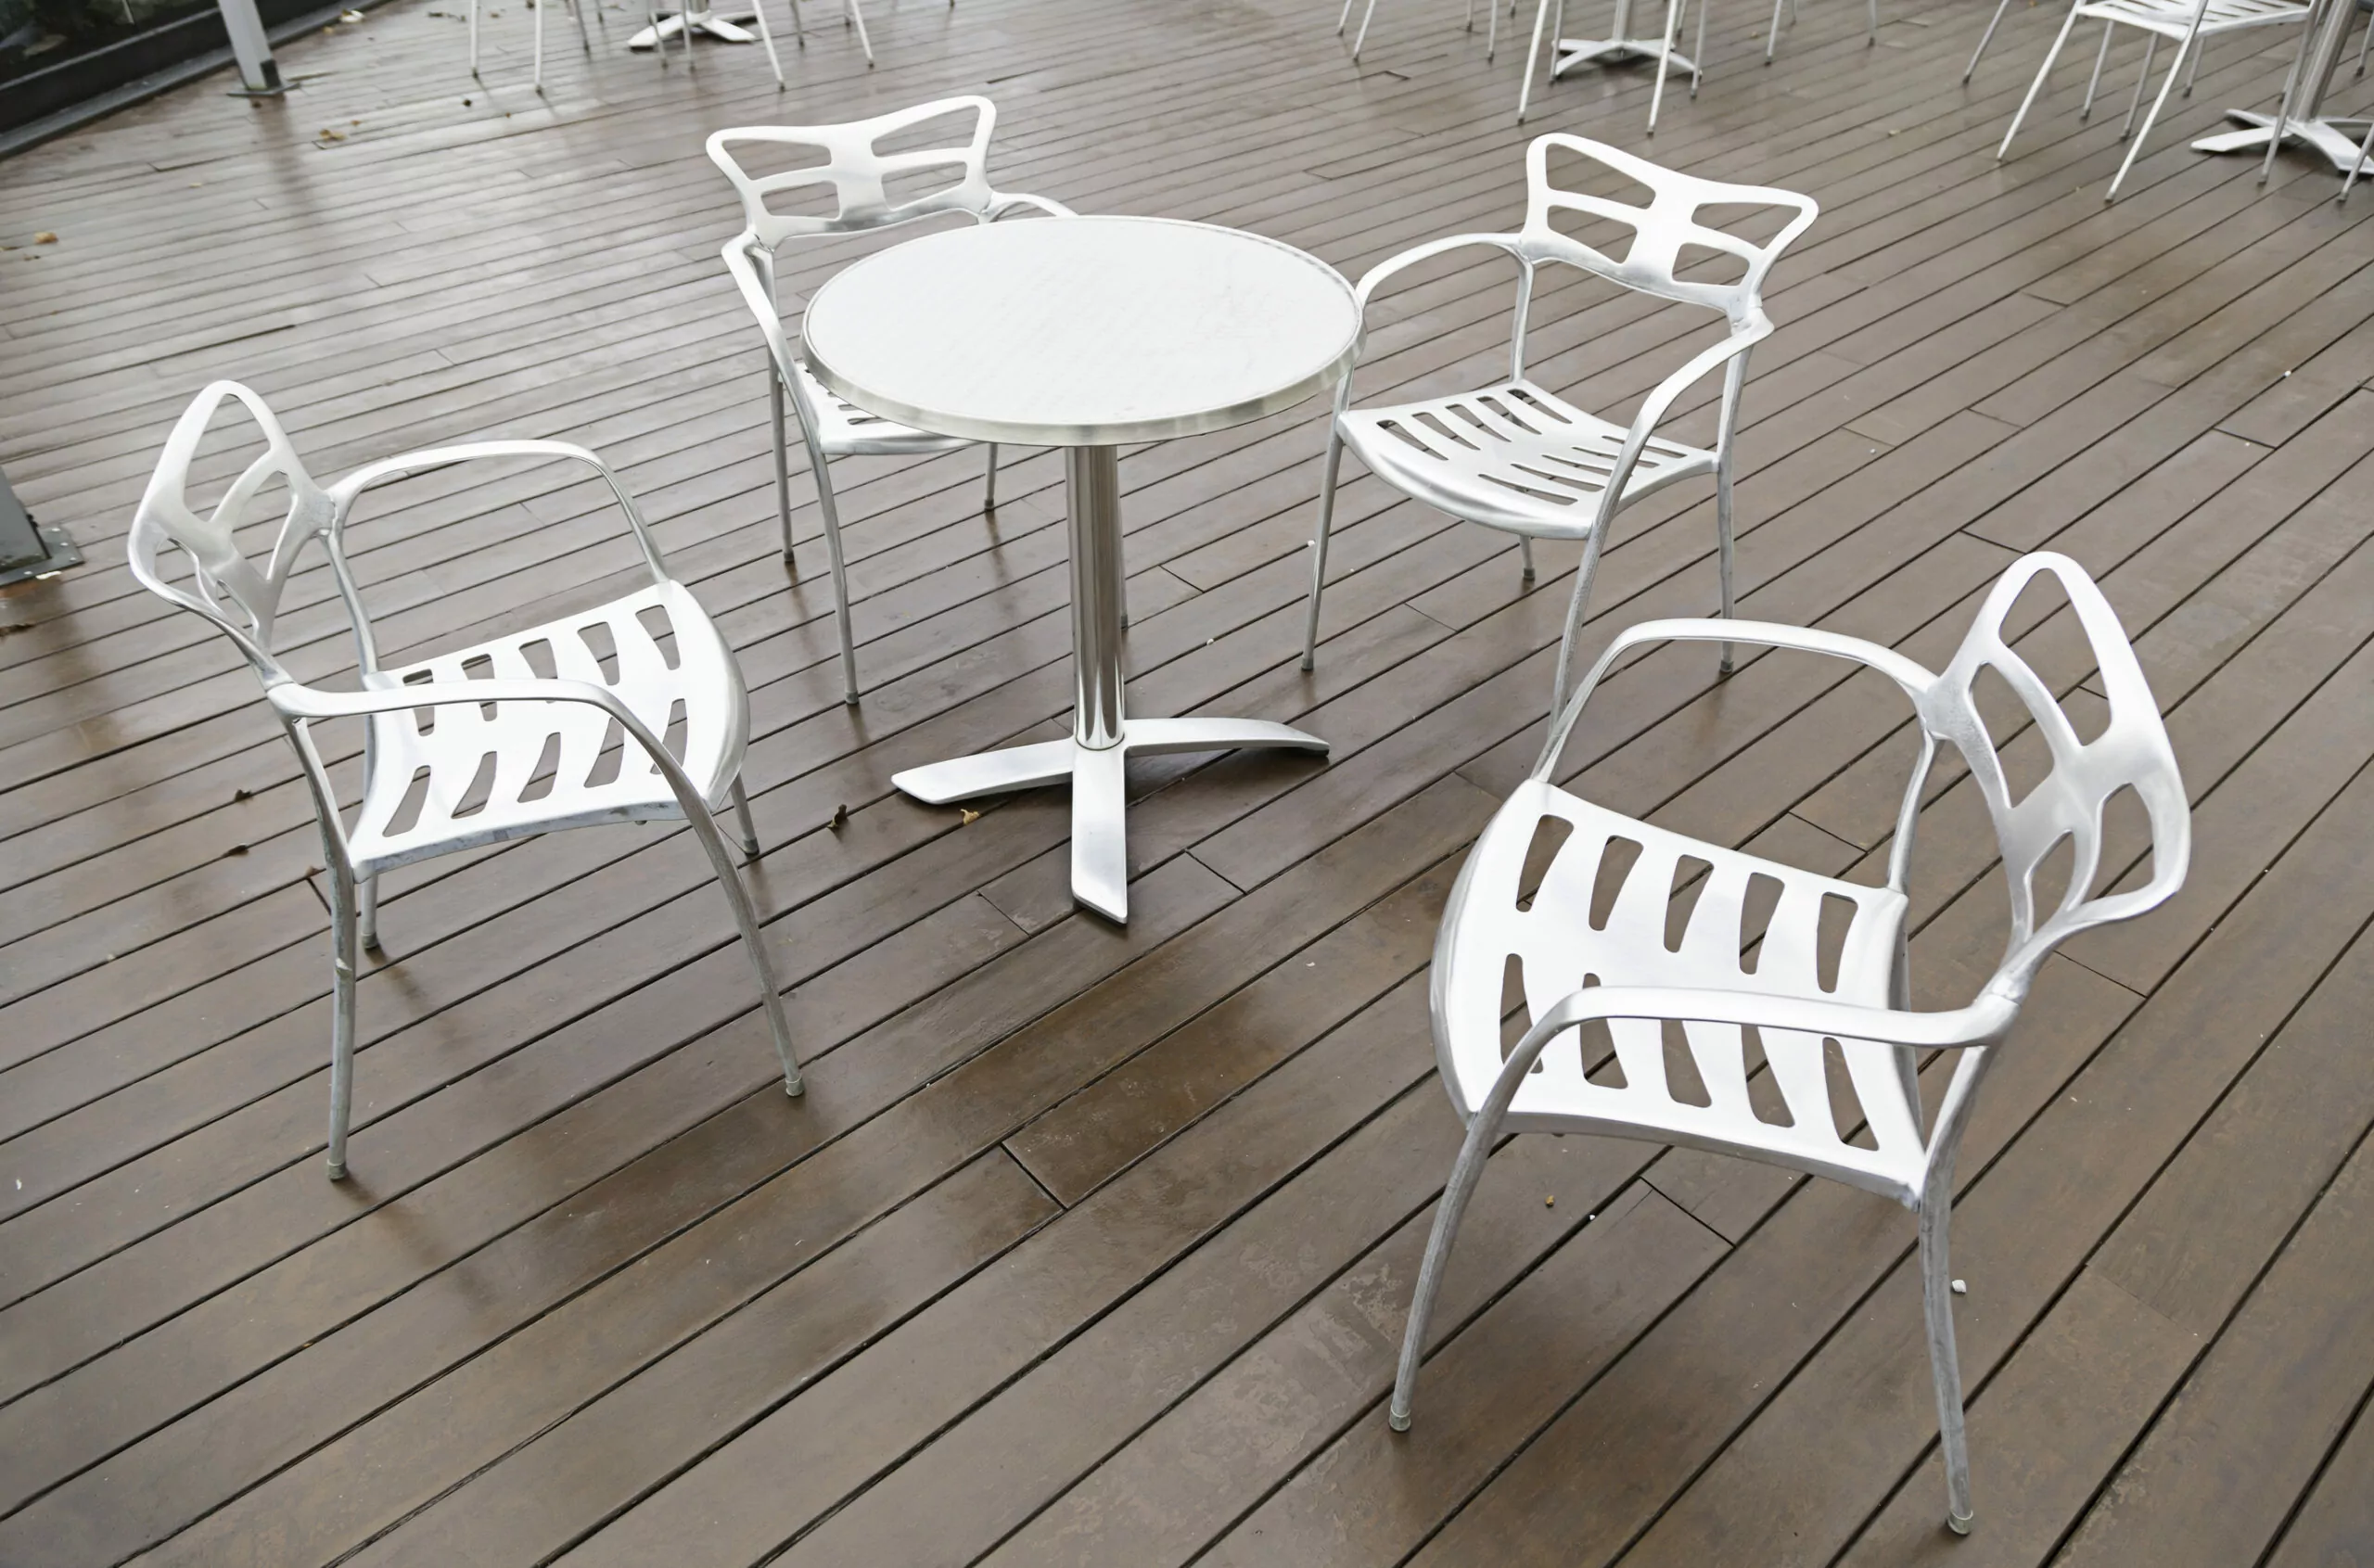
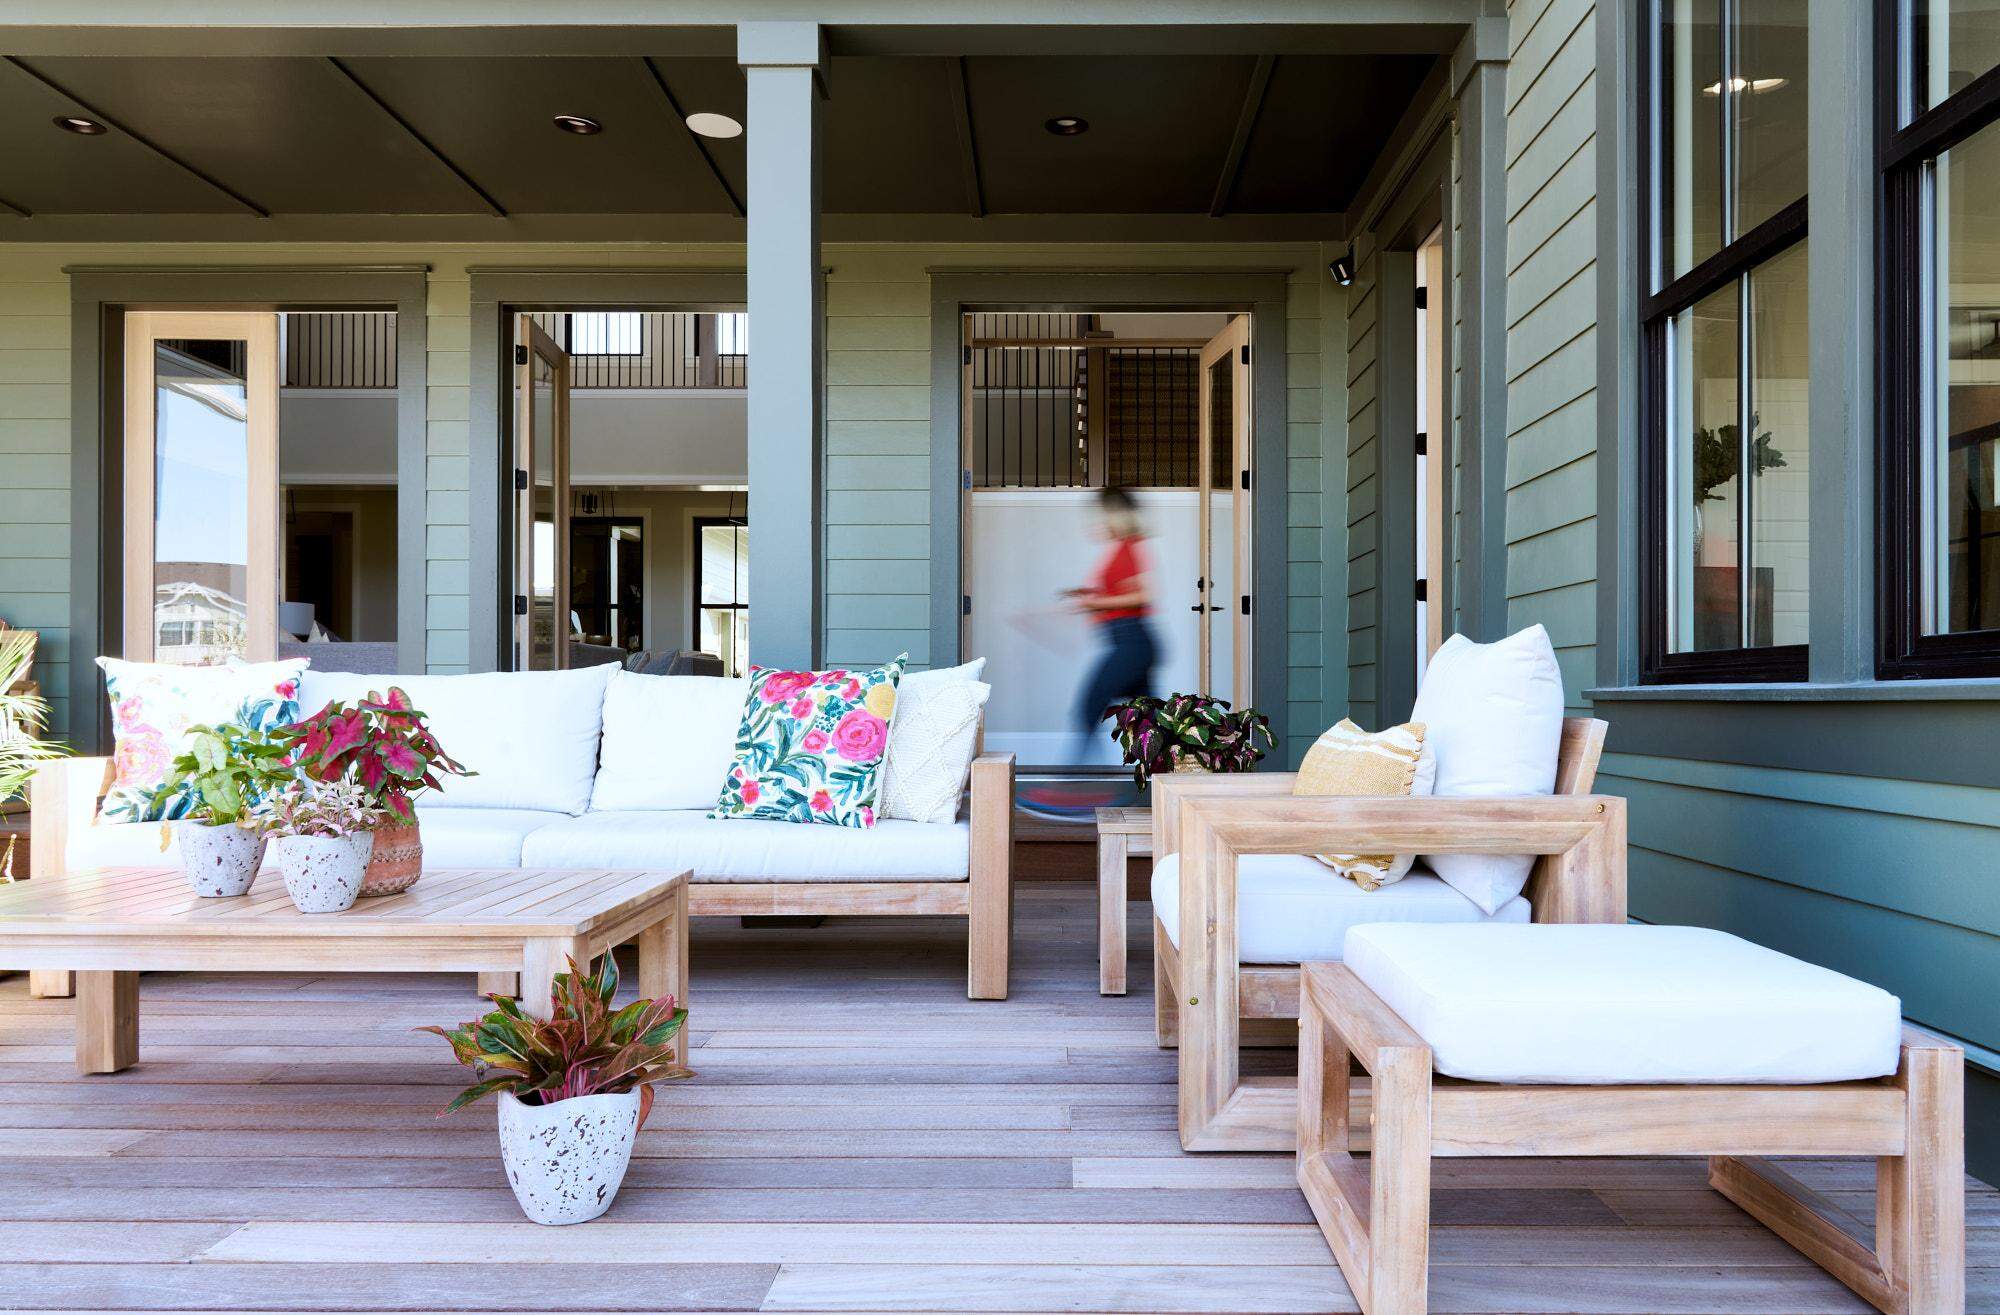
Step 10: Reassemble and Arrange Your Outdoor Furniture
After successfully cleaning and maintaining your outdoor furniture, it’s time to reassemble and arrange it in your outdoor space. This final step will not only give your furniture a fresh and renewed look but will also create an inviting and functional outdoor living area for you to enjoy. Follow these steps to efficiently reassemble and arrange your outdoor furniture:
1. Check for Loose or Missing Parts: Before reassembling, carefully inspect each piece of furniture and ensure that all screws, bolts, and fittings are in place. Tighten any loose components and replace any missing parts. This step will ensure the structural stability of the furniture.
2. Reattach Cushion Covers: If you removed the cushion covers for cleaning, now is the time to reattach them to the cushions. Make sure the covers are aligned properly and securely fastened. Fluff the cushions to restore their shape and plumpness.
3. Plan the Layout: Consider the available space in your outdoor area and think about how you want to arrange your furniture. Depending on your needs and preferences, you can create different seating areas, dining zones, or relaxation spots. Have a vision in mind or sketch out a plan to guide you during the arrangement process.
4. Create Zones: Divide your outdoor space into functional zones based on how you intend to use it. For example, designate an area for dining with a table and chairs, a cozy seating area with sofas or lounge chairs, and a separate space for relaxation with hammocks or recliners. This organization will optimize the use of your outdoor space.
5. Consider Accessibility and Traffic Flow: Arrange the furniture in a way that allows for easy movement and access to different areas. Ensure clear paths for walking and maneuvering around the furniture, taking into account any main entry points or focal points in your outdoor area.
6. Pay Attention to Comfort: Arrange the furniture in a way that prioritizes comfort and functionality. Position seating areas to encourage conversation, and provide ample space for stretching out and relaxing. Consider adding shade options, such as umbrellas or pergolas, to provide protection from the sun.
7. Add Finishing Touches: Enhance the ambiance and aesthetics of your outdoor space by adding decorative elements. Incorporate outdoor rugs, throw pillows, and cushions to add pops of color and coziness. Consider potted plants, lanterns, or string lights to create a warm and inviting atmosphere.
8. Review and Adjust: Once you have arranged the furniture, take a step back and review the overall layout and aesthetic. Make any necessary adjustments to ensure a visually pleasing and functional setup. Rearrange or fine-tune the furniture positioning until you are satisfied with the result.
With the furniture reassembled and arranged, take a moment to appreciate your refreshed outdoor space. Your hard work in cleaning and maintaining the furniture has paid off, and now you can fully enjoy your outdoor oasis.
Remember to regularly inspect and clean your outdoor furniture to keep it in good condition. With proper care and maintenance, your outdoor furniture will continue to enhance your outdoor living experience for years to come.
Congratulations on accomplishing the full process of cleaning, maintaining, and arranging your outdoor furniture!
Conclusion
Cleaning and maintaining your outdoor furniture is a vital step in ensuring its longevity, appearance, and functionality. By following the step-by-step process outlined in this article, you can effectively revitalize and refresh your outdoor furniture, creating a welcoming and stylish outdoor space for relaxation and enjoyment.
Throughout the cleaning process, it’s important to assess the condition of your furniture, gather the necessary cleaning supplies, and tackle each material with the appropriate cleaning techniques. Whether you have wood, wicker, metal, plastic, or fabric furniture, there are specific methods and products that will help restore its beauty and keep it in excellent shape.
Reassembling and arranging the furniture in your outdoor space is the final step in the process, allowing you to create functional zones and a visually appealing layout. Pay attention to comfort, accessibility, and traffic flow while adding finishing touches to enhance the ambiance and make your outdoor area truly inviting.
Remember, regular maintenance is key to preserving the beauty and lifespan of your outdoor furniture. Dusting, spot cleaning, and staying proactive in addressing any damage or wear and tear will ensure that your furniture continues to make a statement and provide comfort for years to come.
So, seize the opportunity to revitalize your outdoor space by giving your furniture the seasonal refresh it deserves. Follow these steps, take care of your outdoor furniture, and enjoy the fruits of your labor in creating a stunning and inviting outdoor oasis.
With proper cleaning, maintenance, and arrangement, you can transform your outdoor area into a haven where you can unwind, entertain, and create lasting memories. Cheers to a refreshed and beautiful outdoor space!
Frequently Asked Questions about How To Clean Outdoor Furniture For A Seasonal Refresh
Was this page helpful?
At Storables.com, we guarantee accurate and reliable information. Our content, validated by Expert Board Contributors, is crafted following stringent Editorial Policies. We're committed to providing you with well-researched, expert-backed insights for all your informational needs.


0 thoughts on “How To Clean Outdoor Furniture For A Seasonal Refresh”