Home>Furniture & Design>Interior Design Trends>How To Organize Pictures On Wall
Interior Design Trends
How To Organize Pictures On Wall
Published: March 2, 2024
Learn the latest interior design trends for organizing pictures on the wall. Get inspired and create a stunning display with our expert tips and ideas. Elevate your home decor today!
(Many of the links in this article redirect to a specific reviewed product. Your purchase of these products through affiliate links helps to generate commission for Storables.com, at no extra cost. Learn more)
Choosing the Right Wall
When it comes to organizing pictures on the wall, the first step is to choose the right wall. Selecting the appropriate wall is crucial as it will be the focal point of the room. Consider walls that are not cluttered with other decorations or furniture, as this will allow the pictures to stand out. Additionally, choose a wall that receives a good amount of natural light, as this will enhance the visibility of the pictures. It's also important to consider the size of the wall in relation to the number of pictures you want to display. A larger wall may accommodate a gallery-style arrangement, while a smaller wall may be better suited for a simpler layout.
Key Takeaways:
- Choose the right wall for your picture display to make it stand out. Consider natural light, wall size, and minimal clutter for a stunning focal point in the room.
- Create a visually appealing picture arrangement by experimenting with grid, gallery, symmetrical, or eclectic layouts. Consistent spacing and careful hanging are key for a professional look.
Read more: How To Organize Old Pictures
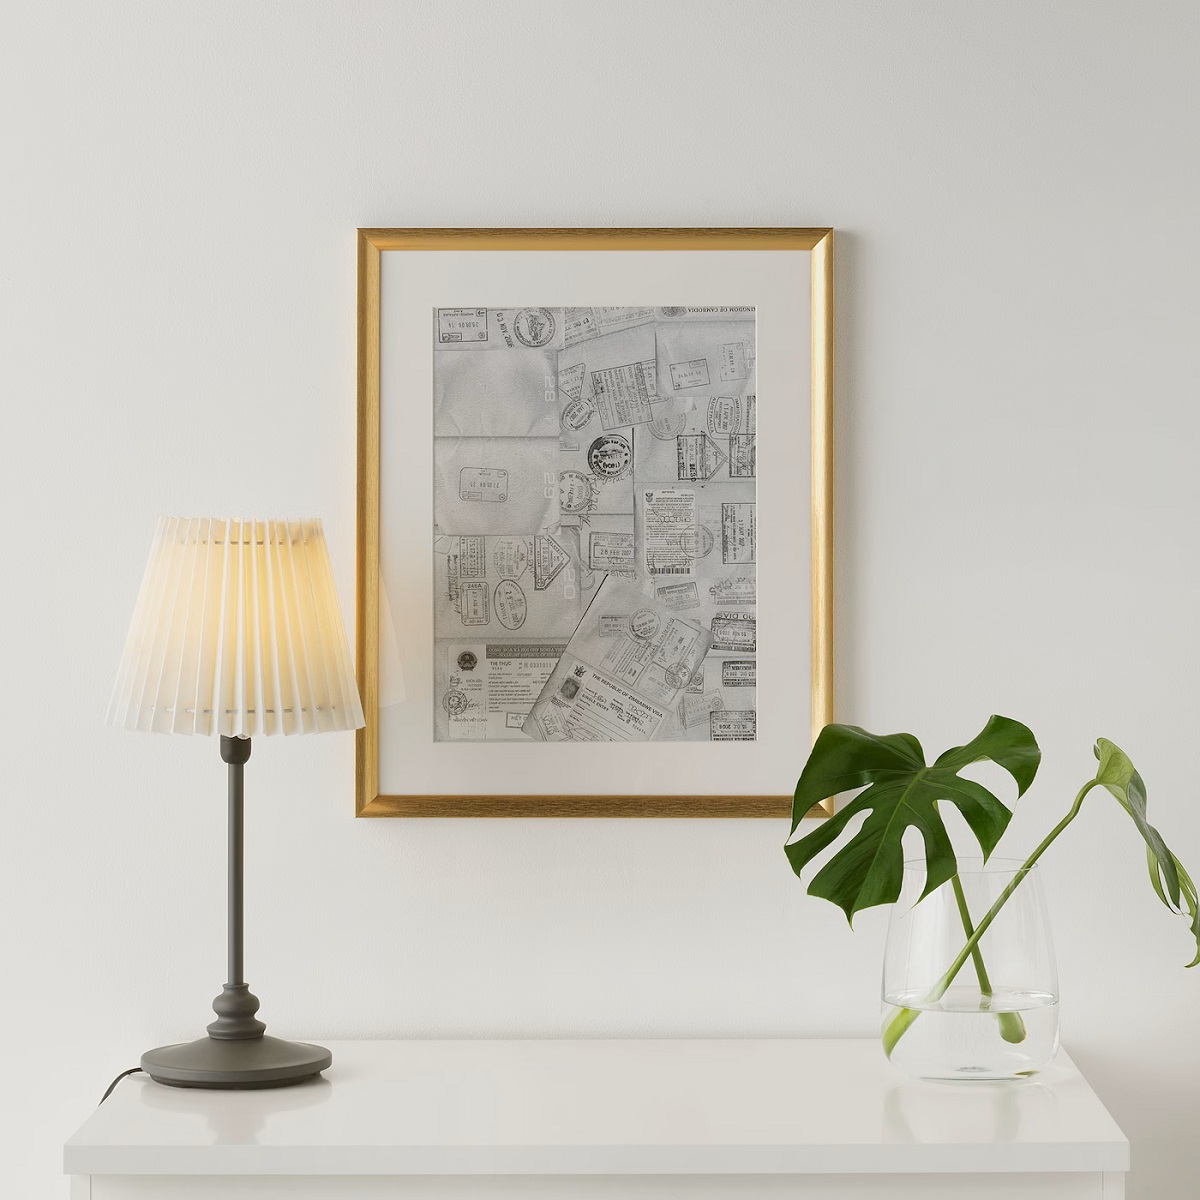
Selecting the Right Frames
When it comes to selecting the right frames for your pictures, there are several factors to consider. The frames you choose will not only complement the pictures but also contribute to the overall aesthetic of the room. Here are some tips for selecting the right frames:
-
Consistency: Choose frames that are consistent in style and color to create a cohesive look. Whether you opt for classic black frames for a modern feel or ornate gold frames for a more traditional look, consistency is key.
-
Matting: Consider using matting to add depth and visual interest to the pictures. Matting can also help to protect the pictures from touching the glass, preventing any potential damage.
-
Size: Ensure that the frames are appropriately sized for the pictures. The frames should enhance the pictures without overwhelming them.
-
Quality: Invest in high-quality frames that will not only showcase the pictures beautifully but also stand the test of time.
-
Personalization: Don't be afraid to get creative with your frame selection. Consider mixing and matching different frame styles and sizes to add a personal touch to the display.
By carefully selecting the right frames, you can elevate the visual impact of your picture display and create a stunning focal point for any room in your home.
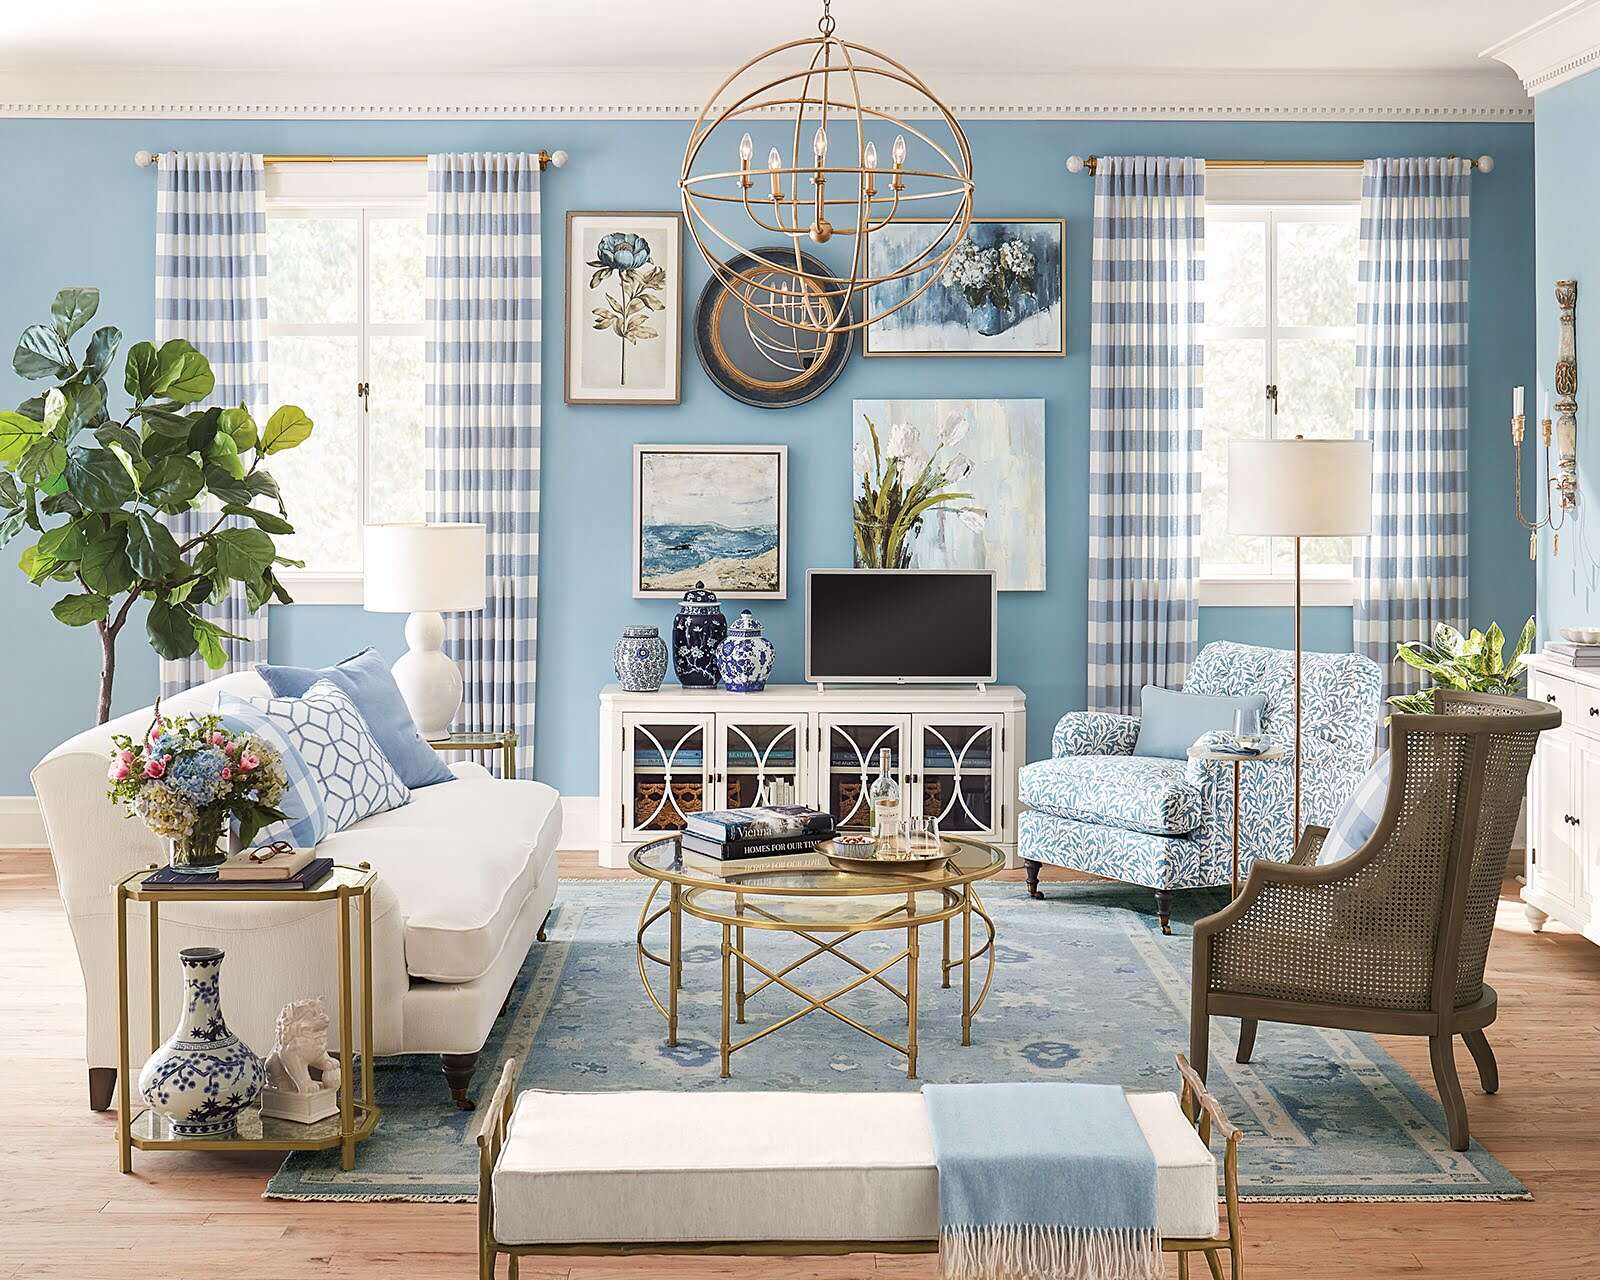
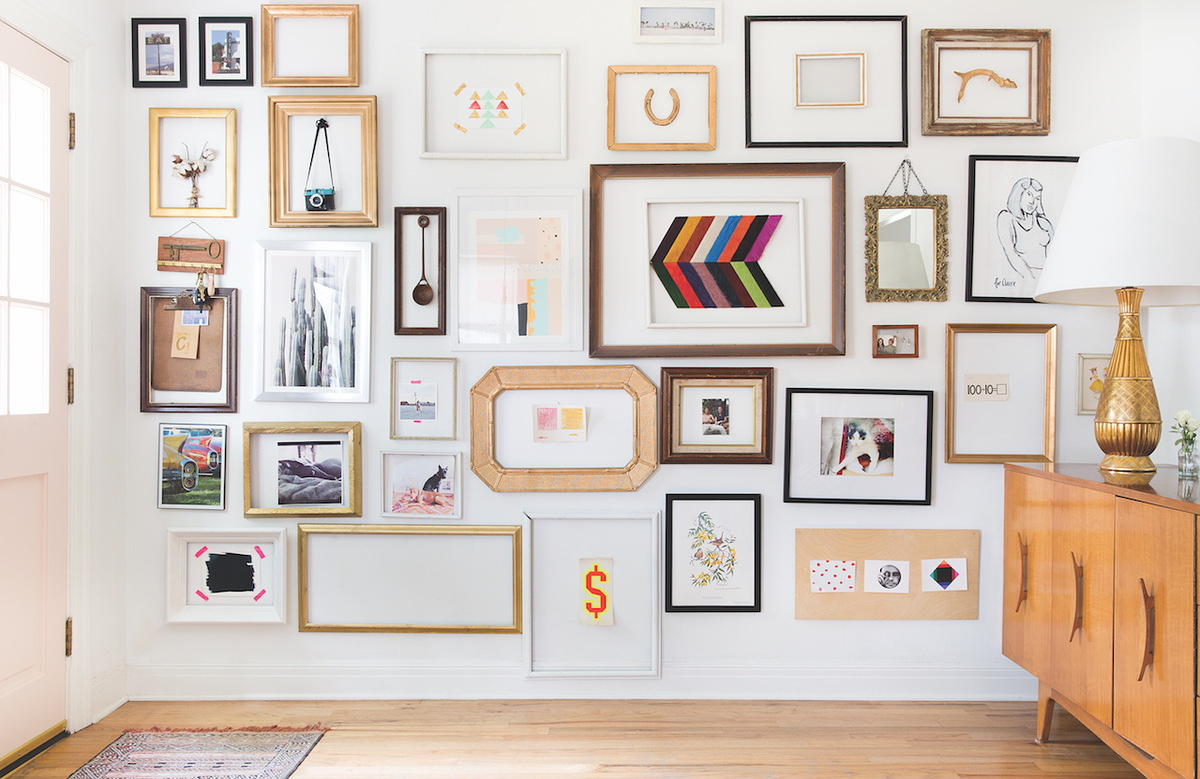
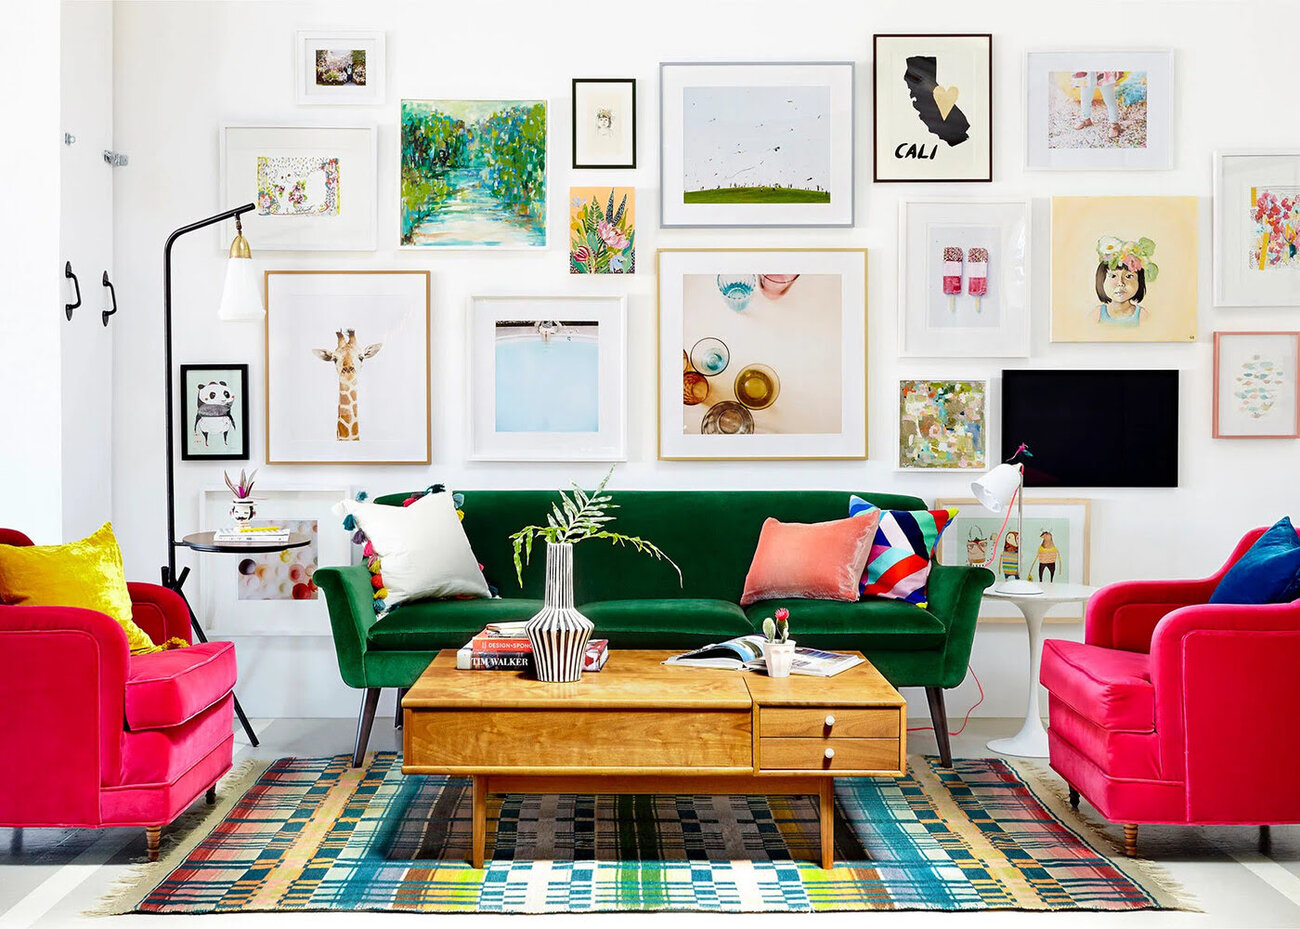
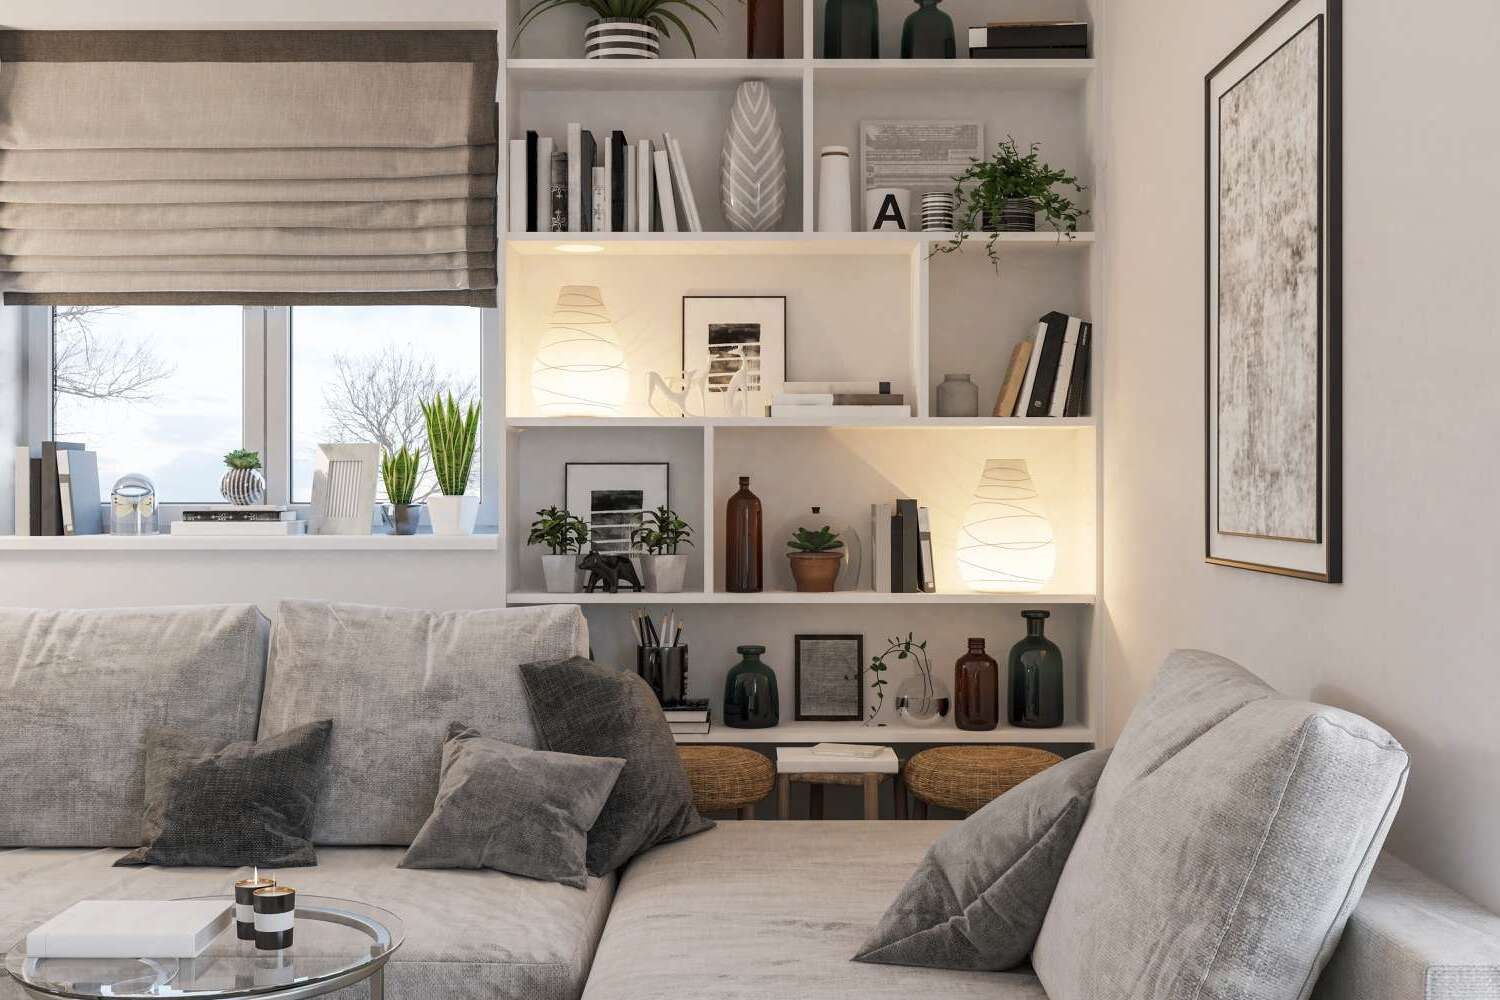
Arranging the Pictures
Arranging the pictures on the wall is where your creativity can truly shine. There are various ways to arrange your pictures, and the key is to find a layout that not only complements the pictures themselves but also enhances the overall aesthetic of the room. Here are some popular arrangements to consider:
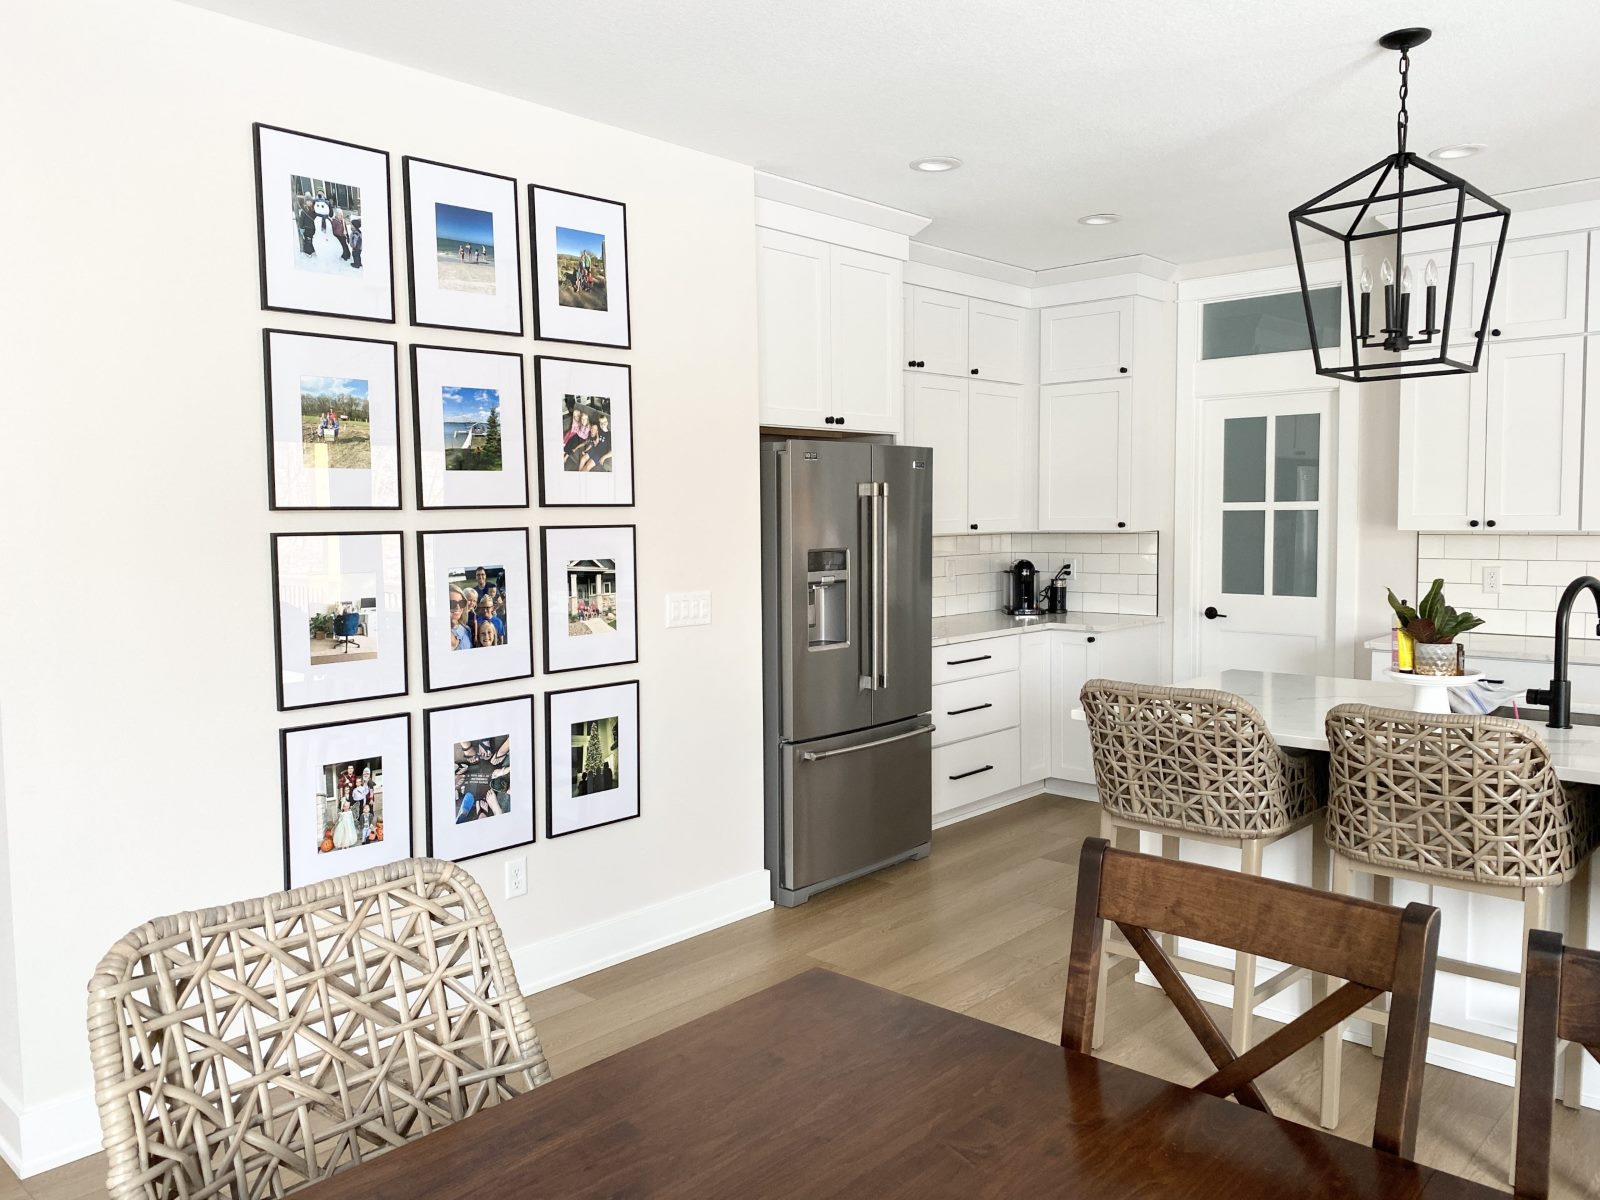
Grid Layout
Create a clean and organized look by arranging the pictures in a grid pattern. This layout works well for a collection of pictures that are all the same size and shape. Use a level and measuring tape to ensure that the pictures are evenly spaced, resulting in a polished and symmetrical display.
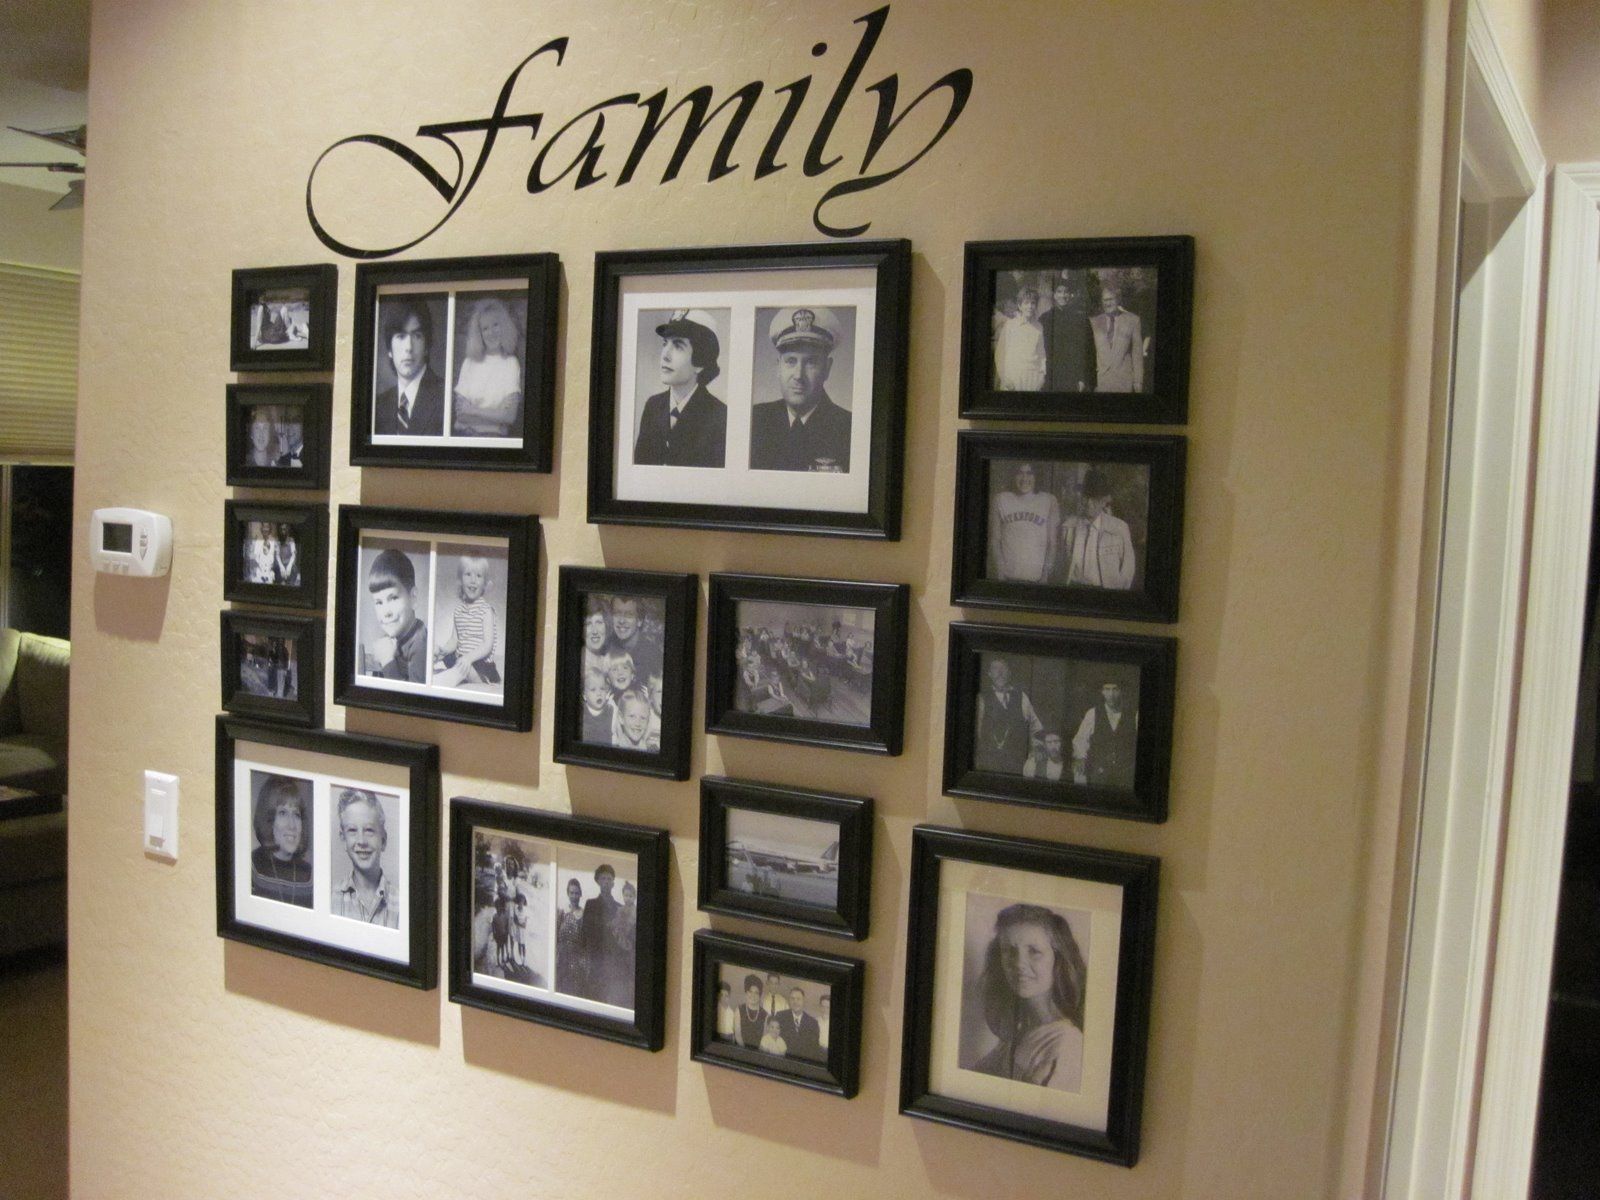
Gallery Wall
For a more eclectic and dynamic look, consider creating a gallery wall. This involves arranging pictures of different sizes and shapes in a visually appealing composition. Start by laying the pictures on the floor to experiment with different arrangements before hanging them on the wall. This approach allows for a more personalized and artistic display.
Read more: How To Decorate A Wall With Picture Frames
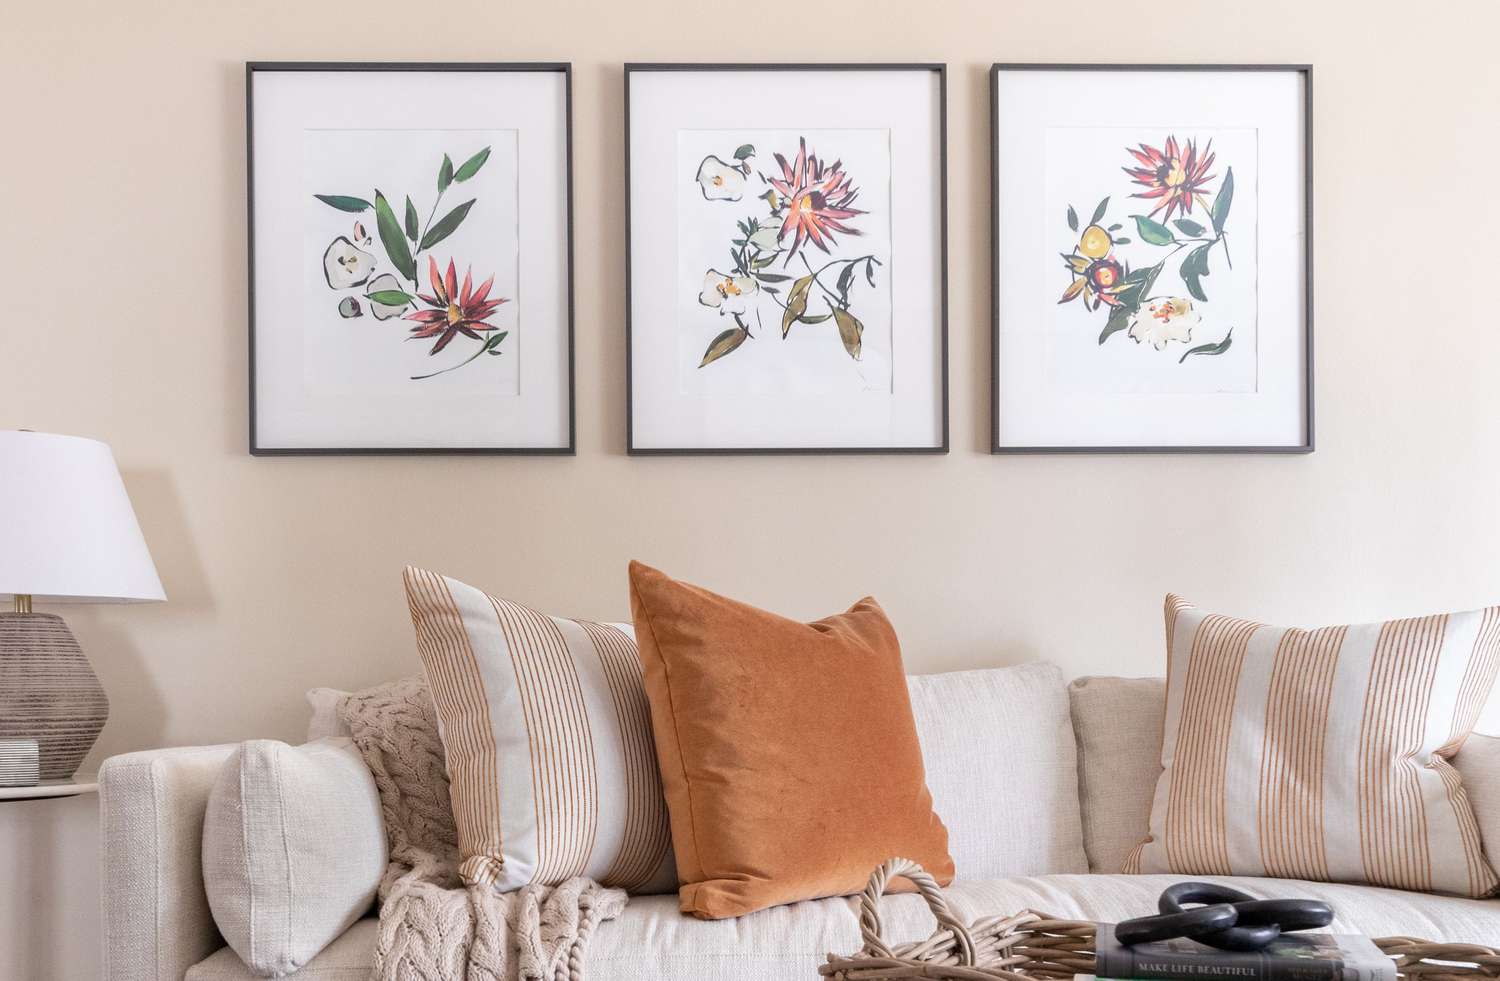
Symmetrical Arrangement
If you prefer a more traditional and balanced look, opt for a symmetrical arrangement. This involves placing pictures of the same size and shape in a balanced layout, such as a row or a column. Symmetrical arrangements can create a sense of harmony and order in the room.
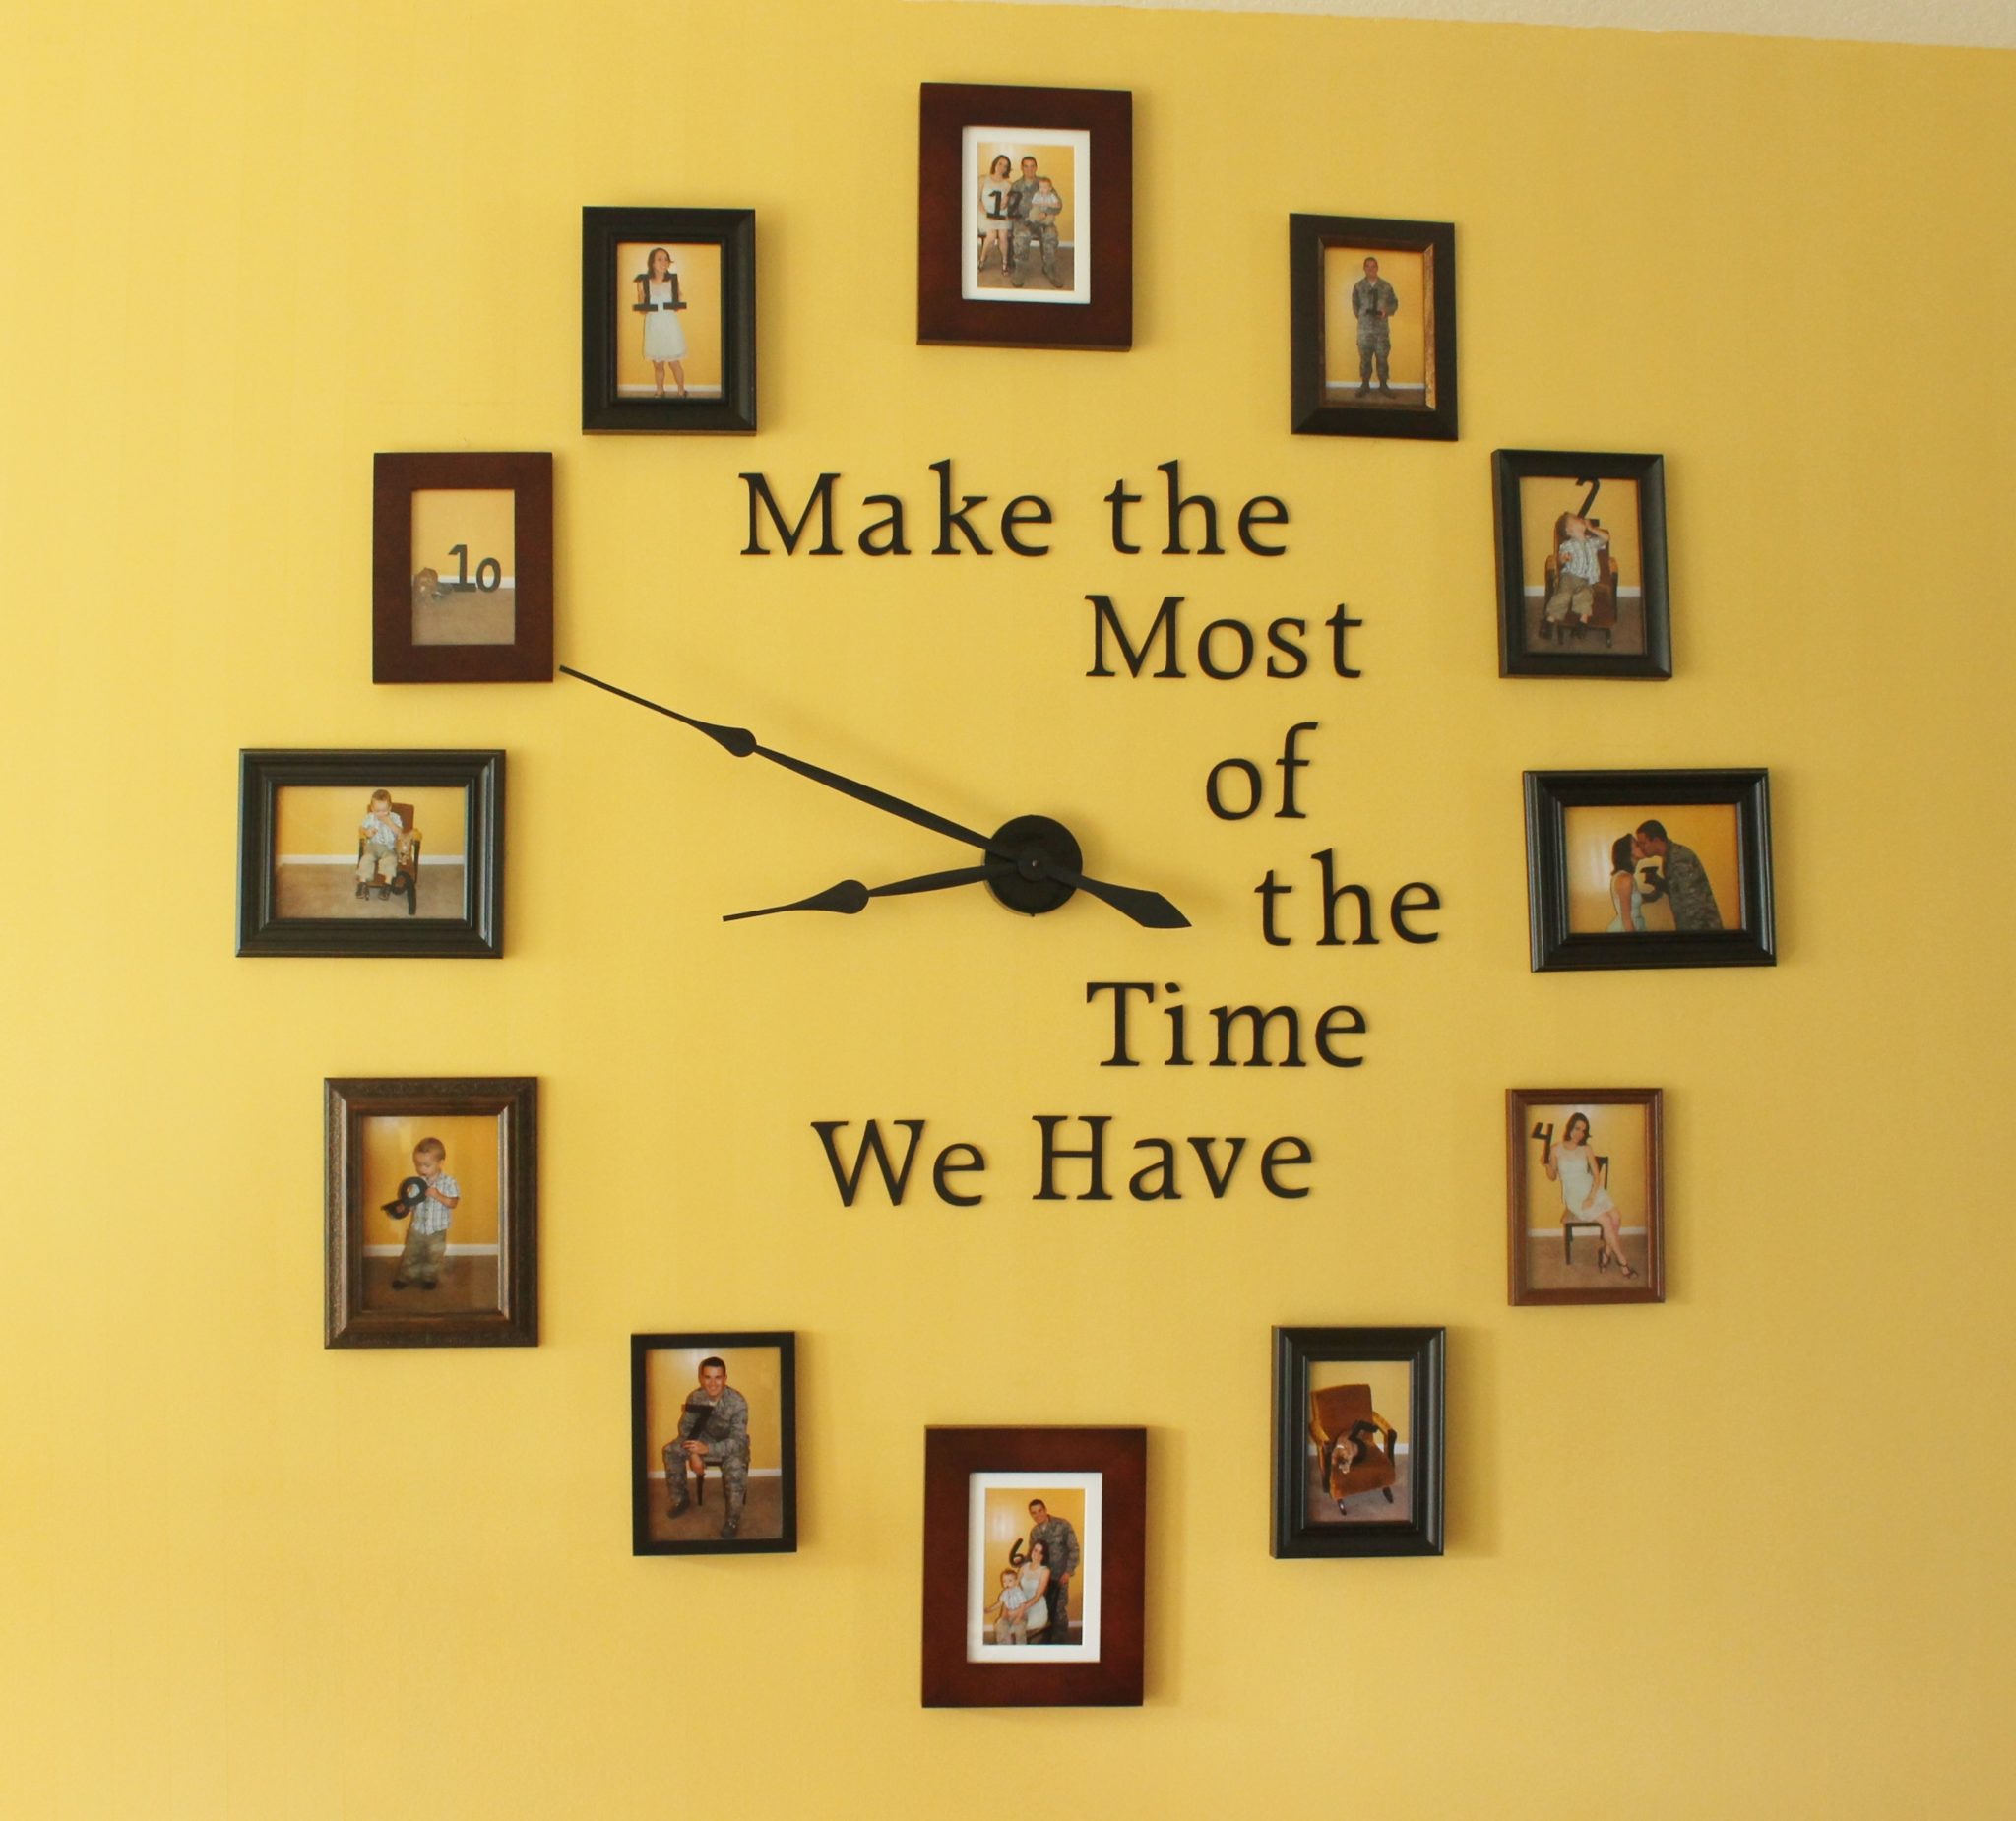
Eclectic Mix
For a more casual and laid-back vibe, consider mixing and matching different picture sizes and frames to create an eclectic display. This approach allows for a more relaxed and personalized arrangement, adding character and charm to the room.
Regardless of the arrangement you choose, it's important to consider the spacing between the pictures. Aim for consistent spacing to create a cohesive and visually appealing display. Once you've settled on an arrangement, use a pencil to lightly mark the positions of the pictures on the wall before hanging them. This will help ensure that the pictures are positioned exactly as planned, resulting in a professional-looking display that enhances the overall aesthetic of the room.
Hanging the Pictures
Hanging pictures may seem like a straightforward task, but it requires precision and attention to detail to achieve a professional-looking display. Here are the steps to ensure your pictures are hung securely and beautifully:
-
Gather Your Tools: Before you begin, gather the necessary tools, including a hammer, nails, picture hanging hooks, a measuring tape, a level, and a pencil. Having these tools on hand will make the hanging process much smoother.
-
Mark the Wall: Use a pencil to mark the positions where the nails or hooks will be placed. If you're creating a symmetrical arrangement, use a level to ensure that the marks are aligned correctly.
-
Choose the Right Hardware: Depending on the weight of the pictures and the type of wall, select the appropriate hardware for hanging. For heavier pictures, consider using picture hanging hooks or wall anchors to ensure a secure hold.
-
Measure Twice, Hang Once: Measure the distance between the hanging hardware on the back of the picture and transfer those measurements to the wall. Double-check the measurements to avoid any errors before hammering in the nails or hooks.
-
Hang the Pictures: Once the hardware is in place, carefully hang the pictures on the wall. Use a level to ensure that the pictures are straight and aligned with one another, especially if you're creating a symmetrical arrangement.
-
Adjust as Needed: Step back and assess the arrangement. Make any necessary adjustments to the positioning of the pictures to achieve the desired look. This may involve shifting the pictures slightly or making minor tweaks to the spacing.
-
Add Finishing Touches: Once the pictures are hung, consider adding a personal touch by incorporating decorative elements around the display. This could include placing small accent pieces or decorative items to complement the pictures and enhance the overall visual impact.
By following these steps, you can ensure that your pictures are hung securely and in a visually appealing manner, creating a stunning focal point on your chosen wall.
Adding Personal Touches
Once your pictures are beautifully arranged and hung, it's time to add those personal touches that will truly make the display your own. Here are some creative ideas to enhance the visual appeal of your picture display:
-
Accent Lighting: Consider incorporating accent lighting to illuminate the pictures and create a captivating ambiance. LED picture lights or wall-mounted sconces can add a warm and inviting glow to the display, drawing attention to your cherished memories.
-
Decorative Shelves: Integrate decorative shelves into the picture display to showcase small mementos, plants, or other decorative items. This adds depth and dimension to the display, creating a visually dynamic focal point.
-
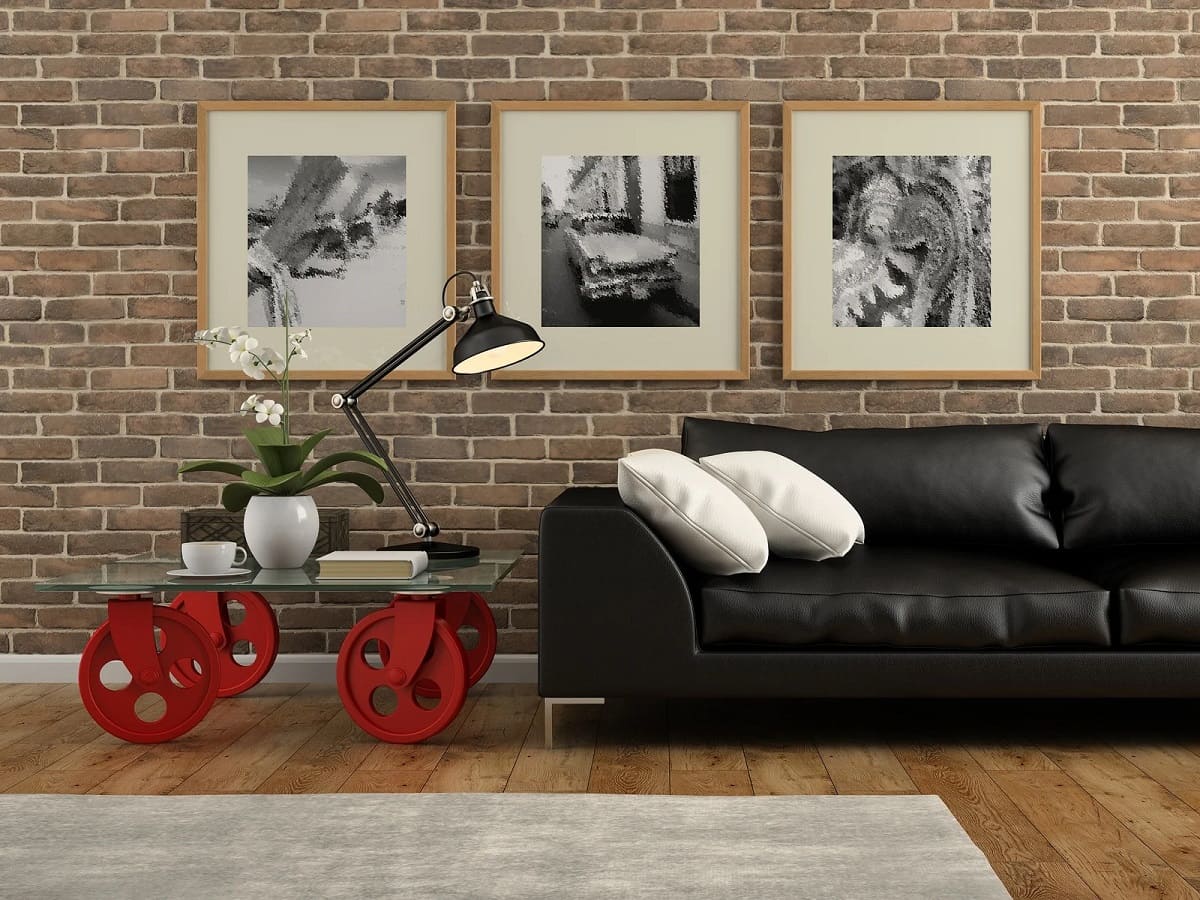
Framed Art or Mirrors: Mix in framed art or mirrors among the pictures to add variety and interest. This eclectic mix of elements can elevate the overall aesthetic and create a captivating visual composition.
-
Personalized Touches: Infuse the display with personalized touches such as monogrammed initials, small trinkets, or custom artwork. These unique additions reflect your personality and style, making the display truly one-of-a-kind.
-
Layered Textures: Experiment with layered textures by incorporating woven baskets, fabric wall hangings, or other textured elements around the picture display. This adds depth and visual interest, creating a multi-dimensional and inviting focal point.
-
Themed Décor: Consider incorporating themed décor elements that complement the pictures. Whether it's a coastal theme with seashells and driftwood or a vintage theme with antique accents, themed décor can tie the display together cohesively.
By adding these personal touches, you can transform your picture display into a captivating and meaningful focal point that reflects your unique style and personality.
Frequently Asked Questions about How To Organize Pictures On Wall
Was this page helpful?
At Storables.com, we guarantee accurate and reliable information. Our content, validated by Expert Board Contributors, is crafted following stringent Editorial Policies. We're committed to providing you with well-researched, expert-backed insights for all your informational needs.

0 thoughts on “How To Organize Pictures On Wall”