Home>Furniture & Design>Outdoor Furniture>How To Clean Mesh Outdoor Furniture
Outdoor Furniture
How To Clean Mesh Outdoor Furniture
Modified: January 18, 2024
Learn how to effectively clean and maintain your outdoor furniture with our expert tips. Keep your outdoor-furniture-furniture-and-design looking great for years to come!
(Many of the links in this article redirect to a specific reviewed product. Your purchase of these products through affiliate links helps to generate commission for Storables.com, at no extra cost. Learn more)
Introduction
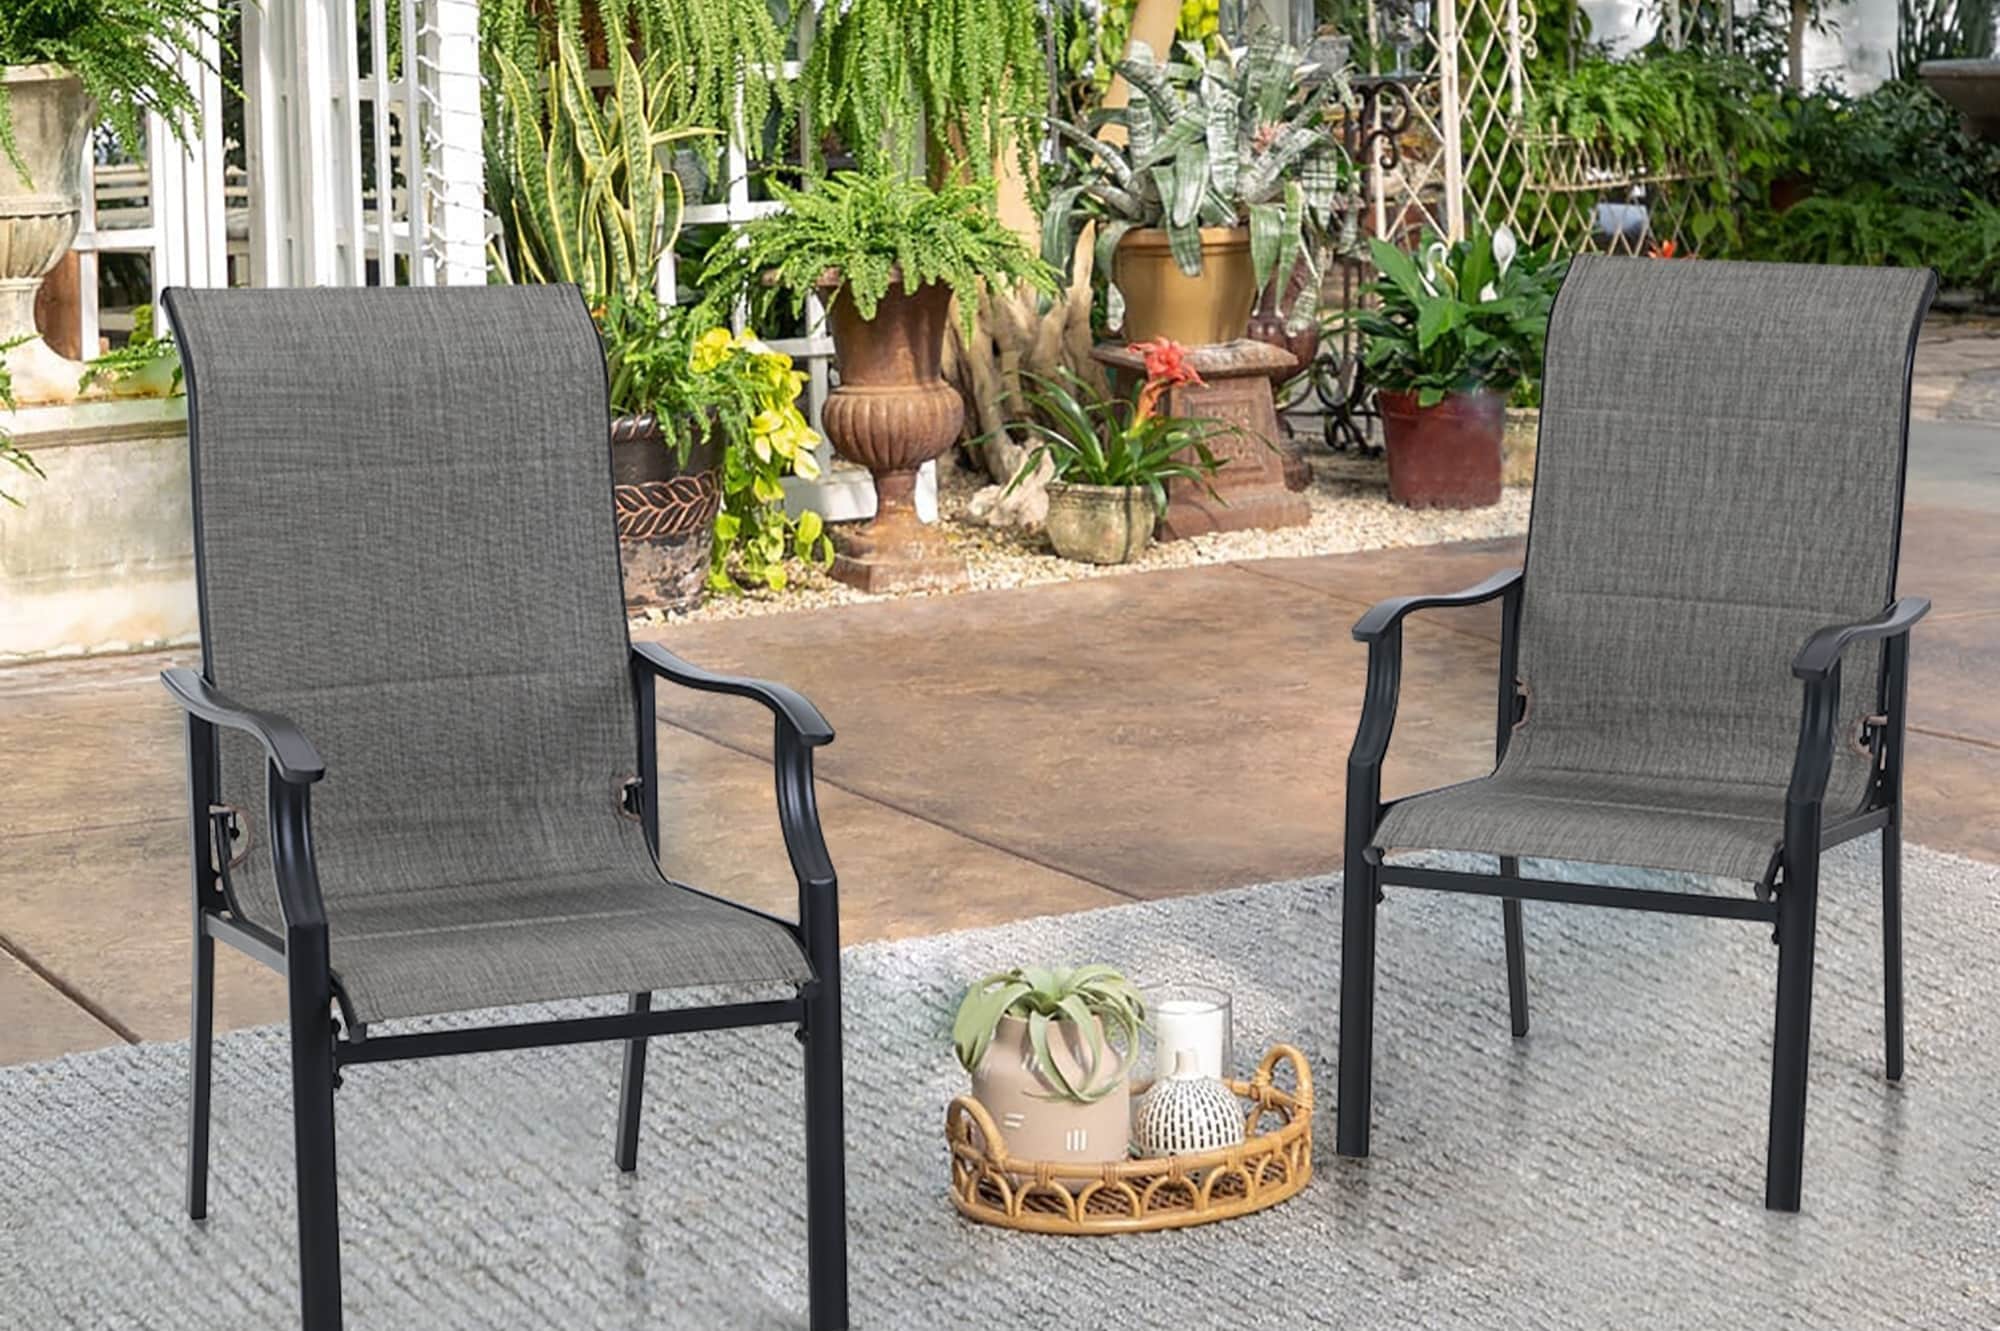
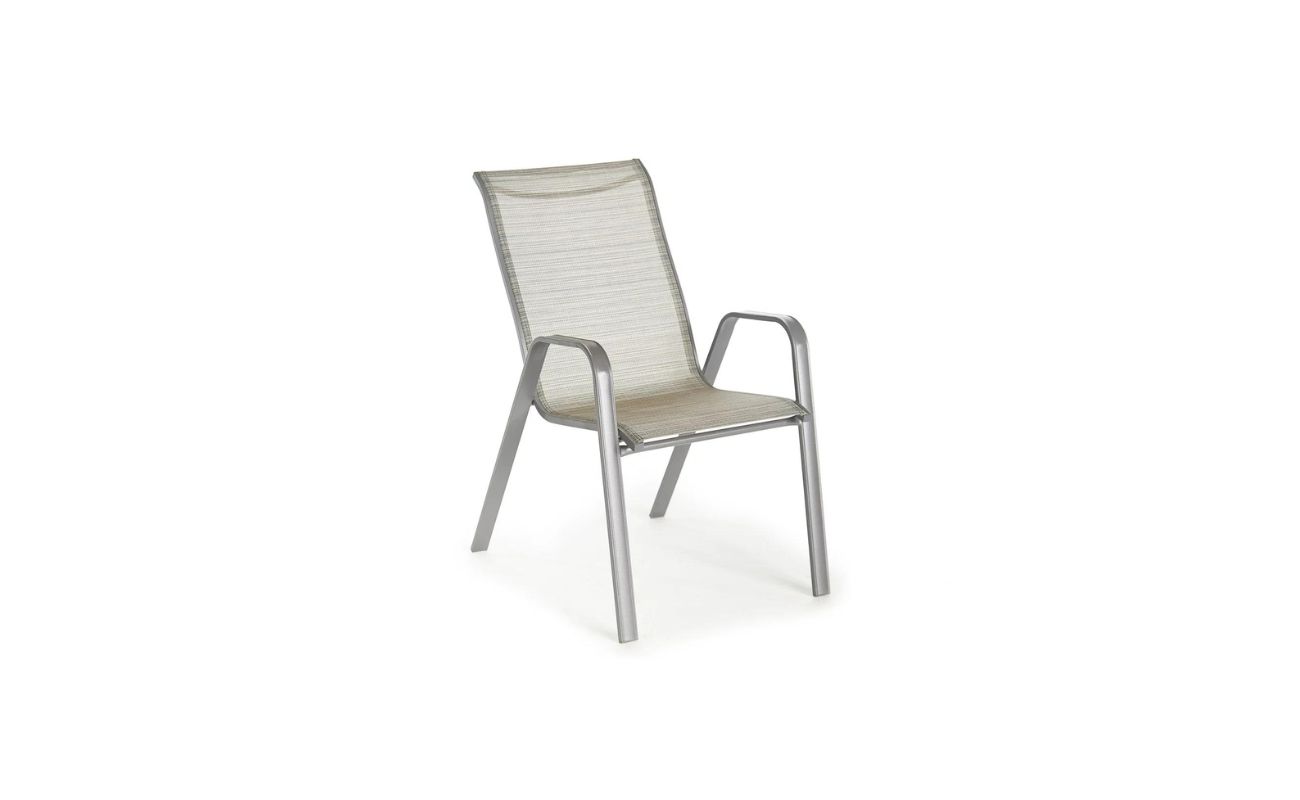
Mesh outdoor furniture is a popular choice for many homeowners due to its durability, comfort, and stylish design. Whether it's a mesh patio chair, chaise lounge, or dining set, these pieces add a touch of elegance to any outdoor space. However, with regular use and exposure to the elements, mesh furniture can accumulate dirt, dust, and grime, detracting from its appeal. To ensure that your outdoor oasis remains inviting and pristine, it's essential to know how to clean mesh outdoor furniture effectively.
In this comprehensive guide, we'll walk you through the step-by-step process of cleaning mesh outdoor furniture, providing valuable tips and insights to help you maintain its beauty and functionality. From gathering the necessary materials to executing the cleaning process with precision, you'll gain the knowledge and confidence to revitalize your mesh furniture and keep it looking its best for years to come.
So, roll up your sleeves, gather your cleaning supplies, and let's dive into the art of restoring your mesh outdoor furniture to its former glory. With a little effort and the right techniques, you can ensure that your outdoor living space remains a welcoming haven for relaxation and entertainment.
Key Takeaways:
- Keep your mesh outdoor furniture looking its best by removing fabric components, vacuuming, and scrubbing with a gentle cleaning solution. Thorough rinsing and proper drying are crucial for a revitalized appearance.
- Reassemble your furniture only after ensuring it’s completely dry. Embrace the art of cleaning mesh outdoor furniture to maintain its beauty, longevity, and functionality for years to come.
Read more: How To Clean Outdoor Mesh Chairs
Materials Needed
Before embarking on the cleaning process, it’s essential to gather the necessary materials to ensure a thorough and effective job. Here’s what you’ll need:
- Mild detergent: Opt for a gentle, non-abrasive detergent to avoid damaging the mesh fabric.
- Bucket: A large bucket will be useful for mixing the cleaning solution and rinsing the mesh.
- Soft-bristled brush: Look for a brush with soft bristles to avoid causing any tears or damage to the mesh.
- Vacuum cleaner: A vacuum with a brush attachment can help remove loose debris and dirt from the furniture.
- Clean cloths: Have a few clean, soft cloths on hand for drying the furniture after cleaning.
- Garden hose: A garden hose with a spray nozzle will be essential for rinsing the mesh thoroughly.
- Protective gloves: Consider wearing protective gloves to shield your hands from the cleaning solution and potential debris.
- Optional fabric cleaner: If your mesh furniture includes fabric cushions, a suitable fabric cleaner may be required for spot cleaning.
By ensuring that you have these materials at the ready, you’ll be well-equipped to tackle the task of cleaning your mesh outdoor furniture with confidence and efficiency.
Step 1: Remove Cushions and Fabric
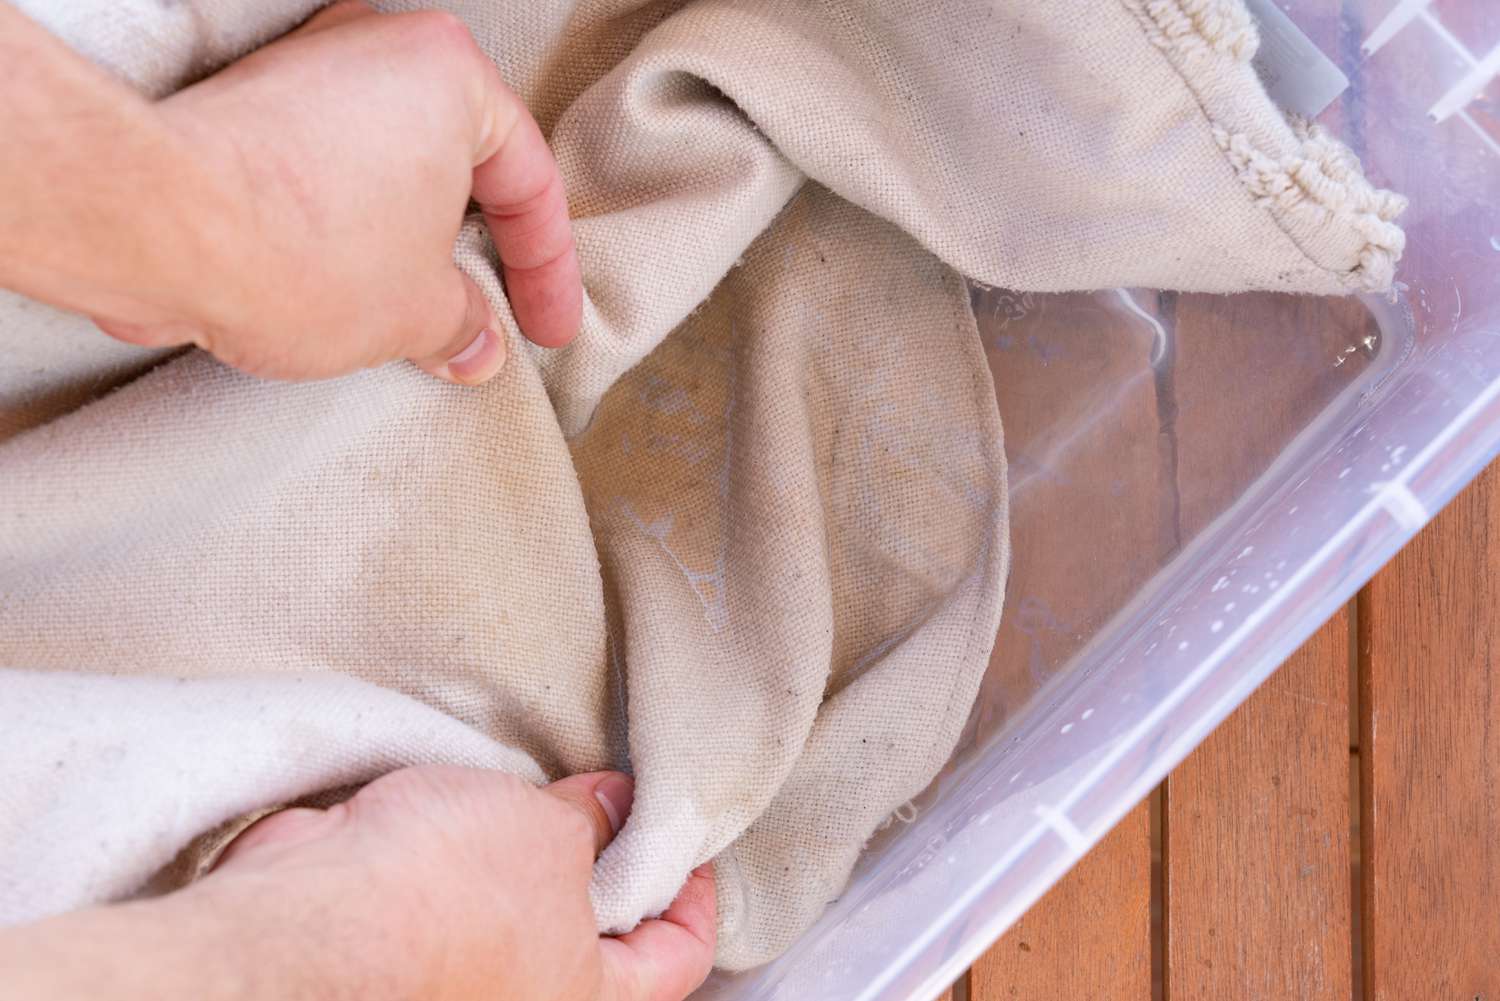
Before diving into the cleaning process, it’s essential to start by removing any cushions or fabric components from your mesh outdoor furniture. Carefully detach the cushions, pillows, or any other fabric elements that are part of the furniture. This step is crucial as it allows you to focus on cleaning the mesh frame without the hindrance of fabric and ensures that the fabric components receive the appropriate care they may need.
Once the fabric elements are removed, inspect them for any visible stains, dirt, or debris. Depending on the material and care instructions, you may need to address any stains or soiling separately. For removable cushion covers, check the manufacturer’s recommendations for cleaning or washing instructions. If the fabric is machine washable, follow the provided guidelines for cleaning. If the fabric is not removable, spot cleaning with a suitable fabric cleaner may be necessary.
By taking the time to remove and address the fabric components separately, you can ensure that your mesh outdoor furniture receives a thorough and targeted cleaning, maintaining both the cleanliness and integrity of each element. With the cushions and fabric removed, you’re now ready to proceed to the next step in the cleaning process.
Step 2: Vacuum
Once the cushions and fabric components have been safely removed, it’s time to prepare the mesh furniture for the cleaning process. Begin by using a vacuum cleaner with a brush attachment to remove loose debris, dirt, and dust from the mesh surface. Gently run the brush attachment over the entire surface of the furniture, paying particular attention to crevices, seams, and any areas where dirt may have accumulated.
By vacuuming the mesh furniture, you can effectively eliminate surface dirt and debris, preparing the furniture for the deeper cleaning that will follow. This step is especially important for outdoor furniture, as it may have collected a significant amount of dust and particles from outdoor elements such as wind, pollen, or leaves.
Additionally, vacuuming the mesh helps prevent the spread of dirt and dust during the subsequent cleaning stages, ensuring a more controlled and thorough cleaning process. By starting with a clean surface, you’ll be able to focus on targeting any remaining stubborn stains or grime, ultimately achieving a revitalized and refreshed appearance for your mesh outdoor furniture.
Once the vacuuming is complete, take a moment to inspect the furniture for any remaining debris or areas that may require additional attention. With the mesh furniture now free of loose dirt and debris, you’re ready to move on to the next step in the cleaning process.
Step 3: Prepare Cleaning Solution
With the mesh furniture prepped and free of loose debris, it’s time to create a gentle yet effective cleaning solution to tackle any embedded dirt and grime. To do this, fill a bucket with warm water, ensuring that it’s not too hot to avoid potential damage to the mesh fabric. Add a small amount of mild detergent to the water and gently mix the solution to create a soapy mixture.
When selecting a detergent for this purpose, opt for a mild, non-abrasive formula that is suitable for cleaning delicate surfaces. Avoid using harsh chemicals or abrasive cleaners, as these can potentially damage the mesh fabric and compromise its integrity. The goal is to create a gentle yet potent cleaning solution that will effectively lift dirt and stains without causing harm to the furniture.
Once the cleaning solution is prepared, take a moment to test it on a small, inconspicuous area of the mesh furniture to ensure compatibility and assess any potential reactions. This precautionary step can help prevent unintended damage and provide peace of mind before applying the solution to the entire furniture surface.
By taking the time to prepare a suitable cleaning solution, you’re ensuring that your mesh outdoor furniture receives the care it deserves, effectively removing dirt and grime while preserving its quality and appearance. With the cleaning solution ready, you’re now equipped to move on to the next step in the process, ready to restore your mesh furniture to its former glory.
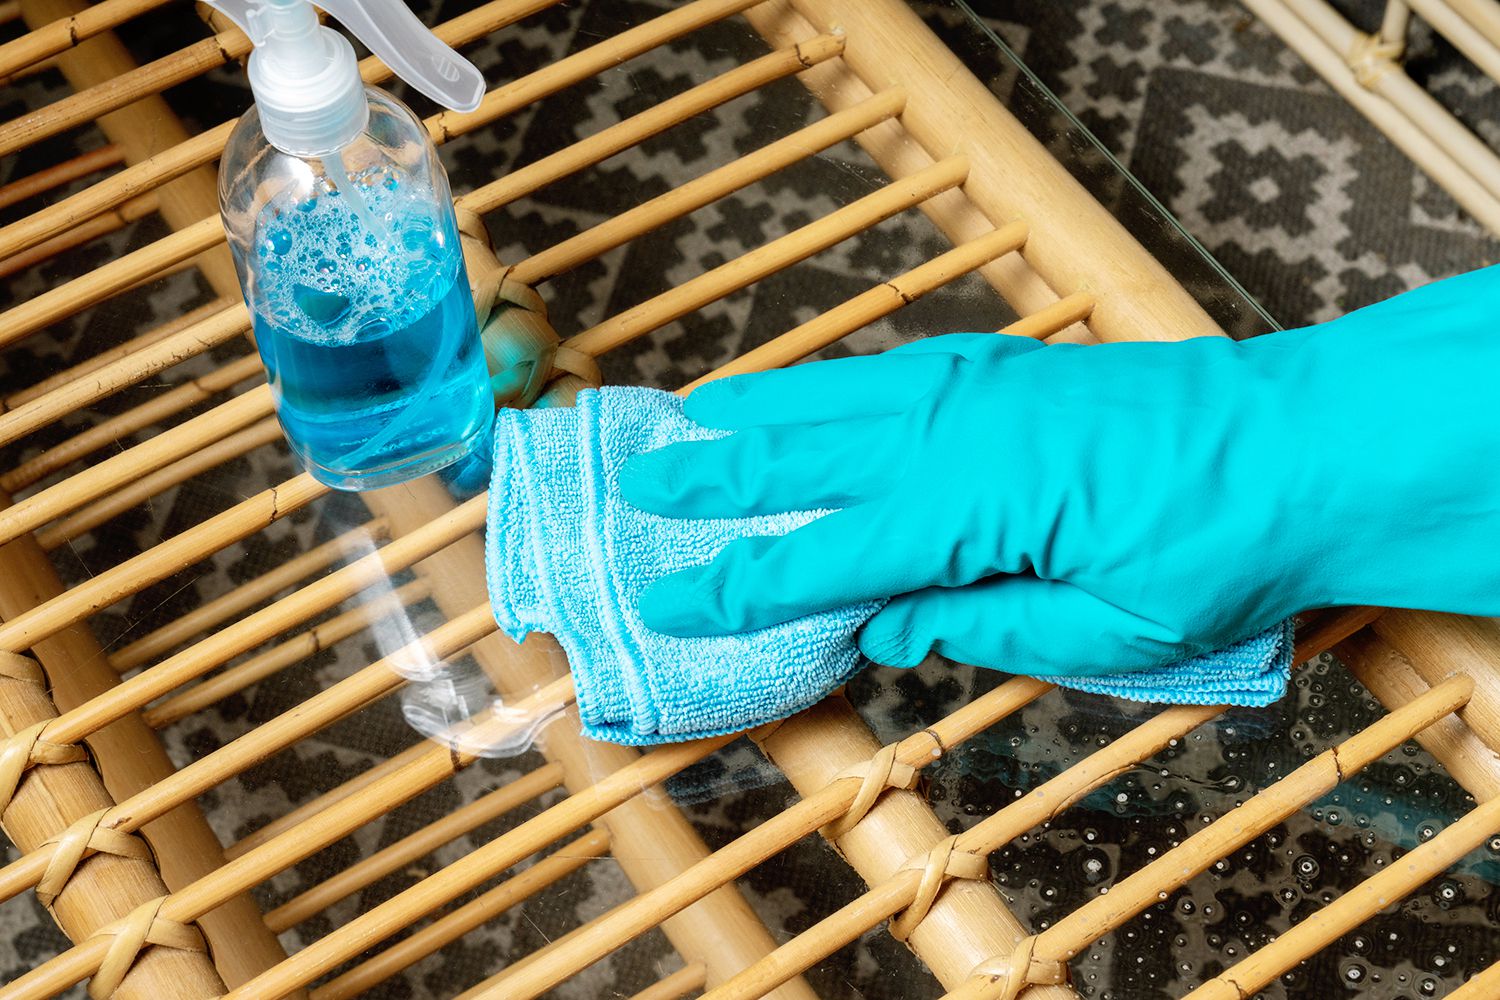
To clean mesh outdoor furniture, mix a solution of mild soap and water. Use a soft brush to scrub the mesh, then rinse thoroughly with a hose. Allow the furniture to air dry completely before using it again.
Read more: How To Clean Mesh Sling Patio Furniture
Step 4: Scrub the Mesh
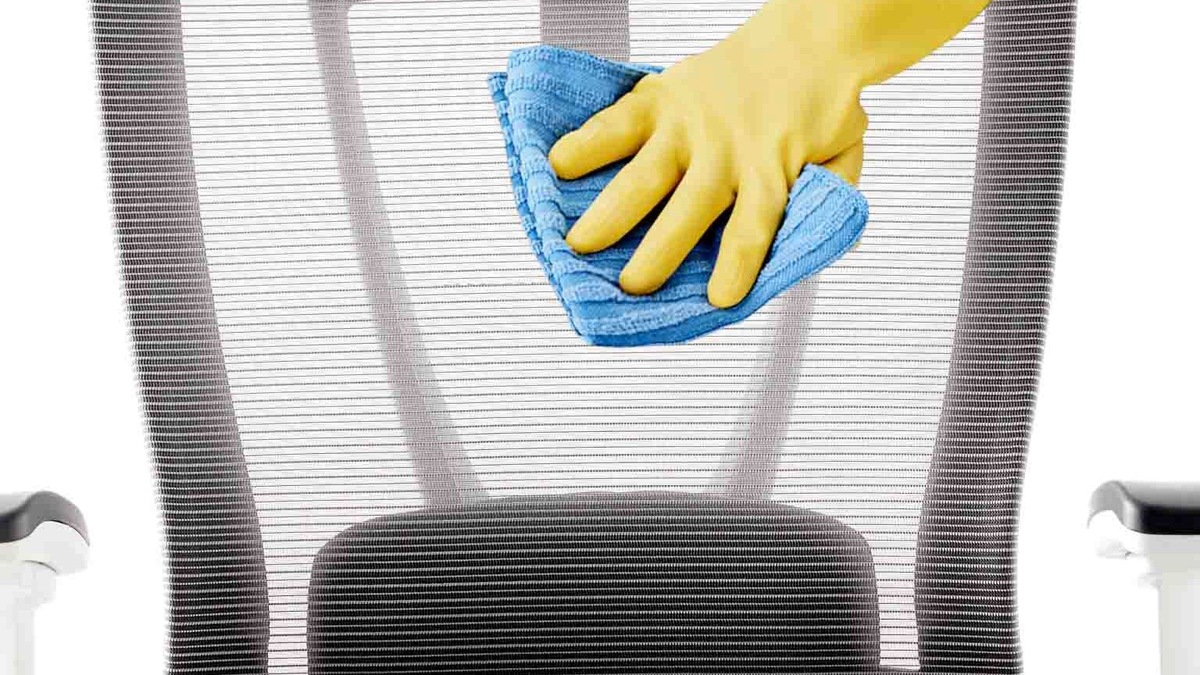
Armed with the prepared cleaning solution, it’s time to focus on scrubbing the mesh surface to eliminate embedded dirt, stains, and grime. Dip a soft-bristled brush into the cleaning solution, ensuring that the bristles are saturated but not dripping. Begin by gently scrubbing the mesh in small sections, working methodically to cover the entire surface of the furniture.
As you scrub, pay close attention to any areas that may have accumulated more dirt or stains, applying slightly more pressure as needed while ensuring that the brush’s bristles remain gentle to avoid damaging the mesh. Focus on stubborn spots or discolorations, working the cleaning solution into the mesh to lift and remove any embedded debris.
Throughout the scrubbing process, periodically rinse the brush in the cleaning solution to prevent the buildup of dirt and grime on the bristles. This ensures that you’re consistently applying a clean and effective cleaning solution to the mesh, maximizing the cleaning process’s efficiency.
While scrubbing, take the opportunity to inspect the furniture for any remaining areas of concern, addressing them with focused attention. By methodically working through the entire mesh surface, you can ensure that no spot is overlooked, ultimately achieving a thorough and revitalizing cleaning outcome.
Once you’ve scrubbed the entire mesh surface, take a moment to step back and assess the furniture’s appearance. You should notice a significant improvement in cleanliness and overall condition, a testament to the effectiveness of the cleaning process. With the scrubbing complete, you’re now ready to proceed to the next step, bringing your mesh outdoor furniture one step closer to its original splendor.
Step 5: Rinse and Dry
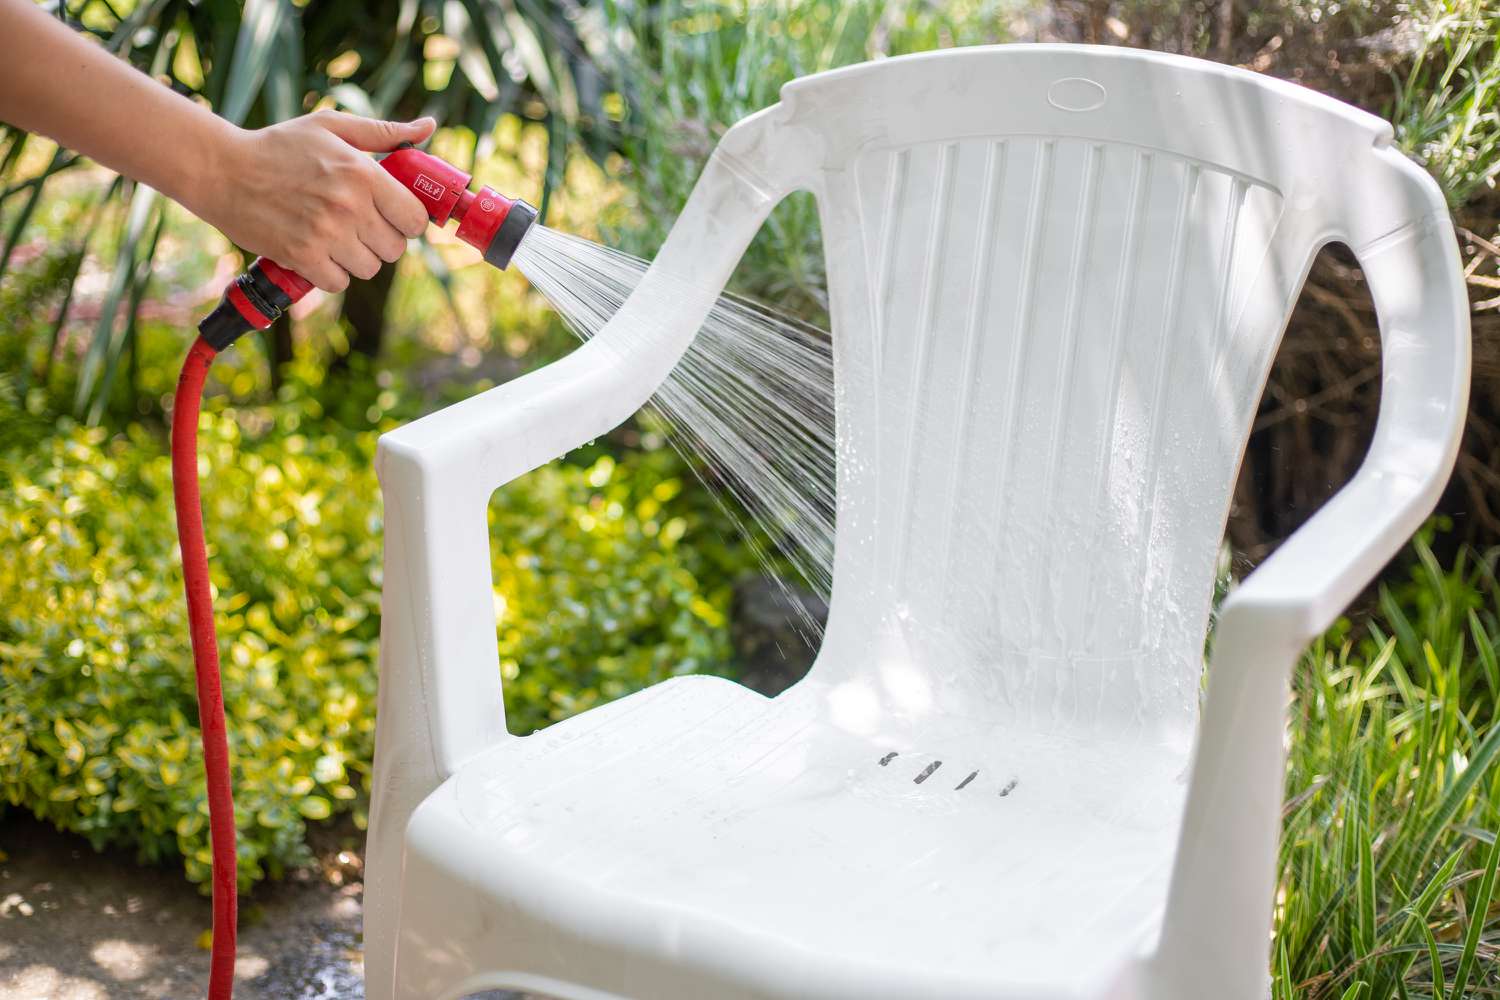
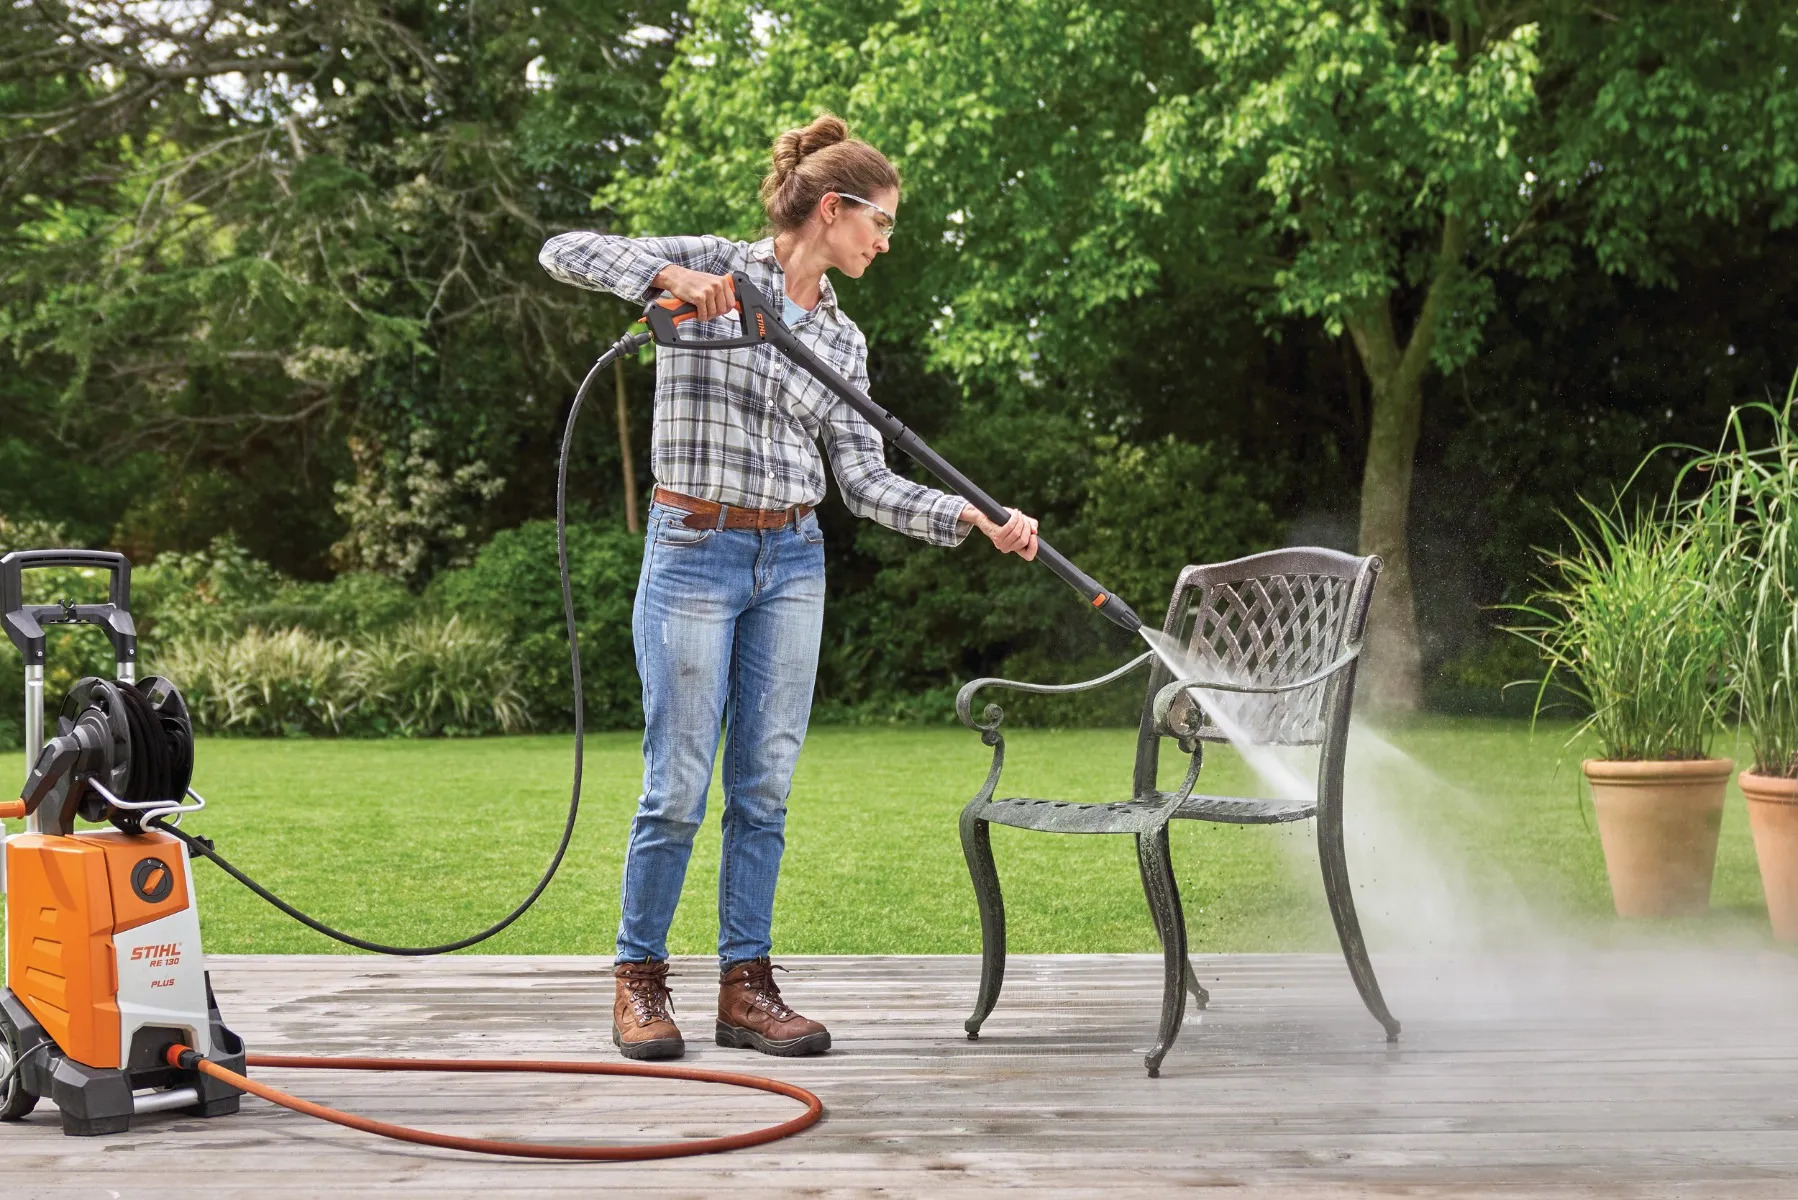
After successfully scrubbing the mesh surface to lift dirt and grime, it’s time to thoroughly rinse the furniture to remove the cleaning solution and any remaining debris. Using a garden hose with a spray nozzle, carefully rinse the entire surface of the mesh furniture, ensuring that all traces of the cleaning solution are effectively washed away. Pay particular attention to crevices and seams, as well as areas that may have accumulated more cleaning solution during the scrubbing process.
As you rinse, visually inspect the furniture to confirm that no residual cleaning solution remains on the mesh. The water running off the furniture should appear clear, indicating that the cleaning solution and loosened dirt have been successfully removed. This step is crucial to prevent any potential residue from drying on the mesh, which could compromise the furniture’s appearance and cleanliness.
Once the furniture has been thoroughly rinsed, it’s time to facilitate the drying process. Use clean, soft cloths to gently pat and absorb excess water from the mesh surface. Take care to avoid excessive rubbing or wringing, as this could potentially damage the mesh fabric. If the weather permits, allow the furniture to air dry in a well-ventilated outdoor area, ensuring that it’s positioned for even drying and adequate airflow.
Alternatively, if indoor space is available, the furniture can be transferred to a suitable location for drying. In this case, consider using fans or opening windows to promote air circulation and expedite the drying process. It’s essential to ensure that the furniture is completely dry before reassembling it, as any residual moisture could lead to mold or mildew formation.
By thoroughly rinsing and properly drying the mesh outdoor furniture, you’re completing the essential final steps in the cleaning process, setting the stage for the furniture’s revitalized and refreshed appearance. With the furniture effectively rinsed and drying underway, you’re now ready to move on to the final step, bringing your mesh outdoor furniture one step closer to its full transformation.
Step 6: Reassemble the Furniture
With the mesh outdoor furniture thoroughly cleaned, rinsed, and dried, it’s time to reassemble the various components to restore the furniture to its original form. Begin by ensuring that the mesh surface is completely dry to the touch, confirming that no residual moisture remains. This step is crucial to prevent any potential issues such as mold or mildew formation due to trapped moisture.
Once the mesh surface is confirmed to be dry, gather the fabric components, such as cushions and pillows, that were previously removed. Carefully inspect each fabric element to ensure that it’s clean and free of any lingering stains or odors. If necessary, address any remaining spots or soiling according to the fabric’s care instructions, ensuring that it’s in optimal condition before reassembly.
Next, place the cushions and fabric components back onto the mesh furniture, carefully aligning and securing them in their respective positions. Take a moment to adjust and arrange the fabric elements to ensure a neat and uniform appearance, enhancing the overall aesthetic appeal of the furniture.
As you reassemble the furniture, consider any additional decorative elements or accessories that complement the mesh design, such as outdoor throw pillows or decorative accents. These finishing touches can further enhance the furniture’s visual appeal, creating an inviting and stylish outdoor setting for relaxation and entertainment.
Once the furniture is fully reassembled, take a step back to admire the revitalized and refreshed appearance of your mesh outdoor furniture. The thorough cleaning process has not only restored the furniture’s cleanliness but also rejuvenated its overall allure, ensuring that it remains a cherished and inviting feature of your outdoor living space.
With the furniture beautifully reassembled, you’ve successfully completed the final step in the cleaning process, marking the culmination of your efforts to maintain and revitalize your mesh outdoor furniture. Now, as you take a seat and bask in the renewed splendor of your outdoor oasis, you can revel in the satisfaction of knowing that your mesh furniture is primed to provide comfort, style, and enjoyment for the days and seasons ahead.
Conclusion
Cleaning mesh outdoor furniture is a rewarding endeavor that not only restores its appearance but also prolongs its longevity and functionality. By following the step-by-step process outlined in this guide, you’ve gained valuable insights and techniques to effectively maintain and revitalize your mesh furniture, ensuring that it remains a cherished and inviting feature of your outdoor living space.
From the initial removal of fabric components to the meticulous scrubbing and thorough rinsing, each step of the cleaning process has contributed to the transformation of your mesh outdoor furniture. The careful preparation of a gentle cleaning solution, coupled with the methodical scrubbing and diligent rinsing, has resulted in a revitalized and refreshed appearance for your furniture, allowing its inherent beauty to shine through once again.
As you reassemble the furniture and take a moment to appreciate its renewed splendor, you’re not only enhancing the visual appeal of your outdoor space but also creating a welcoming environment for relaxation, gatherings, and cherished moments with family and friends. The clean and rejuvenated mesh furniture stands as a testament to your dedication to maintaining an inviting and comfortable outdoor oasis.
By embracing the art of cleaning mesh outdoor furniture, you’ve not only preserved its aesthetic charm but also extended its lifespan, ensuring that it continues to enrich your outdoor living experience for years to come. As the seasons change and new memories unfold in your outdoor sanctuary, the revitalized mesh furniture will stand as a reliable and stylish centerpiece, ready to accommodate and inspire moments of leisure and enjoyment.
So, as you sit back and admire the transformation you’ve achieved, take pride in knowing that your mesh outdoor furniture is primed to offer comfort, style, and enduring beauty, enhancing the allure of your outdoor space with its refreshed presence.
With the knowledge and techniques gained from this guide, you’re well-equipped to maintain the cleanliness and appeal of your mesh outdoor furniture, ensuring that it remains a source of relaxation, comfort, and visual delight throughout the seasons and years ahead.
Frequently Asked Questions about How To Clean Mesh Outdoor Furniture
Was this page helpful?
At Storables.com, we guarantee accurate and reliable information. Our content, validated by Expert Board Contributors, is crafted following stringent Editorial Policies. We're committed to providing you with well-researched, expert-backed insights for all your informational needs.


0 thoughts on “How To Clean Mesh Outdoor Furniture”