Articles
How To Clean Rust Off A Grill
Modified: February 11, 2024
Learn how to clean rust off a grill with our informative articles. Say goodbye to grime and hello to a sparkling grill!
(Many of the links in this article redirect to a specific reviewed product. Your purchase of these products through affiliate links helps to generate commission for Storables.com, at no extra cost. Learn more)
Introduction
Welcome to our guide on how to clean rust off a grill. Over time, the metal surfaces of your grill can develop rust, affecting its appearance and potentially contaminating your food. Rust can be a common issue, especially if your grill is exposed to moisture or not properly maintained. However, with the right materials and techniques, you can easily remove rust and restore your grill to its former glory.
In this article, we will provide you with a step-by-step process for cleaning rust off your grill. We will cover the materials you’ll need, as well as helpful tips to ensure a successful and effective cleaning. So whether you have a charcoal or gas grill, follow along to learn how to get rid of rust and make your grill shine again.
Before we dive into the cleaning process, it’s important to note that safety should always be a priority. Make sure you are working in a well-ventilated area and wearing protective gloves and eyewear. Additionally, ensure that your grill is turned off and completely cooled down before beginning the cleaning process.
Now, let’s gather the necessary materials and get started on restoring your grill to its optimal condition!
Key Takeaways:
- Easily remove rust from your grill by following a step-by-step process using simple materials like gloves, a wire brush, rust remover, and warm water. Keep your grill in top condition for delicious barbecues!
- Prioritize safety and thoroughness when cleaning rust off your grill. Prepare, remove loose rust, use a rust remover, scrub, rinse, dry, and season your grill for optimal performance and longevity. Happy grilling!
Read more: How To Clean Rust Off Grill Grates
Materials Needed
Before you begin cleaning the rust off your grill, gather the following materials:
- Gloves: To protect your hands from chemicals and rust, it’s essential to wear gloves throughout the cleaning process.
- Eye protection: Safety glasses or goggles are necessary to shield your eyes from any debris or cleaning solutions that may splash.
- Wire brush: A wire brush with stiff bristles will be used to scrape away loose rust and debris.
- Rust remover or cleaner: There are various rust remover products available in the market. Choose one that is suitable for the type of grill you have, whether it’s stainless steel or cast iron.
- Scrubbing pad or sponge: A non-abrasive scrubbing pad or sponge will help in removing the rust without damaging the grill’s surface.
- Warm water: You’ll need a bucket or a basin filled with warm water for rinsing off the rust remover and cleaning solutions.
- Dish soap: Mild dish soap will be used to create a soapy cleaning solution for removing grease and grime.
- Cloth or towel: A clean cloth or towel will be used for drying the grill after cleaning.
- Grill cover (optional): To prevent rust from forming in the future, it’s advisable to invest in a grill cover to protect your grill from moisture and the elements.
Once you have gathered all the necessary materials, you’re ready to start cleaning the rust off your grill. Follow the step-by-step process outlined below for best results.
Step 1: Preparing the Grill
Before tackling the rust on your grill, it’s important to properly prepare the surface by removing any loose debris, ashes, or food remnants. Follow these steps to prepare the grill for cleaning:
- Start by ensuring that your grill is turned off and completely cooled down. This will prevent any accidents or burns during the cleaning process.
- Remove the cooking grates and any other removable parts from the grill, such as the burner covers or heat diffusers. This will allow you to access all areas of the grill more easily.
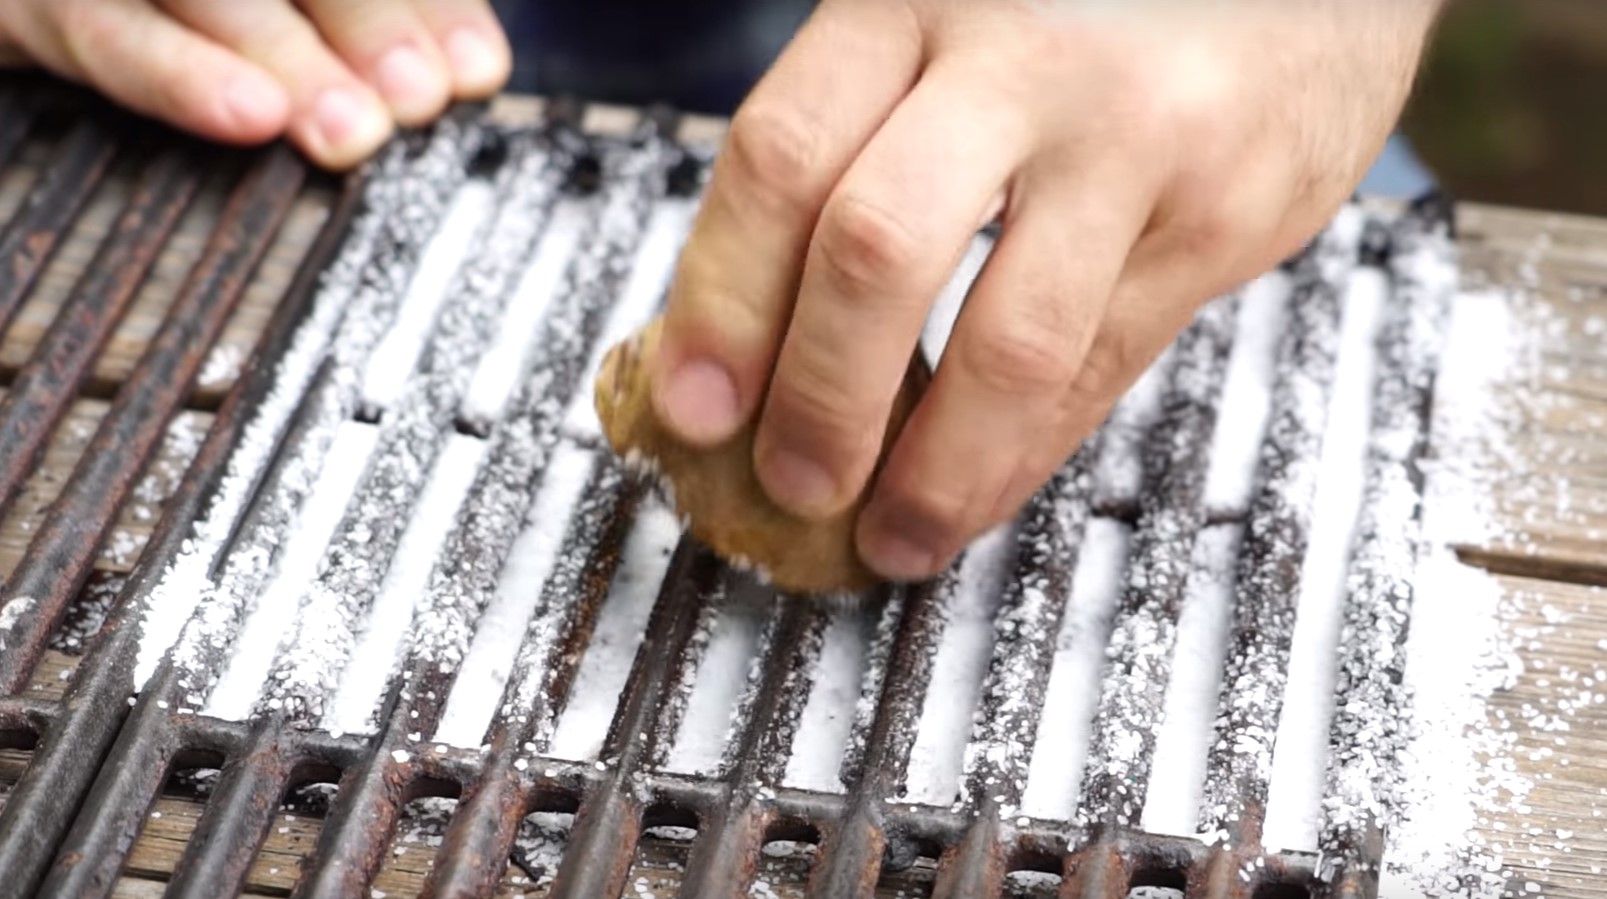
- Using a wire brush, gently scrape away any loose rust, dirt, or grime from the grill’s surfaces. Pay special attention to the areas where rust is more prominent.
- If there are any stubborn, stuck-on particles, you can use a soapy water solution and a sponge to loosen and remove them. Rinse the grill thoroughly with water to remove any soap residue.
- Inspect the grates and other removable parts for any signs of rust. If necessary, set them aside to be cleaned separately in the following steps.
- Lastly, wipe down the exterior of the grill to remove any dirt or dust that may have accumulated. This will ensure that you have a clean surface to work with as you move on to the rust removal process.
By properly preparing your grill and removing any loose debris, you’ll create a solid foundation for the rust cleaning process. Now, let’s move on to the next step of removing the remaining rust.
Step 2: Removing Loose Rust
After preparing your grill, the next step is to focus on removing any loose rust that remains on the surfaces. This step will help in preparing the grill for a more thorough cleaning. Follow these steps to remove loose rust from your grill:
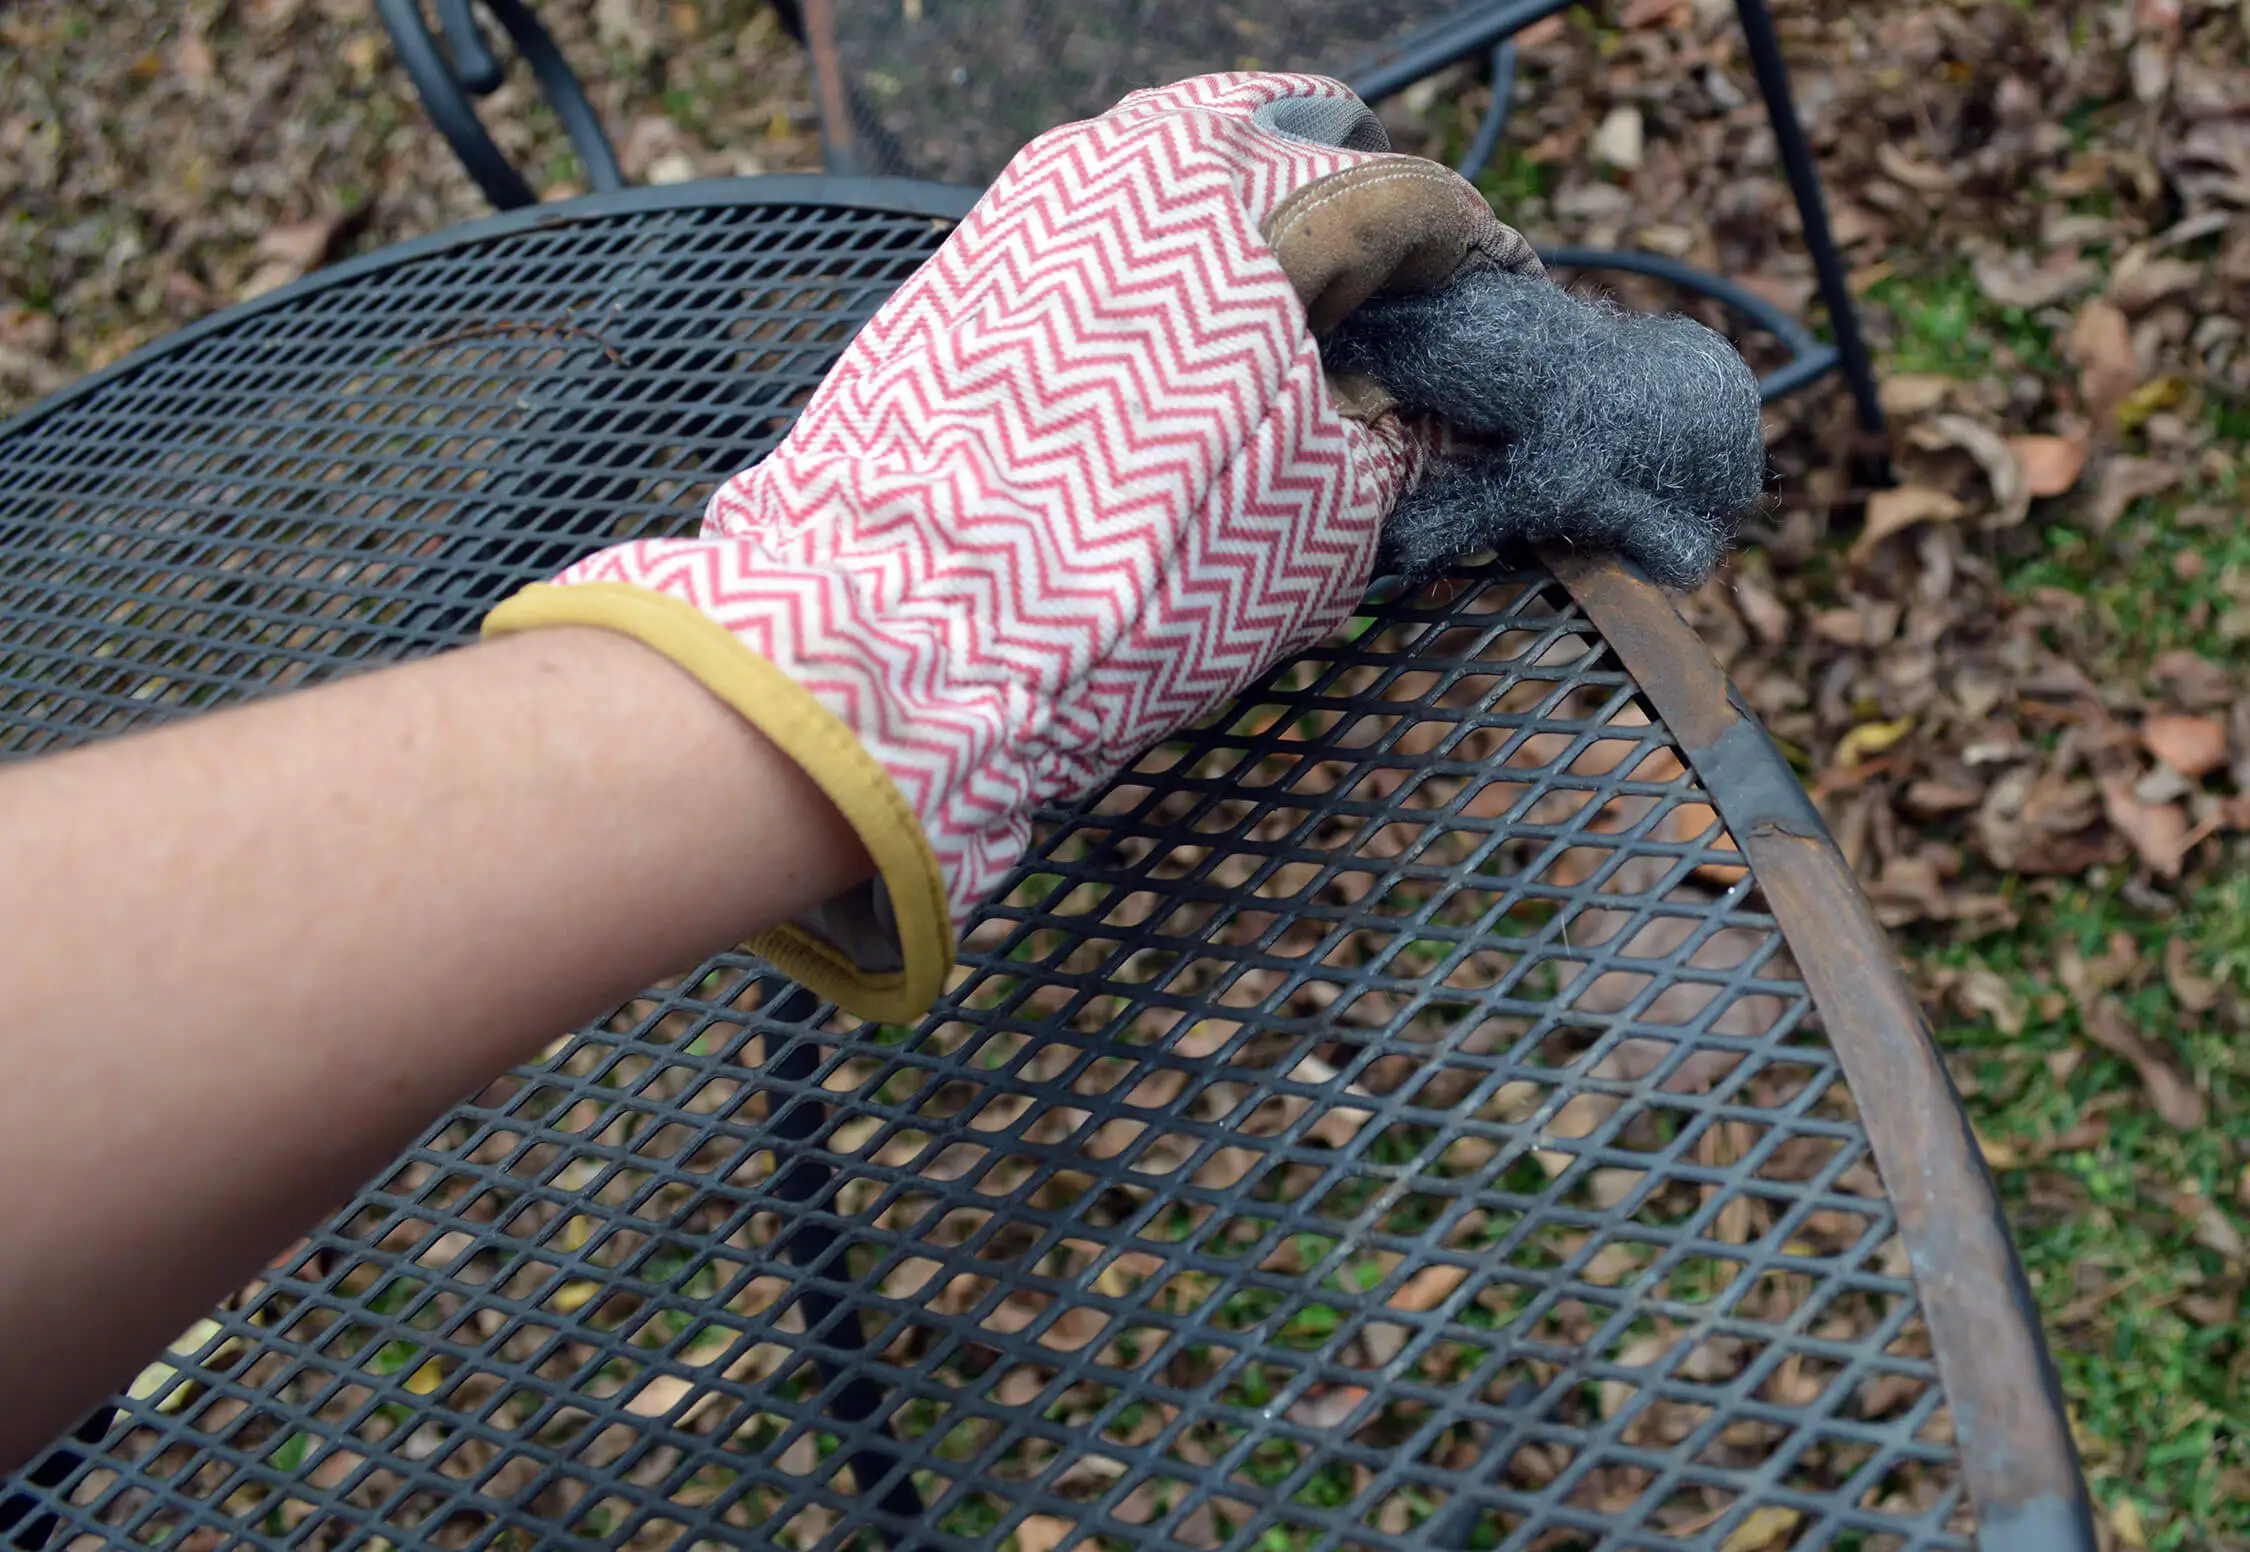
- Put on your gloves and grab the wire brush. Begin by scrubbing the grill grates and other surfaces where rust is visible. Apply medium pressure and work in a back-and-forth motion to dislodge the loose rust.
- Pay close attention to the areas where rust is more prominent, such as the corners, edges, and joints. Use the wire brush to reach these areas and ensure all loose rust is removed.
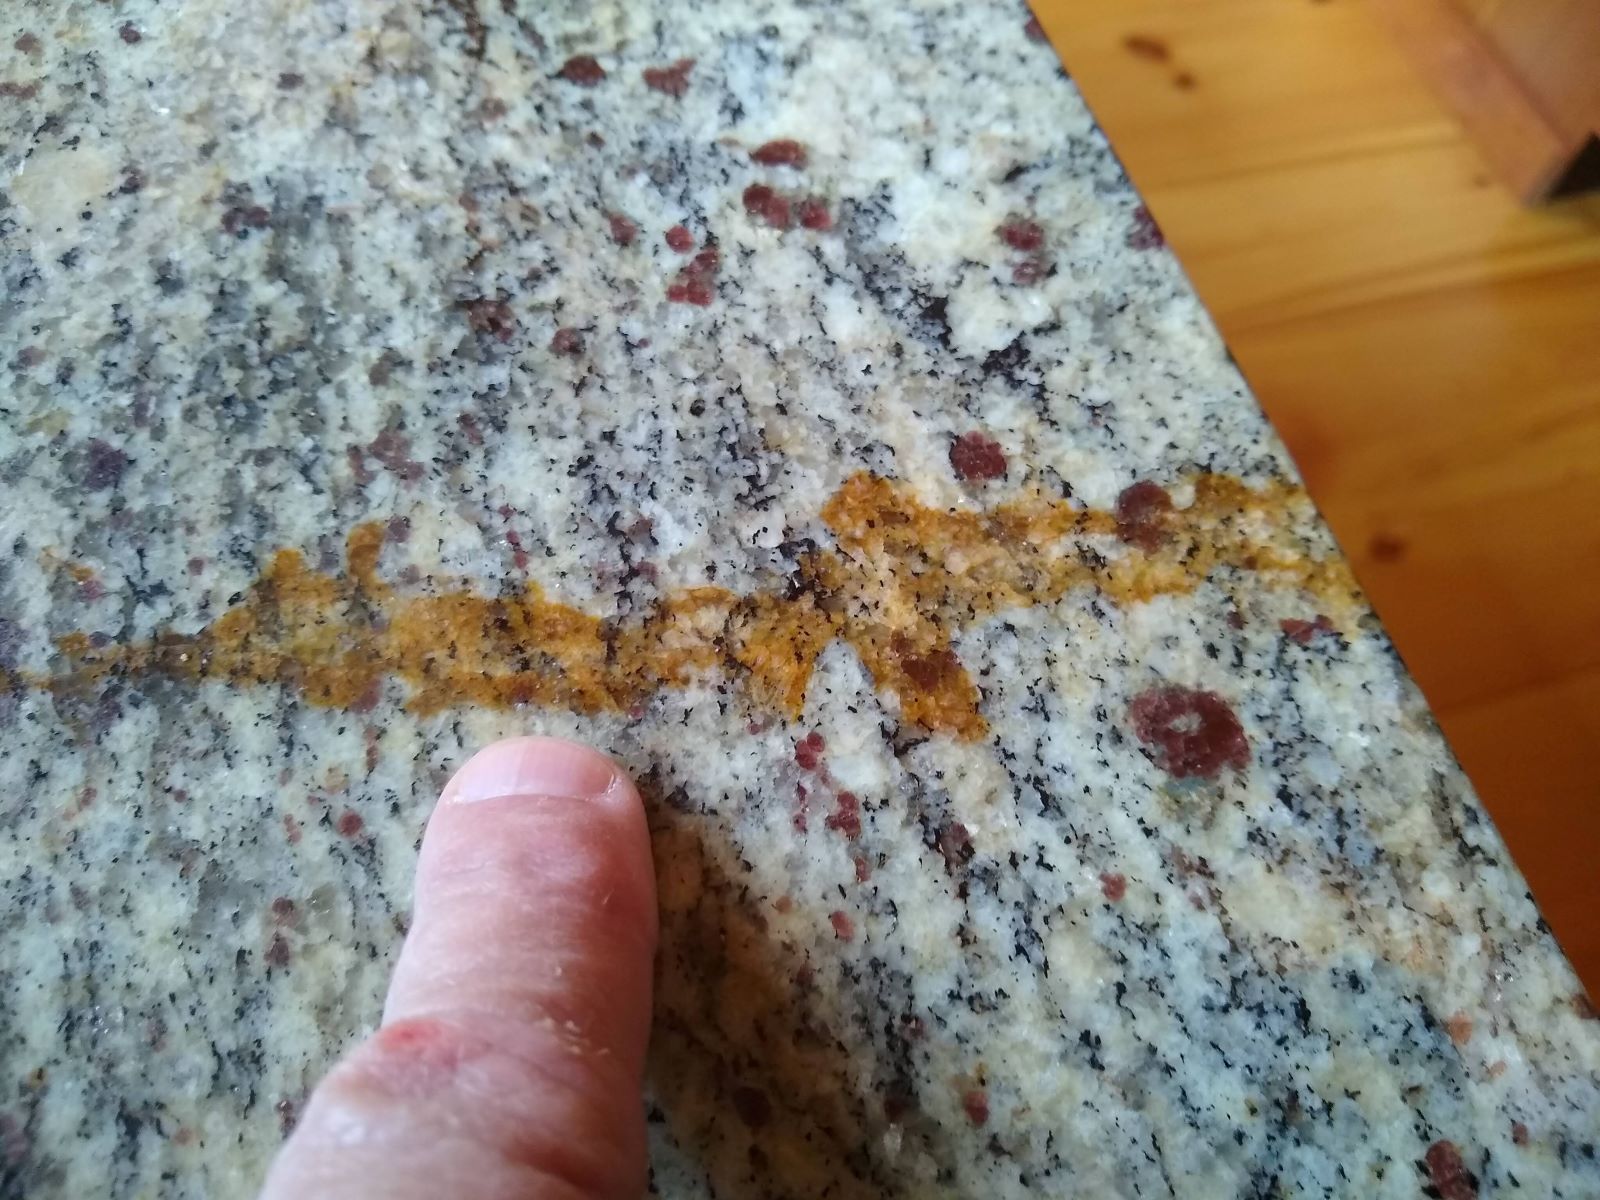
- If you encounter any stubborn rust spots that are not coming off with the wire brush alone, you can try using a vinegar-water solution. Mix equal parts vinegar and water in a spray bottle and spray it onto the rusty areas. Let it sit for a few minutes, then scrub again with the wire brush.
- Continue scrubbing until you’ve removed as much loose rust as possible. Be thorough and methodical with your approach to ensure all surfaces are properly cleaned.
- Once you’re satisfied with the removal of loose rust, rinse the grill thoroughly with warm water to remove any debris or particles that may have gotten dislodged during the scrubbing process.
- Use a clean cloth or towel to dry the grill, ensuring that all surfaces are completely dry. This will prevent the formation of new rust as you move forward with the cleaning process.
By removing the loose rust, you have taken an important step in restoring your grill to its former glory. Now, let’s move on to the next step, where we’ll use a rust remover to tackle the remaining rust on your grill.
Step 3: Using a Rust Remover
Now that you have removed the loose rust from your grill, it’s time to tackle the remaining rust using a rust remover. Rust removers are specifically designed to dissolve and remove rust, making it easier to clean and restore your grill. Follow these steps to effectively use a rust remover:
- Put on your gloves and ensure you are in a well-ventilated area, as rust removers often contain chemicals that may produce strong fumes.
- Read and follow the instructions provided by the rust remover manufacturer. Different rust removers may have slightly different application methods, so it’s important to adhere to the specific product guidelines.
- Apply the rust remover to the affected areas of your grill. Use a brush or sponge to evenly distribute the solution, ensuring that all rusted surfaces are fully coated.
- Allow the rust remover to sit on the grill for the recommended time specified by the manufacturer. This will allow the solution to penetrate the rust and begin breaking it down.
- While waiting, make sure to keep children and pets away from the grill, as the rust remover may be harmful if ingested or if it comes into contact with skin or eyes.
- After the recommended time has passed, use a brush or sponge to agitate the rusted areas. Scrub gently but firmly to help remove the dissolved rust.
- Rinse the grill thoroughly with warm water to remove the rust remover and any loosened rust particles. Be sure to rinse all surfaces, including the grates and other removable parts, to ensure they are free from any residue.
- Inspect the grill and repeat the rust remover application and scrubbing process if necessary. Some stubborn rust spots may require multiple treatments to completely remove.
- Once you are satisfied with the removal of rust, rinse the grill again with warm water and use a clean cloth or towel to dry it completely.
Using a rust remover can greatly assist in breaking down and removing stubborn rust from your grill. By following these steps, you’ll be one step closer to restoring your grill to its original condition.
Now, let’s move on to the next step where we’ll focus on scrubbing the grill to further eliminate any remaining rust and grime.
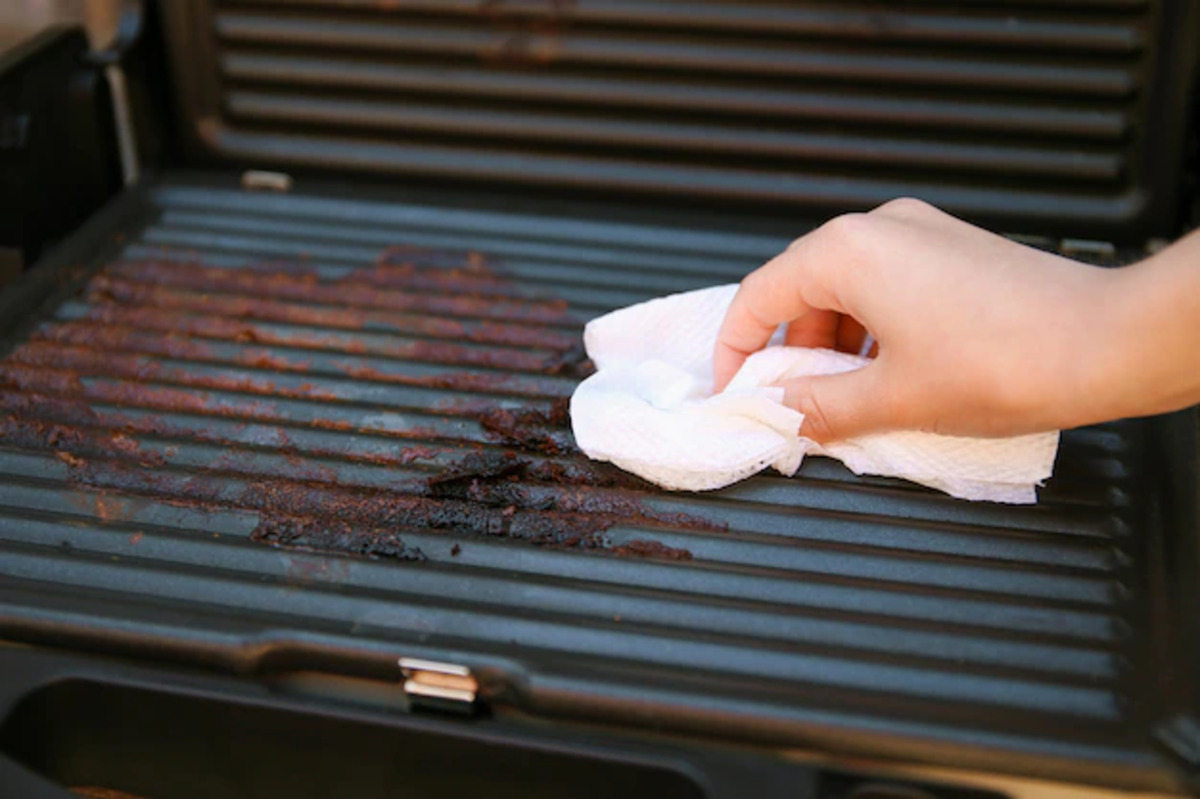
Use a wire brush or aluminum foil to scrub off the rust. Then, apply a rust remover or a mixture of vinegar and baking soda. Finally, season the grill to prevent future rust.
Read more: How To Clean Rust Off Silverware
Step 4: Scrubbing the Grill
After using a rust remover on your grill, it’s time to give it a thorough scrubbing to eliminate any remaining rust and grime. This step will help in achieving a clean and polished surface. Follow these steps to effectively scrub your grill:
- Put on your gloves and grab a non-abrasive scrubbing pad or sponge. Avoid using wire brushes or abrasive materials at this stage, as they may scratch the grill’s surface.
- Dip the scrubbing pad or sponge in warm soapy water. Use a mild dish soap that doesn’t contain harsh chemicals.
- Gently scrub the grill grates and surfaces, paying close attention to areas with stubborn rust spots or buildup. Apply enough pressure to remove the rust and grime, but be careful not to damage the grill’s surface.
- If needed, you can use a small amount of baking soda mixed with water to create a paste. Apply the paste to particularly stubborn rust spots and scrub gently with the sponge or scrubbing pad.
- Continue scrubbing all surfaces thoroughly, ensuring that all rust and grime are being removed. Take your time and be diligent in your scrubbing efforts.
- For hard-to-reach areas, you can use a toothbrush or a small brush to effectively clean and remove rust.
- Once you are satisfied that all surfaces have been scrubbed and cleaned, rinse the grill thoroughly with warm water. This will remove any soap residue and loosened rust particles.
- Inspect the grill to ensure that all rust has been removed. Repeat the scrubbing process on any remaining rust spots if necessary.
- After the final rinse, use a clean cloth or towel to dry the grill completely.
By thoroughly scrubbing the grill, you will be able to eliminate any last traces of rust and grime. This will leave you with a clean and rejuvenated grill surface.
Now that the scrubbing process is complete, let’s move on to the next step, where we’ll focus on rinsing and drying the grill.
Step 5: Rinse and Dry
After scrubbing away the rust and grime from your grill, it’s important to thoroughly rinse and dry it to prevent any residual moisture from causing new rust to form. Follow these steps to properly rinse and dry your grill:
- Ensure that all surfaces of the grill, including the grates and other removable parts, have been thoroughly scrubbed and cleaned.
- Rinse the grill with warm water, ensuring that all soap residue and loosened rust particles are washed away.
- Pay special attention to hard-to-reach areas and crevices, making sure they are completely rinsed.
- Inspect the grill to ensure that no traces of rust or grime remain. If necessary, repeat the scrubbing and rinsing process on any remaining areas.
- Once you are satisfied with the cleanliness of the grill, use a clean cloth or towel to dry it completely.
- Ensure that all surfaces are completely dry, as any lingering moisture can promote rust formation.
- If possible, leave the grill in a well-ventilated area to air dry for a short period, just to be certain that all moisture has evaporated.
Properly rinsing and drying your grill is a critical step in the cleaning process. By ensuring that all surfaces are thoroughly dried, you can minimize the risk of rust reformation and keep your grill in good condition.
With the grill now rinsed and dried, let’s move on to the final step, where we’ll season the grill to further protect it from rust and enhance its performance.
Step 6: Season the Grill
Seasoning your grill is an important final step in the cleaning process. It helps to create a protective layer on the grill’s surfaces, preventing rust formation and enhancing the flavor of your grilled food. Follow these steps to properly season your grill:
- Ensure that the grill is clean and completely dry before proceeding with the seasoning process.
- Preheat your grill to a medium-high temperature. This will help open up the pores of the metal and allow the seasoning to adhere better.
- Using a high smoke-point oil such as vegetable oil or canola oil, generously coat the grill grates and other surfaces with a brush or cloth.
- Be cautious of the flames when applying the oil to prevent any flare-ups.
- Allow the oil to heat up and start smoking on the grill surfaces. This process helps to create a thin layer of polymerized oil, which acts as a protective barrier against rust.
- Keep the grill heated for around 15-20 minutes to allow the oil to fully season and bond with the metal surfaces.
- After the allotted time, turn off the grill and let it cool down completely.
- Once cooled, use a cloth or paper towel to wipe away any excess oil from the grill’s surfaces.
By properly seasoning your grill, you are ensuring its long-term protection and improving its cooking performance. Seasoning the grill regularly, especially after cleaning, will help maintain its condition and prevent future rust formation.
Congratulations! You have successfully followed all the steps to clean rust off your grill and bring it back to life. With a clean and well-maintained grill, you’re ready to enjoy delicious barbecues and outdoor cooking. Remember to regularly clean and season your grill to keep it in optimal condition for years to come.
Thank you for reading our guide on how to clean rust off a grill. We hope you found it helpful and informative. Happy grilling!
Conclusion
Cleaning rust off a grill is a task that requires some effort, but with the right materials and techniques, you can restore your grill to its former glory. By following the steps outlined in this guide, you can effectively remove rust and prevent it from coming back, ensuring that your grill remains in optimal condition for years to come.
Starting with the preparation of the grill and removing loose rust, you create a solid foundation for the cleaning process. Using a rust remover and scrubbing the grill help to eliminate stubborn rust and grime, leaving you with a clean surface. Thoroughly rinsing and drying the grill is essential in preventing new rust formation. Finally, seasoning the grill creates a protective layer that enhances the grill’s performance and longevity.
Remember to always prioritize safety when working with cleaning chemicals and ensure that your grill is turned off and cooled down before beginning the cleaning process. Use the recommended materials and follow the instructions provided by the rust remover manufacturer for best results.
With regular maintenance and cleaning, your grill will not only look great but also perform at its best. So, get ready to fire up the grill and enjoy delicious barbecues with family and friends!
We hope this guide has been helpful in assisting you with cleaning rust off your grill. Now, go ahead and make the most of your outdoor cooking experiences!
Happy grilling!
Frequently Asked Questions about How To Clean Rust Off A Grill
Was this page helpful?
At Storables.com, we guarantee accurate and reliable information. Our content, validated by Expert Board Contributors, is crafted following stringent Editorial Policies. We're committed to providing you with well-researched, expert-backed insights for all your informational needs.


0 thoughts on “How To Clean Rust Off A Grill”