Home>Furniture & Design>Bathroom Fixtures>How To Clean Rust From A Shower Rod

Bathroom Fixtures
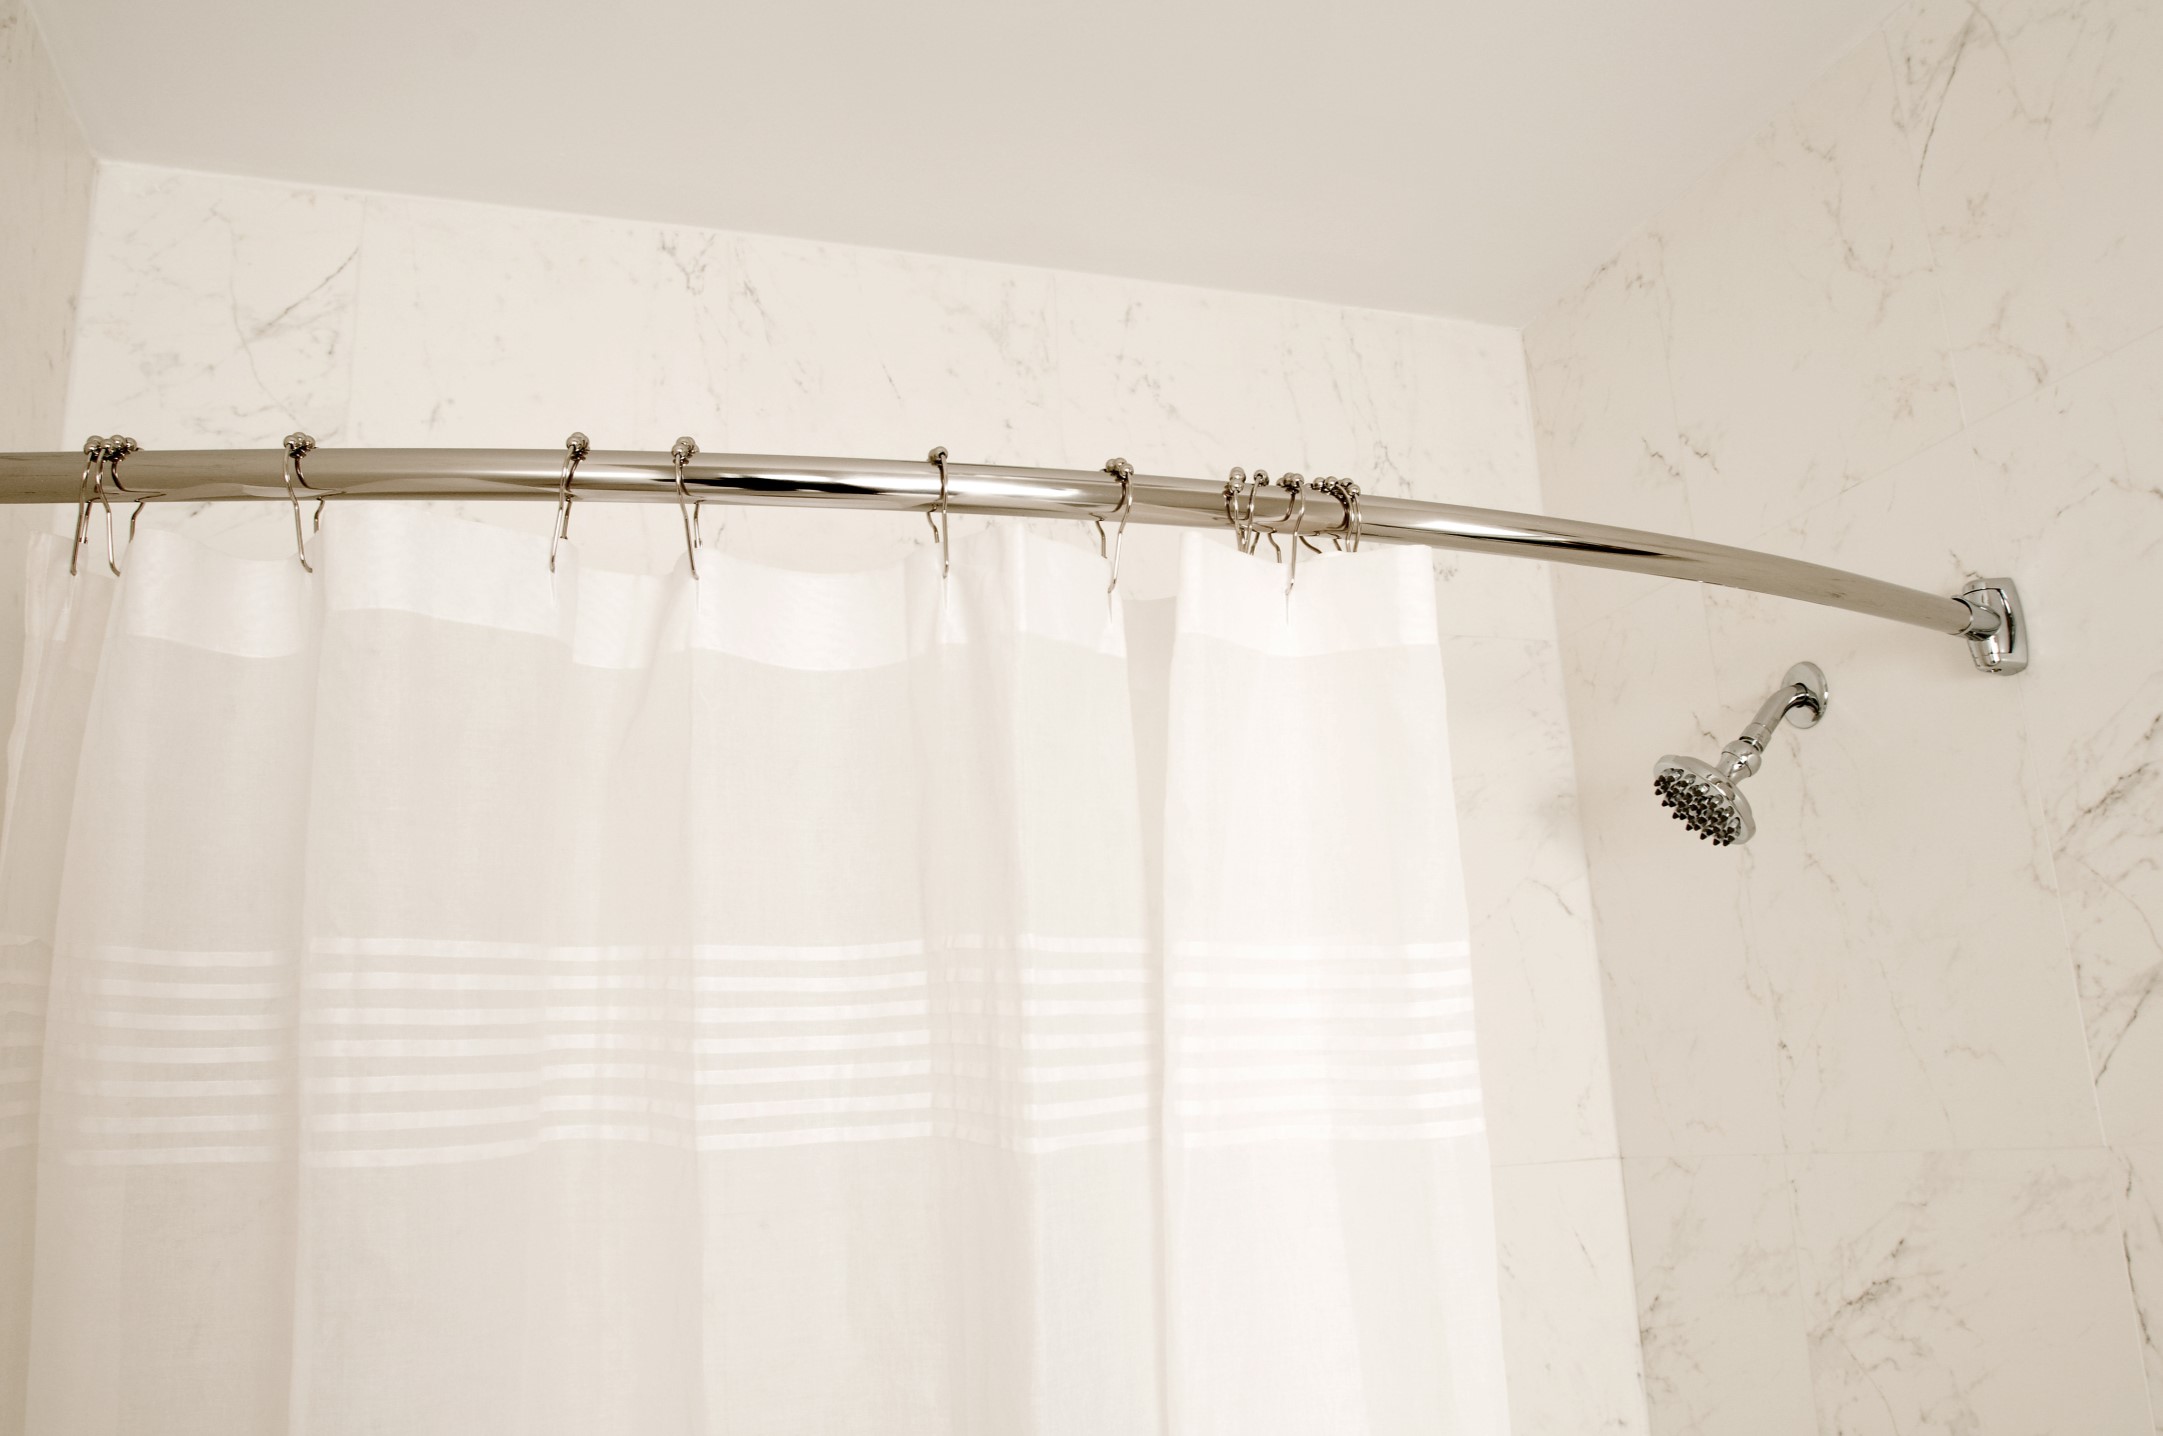
How To Clean Rust From A Shower Rod
Modified: March 21, 2024
Learn effective methods to remove rust from your shower rod and restore it to its original shine. Keep your bathroom fixtures looking clean and new with these simple tips.
(Many of the links in this article redirect to a specific reviewed product. Your purchase of these products through affiliate links helps to generate commission for Storables.com, at no extra cost. Learn more)
Introduction
Dealing with a rusty shower rod can be a frustrating and unsightly issue in any bathroom. Over time, exposure to moisture and air can cause metal shower rods to develop rust, detracting from the overall aesthetic and cleanliness of the space. However, with the right approach and materials, you can effectively restore your shower rod to its former gleaming state. In this comprehensive guide, we will walk you through the step-by-step process of removing rust from your shower rod, providing you with the knowledge and confidence to tackle this common household problem.
A rusty shower rod not only diminishes the visual appeal of your bathroom but can also compromise its hygiene. Rust stains and residue can transfer onto your shower curtain, towels, and even your skin, making it essential to address the issue promptly. By taking the time to clean and maintain your shower rod, you can ensure a more pleasant and hygienic showering experience for yourself and your household.
In the following sections, we will outline the materials you will need for this cleaning project and provide detailed instructions on how to effectively remove rust from your shower rod. By following these steps, you can restore the luster of your shower rod and prevent the recurrence of rust, ultimately enhancing the overall cleanliness and visual appeal of your bathroom. Let's dive into the process and equip you with the knowledge and tools to bid farewell to rust and welcome a sparkling shower rod.
Key Takeaways:
- Say goodbye to rusty shower rods by using vinegar and baking soda to restore their gleaming state. Protect the rod from future rust with a rust inhibitor for a long-lasting, sparkling bathroom fixture.
- Remove the shower curtain, scrub with a vinegar and baking soda solution, rinse, dry, and apply a rust inhibitor to keep your shower rod rust-free and sparkling clean.
Read more: How To Remove Rust From A Shower Curtain Rod
Materials Needed
To effectively clean rust from your shower rod, you will need a few essential materials. Gathering these items before you begin the cleaning process will ensure a smooth and efficient experience. Here's what you'll need:
-
White Vinegar: This versatile household item is a powerful natural cleaner and an effective rust remover. Its acidic properties make it ideal for breaking down and dissolving rust from metal surfaces.
-
Baking Soda: Known for its gentle abrasive qualities, baking soda is an excellent natural cleaning agent that can help lift and scrub away rust stains without causing damage to the metal.
-
Soft Cloth or Sponge: Choose a soft cloth or sponge that is gentle on the metal surface of the shower rod. Avoid using abrasive materials that could scratch or further damage the rod.
-
Old Toothbrush: A small, old toothbrush can be a handy tool for reaching into crevices and tight spots on the shower rod, allowing you to effectively scrub away stubborn rust deposits.
-
Rust Inhibitor: After removing the rust, applying a rust inhibitor can help prevent future corrosion and maintain the integrity of the metal surface.
-
Rubber Gloves: Protect your hands from the cleaning solutions and rust particles by wearing rubber gloves throughout the cleaning process.
-
Clean Towel: Have a clean, dry towel on hand to thoroughly dry the shower rod after cleaning and rinsing.
By ensuring you have these materials readily available, you can proceed with confidence, knowing that you have everything you need to tackle the rust on your shower rod effectively. With these items at your disposal, you are well-equipped to embark on the journey of restoring your shower rod to its former pristine condition.
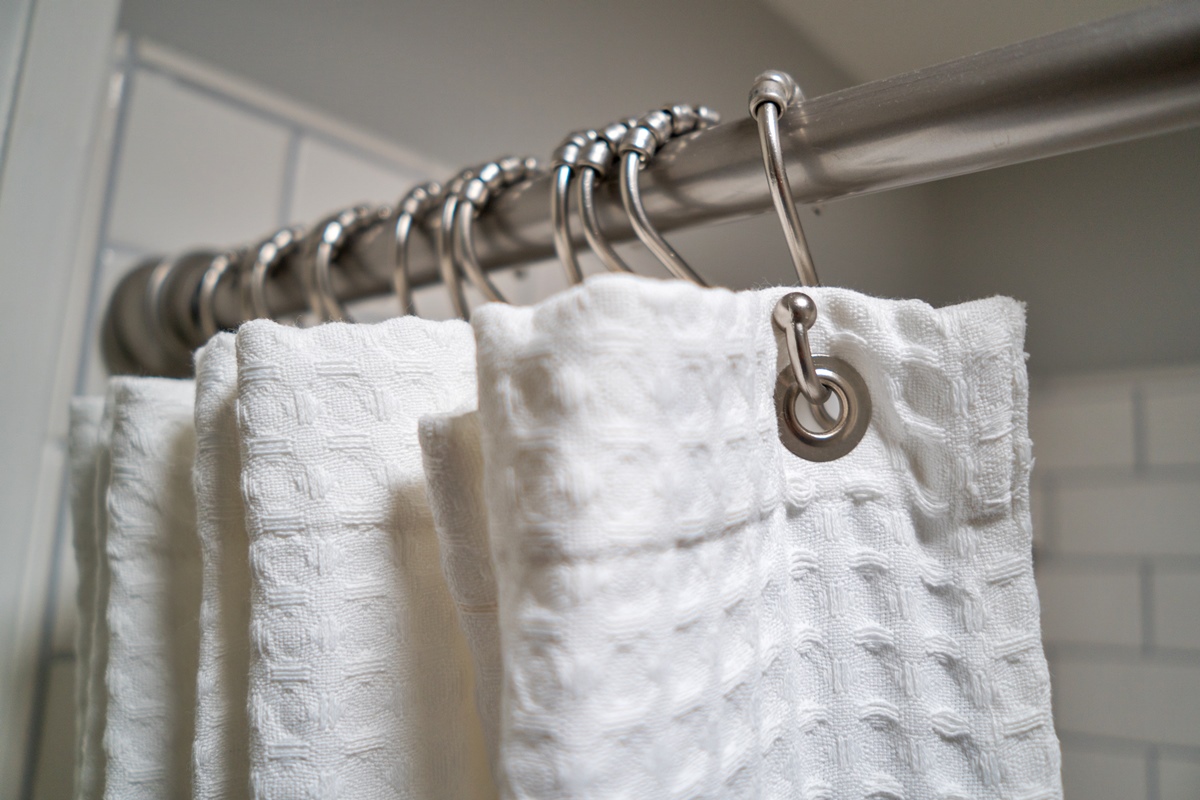
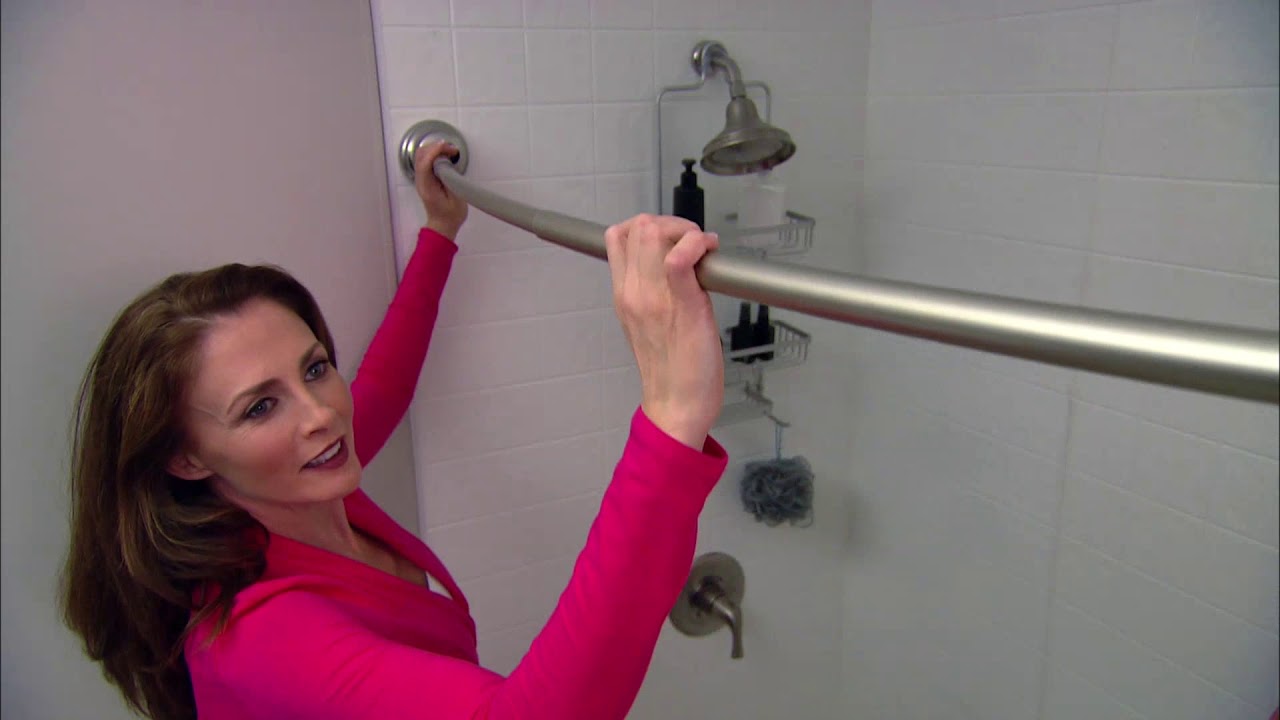
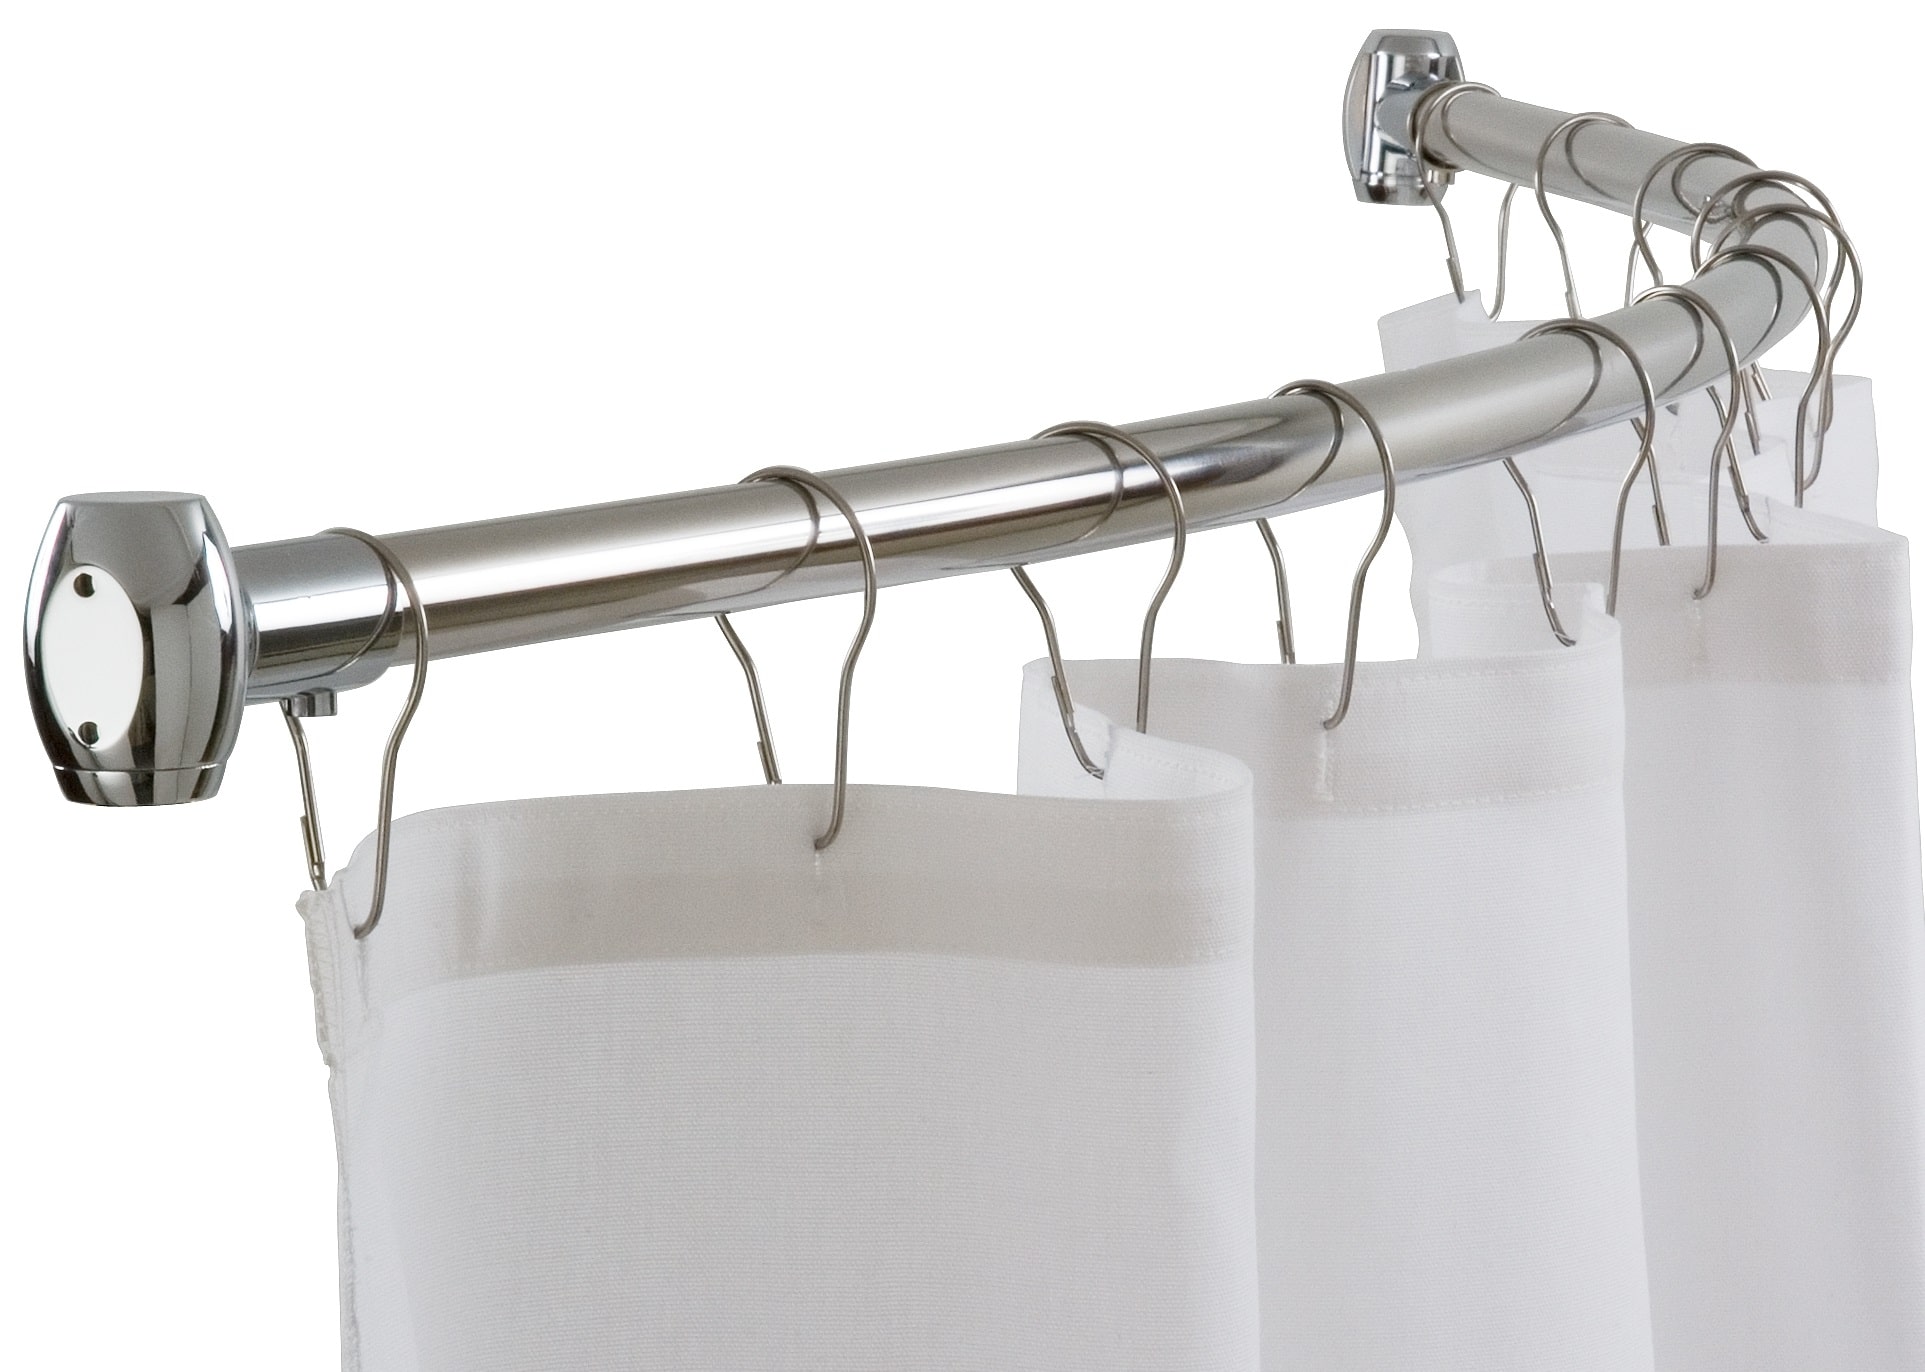
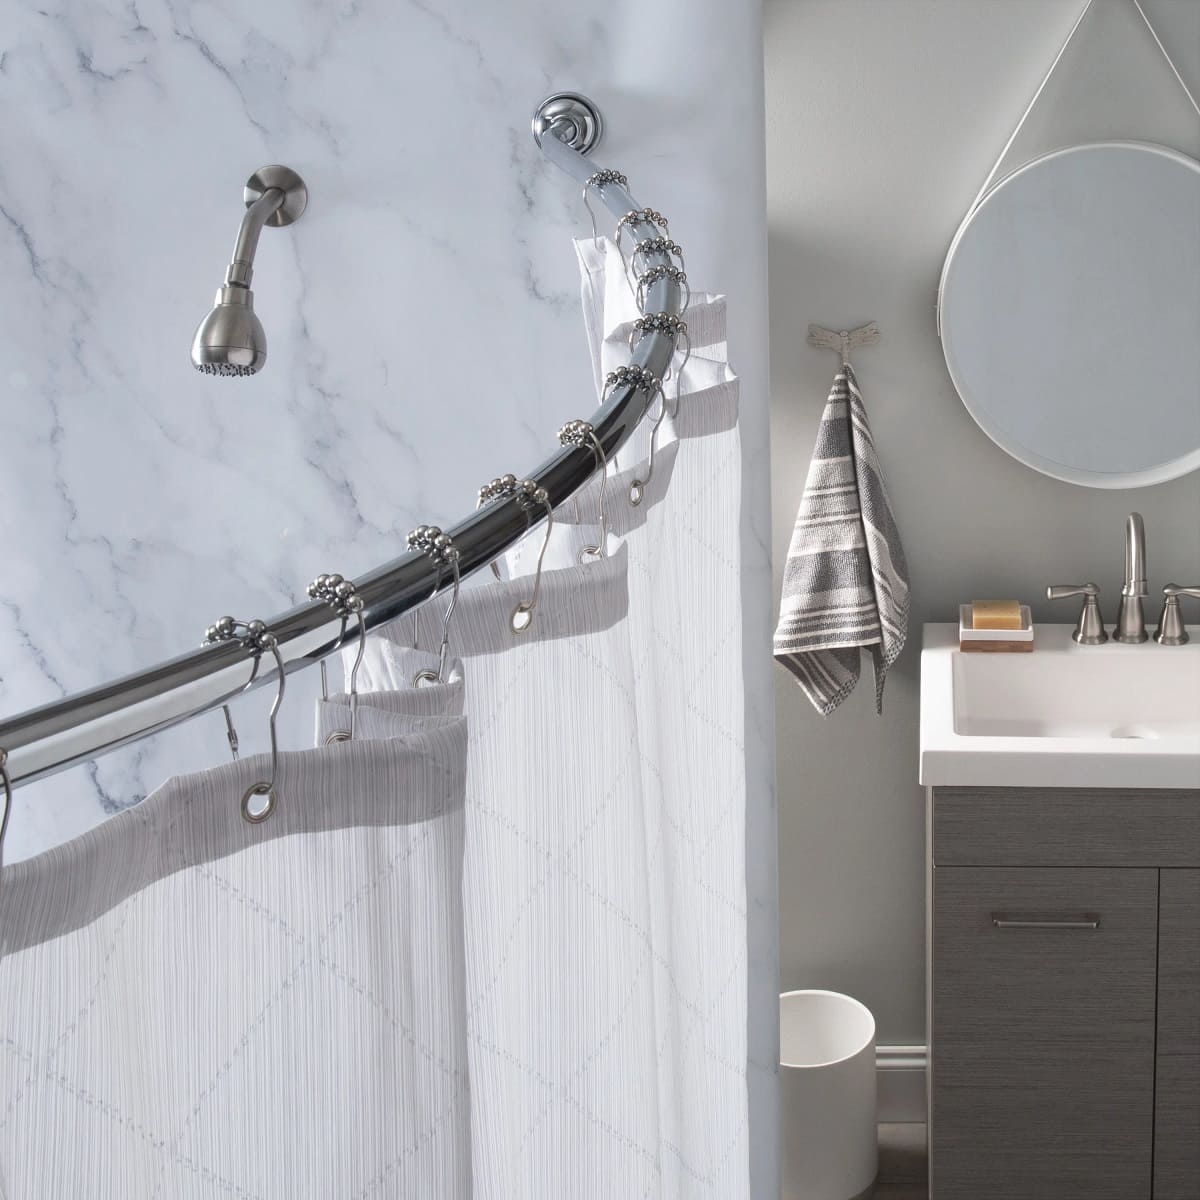
Step 1: Remove the Shower Curtain
Before you begin the process of cleaning the rust from your shower rod, it's essential to start by removing the shower curtain. This step is crucial as it allows you unrestricted access to the entire length of the rod, ensuring that you can effectively address all areas affected by rust.
Start by carefully sliding the shower curtain along the rod to one side, creating an open space for you to work with. If the curtain is secured with rings or hooks, gently detach them from the rod and set them aside for the time being. Once the curtain is free from the rod, carefully fold or hang it in a clean, dry area to prevent it from getting in the way during the cleaning process.
By removing the shower curtain, you create a clear workspace, enabling you to focus on the task at hand without any obstructions. This step also minimizes the risk of the cleaning solutions coming into contact with the curtain, ensuring that it remains clean and free from any potential damage or discoloration.
With the shower curtain safely out of the way, you are now ready to proceed to the next step of the rust removal process. By taking the time to remove the shower curtain beforehand, you set the stage for a thorough and effective cleaning of the shower rod, allowing you to address the rust with precision and attention to detail.
Removing the shower curtain marks the initial stage of preparing the shower rod for cleaning, setting the foundation for the subsequent steps that will lead to the successful restoration of the rod's appearance and functionality. With the curtain safely removed, you are now poised to move forward with confidence, ready to tackle the rust and revitalize your shower rod.
Step 2: Scrub the Rod with a Cleaning Solution
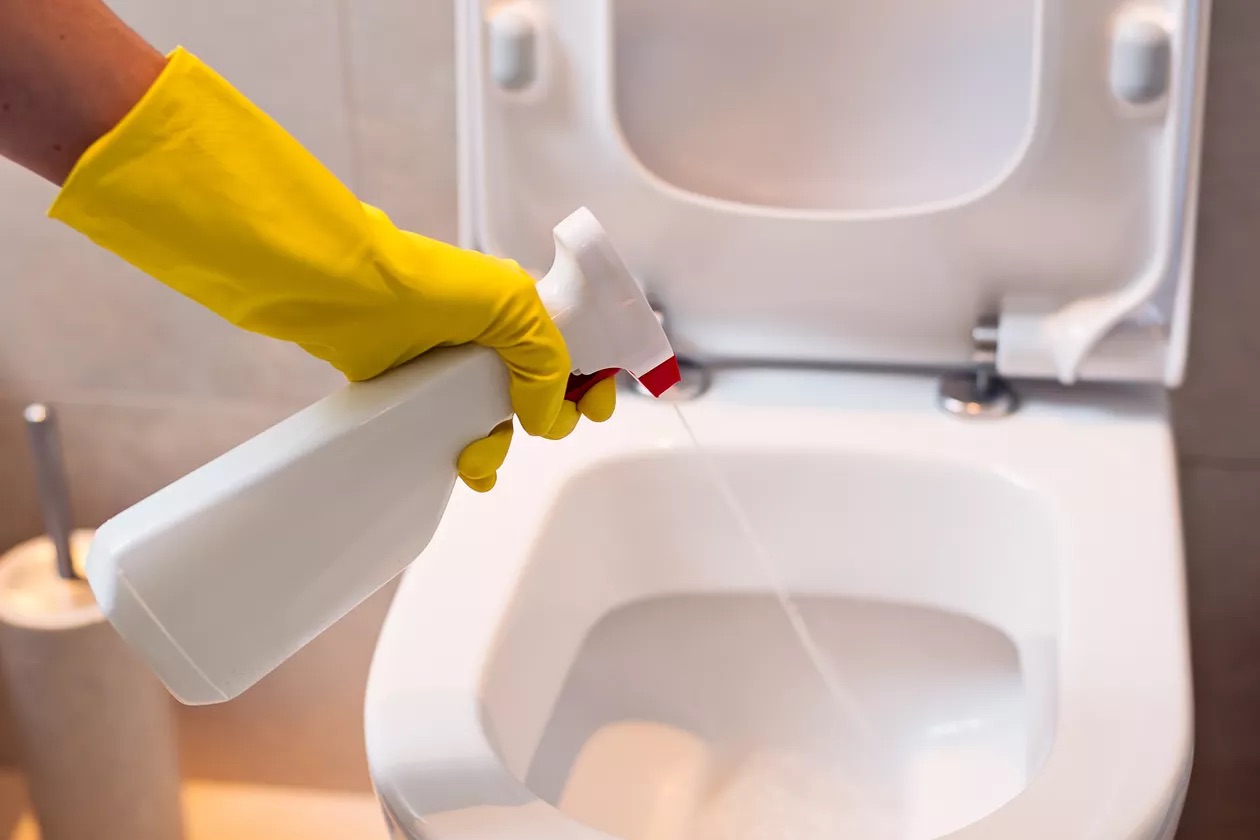
With the shower curtain removed, it's time to address the rust on the shower rod. To begin the rust removal process, create a cleaning solution using white vinegar and baking soda. These two natural ingredients work in tandem to combat rust effectively.
Start by dampening a soft cloth or sponge with white vinegar. The acidic nature of vinegar makes it an excellent rust remover. Gently rub the affected areas of the shower rod with the vinegar-soaked cloth, ensuring thorough coverage of the rusted spots. The vinegar will work to dissolve the rust, making it easier to remove.
Next, sprinkle a small amount of baking soda onto the dampened areas of the rod. Baking soda's mild abrasive properties make it an ideal agent for scrubbing away rust stains without causing damage to the metal surface. Using the cloth or sponge, gently scrub the rod, focusing on the areas where rust is present. The combination of vinegar and baking soda creates a powerful cleaning solution that effectively targets and lifts the rust from the metal surface.
For stubborn rust deposits or hard-to-reach areas, utilize an old toothbrush to apply the cleaning solution and scrub the rod more precisely. The bristles of the toothbrush can access crevices and tight spots, allowing you to effectively dislodge and remove stubborn rust particles.
As you scrub the rod with the cleaning solution, pay close attention to the areas where rust is most prevalent. Thoroughly work the solution into the affected areas, ensuring that the rust is being lifted and dissolved. Take your time and be diligent in your efforts, as thorough cleaning is key to achieving optimal results.
Once you have scrubbed the entire length of the shower rod and addressed all areas affected by rust, allow the cleaning solution to sit for a few minutes. This will give the vinegar and baking soda ample time to work their magic, further loosening and dissolving the rust.
After allowing the cleaning solution to work its wonders, rinse the shower rod thoroughly with clean water. Use a clean, damp cloth to wipe away any residue from the cleaning solution, ensuring that the rod is left clean and free from any remaining rust particles or cleaning agents.
By diligently scrubbing the shower rod with the vinegar and baking soda cleaning solution, you have taken a significant step towards restoring its appearance and functionality. The combined power of these natural ingredients has effectively targeted and removed the rust, setting the stage for the subsequent steps in the rust removal process.
To clean rust from a shower rod, mix equal parts of vinegar and water in a spray bottle. Spray the affected areas and let it sit for 30 minutes. Scrub with a sponge or brush, then rinse and dry thoroughly.
Step 3: Rinse and Dry the Rod
After effectively scrubbing the shower rod with the cleaning solution and removing the rust, the next crucial step is to thoroughly rinse and dry the rod. This step is essential to ensure that all traces of the cleaning solution, as well as any remaining rust particles, are completely removed, leaving the rod clean, smooth, and free from any potential residue.
Begin by using a clean, damp cloth to rinse the entire length of the shower rod. Wipe away any remnants of the cleaning solution, ensuring that the rod is thoroughly cleansed of any lingering vinegar, baking soda, or dissolved rust particles. Pay close attention to detail, ensuring that every section of the rod is effectively rinsed and wiped clean.
Once the rod has been rinsed, use a separate clean cloth to dry it thoroughly. Wipe the entire surface of the rod, ensuring that it is completely dry and free from any moisture. Drying the rod is crucial in preventing the formation of new rust, as moisture can contribute to the corrosion of metal surfaces over time.
If the shower rod is adjustable or extendable, ensure that you also dry the inner sections that may have been exposed during the cleaning process. Thoroughly drying all components of the rod will help prevent the accumulation of moisture, safeguarding it against future rust formation.
As you dry the rod, inspect it closely to ensure that all traces of rust and cleaning solution have been effectively removed. Pay attention to any remaining stubborn spots or areas that may require additional attention. By conducting a thorough inspection, you can confirm that the rod is clean and ready for the final step in the rust removal process.
By diligently rinsing and drying the shower rod, you complete the crucial process of removing any residual cleaning solution and ensuring that the rod is free from moisture. This meticulous approach sets the stage for the final step, where you will apply a rust inhibitor to protect the rod and prevent future corrosion.
With the rod now clean and dry, you are ready to proceed to the next and final step in the rust removal process, equipping the shower rod with the necessary protection to maintain its pristine condition for the long term.
Read more: How To Prevent A Shower Rod From Falling
Step 4: Apply Rust Inhibitor
With the shower rod now clean and free from rust, it's essential to take proactive measures to prevent future corrosion and maintain its pristine condition. Applying a rust inhibitor is a crucial final step in the rust removal process, providing long-term protection for the metal surface of the rod.
To apply the rust inhibitor, begin by selecting a high-quality product specifically designed to inhibit rust formation on metal surfaces. Rust inhibitors are available in various forms, including sprays, liquids, and coatings. Choose a rust inhibitor that is suitable for the material of your shower rod and follow the manufacturer's instructions for application.
Before applying the rust inhibitor, ensure that the shower rod is completely dry. Any lingering moisture on the surface can compromise the effectiveness of the inhibitor. Thoroughly inspect the rod to confirm that it is free from moisture and ready for the application of the rust inhibitor.
Once the rod is dry, apply the rust inhibitor according to the product's instructions. If using a spray or liquid rust inhibitor, evenly coat the entire surface of the shower rod, ensuring comprehensive coverage. Pay particular attention to areas that are more susceptible to rust, such as joints, crevices, and any previously rusted spots.
If you are using a rust inhibitor coating, carefully follow the application guidelines provided by the manufacturer. Apply the coating evenly and allow it to dry according to the specified duration. This protective layer will act as a barrier, shielding the metal surface of the shower rod from the damaging effects of moisture and air, effectively preventing the formation of new rust.
After applying the rust inhibitor, allow sufficient time for it to set and form a protective barrier on the shower rod. This proactive measure will help maintain the integrity of the metal surface, prolonging its lifespan and preserving its visual appeal.
By applying a rust inhibitor, you are taking a proactive stance in safeguarding your shower rod against future corrosion. This final step ensures that your efforts in removing the existing rust are complemented by a protective shield, effectively prolonging the rod's durability and maintaining its pristine condition for an extended period.
With the rust inhibitor successfully applied, you have completed the comprehensive process of removing rust from your shower rod and equipping it with the necessary protection to withstand the challenges of moisture and air. Your shower rod is now restored to its former gleaming state, ready to enhance the overall cleanliness and visual appeal of your bathroom.
Conclusion
In conclusion, successfully removing rust from a shower rod involves a systematic approach that combines effective cleaning techniques with proactive measures to prevent future corrosion. By following the step-by-step process outlined in this guide, you can restore your shower rod to its former pristine condition, enhancing the overall cleanliness and visual appeal of your bathroom.
The journey of rust removal begins with the essential step of removing the shower curtain, allowing unrestricted access to the entire length of the rod. This initial preparation sets the stage for a thorough and effective cleaning process, ensuring that every area affected by rust can be addressed with precision and attention to detail.
The subsequent step involves the meticulous scrubbing of the shower rod with a powerful cleaning solution comprising white vinegar and baking soda. These natural ingredients work in harmony to dissolve and lift the rust, effectively restoring the luster of the metal surface. Through diligent scrubbing and thorough rinsing, the shower rod is cleansed of any residual rust and cleaning agents, setting the foundation for the final stage of protection.
Thoroughly drying the shower rod is a crucial step in preventing the formation of new rust, safeguarding the metal surface against the damaging effects of moisture. This meticulous approach ensures that the rod is clean, smooth, and free from any potential residue, preparing it for the application of a rust inhibitor.
The application of a rust inhibitor serves as the proactive shield that safeguards the shower rod against future corrosion. This final step complements the rust removal process, providing long-term protection for the metal surface and prolonging the rod's durability and visual appeal.
By diligently following these steps and equipping your shower rod with the necessary protection, you can bid farewell to rust and welcome a sparkling, corrosion-resistant fixture in your bathroom. The restoration of your shower rod not only enhances the aesthetic appeal of the space but also contributes to a more hygienic and enjoyable showering experience for you and your household.
In embracing the process of rust removal and protection, you have demonstrated a commitment to maintaining the cleanliness and functionality of your bathroom fixtures. With the knowledge and tools acquired from this guide, you are well-equipped to tackle rust-related challenges and preserve the pristine condition of your shower rod for the long term.
Frequently Asked Questions about How To Clean Rust From A Shower Rod
Was this page helpful?
At Storables.com, we guarantee accurate and reliable information. Our content, validated by Expert Board Contributors, is crafted following stringent Editorial Policies. We're committed to providing you with well-researched, expert-backed insights for all your informational needs.

0 thoughts on “How To Clean Rust From A Shower Rod”