Articles
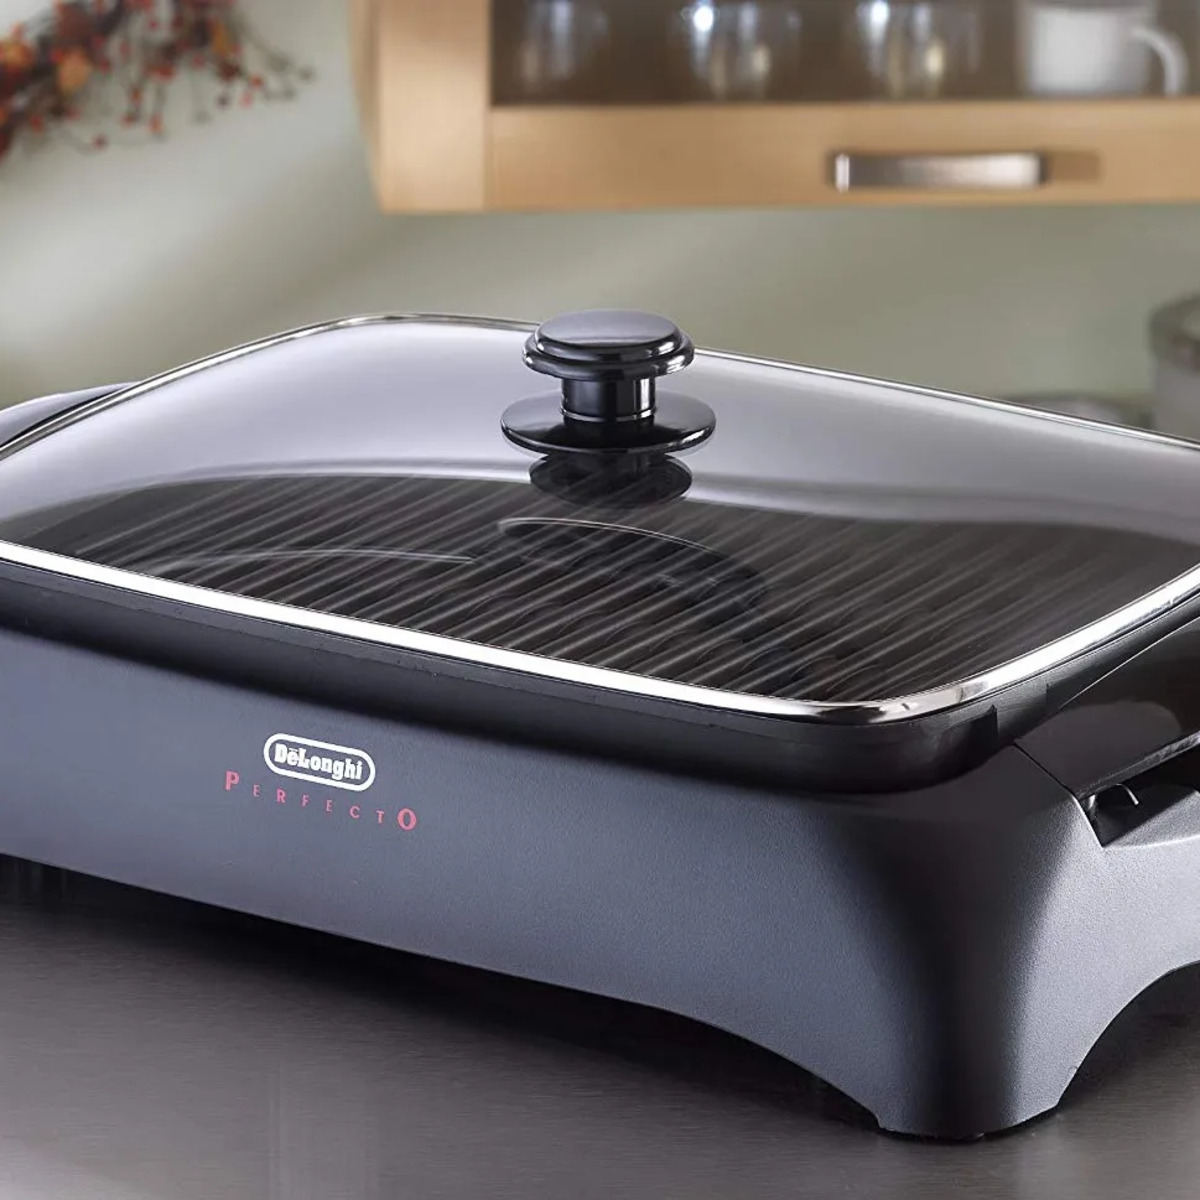
How To Clean An Indoor Grill
Modified: August 17, 2024
Learn the best techniques and tips for cleaning your indoor grill with our informative articles. Keep your grill in top condition with our expert advice.
(Many of the links in this article redirect to a specific reviewed product. Your purchase of these products through affiliate links helps to generate commission for Storables.com, at no extra cost. Learn more)
Introduction
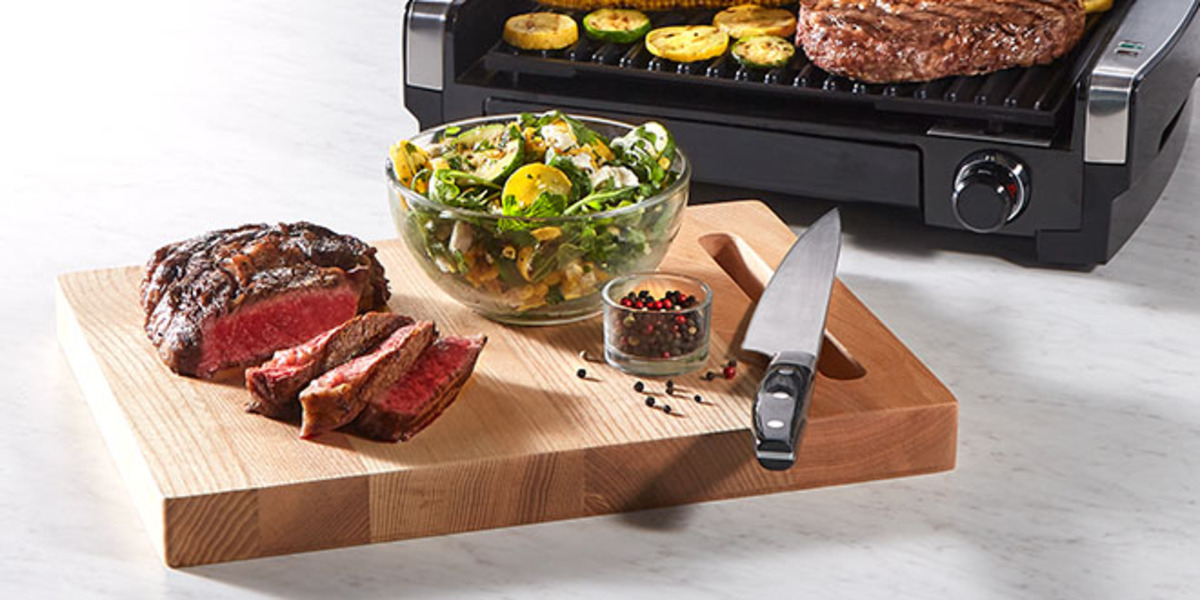
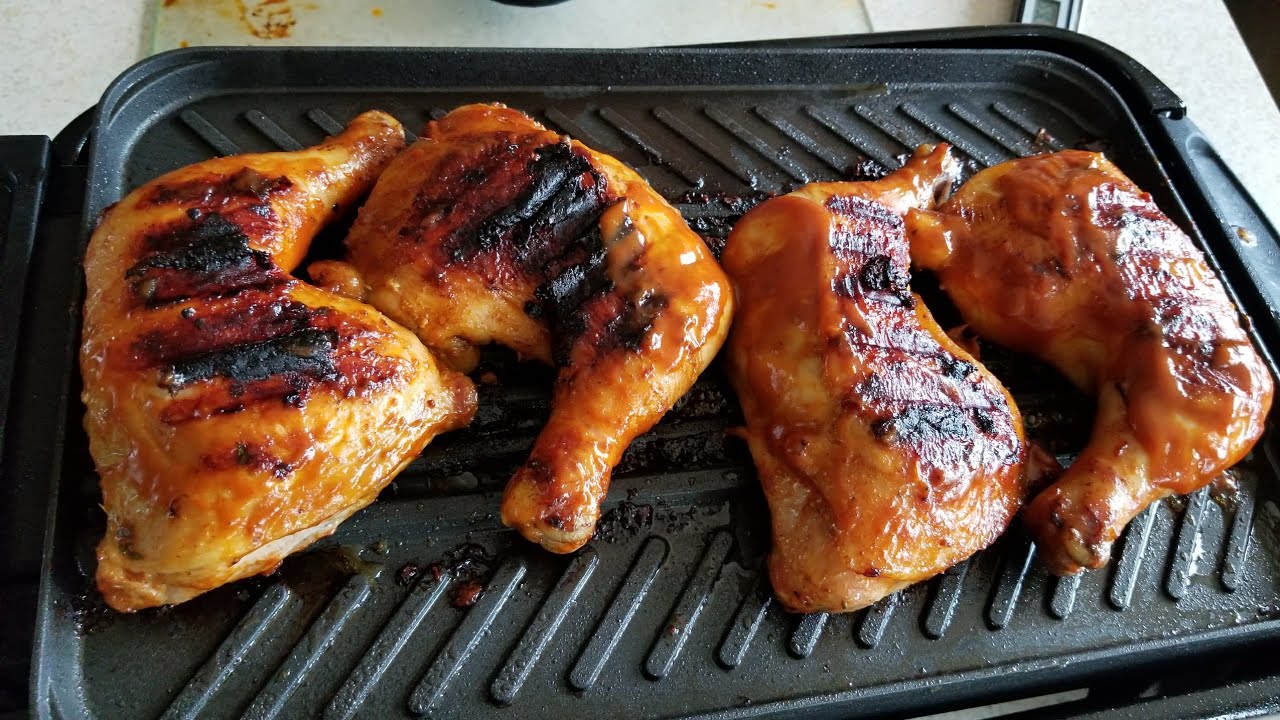
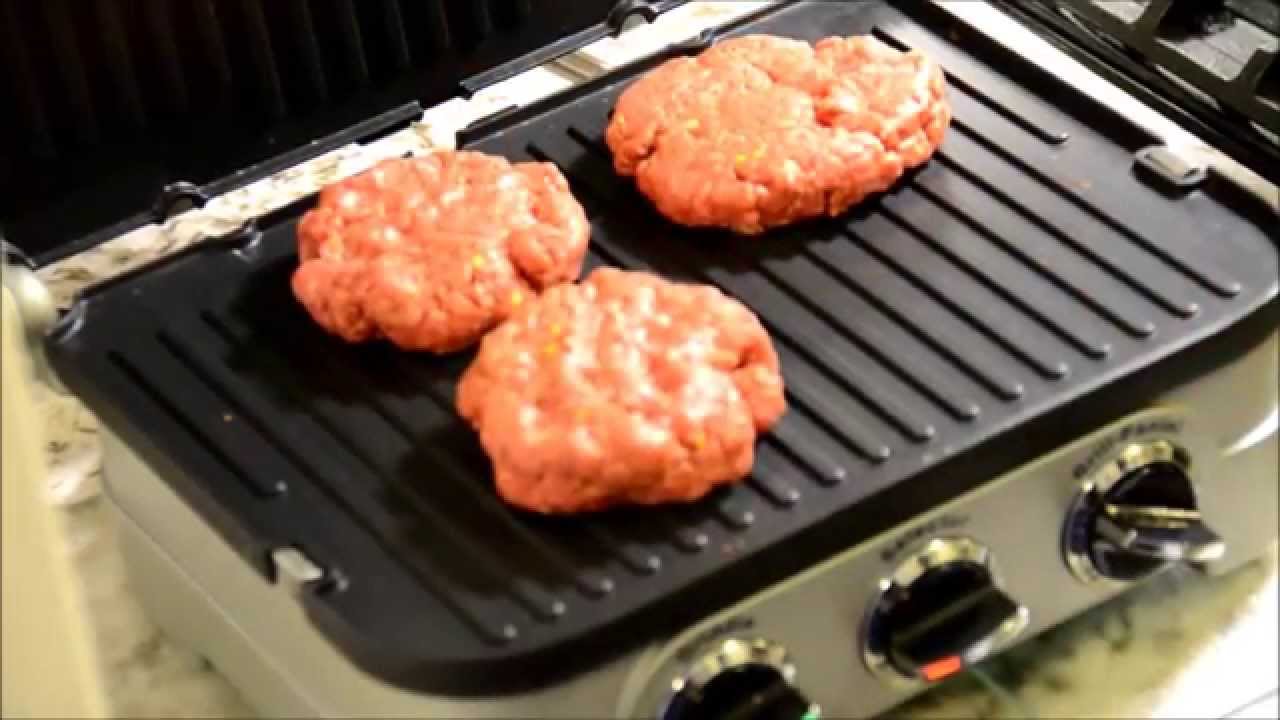
Cooking on an indoor grill is a fantastic way to enjoy delicious grilled food all year round, even when the weather isn’t ideal for outdoor grilling. However, after multiple uses, your indoor grill can accumulate grease, food residue, and grime, which can affect its performance and overall cleanliness. Regularly cleaning your indoor grill is essential not only for hygiene purposes but also to ensure that it continues to function optimally.
In this article, we will guide you through the step-by-step process of thoroughly cleaning your indoor grill. By following these instructions, you’ll be able to restore your grill to its original pristine condition and maintain its longevity.
Before we get started, let’s gather the necessary materials:
Key Takeaways:
- Regularly cleaning your indoor grill is essential for hygiene and optimal performance. Follow the step-by-step guide to maintain cleanliness, enhance flavors, and extend the life of your grill.
- Gather essential materials, prepare the grill, and clean thoroughly to ensure a clean slate for delicious grilled meals. Proper reassembly and storage will preserve the grill’s longevity.
Read more: How To Clean Indoor Grill
Materials Needed
- Warm water
- Mild dish soap
- Sponge or soft brush
- Cloth or paper towels
- Vinegar or baking soda (optional)
Key Takeaways:
- Regularly cleaning your indoor grill is essential for hygiene and optimal performance. Follow the step-by-step guide to maintain cleanliness, enhance flavors, and extend the life of your grill.
- Gather essential materials, prepare the grill, and clean thoroughly to ensure a clean slate for delicious grilled meals. Proper reassembly and storage will preserve the grill’s longevity.
Read more: How To Clean Indoor Grill
Materials Needed
Before diving into the cleaning process, you’ll need to gather a few essential materials. Having these items on hand will make the cleaning process easier and more efficient. Here’s what you’ll need:
- Warm Water: Warm water is the foundation for cleaning your indoor grill. It helps to loosen stubborn grease and food residue, making it easier to remove.
- Mild Dish Soap: A mild dish soap is gentle enough to use on your indoor grill without causing any damage. It is effective in removing grease and grime.
- Sponge or Soft Brush: Choose a sponge or soft brush that is non-abrasive to avoid scratching the surface of your grill. This will ensure that your grill remains in good condition.
- Cloth or Paper Towels: These will be used to dry the grill after cleaning, ensuring that no water spots or residue are left behind.
- Vinegar or Baking Soda (optional): Vinegar and baking soda are natural cleaning agents that can be used as alternatives to dish soap. They are effective in removing tough stains and odors.
By gathering these materials beforehand, you’ll be fully prepared to tackle the cleaning process and ensure that your indoor grill is left sparkling clean.
Step 1: Preparing the Grill
Before you begin cleaning your indoor grill, it’s crucial to take some initial steps to ensure your safety and the effectiveness of the cleaning process. Follow these instructions to properly prepare the grill:
- Turn off and unplug the grill: Before starting any cleaning tasks, make sure the grill is completely turned off and unplugged. This will prevent any accidents or injuries while cleaning.
- Allow the grill to cool down: Indoor grills can get very hot during use, so it’s essential to give it enough time to cool down. Wait for at least 30 minutes to ensure that the grill surfaces are safe to touch.
- Remove the grill plates: Most indoor grills have removable grill plates for easy cleaning. Carefully detach the grill plates from the unit, following the manufacturer’s instructions.
- Dispose of excess food residue: Check the grill plates for any large pieces of food or debris. Use a scraper or spatula to remove any excess residue and dispose of it in the trash.
By preparing the grill properly, you minimize the risk of accidents and ensure that the cleaning process is as efficient as possible. Once you have completed these steps, you’ll be ready to move on to the next phase of cleaning: removing excess food residue.
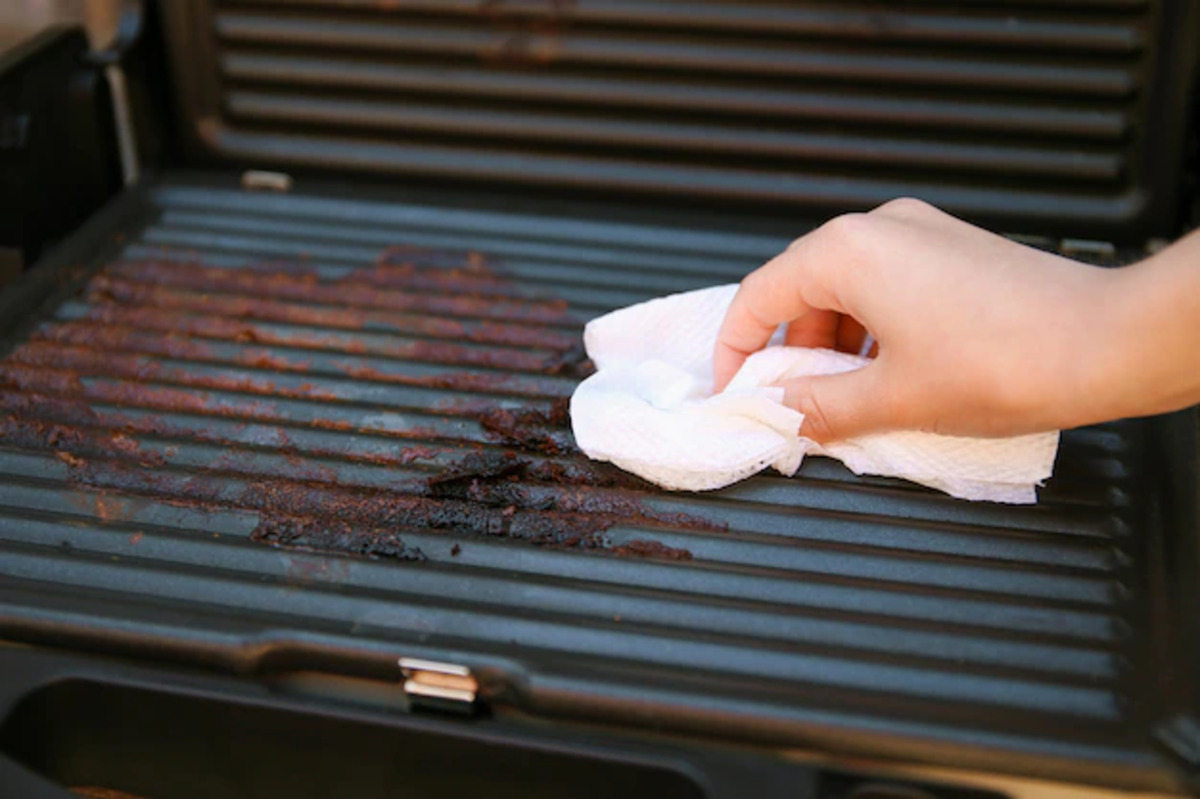
Step 2: Removing Excess Food Residue
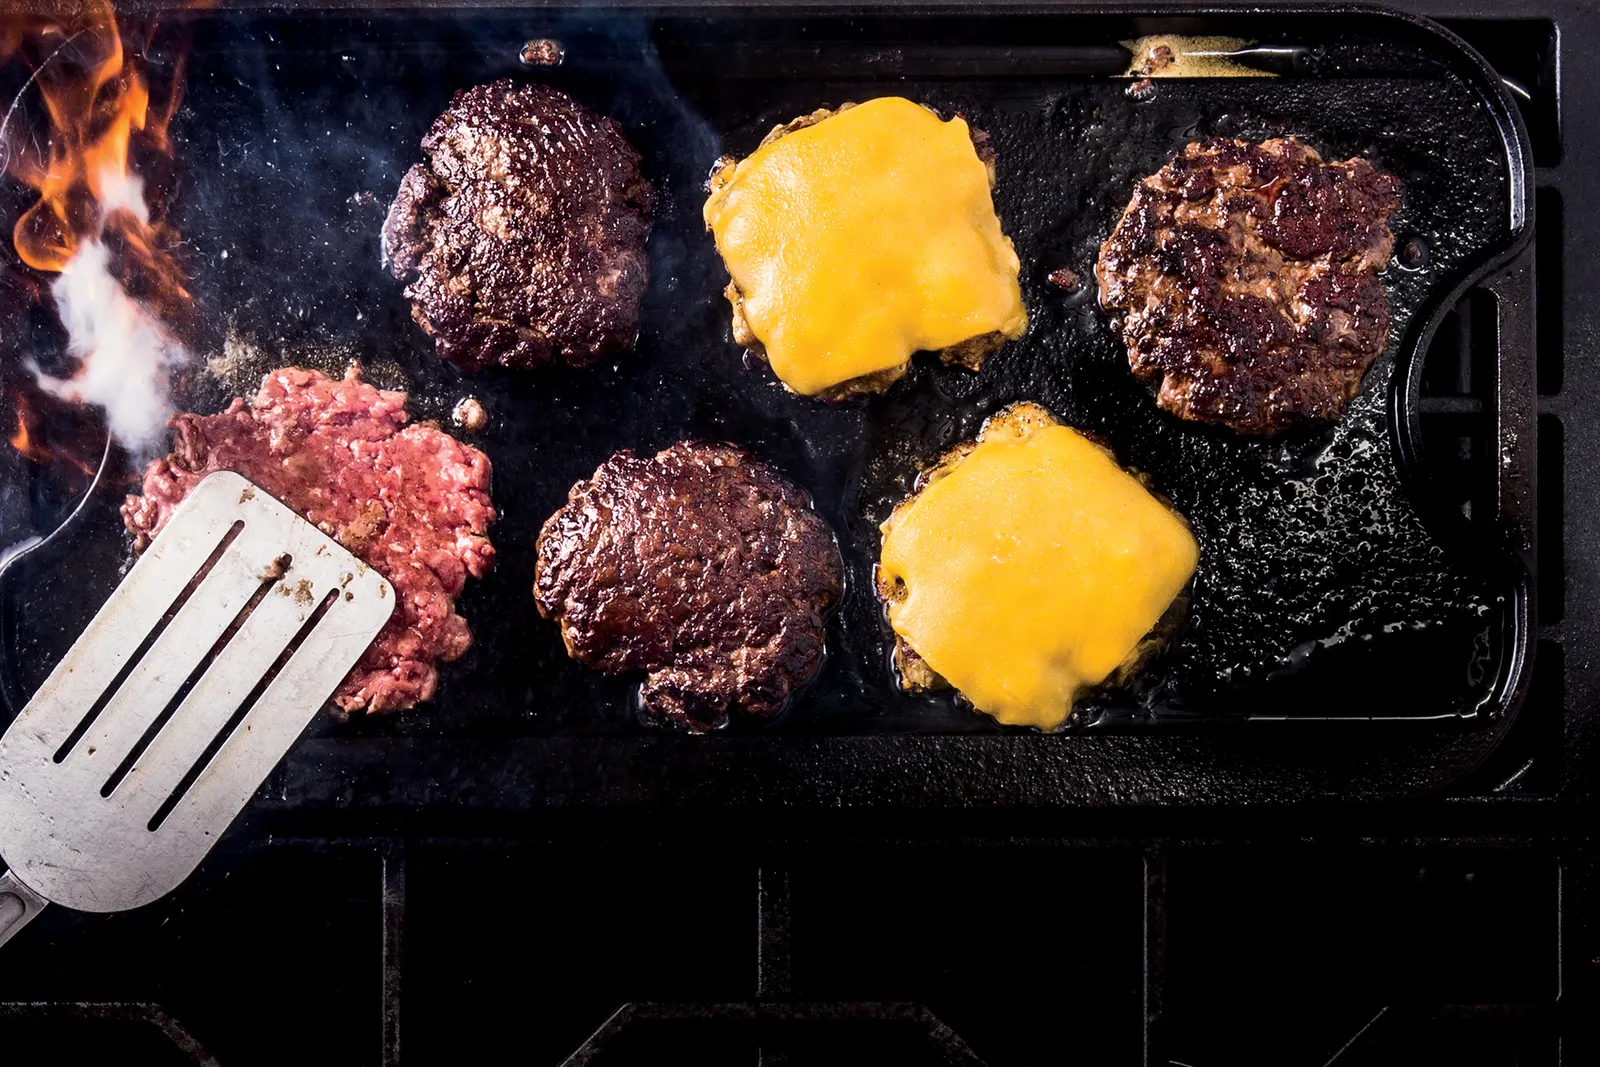
After preparing the grill, it’s time to tackle the task of removing any remaining food residue. This step is crucial to ensure a thorough cleaning and prevent any build-up that could affect the performance and hygiene of your indoor grill. Follow these steps to effectively remove excess food residue:
- Scrape off larger pieces: Using a scraper or spatula, gently scrape off any large pieces of food residue from the grill plates. Be careful not to scratch the surface of the plates.
- Soak the grill plates: Fill a sink or basin with warm water and a few drops of mild dish soap. Submerge the grill plates in the soapy water and let them soak for about 10-15 minutes. This will help to loosen any remaining food residue.
- Use a sponge or soft brush: Remove the grill plates from the soapy water and scrub them gently with a sponge or soft brush. Focus on areas with stubborn residue and make sure to clean both sides of the plates. Rinse the plates thoroughly with clean water to remove any soap residue.
- Dry the grill plates: Use a clean cloth or paper towels to dry the grill plates completely. Ensure that no moisture is left behind as this can lead to rust or other damage.
By following these steps, you’ll effectively remove any excess food residue from your indoor grill. This will not only improve the cleanliness of your grill but also enhance its overall performance and prolong its lifespan. With the excess food residue taken care of, it’s time to move on to the next step: cleaning the grill plates.
After using the indoor grill, unplug it and let it cool down. Once cool, use a damp cloth to wipe down the grill plates and the exterior. For tougher grease and residue, use a non-abrasive sponge with warm soapy water. Be sure to dry the grill thoroughly before storing it.
Read more: How To Clean Jenn-Air Indoor Grill
Step 3: Cleaning the Grill Plates
Now that you have removed the excess food residue from the grill plates, it’s time to give them a thorough cleaning. The grill plates are the heart of your indoor grill, and keeping them clean is essential for maintaining their functionality and ensuring great tasting food. Follow these steps to effectively clean the grill plates:
- Prepare a cleaning solution: Fill a sink or basin with warm water and add a few drops of mild dish soap. This will create a gentle yet effective cleaning solution.
- Submerge the grill plates: Place the grill plates in the soapy water and let them soak for about 15-30 minutes. This will help to loosen any remaining grease or residue.
- Scrub the grill plates: Using a sponge or soft brush, scrub the grill plates thoroughly. Pay attention to any areas with stubborn residue or grease buildup. Make sure to clean both sides of the plates, ensuring a complete cleaning.
- Rinse the grill plates: Remove the grill plates from the soapy water and rinse them thoroughly with clean water. This will remove any soap residue and ensure that the plates are clean and ready to use.
- Dry the grill plates: Use a clean cloth or paper towels to dry the grill plates completely. Make sure to remove all moisture to prevent rust or other damage.
By following these steps, you’ll be able to effectively clean the grill plates of your indoor grill. Regularly cleaning the grill plates will prevent the build-up of grease, residue, and odors, ensuring that your grilled food always tastes delicious. With the grill plates clean and ready, it’s time to move on to the next step: cleaning the drip tray.
Step 4: Cleaning the Drip Tray
While the grill plates are a crucial part of your indoor grill, the drip tray is equally important in maintaining cleanliness and preventing any grease or liquid buildup. The drip tray collects excess fats, oils, and other liquids during the grilling process, ensuring that your food stays healthy and delicious. Follow these steps to effectively clean the drip tray:
- Remove the drip tray: Check your indoor grill’s user manual to determine how to safely remove the drip tray. In most cases, it can be easily detached from the grill.
- Discard the contents: Dump the collected grease and liquid from the drip tray into a disposable container or directly into the sink. Dispose of it according to your local regulations.
- Wash with warm, soapy water: Fill a sink or basin with warm water and add a few drops of mild dish soap. Submerge the drip tray in the soapy water and use a sponge or brush to scrub away any residue.
- Rinse thoroughly: Rinse the drip tray with clean water to remove any soap residue or debris. Ensure that all the soap is rinsed off before drying.
- Dry the drip tray: Using a clean cloth or paper towels, dry the drip tray completely. Ensure there is no moisture left to prevent any potential damage or rust.
- Reattach the drip tray: Once the drip tray is completely dry, carefully attach it back to the grill according to the manufacturer’s instructions.
By following these steps, you will effectively clean the drip tray of your indoor grill. Regular cleaning of the drip tray will prevent any excessive grease buildup and ensure that your indoor grill continues to function efficiently. With the drip tray cleaned, it’s time to move on to the next step: cleaning the exterior of the grill.
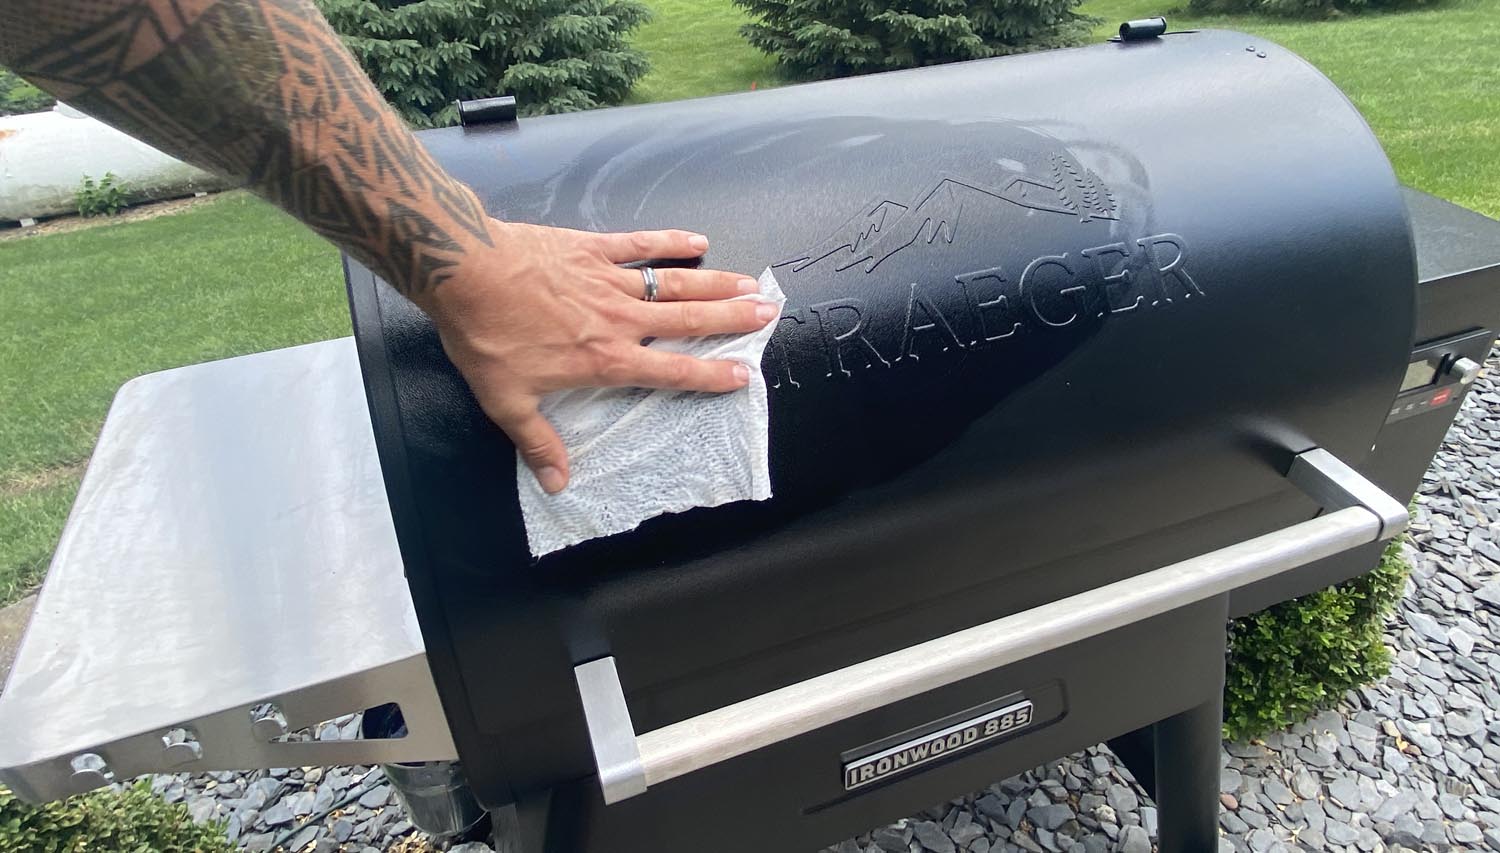
Step 5: Cleaning the Exterior
While it’s important to focus on cleaning the grill plates and drip tray, don’t forget to give some attention to the exterior of your indoor grill. The exterior can accumulate grease, fingerprints, and other dirt over time. Cleaning the exterior not only enhances the appearance of your grill but also ensures its overall cleanliness. Follow these steps to effectively clean the exterior:
- Unplug the grill: Before cleaning the exterior, make sure to unplug the grill from the power source. This is necessary to prevent any accidents or electrical hazards.
- Wipe down with a damp cloth: Take a damp cloth or sponge and gently wipe down the exterior surfaces of the grill. This will remove any loose dirt or residue.
- Use mild soapy water for stubborn stains: If there are any stubborn stains or grease marks on the exterior, use a mixture of mild dish soap and warm water to clean them. Apply the solution to a cloth and gently scrub the affected area.
- Rinse and dry: After cleaning, rinse the exterior surfaces with clean water to remove any soap residue. Dry the surfaces thoroughly with a clean cloth or paper towels.
- Polish (if applicable): If your indoor grill has a stainless steel or chrome finish, you may want to use a specialized stainless steel or chrome cleaner and polish. Follow the product instructions to restore the shine and remove any fingerprints.
By following these steps, you’ll be able to effectively clean the exterior of your indoor grill and maintain its overall cleanliness. A clean exterior not only enhances the appearance of your grill but also ensures that it remains in great condition for years to come. With the exterior cleaned, it’s time to move on to the final step: reassembling and storing the grill.
Step 6: Reassembling and Storing the Grill
After completing the cleaning process for your indoor grill, it’s important to properly reassemble it for future use and store it in a safe and organized manner. Follow these steps to reassemble and store your grill:
- Reattach the grill plates: Take the clean and dry grill plates and securely attach them back to the grill. Follow the manufacturer’s instructions for proper placement and alignment.
- Ensure the drip tray is in place: Double-check that the drip tray is properly reattached to the grill. Make sure it is securely in place to prevent any spills or accidents.
- Wipe down the exterior: Give the exterior of your grill one final wipe down to ensure there are no lingering moisture or residue. This will help to maintain the cleanliness and appearance of your grill.
- Store in a clean and dry area: Find a suitable storage space for your indoor grill. Ideally, the area should be clean, dry, and free from any excessive humidity or temperature fluctuations.
- Protect with a cover (optional): If you have a cover specifically designed for your indoor grill, consider using it to provide additional protection from dust, moisture, and potential damage.
By reassembling and storing your indoor grill properly, you can ensure that it remains clean, safe, and ready for future use. Following these steps will help maintain the longevity of your grill and preserve its performance. Remember to consult the manufacturer’s instructions for any specific recommendations on storing your particular model.
With your indoor grill now thoroughly cleaned, reassembled, and properly stored, you can look forward to many more delicious grilled meals in the future. Regularly clean and maintain your grill to ensure optimal performance and hygiene.+
Read more: How To Clean Indoor Grill Plates
Conclusion
Cleaning an indoor grill is an essential task that should be performed regularly to ensure optimal performance, hygiene, and longevity. By following the step-by-step process outlined in this article, you can effectively clean your indoor grill and maintain its cleanliness for years to come.
Starting with the preparation of the grill and removing excess food residue, you’ll be able to create a clean slate to work with. Cleaning the grill plates and drip tray thoroughly removes grease and residue, ensuring that your food tastes its best. Additionally, don’t forget to clean the exterior of the grill to maintain its appearance and prevent the buildup of dirt and grime.
It’s important to gather the necessary materials before beginning the cleaning process, including warm water, mild dish soap, a sponge or soft brush, and cloth or paper towels. Optional items such as vinegar or baking soda can also be used for tough stains.
Once your indoor grill is clean, it’s crucial to reassemble it properly and store it in a clean and dry area. This will help protect the grill and maintain its optimal condition for future use. Consider using a cover for additional protection if available.
Cleaning your indoor grill not only promotes hygiene but also ensures that it continues to function optimally. Regular maintenance extends the life of your grill and enhances the flavors of your grilled dishes.
Remember to consult the manufacturer’s instructions for specific cleaning recommendations tailored to your indoor grill model. With proper care and maintenance, your indoor grill will be ready to provide you with countless delicious meals for years to come.
Frequently Asked Questions about How To Clean An Indoor Grill
Was this page helpful?
At Storables.com, we guarantee accurate and reliable information. Our content, validated by Expert Board Contributors, is crafted following stringent Editorial Policies. We're committed to providing you with well-researched, expert-backed insights for all your informational needs.

0 thoughts on “How To Clean An Indoor Grill”