Articles
How To Clean Sewage Backup In Basement
Modified: December 7, 2023
Learn effective methods to clean up sewage backup in your basement. Read our informative articles for step-by-step guides and helpful tips.
(Many of the links in this article redirect to a specific reviewed product. Your purchase of these products through affiliate links helps to generate commission for Storables.com, at no extra cost. Learn more)
Introduction
Dealing with a sewage backup in your basement can be a daunting and unpleasant task. Not only does it pose health risks, but it can also cause significant damage to your property if not addressed promptly and correctly. Understanding how to clean up sewage backup in your basement is crucial to protect your health, prevent further damage, and restore your living space.
In this article, we will guide you through the steps to effectively clean sewage backup in your basement. We will cover the causes of sewage backup, the safety precautions you need to take, the tools and supplies required, and a step-by-step cleaning process.
Before we dive into the details, it’s important to note that dealing with sewage backup can be hazardous. If you feel uncomfortable or uncertain about undertaking the cleanup yourself, it’s best to consult with a professional sewage cleanup service.
Now, let’s explore the causes of sewage backup and understand why it occurs in the first place.
Key Takeaways:
- Prioritize safety and thorough cleaning when dealing with sewage backup in your basement. Use protective gear, remove standing water, disinfect the area, and inspect for damage to restore a safe living space.
- Prevent future sewage backups by maintaining plumbing, installing backwater valves, and redirecting downspouts. Stay proactive and vigilant to create a healthier living environment for you and your loved ones.
Read more: How To Get Rid Of Sewage Smell In Basement
Causes of Sewage Backup
Sewage backups in basements can be caused by a variety of factors, ranging from simple blockages to more severe issues with your plumbing system. Understanding the potential causes can help you prevent future backups and address any underlying problems. Here are some common causes of sewage backup:
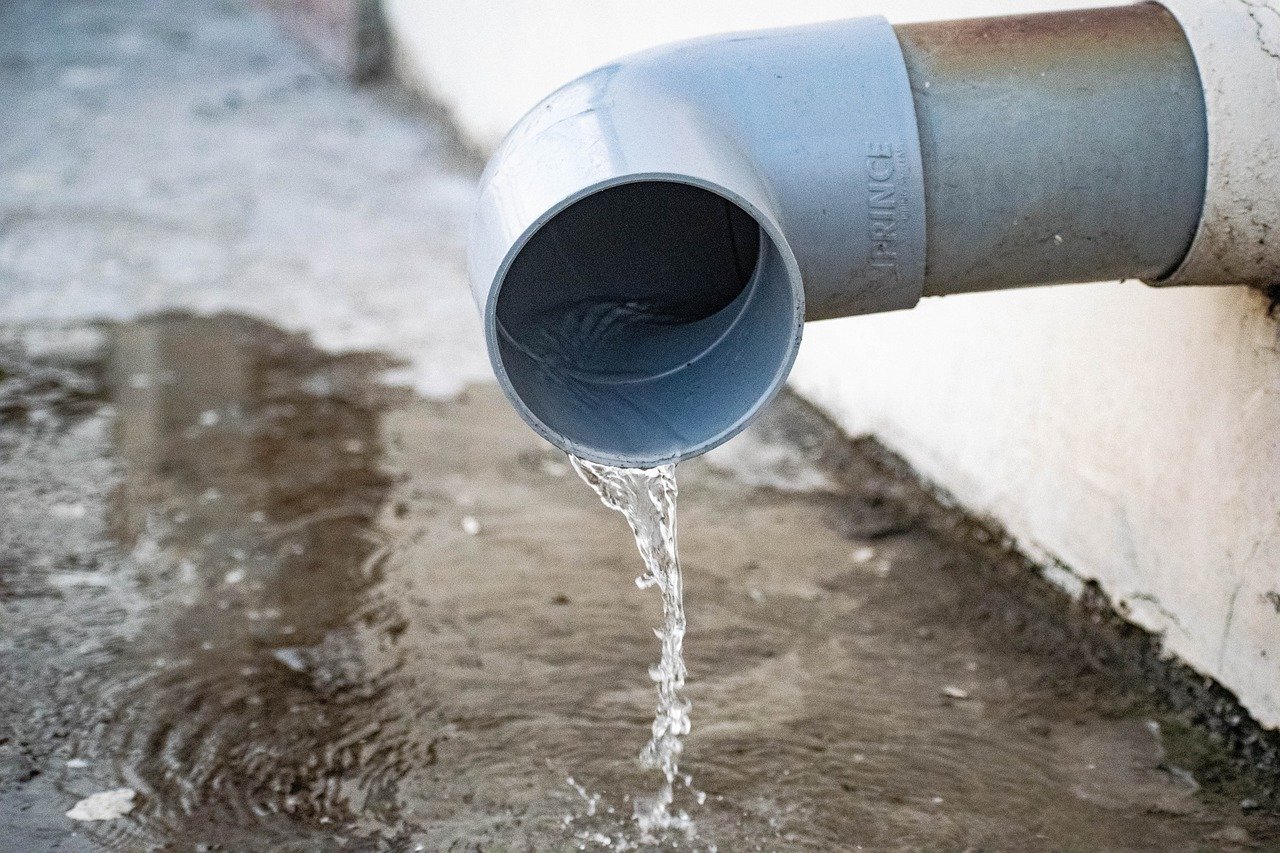
- Blockages: One of the primary causes of sewage backup is blockages in the main sewer line or the lateral sewer lines that connect your home to the main sewer system. Blockages typically occur due to the accumulation of debris, such as grease, hair, toiletries, or tree roots infiltrating the pipes.
- Heavy rain or flooding: Excessive rainwater or flooding can overwhelm the sewer system and cause it to back up into your basement. This can happen when the city’s sewer lines become overloaded or when your home is located in an area prone to flooding.
- Improper plumbing installation: If your plumbing system is not installed correctly, it can lead to sewage backup issues. Poorly designed or installed sewer pipes, improperly graded pipes, or insufficient pipe diameter can all contribute to backups.
- Damaged sewer pipes: Cracked or collapsed sewer pipes can cause sewage backup in your basement. The damage can occur due to aging, corrosion, shifting soil, extreme temperatures, or invasive tree roots.
- Sewer line obstructions: Objects flushed down toilets or drains that are not meant to go through the sewer system, such as diapers, sanitary products, or excessive amounts of toilet paper, can cause obstruction and lead to backup.
- Sewage system maintenance issues: Lack of proper maintenance, such as infrequent sewer line cleaning or neglecting to pump the septic tank, can contribute to sewage backup problems.
Identifying the cause of the sewage backup is essential as it will help you determine the appropriate measures to prevent future occurrences. Now that we understand the possible causes, let’s move on to the safety precautions you need to take before starting the cleanup process.
Safety Precautions
When dealing with sewage backup, it’s crucial to prioritize your safety and take the necessary precautions to minimize health risks. Sewage contains harmful bacteria, viruses, and other contaminants that can pose serious health hazards. Follow these safety precautions before starting the cleanup process:
- Stay out of the affected area: Avoid direct contact with the sewage backup, and ensure that children and pets are kept away from the contaminated area.
- Turn off the power: Before entering the basement, turn off the electrical power to prevent the risk of electric shock. If the power panel is located in the affected area, seek professional assistance.
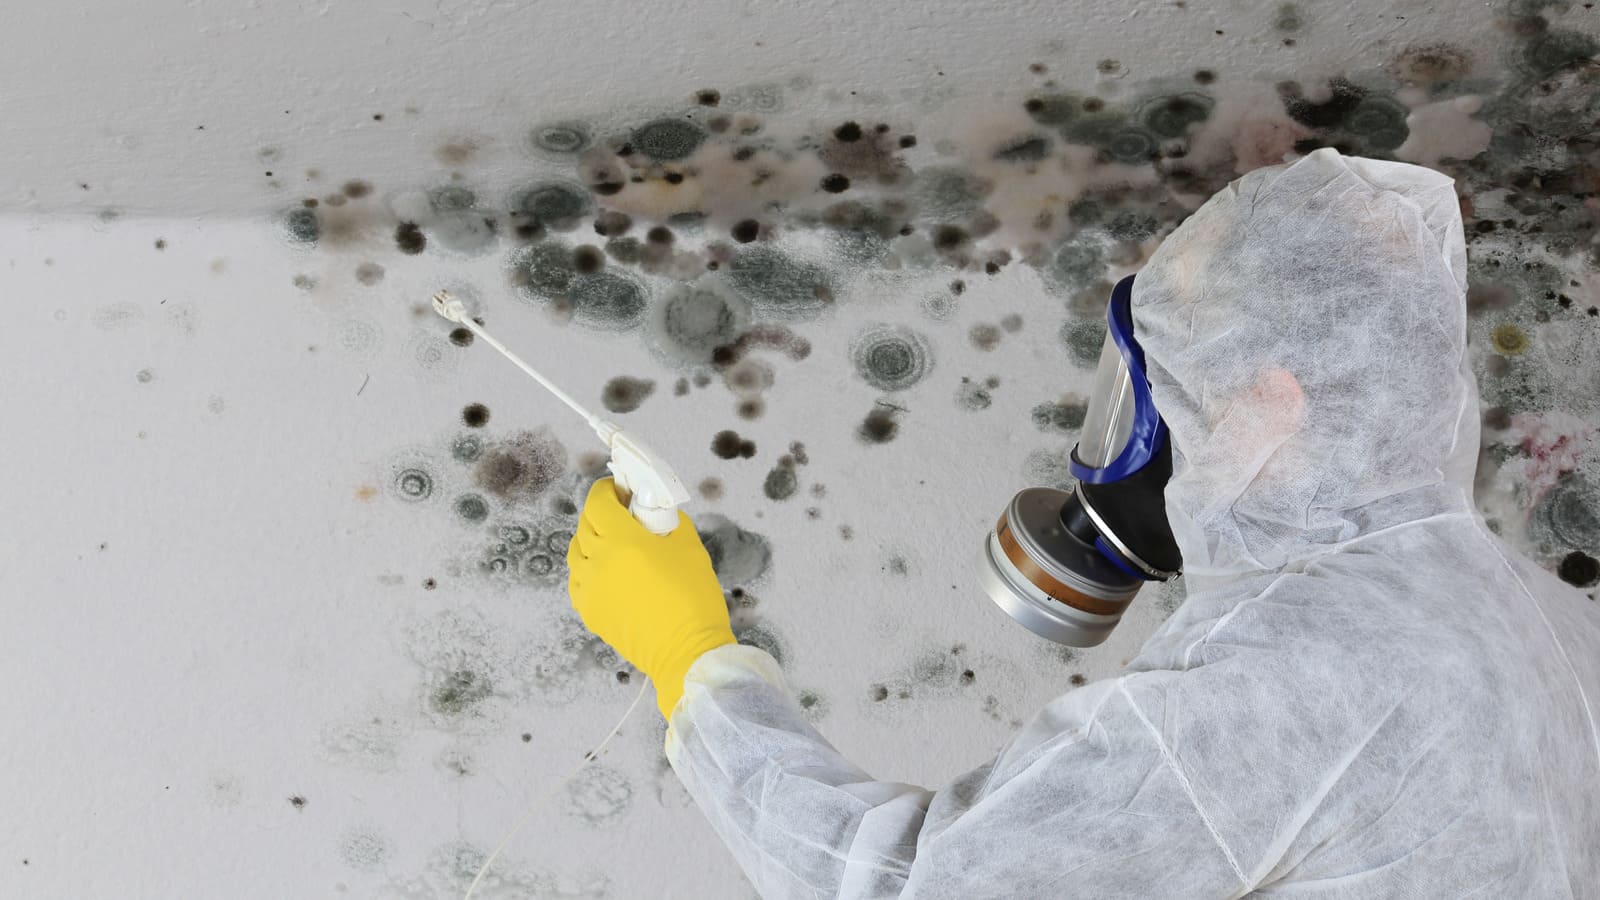
- Wear protective gear: Put on protective clothing, including rubber gloves, goggles, and waterproof boots, to minimize the risk of exposure to harmful pathogens and chemicals.
- Use proper ventilation: Open windows and doors or use fans to improve ventilation and circulate fresh air in the basement. This will help dissipate the foul odor and reduce the concentration of airborne contaminants.
- Avoid cross-contamination: Do not track sewage-contaminated materials to other areas of your home. Use plastic sheets or tarps to create a barrier between the contaminated area and the rest of your living space.
- Avoid DIY if uncertain: If you have any doubts about your ability to safely and effectively clean up the sewage backup, it’s advisable to seek professional help. They have the expertise and proper equipment to handle the situation.
By following these safety precautions, you can minimize the health risks associated with sewage backup and protect yourself and your loved ones. Now, let’s move on to the tools and supplies you will need for the cleanup process.
Tools and Supplies Needed
Before you begin cleaning up the sewage backup in your basement, it’s important to gather the necessary tools and supplies to ensure a thorough and efficient process. Here are the essential items you will need:
- Rubber gloves: Protect your hands from direct contact with the sewage by wearing heavy-duty rubber gloves.
- Goggles: Safeguard your eyes from splashes or airborne particles by wearing protective goggles.
- Waterproof boots: Wear waterproof boots to prevent contact between the sewage and your feet.
- Disposable coveralls: Cover yourself with disposable coveralls or old clothes that you are willing to discard after the cleanup process.
- Face mask: Wear a face mask to filter out airborne contaminants and protect your respiratory system.
- Plastic sheets or tarps: Use plastic sheets or tarps to create a barrier between the contaminated area and the rest of your home.
- Buckets: Have several sturdy buckets available to collect and dispose of the contaminated water and debris.
- Trash bags: Use heavy-duty trash bags to dispose of the contaminated materials, including absorbent materials, damaged items, and cleaning supplies.
- Disinfectants: Use EPA-approved disinfectants to thoroughly clean and disinfect surfaces affected by the sewage backup. Follow the instructions on the disinfectant label for proper usage.
- Mops and sponges: Have a supply of mops and sponges on hand to clean and disinfect the floors, walls, and other surfaces in the basement.
- Water extraction equipment: If there is standing water in the basement, you may need a wet/dry vacuum or a sump pump to remove the water efficiently.
- Bleach: In addition to disinfectants, you may need bleach to treat areas that cannot be cleaned with disinfectants, such as concrete floors or walls.
- Plastic wrap or duct tape: Use plastic wrap or duct tape to cover and seal any open drains or holes to prevent the spread of odors and contaminants.
Gathering these tools and supplies beforehand will ensure that you have everything you need to properly and safely clean the sewage backup in your basement. Now that you have your supplies ready, let’s move on to the step-by-step cleaning process.
Step 1: Assess the Damage
Before you begin the cleanup process, it’s essential to assess the extent of the damage caused by the sewage backup in your basement. This will help you determine the scope of the cleanup and identify any potential risks or areas that require special attention. Here’s how you can assess the damage:
- Safety first: Ensure that you are wearing the appropriate protective gear, including rubber gloves, goggles, and a face mask, before entering the affected area.
- Take photos or videos: Document the damage by taking photos or videos of the affected areas. This will be helpful for insurance claims or if you need to consult with professionals in the future.
- Check for standing water: Determine if there is any standing water in the basement. If there is, take note of the depth and assess if it can be safely removed using water extraction equipment.
- Inspect the walls, floors, and items: Examine the walls, floors, and any items in the basement for signs of contamination or damage. Look for any discoloration, stains, or foul odors indicating sewage backup.
- Assess the sewage source: Identify the source of the sewage backup. Check if it is a localized issue in one area or if it affects the entire basement.
- Check for structural damage: Look for any signs of structural damage, such as cracks in the walls or floors, sagging ceilings, or compromised structural integrity.
- Take note of electrical systems: Determine if any electrical systems, outlets, or appliances have been affected by the sewage backup. Do not touch any electrical components until the power has been safely turned off.
By assessing the damage, you can create a plan of action and prioritize the necessary steps for a successful cleanup process. Remember to prioritize your safety throughout the assessment, and if you encounter any major structural damage or electrical hazards, contact professionals for assistance. Once you have completed the assessment, you can proceed to step 2: turning off the power in the basement.
Read more: How To Clean Your Basement
Step 2: Turn Off the Power
Before proceeding with any cleanup efforts, it is crucial to turn off the power to the affected area to avoid the risk of electric shock or damage to electrical systems. Here’s how you can safely turn off the power in your basement:
- Locate the electrical panel: Find the electrical panel in your basement. It is typically a metal box mounted on a wall or in a utility room.
- Identify the main circuit breaker: Locate the main circuit breaker switch. This switch controls the power to your entire home and is often labeled as “Main” or “Main Breaker”.
- Switch off the main breaker: Flip the main breaker switch to the “Off” position. This will disconnect the power supply to the entire home, including the basement.
- Double-check the power: To ensure that the power is indeed turned off, test the lights and outlets in the affected area by using a voltage tester or plugging in a small electrical device.
- Secure the electrical panel: Close the door to the electrical panel and secure it to prevent accidental tampering or contact with live electrical components.
Turning off the power is a crucial step to protect yourself from potential electrical hazards while cleaning up the sewage backup. Remember, if the electrical panel is located in the affected area and you are unable to reach it safely, contact a qualified electrician for assistance. Now that the power is turned off, you can proceed to step 3: using protective gear.
Step 3: Use Protective Gear
When cleaning up sewage backup, it is essential to prioritize your safety and protect yourself from exposure to harmful pathogens and contaminants. Wearing the appropriate protective gear will minimize the risk of contamination and health hazards. Here’s what you need to do:
- Rubber gloves: Put on heavy-duty rubber gloves to protect your hands from direct contact with the sewage. Ensure that the gloves cover your wrists and are in good condition without any tears or punctures.
- Goggles: Wear protective goggles to shield your eyes from splashes or airborne particles. Make sure that the goggles fit securely and provide full coverage for your eyes.
- Waterproof boots: Use waterproof boots to prevent sewage from coming into contact with your feet. The boots should be sturdy, slip-resistant, and provide adequate protection.
- Disposable coveralls: Cover yourself with disposable coveralls or old clothes that you are willing to discard after the cleanup process. This will provide an additional layer of protection against contamination.
- Face mask: Wear a face mask designed to filter out airborne contaminants, such as a respirator mask or N95 mask. It will help protect your respiratory system from inhaling harmful pathogens or foul odors.
- Protective apron (optional): Consider wearing a protective apron to further shield your body from potential contamination. This can be particularly useful when dealing with heavy cleanup tasks or prolonged exposure to the sewage.
Ensure that all protective gear is worn properly, fitting snugly and covering the necessary areas. Remember to avoid touching your face or eyes while wearing the protective gear to prevent cross-contamination.
By using the appropriate protective gear, you can significantly reduce the risk of exposure to harmful pathogens and toxins present in the sewage backup. Now that you are properly equipped, you can proceed to step 4: removing standing water from the basement.
Use a wet/dry vacuum to remove standing water and solid waste. Disinfect the area with a mixture of water and bleach. Dispose of any contaminated items properly. Wear protective gear and ventilate the area. Consider hiring a professional for thorough cleanup.
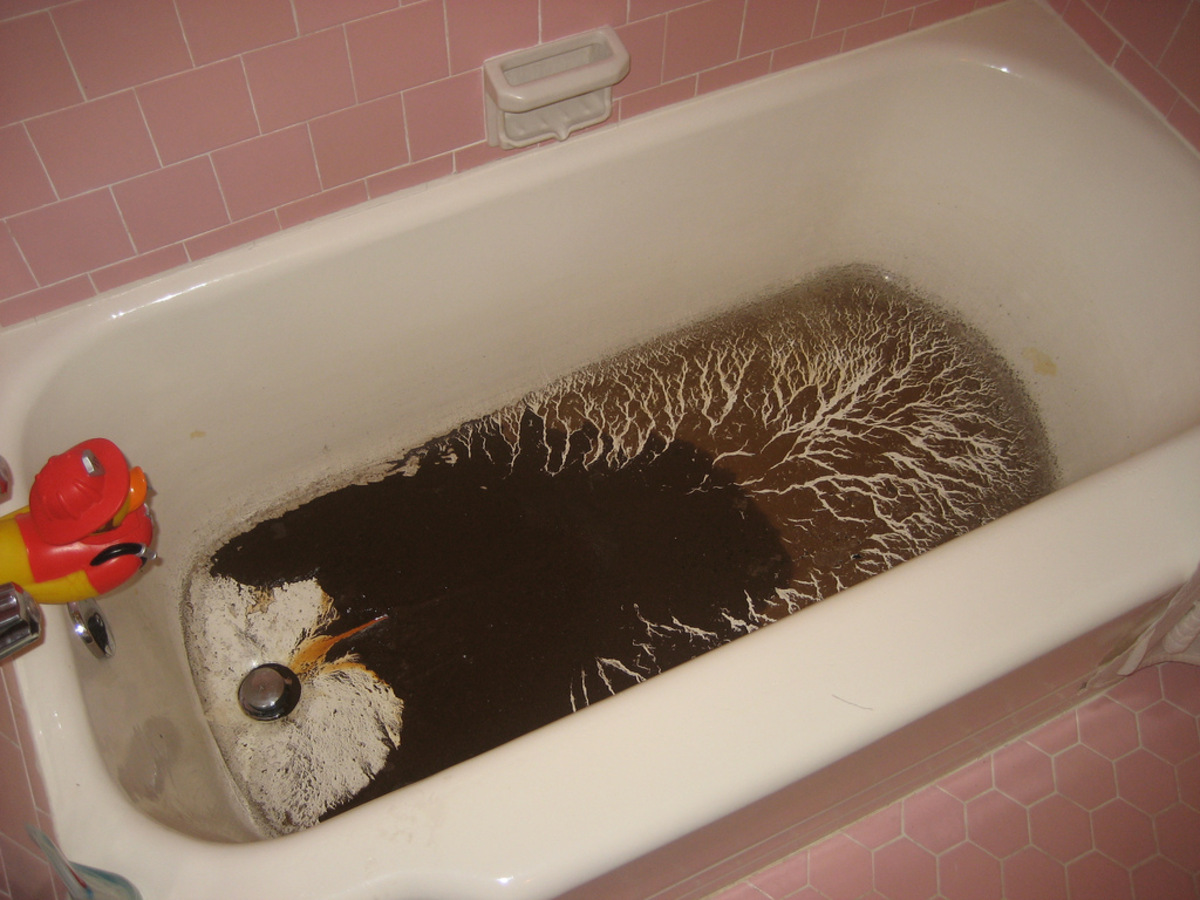
Step 4: Remove Standing Water
Once you have assessed the damage and taken the necessary precautions, it’s time to start removing the standing water from your basement. Standing water not only poses a health risk but also increases the chances of further damage to your property. Here’s how you can effectively remove the standing water:
- Ensure proper ventilation: Open windows and doors or use fans to improve ventilation in the basement. This will help minimize the moisture and odors while you’re removing the standing water.
- Use a submersible pump or wet/dry vacuum: If the water depth is significant, consider using a submersible pump or a wet/dry vacuum to extract the standing water. Follow the instructions provided with the equipment for proper usage and safety precautions.
- Start from the lowest point: Begin by removing the water from the lowest areas of the basement and gradually work your way to the higher parts. This will ensure that all the water is efficiently removed.
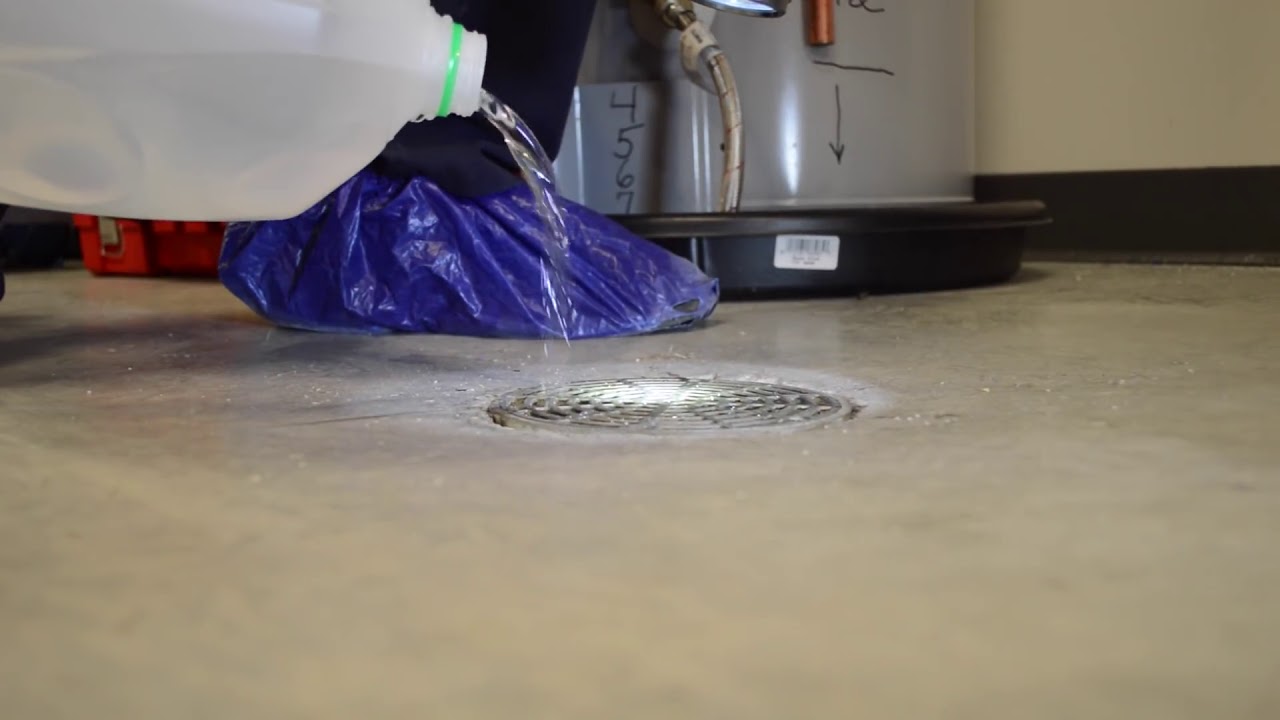
- Direct the water to a drain: If your basement has a floor drain or an accessible drain, direct the extracted water towards it to prevent additional pooling.
- Collect the water in buckets or containers: If you don’t have access to a pump or vacuum, you can use buckets or containers to manually collect and dispose of the standing water. Empty the buckets outside, away from your home’s foundation.
- Be cautious of electrical hazards: While removing the water, be mindful of any electrical outlets, appliances, or exposed wiring. Avoid contact with these areas to prevent the risk of electric shock.
- Work systematically: Divide the basement into smaller sections and focus on one area at a time. This will allow you to effectively remove the standing water and prevent it from spreading to other parts of the basement.
- Monitor for hidden pockets of water: After you have removed most of the standing water, inspect the area for any hidden pockets of water. Use towels or mops to soak up the remaining moisture.
Remember to dispose of the extracted water properly and safely according to local regulations. Properly removing the standing water is a crucial step towards restoring your basement and preventing further damage. Once the standing water has been removed, you can move on to step 5: cleaning and disinfecting the affected area.
Step 5: Clean and Disinfect the Area
After removing the standing water from your basement, it’s time to thoroughly clean and disinfect the affected area. This step is crucial to eliminate any remaining bacteria, viruses, and other contaminants that may be lingering. Follow these steps to effectively clean and disinfect the area:
- Preparation: Put on your protective gear, including rubber gloves, goggles, and a face mask, before you begin the cleaning process.
- Remove loose debris: Use a shovel, dustpan, or wet/dry vacuum to remove any loose debris, dirt, or solids remaining in the basement. Dispose of this waste in heavy-duty trash bags.
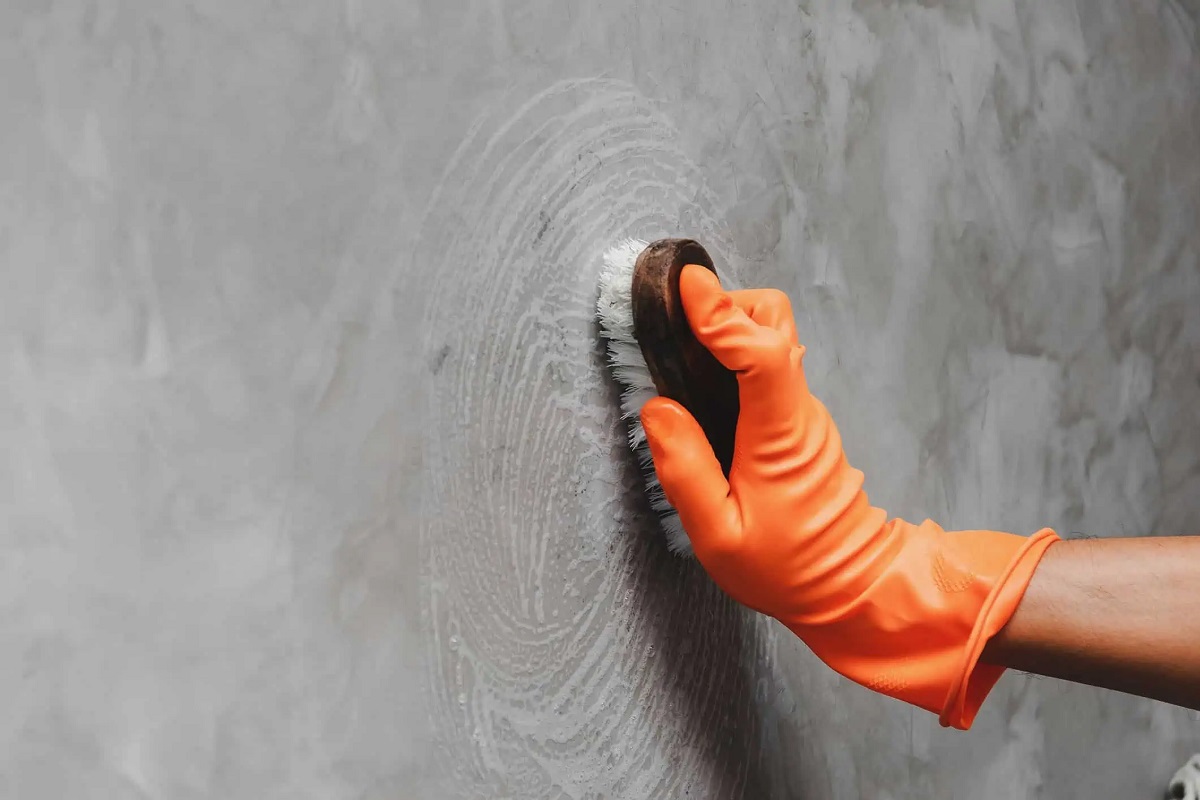
- Clean hard surfaces: Thoroughly clean hard surfaces, such as walls, floors, and countertops, using a mixture of warm water and a strong detergent. Scrub the surfaces with a brush to remove any visible dirt or stains. Rinse with clean water and allow the surfaces to dry.
- Disinfect surfaces: After cleaning, apply a disinfectant solution recommended for sewage cleanup. Follow the instructions on the label for proper dilution and application. Pay particular attention to frequently touched surfaces, such as door handles, light switches, and handrails.
- Check porous materials: Inspect any porous materials, such as carpets, furniture, and upholstered items, for contamination. In many cases, these items may need to be discarded due to the difficulty of thoroughly disinfecting them. Consult with professionals or follow local regulations for appropriate disposal methods.
- Remove and clean air vents: If your basement has air vents or ducts, remove and clean them thoroughly. Use a mild detergent and warm water solution, and ensure they are fully dry before reinstalling them.
- Dispose of cleaning materials: Dispose of all cleaning materials, including used brushes, rags, and mop heads, in heavy-duty trash bags. Seal the bags securely and properly dispose of them according to local regulations.
- Wash contaminated clothing: If any clothing or personal items come into contact with the sewage, wash them separately in hot water and detergent. Use bleach if applicable and follow the instructions on the fabric care labels.
Thoroughly cleaning and disinfecting the affected area will help remove harmful pathogens and eliminate unpleasant odors. Take your time to ensure that all surfaces and items are properly cleaned and disinfected. Once you have completed this step, you can move on to the next phase of the cleanup process.
Read more: How To Clean An Unfinished Basement
Step 6: Remove and Dispose of Contaminated Items
Once you have cleaned and disinfected the area, it’s important to identify and remove any items that have been contaminated by the sewage backup. This step is crucial to prevent the risk of further contamination and to restore a safe and healthy environment. Follow these steps to remove and dispose of contaminated items:
- Assess the severity of contamination: Determine which items have been directly or heavily contaminated by the sewage backup. This may include furniture, carpets, stuffed toys, or other porous materials.
- Wear protective gear: Prioritize your own safety by wearing rubber gloves, goggles, and a face mask before handling any contaminated items.
- Remove contaminated items: Carefully remove the contaminated items from the basement and place them outside or in a designated area away from other living spaces.
- Consider salvageable items: Evaluate if any salvageable items, such as non-porous furniture or personal belongings, can be thoroughly cleaned and disinfected. Follow proper cleaning protocols and consult professionals if needed.
- Dispose of heavily contaminated items: Items that are heavily contaminated and cannot be effectively cleaned or disinfected should be properly disposed of. Check local regulations for guidelines on the disposal of hazardous waste.
- Use heavy-duty trash bags: Place the contaminated items in heavy-duty trash bags to prevent leakage or further contamination. Seal the bags securely and label them as hazardous waste.
- Arrange for proper disposal: Contact your local waste management department or a professional waste removal service to arrange for the safe disposal of the contaminated items.
- Clean and disinfect affected surfaces: After removing the contaminated items, revisit the previously cleaned and disinfected surfaces to ensure that there is no residual contamination. Re-clean and disinfect as necessary.
By removing and properly disposing of contaminated items, you ensure that your basement is free from potential health hazards and reduce the risk of recontamination. Remember to prioritize your safety throughout this process and seek professional assistance if needed. Once you have completed this step, you can move on to step 7: drying and ventilating the basement.
Step 7: Dry and Ventilate the Basement
After removing the contaminated items and completing the cleaning process, it’s crucial to properly dry and ventilate the basement. This step is essential in preventing the growth of mold and mildew and restoring a safe and livable environment. Here’s how you can effectively dry and ventilate the basement:
- Remove excess moisture: Use fans, dehumidifiers, or open windows and doors to circulate air and remove excess moisture from the basement. This will help accelerate the drying process.
- Wipe down surfaces: Use clean towels or rags to wipe down any remaining moisture from surfaces, including walls, floors, and furniture.
- Inspect for hidden moisture: Look for any hidden pockets of moisture that may have accumulated in walls, behind furniture, or in hard-to-reach areas. Use a moisture meter or visually inspect the area for any signs of dampness.
- Address any leaks or water sources: Identify and fix the source of the sewage backup to prevent future incidents. If there are any leaks or moisture issues in the basement, address them promptly to avoid further water damage.
- Monitor humidity levels: Use a hygrometer to monitor the humidity levels in the basement. Aim for a relative humidity level of 50% or below to discourage the growth of mold and mildew.
- Allow for proper ventilation: Keep windows and doors open, if weather permits, to allow fresh air to circulate and aid in the drying process. Use fans or ventilation systems to improve air circulation.
- Use a mold inhibitor: Consider using a mold inhibitor or antimicrobial spray on surfaces that have been affected by the sewage backup. Follow the instructions on the product label for safe and effective use.
- Monitor for mold growth: Keep a close eye on the basement for any signs of mold growth or musty odors. If mold is detected, consult with professionals for appropriate remediation measures.
- Dispose of drying materials: Once the basement is thoroughly dried and ventilated, dispose of any materials used for drying, such as towels, rags, or dehumidifier water, in accordance with local regulations.
By properly drying and ventilating the basement, you can create an environment that is inhospitable to mold and mildew and maintain a healthy living space. Remember to be thorough in this step to prevent any potential future issues. Once the basement is dry and well-ventilated, you can move on to step 8: inspecting and repairing any damage.
Step 8: Inspect and Repair any Damage
After cleaning up the sewage backup and ensuring that the basement is dry and ventilated, it’s important to inspect the area for any damage that may have occurred. This step allows you to identify and address any structural or functional issues that require repair or maintenance. Here’s how you can effectively inspect and repair any damage:
- Check for structural damage: Inspect the walls, floors, and ceilings for any signs of structural damage, such as cracks, bulges, or sagging. If you notice any significant damage, consult with a professional contractor or structural engineer for further assessment and repair.
- Examine electrical systems: Carefully check the electrical outlets, wiring, and appliances in the basement for any signs of damage or malfunction. If you notice any issues, contact a licensed electrician to safely assess and repair the electrical systems.
- Inspect plumbing connections: Ensure that all plumbing connections, pipes, and fittings are secure and in good condition. Address any leaks or plumbing issues as they can contribute to future sewage backups.
- Check for mold growth: Monitor the basement for any signs of mold growth, such as visible mold patches or a musty odor. If you detect any mold, consult with professionals for appropriate remediation measures.
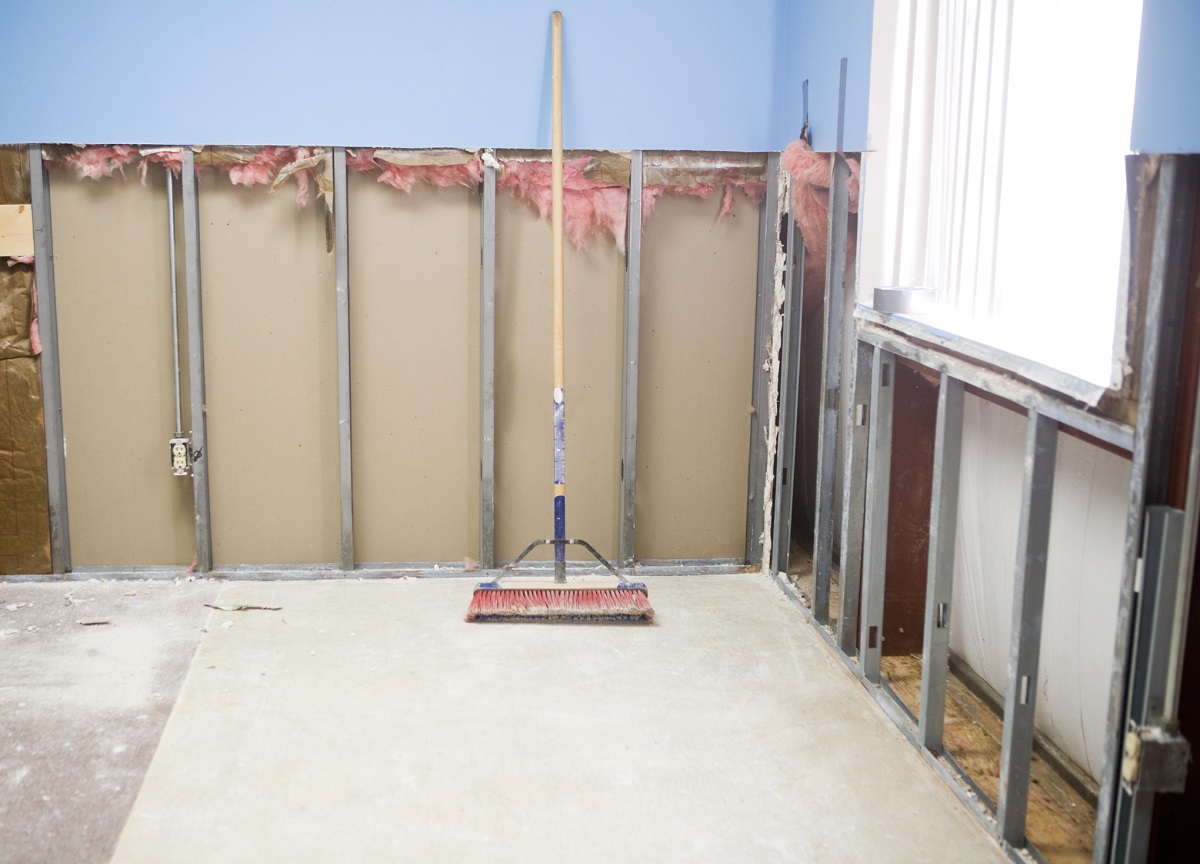
- Repair or replace damaged materials: Replace any damaged or unsalvageable materials, such as drywall, carpeting, or insulation. This will help prevent future issues and restore the integrity of your basement.
- Clean or repair drainage systems: Ensure that your basement’s drainage systems, such as floor drains or sump pumps, are functioning correctly. Clean or repair them if necessary to prevent future water accumulation.
- Paint or seal surfaces: Consider repainting or sealing the surfaces in the basement to provide an added layer of protection and improve the aesthetics of the space. Choose moisture-resistant and mold-inhibiting products for optimal results.
- Document and communicate with insurance: If you have homeowner’s insurance coverage, document all the damage and repairs done in the basement. Communicate with your insurance company to understand the coverage and file a claim if applicable.
- Maintain regular maintenance: Incorporate regular maintenance practices, such as cleaning drains, inspecting plumbing systems, and monitoring for signs of water damage or leaks, to prevent future sewage backup incidents.
By thoroughly inspecting and repairing any damage, you can address potential issues and ensure the long-term stability and functionality of your basement. Remember to enlist professional assistance as necessary for complex repairs or if you are unsure about any aspect of the inspection or repair process. Once you have completed this step, you can move on to the final step: preventing future sewage backup.
Step 9: Prevent Future Sewage Backup
Preventing future sewage backup in your basement is essential to avoid repeated incidents and maintain a healthy living environment. By taking proactive measures, you can reduce the risk of sewage backup and protect your property. Here are some steps to help prevent future sewage backup:
- Maintain regular plumbing inspections: Arrange for regular inspections of your plumbing system to identify any potential issues, such as blockages or pipe damage, before they escalate into major problems.
- Clear drains and sewer lines: Regularly clean and clear your drains using natural or commercial drain cleaners to prevent clogs and blockages. Consider professional sewer line cleaning every few years to ensure optimal flow.
- Dispose of waste properly: Avoid flushing or disposing of items that are not meant to go down the drains or sewer system, such as grease, oil, toiletries, diapers, or excessive amounts of toilet paper. Dispose of these items in the appropriate waste receptacles.
- Install a backwater valve: Consider installing a backwater valve, also known as a sewer backup valve or check valve, to prevent sewage from flowing back into your basement during heavy rain or flooding. This device allows wastewater to flow out but prevents it from returning.
- Redirect downspouts and grading: Ensure that your downspouts are directed away from the foundation of your home to minimize excess water accumulation. Additionally, check the grading around your property and make sure water flows away from the foundation.
- Inspect and maintain your sump pump: If you have a sump pump in your basement, inspect it regularly to ensure it is in working order. Test the pump by pouring water into the sump pit and ensuring it activates and pumps the water out properly.
- Monitor weather and drainage: Stay informed about weather conditions and be aware of potential flooding risks. Take necessary precautions, such as using sandbags or temporary barriers, to protect your home during heavy rain or flood events.
- Consider a sewage backup alarm: Install a sewage backup alarm system that can detect rising sewage levels and alert you to any potential issues. This can provide an early warning and allow for prompt action to prevent further damage.
- Regular maintenance: Stay diligent with regular maintenance practices, such as gutter cleaning, inspecting plumbing connections, and maintaining your drainage systems. Address any issues promptly to prevent them from escalating into larger problems.
By implementing these preventive measures, you can significantly reduce the likelihood of future sewage backup incidents in your basement. Stay proactive and attentive to the condition of your plumbing system and surroundings to maintain a safe and functional living space.
By following these steps, you can effectively clean sewage backup in your basement and minimize the risk of future incidents. Remember to prioritize your safety, wear protective gear, and seek professional assistance if needed. With proper cleanup and preventive measures in place, you can restore your basement and ensure a healthier living environment.
Read more: How To Clean Concrete Basement Floors
Conclusion
Dealing with a sewage backup in your basement is undoubtedly a challenging and unpleasant experience. However, by following the appropriate steps and taking necessary precautions, you can effectively clean up the mess, mitigate further damage, and restore a safe and livable environment.
In this comprehensive guide, we have covered the causes of sewage backup, safety precautions to take, the tools and supplies needed, and a step-by-step cleaning process. We emphasized the importance of assessing the damage, turning off the power, using protective gear, removing standing water, cleaning and disinfecting the area, removing and disposing of contaminated items, drying and ventilating the basement, inspecting and repairing any damage, and preventing future sewage backup.
Throughout the entire process, it is key to prioritize your safety and wear the appropriate protective gear, such as rubber gloves, goggles, and a face mask. Take preventative measures to minimize the risk of future sewage backups, such as regular plumbing inspections, clearing drains, redirecting downspouts, installing backwater valves, and maintaining your sump pump.
Remember, if you feel uncomfortable or uncertain about undertaking the cleanup yourself, it is advisable to consult with a professional sewage cleanup service. They have the expertise, experience, and equipment to handle the situation effectively and safely.
By following these steps and staying proactive, you can successfully clean sewage backup in your basement, restore your living space, and create a healthier environment for you and your loved ones.
Frequently Asked Questions about How To Clean Sewage Backup In Basement
Was this page helpful?
At Storables.com, we guarantee accurate and reliable information. Our content, validated by Expert Board Contributors, is crafted following stringent Editorial Policies. We're committed to providing you with well-researched, expert-backed insights for all your informational needs.


0 thoughts on “How To Clean Sewage Backup In Basement”