Articles
How To Clean An Unfinished Basement
Modified: October 19, 2024
Learn how to clean and organize your unfinished basement with these helpful articles. Get tips and tricks for tackling the clutter and creating a functional space.
(Many of the links in this article redirect to a specific reviewed product. Your purchase of these products through affiliate links helps to generate commission for Storables.com, at no extra cost. Learn more)
Introduction
Welcome to our comprehensive guide on how to clean an unfinished basement. Whether you’ve recently moved into a new home with an unfinished basement or you’ve neglected your current one, cleaning and organizing this space can be a daunting task. However, with the right knowledge and approach, you can transform your basement from a dark and cluttered area into a clean and functional space.
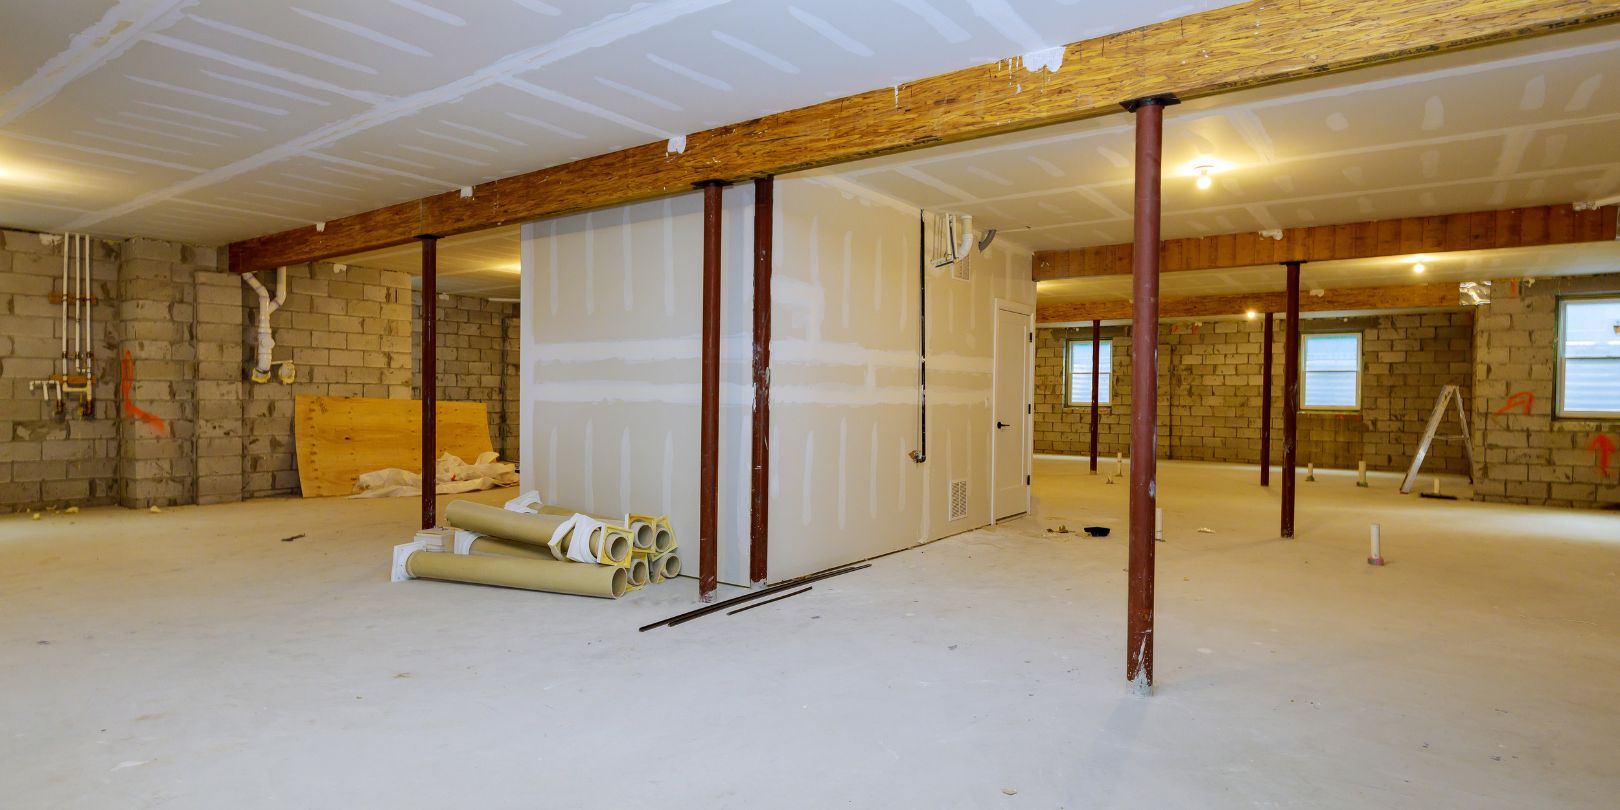
An unfinished basement is typically a raw, undeveloped space that often serves as a storage area for unused items, excess furniture, and household essentials. Over time, it can accumulate dust, dirt, and even mold, making it essential to clean and maintain regularly. Additionally, an unfinished basement may have issues with moisture, which can lead to water damage and the growth of mold and mildew.
In this guide, we will cover everything you need to know about cleaning an unfinished basement, from safety precautions to organizing and decluttering tips. We will provide step-by-step instructions on how to tackle each aspect of the cleaning process, ensuring a thorough and efficient cleanup.
Before we begin, it is important to note that safety should be your top priority when cleaning an unfinished basement. Make sure to wear protective gear, such as gloves, goggles, and a mask, to protect yourself from dust, debris, and potential allergens. If you have any underlying health conditions or respiratory issues, it is advisable to consult with a professional cleaner or seek assistance.
Now, let’s dive into the cleaning process and restore your unfinished basement to its full potential.
Key Takeaways:
- Transform your unfinished basement into a clean and functional space by tackling clutter, addressing moisture issues, and removing stains and odors. Prioritize safety and consider sealing and waterproofing for long-term resilience.
- With the right approach and knowledge, cleaning an unfinished basement can be manageable and rewarding. From decluttering to scrubbing and sealing, follow the steps to create a fresh and inviting space.
Read more: How To Heat An Unfinished Basement
Safety Precautions
Cleaning an unfinished basement can involve dealing with potential hazards, so it is crucial to take proper safety precautions throughout the process. Here are some essential safety measures to keep in mind:
- Wear Protective Gear: Before you start cleaning, make sure to wear gloves, safety goggles, and a mask to protect yourself from dust, mold spores, and other potential irritants. If you are using any cleaning chemicals, ensure proper ventilation or use a respirator.
- Ensure Adequate Lighting: Basements often have limited natural light, so it’s important to have ample artificial lighting while cleaning. This will help you see any potential hazards and ensure your safety throughout the process.
- Secure Loose Cables and Wires: Take the time to secure any loose cables or wires in the basement to prevent tripping hazards. Use cable management solutions or tape them down against the walls or floor.
- Maintain Proper Ventilation: Basements can have poor air circulation, which may exacerbate dust and chemical fumes. Open windows or use fans to improve ventilation and keep the air fresh while cleaning.
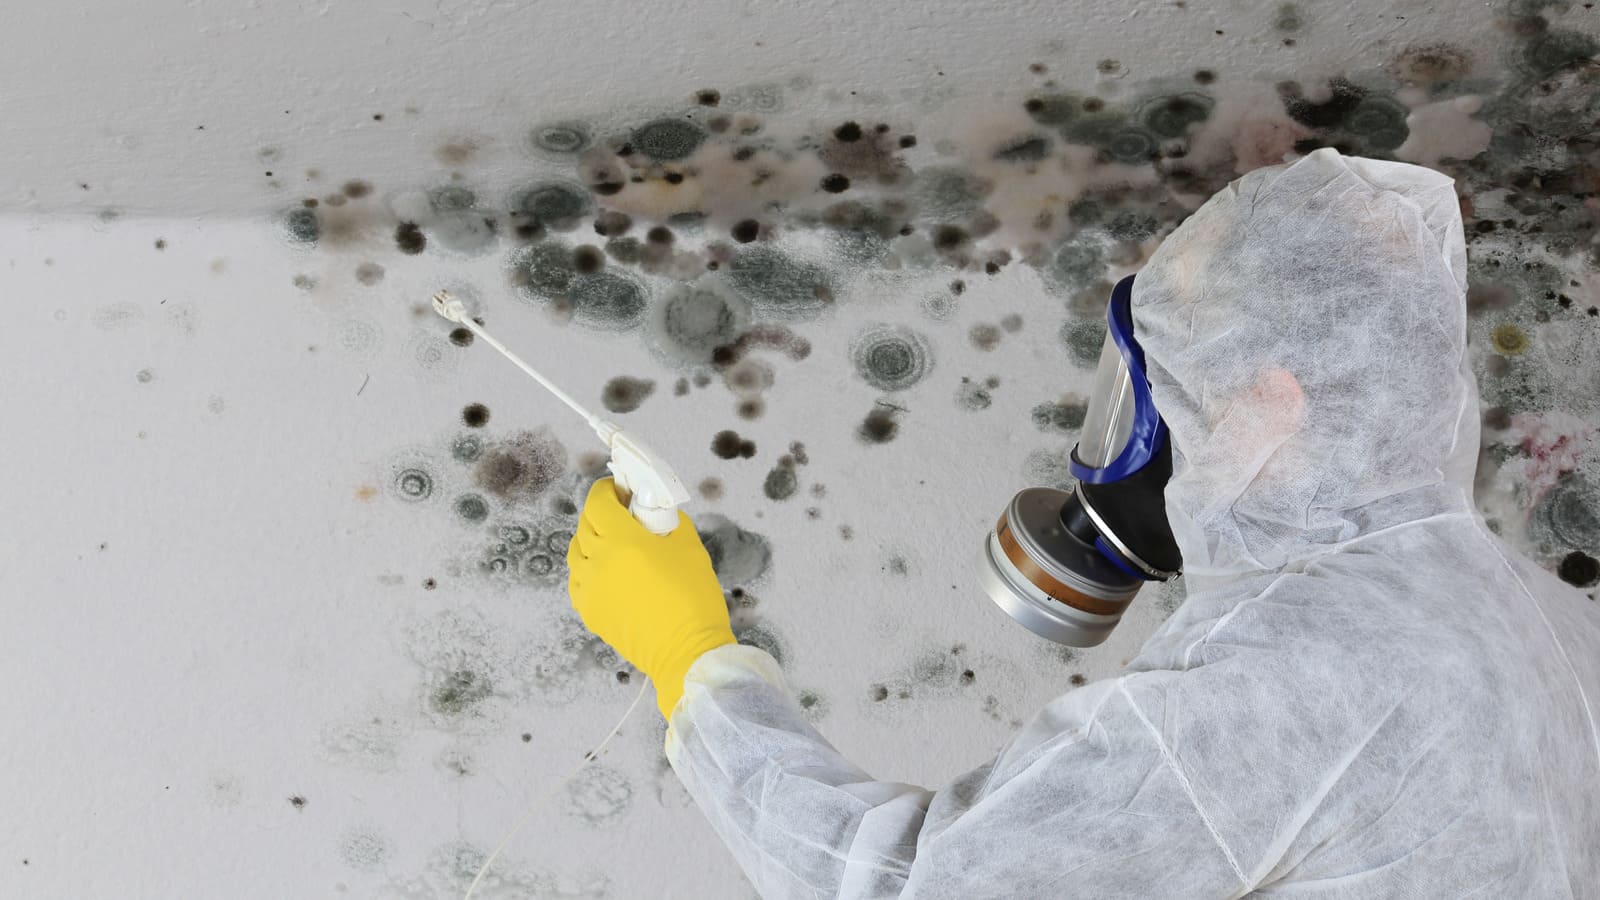
- Beware of Mold and Mildew: Unfinished basements are prone to moisture issues, which can lead to the growth of mold and mildew. If you notice any signs of mold or a musty odor, it is important to address the issue promptly. Consider using a mold testing kit or consult a professional for remediation if necessary.
- Avoid Heavy Lifting: If you need to move or lift heavy items in the basement, remember to use proper lifting techniques to prevent injury. When in doubt, ask for assistance or use a dolly or a hand truck to transport heavy objects.
- Keep Emergency Exits Clear: Ensure that all emergency exits in the basement are unobstructed and easily accessible. This is crucial for your safety in case of an emergency or evacuation.
- Be Mindful of Electrical Hazards: Be cautious around electrical outlets and wiring in the basement. If you notice any exposed wires or suspect electrical issues, it is best to contact a professional electrician for evaluation and repairs.
By following these safety precautions, you can minimize the risks associated with cleaning an unfinished basement and ensure a safe and effective cleaning process.
Gather the Necessary Supplies
Before you begin cleaning your unfinished basement, it’s essential to gather the necessary supplies. Having the right tools and cleaning products will make the process more efficient and effective. Here are the items you will need:
- Protective Gear: As mentioned in the previous section, make sure to have gloves, safety goggles, and a mask to protect yourself from potential hazards such as dust, debris, and mold spores.
- Broom and Dustpan: A sturdy broom and dustpan are essential for sweeping away loose dirt, cobwebs, and debris from the floor and corners of the basement.
- Vacuum Cleaner: A high-powered vacuum cleaner with attachments will help you thoroughly clean the floor, walls, and other surfaces. Opt for one designed for heavy-duty cleaning and consider a model with a HEPA filter to capture fine particles and allergens.
- Mop and Bucket: Depending on the type of flooring in your basement, you may need a mop and bucket to clean the surface thoroughly. Choose a mop that is suitable for the specific type of flooring you have.
- All-Purpose Cleaner or Mild Detergent: Use an all-purpose cleaner or a mild detergent to tackle general dirt and grime on the floor, walls, and other surfaces. Make sure the cleaner is suitable for the material you are cleaning.
- Bleach or Mold Remover: If you notice any signs of mold or mildew, it’s important to have bleach or a mold remover on hand. Follow the instructions on the product label for proper usage and safety precautions.
- Scrub Brushes: Various sizes of scrub brushes will be handy for scrubbing stubborn stains on the floor or walls. Opt for brushes with sturdy bristles that can withstand heavy scrubbing, especially for concrete or unfinished surfaces.
- Trash Bags: Have plenty of sturdy trash bags available to dispose of any clutter, debris, or items that need to be discarded. Separate any recyclable materials if possible.
- Dehumidifier: If you are dealing with moisture issues in your basement, consider using a dehumidifier to help control humidity levels and prevent mold and mildew growth.
- Cleaning Gloves: In addition to wearing protective gloves, it’s a good idea to have a couple of pairs of cleaning gloves for handling cleaning solutions and potentially dirty or contaminated items.
Having these supplies ready will streamline the cleaning process and ensure that you have everything you need to tackle each task effectively. Remember to check your inventory and restock any items that may be running low before you start cleaning.
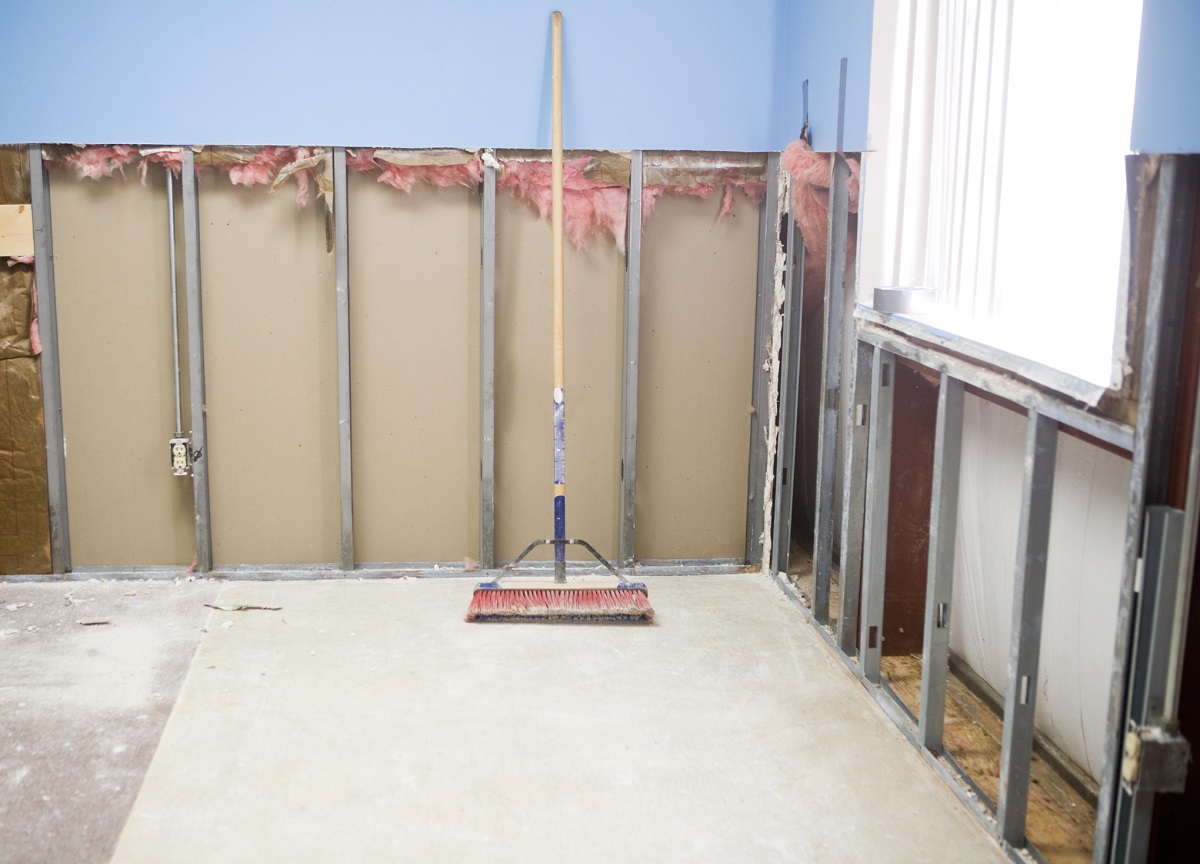
Remove Clutter and Debris
One of the first steps in cleaning an unfinished basement is to remove any clutter and debris that may have accumulated over time. This will create a clean slate and allow you to effectively clean the space. Here’s how you can tackle this task:
- Assess and Plan: Start by assessing the items in your basement and decide which ones you want to keep, donate, sell, or discard. Plan your approach based on the available space and your future use of the basement.
- Sort and Categorize: Begin by creating separate areas or piles for different categories, such as items to keep, items to donate or sell, and items to discard. This will help you stay organized and make the decluttering process more efficient.
- Declutter Gradually: If your basement is heavily cluttered, it may be overwhelming to tackle it all at once. Break it down into manageable sections and declutter one area at a time. This will make the process less daunting and more manageable.
- Make Decisions: When deciding whether to keep or discard an item, ask yourself if you have used it within the last year, if it holds sentimental value, or if it may be useful in the future. Be ruthless in your decision-making to avoid unnecessary clutter.
- Dispose of Unwanted Items: Once you have identified items to discard, place them in sturdy trash bags or boxes. If there are items that can be recycled, separate them accordingly. Consider donating usable items to local charities or selling them online or through a garage sale.
- Organize and Store: Once the clutter is removed, evaluate the remaining items that you want to keep. Determine the best way to organize and store them to maximize space and ensure easy access. Utilize shelving units, storage containers, and labels to keep items organized.
- Deep Clean the Cleared Area: With the clutter removed, take the opportunity to thoroughly clean the cleared area. Sweep or vacuum the floor, wipe down surfaces, and remove any remaining dust or debris.
Removing clutter and debris is a crucial step in cleaning an unfinished basement. By decluttering and organizing the space, you will create a cleaner and more functional area to continue the cleaning process.
Sweep and Vacuum
After removing clutter and debris from your unfinished basement, it’s time to sweep and vacuum the area to remove loose dirt, dust, and cobwebs. This step will provide a clean foundation for the rest of the cleaning process. Here are the steps to follow:
- Prepare the Area: Before you begin sweeping and vacuuming, make sure the floor is clear of any remaining debris or objects. This will prevent anything from getting caught in the broom or vacuum, ensuring an effective cleaning process.
- Sweep the Floor: Start by sweeping the entire floor using a broom and dustpan. Begin from one corner of the basement and work your way across in smooth motions, pushing the dirt and dust towards a central area. Pay attention to the corners and edges where dirt tends to accumulate.
- Remove Cobwebs: While sweeping, keep an eye out for cobwebs in the corners and along the walls. Use a broom or a long-handled duster to gently remove any cobwebs you come across.
- Vacuum the Floor: Once you’ve completed sweeping, it’s time to vacuum the floor to capture any remaining dirt, dust, or fine particles. Attach the appropriate cleaning attachment to your vacuum cleaner, such as a floor brush or an extension wand, and begin vacuuming the entire basement floor systematically.
- Pay Attention to Cracks and Crevices: While vacuuming, don’t forget to pay attention to cracks, crevices, and hard-to-reach areas. Use the crevice tool attachment to clean along baseboards, corners, and around any fixtures or obstacles.
- Empty and Clean the Vacuum: As you vacuum, periodically check the vacuum bag or canister and empty it if it becomes full. Additionally, take the time to clean or replace the vacuum filter as needed to maintain optimal suction power.
- Vacuum Walls and Ceilings: If your unfinished basement has exposed walls and ceilings, consider using a vacuum cleaner with an extension wand to remove dust and cobwebs from these surfaces as well.
- Dispose of Debris: Properly dispose of the debris collected during the sweeping and vacuuming process by emptying it into a trash bag. Seal the bag tightly to prevent any dust or dirt from escaping.
By sweeping and vacuuming your unfinished basement, you will remove loose dirt, dust, and cobwebs, creating a cleaner and more pleasant environment. This will also help to improve indoor air quality and reduce potential allergens in the space.
Read more: How To Hang Curtains In Unfinished Basement
Scrub the Floor
Once the sweeping and vacuuming is complete, it’s time to give the floor of your unfinished basement a deep scrub. This step will help remove stubborn stains, grime, and any remaining dirt that the initial cleaning may have missed. Follow these steps to effectively scrub the floor:
- Prepare the Cleaning Solution: Depending on the type of flooring in your basement, prepare a suitable cleaning solution. For concrete or unfinished floors, mix a solution of warm water and a mild detergent. For other types of flooring, check the manufacturer’s recommendations for appropriate cleaning products.
- Section off the Floor: Divide the basement floor into manageable sections to make the scrubbing process more efficient. This will ensure that you give proper attention to each area without spreading dirt or cleaning solution across the entire floor.
- Apply the Cleaning Solution: Start with one section of the floor and use a mop or a scrub brush to apply the cleaning solution. Work in small, circular motions to loosen any dirt or grime, focusing on any stained or heavily soiled areas.
- Scrub Gently: Use a scrub brush with stiff bristles to scrub the floor, applying light pressure. Be careful not to scrub too aggressively as it may damage the surface, especially if you have a delicate flooring material.
- Pay Attention to Tough Stains: For stubborn stains like oil or grease, mix a paste of baking soda and water or use a specialized stain remover recommended for your specific flooring material. Apply the paste or stain remover to the stained area, let it sit for a few minutes, then scrub gently with a brush.
- Rinse the Floor: After scrubbing each section, rinse the mop or scrub brush thoroughly and mop or rinse the area with clean water. This will remove any residue from the cleaning solution and ensure a clean and fresh finish.
- Dry the Floor: If possible, open windows or use fans to promote air circulation and speed up the drying process. If your basement lacks adequate ventilation, wait for the floor to air dry completely before proceeding with the next steps of cleaning.
- Inspect for Remaining Stains: Once the floor is dry, inspect the entire area for any remaining stains. If you notice any persistent stains, consider using a specialized stain remover or consulting a professional for further assistance.
By scrubbing the floor of your unfinished basement, you will remove deep-seated dirt and stains, resulting in a cleaner and more aesthetically pleasing space. It’s important to note that the cleaning frequency will depend on your basement’s usage and the level of foot traffic it receives.
Use a shop vacuum with a brush attachment to remove dust and debris from the floor and walls of the unfinished basement. This will help to keep the space clean and prevent the buildup of dirt and grime.
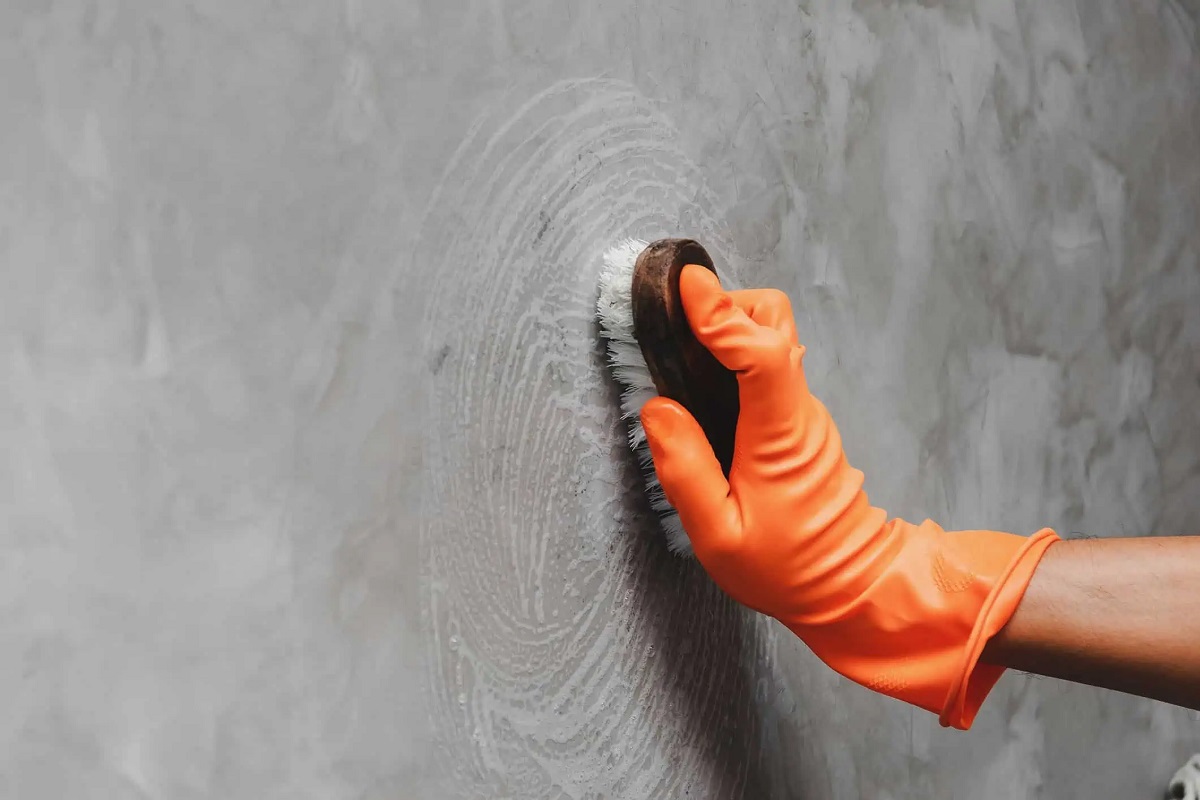
Clean the Walls
Once the floor of your unfinished basement is clean, it’s time to turn your attention to the walls. Cleaning the walls is essential to remove dust, dirt, cobwebs, and any stains or marks that may have accumulated over time. Follow these steps to effectively clean the walls of your basement:
- Prepare the Cleaning Solution: Depending on the type of walls in your basement, determine the appropriate cleaning solution. For painted or drywall walls, a mixture of warm water and a mild detergent should suffice. For unfinished or concrete walls, you may need a more robust cleaning solution.
- Test in an Inconspicuous Area: Before applying the cleaning solution to the entire wall, test it in a small, inconspicuous area to ensure it doesn’t cause any damage or discoloration.
- Gather Cleaning Tools: Grab a bucket, sponges, soft cloths, or a microfiber cloth for cleaning the walls. Ensure that you have enough supplies to thoroughly clean the entire surface.
- Start from the Top: Begin cleaning the walls from the top and work your way down to prevent any drips or streaks on the already cleaned areas. This will ensure a more consistent and effective cleaning process.
- Dampen the Sponge or Cloth: Dip a sponge or cloth into the cleaning solution, making sure it’s damp, not soaking wet. Excess moisture can damage the walls or contribute to mold and mildew growth.
- Wipe the Walls: Gently wipe the walls in a circular motion, starting at the top and moving downwards. Pay special attention to areas that appear dirty or stained. If you encounter any tough stains, use a bit of extra pressure or scrub with a soft brush or cloth.
- Address Stubborn Stains: For stubborn stains that don’t come off with the general cleaning solution, try using a specialized stain remover or a mild mix of water and vinegar. Follow the product instructions and test it on a small area before applying it to the entire wall.
- Rinse with Clean Water: After wiping the walls, rinse the sponge or cloth with clean water and go over the walls once again to remove any residue from the cleaning solution.
- Dry the Walls: Allow the walls to air dry or use a clean, dry cloth to gently pat them dry. Ensure proper ventilation or use fans to speed up the drying process and prevent moisture buildup.
- Inspect for Touch-Ups: Once the walls are dry, inspect them for any areas that may require touch-ups, such as paint touch-ups or filling in any cracks or holes. Address these areas accordingly before moving on to the next steps of your basement cleaning.
Cleaning the walls of your unfinished basement will contribute to a fresher and more inviting space. It will also help enhance the overall cleanliness and aesthetics of the area.
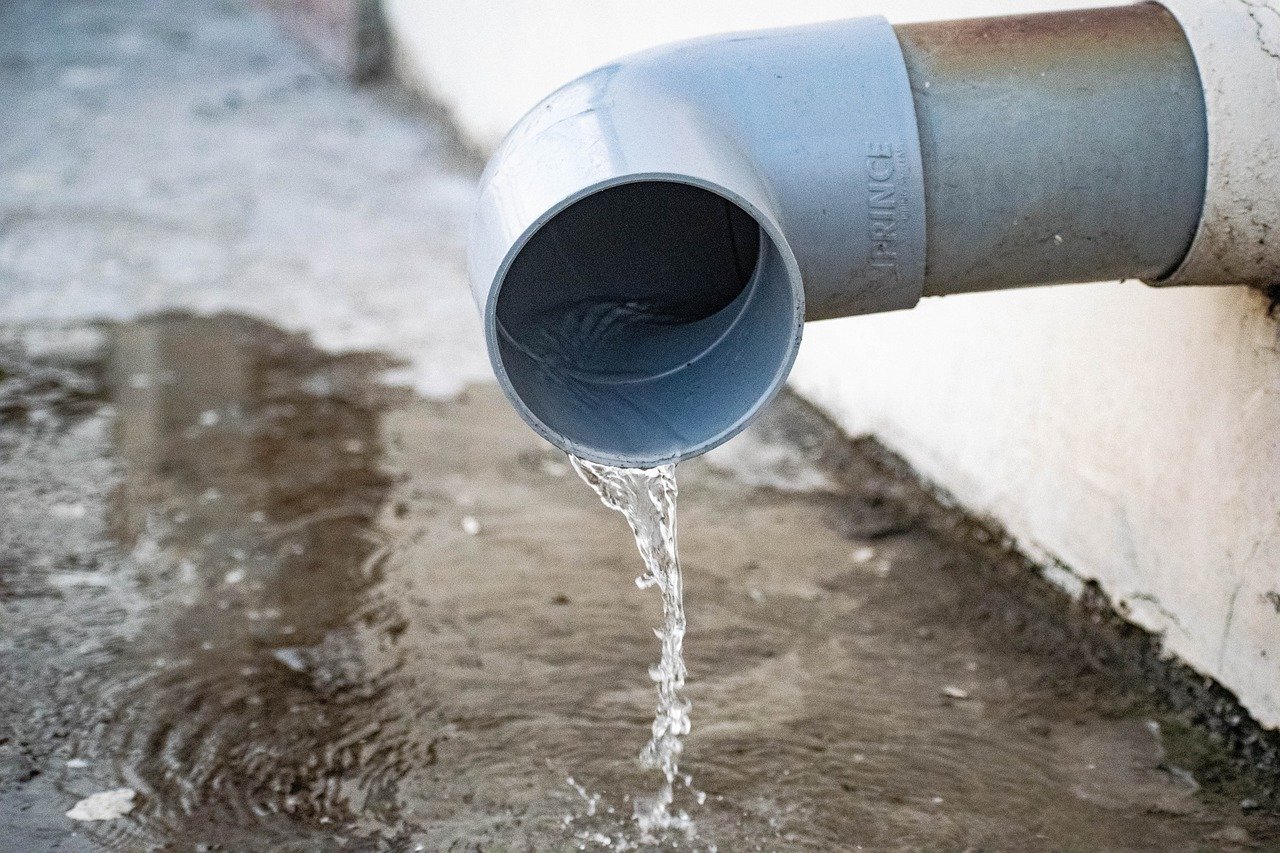
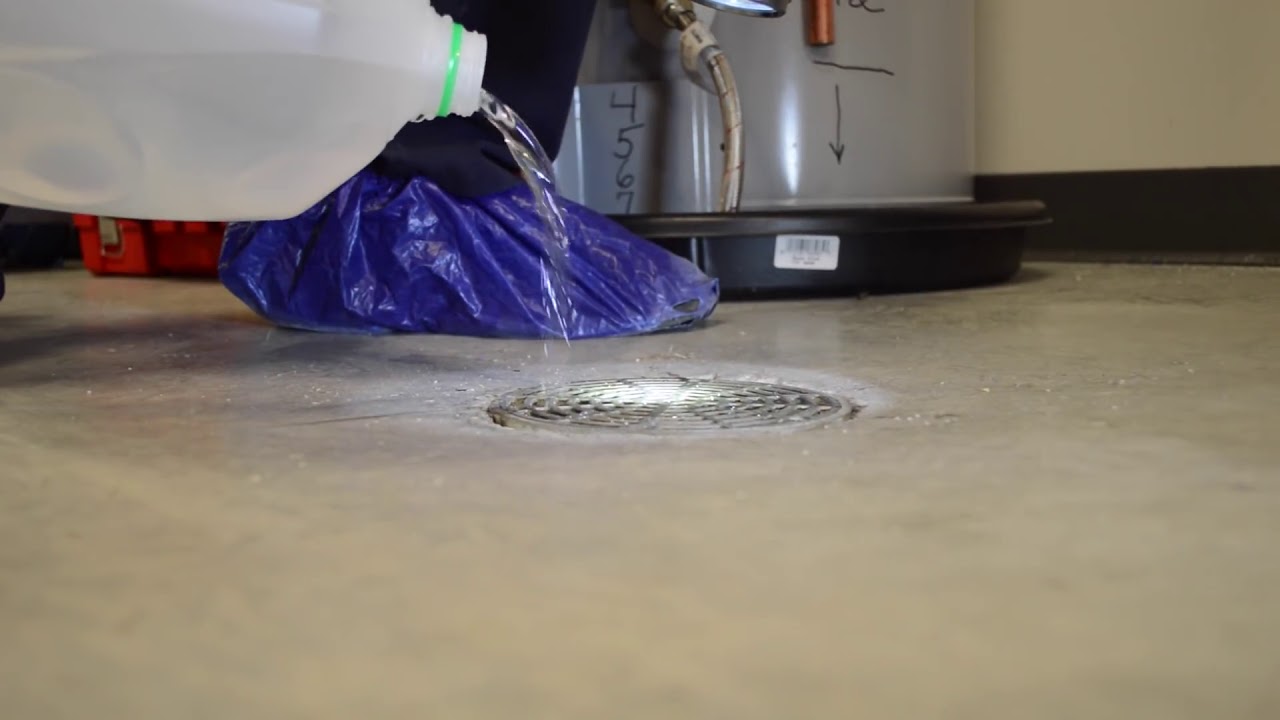
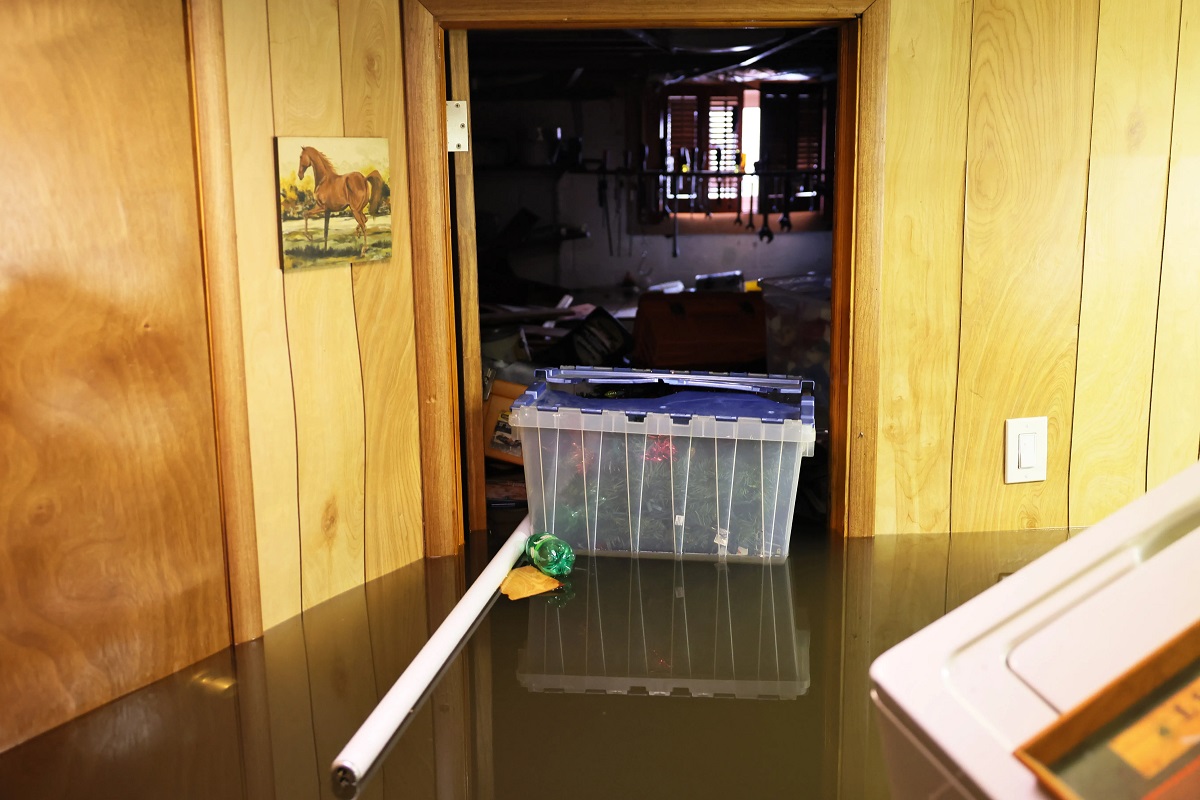
Address Moisture Issues
Moisture problems in an unfinished basement can lead to mold growth, unpleasant odors, and damage to the structure. It is crucial to identify and address any existing moisture issues to maintain a clean and healthy environment. Here are some steps to address moisture problems in your basement:
- Inspect for Signs of Moisture: Look for signs of moisture, such as water stains, dampness, condensation, or musty odors. These can indicate the presence of water leaks, high humidity, or poor ventilation.
- Identify the Source: Once you notice signs of moisture, try to identify the source of the problem. Common causes include leaky pipes, wall cracks, inadequate drainage, or high humidity levels in the basement.
- Repair Leakages: If you discover any leaks or water seepage, repair them promptly. Fix leaky pipes, seal cracks in the walls or foundation, and address any external sources of water intrusion, such as faulty gutters or downspouts.
- Improve Ventilation: Basements often lack proper ventilation, which can contribute to moisture problems. Ensure that the basement has adequate airflow by installing vents, exhaust fans, or dehumidifiers. Open windows periodically to allow fresh air to circulate.
- Control Humidity: High humidity levels in the basement can encourage mold growth. Install a dehumidifier to regulate humidity and maintain levels between 30 to 50 percent. Empty and clean the dehumidifier regularly to prevent mold and mildew formation.
- Insulate Pipes and Surfaces: Insulate exposed pipes and cold surfaces to prevent condensation. Condensation can lead to moisture buildup, so insulating areas prone to condensation will help reduce the moisture content in the basement.
- Improve Drainage: Ensure that the soil around the foundation slopes away from the basement walls to prevent water from pooling near the foundation. Clean and maintain gutters and downspouts to direct water away from the house.
- Monitor and Maintain: Regularly monitor the moisture levels in your basement using a hygrometer and conduct periodic inspections for any signs of moisture or mold. Address any issues immediately to prevent further damage.
- Consult a Professional: If you’re unable to identify or address the source of the moisture problem, it is advisable to consult a professional. They can assess the situation, provide expert advice, and recommend appropriate solutions for your specific situation.
Addressing moisture issues in your unfinished basement is crucial for maintaining a clean and healthy space. By taking proactive measures, you can prevent mold growth, protect your belongings, and preserve the structural integrity of your basement.
Remove Stains and Odors
Stains and odors can make an unfinished basement feel unclean and unpleasant. Fortunately, there are several effective methods to remove stains and eliminate odors, leaving your basement fresh and revitalized. Follow these steps to tackle stains and odors in your basement:
- Identify the Stains: Take a close look at the stains in your basement and determine their nature. Common types of stains in basements include oil, mold, mildew, rust, or water stains.
- Choose the Right Cleaning Method: Select the appropriate cleaning method based on the type of stain you are dealing with. For example, oil stains may require the application of a degreaser, while mold and mildew stains may call for a mold remover or a mixture of water and vinegar.
- Test in a Small Area: Before applying any cleaning solution or stain remover to a large area, test it in a small, inconspicuous spot to ensure that it does not damage or discolor the surface. Follow the product instructions for application and safety precautions.
- Treat the Stains: Apply the appropriate stain remover or cleaning solution to the affected area and let it sit according to the product instructions. Use a soft brush or cloth to gently scrub the stained area, working in circular motions to lift and remove the stain.
- Rinse and Repeat: After treating the stains, rinse the area thoroughly with clean water to remove any residue from the cleaning solution. If the stains persist, repeat the treatment process until the desired results are achieved.
- Address Odors: To eliminate odors in your basement, start by identifying the source of the odor. Common sources include mold, mildew, stagnant water, or pet urine. Treat the specific cause to effectively eliminate the odor.
- Clean and Disinfect: For musty odors caused by mold or mildew, clean the affected surfaces with a mixture of water and vinegar or a specialized mold and mildew remover. Scrub thoroughly and ensure that the area is completely dry to prevent further mold growth.
- Deodorize the Air: Improve the overall air quality in your basement by using natural deodorizing methods. Place bowls of activated charcoal, baking soda, or coffee grounds in different areas of the basement to absorb and neutralize odors over time.
- Ensure Proper Ventilation: Open windows or use fans and ventilation systems to improve the airflow in your basement. Fresh air circulation will help eliminate stale odors and prevent the buildup of moisture and odor-causing particles.
- Consider Odor Eliminators: If the odors persist, you can use commercial odor eliminators or air purifiers designed for basements. Choose products that target specific odors and ensure they are safe for the type of space you have.
By following these steps, you can effectively remove stains and eliminate odors, making your unfinished basement a more pleasant and inviting space. Regular maintenance and addressing the underlying causes of stains and odors will contribute to long-term freshness and cleanliness.
Read more: How To Make Unfinished Basement Look Nice
Seal and Waterproof the Basement
Sealing and waterproofing your unfinished basement is essential to protect it from moisture, water damage, and potential issues such as mold and structural damage. By taking proactive measures to seal and waterproof your basement, you can ensure a drier and more resilient space. Here are the steps to sealing and waterproofing your basement:
- Identify Existing Issues: Before you start sealing and waterproofing, carefully inspect your basement for any existing issues, such as cracks in the walls or floor, gaps around windows or pipes, or signs of water intrusion. Address these issues before proceeding with the sealing process.
- Clean and Prepare the Surfaces: Ensure that the surfaces to be sealed and waterproofed are clean, dry, and free of debris. Remove any loose material or old sealants, and repair any damaged areas as necessary.
- Choose a Waterproofing Method: Depending on the condition and structure of your basement, you can choose from various waterproofing methods. The most common types include applying waterproof coatings, installing a vapor barrier, and using concrete sealers or waterproofing paints.
- Apply Waterproof Coatings: Waterproof coatings, such as waterproofing membranes or sealants, provide a protective barrier against water intrusion. Follow the manufacturer’s instructions for application, ensuring proper coverage on all surfaces.
- Install a Vapor Barrier: If your basement experiences high levels of humidity, consider installing a vapor barrier to prevent moisture from seeping through walls or floors. This barrier helps control moisture and minimizes the risk of condensation and mold growth.
- Use Concrete Sealers or Waterproofing Paints: Concrete sealers and waterproofing paints are specifically designed to provide a protective layer on porous surfaces like concrete. Apply these products according to the instructions to create a barrier against water penetration.
- Seal Gaps and Cracks: Inspect for any gaps, cracks, or openings in the walls or floor and seal them using an appropriate sealant, such as silicone caulk or hydraulic cement. This will prevent water from seeping through these vulnerable areas.
- Improve Drainage: Ensure that your basement has proper drainage to divert water away from the foundation. Consider installing or maintaining gutters, downspouts, and French drains to manage water flow and prevent water pooling near the basement walls.
- Monitor and Maintain: Regularly monitor the condition of your basement for any signs of water intrusion or moisture buildup. Address any issues promptly to prevent further damage or the reoccurrence of water-related problems.
- Consult a Professional: If you are unsure about the appropriate methods or need assistance with the sealing and waterproofing process, it is advisable to consult with a professional contractor who specializes in basement waterproofing. They can evaluate your specific situation and recommend the best techniques for your basement.
By sealing and waterproofing your basement, you can protect it from water damage, reduce the risk of mold growth, and create a more resilient and durable space. Remember to regularly inspect and maintain your basement to ensure that the waterproofing measures remain effective over time.
Conclusion
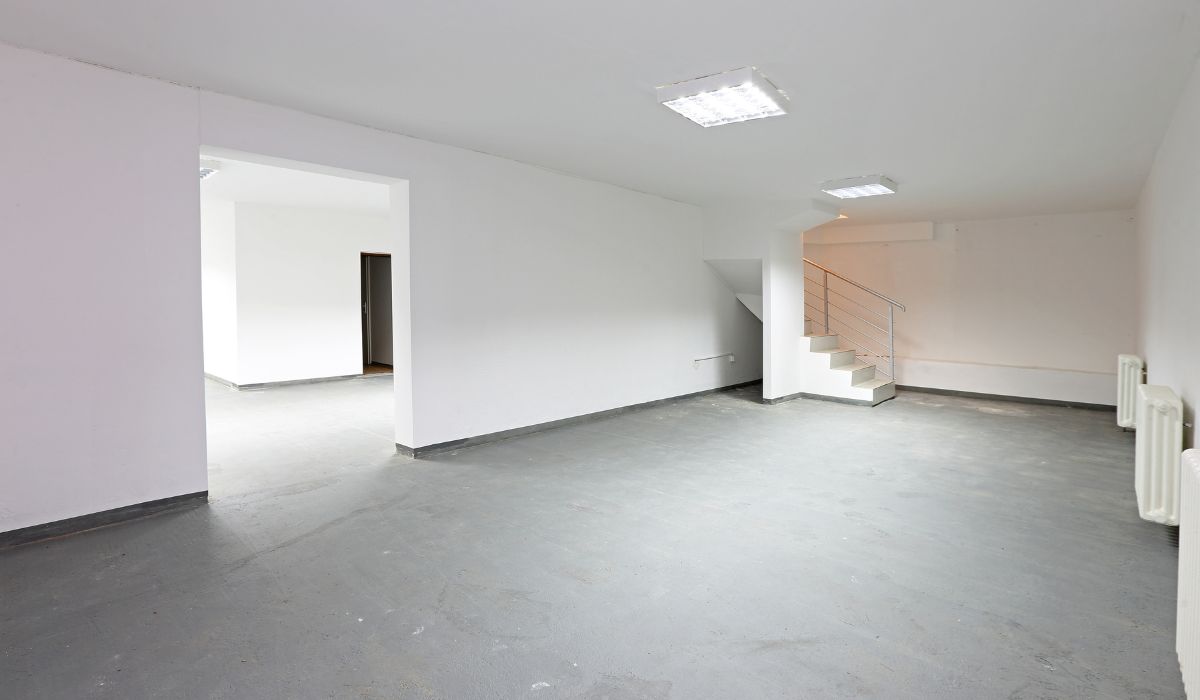
Cleaning an unfinished basement may seem like a daunting task, but with the right approach and knowledge, you can transform your basement into a clean and functional space. By following the steps outlined in this guide, you can effectively tackle each aspect of the cleaning process and address common issues such as clutter, dirt, stains, odors, and moisture problems.
Start by removing clutter and debris, creating a clean slate for the rest of the cleaning process. Sweep and vacuum the floor to remove loose dirt and dust, then scrub the floor to tackle stubborn stains. Clean the walls to eliminate dust, cobwebs, and stains, ensuring a fresh and inviting space.
Addressing moisture issues in the basement is crucial for maintaining a clean and healthy environment. Identify and repair any leaks or sources of water intrusion, improve ventilation, control humidity levels, and consider sealing and waterproofing the basement to prevent water damage and mold growth.
Lastly, remove stains and odors to create a fresher and more pleasant atmosphere. Identify the source of stains and use appropriate cleaning methods to remove them. For odors, address the underlying cause, clean and disinfect the affected areas, and use natural deodorizing methods to maintain a pleasant scent in your basement.
Remember to prioritize safety throughout the cleaning process by wearing protective gear, securing loose cables, and ensuring proper ventilation. If you encounter any challenges or are unsure about specific cleaning techniques, don’t hesitate to consult a professional for expert guidance.
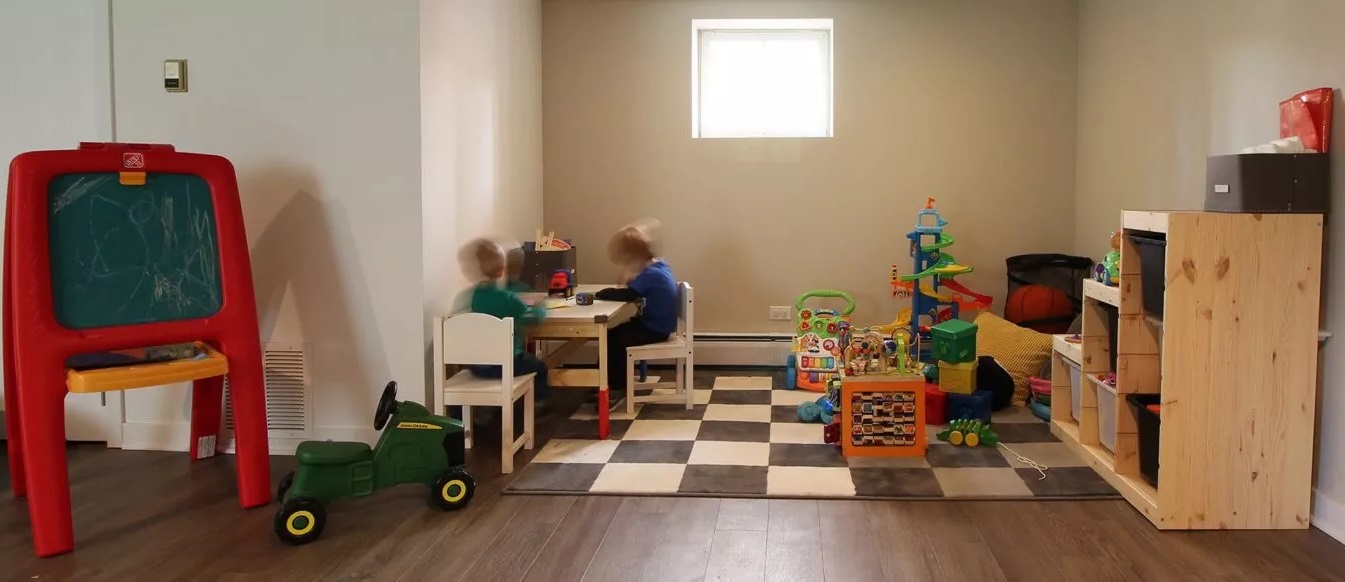
By following these steps and incorporating regular maintenance, you can enjoy a clean, organized, and functional unfinished basement. Whether you use it for storage, a home gym, or a workshop, a clean basement will enhance your overall living environment and provide an additional usable space within your home.
Frequently Asked Questions about How To Clean An Unfinished Basement
Was this page helpful?
At Storables.com, we guarantee accurate and reliable information. Our content, validated by Expert Board Contributors, is crafted following stringent Editorial Policies. We're committed to providing you with well-researched, expert-backed insights for all your informational needs.


0 thoughts on “How To Clean An Unfinished Basement”