Articles
How To Cook A Turkey In A Toaster Oven
Modified: August 27, 2024
Learn how to cook a delicious turkey in a toaster oven with our informative articles. Enjoy a hassle-free cooking experience with expert tips and techniques.
(Many of the links in this article redirect to a specific reviewed product. Your purchase of these products through affiliate links helps to generate commission for Storables.com, at no extra cost. Learn more)
Introduction
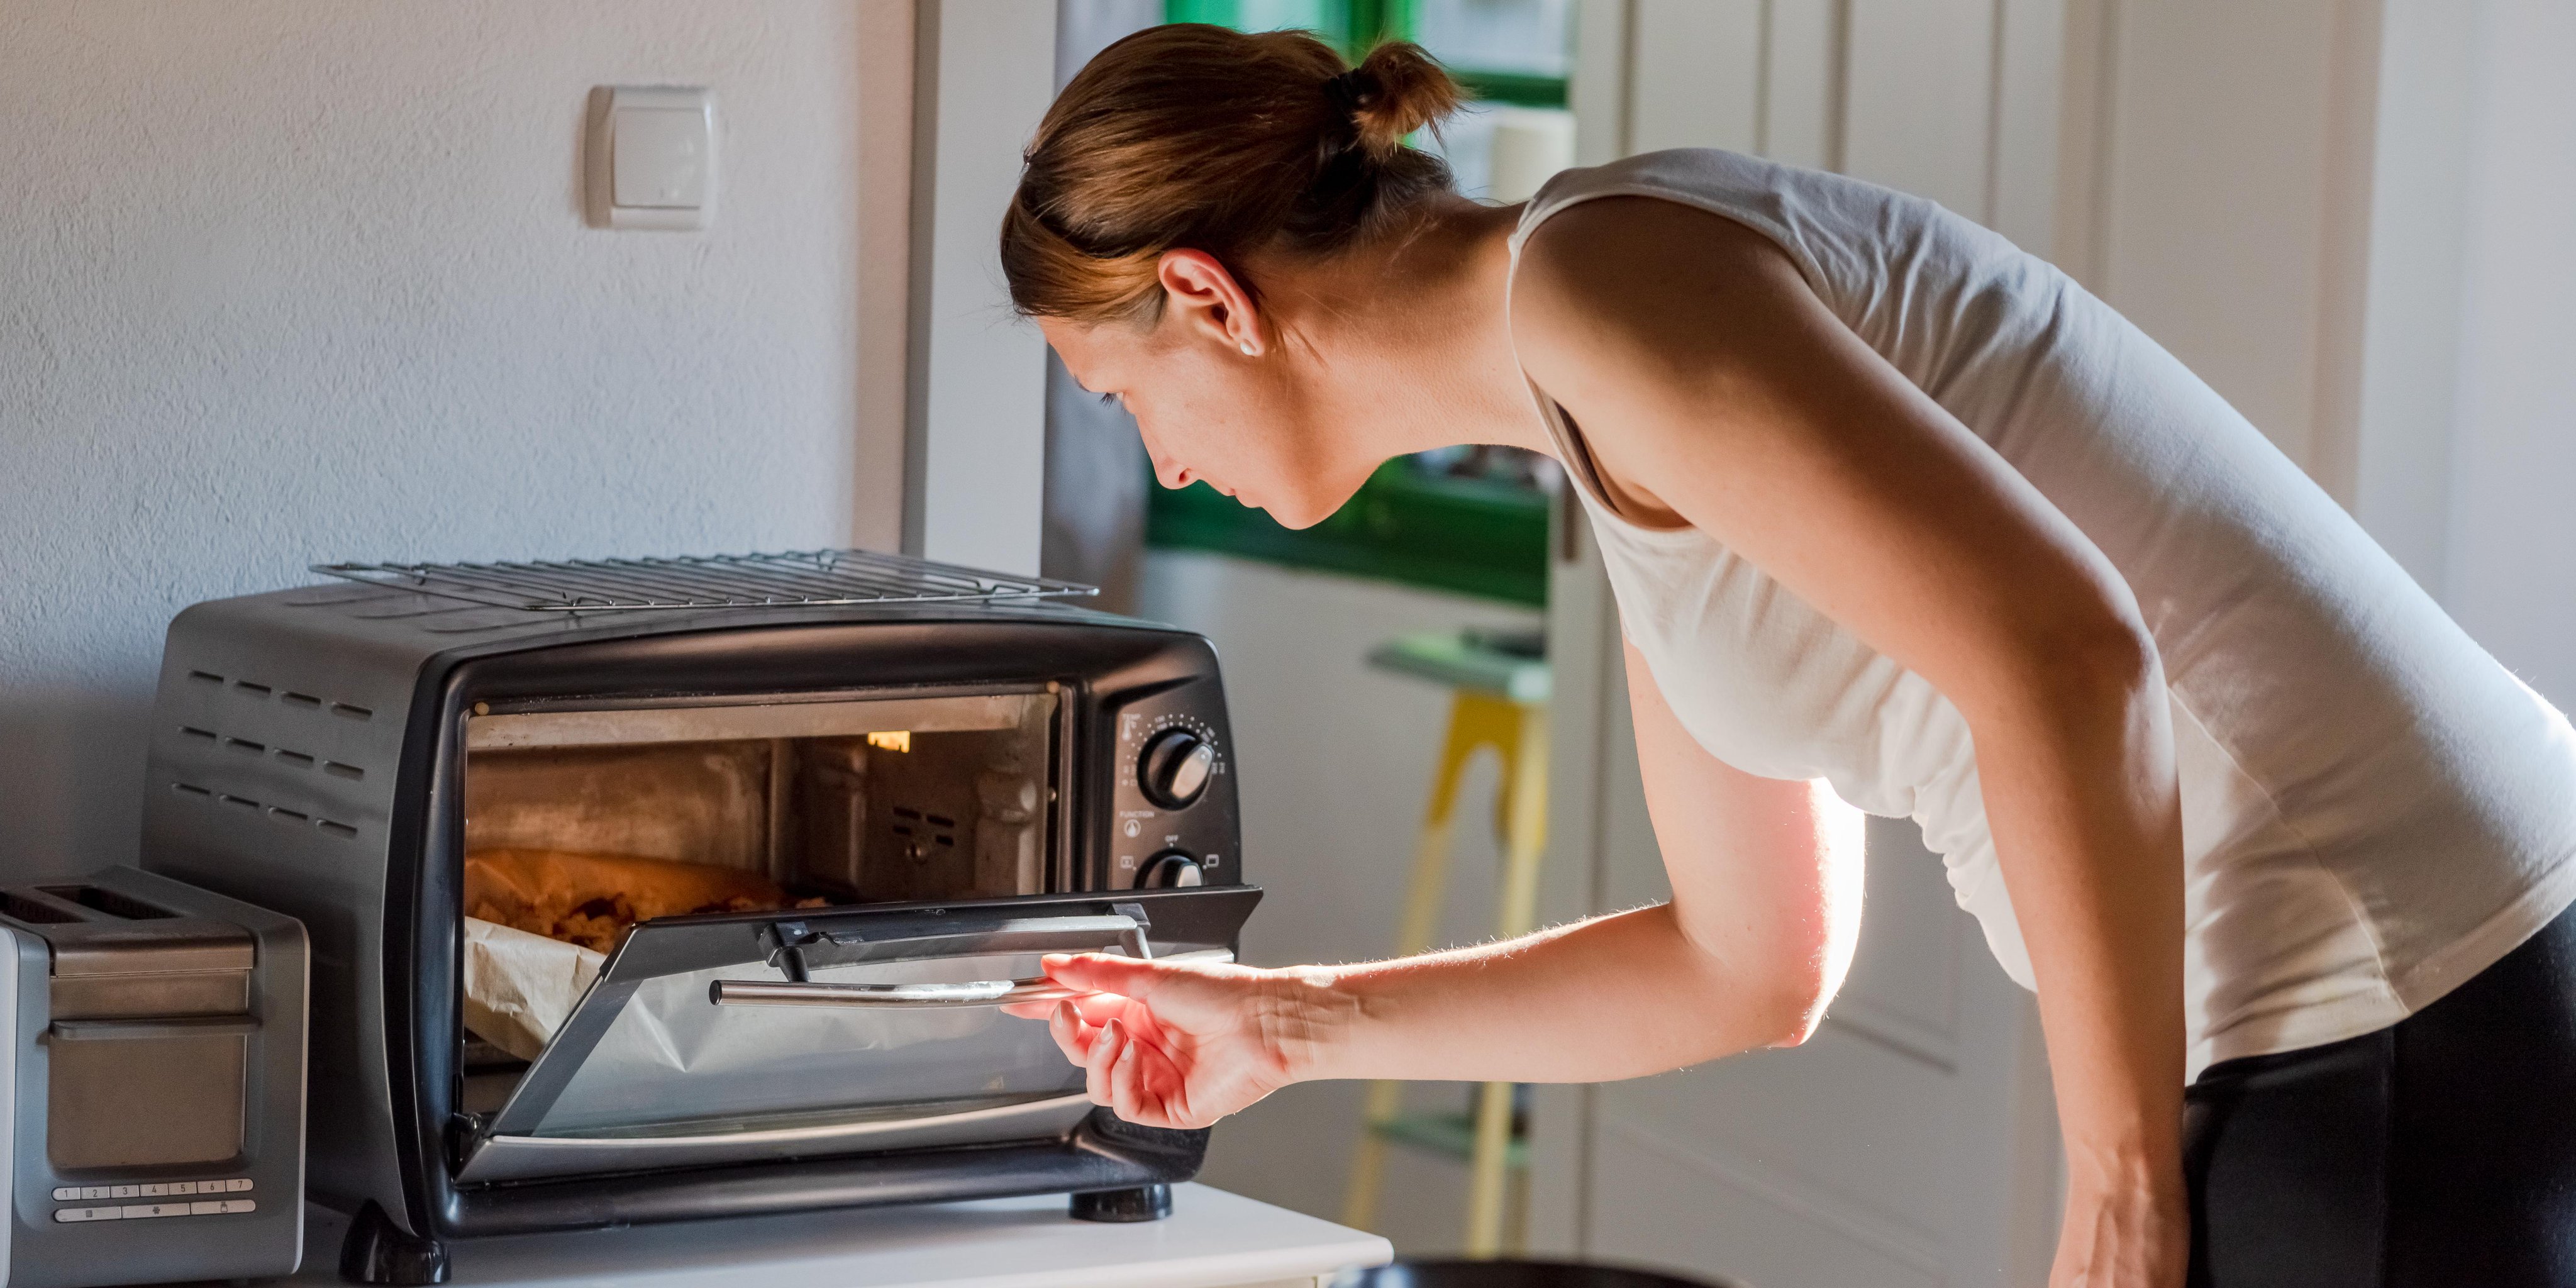
When it comes to cooking a turkey, most people think of using a traditional oven. However, did you know that you can also cook a turkey in a toaster oven? This compact and versatile appliance can yield impressive results, providing a deliciously juicy and perfectly roasted bird.
Cooking a turkey in a toaster oven offers several advantages. First, it is a great option if you have a smaller kitchen or limited oven space. Toaster ovens are compact and can easily fit on your countertop, making them a convenient alternative to traditional ovens. Additionally, cooking a turkey in a toaster oven takes less time compared to a larger oven, which means you can enjoy a deliciously cooked turkey in a fraction of the time.
Before you embark on your turkey-cooking journey, it’s important to choose the right turkey. Look for a turkey that will fit comfortably in your toaster oven without touching the sides or top. A turkey that weighs around 10 to 12 pounds is ideal for toaster oven cooking. Make sure to thaw your turkey thoroughly before getting started.
The next step is to prepare the turkey for cooking. Remove the giblets and neck from the cavity, and rinse the turkey inside and out with cold water. Pat it dry with paper towels to ensure a crispy skin. Preheating the toaster oven is essential for even cooking, so set the temperature to around 325°F (163°C).
Now it’s time to season the turkey. Feel free to get creative with flavors and herbs to suit your taste. A classic combination of salt, pepper, garlic powder, and paprika works well for a traditional roast flavor. You can also add chopped herbs like rosemary, thyme, or sage to enhance the aroma and taste of the turkey.
Once the turkey is seasoned, you can carefully place it in the toaster oven. Use a roasting rack or a wire rack placed inside a baking dish to elevate the turkey and ensure it cooks evenly. Make sure there is enough clearance between the turkey and the top heating elements of the toaster oven to prevent any burns or uneven cooking.
Throughout the cooking process, it’s important to monitor the turkey’s progress. Check the internal temperature regularly using a meat thermometer inserted into the thickest part of the turkey’s thigh without touching the bone. The turkey is cooked when the internal temperature reaches 165°F (74°C).
When the turkey reaches the desired temperature, remove it from the toaster oven and let it rest for at least 30 minutes before carving. This allows the juices to redistribute and ensures a tender and juicy turkey.
Finally, carve the turkey and serve it with your favorite side dishes. Whether it’s Thanksgiving or any other occasion, cooking a turkey in a toaster oven can be a delicious and convenient option for those seeking a smaller-scale meal.
Remember, cooking a turkey in a toaster oven requires some adjustments compared to a traditional oven, but with proper preparation and monitoring, you can achieve impressive results. Get creative with your seasonings and enjoy a flavorful, perfectly cooked turkey that will impress your family and friends.
Key Takeaways:
- Cook a turkey in a toaster oven for a convenient, flavorful alternative to traditional roasting. Choose the right size, season generously, and monitor the process for impressive results.
- Embrace the unexpected and impress your guests with a perfectly roasted turkey from your countertop. Experiment with flavors, monitor the cooking process, and savor the convenience of toaster oven cooking.
Read more: How To Cook Turkey Bacon In A Toaster Oven
Choosing the Right Turkey
When it comes to cooking a turkey in a toaster oven, selecting the right turkey is crucial to ensure a successful and delicious outcome. Here are some tips for choosing the perfect turkey:
- Size: Since toaster ovens are smaller than traditional ovens, it’s important to find a turkey that will fit comfortably inside. Look for a turkey that weighs around 10 to 12 pounds, as this size is ideal for toaster oven cooking. A turkey of this size will have enough meat to serve a small gathering without overcrowding the toaster oven.
- Shape: Consider the shape of the turkey when choosing one for your toaster oven. Look for a turkey with a compact shape, as turkeys with long or wide wingspans may not fit well inside the toaster oven. It’s important to ensure that the turkey does not touch the sides or top of the toaster oven to avoid uneven cooking and potential safety hazards.
- Thawing: Make sure to thaw the turkey thoroughly before cooking. The safest way to thaw a turkey is to place it in the refrigerator for several days, allowing about 24 hours of thawing time for every 4 to 5 pounds of meat. Avoid thawing the turkey at room temperature, as this can lead to bacterial growth.
- Quality: Choose a turkey that is fresh and of good quality. Check for a plump and firm turkey with no signs of discoloration or unpleasant odor. If possible, opt for a turkey that is organically raised and free from antibiotics and hormones for a healthier and tastier final product.
- Packaging: Take note of the turkey’s packaging. Look for a turkey that is properly sealed and labeled with clear instructions for cooking and handling. Pay attention to the expiration date and storage recommendations to ensure the turkey is safe to consume.
- Consider Your Preferences: Consider your personal preferences when choosing a turkey. Decide if you want a fresh turkey or a frozen one. Fresh turkeys are generally juicier and have a shorter shelf life, while frozen turkeys have a longer shelf life but require thawing time. Additionally, consider whether you want a turkey that is pre-seasoned or if you prefer to season it yourself.
By considering these factors, you can choose the right turkey for cooking in a toaster oven. Remember to plan ahead and allow enough time for thawing if you opt for a frozen turkey. A well-chosen turkey will contribute to a flavorful and perfectly cooked meal that will impress your guests.
Preparing the Turkey
Before you cook a turkey in a toaster oven, it’s important to properly prepare the bird to ensure a delicious and safe meal. Follow these steps to prepare the turkey:
- Remove the Giblets: Start by removing the giblets and neck from the turkey’s cavity. These organs are commonly found in a small bag inside the turkey. Discard the giblets or save them for other recipes if desired.
- Rinse the Turkey: Rinse the turkey inside and out with cold water to remove any stray feathers or impurities. This step helps to ensure a clean and safe turkey.
- Dry the Turkey: After rinsing the turkey, pat it dry with paper towels. Removing excess moisture from the turkey’s skin ensures a crispier and more flavorful result. Make sure to dry both the outside and inside of the turkey.
- Trussing (Optional): Trussing is the process of tying the turkey’s legs and wings close to its body using kitchen twine. Trussing helps the turkey to cook more evenly and maintain its shape. While trussing is optional, it can be beneficial when cooking a turkey in a toaster oven, as it helps to ensure even cooking and prevents the turkey from collapsing or drying out.
- Season the Cavity: Season the cavity of the turkey with salt and pepper or any other seasonings you prefer. This will infuse the flavor into the bird from the inside out.
- Consider Stuffing Options: When cooking a turkey in a toaster oven, it’s important to note that it may not have enough space to safely cook stuffing inside the bird. If you prefer to serve stuffing, consider baking it separately in a separate dish or using a toaster oven-safe casserole dish.
By following these steps, you will properly prepare the turkey for cooking in a toaster oven. Removing the giblets, rinsing, and drying the turkey ensure cleanliness, while trussing (if desired) helps with even cooking. Remember to season the cavity and consider alternative stuffing options if necessary. With the turkey prepared, you’re ready to move on to seasoning and cooking!
Seasoning the Turkey
Seasoning the turkey is a crucial step in enhancing its flavor and creating a delicious roast. Here are some tips for seasoning your turkey when cooking it in a toaster oven:
- Salt and Pepper: Start with a foundation of salt and pepper. Generously season both the cavity and the skin of the turkey with salt and pepper. This simple combination helps to enhance the natural flavors of the meat.
- Herbs and Spices: Add herbs and spices to elevate the flavor of your turkey. Common choices include garlic powder, paprika, dried thyme, rosemary, sage, or a poultry seasoning blend. You can mix and match these herbs and spices according to your taste preferences.
- Oil or Butter: Rub the outside of the turkey with oil or melted butter to help crisp the skin and retain moisture. You can use olive oil, vegetable oil, or even melted unsalted butter. This step adds richness and ensures a golden and crispy skin.
- Optional Flavors: If you desire additional flavors, consider adding minced garlic, lemon zest, or even a citrus fruit like orange or lemon slices to the cavity of the turkey. These ingredients infuse a delightful aroma and taste into the meat.
- Season Under the Skin: For even more flavor, gently lift the skin of the turkey and rub the seasonings directly onto the meat. This technique helps the flavors penetrate the meat and ensures a well-seasoned turkey.
When it comes to seasoning, feel free to get creative and experiment with different flavors and combinations. Remember to season both the cavity and the skin, and don’t forget to rub oil or butter on the outside to enhance the crispiness of the skin. The key is to layer the flavors and create a well-seasoned and aromatic turkey that will wow your taste buds.
Once you have seasoned the turkey to your liking, it’s time to move on to cooking it in the toaster oven. Follow the next steps carefully to ensure a perfectly cooked and juicy turkey.
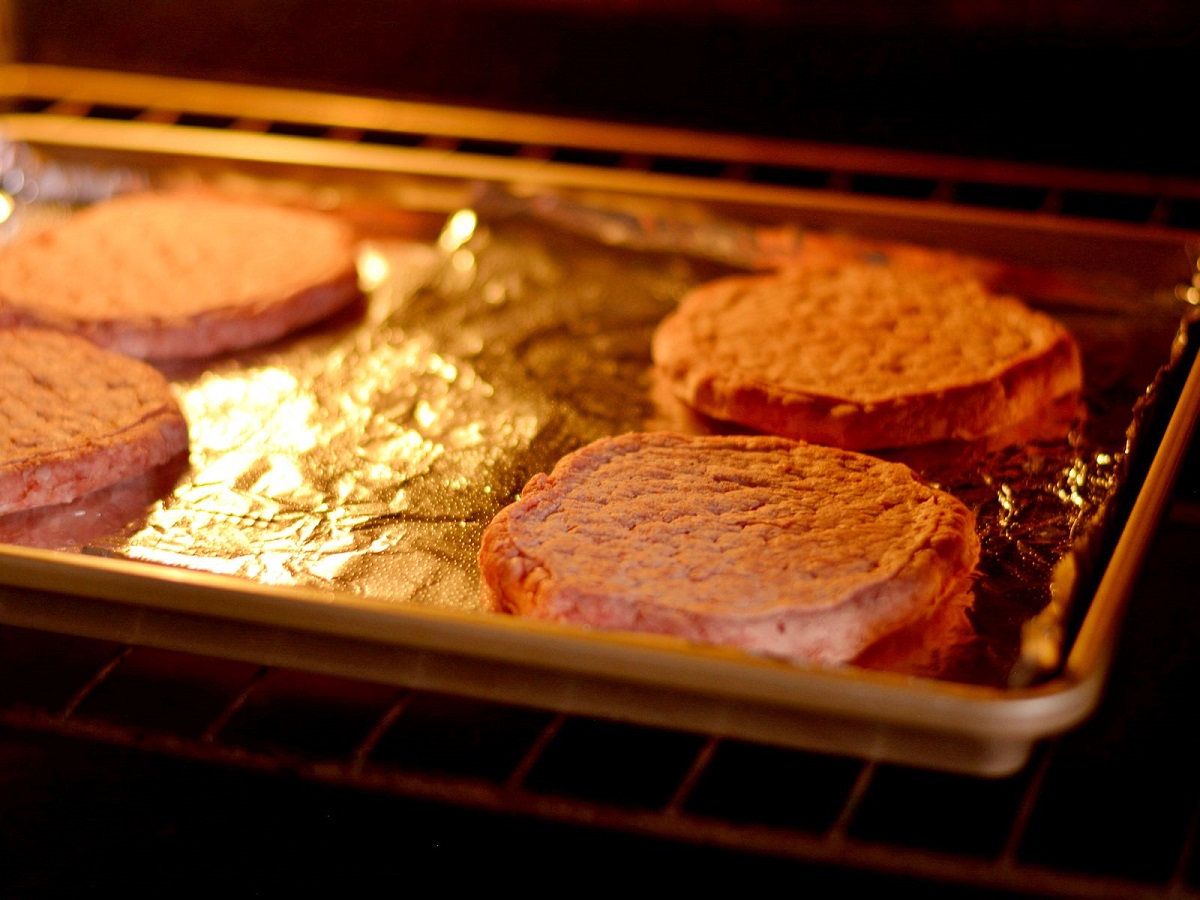
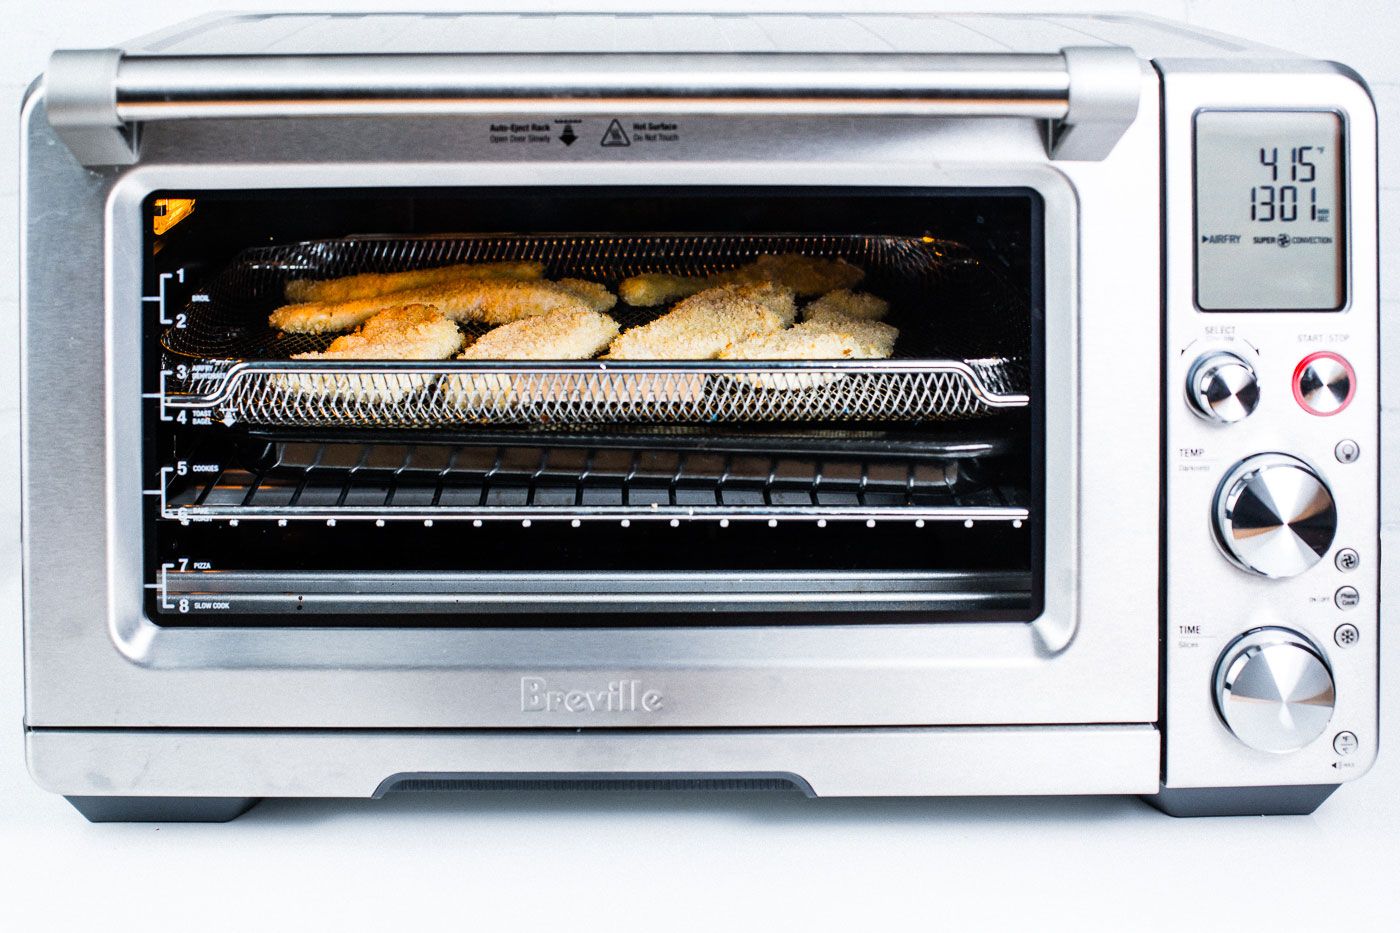
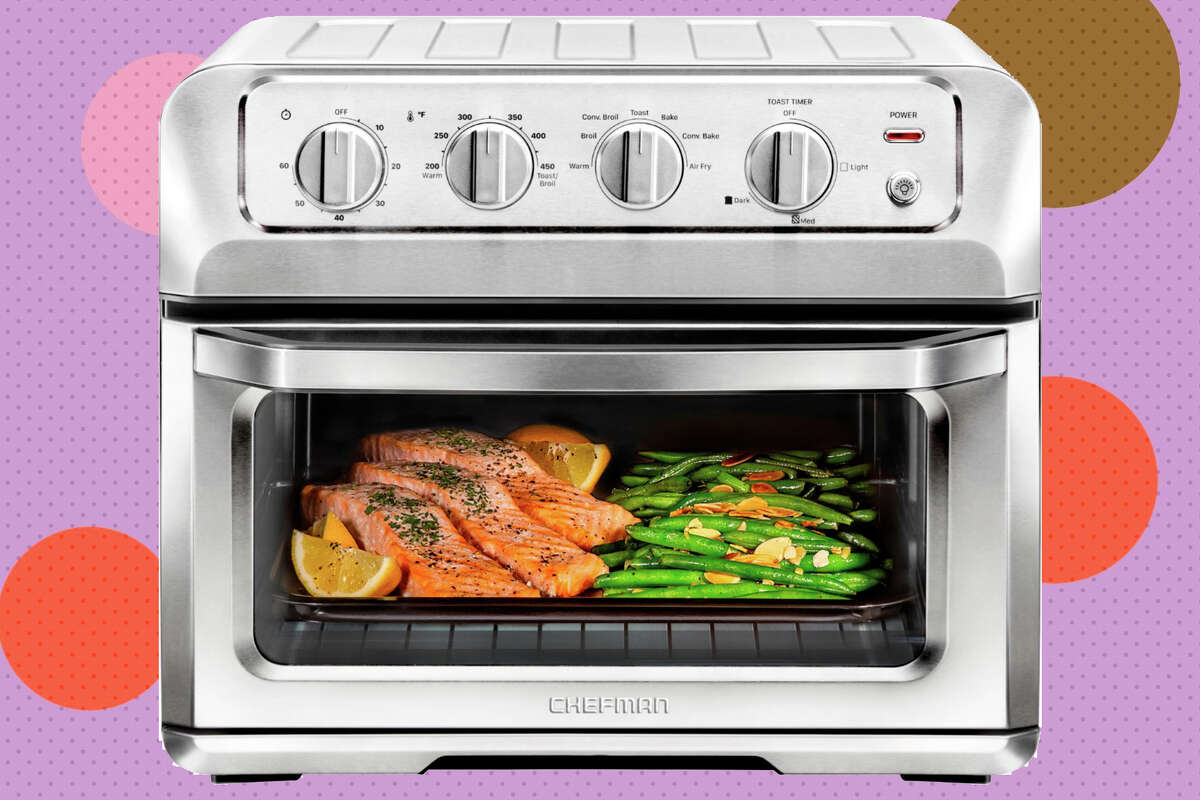
Cooking the Turkey in a Toaster Oven
Now that you have prepared and seasoned the turkey, it’s time to cook it in the toaster oven. Here’s how to cook a turkey in a toaster oven:
- Preheat the Toaster Oven: Preheating the toaster oven is crucial for ensuring even cooking. Set the toaster oven to a temperature of around 325°F (163°C). Allow the oven to fully preheat before placing the turkey inside.
- Use a Roasting Rack: Place a roasting rack or a wire rack inside a baking dish that can fit comfortably in the toaster oven. Elevating the turkey on a rack helps to promote even air circulation and allows the heat to reach all sides of the bird. This ensures that the turkey cooks evenly and prevents it from sitting in its own juices.
- Positioning the Turkey: Carefully place the seasoned turkey on the roasting rack, breast-side up. Make sure there is enough clearance between the turkey and the top heating elements of the toaster oven to prevent any burns or uneven cooking.
- Adjust the Cooking Time: Keep in mind that cooking a turkey in a toaster oven may require adjustments to the cooking time compared to a larger oven. While a general rule of thumb is to cook the turkey for about 15 minutes per pound, it’s important to monitor the progress throughout the cooking process, as toaster ovens can vary in their cooking efficiency.
- Basting: To keep the turkey moist and flavorful, consider basting it every 30 minutes. Use a basting brush to brush the turkey with its own pan juices or a mixture of melted butter and seasonings. Basting helps to infuse additional flavors and prevents the turkey from drying out.
- Covering with Foil (Optional): If you find that the turkey is browning too quickly, you can cover it loosely with aluminum foil. This will help to slow down the browning process and ensure that the turkey cooks evenly.
Throughout the cooking process, monitor the turkey’s progress to ensure it is cooking evenly and reaching the desired internal temperature. Remember to use a meat thermometer inserted into the thickest part of the turkey’s thigh without touching the bone. The turkey is safe to consume when the internal temperature reaches 165°F (74°C).
With these steps, you can confidently cook a turkey in a toaster oven. The result will be a beautifully roasted turkey with crispy skin and tender meat. Now that you know how to cook the turkey, let’s move on to monitoring the cooking process to ensure it turns out perfectly.
Read more: How Long To Reheat Fries In Toaster Oven
Monitoring the Cooking Process
When cooking a turkey in a toaster oven, it’s important to closely monitor the cooking process to ensure that the turkey is cooking evenly and reaching the desired level of doneness. Here are some tips for monitoring the cooking process:
- Use a Meat Thermometer: The most accurate way to determine if the turkey is fully cooked is by using a meat thermometer. Insert the thermometer into the thickest part of the turkey’s thigh without touching the bone. The turkey is safe to consume when the internal temperature reaches 165°F (74°C).
- Check the Color: Keep an eye on the color of the turkey as it cooks. The turkey should gradually turn golden brown during the cooking process. However, if you notice that the turkey is browning too quickly on one side, you may need to rotate the turkey or cover it with aluminum foil to prevent uneven browning.
- Basting: While you are monitoring the cooking process, take the opportunity to baste the turkey every 30 minutes or so. Basting is an additional step that can help keep the turkey moist and flavorful. Brush the turkey with its own pan juices or a mixture of melted butter and seasonings to add extra flavor and prevent it from drying out.
- Keep an Eye on the Time: The cooking time for a turkey in a toaster oven may vary depending on the size of the bird and the specific toaster oven being used. Keep track of the cooking time to ensure that the turkey is cooked through but not overcooked. Remember to adjust the cooking time if needed, depending on your toaster oven’s efficiency.
- Rotate the Turkey: To ensure even cooking, consider rotating the turkey halfway through the cooking process. This will help to distribute the heat evenly and prevent any areas of the turkey from becoming overcooked or undercooked.
- Avoid Opening the Toaster Oven Too Often: While it’s important to monitor the cooking process, try to avoid opening the toaster oven unnecessarily. Opening the door frequently can cause fluctuations in temperature and extend the cooking time. Instead, rely on the meat thermometer and visual cues to gauge the turkey’s doneness.
By closely monitoring the cooking process, you can ensure that the turkey is cooked to perfection. Using a meat thermometer, checking the color, basting, keeping track of time, and rotating the turkey as needed are all important steps in achieving a deliciously cooked and evenly browned turkey.
Once you have determined that the turkey is cooked to the proper internal temperature and has a beautiful golden color, it’s time to test the turkey for doneness and let it rest before carving and serving.
When cooking a turkey in a toaster oven, make sure to use a meat thermometer to ensure it reaches an internal temperature of 165°F to be safely consumed.
Testing the Turkey for Doneness
Testing the turkey for doneness is a crucial step to ensure that it is fully cooked and safe to eat. While visual cues and cooking time can provide a general indication, using a meat thermometer is the most reliable method to determine if the turkey is done. Here’s how to test the turkey for doneness:
- Use a Meat Thermometer: Insert a meat thermometer into the thickest part of the turkey’s thigh without touching the bone. The turkey is safely cooked when the internal temperature reaches 165°F (74°C). Ensure that the thermometer is properly calibrated beforehand for accurate readings.
- Check Multiple Spots: For larger turkeys, it may be helpful to check the temperature in multiple spots to ensure that the whole bird is fully cooked. Test the temperature in different areas, such as the thickest part of the breast and the innermost part of the thigh, to verify that the turkey has reached the target temperature throughout.
- Look for Clear Juices: Another visual indicator of doneness is the color of the turkey’s juices. When the turkey is fully cooked, the juices should run clear. If you notice any traces of pink or red in the juices, the turkey needs to cook for a little longer.
- Double-check the Thighs: The turkey’s thighs often take longer to cook compared to the breast. If you find that the turkey breast has reached the desired temperature, but the thighs are still undercooked, you can cover the breast with aluminum foil to prevent it from overcooking while the thighs continue to cook to the appropriate temperature.
- Consider Carryover Cooking: Remember that the internal temperature of the turkey will continue to rise slightly even after it is removed from the oven. This is known as carryover cooking. For this reason, you can remove the turkey from the oven when the temperature is a few degrees below the target temperature, and allow it to rest for 10 to 15 minutes. During this resting period, the temperature will rise, and the turkey will finish cooking without becoming overdone.
By using a meat thermometer and checking for clear juices, you can ensure that the turkey is fully cooked and safe to eat. Remember to test multiple spots, be mindful of the thighs, and factor in carryover cooking when determining the turkey’s doneness. Once you have confirmed that the turkey is cooked to perfection, it’s time to let it rest before carving and serving.
Letting the Turkey Rest
Allowing the turkey to rest after cooking is a crucial step that is often overlooked but can make a significant difference in the final result. Resting the turkey allows the juices to redistribute throughout the meat, resulting in a more flavorful and tender bird. Here’s why and how to let the turkey rest:
- Juice Redistribution: Resting the turkey allows the moisture inside the meat to redistribute, ensuring that each bite is juicy and flavorful. If you were to carve the turkey immediately after cooking, the juices would immediately escape, leaving the meat dry.
- Carryover Cooking: During the resting period, the temperature of the turkey will continue to rise slightly due to residual heat. This phenomenon, known as carryover cooking, helps to complete the cooking process and ensures that the turkey is cooked to the desired doneness.
- Improved Carving: Resting the turkey makes it easier to carve. As the meat rests, it becomes firmer, which allows for cleaner and more precise slices. This results in a beautifully presented turkey on the table.
- Resting Time: Let the turkey rest for at least 30 minutes before carving. This gives ample time for the juices to redistribute and for the internal temperature to stabilize. Cover the turkey loosely with aluminum foil during the resting period to retain heat.
While the turkey rests, you can take the opportunity to prepare any side dishes or prepare the table for serving. This ensures that everything is ready when it’s time to carve and serve the turkey.
By allowing the turkey to rest, you’ll be rewarded with a moist and flavorful centerpiece for your meal. Resting not only improves the taste and texture of the turkey, but it also makes the carving process easier and more enjoyable. Now that the turkey has rested, it’s time to carve and serve it to your eagerly awaiting guests!
Carving and Serving the Turkey
The moment has finally arrived to carve and serve your beautifully cooked turkey. Follow these steps for a successful carving and serving process:
- Prepare a Cutting Board: Start by placing a clean and stable cutting board on your countertop. Choose a large cutting board that can accommodate the size of the turkey.
- Secure the Turkey: Using a carving fork or a sturdy pair of kitchen tongs, secure the turkey by grabbing onto the drumstick or the wing. This will provide stability while you carve.
- Separate the Legs and Thighs: Begin by cutting through the skin between the body and the leg/thigh. Use a sharp carving knife to slice through the joint, separating the leg and thigh from the turkey. Repeat this process on the other side.
- Remove the Wings: Cut through the joint between the body and the wing to detach the wings from the turkey. Repeat this step on both sides of the turkey.
- Carve the Breast Meat: Locate the breastbone in the center of the turkey. Starting at the top of the breast, make a long, smooth cut along one side of the breastbone, following the natural curve of the breast. Continue slicing until you reach the bottom of the breast. Repeat this process on the other side.
- Slice the Thigh Meat: Separate the thigh from the leg by cutting through the joint. Then, slice the thigh meat against the grain into thin, even slices. Repeat this process for the other thigh.
- Serve and Enjoy: Arrange the carved turkey on a serving platter or individual plates. Garnish with fresh herbs, such as parsley or rosemary, for an added touch of elegance. Serve alongside your favorite side dishes and enjoy your deliciously cooked turkey!
Remember to work slowly and carefully while carving the turkey. Take your time to ensure clean and even slices. If you prefer, you can also separate the drumsticks from the thighs for easier serving or present the whole turkey as a centerpiece on the table.
Carving the turkey should be a joyful and satisfying experience. Enjoy the process and take pride in presenting a beautifully carved turkey to your family and guests.
Now that you have mastered the art of carving and serving a turkey, it’s time to indulge in this delicious feast. Remember to savor every bite and celebrate the culinary success of your roasted turkey in a toaster oven!
Read more: How Long To Broil Steak In Toaster Oven
Tips and Tricks for Cooking a Turkey in a Toaster Oven
Cooking a turkey in a toaster oven requires some adjustments compared to a traditional oven. To help you achieve the best results, here are some tips and tricks to keep in mind:
- Choose the Right Size: Opt for a turkey that will comfortably fit inside your toaster oven without touching the sides or top. A turkey weighing around 10 to 12 pounds is generally the ideal size for toaster oven cooking.
- Thaw the Turkey Thoroughly: Allow enough time to thaw the turkey fully before cooking. Thawing in the refrigerator is the safest method. Remember to factor in the thawing time when planning your meal.
- Preheat the Toaster Oven: Ensure that the toaster oven is properly preheated to the recommended temperature. Preheating is important for even cooking and optimal results.
- Season Generously: Don’t be afraid to season your turkey liberally with herbs, spices, and salt. Season both the cavity and the skin to add flavor to the meat.
- Use a Roasting Rack: Elevate the turkey on a roasting rack or a wire rack placed inside a baking dish. This helps to promote even air circulation and allows the heat to reach all sides of the turkey for uniform cooking.
- Monitor the Cooking Process: Keep a close eye on the turkey as it cooks. Use a meat thermometer to check the internal temperature regularly and ensure that it reaches 165°F (74°C) for safe consumption.
- Baste the Turkey: Basting the turkey with its own juices or a mixture of melted butter and seasonings helps to keep it moist and impart extra flavor. Baste the turkey every 30 minutes or as desired.
- Consider Foil Covering and Rotation: If the turkey is browning too quickly on certain areas, cover those parts loosely with aluminum foil. Additionally, rotating the turkey halfway through the cooking process helps to ensure even cooking and browning.
- Allow the Turkey to Rest: After cooking, let the turkey rest for at least 30 minutes before carving. This allows the juices to redistribute, resulting in a more flavorful and tender turkey.
- Experiment with Flavors: Feel free to get creative with your seasonings and add herbs, spices, or even citrus slices to the cavity for added aromas and tastes. Customize the flavors to suit your preferences.
- Save the Pan Juices: Don’t forget to save the flavorful pan juices generated during cooking. They can be used to make a delicious gravy to complement your turkey and side dishes.
By following these tips and tricks, you’ll be well-equipped to cook a turkey in a toaster oven. Remember to be mindful of the size, season generously, use a roasting rack, monitor the cooking process, and let the turkey rest before carving. With a little practice and experimentation, you will master the art of toaster oven turkey cooking and create a mouthwatering centerpiece for your next special meal.
Enjoy the convenience and deliciousness of cooking a turkey in a toaster oven, and impress your family and friends with a perfectly roasted bird!
Conclusion
Cooking a turkey in a toaster oven may not be the traditional method, but it offers a convenient and delicious alternative. With the right techniques and a few tips and tricks, you can achieve impressive results right from your countertop. Whether you’re cooking for a smaller gathering, have limited oven space, or simply want to try something new, a toaster oven can be a great tool for perfectly roasting a turkey.
In this article, we discussed the importance of choosing the right size turkey for your toaster oven and properly preparing and seasoning the bird. We explored the steps for cooking the turkey, monitoring the process, testing for doneness, and allowing it to rest before carving and serving.
Throughout the process, we provided helpful tips and tricks to ensure a successful outcome. From preheating the toaster oven to using a roasting rack, monitoring the turkey’s temperature, and adding flavor through basting and seasonings, these tips can help you navigate the unique challenges of cooking a turkey in a toaster oven.
Remember to be patient, as cooking a turkey in a toaster oven may require adjustments in cooking times and temperature. With practice, you’ll gain a better understanding of your specific toaster oven’s capabilities and achieve consistently great results.
Now, armed with the knowledge and guidance from this article, you can confidently embark on your toaster oven turkey-cooking adventure. Enjoy the convenience, versatility, and delicious flavors that cooking a turkey in a toaster oven can offer. Gather your loved ones, carve the turkey, and savor every bite of the succulent and flavorful meat.
Whether it’s for a holiday celebration, a special occasion, or just a delicious homemade meal, cooking a turkey in a toaster oven is an innovative and practical approach that can easily impress your guests. Embrace the opportunity to showcase your culinary skills, experiment with flavors, and make the most of your toaster oven’s capabilities.
So go ahead and embrace the unexpected. Break free from tradition and discover the joy of cooking a turkey in a toaster oven. Happy cooking!
Now that you've mastered cooking a turkey in a toaster oven, you might be wondering about other quick meals you can whip up with this versatile appliance. Why not try your hand at a popular snack? If you're curious about perfecting smaller dishes, learn how to efficiently cook Hot Pockets, ensuring they come out just right every time.
Frequently Asked Questions about How To Cook A Turkey In A Toaster Oven
Was this page helpful?
At Storables.com, we guarantee accurate and reliable information. Our content, validated by Expert Board Contributors, is crafted following stringent Editorial Policies. We're committed to providing you with well-researched, expert-backed insights for all your informational needs.

0 thoughts on “How To Cook A Turkey In A Toaster Oven”