Articles
How To Clean The Inside Of Toaster
Modified: September 1, 2024
Learn the best ways to clean the inside of your toaster with these helpful articles. Keep your toaster running smoothly and toast tasting delicious with these expert tips.
(Many of the links in this article redirect to a specific reviewed product. Your purchase of these products through affiliate links helps to generate commission for Storables.com, at no extra cost. Learn more)
Introduction
Having a clean and well-functioning toaster is essential for a deliciously toasted breakfast. Over time, toasters can accumulate crumbs, grease, and other debris both on the inside and outside, which can affect its performance and even pose a fire hazard. To ensure your toaster remains in optimal condition, it’s important to clean it regularly. In this article, we will guide you through the process of cleaning the inside of your toaster, step by step.
Before delving into the cleaning process, it’s crucial to note that safety should always be your top priority. Make sure your toaster is unplugged from the power source before attempting any cleaning. Additionally, read the manufacturer’s instructions for specific cleaning recommendations or any potential hazards to be aware of.
To effectively clean the inside of your toaster, you’ll need a few tools and materials. Gather the following items before you begin:
Key Takeaways:
- Regularly cleaning your toaster’s interior with simple household items like a cloth, toothbrush, and mild soap can ensure optimal performance and safety, prolonging its lifespan.
- Thoroughly cleaning the inside of your toaster, including the crumb tray, slots, and heating elements, can lead to consistently delicious and evenly toasted bread while reducing fire hazards.
Read more: How To Clean Inside Of Grill
Necessary Tools and Materials
- Clean, dry cloth
- Small brush or toothbrush
- Mild dish soap
- Warm water
- Soft sponge or cloth
- Lint-free towel or paper towels
Once you have all the necessary tools and materials ready, you can proceed with the cleaning process. Following the steps below will help you clean the inside of your toaster effectively and efficiently.
Key Takeaways:
- Regularly cleaning your toaster’s interior with simple household items like a cloth, toothbrush, and mild soap can ensure optimal performance and safety, prolonging its lifespan.
- Thoroughly cleaning the inside of your toaster, including the crumb tray, slots, and heating elements, can lead to consistently delicious and evenly toasted bread while reducing fire hazards.
Read more: How To Clean Inside Of Grill
Necessary Tools and Materials
Before you begin cleaning the inside of your toaster, gather the following tools and materials:
- Clean, dry cloth: This will be used to wipe down the exterior of the toaster and remove any loose debris.
- Small brush or toothbrush: A small brush or toothbrush can be used to clean hard-to-reach areas, such as the toaster slots or the crevices around the control buttons.
- Mild dish soap: Using a mild dish soap will help remove grease and grime from the toaster’s surfaces.
- Warm water: Warm water should be used in conjunction with the dish soap to create a cleaning solution.
- Soft sponge or cloth: A soft sponge or cloth can be used to gently scrub the toaster’s surfaces and remove any stubborn stains or residue.
- Lint-free towel or paper towels: These will be used to dry the toaster after cleaning and ensure that no moisture remains, which could damage the components.
It’s important to note that these tools and materials are readily available in most households. If you don’t have a small brush or toothbrush specifically for cleaning, you can repurpose an old toothbrush or use a clean paintbrush as an alternative.
While these tools and materials are generally safe to use, it’s always a good idea to check the manufacturer’s instructions or recommendations for any specific precautions or cleaning guidelines provided. Some toasters may have specific materials or cleaning agents that should be avoided or require additional steps not covered in this general guide.
Now that you have all the necessary tools and materials ready, you’re prepared to tackle the task of cleaning the inside of your toaster. The following steps will guide you through the process, ensuring a thorough cleaning and the longevity of your appliance.
Step 1: Unplug the Toaster and Remove Crumbs
Before you start cleaning the inside of your toaster, the first and most important step is to ensure that it is unplugged from the power source. This is crucial to prevent any accidental electrocution or damage to the toaster during the cleaning process.
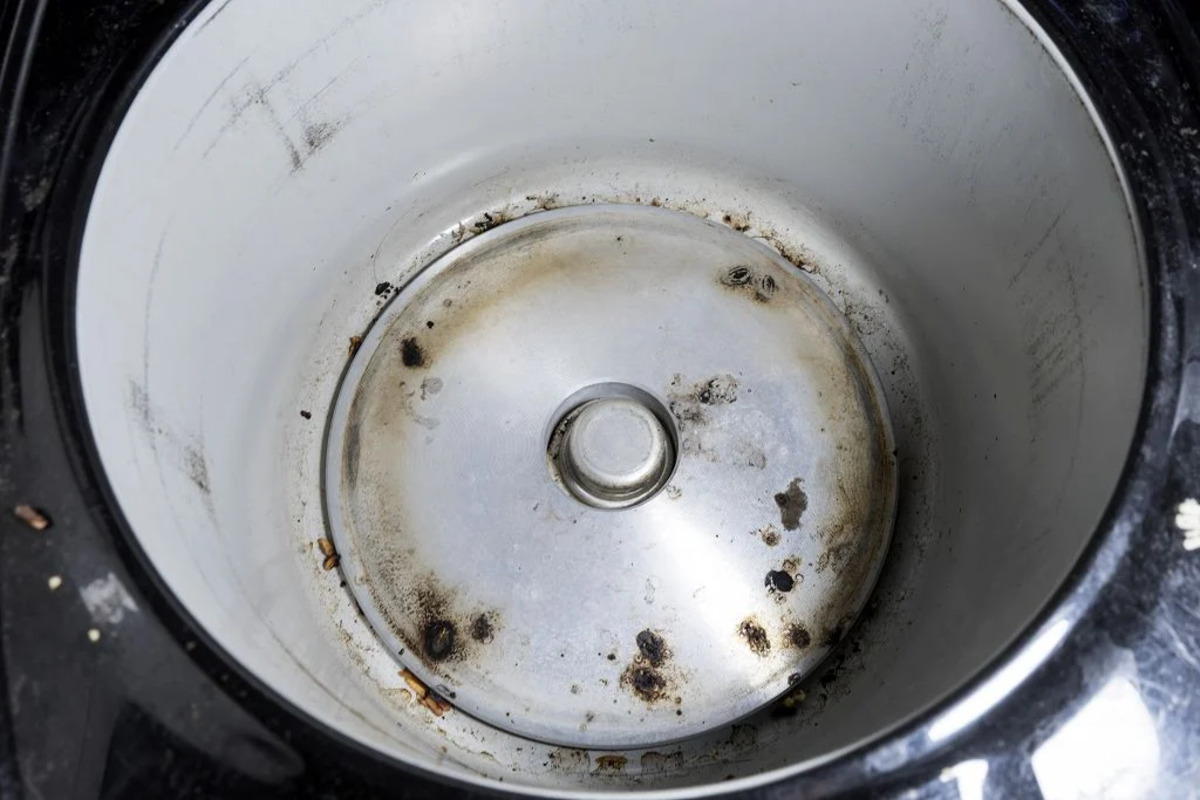
Once the toaster is unplugged, it’s time to remove any visible crumbs or debris from the toaster’s interior. Crumbs can accumulate over time and affect the toaster’s performance, not to mention becoming a fire hazard if left unattended.
To remove the crumbs, hold the toaster upside down over a sink or a trash bin, and gently shake it. This will allow any loose crumbs to fall out. You can also use a small brush or toothbrush to dislodge any stubborn crumbs from the toaster’s slots or corners. Be sure to brush them out carefully to avoid damaging the heating elements or other sensitive parts.
If your toaster has a removable crumb tray, it’s a good idea to take it out and empty it as well. The crumb tray is usually located on the bottom of the toaster and can be easily slid out or removed by pressing a release button. Empty the tray over a sink or trash bin, and if necessary, wash it with warm soapy water and a soft sponge to remove any grease or residue.
Removing the accumulated crumbs and debris from your toaster’s interior not only helps to maintain its performance but also reduces the risk of fire. Make sure to complete this step thoroughly before moving on to the next cleaning tasks.
Now that you have diligently cleaned out the crumbs, you are ready to move on to the next step: cleaning the exterior of the toaster.
Step 2: Clean the Exterior of the Toaster
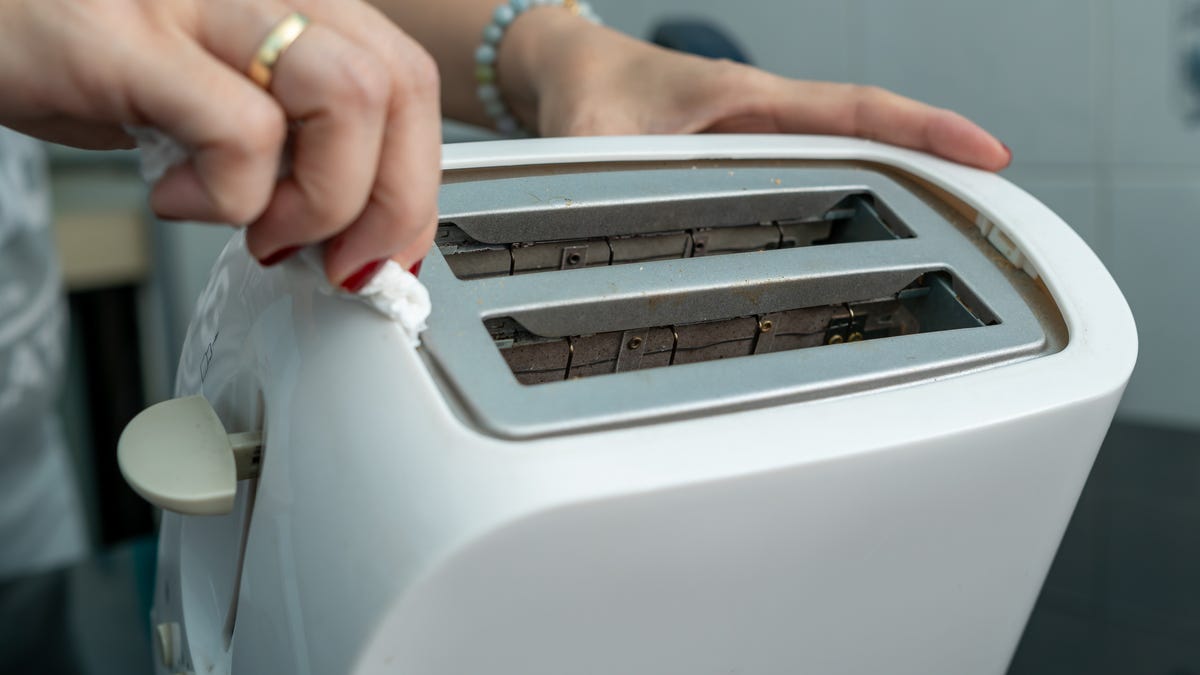
After removing the crumbs from the inside of the toaster, it’s time to focus on cleaning the exterior surfaces. The exterior of the toaster can accumulate dust, fingerprints, and food residue, so giving it a good cleaning will not only improve its appearance but also prevent any build-up that could affect its overall performance.
To begin, dampen a clean, dry cloth with warm water and a small amount of mild dish soap. Gently wipe down the entire exterior of the toaster, paying close attention to any areas with visible stains or grime. Use circular motions to clean the surfaces thoroughly, applying gentle pressure where needed.
If you encounter stubborn stains or greasy spots, you can use a soft sponge or cloth with a bit of soapy water to scrub the area gently. Avoid using abrasive materials or harsh chemicals, as they can damage the toaster’s exterior finish.
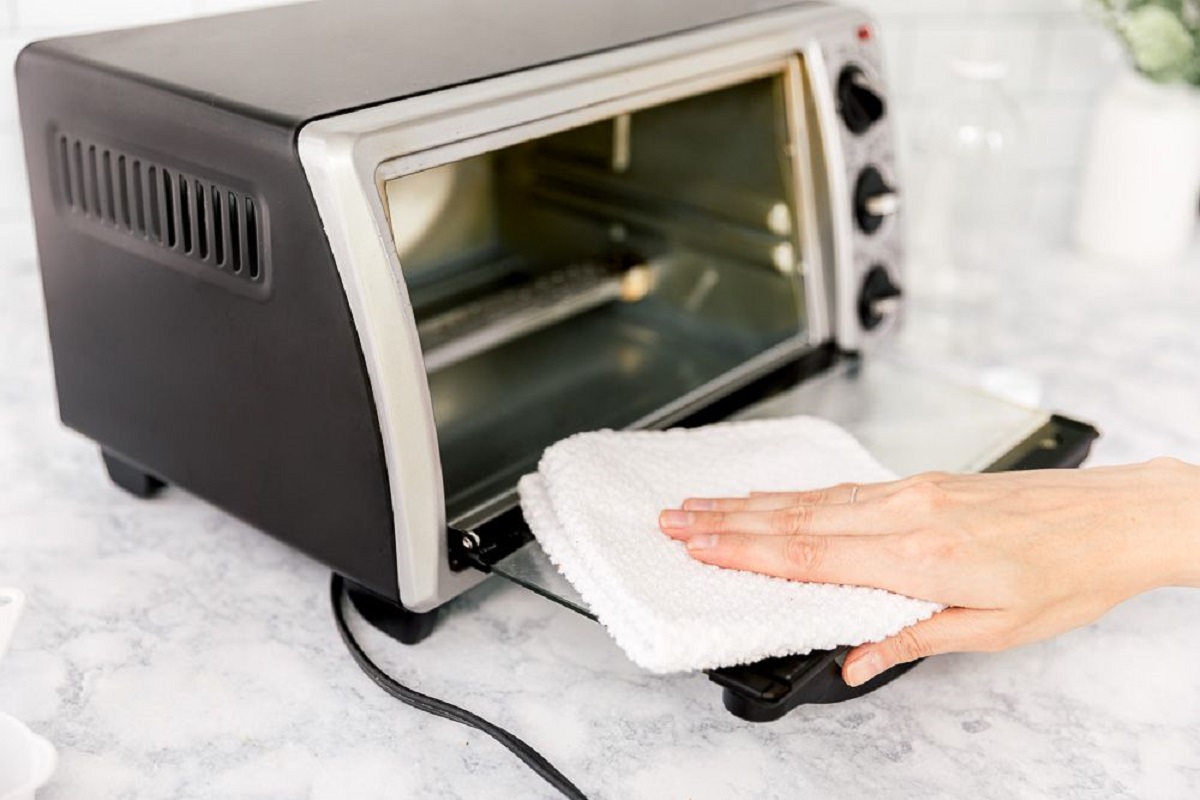
Once you have cleaned the exterior surfaces, rinse the cloth or sponge to remove any soap residue, then dampen it with clean water. Wipe down the toaster again to remove any remaining soap or cleaning solution.
After cleaning, use a lint-free towel or paper towels to dry the toaster’s exterior surfaces. Make sure to remove any excess moisture to prevent water spots or streaks from forming.
It’s worth noting that if your toaster has a stainless steel or other specialized finish, you may need to use specific cleaning products or follow the manufacturer’s guidelines for keeping the exterior clean and shiny. Always refer to the appliance’s manual or contact the manufacturer for any specific care instructions.
With the exterior of your toaster now sparkling clean, it’s time to move on to the next step: cleaning the interior crumb tray.
Unplug the toaster and remove the crumb tray. Use a soft brush to gently remove crumbs from the inside. Wipe down the interior with a damp cloth and mild soap. Be sure the toaster is completely dry before plugging it back in.
Read more: How To Clean Inside Of Dryer
Step 3: Clean the Interior Crumb Tray
Now that the exterior of your toaster is clean, it’s time to focus on the interior crumb tray. The crumb tray is an essential component of the toaster, designed to collect any debris or crumbs that fall during the toasting process. Regularly cleaning the crumb tray ensures the optimal performance of your toaster and prevents any build-up that could affect its functionality.
If your toaster has a removable crumb tray, carefully slide it out from the bottom or press the release button to remove it. Place it over a sink or trash bin and shake off any loose crumbs. You can also gently tap the crumb tray against the sink or trash bin to dislodge any stubborn debris.
Next, wash the crumb tray with warm, soapy water using a soft sponge or cloth. Make sure to remove any remaining crumbs, grease, or residue by gently scrubbing the tray. Rinse it thoroughly with clean water to remove any soap residue.
Dry the crumb tray completely using a lint-free towel or paper towels before reinserting it back into the toaster. It is crucial to ensure that the tray is completely dry to prevent any moisture from affecting the toaster’s components.
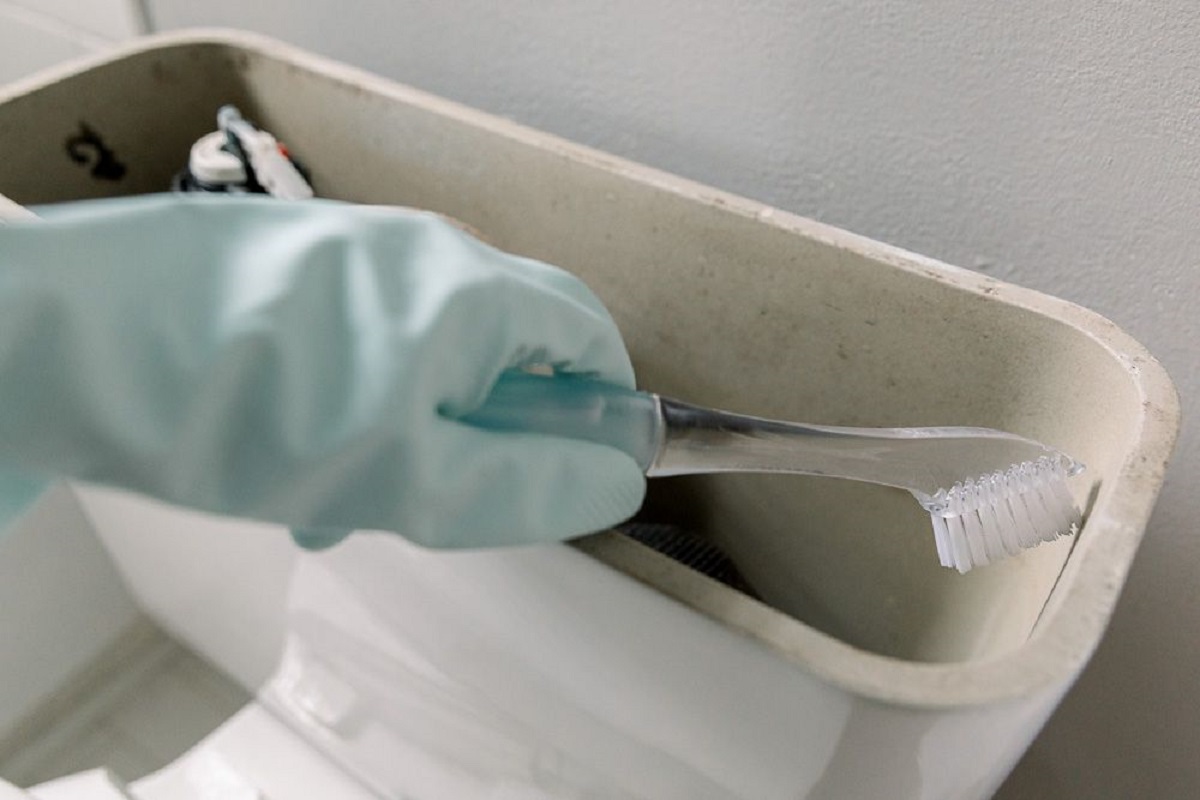
If your toaster doesn’t have a removable crumb tray, you can still clean the interior by using a small brush or toothbrush. Carefully brush out any remaining crumbs or debris from the toaster’s interior, making sure to reach all the nooks and crevices. You can also use a vacuum cleaner with a brush attachment to remove any loose particles.
Once you have finished cleaning the crumb tray or brushing out the interior, it’s now time to move on to the next step: deep cleaning the toaster slots.
Note: It’s essential to refer to the manufacturer’s instructions for any specific recommendations on cleaning the crumb tray or interior of your toaster, as different models may have varying requirements.
Step 4: Deep Clean the Toaster Slots
After cleaning the exterior and the crumb tray, it’s time to focus on deep cleaning the toaster slots. Over time, these slots can accumulate crumbs, food particles, and residue, which can affect the toaster’s performance and even lead to burned or uneven toasting. Deep cleaning the toaster slots will ensure that they are free from any debris and allow for optimal toasting results.
Start by unplugging the toaster and allowing it to cool down completely. It’s crucial to ensure that the toaster is not hot to avoid any risk of burns or accidents during this step.
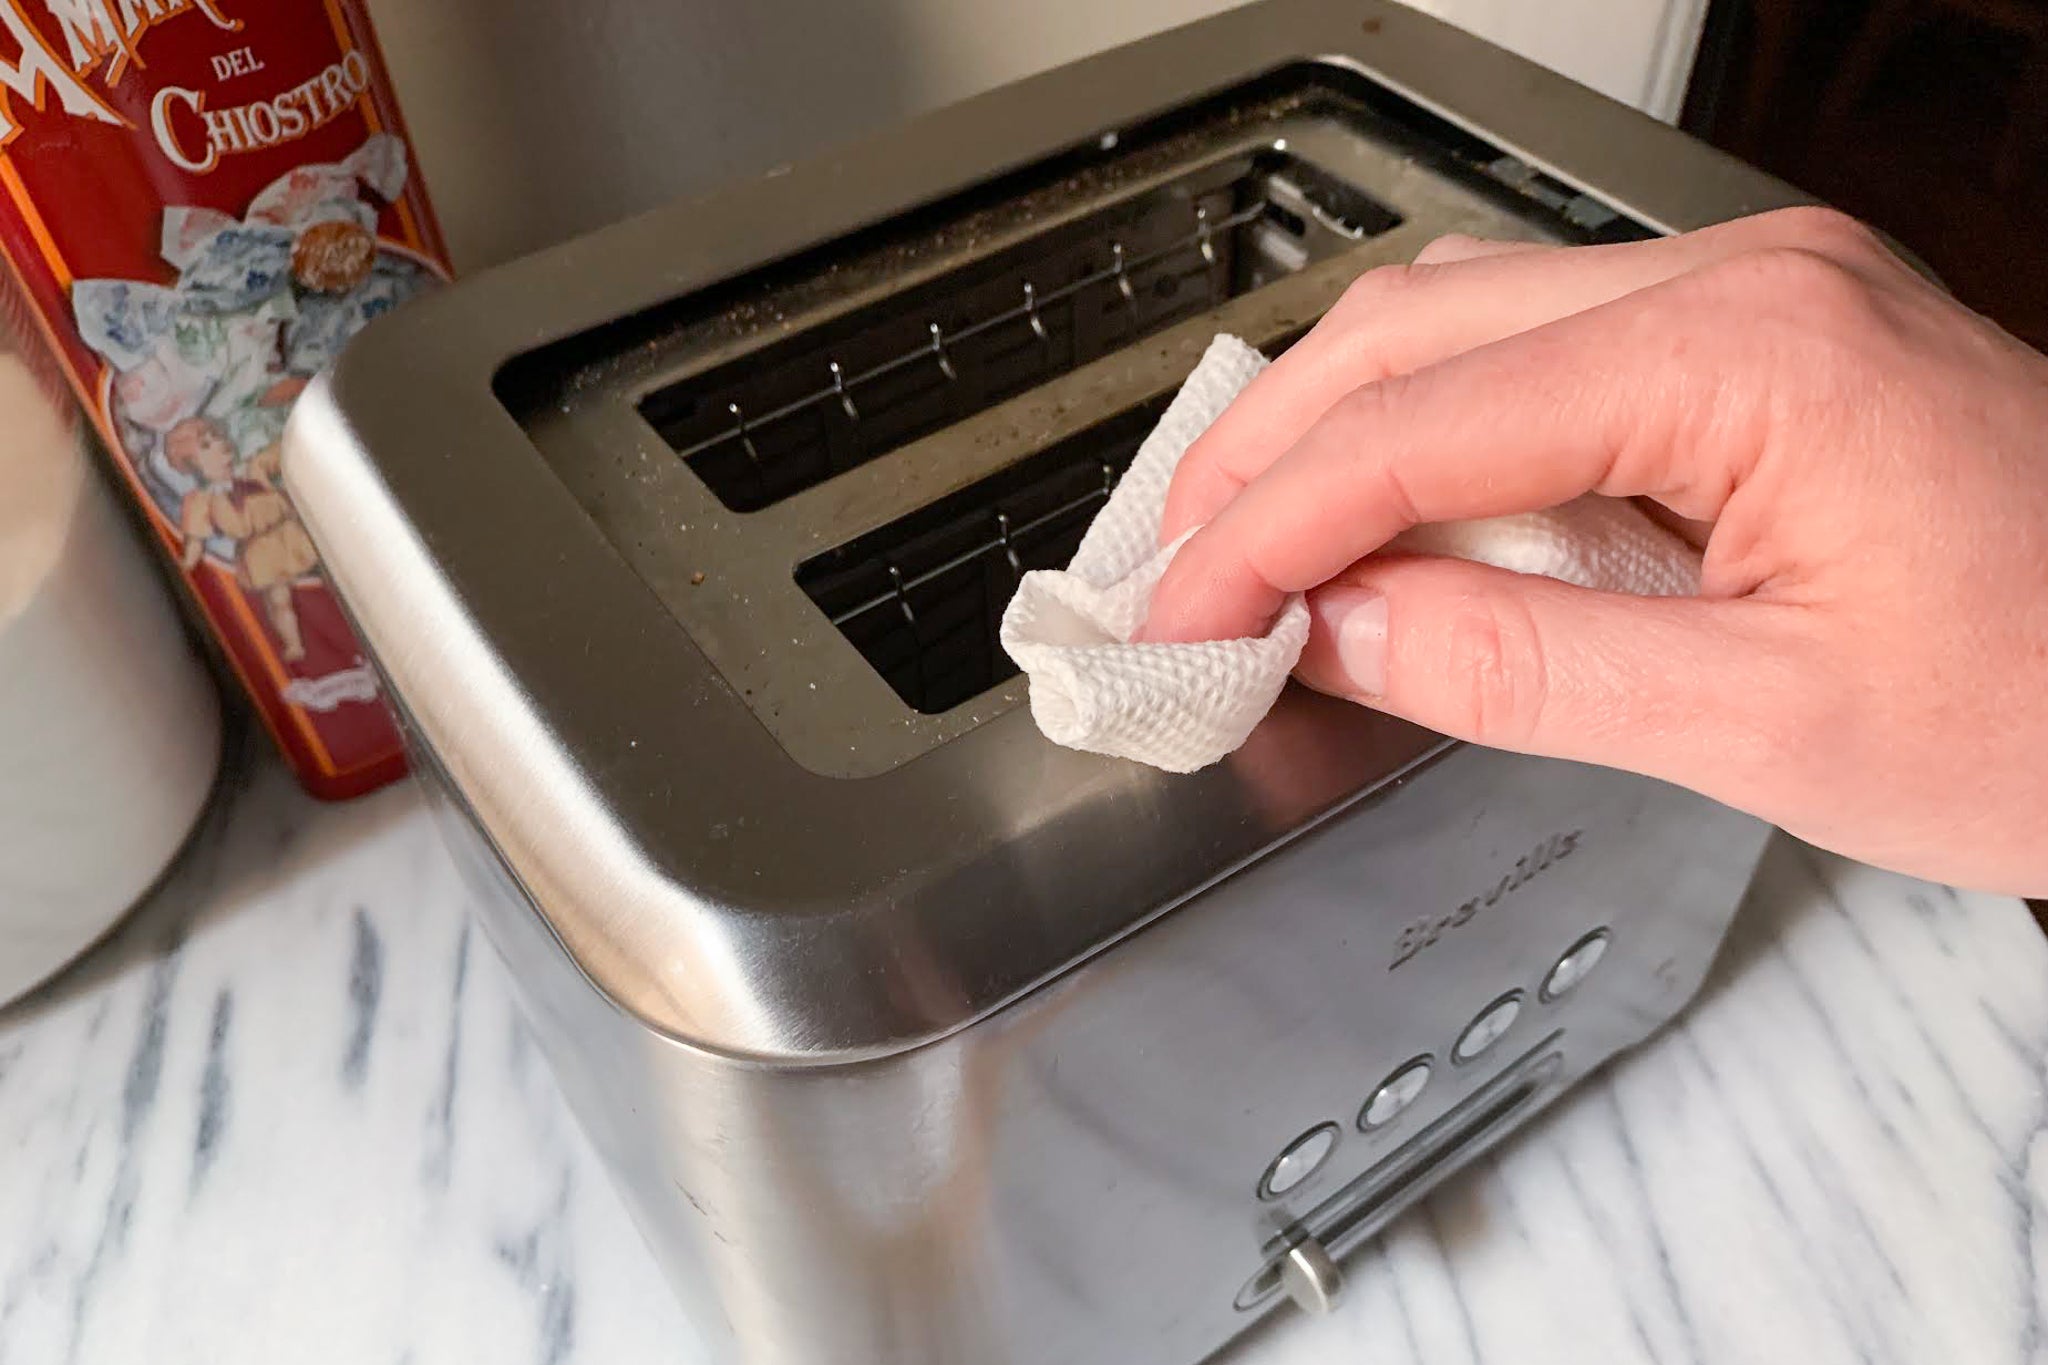
Once the toaster is cool, carefully position it upside down over a sink or a trash bin, so the toaster slots are facing downward. Gently shake the toaster to remove any loose crumbs or debris that may have settled inside the slots. You can also use a small brush or toothbrush to dislodge any stubborn particles from the slots, being careful not to damage the heating elements.
If there are stubborn residues or grease build-up inside the toaster slots, you can create a cleaning solution by mixing warm water with a small amount of mild dish soap. Dampen a soft sponge or cloth with the cleaning solution and gently scrub the interior of the slots, focusing on the areas that need extra attention. Make sure to wring out excess water from the sponge or cloth to prevent any liquid from entering the toaster.
After scrubbing, rinse the sponge or cloth with clean water and use it to wipe away any soap residue or cleaning solution from the toaster slots. It’s important to ensure that the slots are thoroughly rinsed to prevent any soapy taste or residue on your toast.
Once you have cleaned the toaster slots, use a clean, dry cloth to wipe away any moisture. Ensure that the interior is completely dry before reassembling the toaster and plugging it back in.
Cleaning the toaster slots regularly will improve the toasting efficiency, reduce the risk of burning and uneven toasting, and prolong the lifespan of your appliance. With the toaster slots deep cleaned, you are now ready to move on to the next step: cleaning the toaster’s heating elements.
Step 5: Clean the Toaster’s Heating Elements
The heating elements in your toaster play a crucial role in achieving that perfectly toasted bread. Over time, however, these elements can accumulate residue from crumbs, food particles, and grease, which can affect their performance and even pose a fire hazard. Cleaning the toaster’s heating elements is an essential step to ensure efficient toasting and maintain the safety of your appliance.
Before proceeding with cleaning the heating elements, make sure the toaster is unplugged and completely cool to avoid any risk of burning yourself.
To clean the heating elements, start by using a small brush or toothbrush to gently remove any visible debris or stuck crumbs. Be careful not to apply too much pressure or touch the elements directly to avoid damaging them. You can also use compressed air or a can of compressed air to blow away any loose particles.
If there are stubborn residues or grease on the heating elements, you can create a cleaning solution by mixing warm water with a small amount of mild dish soap. Dampen a soft cloth or sponge with the cleaning solution and carefully wipe the heating elements, taking care not to touch or disturb the delicate element coils.
When wiping the heating elements, use gentle, circular motions to remove any build-up. If necessary, you can fold the cloth or sponge to reach smaller areas or corners. Avoid using excessive moisture or letting the cleaning solution drip onto other parts of the toaster.
After cleaning, use a clean, damp cloth to wipe away any soapy residue from the heating elements. It’s crucial to ensure that no soap or cleaning solution remains on the elements, as this can cause a foul taste or smoke during the toasting process.
Once you have completed cleaning the heating elements, use a dry cloth to wipe away any moisture. Ensure that the heating elements are completely dry before reassembling the toaster and plugging it back in.
Regularly cleaning the heating elements of your toaster will not only improve its performance but also help prolong its lifespan and ensure safe operation. With the heating elements cleaned, it’s time to move on to the final step: reassembling and plugging in the toaster.
Step 6: Reassemble and Plug in the Toaster
Now that you have successfully cleaned the inside of your toaster, it’s time to reassemble the components and plug it back in. Properly reassembling the toaster ensures that all parts are securely in place and ready for use.
Begin by placing the crumb tray back into its designated slot at the bottom of the toaster. If it has a release button, make sure it snaps securely into place. Ensure that the crumb tray is clean and dry before reinserting it.
Next, position the toaster upright and gently slide the toaster lever or pop-up mechanism back into its original position. This will ensure that the toaster slots are aligned correctly and ready for toasting.
Once the toaster is reassembled, double-check that all the components are securely in place. Make sure the crumb tray, lever, and all buttons or dials are properly aligned and functional.
Now it’s time to plug in the toaster. Locate a convenient electrical outlet and insert the plug. Ensure that the plug fits snugly into the outlet and there are no loose connections.
Before using the toaster for toasting bread or any other food, it’s recommended to run a quick “test toast” to ensure that everything is working correctly. Set the desired toasting level and insert a slice of bread into the toaster. Monitor the toasting process to ensure it operates smoothly without any issues.
Remember, it’s important to follow the manufacturer’s instructions for safe and proper use of your toaster. Pay attention to any specific guidelines or precautions mentioned in the user manual.
By following these steps and regularly cleaning your toaster, you can enjoy deliciously toasted bread and ensure the longevity of your appliance.
Congratulations! You have now successfully cleaned the inside of your toaster and are ready to enjoy perfectly toasted bread for your breakfast or snack.
Remember to periodically clean your toaster to maintain its performance and prevent any build-up that could affect its function. By taking the time to clean and maintain your toaster, you can ensure its efficiency and extend its lifespan.
Thank you for reading this comprehensive guide on cleaning the inside of your toaster. We hope these steps have been helpful, and we wish you many delightful moments of toasting!
Read more: How To Clean A Dryer Inside And Out
Conclusion
Cleaning the inside of your toaster is an essential task to maintain its performance, prolong its lifespan, and ensure the safety of your appliance. By following the step-by-step guide we have provided, you can effectively clean the inside of your toaster and keep it in optimal condition.
We started by gathering the necessary tools and materials, including a clean cloth, small brush or toothbrush, mild dish soap, warm water, soft sponge or cloth, and lint-free towels. These simple items are readily available in most households and will enable you to clean your toaster effectively.
We then walked you through each step of the cleaning process. You learned to unplug the toaster and remove crumbs from the interior, clean the exterior surfaces using warm soapy water, and thoroughly clean the interior crumb tray.
Next, we guided you through deep cleaning the toaster slots to remove any debris or residue that may affect its toasting performance. Lastly, we emphasized the importance of cleaning the heating elements and provided you with the necessary precautions to avoid damaging them.
After completing the cleaning process, we emphasized the significance of reassembling the toaster correctly and plugging it back in safely. Remember to run a test toast to ensure that the toaster is working properly before resuming regular use.
Regular cleaning of your toaster will not only maintain its functionality but also ensure that your toasts are consistently crispy and delicious. It will also help prevent any fire hazards and prolong the life of your appliance.
We hope that this comprehensive guide has equipped you with the knowledge and confidence to clean the inside of your toaster effectively. By following these steps and incorporating regular cleaning into your routine, you can enjoy perfectly toasted bread and a well-maintained appliance for years to come.
Thank you for taking the time to read this guide. Happy toasting!
Frequently Asked Questions about How To Clean The Inside Of Toaster
Was this page helpful?
At Storables.com, we guarantee accurate and reliable information. Our content, validated by Expert Board Contributors, is crafted following stringent Editorial Policies. We're committed to providing you with well-researched, expert-backed insights for all your informational needs.


0 thoughts on “How To Clean The Inside Of Toaster”