
Articles
How To Cook Calrose Rice In A Rice Cooker
Modified: August 24, 2024
Learn how to cook Calrose rice in a rice cooker with our informative articles. Discover the best tips and techniques for perfect results every time.
(Many of the links in this article redirect to a specific reviewed product. Your purchase of these products through affiliate links helps to generate commission for Storables.com, at no extra cost. Learn more)
Introduction
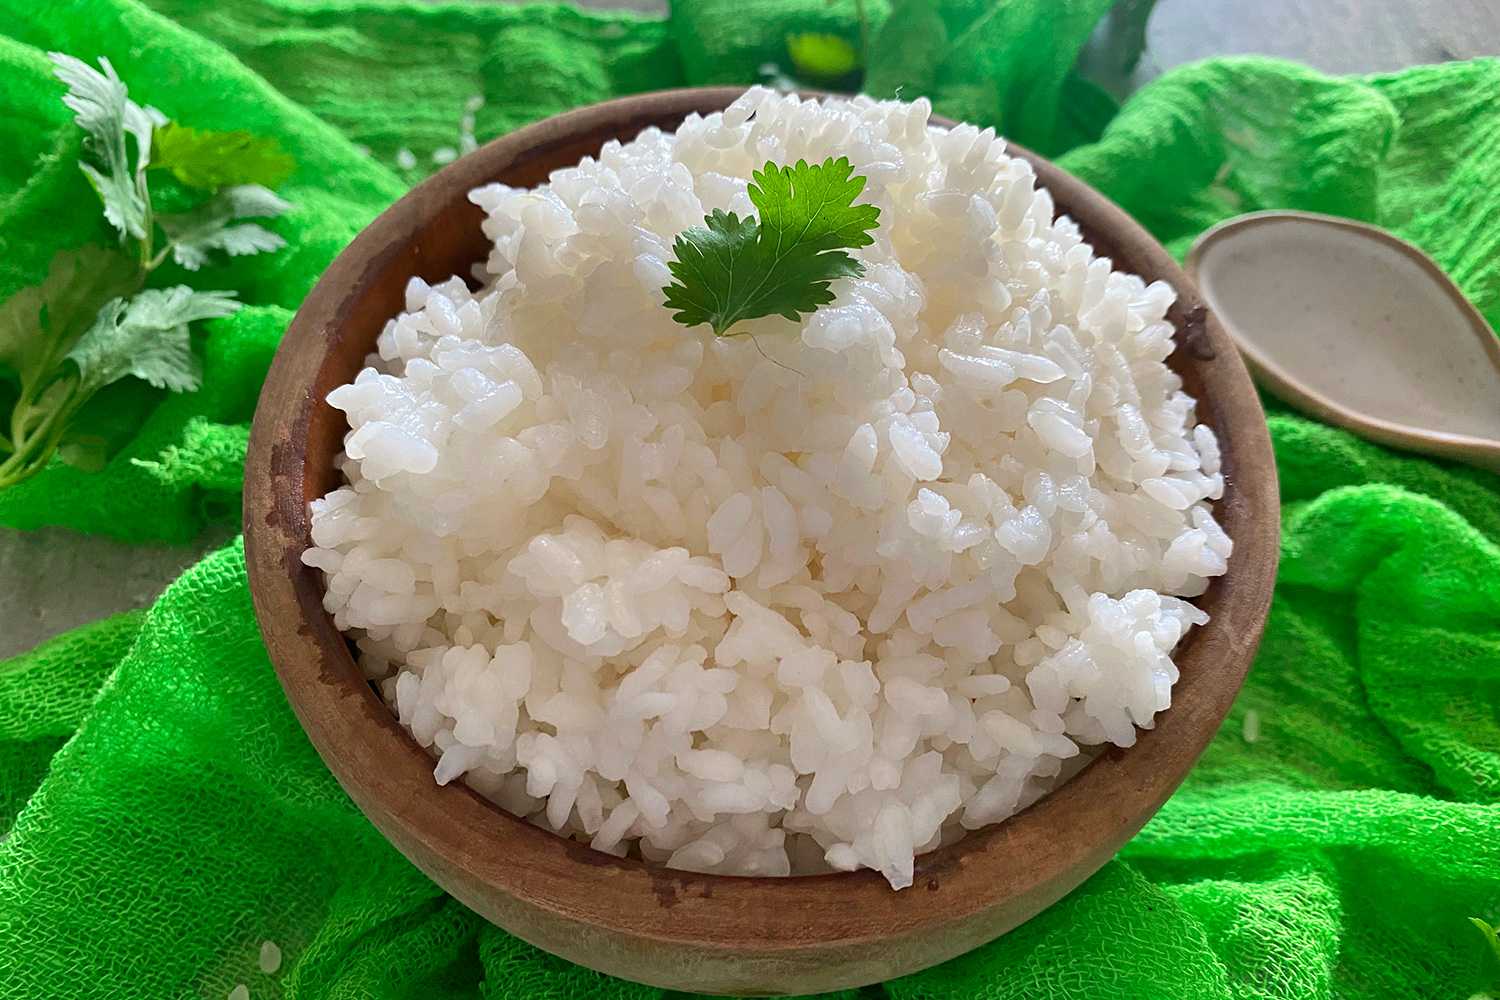
Calrose rice is a medium-grain rice that is known for its tender texture, distinct flavor, and versatility in various dishes. Cooking Calrose rice in a rice cooker is a convenient and foolproof method that ensures perfect results every time. Whether you are a seasoned cook or a beginner in the kitchen, following this step-by-step guide will help you cook fluffy and delicious Calrose rice effortlessly.
In this article, we will walk you through the process of cooking Calrose rice in a rice cooker, highlighting the equipment needed, the ingredients required, and the specific steps to ensure success. So, let’s get started!
Key Takeaways:
- Cooking Calrose rice in a rice cooker is a foolproof method for achieving fluffy and delicious rice every time. With simple equipment and ingredients, anyone can master this versatile and comforting dish.
- By following the step-by-step guide, you can effortlessly cook perfect Calrose rice in a rice cooker. From rinsing the rice to fluffing the grains, each step ensures a satisfying and flavorful result that pairs well with a variety of dishes.
Read more: How Much Rice For Rice Cooker
Equipment Needed
To cook Calrose rice in a rice cooker, you will need the following equipment:
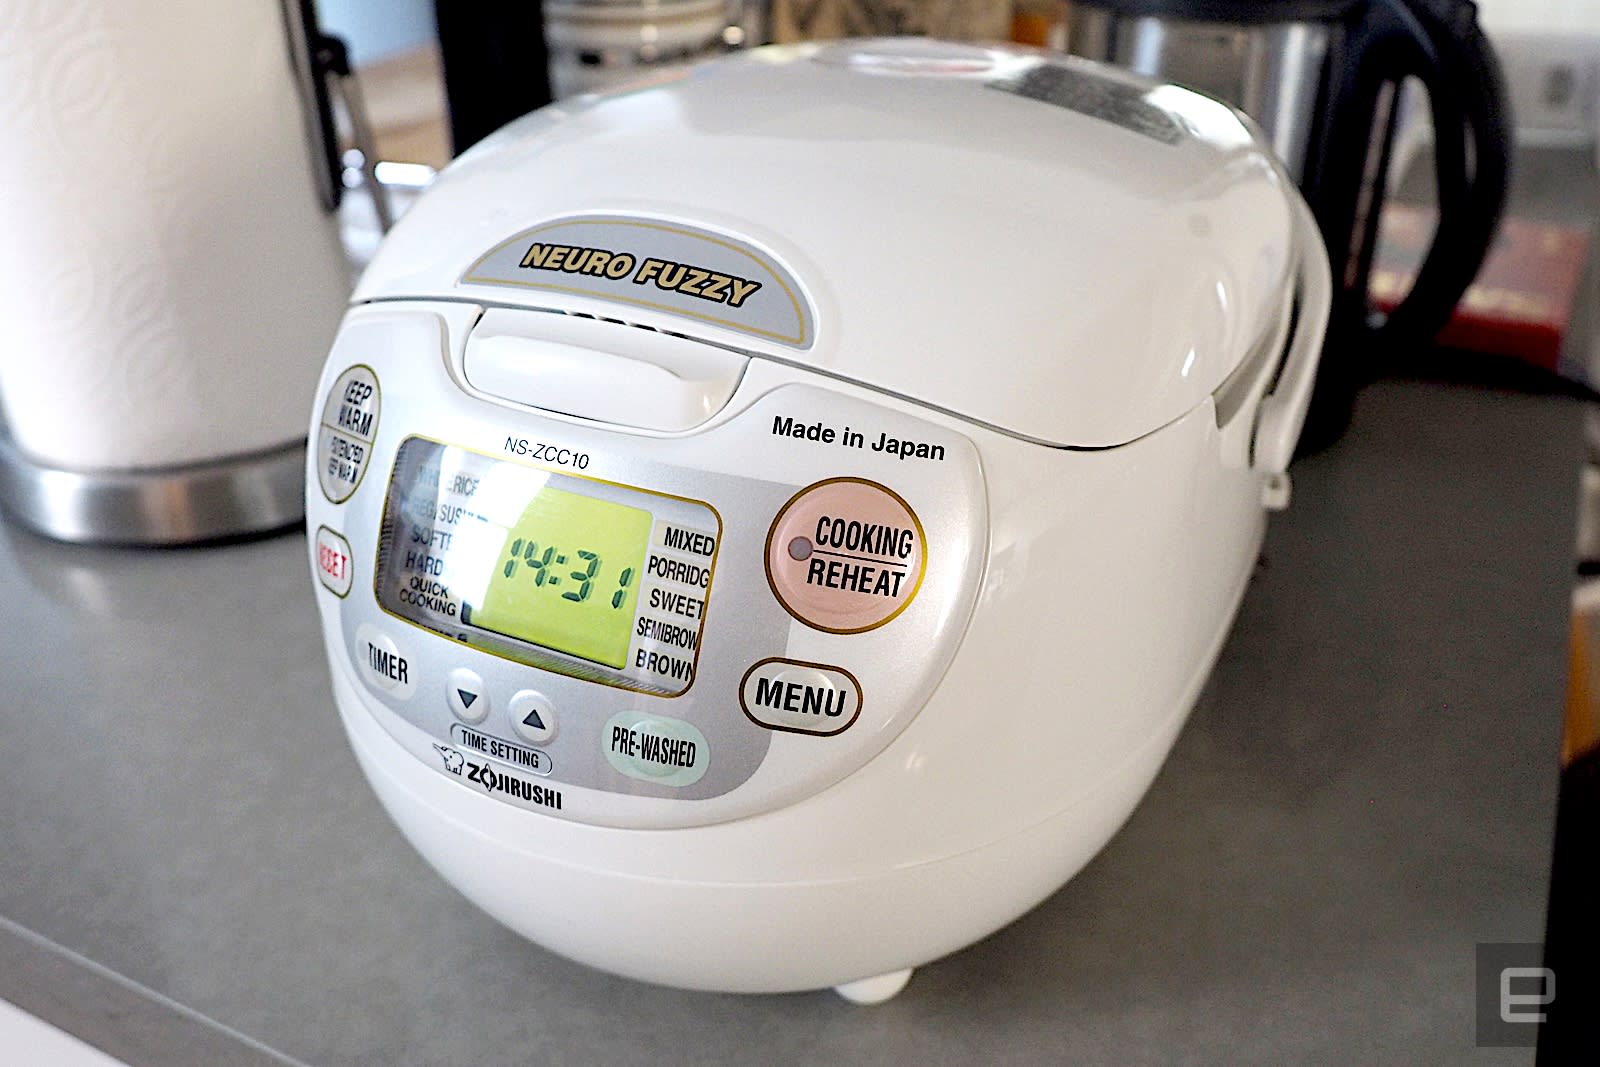
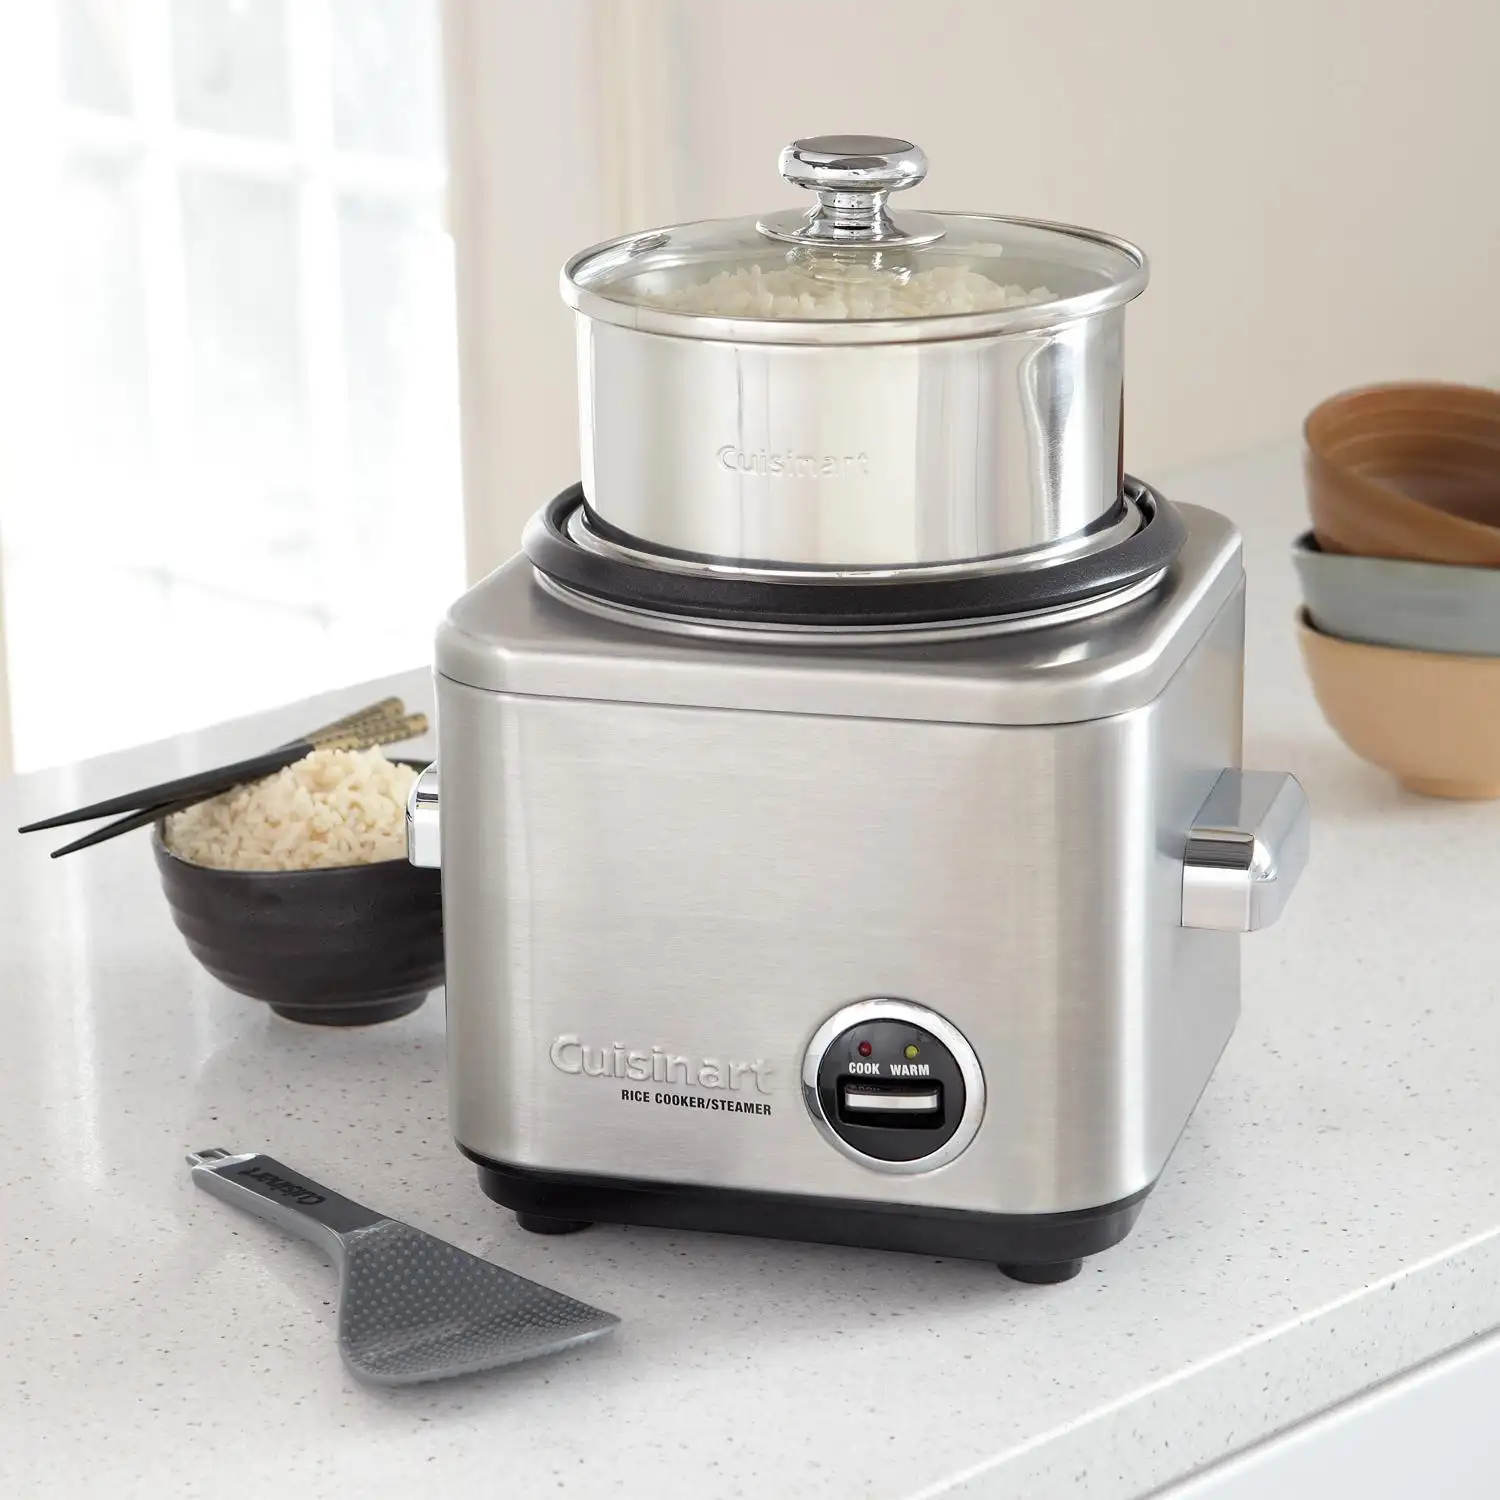
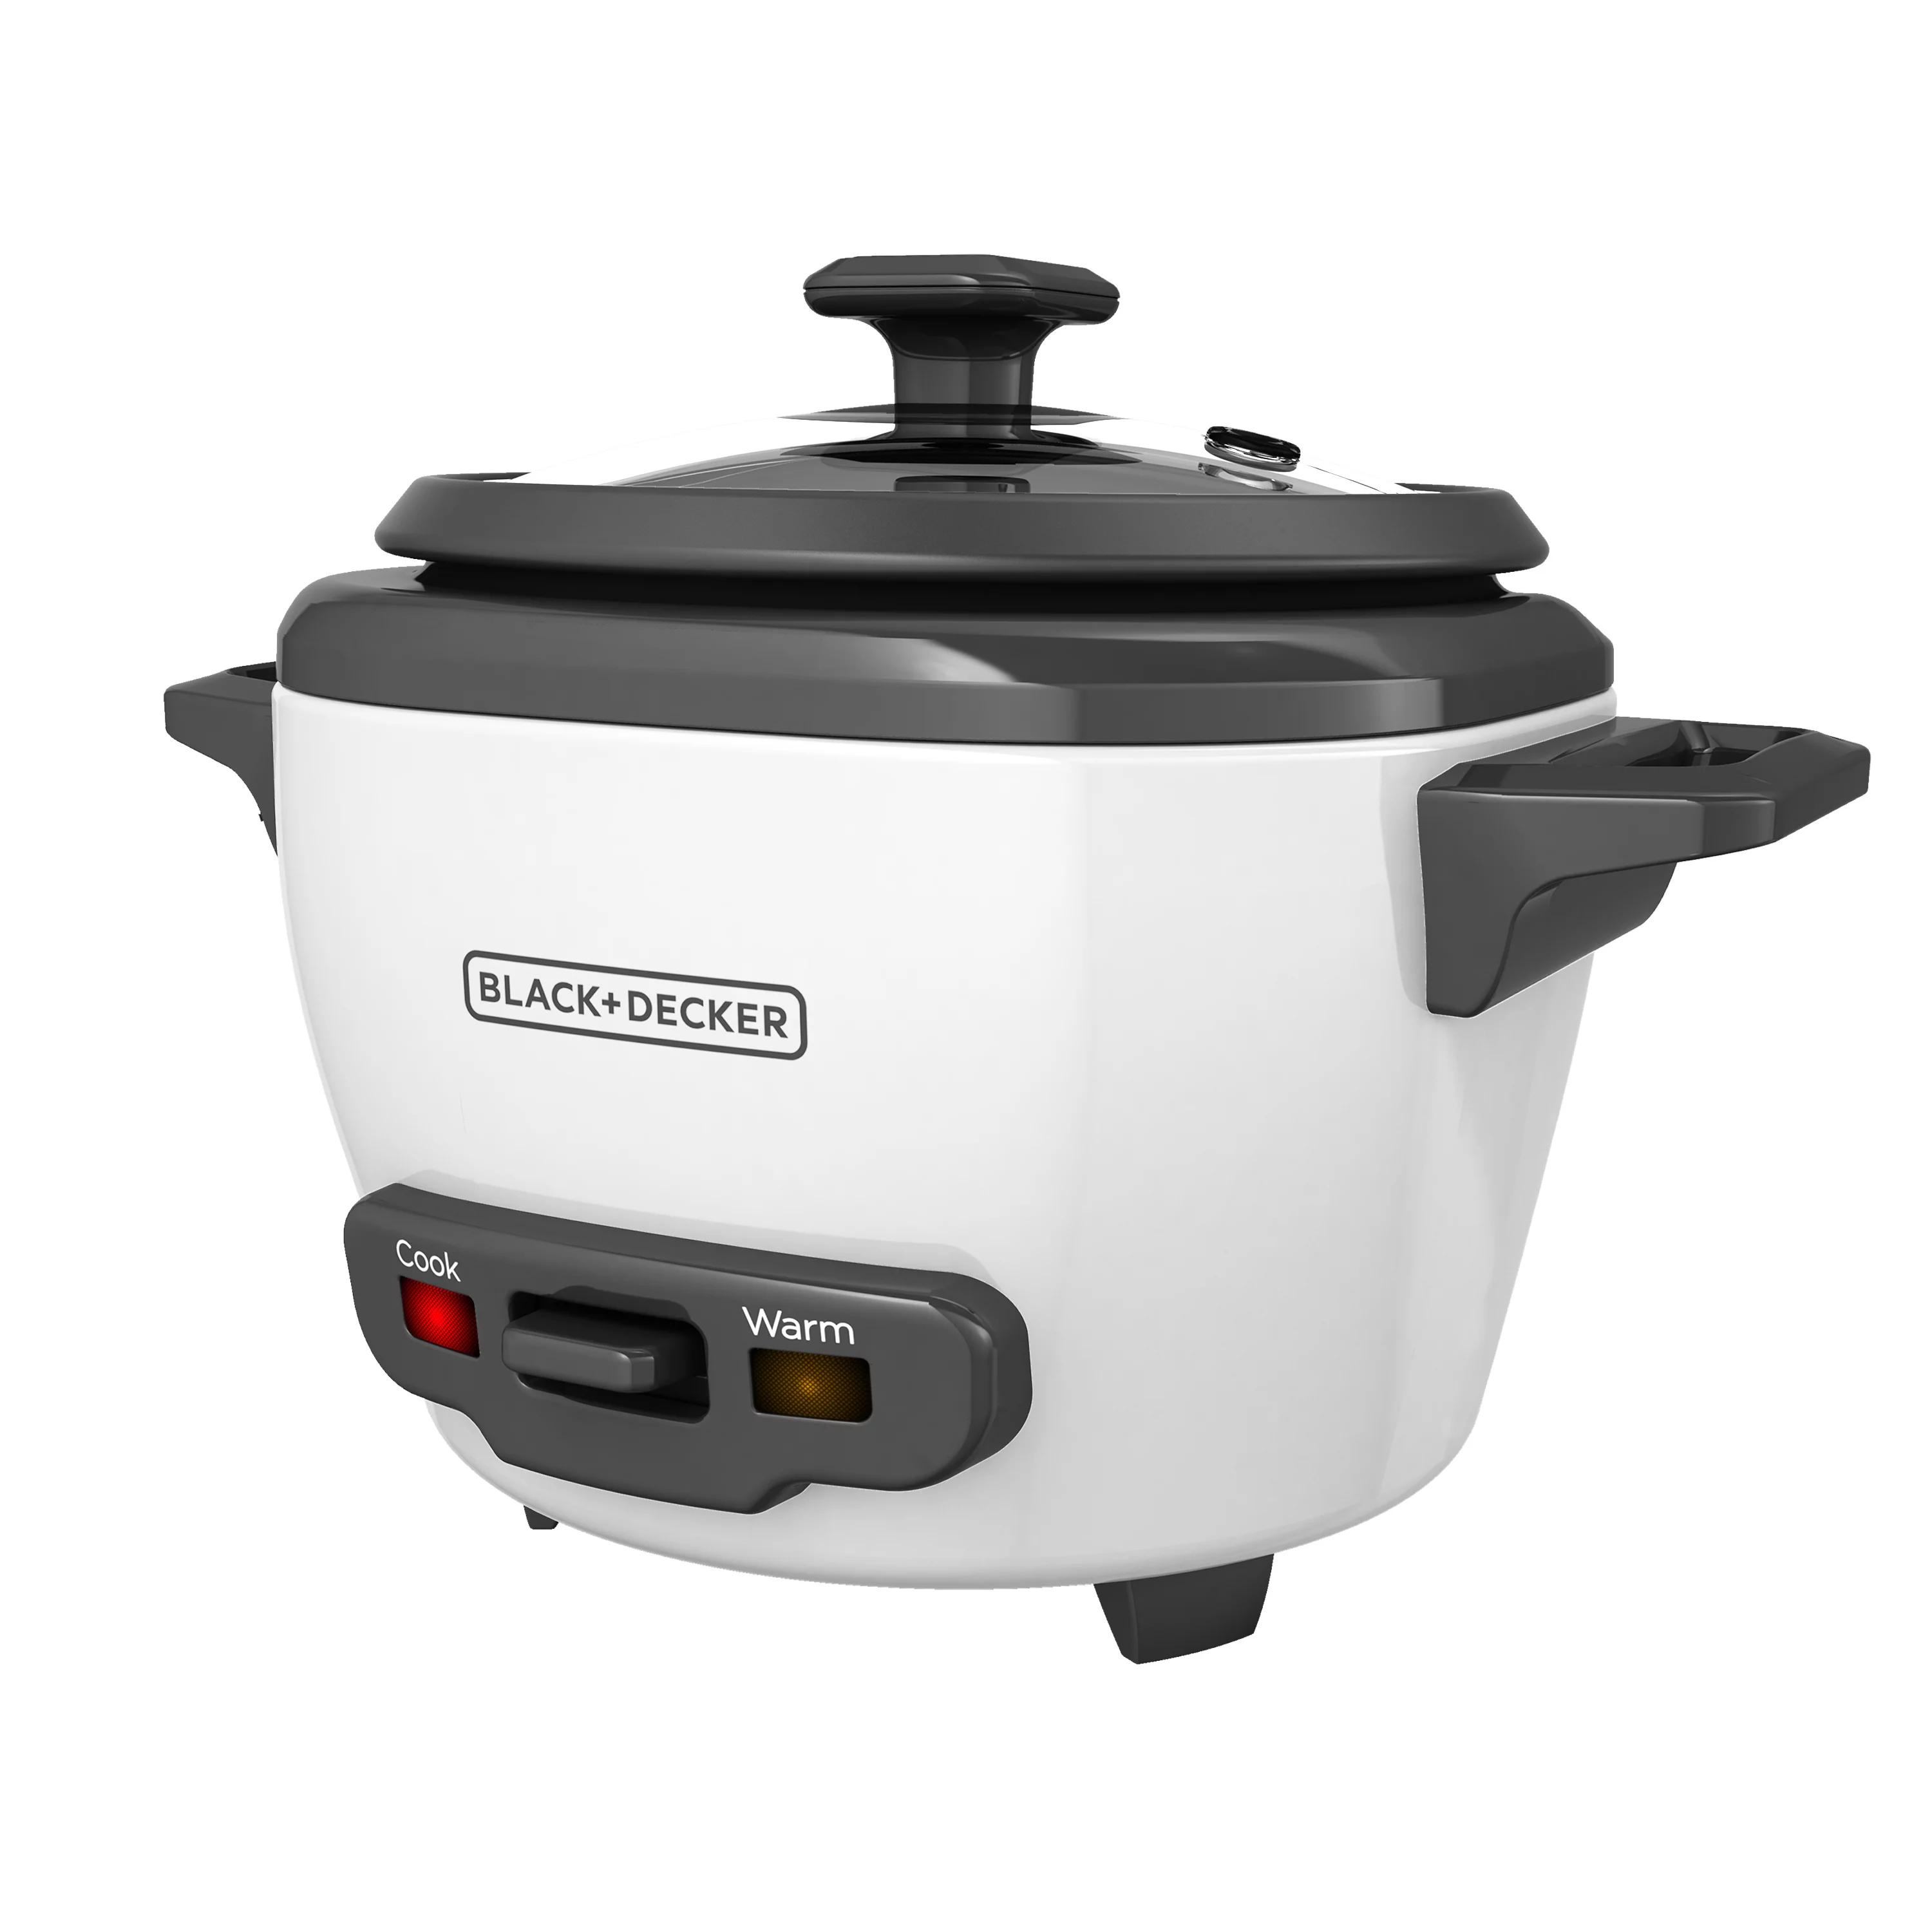
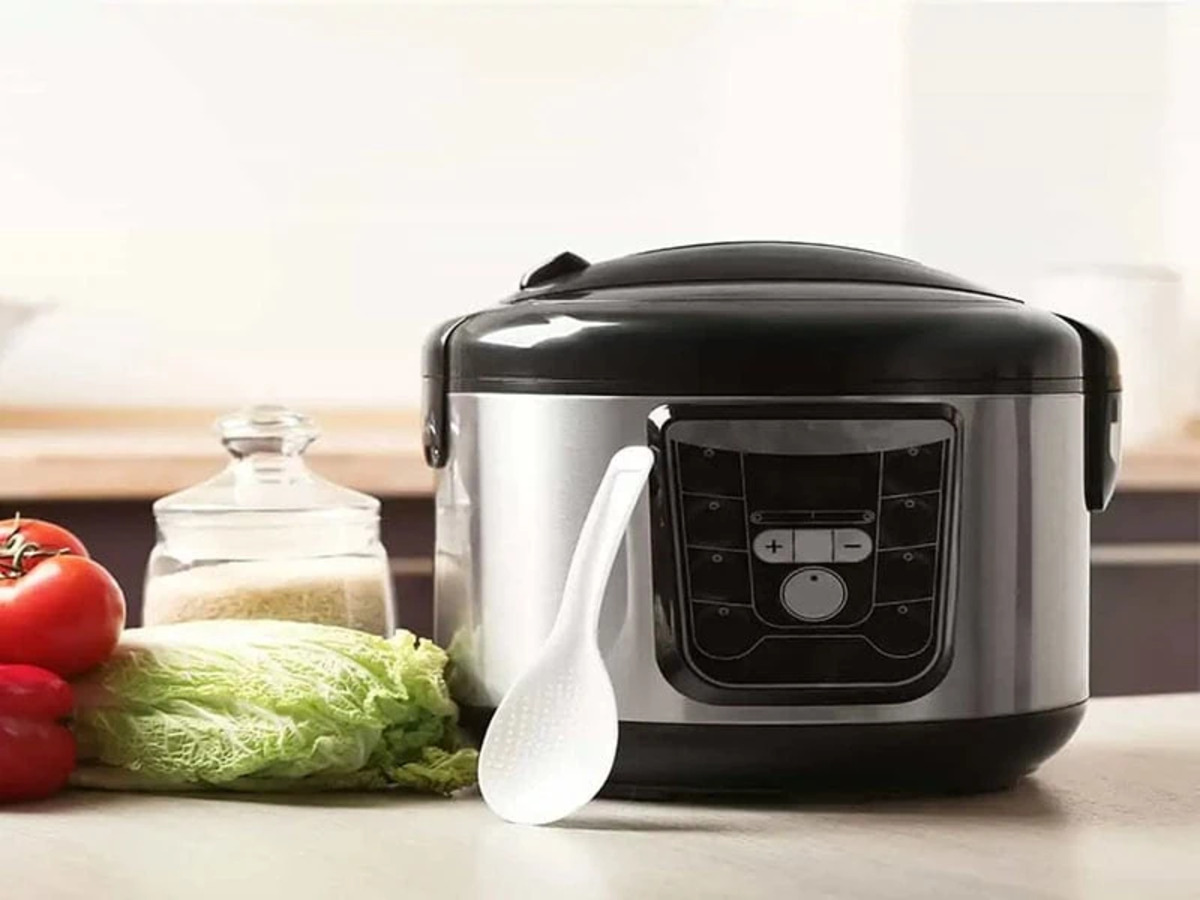
- A rice cooker: This is the essential appliance that will cook the rice to perfection. Choose a rice cooker that has a capacity suitable for the amount of rice you plan to cook.
- A measuring cup: This will help you accurately measure the rice and water ratios for optimal results.
- A rice paddle or fork: This will be used to stir and fluff the cooked rice.
- A colander or fine-mesh strainer: This optional but recommended equipment will help you rinse the rice before cooking, removing any excess starch or impurities.
Having these basic equipment on hand will ensure a smooth and efficient cooking process. Now that you have the necessary tools, let’s move on to the next section – the ingredients required to cook Calrose rice!
Ingredients
To cook Calrose rice in a rice cooker, you will need the following ingredients:
- Calrose rice: This is the main ingredient and the star of the dish. Calrose rice is a medium-grain rice that is known for its creamy texture and slightly sticky consistency when cooked.
- Water: The amount of water needed will depend on the desired texture of the rice. As a general rule, the ratio of rice to water is 1:1.5. However, you may adjust the water amount slightly according to your preference.
That’s it! The list of ingredients for cooking Calrose rice in a rice cooker is delightfully simple and straightforward. Calrose rice can be easily found at most grocery stores or specialty markets. Now that you have all the ingredients ready, let’s move on to the step-by-step process of cooking Calrose rice in a rice cooker!
Step 1: Rinse the Rice
The first step in cooking Calrose rice in a rice cooker is to rinse the rice. Rinsing the rice removes any excess starch and helps to achieve a fluffier texture. Here’s how to do it:
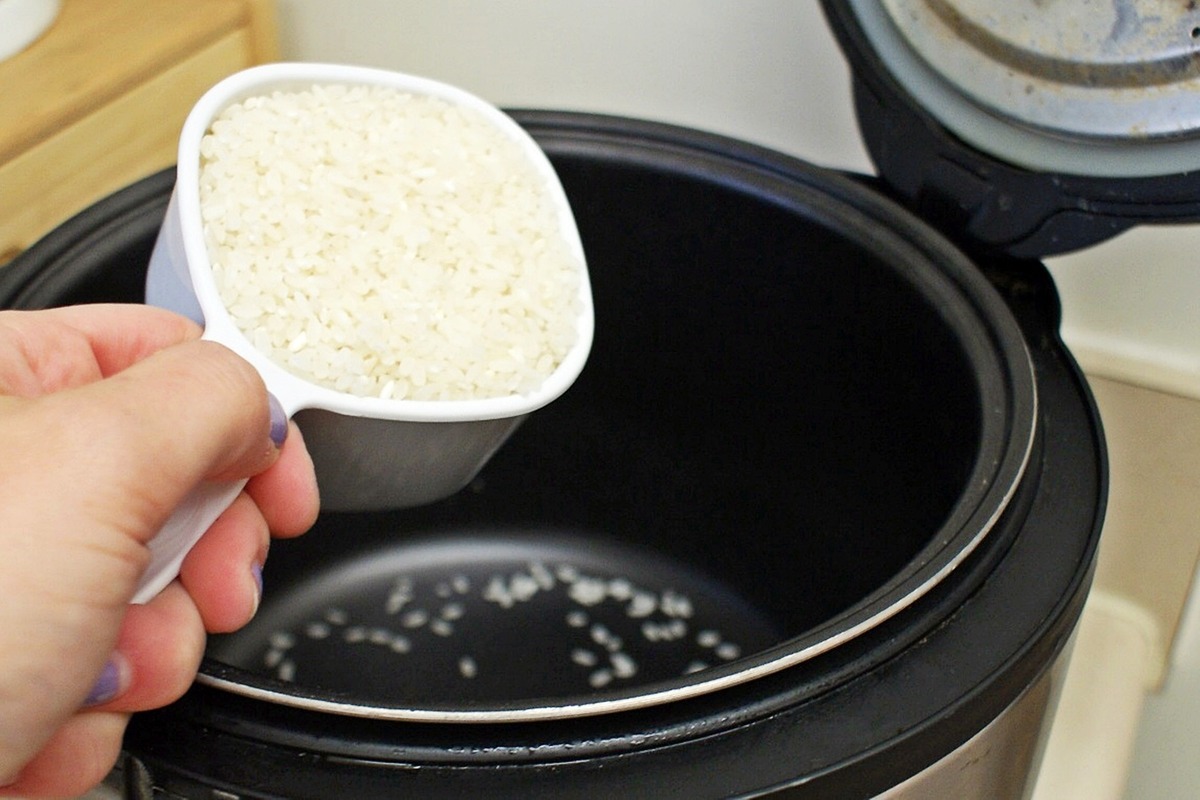
- Measure the desired amount of Calrose rice using the measuring cup. A common serving size is 1 cup of uncooked rice, which will yield approximately 3 cups of cooked rice.
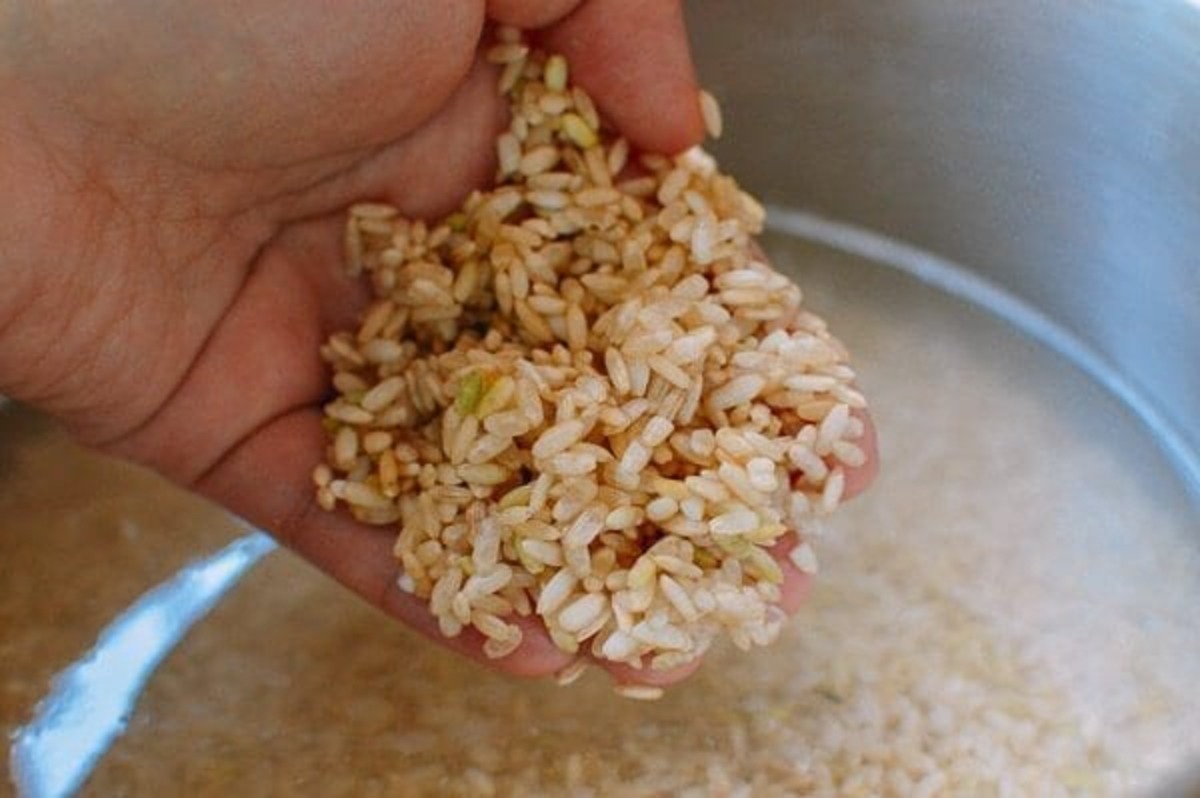
- Place the rice in a colander or fine-mesh strainer and rinse it under cold water. Gently swirl the rice around with your hands, ensuring that each grain gets rinsed. Continue rinsing until the water runs clear, indicating that the excess starch has been removed.
Once the rice is thoroughly rinsed, move on to the next step – measuring the water.
Step 2: Measure the Water
After rinsing the Calrose rice, the next step is to measure the water. The amount of water needed may vary depending on personal preference and the desired texture of the rice. As a general rule, the ratio of rice to water is 1:1.5. Here’s how to measure the water:
- Using the same measuring cup you used for the rice, add 1.5 cups of water for every 1 cup of Calrose rice. This ratio will ensure that the rice cooks evenly and becomes tender.
- Pour the measured water into a separate container or directly into the rice cooker pot.
By accurately measuring the water, you will ensure that the rice absorbs the right amount of moisture during the cooking process, resulting in perfectly cooked rice. Now that you have the rice rinsed and the water measured, it’s time to move on to the next step – adding the rice and water to the rice cooker.
Rinse the Calrose rice in a fine-mesh strainer before cooking to remove excess starch. Use a 1:1 ratio of rice to water in the rice cooker for perfect results.
Read more: How To Cook Fluffy Rice In A Rice Cooker
Step 3: Add Rice and Water to the Rice Cooker
With the rice rinsed and the water measured, it’s time to combine them in the rice cooker. Follow these simple steps:
- Place the rinsed Calrose rice into the rice cooker pot.
- Pour the measured water over the rice. Ensure that the water is evenly distributed over the rice.
- Gently stir the rice and water together using a rice paddle or fork. This will help evenly distribute the moisture throughout the rice grains.
Once the rice and water are combined, you are ready to move on to the next step – setting the rice cooker.
Step 4: Set the Rice Cooker
Setting the rice cooker is a crucial step in ensuring perfectly cooked Calrose rice. Here’s how to set it:
- Place the lid securely on the rice cooker pot.
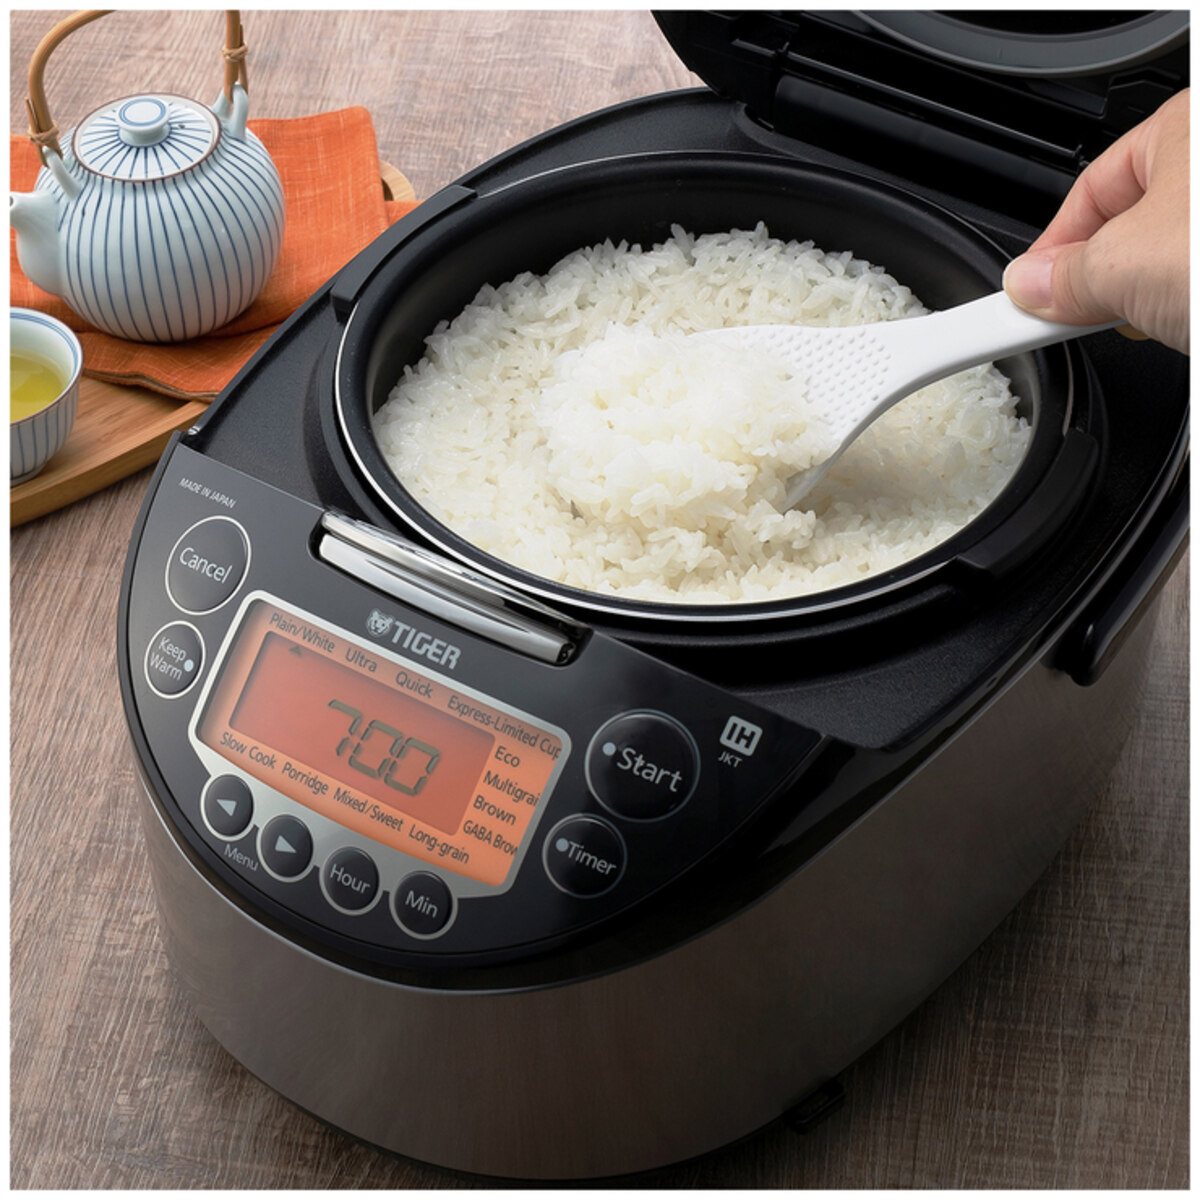
- Select the appropriate cooking setting on your rice cooker. Most rice cookers have settings for white rice, brown rice, and sometimes other rice varieties. For Calrose rice, select the white rice setting.
- Some rice cookers may have additional options such as quick cook or delay start. Adjust these settings according to your preferences or the manufacturer’s instructions.
Once you have set the rice cooker, you can relax and let it do its magic. The rice cooker will automatically adjust the time and temperature to cook the rice to perfection. Now, onto the next step – letting the rice cook.
Step 5: Let the Rice Cook
Now that you have set the rice cooker, it’s time to let the rice cook. The rice cooker will take care of the rest, ensuring that the rice is cooked to perfection. Here’s what you need to do:
- Press the start button on your rice cooker to begin the cooking process.
- Allow the rice to cook undisturbed according to the instructions given by your rice cooker. This typically takes around 20-30 minutes for Calrose rice.
- Resist the temptation to open the lid during the cooking process. Opening the lid can disturb the cooking process and affect the texture of the rice.
As the rice cooks, the rice cooker will monitor the temperature and adjust the cooking time accordingly. The result will be perfectly cooked, fluffy Calrose rice. While the rice is cooking, you can prepare any additional side dishes or plan the rest of your meal. Once the rice cooker beeps to indicate that the rice is cooked, it’s time for the next step – fluffing the rice.
Step 6: Fluff the Rice
After the rice has finished cooking, it’s important to fluff it to enhance its texture and separate the grains. Here’s how to fluff the Calrose rice:
- Carefully remove the lid of the rice cooker. Be mindful of the steam that may escape as you lift the lid.
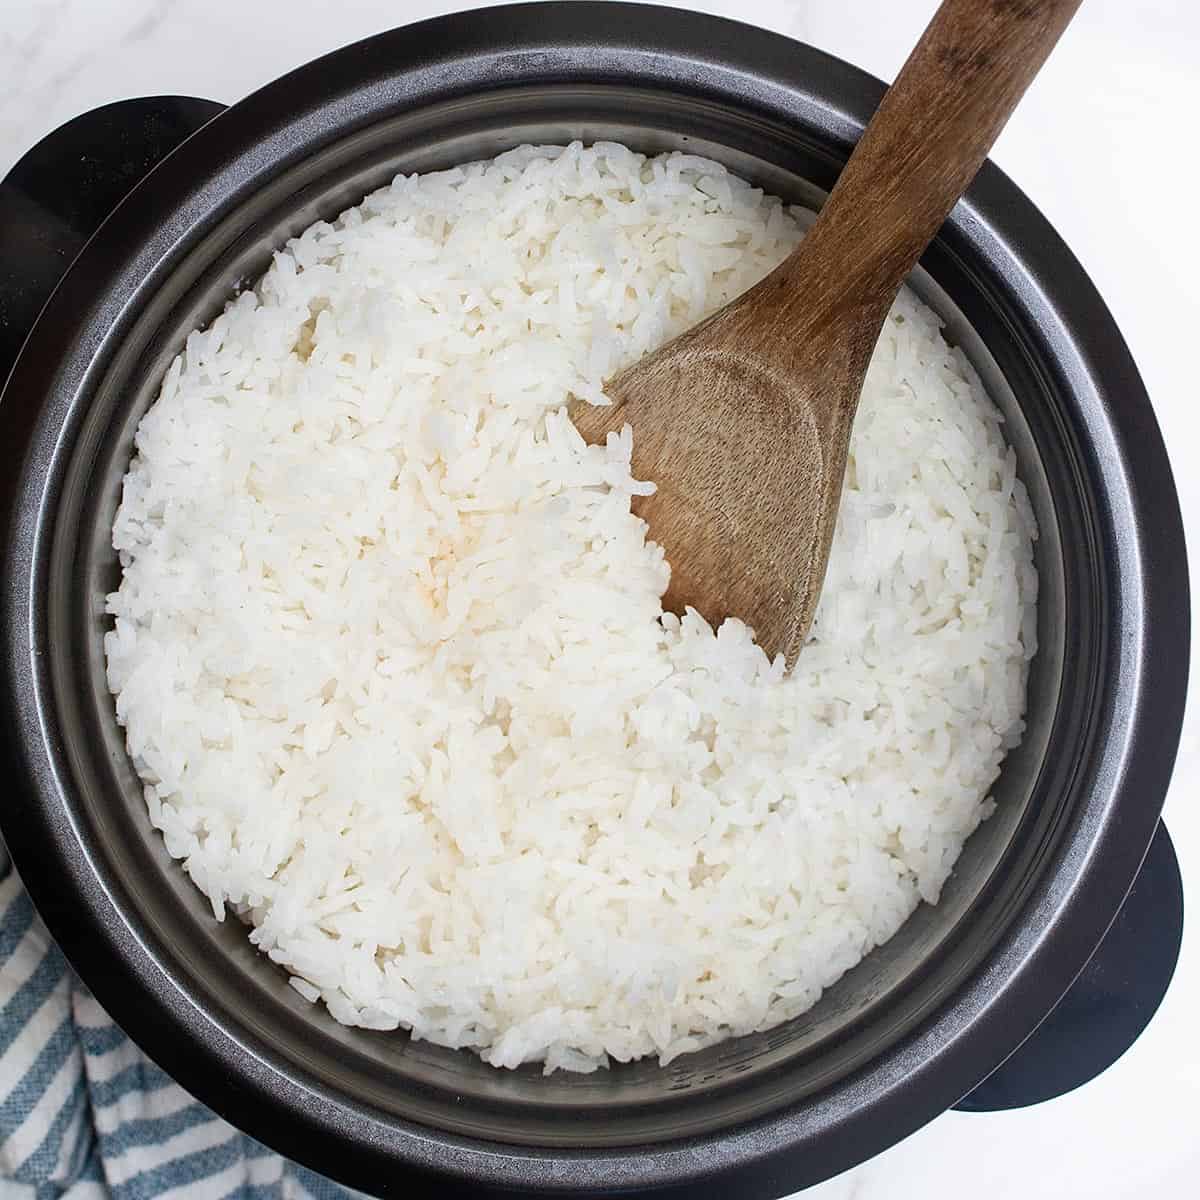
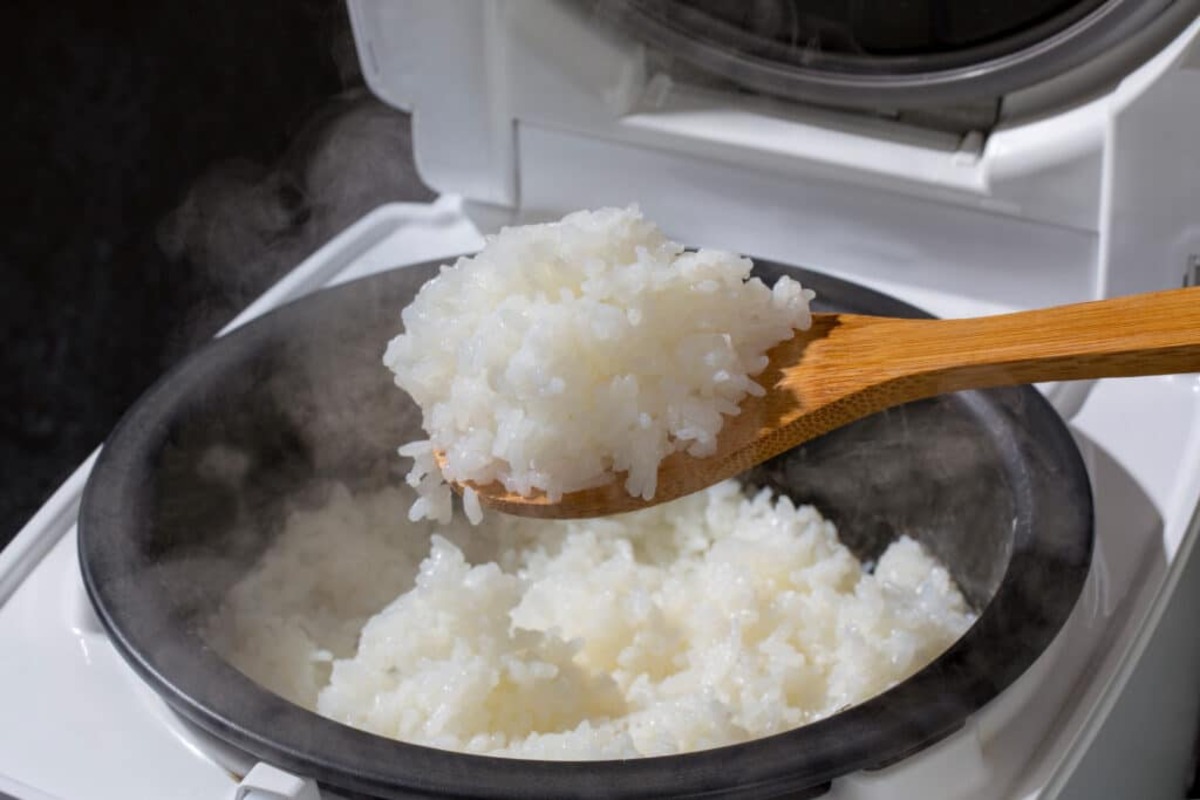
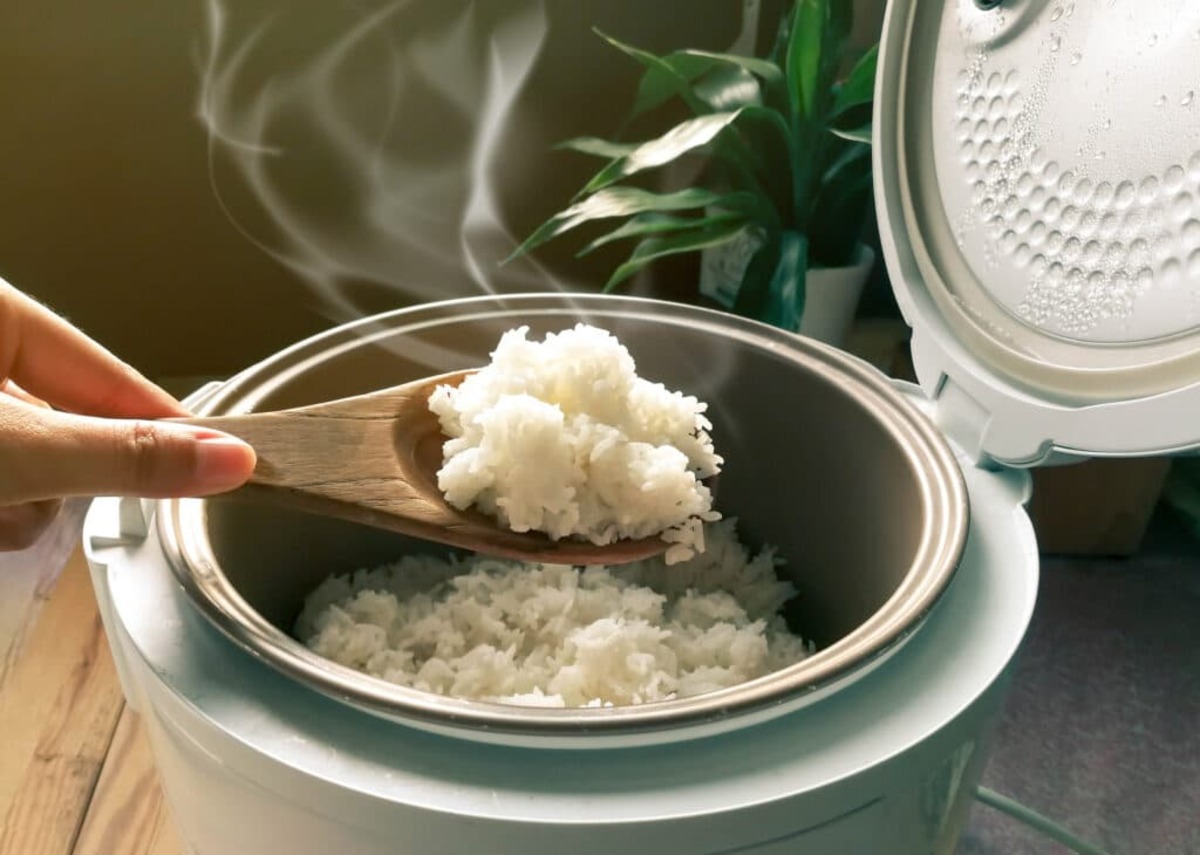
- Using a rice paddle or fork, gently fluff the cooked rice. Starting from the edges, gently loosen the rice and mix it up, being careful not to mash or overly stir the grains.
- Continue to fluff the rice until it is evenly separated and the grains are light and fluffy. This will help remove any excess moisture and prevent the rice from sticking together.
Fluffing the rice is a crucial step to achieve that perfect texture and ensure that each grain remains separate and fluffy. Once you have fluffed the rice, it’s time for the final step – serving and enjoying your delicious Calrose rice!
Read more: How To Cook Japanese Rice In Rice Cooker
Step 7: Serve and Enjoy
Now that your Calrose rice is perfectly cooked and fluffed, it’s time to serve and enjoy your creation. Follow these final steps:
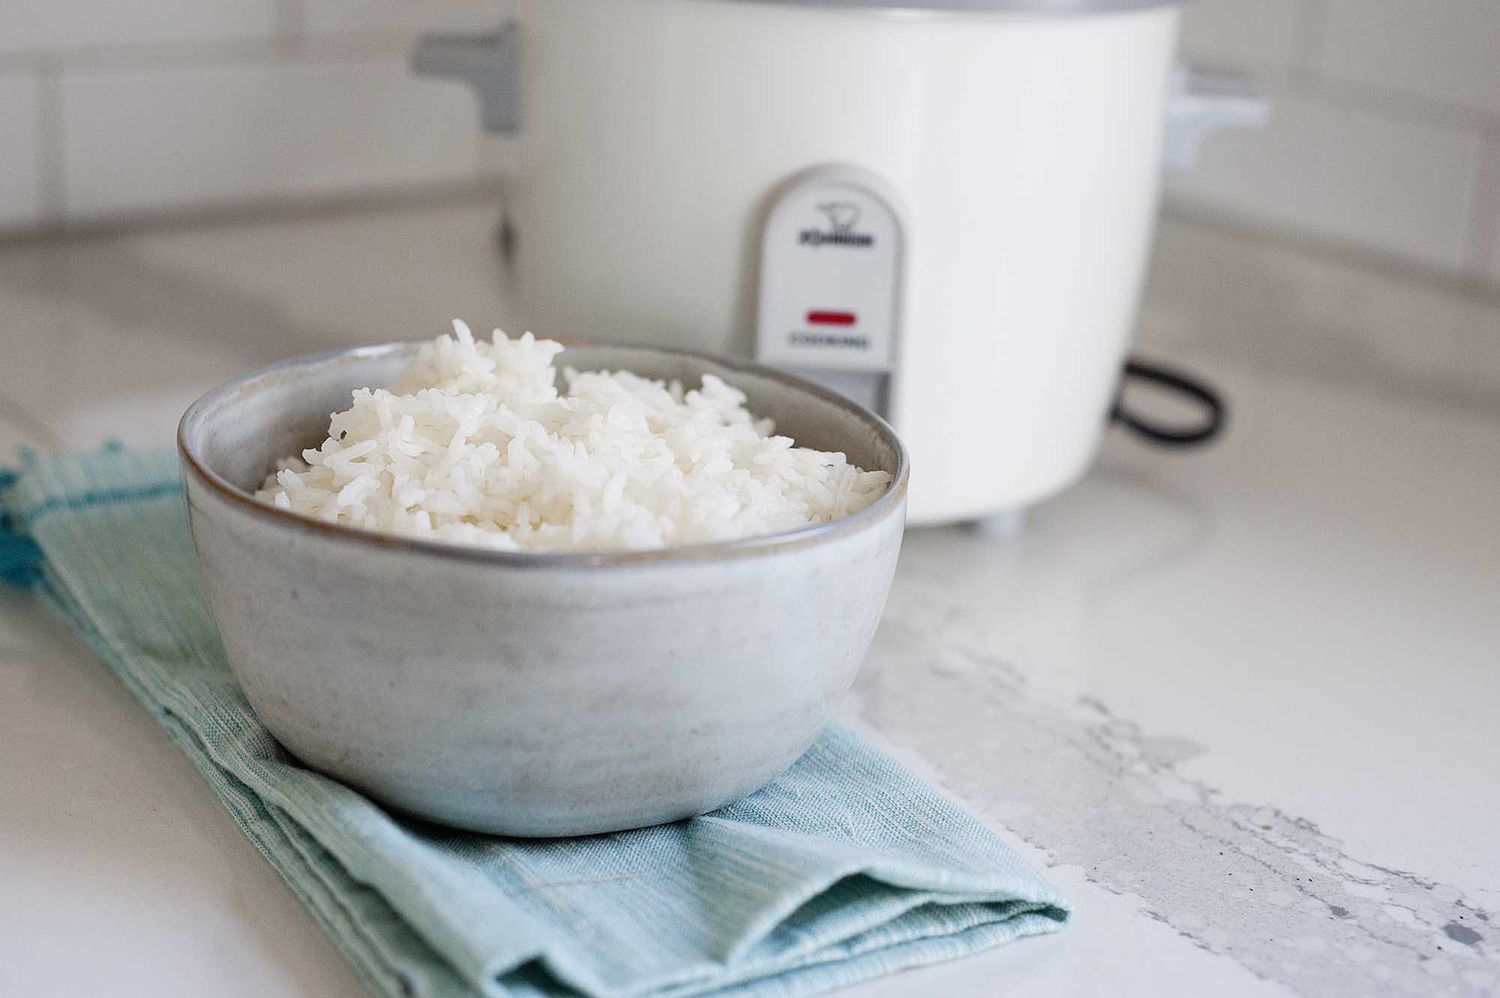
- Using a rice paddle or fork, transfer the cooked rice to a serving bowl or individual plates.
- Calrose rice is incredibly versatile and pairs well with a wide range of dishes. You can serve it alongside stir-fries, curries, grilled meats, or as a base for sushi.
- Garnish the rice with your choice of toppings, such as chopped scallions, sesame seeds, or a drizzle of soy sauce, to add extra flavor and visual appeal.
- Serve the Calrose rice hot, and enjoy it as a satisfying and comforting side dish or main course.
Remember to store any leftover rice in an airtight container in the refrigerator. Cooked Calrose rice can be reheated in the microwave or on the stovetop with a little water to restore its moisture and fluffiness.
Congratulations! You have successfully cooked Calrose rice in a rice cooker. By following these steps, you can achieve consistently delicious and fluffy rice that will impress your family and friends. Enjoy your meal!
Now that you've mastered cooking Calrose rice, why not expand your rice cooker skills further? If you're curious about different varieties, learning how to cook Japanese rice will definitely impress your palate. For those frustrating moments when your rice turns out less than perfect, understanding why rice becomes sticky could save your next meal. Both guides offer practical advice and simple steps to elevate your cooking game.
Frequently Asked Questions about How To Cook Calrose Rice In A Rice Cooker
Was this page helpful?
At Storables.com, we guarantee accurate and reliable information. Our content, validated by Expert Board Contributors, is crafted following stringent Editorial Policies. We're committed to providing you with well-researched, expert-backed insights for all your informational needs.


0 thoughts on “How To Cook Calrose Rice In A Rice Cooker”