Articles
How To Drain Ge Dishwasher
Modified: August 17, 2024
Looking for articles on how to drain your GE dishwasher? Find step-by-step guides and expert tips to help you properly drain your dishwasher for optimal performance.
(Many of the links in this article redirect to a specific reviewed product. Your purchase of these products through affiliate links helps to generate commission for Storables.com, at no extra cost. Learn more)
Introduction
Welcome to our guide on how to drain a GE dishwasher. Dealing with a clogged or malfunctioning dishwasher can be frustrating, but taking the time to properly drain it can help address the issue and have your dishwasher up and running again in no time.
A dishwasher that doesn’t drain properly can result in dirty dishes, unpleasant odors, and even potential damage to the appliance itself. It’s important to address drainage issues as soon as possible to avoid further complications.
In this article, we will walk you through the step-by-step process of draining a GE dishwasher. From locating and disconnecting the drain hose to removing any blockages and reconnecting the hose, we will provide you with all the information you need to effectively drain your dishwasher and get it back to its optimal functioning state.
But before we dive into the steps, it’s important to remember that safety should always be your top priority. Make sure to turn off the dishwasher and disconnect it from the power source before attempting any repairs or maintenance.
Now, let’s get started on how to effectively drain your GE dishwasher and get it back to doing what it does best – cleaning your dishes!
Key Takeaways:
- Say goodbye to dishwasher drainage issues by following our step-by-step guide to effectively drain your GE dishwasher and restore its optimal functioning.
- Prioritize safety and attention to detail as you locate, disconnect, clean, and reconnect the drain hose to address drainage issues and ensure a smoothly operating dishwasher.
Read more: How To Connect A Dishwasher Drain
Step 1: Locate the Drain Hose
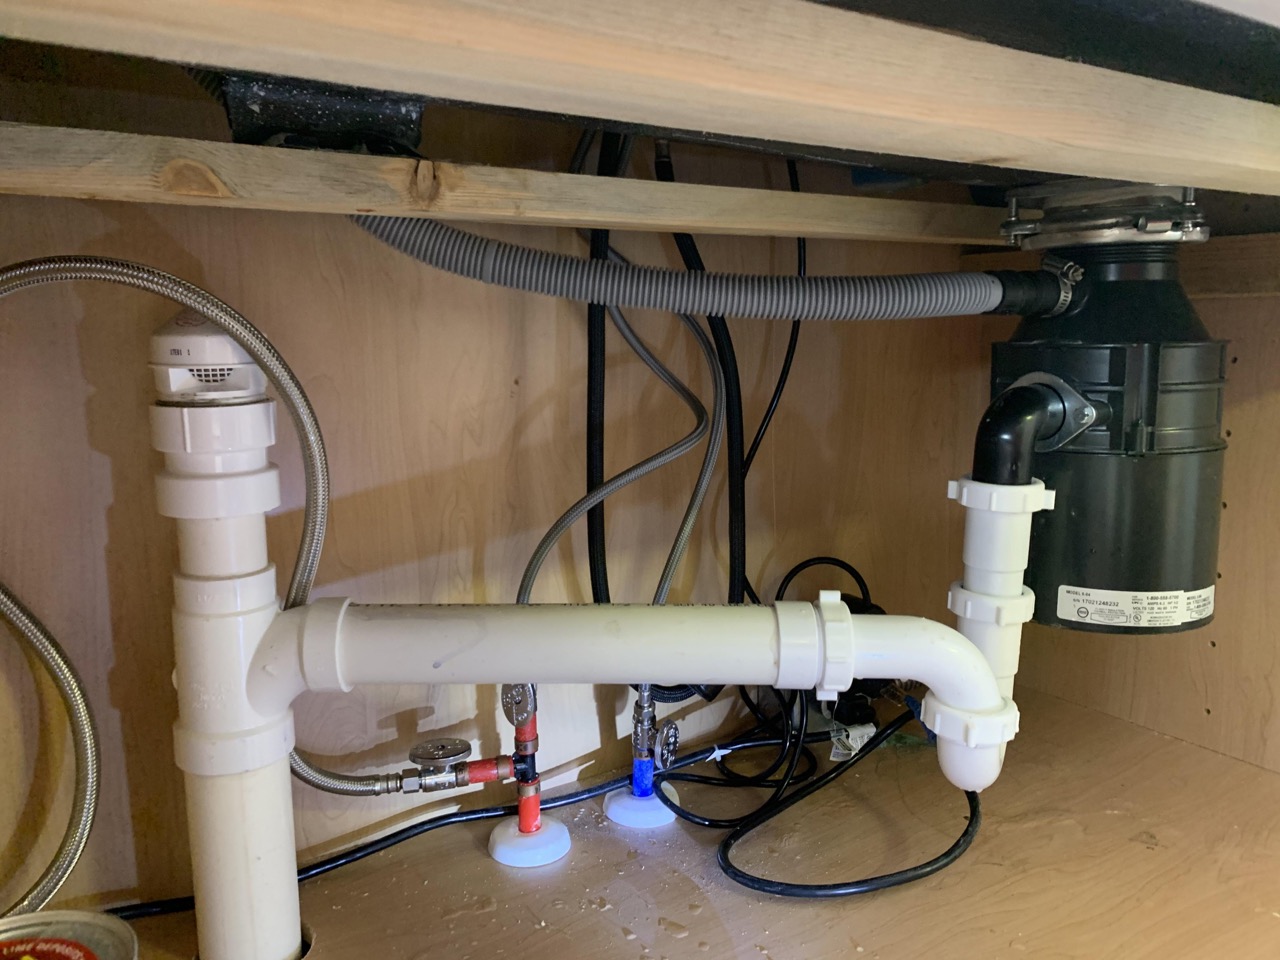
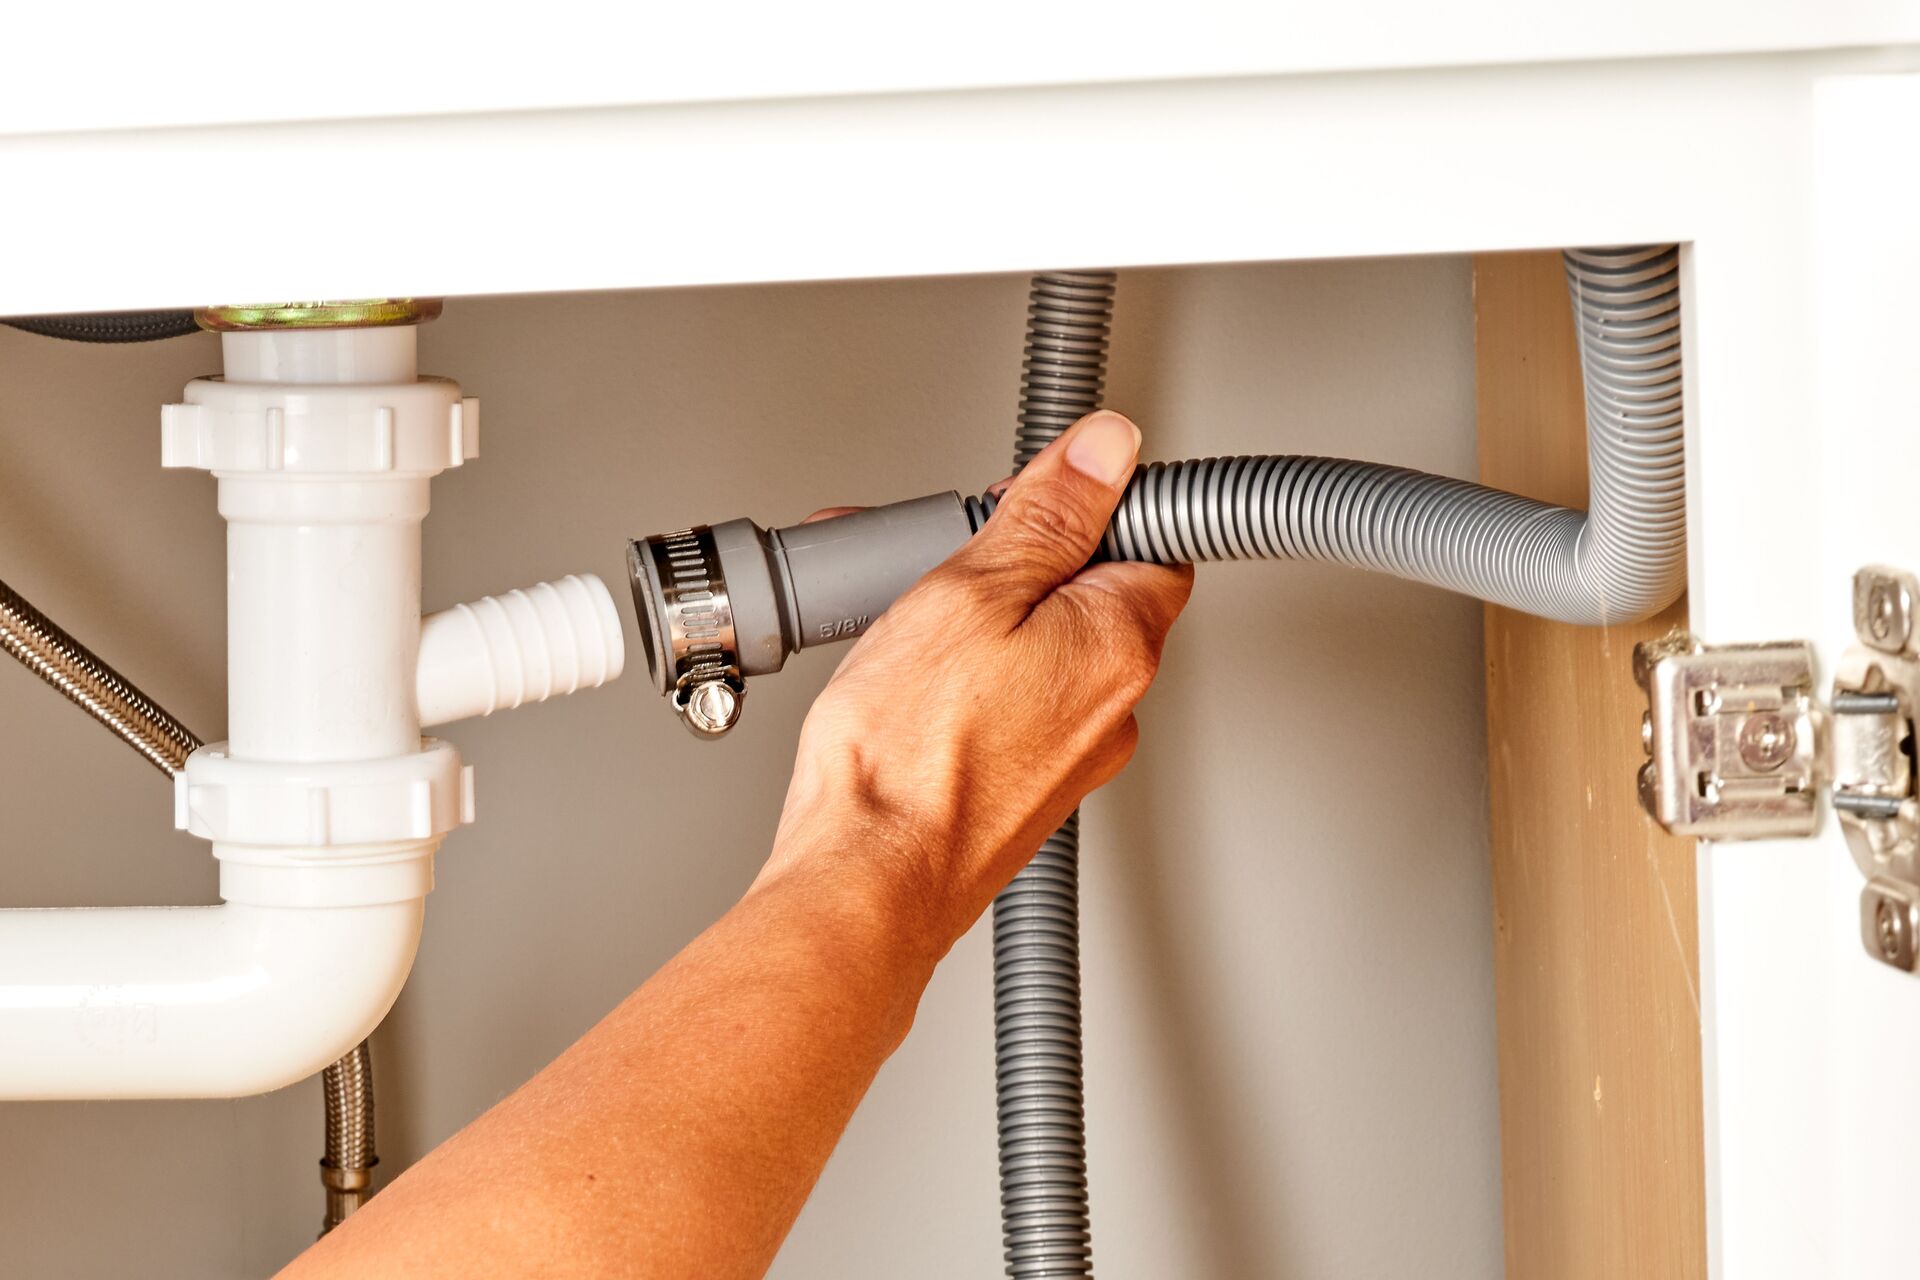
The first step in draining your GE dishwasher is to locate the drain hose. The drain hose is responsible for carrying the wastewater from the dishwasher to the sink or the garbage disposal. It is typically located at the back of the dishwasher, either attached to the back panel or running along the bottom of the appliance.
Start by pulling the dishwasher out from its designated space so that you have easy access to the back. If the dishwasher is built-in, you may need to remove the lower access panel to locate the drain hose. Keep in mind that the exact location of the drain hose may vary depending on the specific model of your GE dishwasher.
Once you have located the drain hose, take a moment to inspect it for any visible signs of damage or blockage. Look for kinks, twists, or disconnections in the hose that could be preventing proper drainage. If you notice any obstructions, such as food particles or debris, make a mental note as you will address them later in the process.
It’s worth mentioning that if your dishwasher is connected to a garbage disposal, the drain hose will likely be attached to the disposal unit. In this case, you may need to remove the hose from the disposal to effectively drain the dishwasher. Refer to your dishwasher’s manual or documentation for specific instructions on how to disconnect the hose from the disposal.
Now that you have located the drain hose and inspected it for any visible issues, you’re ready to move on to the next step: disconnecting the drain hose.
Step 2: Disconnect the Drain Hose
Now that you have located the drain hose of your GE dishwasher, it’s time to disconnect it. Disconnecting the drain hose will allow you to remove any blockages or obstructions that are preventing the dishwasher from draining properly.
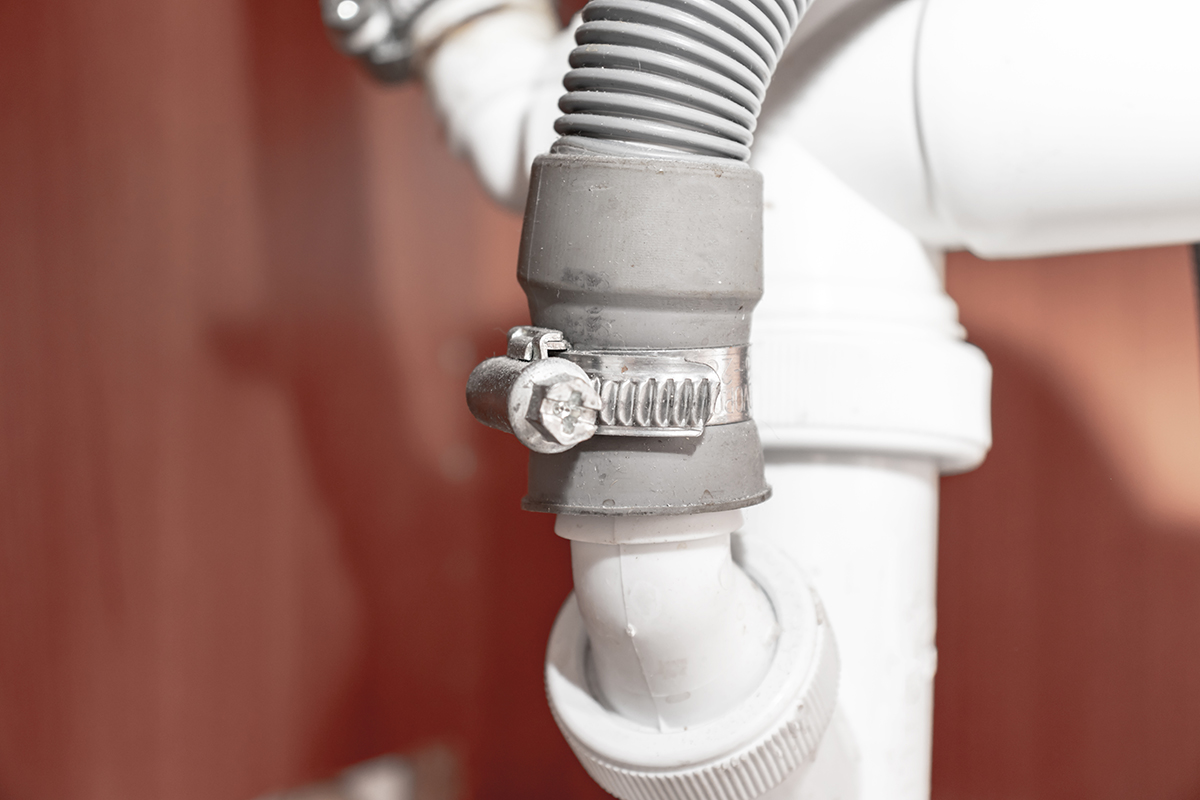
You may need a pair of pliers or an adjustable wrench to assist with this step. Start by locating the hose clamp or fastener that secures the drain hose to the dishwasher or garbage disposal. Loosen the clamp or fastener using the appropriate tool, making sure not to damage or distort the hose in the process.
Once the clamp or fastener is loose, gently pull the drain hose away from its connection point. Be cautious of any water or residual wastewater that may be present in the hose or surrounding area. Placing a towel or bucket beneath the hose can help catch any spills or drips.
If the drain hose is stubbornly attached or seems stuck, you may need to apply some gentle force or wiggle it slightly to loosen it. However, be careful not to twist or bend the hose too much, as this can lead to further damage.
With the drain hose successfully disconnected, set it aside and examine it for any signs of blockage or debris. Take this opportunity to clean the hose thoroughly if necessary. For stubborn blockages, you can use a plumbing snake or a long, flexible brush to clear the way.
It’s important to note that if your dishwasher is connected to a garbage disposal, you may need to disconnect the drain hose from the disposal unit as well. Refer to the dishwasher’s manual or consult the manufacturer’s instructions for guidance on how to disconnect the hose from the disposal.
Now that the drain hose is disconnected, you can proceed to the next step of preparing a bucket or towel to contain any wastewater that may be expelled during the draining process.
Step 3: Prepare a Bucket or Towel
Before you begin draining your GE dishwasher, it’s important to prepare a bucket or towel to contain any wastewater that may be expelled during the process. This will help prevent any mess or water damage in your kitchen or surrounding area.
First, locate a suitable bucket or container that can hold a significant amount of liquid. Make sure the bucket is clean and in good condition to avoid any leakage. Alternatively, you can use a thick absorbent towel or a combination of towels to absorb the water.
Place the bucket or towel strategically near the dishwasher’s drain opening and position it in such a way that it can catch the wastewater effectively. Keep in mind that the amount of water expelled from the dishwasher may vary, so it’s wise to choose a container or towel that can hold a sufficient volume.
If your dishwasher is built-in or situated in a way that makes it difficult to access the drain opening, you may need to remove the lower access panel or adjust the position of the appliance to better accommodate the bucket or towel. Take caution when moving the dishwasher to avoid any damage or injury.
Ensure that the bucket or towel is placed securely to avoid any spills or accidents. It’s advisable to double-check that it’s positioned directly beneath the drain opening to catch the water effectively. This will help minimize cleanup and make the draining process more manageable.
With the bucket or towel in place, you’re now ready to move on to the next step of removing any blockage from the drain hose to restore proper drainage in your GE dishwasher.
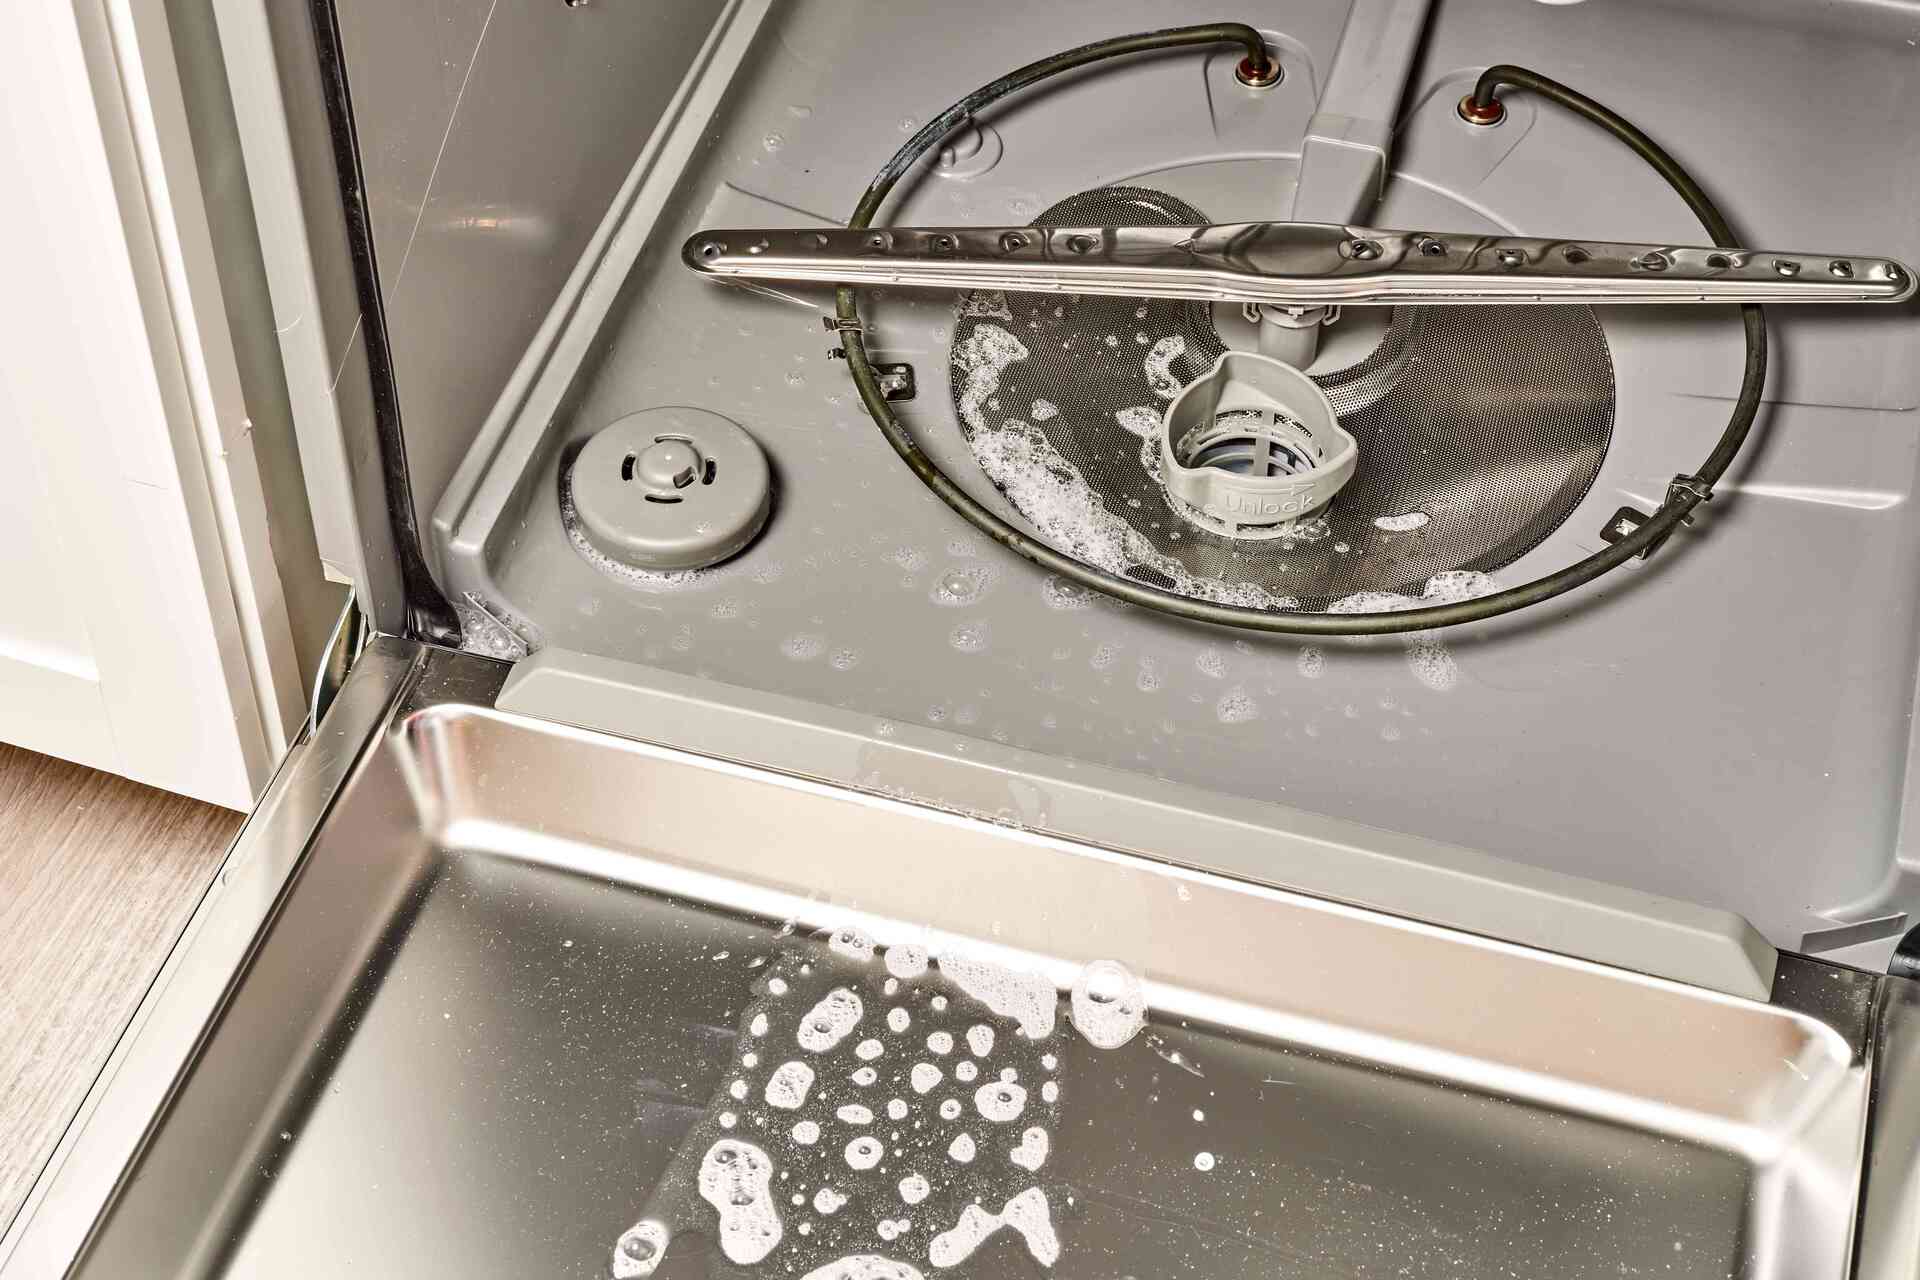
To drain a GE dishwasher, start by turning off the power and water supply. Then, remove the lower rack and use a sponge or towel to soak up any standing water in the bottom of the dishwasher. Finally, check the drain hose for clogs and clear any blockages to allow proper drainage.
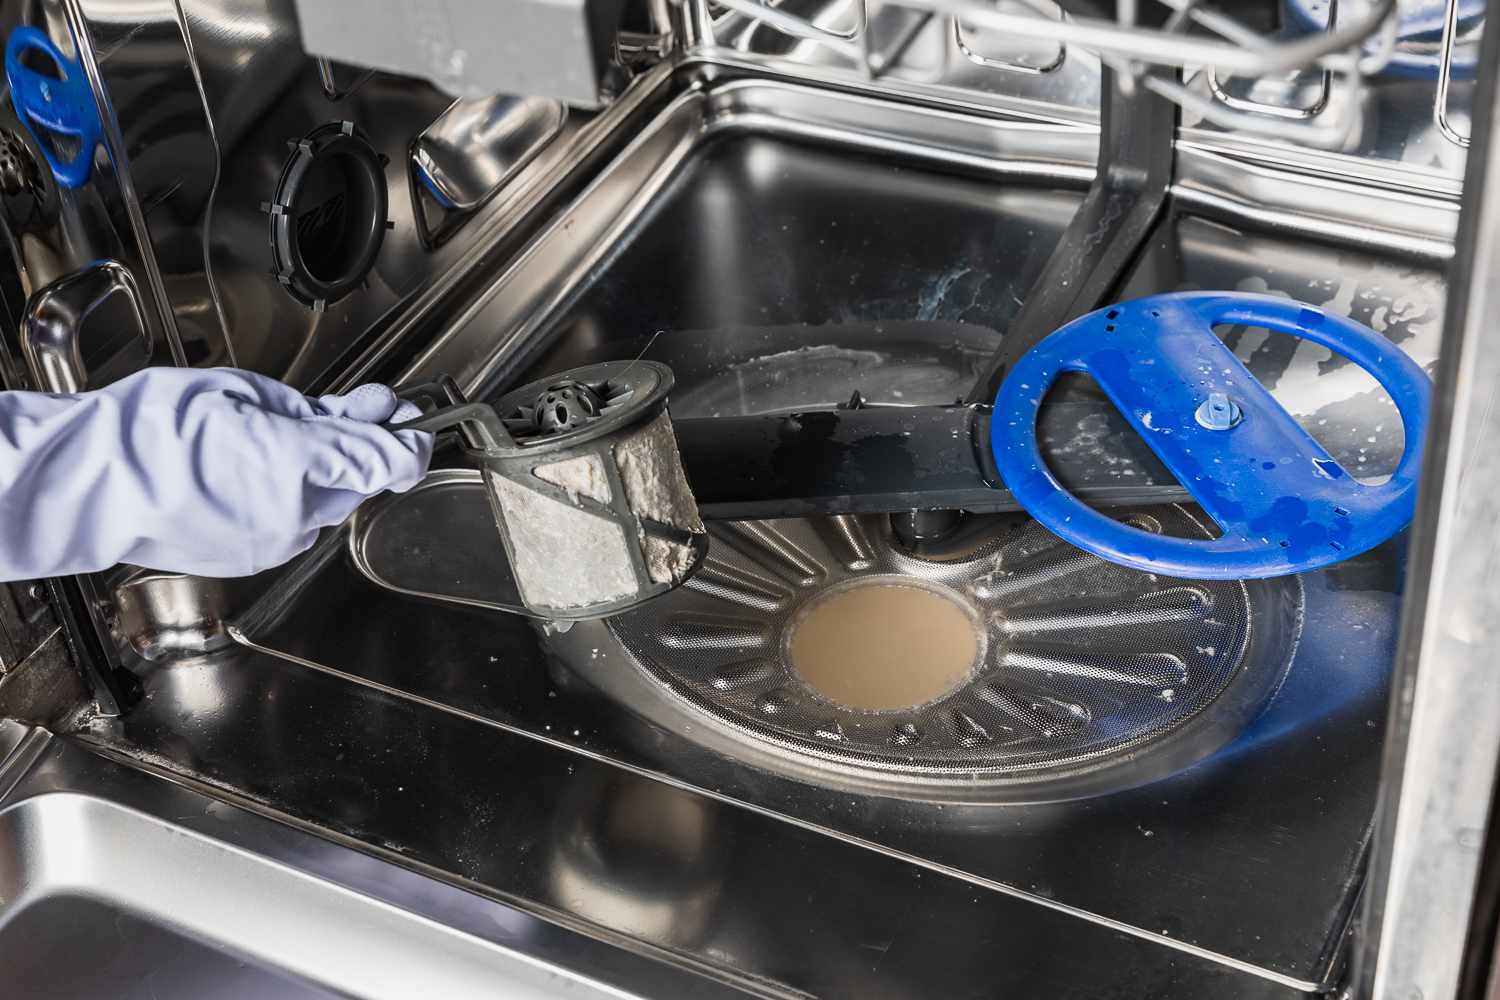
Step 4: Remove Blockage from Drain Hose
Now that you have prepared your bucket or towel, it’s time to tackle any blockages that may be present in the drain hose of your GE dishwasher. Blockages can prevent proper drainage and lead to issues such as standing water and unpleasant odors.
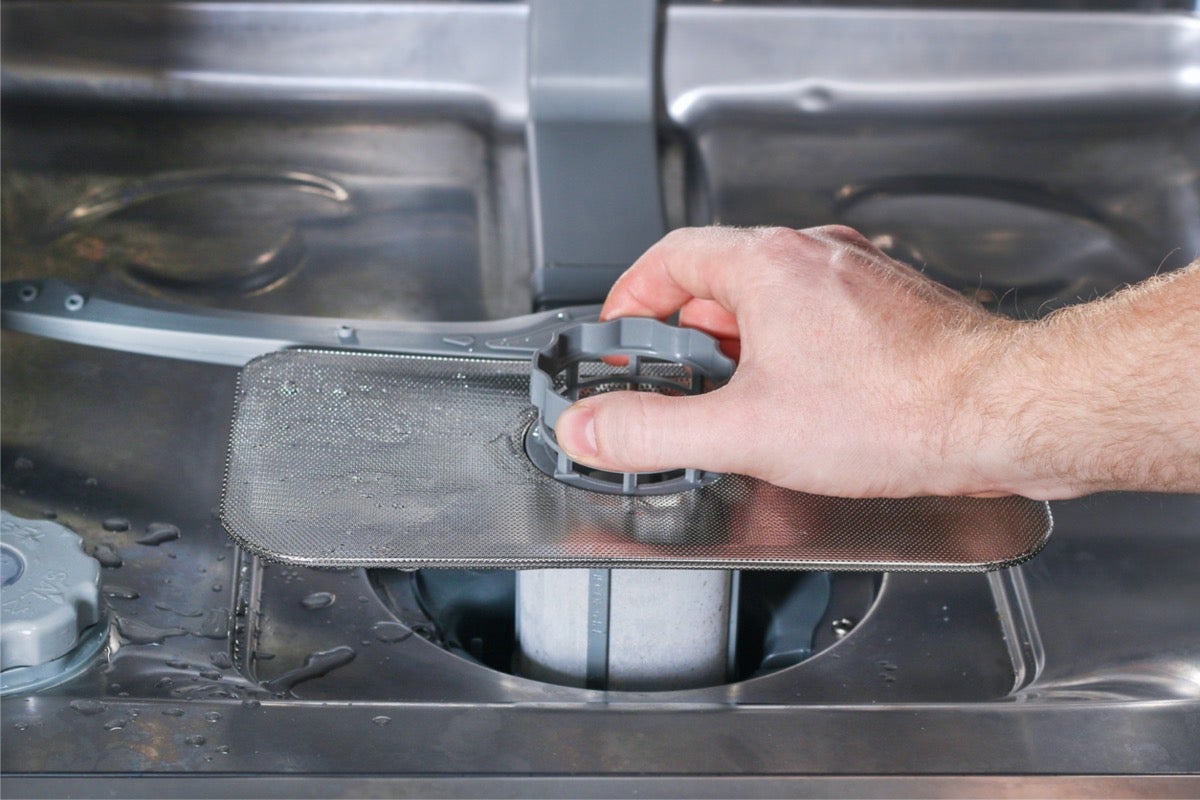
Inspect the drain hose for any visible debris or obstructions. Look for food particles, soap residue, or any other foreign objects that may be clogging the hose. Blockages can often be cleared by manually removing the debris or using a suitable tool to dislodge it.
If the blockage is visible and easily accessible, you can use your fingers or a pair of tweezers to remove it. Be cautious not to force any debris further into the hose. Gently pull out the blockage, taking care to discard it properly.
For more stubborn or hard-to-reach blockages, you may need to use a flexible cleaning brush or a plumbing snake. Insert the brush or snake into the drain hose and carefully maneuver it back and forth to dislodge the blockage. Continue this process until you feel the obstruction loosening or being pushed out.
It’s important to note that if you are using a plumbing snake, be gentle to avoid damaging the interior of the drain hose. Follow the manufacturer’s instructions for proper usage and avoid excessive force.
Once the blockage has been removed or loosened, it’s advisable to run some hot water through the drain hose to flush out any remaining debris. This can help ensure that the hose is clear and ready for reconnection.
Now that you have successfully cleared the blockage from the drain hose, it’s time to move on to the next step: reconnecting the drain hose to the appropriate connection point.
Read more: How To Drain Dishwasher Manually
Step 5: Reconnect the Drain Hose
With the blockage removed from the drain hose of your GE dishwasher, it’s time to reconnect the hose to its appropriate connection point. Proper reconnection ensures that the dishwasher will be able to drain efficiently and effectively.
Start by visually inspecting the drain hose and the connection point on the dishwasher or garbage disposal. Make sure the hose is in good condition and free from any damage that could impact its functionality. If necessary, replace the drain hose with a new one to ensure optimal drainage.
Carefully align the drain hose with the connection point and push it firmly into place. You may need to apply a slight twisting motion to create a secure connection. Once the hose is aligned and connected, tighten the clamp or fastener to hold it in position. Ensure that the clamp is securely tightened without over-tightening, as this may cause damage to the hose.
If the dishwasher is connected to a garbage disposal, you will need to reconnect the drain hose to the disposal unit as well. Refer to the manufacturer’s instructions or your dishwasher’s manual for specific guidance on how to reconnect the hose to the disposal. Take care to follow the correct procedure to ensure a proper and secure connection.
Once the drain hose is securely reconnected, double-check all connection points to ensure they are tight and properly aligned. This will help prevent any leaks or drainage issues in the future.
If you had to remove the lower access panel or adjust the position of the dishwasher, make sure to restore it to its original position. Ensure that any screws or fasteners are securely tightened to enhance stability and prevent any potential hazards.
Now that the drain hose is successfully reconnected, it’s time to test the dishwasher’s drain function to ensure everything is working correctly. This brings us to the final step in this guide.
Step 6: Test the Dishwasher’s Drain Function
After reassembling and reconnecting the drain hose of your GE dishwasher, it’s important to test its drain function to ensure that the blockage has been successfully cleared and that the dishwasher drains properly.
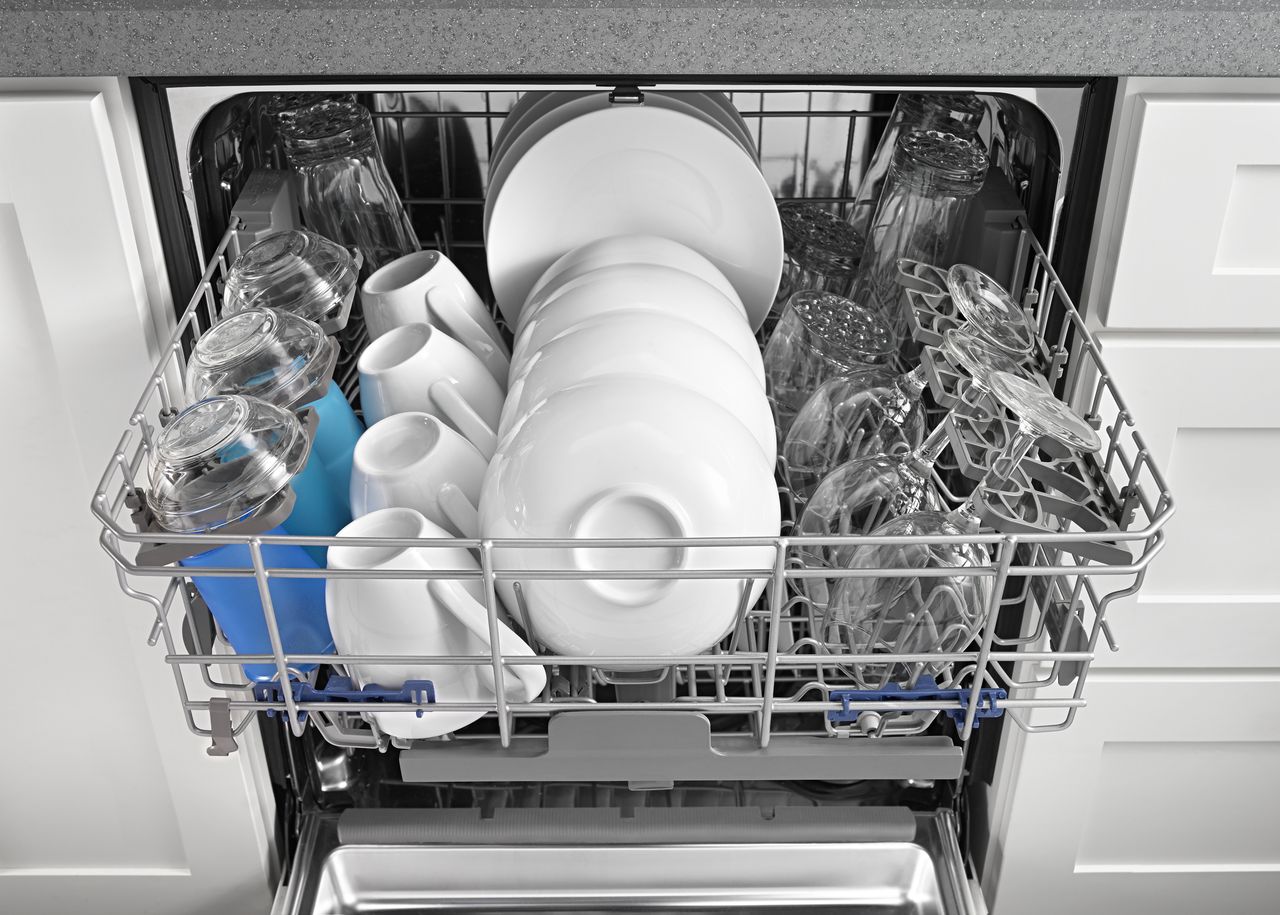
Start by closing the dishwasher’s door and preparing it for a test run. Ensure that there are no dishes or utensils inside the dishwasher, as we want to focus solely on the drain function without any interference.
Next, turn on the dishwasher and select a short cycle that includes a drain function. This cycle will activate the dishwasher’s drain pump, which is responsible for expelling the wastewater from the interior of the appliance.
Listen for the sound of the drain pump, which indicates that it is working correctly. You should hear a consistent hum or noise as the pump pushes the water out of the dishwasher. If you do not hear anything or notice any irregularities in the drain process, there may still be an issue that needs to be addressed.
Observe the drain hose and the connections for any signs of leakage or dripping. Ensure that all connections are tight and secure, without any visible leaks. If you notice any leaks, you may need to recheck the connections and tighten them further.
As the dishwasher goes through its drain cycle, keep an eye on the bucket or towel that you had placed earlier to collect any water. If there is no water being collected or you notice water overflowing, there may still be a blockage or another problem with the dishwasher’s drainage system that needs to be resolved.
Once the dishwasher completes the drain cycle and you are satisfied with its performance, you can open the dishwasher door and examine the interior to ensure it is dry and free from any standing water. This confirms that the dishwasher has effectively drained and is ready for its normal usage.
If you have followed all the steps in this guide and the dishwasher is still experiencing drainage issues, it may be advisable to seek professional help. An experienced technician can diagnose the problem and provide appropriate solutions to ensure optimal dishwasher performance.
Congratulations! You have successfully drained your GE dishwasher and restored its proper functioning. Enjoy the convenience of a smoothly operating dishwasher that efficiently cleans your dishes.
Conclusion
Draining a GE dishwasher may seem like a daunting task, but with the right steps and guidance, it can be a manageable and rewarding process. By following the steps outlined in this guide, you can address drainage issues and restore the proper functioning of your dishwasher.
We started by locating the drain hose, which serves as the conduit for wastewater from the dishwasher to the sink or garbage disposal. We then proceeded to disconnect the drain hose, ensuring that we had a bucket or towel in place to contain any expelled water.
Next, we addressed any blockages in the drain hose, removing debris or using appropriate tools to dislodge stubborn obstructions. After ensuring a clear path for drainage, we reconnected the drain hose securely to the appropriate connection points, taking care to tighten clamps or fasteners.
Once the drain hose was reconnected, we tested the dishwasher’s drain function to ensure that the blockage had been successfully cleared. Through observation and inspection, we checked for any leaks or irregularities and confirmed that the dishwasher was effectively draining the water.
In conclusion, properly draining a GE dishwasher involves a systematic approach that prioritizes safety, attention to detail, and persistence. By following the steps outlined in this guide, you can address drainage issues, improve dishwasher performance, and prevent further complications such as standing water and unpleasant odors.
If you encounter any difficulties or the problem persists even after attempting these steps, it may be best to seek professional assistance. A qualified technician can diagnose the issue and provide expert solutions tailored to your specific dishwasher model.
We hope that this guide has provided you with the knowledge and confidence to successfully drain your GE dishwasher. Remember to refer to the dishwasher’s manual or manufacturer’s instructions for any specific guidelines or precautions relevant to your appliance.
Enjoy the convenience and efficiency that a properly functioning dishwasher brings, and say goodbye to the hassle of standing water and drainage problems!
Frequently Asked Questions about How To Drain Ge Dishwasher
Was this page helpful?
At Storables.com, we guarantee accurate and reliable information. Our content, validated by Expert Board Contributors, is crafted following stringent Editorial Policies. We're committed to providing you with well-researched, expert-backed insights for all your informational needs.

0 thoughts on “How To Drain Ge Dishwasher”