Home>Furniture>Kitchen Furniture>How To Use A Green Life Rice Cooker
Kitchen Furniture
How To Use A Green Life Rice Cooker
Modified: May 6, 2024
Discover how to use the Green Life Rice Cooker with our comprehensive articles. Explore step-by-step instructions, tips, and troubleshooting to master the art of rice cooking.
(Many of the links in this article redirect to a specific reviewed product. Your purchase of these products through affiliate links helps to generate commission for Storables.com, at no extra cost. Learn more)
Introduction
Welcome to the world of Green Life Rice Cooker! If you’re someone who enjoys the convenience of perfectly cooked rice with minimal effort, then this is the article for you. In this guide, we will walk you through everything you need to know about using the Green Life Rice Cooker to achieve fluffy, delicious rice every time.
Whether you’re a seasoned rice cooker veteran or a beginner just starting out, you’ll find valuable information and tips here to help you make the most of your cooking experience. The Green Life Rice Cooker is designed with simplicity and efficiency in mind, giving you the ability to cook a variety of rice types with precise control.
With its sleek design and user-friendly features, the Green Life Rice Cooker is a versatile appliance that can be used to cook not only rice but also steam vegetables, make porridge, and even prepare soups. You’ll be amazed at the convenience it brings to your kitchen.
In this article, we’ll guide you through the various steps of using the Green Life Rice Cooker, from unboxing to cleaning and maintenance. We’ll also explore the different cooking modes and additional features that can take your cooking to the next level.
But before we dive in, let’s talk about some important safety precautions to keep in mind when using the Green Life Rice Cooker. Safety should always be a top priority in the kitchen, and understanding these precautions will help you use the rice cooker with confidence and peace of mind.
Key Takeaways:
- Master the art of cooking perfect rice with the Green Life Rice Cooker by following safety precautions, understanding the control panel, and choosing the right cooking mode for fluffy, delicious results every time.
- Elevate your cooking experience with the Green Life Rice Cooker’s additional features, such as keep warm function, timer/delay start, and texture selection, making it a versatile and convenient kitchen appliance for various recipes.
Read more: How To Use The Oster Rice Cooker
Safety Precautions
When it comes to using any kitchen appliance, including the Green Life Rice Cooker, it’s essential to prioritize safety. Following these safety precautions will not only protect you and your loved ones but also help ensure the longevity of your rice cooker:
- Read the User Manual: Before using the Green Life Rice Cooker, thoroughly read the user manual provided with the appliance. The manual contains important safety instructions specific to your rice cooker model.
- Proper Placement: Place the rice cooker on a stable and heat-resistant surface. Ensure that there is enough space around the cooker for proper ventilation and heat dissipation.
- Keep Away from Water: Avoid placing the rice cooker near sinks, water sources, or any other liquid that may cause electrical shock or damage the appliance.
- Unplug Before Cleaning: Always unplug the rice cooker and let it cool down before attempting to clean or perform any maintenance tasks.
- Use with the Correct Voltage: Ensure that the voltage of your rice cooker matches the voltage of the power outlet. Using the wrong voltage can result in damage or malfunction.
- Handle with Care: Avoid rough handling of the rice cooker, especially when the inner pot is filled with hot food. Use oven mitts or kitchen towels to protect your hands when touching hot surfaces.
- Do Not Overfill: When cooking rice or other ingredients, make sure not to exceed the maximum fill line indicated on the inner pot. Overfilling can cause the rice cooker to overflow and result in a mess or even damage the appliance.
- Avoid Steam Burns: Be cautious when opening the lid during or after the cooking process. Hot steam can cause burns. Use oven mitts and open the lid slowly, directing the steam away from your face and body.
- Use the Correct Utensils: Only use utensils, such as the provided rice paddle or a plastic spatula, specifically designed for use with non-stick surfaces. Metal utensils can scratch and damage the non-stick coating.
- Regular Maintenance: Keep your rice cooker clean by regularly wiping the exterior with a damp cloth and cleaning the inner pot and accessories with mild detergent and warm water. Ensure that all components are completely dry before reassembling the rice cooker.
By following these safety precautions, you can confidently use the Green Life Rice Cooker while minimizing any potential risks. Now that we’ve covered the basics of safety, let’s move on to unboxing and assembling your rice cooker.
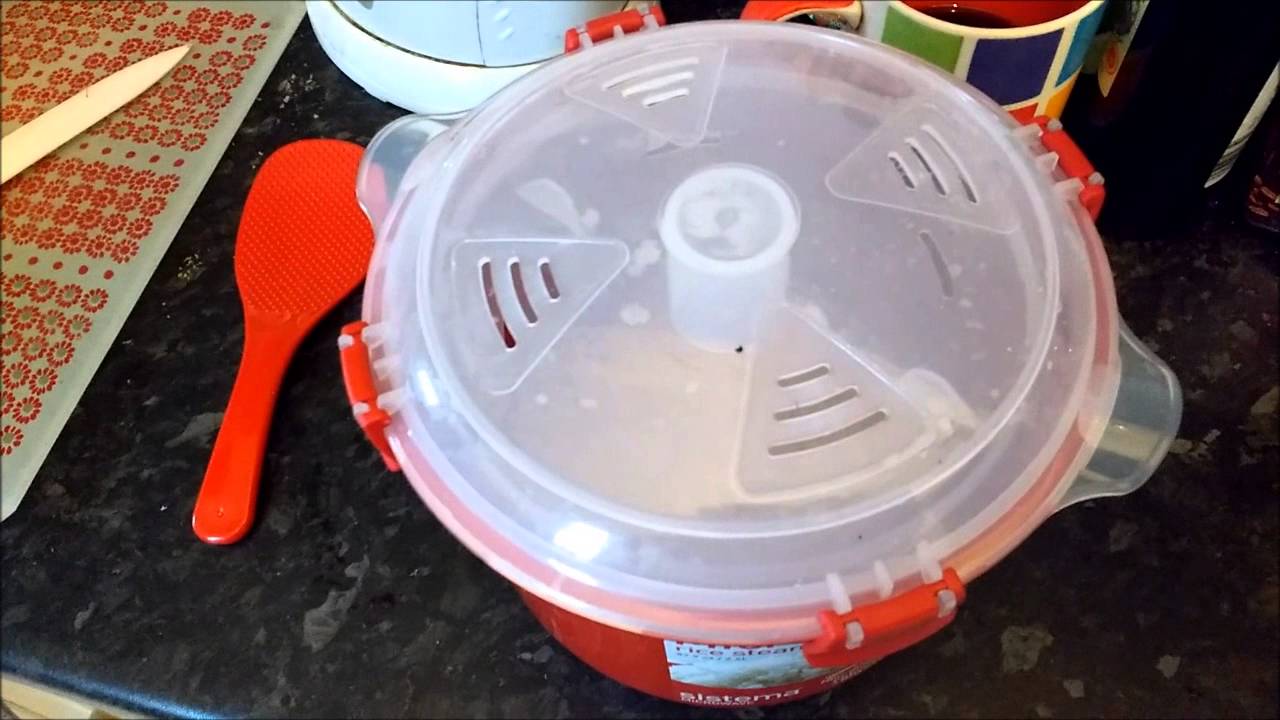
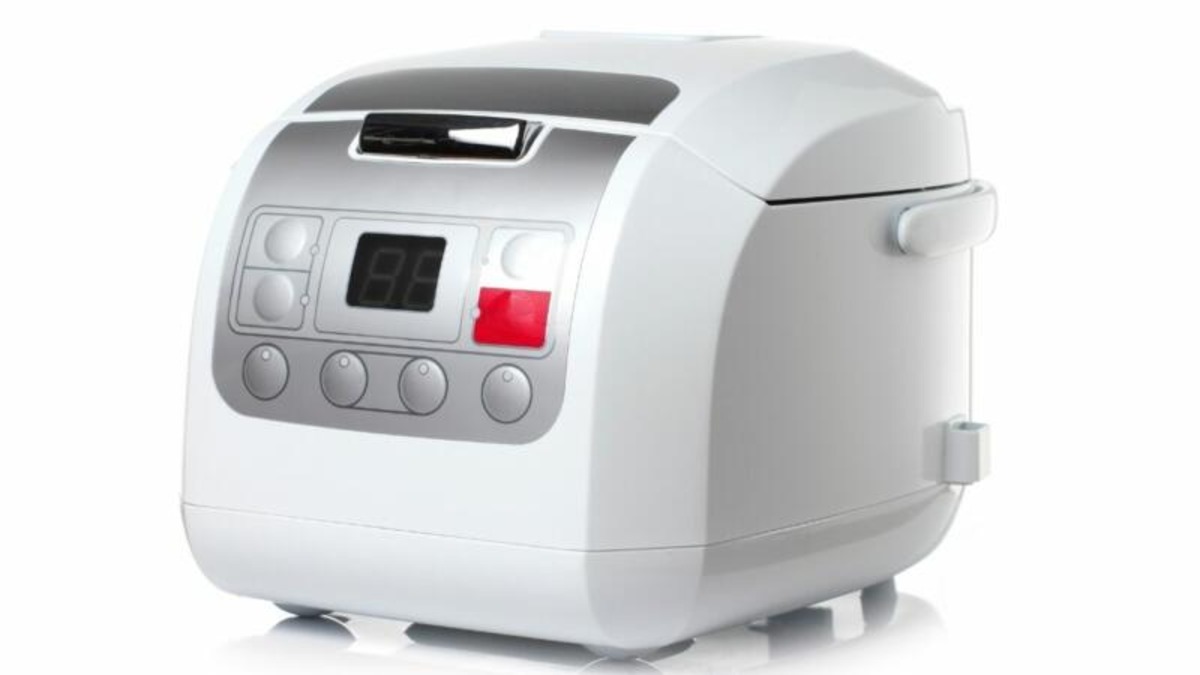
Unboxing and Assembly
Congratulations on your new Green Life Rice Cooker! Unboxing and assembling the rice cooker is a straightforward process, and with just a few simple steps, you’ll be ready to start cooking. Here’s how to get started:
- Inspect the Package: Carefully examine the packaging for any signs of damage. If you notice any, contact the retailer immediately for assistance.
- Remove Contents: Open the box and take out all the components. Typically, you will find the main rice cooker unit, the inner pot, a steam basket (if included), a rice paddle, a measuring cup, a user manual, and any additional accessories specific to your rice cooker model.
- Wash the Inner Pot: It is recommended to give the inner pot a thorough wash before using it for the first time. Use mild detergent and warm water to clean the pot, and then rinse it thoroughly. Ensure that the pot is completely dry before proceeding.
- Assemble the Inner Pot: Place the clean and dry inner pot into the rice cooker unit. Make sure it is centered and fits securely. The inner pot is typically designed with measurement markings indicating the water levels for different types of rice.
- Attach the Lid: Take the lid and align it with the rim of the rice cooker. Gently press down until you hear a click, indicating that the lid is securely attached.
- Connect the Power Cord: Locate the power cord on the rice cooker unit and plug it into a grounded electrical outlet. The rice cooker is now ready for use.
It’s important to note that the specific steps of unboxing and assembly may vary slightly depending on the model of your Green Life Rice Cooker. Therefore, it’s always a good idea to refer to the user manual provided with your rice cooker for any specific instructions or differences in assembly.
Now that your Green Life Rice Cooker is assembled and ready to go, let’s move on to understanding the control panel and the various functions it offers.
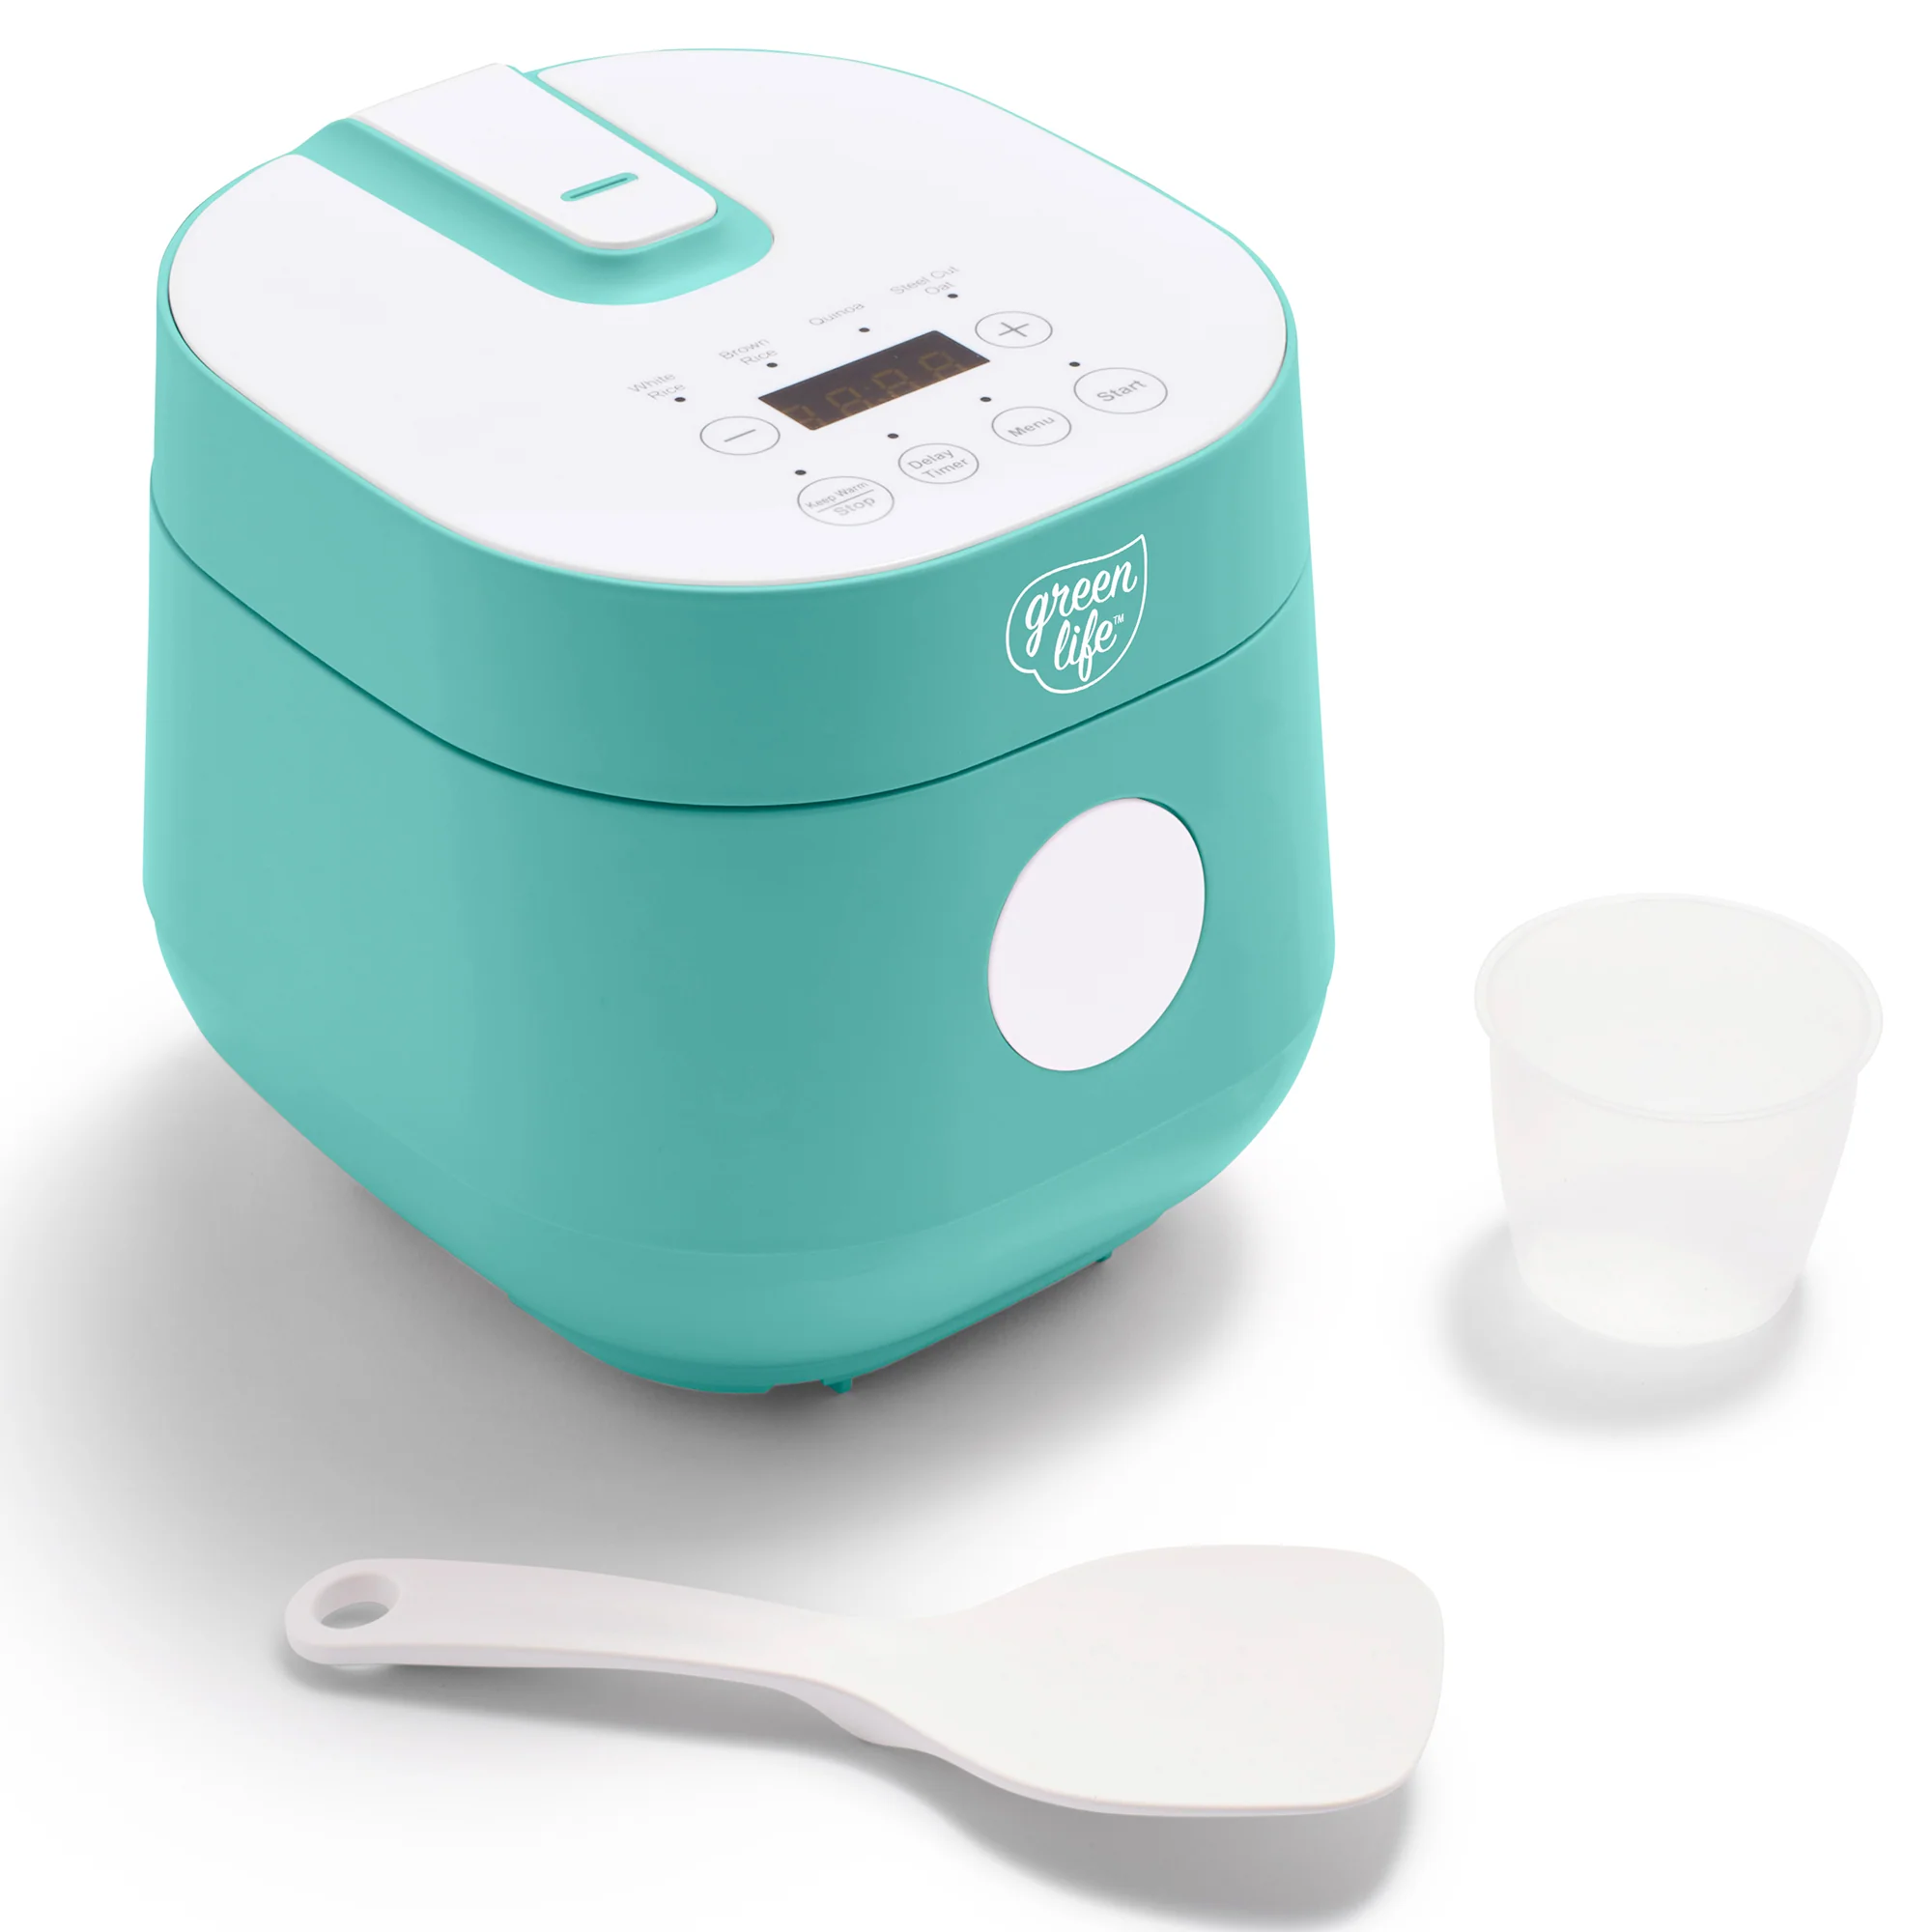
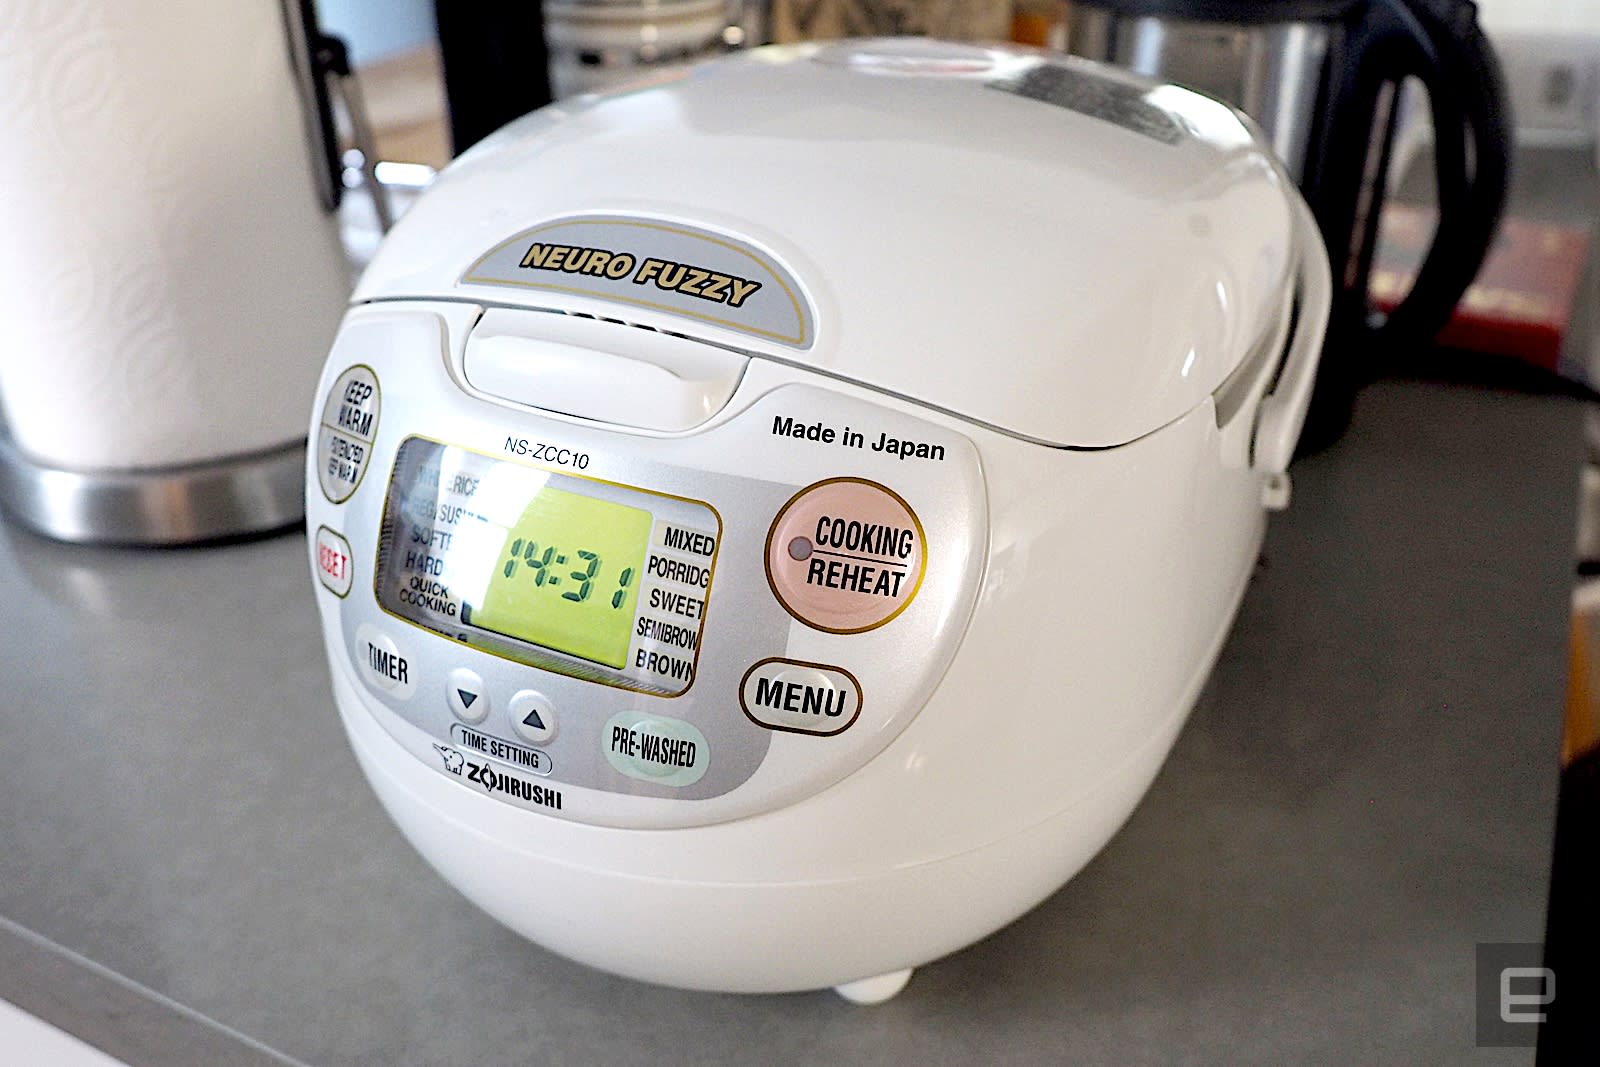
Understanding the Control Panel
The control panel of the Green Life Rice Cooker is designed to be intuitive and user-friendly, allowing you to easily navigate through the various cooking modes and settings. Familiarizing yourself with the control panel will help you make the most of your rice cooker. Here are the key components and their functions:
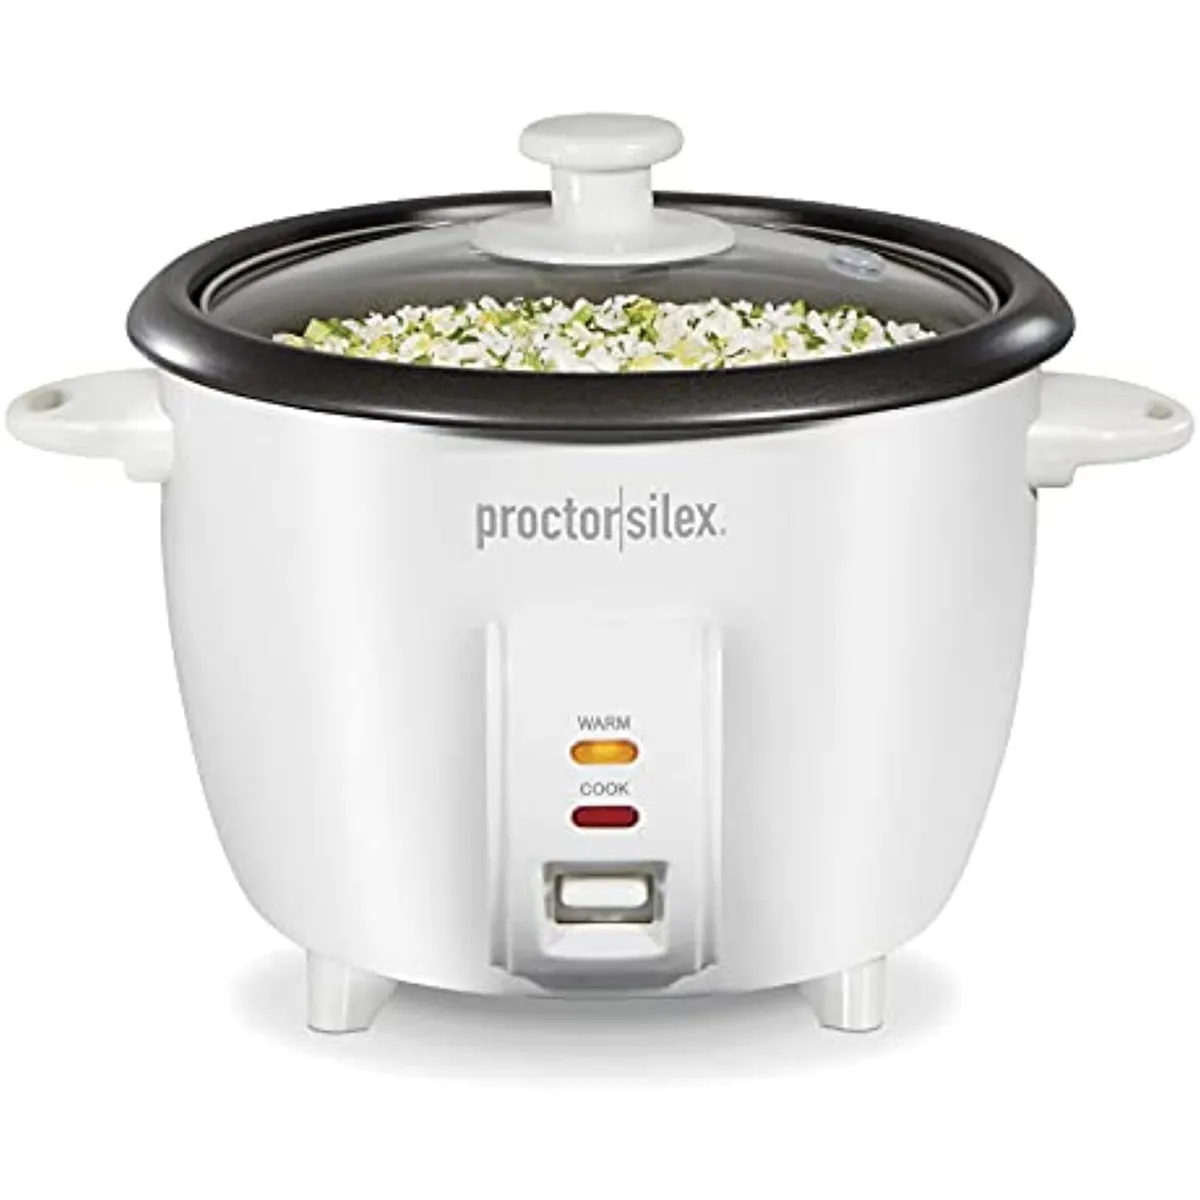
- Power Button: This button turns the rice cooker on and off. When the rice cooker is powered on, the control panel will light up, indicating that it is ready for use.
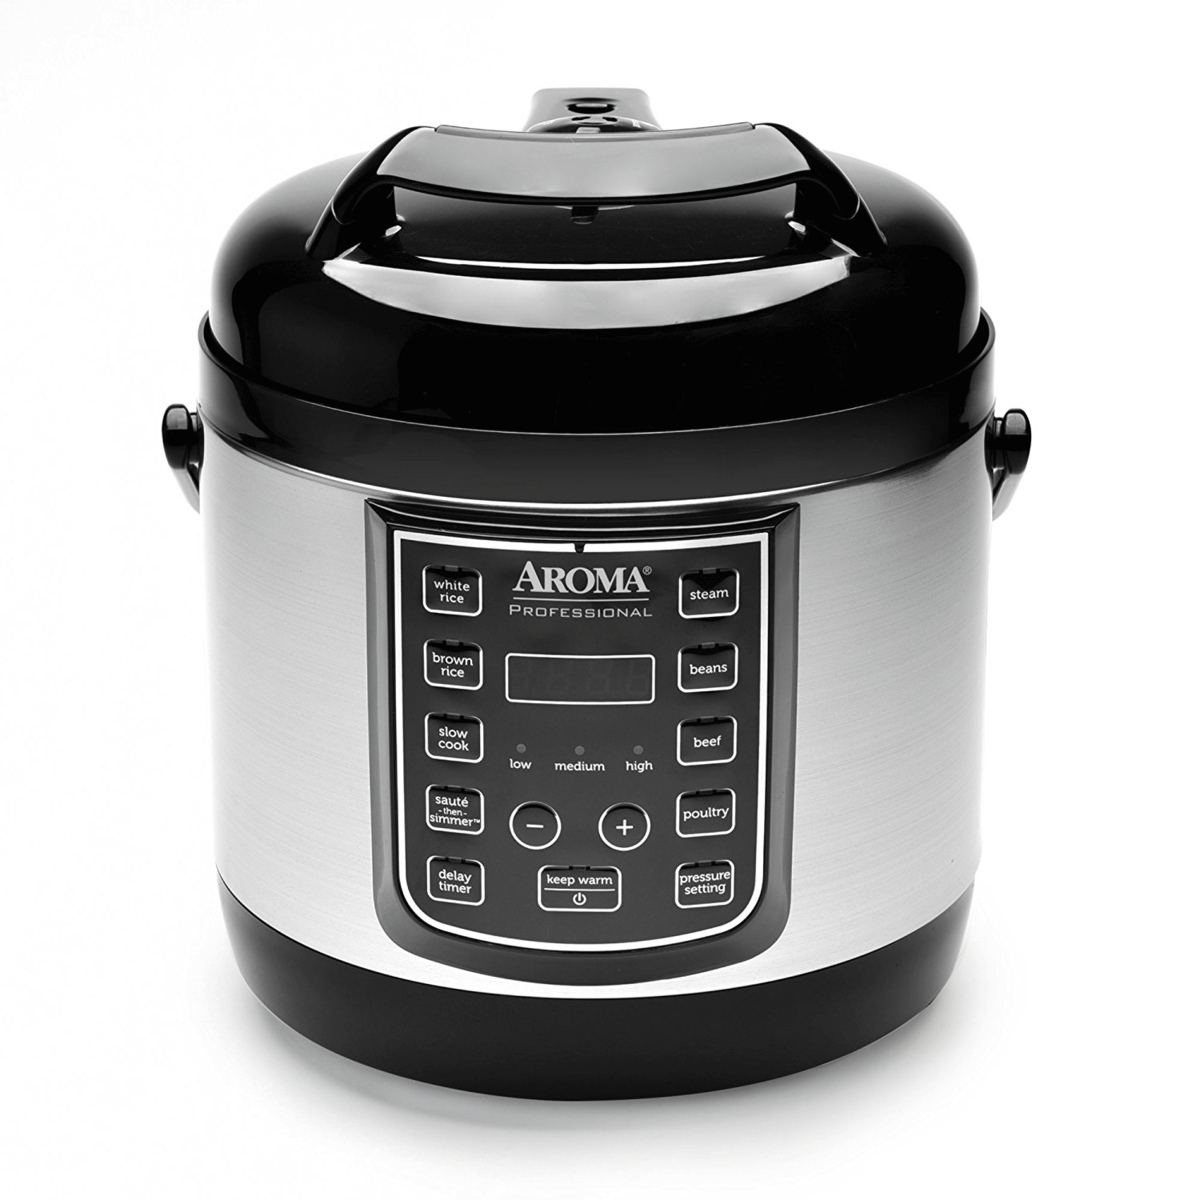
- Cooking Mode Selector: This allows you to choose the desired cooking mode. The available modes may include white rice, brown rice, quick cook, steam, porridge, soup, and more. Each mode is specifically designed to optimize the cooking process for different types of ingredients.
- Timer/Delay Start: Some models may have a timer or delay start function, allowing you to set a specific time for the rice cooker to start cooking. This is especially useful if you want to have freshly cooked rice ready at a specific time.
- Keep Warm Button: Once the cooking process is complete, this button activates the keep warm function, which maintains the rice at a warm temperature until you’re ready to serve. This feature helps keep the rice fresh and flavorful for an extended period.
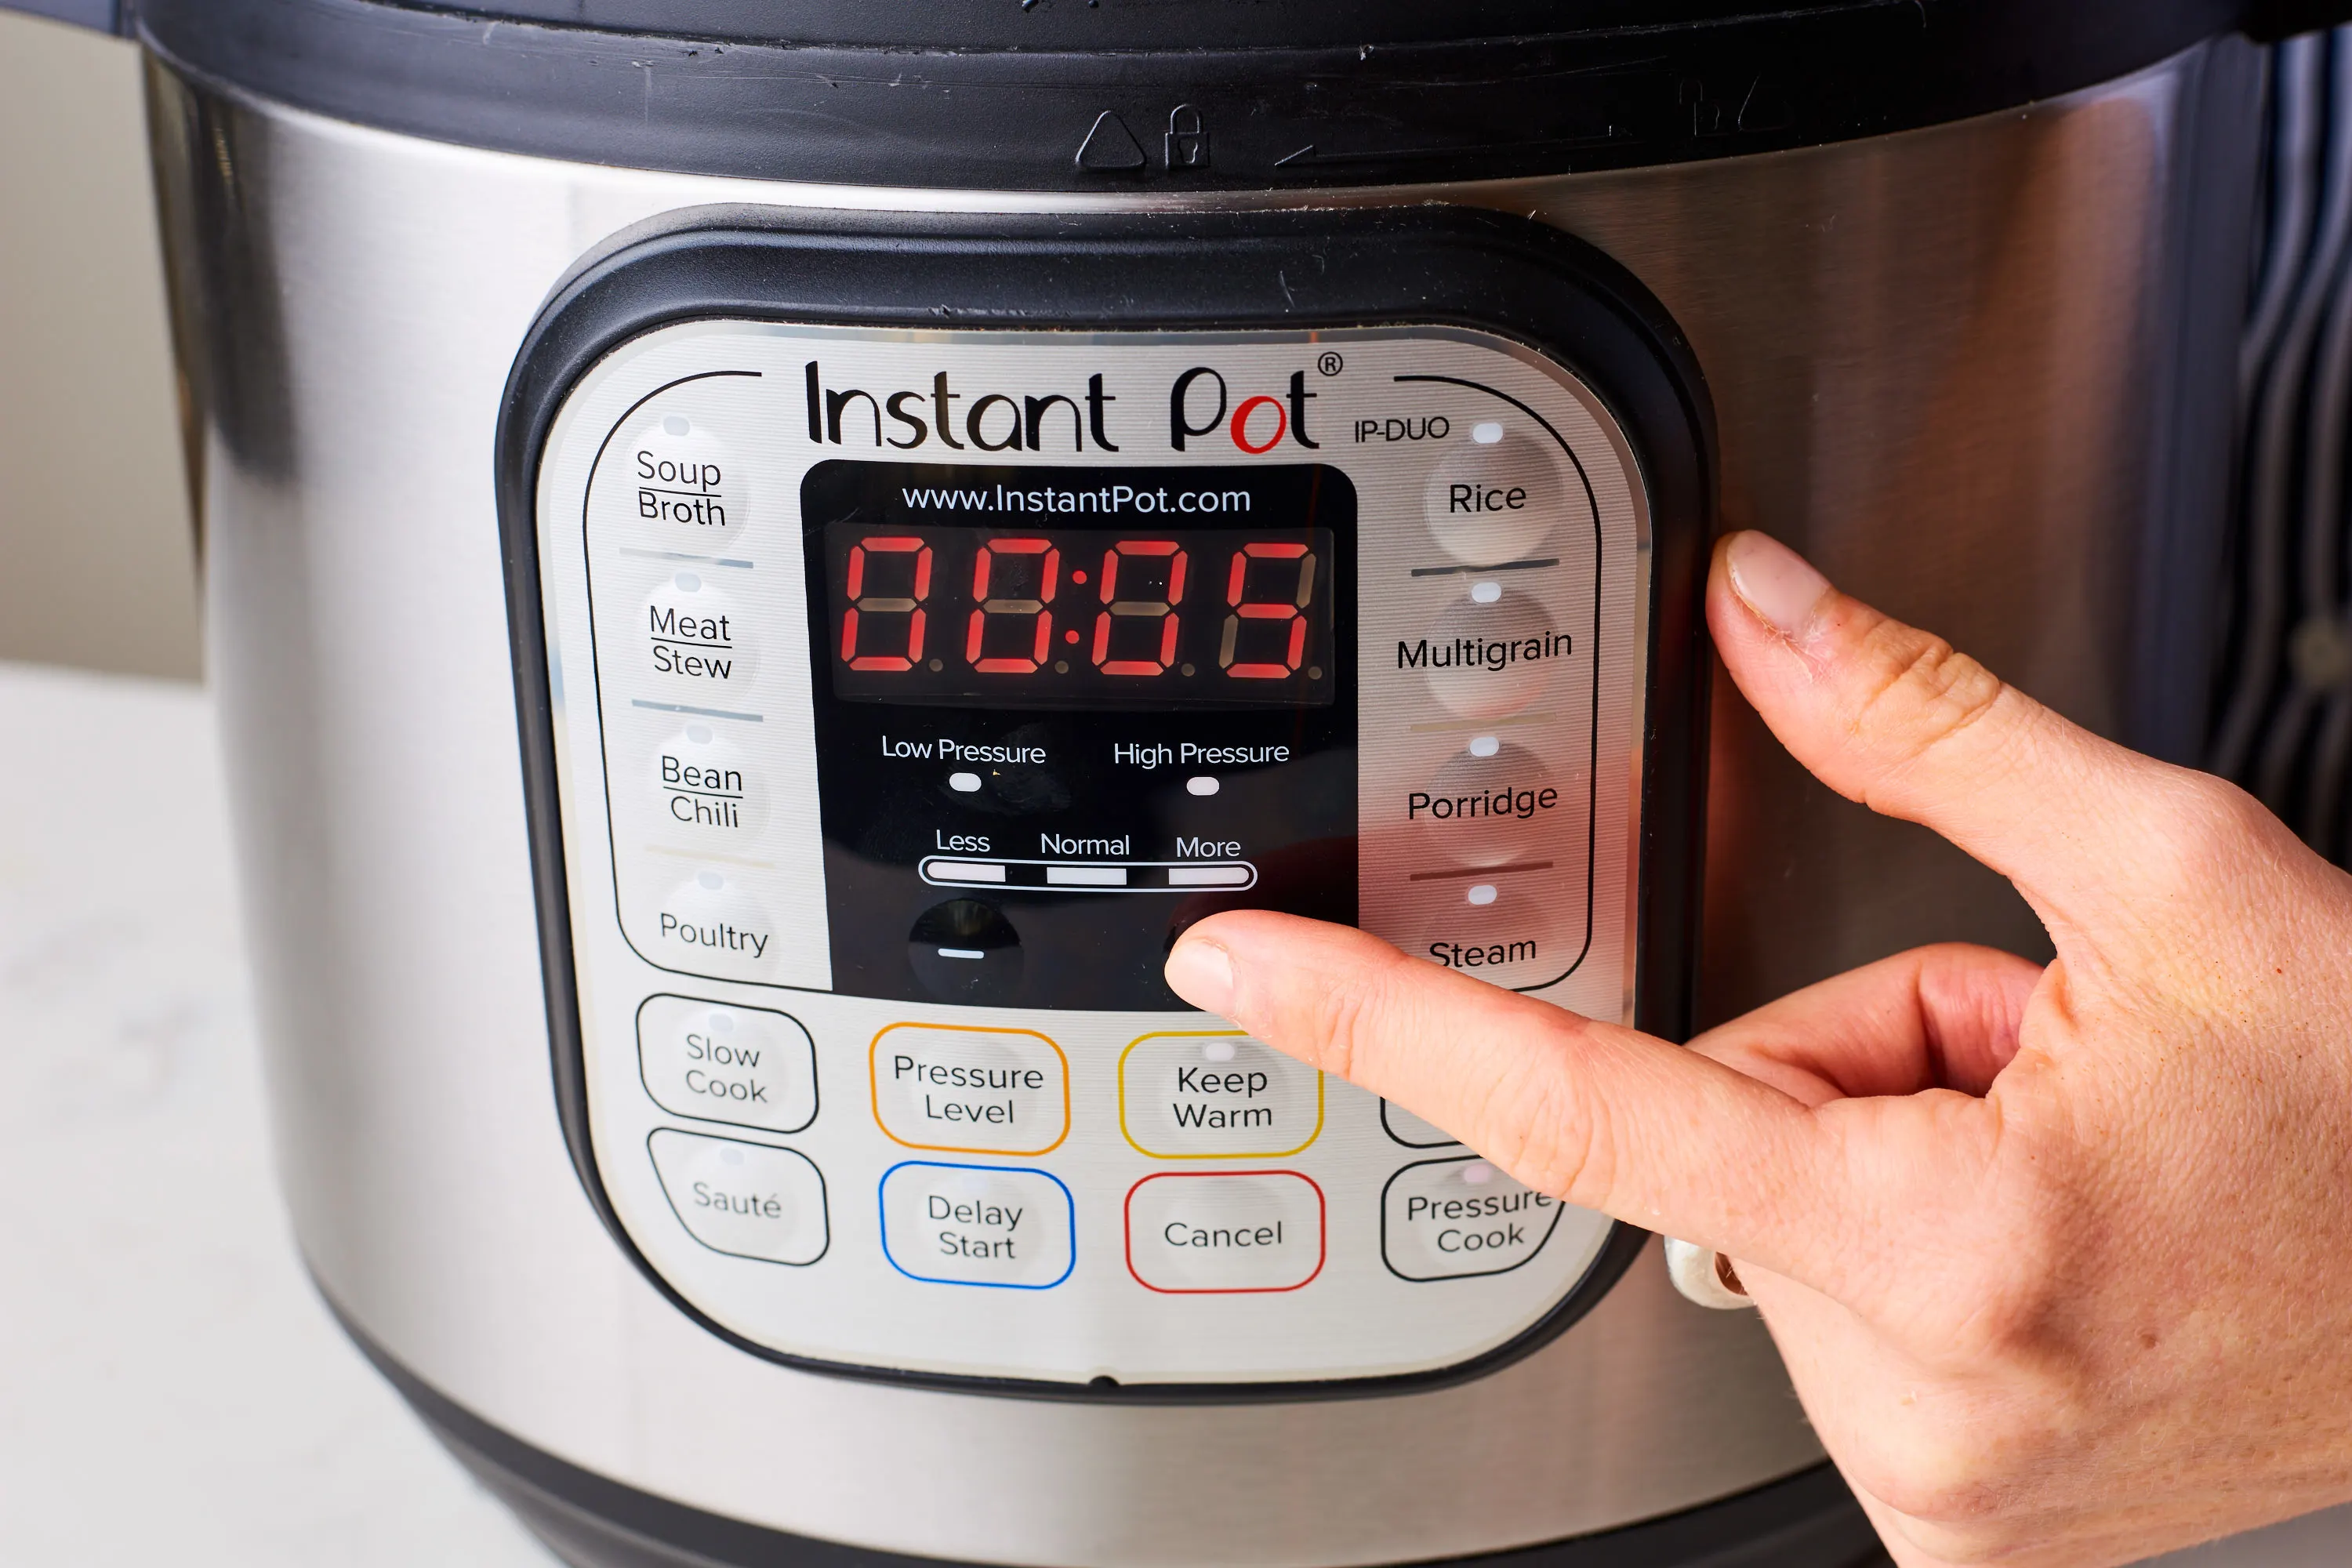
- LCD Display: The LCD display is where you can view and monitor the cooking time, selected cooking mode, and any additional settings such as delay start or keep warm. It provides clear and easy-to-read information during the cooking process.
- Touch Buttons: Alongside the LCD display, there are touch buttons that correspond to different functions and settings. These buttons are usually labeled with specific icons and text to guide you in selecting the desired options.
- Additional Functions: Depending on the model of your Green Life Rice Cooker, there may be additional functions such as a reheat option, a texture selection for rice (e.g., soft, regular, or firm), or even a voice guidance feature. These extra functions enhance the versatility and customization options of your rice cooker.
Understanding the control panel and its various functions will allow you to make precise selections and adjustments while cooking with your Green Life Rice Cooker. Now that we’ve covered the control panel, let’s move on to the next step: measuring rice and water.
Measuring Rice and Water
Accurately measuring the right amount of rice and water is crucial for achieving perfectly cooked, fluffy rice in your Green Life Rice Cooker. While the exact measurements may vary slightly depending on personal preference and the type of rice being used, here is a general guideline to help you get started:
- Rice Measurement: Use the provided measuring cup or a standard 1-cup measuring cup to measure the desired amount of rice. One cup of uncooked rice typically yields around three cups of cooked rice. Refer to the rice cooker’s user manual for specific recommendations on rice to water ratios for different types of rice.
- Water Measurement: As a general rule of thumb, the water level should be slightly higher than the level of the rice. For standard white rice, a 1:1.5 ratio of rice to water is often recommended. However, this may vary depending on personal preference and the desired texture of the rice. Adjust the amount of water accordingly for softer or firmer rice.
- Using the Inner Pot: After measuring the rice and water, add them to the inner pot of the rice cooker. Ensure that the pot is properly positioned in the rice cooker unit before adding the ingredients.
- Optional Additions: Depending on your recipe and personal taste, you can add seasonings or additional ingredients, such as salt, butter, or herbs, to enhance the flavor of the rice. Follow the recommended measurements and instructions for these additions to maintain the proper rice to water ratio.
Remember to refer to the user manual for any specific instructions or recommendations on rice and water measurements for your particular model of the Green Life Rice Cooker. The manual will provide the most accurate guidelines to ensure successful results.
Now that you know how to measure the rice and water, it’s time to choose the appropriate cooking mode for your desired dish. Let’s explore the different cooking modes available in the Green Life Rice Cooker.
Read more: How To Use Rice Cooker As A Steamer
Choosing the Cooking Mode
The Green Life Rice Cooker offers a variety of cooking modes to suit different types of rice, grains, and even other dishes like porridge and soup. Understanding these modes will allow you to select the most suitable one for your desired recipe. Here are some of the common cooking modes featured in the Green Life Rice Cooker:
- White Rice: This mode is specifically designed for cooking white rice. It ensures that the rice is cooked to perfection, with the right texture and moisture.
- Brown Rice: Brown rice requires a slightly different cooking process compared to white rice due to its higher fiber content. The brown rice mode in the Green Life Rice Cooker is optimized to deliver well-cooked, tender brown rice.
- Quick Cook: If you’re in a hurry and need rice cooked faster, the quick cook mode comes to the rescue. This mode utilizes higher heat and shorter cooking time to prepare rice quickly while still maintaining its quality.
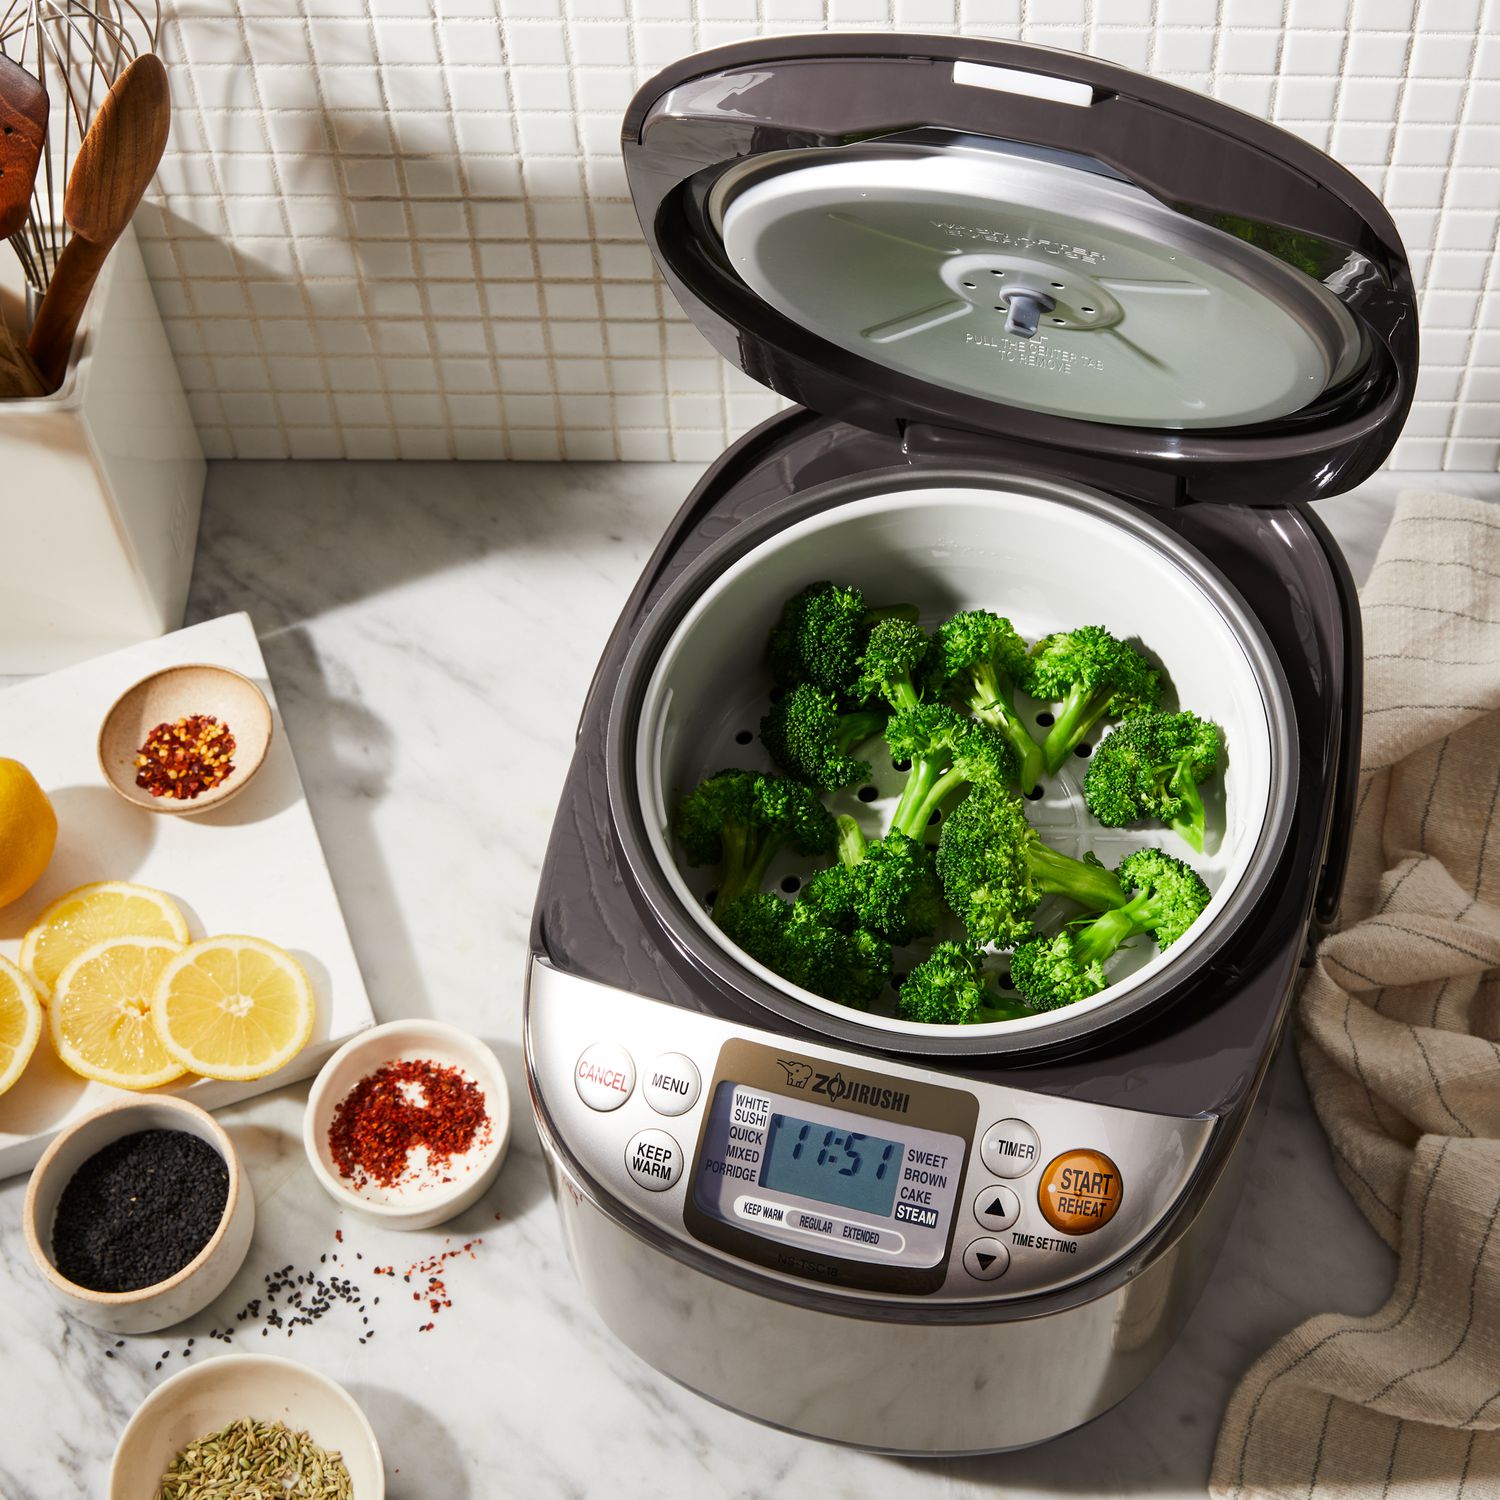
- Steam: In addition to cooking rice, the Green Life Rice Cooker can also be used for steaming vegetables, seafood, and other ingredients. The steam mode provides the ideal conditions for steaming, ensuring that your food is cooked evenly and retains its natural flavors and nutrients.
- Porridge: Whether you’re craving a comforting bowl of rice porridge or want to try different grains like quinoa or barley, the porridge mode will deliver a creamy, well-cooked consistency. This mode is perfect for making warm and nourishing porridge recipes.
- Soup: The soup mode is an excellent feature that allows you to prepare delicious soups in the Green Life Rice Cooker. With precise temperature control, it ensures that your soup is cooked thoroughly and maintains its flavors.
To select the desired cooking mode, simply press the corresponding button on the control panel. The chosen mode will be displayed on the LCD, allowing you to keep track of the selected setting.
Remember to refer to the user manual for any specific instructions or recommendations on cooking times and adjustments for each mode. Each rice cooker model may have slightly different cooking times and settings based on its capabilities.
Now that you’re familiar with the different cooking modes, let’s explore some additional features and functions that can elevate your cooking experience with the Green Life Rice Cooker.
When using the Green Life Rice Cooker, make sure to measure the rice and water accurately according to the cooker’s instructions to ensure perfectly cooked rice every time.
Additional Features and Functions
The Green Life Rice Cooker is not just a device for cooking rice; it offers a range of additional features and functions that enhance its versatility and convenience. Let’s explore some of these features:
- Keep Warm Function: After the rice is cooked, the keep warm function automatically activates to maintain the temperature of the rice. This feature keeps the rice warm and ready to serve for an extended period, ensuring that you can enjoy hot, freshly cooked rice whenever you’re ready.
- Timer and Delay Start: Some models of the Green Life Rice Cooker come with a timer or delay start function. This allows you to set a specific time for the rice cooker to start cooking. You can prepare the rice and water in advance and schedule the cooking process to begin at a later time. This feature is particularly useful for busy individuals or meal planning.
- Reheat Option: If you have leftover rice that has cooled down, the reheat option helps restore the rice’s warmth and fluffiness. This feature comes in handy when you want to enjoy leftover rice without compromising on its quality.
- Texture Selection: Some rice cookers offer the option to adjust the texture of the cooked rice according to personal preference. Whether you prefer your rice soft, regular, or firm, this feature allows you to customize the texture to your liking.
- Voice Guidance: Certain models of the Green Life Rice Cooker are equipped with a voice guidance feature. This feature provides audible instructions and alerts during the cooking process, making it even more convenient and user-friendly, especially for individuals with visual impairments.
- Multi-functionality: Besides cooking rice, the Green Life Rice Cooker can often be used to prepare other dishes like soups, stews, and porridge. This versatility makes it a valuable addition to your kitchen, allowing you to expand your culinary repertoire without the need for multiple appliances.
These additional features and functions add convenience, flexibility, and customization options to your cooking experience with the Green Life Rice Cooker. Explore the specific capabilities of your rice cooker model to make the most of these features.
Now that you’re familiar with the additional features, let’s move on to the exciting part: the cooking process in the Green Life Rice Cooker.
Cooking Process
With the Green Life Rice Cooker, cooking rice has never been easier. Follow these simple steps to achieve perfectly cooked rice every time:
- Measure the Rice and Water: Determine the amount of rice you want to cook and use the provided measuring cup or a standard 1-cup measuring cup to measure the rice accordingly. Measure the appropriate amount of water based on the rice to water ratio for your desired texture.
- Add Rice and Water to the Inner Pot: Place the measured rice into the inner pot of the rice cooker. Add the measured water, ensuring that the water level is slightly higher than the rice level. If desired, add any additional seasonings or ingredients at this stage.
- Select the Cooking Mode: Choose the appropriate cooking mode based on the type of rice or dish you are cooking. Refer to the user manual for specific recommendations on cooking modes and settings for different types of rice.
- Press Start: Once you have selected the cooking mode, press the start button on the control panel. The rice cooker will begin the cooking process, and the LCD display will show the countdown timer indicating the remaining cooking time.
- Wait for the Cooking Cycle to Complete: Allow the rice cooker to complete the cooking cycle. During this time, the rice cooker will regulate the temperature, ensuring that the rice is cooked thoroughly and evenly.
- Let the Rice Rest: Once the cooking cycle is complete, the rice cooker will typically switch to the keep warm mode automatically. Let the rice rest in the cooker for a few minutes to allow the flavors to settle and the rice to become fluffier.
- Open the Lid and Serve: After the resting period, open the lid of the rice cooker. You’ll be greeted with the aroma of perfectly cooked rice. Fluff the rice gently with a rice paddle or fork, and it’s ready to be served!
Always follow the instructions provided in the user manual for specific cooking times and settings for your particular model of the Green Life Rice Cooker. These guidelines will help you achieve the best results and the desired texture for your rice or dishes.
Now that you know how to cook rice in the Green Life Rice Cooker, let’s move on to the important step of cleaning and maintaining your appliance.
Cleaning and Maintenance
Proper cleaning and maintenance of your Green Life Rice Cooker will not only ensure its longevity but also ensure that each batch of rice is cooked in a clean and hygienic environment. Follow these guidelines to keep your rice cooker in excellent condition:
- Unplug and Cool Down: Before cleaning your rice cooker, always unplug it from the electrical outlet and allow it to cool down. This will help prevent any accidental burns.
- Remove the Inner Pot: Take out the inner pot from the rice cooker. Empty any remaining rice or food and discard it. Be careful as the inner pot may still be hot.
- Wipe the Inner Pot: Use a soft cloth or sponge to wipe the inner pot, removing any residual food particles or stains. For stubborn stains, a mild detergent and warm water solution can be used. Rinse the pot thoroughly to remove any soap residue.
- Clean the Exterior: Wipe the exterior of the rice cooker with a damp cloth to remove any dirt or spills. Avoid using abrasive cleaners or harsh chemicals, as they may damage the surface. Dry the exterior thoroughly before storing or using the rice cooker again.
- Clean the Lid and Accessories: Clean the lid, rice paddle, measuring cup, and any other accessories that came with your rice cooker. Wash them with mild detergent and warm water, and rinse thoroughly. Ensure that all components are completely dry before storing them or reassembling the rice cooker.
- Clean the Heating Element: If food or rice has spilled onto the heating element, wait for it to cool down completely, and then wipe it gently with a damp cloth. Be cautious and avoid using excessive force or abrasive materials that could damage the heating element.
- Regular Maintenance: To keep your Green Life Rice Cooker performing at its best, perform regular maintenance tasks such as descaling the rice cooker as recommended by the manufacturer. Descaling helps remove mineral deposits that can accumulate over time and potentially affect the performance of the appliance.
- Store Properly: When not in use, store your rice cooker in a dry and clean place. Avoid placing any heavy objects on top of it, as this can cause damage. Keep the power cord neatly wrapped or secured to prevent any tripping hazards.
By following these cleaning and maintenance practices, you’ll ensure that your Green Life Rice Cooker remains in optimal condition, providing you with delicious rice for years to come. Always refer to the user manual for any specific cleaning instructions or recommendations for your specific model.
Now that you know how to properly clean and maintain your rice cooker, let’s move on to troubleshooting any common issues that may arise.
Read more: How To Use The Black And Decker Rice Cooker
Troubleshooting
While the Green Life Rice Cooker is designed to be reliable and user-friendly, there may be instances where you encounter some common issues. Here are some troubleshooting steps to help you resolve these issues:
- Rice is Undercooked or Overcooked: If the rice is consistently undercooked or overcooked, check the rice to water ratio. Adjust the amount of water based on personal preference and the desired texture of the rice. Ensure that you are using the correct cooking mode for the type of rice being cooked.
- Rice is Sticking to the Bottom: If the rice is sticking to the bottom of the pot, you may need to adjust the cooking time or add more water. Additionally, make sure to fluff the rice properly after cooking to prevent it from clumping together.
- Rice Cooker is Not Turning On: If the rice cooker is not turning on, double-check that it is properly plugged into a functioning electrical outlet. Check if the power cord is damaged and ensure that the power button is pressed firmly. If the issue persists, contact the manufacturer’s customer service for assistance.
- Lid is Not Closing Properly: If the lid is not closing properly, make sure that the inner pot is securely positioned in the rice cooker unit. Check for any obstructions or debris that may prevent the lid from closing. If needed, clean the seal around the lid to ensure a proper fit.
- Excessive Steam or Water Leakage: If there is excessive steam or water leakage during the cooking process, ensure that the inner pot is properly inserted and seated in the rice cooker unit. Check the rubber sealing ring on the inner pot for any damage or issues. If necessary, replace the sealing ring to prevent leakage.
- Error Codes Displayed: If your rice cooker displays error codes, refer to the user manual for the specific meaning and recommended actions for each code. The manual will provide guidance on troubleshooting steps or contact the manufacturer’s customer service for further assistance.
If you encounter any issues that are not resolved through troubleshooting or if you have any concerns about your Green Life Rice Cooker, it is recommended to reach out to the manufacturer’s customer service. They will be able to provide further assistance and address any specific issues related to your rice cooker model.
With proper troubleshooting and support, you can overcome any challenges and continue to enjoy the convenience and delicious rice provided by your Green Life Rice Cooker.
Now that we’ve covered troubleshooting, let’s conclude our guide to using the Green Life Rice Cooker.
Conclusion
Congratulations! You are now equipped with the knowledge and understanding to make the most of your Green Life Rice Cooker. From unboxing and assembly to understanding the control panel, measuring rice and water, choosing the cooking mode, and mastering the cooking process, you have learned the essential steps to achieve perfectly cooked rice every time.
Throughout this guide, we have explored the safety precautions that should be followed to ensure a safe and enjoyable cooking experience. We have also delved into the additional features and functions that make the Green Life Rice Cooker a versatile and convenient appliance in your kitchen.
Remember to regularly clean and maintain your rice cooker to keep it in optimum condition, allowing it to perform at its best. By troubleshooting common issues that may arise, you can overcome any challenges and continue to enjoy the benefits of your rice cooker.
Whether you’re cooking fluffy white rice, nutritious brown rice, classic porridge, or even steaming vegetables and preparing soups, the Green Life Rice Cooker is your reliable partner in the kitchen. It simplifies the cooking process and delivers consistent, delicious results with minimal effort.
Now it’s time to put your newfound knowledge into practice. Experiment with different rice varieties, try out new recipes, and explore the various cooking modes and settings of your Green Life Rice Cooker.
Enjoy the convenience, versatility, and delectable rice that the Green Life Rice Cooker brings to your table. Happy cooking!
Now that you've mastered using your Green Life Rice Cooker, why not check out our latest guide on selecting the perfect model? Whether you're upgrading or buying for the first time, our detailed review of the best Green Rice Cookers for the upcoming year will help you make an informed choice. Find out which models offer the best features, durability, and value for your culinary needs. Don't miss out on making every meal a masterpiece!
Frequently Asked Questions about How To Use A Green Life Rice Cooker
Was this page helpful?
At Storables.com, we guarantee accurate and reliable information. Our content, validated by Expert Board Contributors, is crafted following stringent Editorial Policies. We're committed to providing you with well-researched, expert-backed insights for all your informational needs.
0 thoughts on “How To Use A Green Life Rice Cooker”