Articles
How To Cook Chicken In The Microwave Oven
Modified: January 18, 2024
Learn how to cook chicken in the microwave oven with these easy-to-follow articles. Discover quick and convenient methods for delicious microwave chicken dishes.
(Many of the links in this article redirect to a specific reviewed product. Your purchase of these products through affiliate links helps to generate commission for Storables.com, at no extra cost. Learn more)
Introduction
Cooking chicken in the microwave oven is a convenient and time-saving method that can yield delicious results. Whether you’re in a hurry or simply prefer the ease of microwave cooking, this article will guide you through the steps to cook chicken in the microwave oven correctly.
While many may think of the microwave as primarily used for reheating leftovers or popping popcorn, it can actually be a versatile tool for cooking a variety of foods, including chicken. By following a few simple steps and ensuring you have the necessary equipment, you can enjoy a moist and flavorful chicken dish that is ready in a fraction of the time it would take using traditional cooking methods.
This article will take you through the process of preparing the chicken, seasoning it, and cooking it in the microwave oven. Additionally, we will provide tips on checking the chicken for doneness and serving it to perfection.
So, if you’re ready to discover a quick and delicious way to cook chicken, let’s dive into the steps of cooking chicken in the microwave oven!
Key Takeaways:
- Quick and Flavorful: Master the art of cooking chicken in the microwave oven for a convenient and speedy meal without sacrificing taste or moisture. Experiment with seasonings and enjoy delicious results in no time!
- Convenience Redefined: Embrace the versatility of your microwave oven to prepare moist and tender chicken dishes with ease. From seasoning to serving, unlock the potential of microwave cooking for quick and satisfying meals.
Step 1: Preparing the chicken
The first step in cooking chicken in the microwave oven is to properly prepare the chicken. Start by selecting the type of chicken you want to cook. Whether it’s boneless, skinless chicken breasts or chicken thighs, make sure they are fresh and free of any visible defects.
Next, give the chicken a thorough rinse under cold water to remove any remaining debris or residue. Pat it dry with a paper towel to ensure the chicken is moisture-free, as excess moisture can affect the cooking process.
Once the chicken is clean and dry, you may choose to trim off any excess fat or remove the skin if desired. This step is optional and depends on personal preference and dietary considerations. Trimming the fat can help reduce the overall calorie content of the dish, while removing the skin can result in a leaner finished product.
After you’ve prep the chicken, it’s essential to handle it with care to avoid cross-contamination. Wash your hands thoroughly with soap and warm water before and after handling the raw chicken. Additionally, make sure to clean any utensils or cutting boards that come into contact with the chicken to prevent the spread of bacteria.
Once the chicken is prepped and sanitized, it’s ready to be seasoned and cooked in the microwave oven. But before we move on to the next step, let’s take a moment to gather the necessary ingredients and spices to season the chicken to perfection.
Step 2: Seasoning the chicken
Seasoning the chicken is an essential step to infuse it with flavor and enhance its taste. Whether you prefer simple flavors or bold spices, there are countless seasoning combinations you can use to elevate your chicken dish.
Before applying the seasonings, ensure that the chicken is still moist. If necessary, lightly dampen it with a bit of water to help the seasonings adhere better. You can also brush the chicken with a small amount of oil to enhance browning and add moisture.
Now, let’s explore some popular seasoning options:
- Salt and pepper: A classic combination that works well with any chicken dish. Sprinkle a moderate amount of salt and pepper on both sides of the chicken.
- Herbs and spices: Experiment with dried herbs like thyme, rosemary, oregano, or a combination of them. You can also add a pinch of garlic powder, onion powder, paprika, or cayenne pepper for an extra kick.
- Marinades: Apart from using dry seasonings, you can also marinate the chicken in your favorite marinade for a more intense flavor. Combine ingredients like lemon juice, soy sauce, olive oil, honey, or balsamic vinegar to create a delectable marinade.
Once you’ve decided on your desired seasonings, be sure to coat both sides of the chicken evenly. Gently rub the seasonings onto the chicken, ensuring that every part is well-covered. This will help to impart flavor throughout the chicken as it cooks.
Now that your chicken is seasoned to perfection, it’s time to move on to the next step: placing it in a microwave-safe dish.
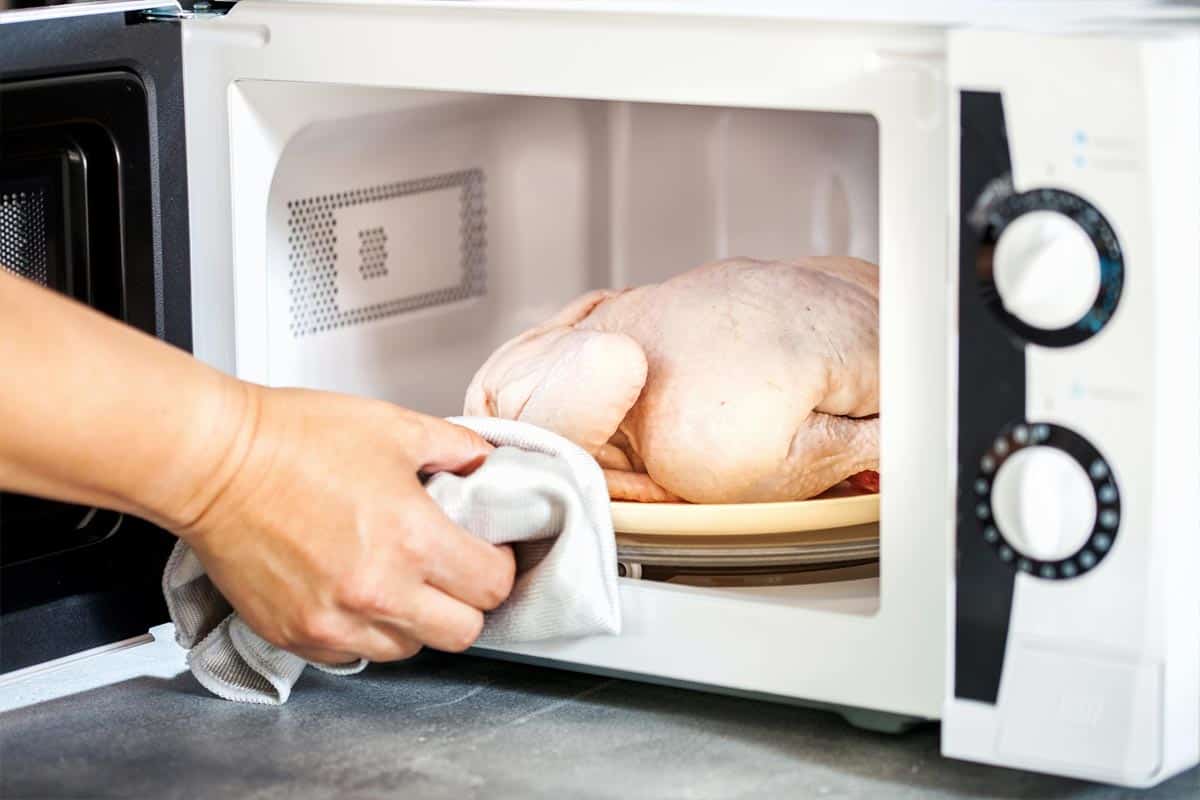
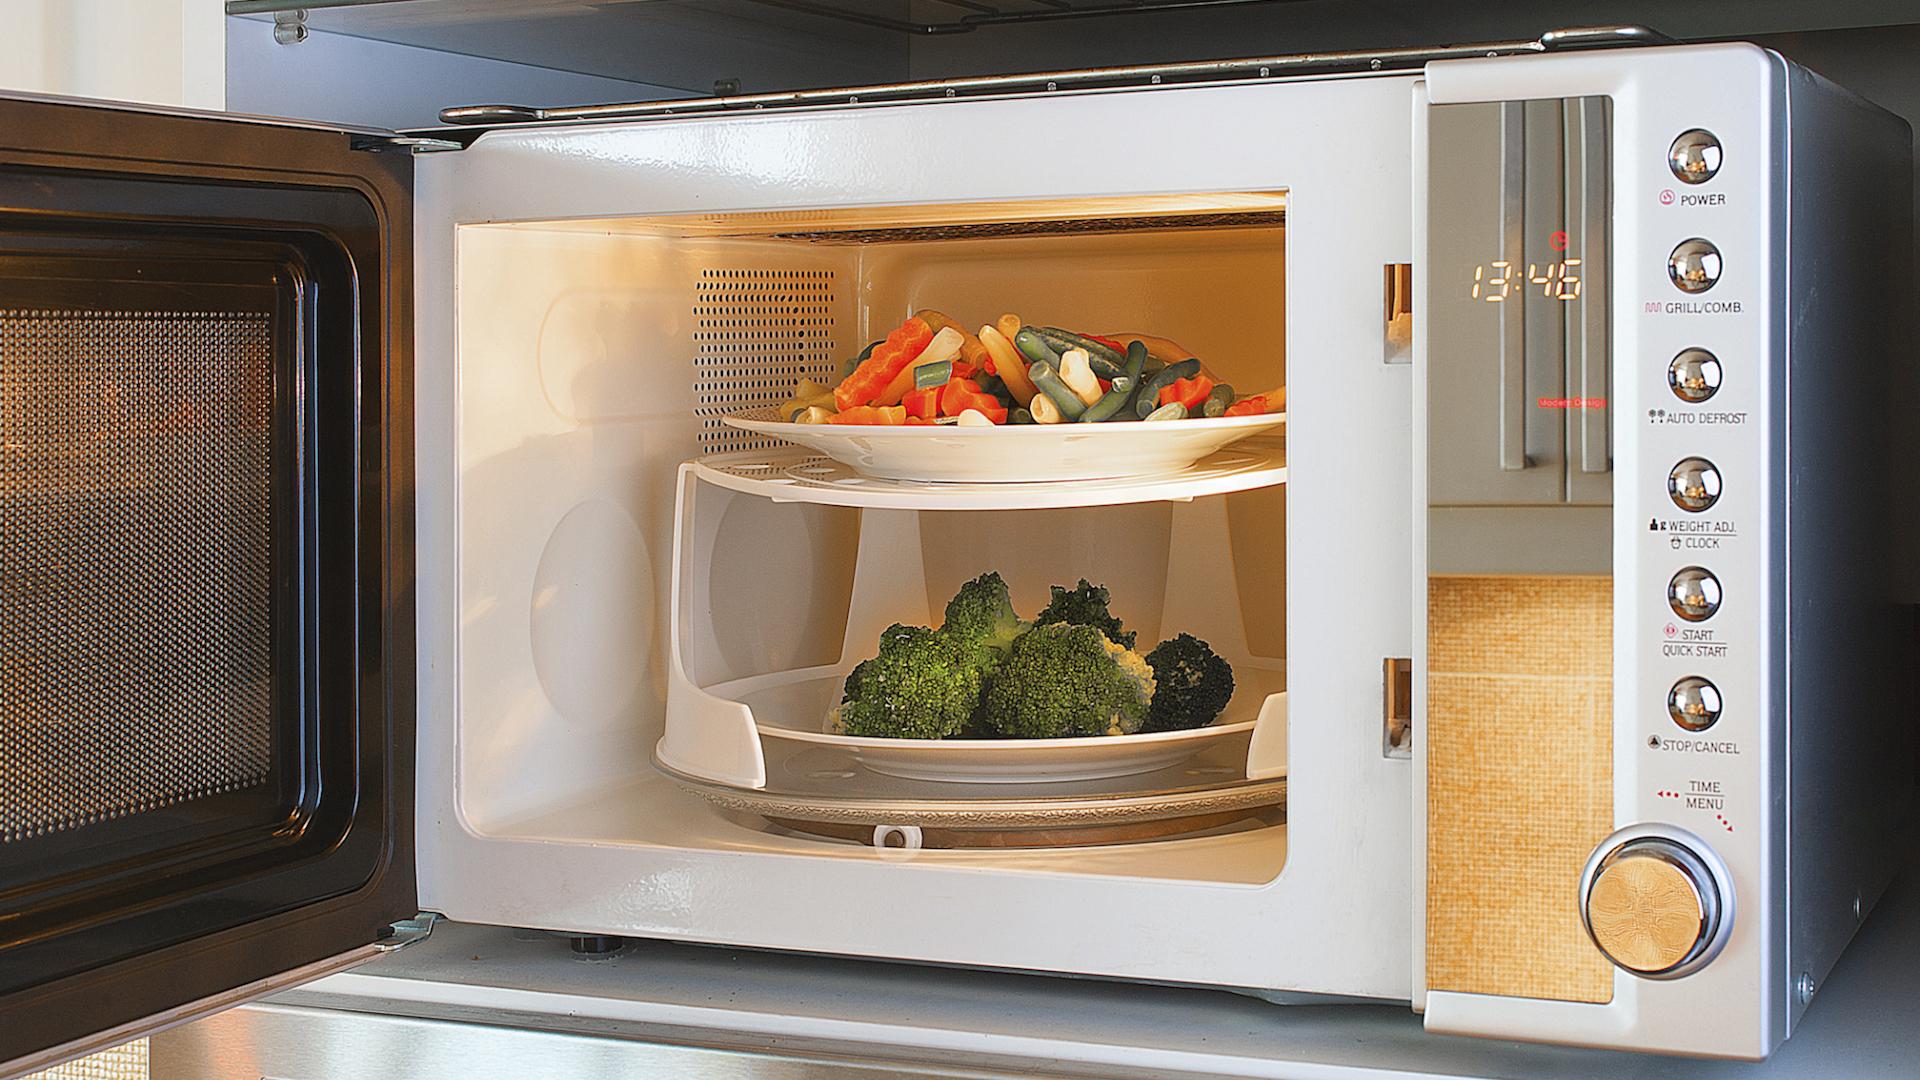
Step 3: Placing the chicken in a microwave-safe dish
After seasoning the chicken, the next step is to transfer it to a microwave-safe dish. It is important to use a dish that is specifically designed for microwave use to ensure safe and efficient cooking.
When selecting a microwave-safe dish, opt for one that is large enough to accommodate the chicken without overcrowding it. This allows for even cooking and prevents the chicken from drying out or becoming tough.
If you’re cooking multiple pieces of chicken, make sure to arrange them in a single layer, with some space between each piece. This allows the microwaves to penetrate the chicken evenly and promote even cooking throughout.
If you don’t have a microwave-safe dish on hand, you can use microwave-safe plastic wrap or a microwave-safe bag. Place the seasoned chicken inside the wrap or bag, ensuring it is sealed tightly to retain moisture during the cooking process.
Remember to pierce holes in the wrap or bag with a fork to allow steam to escape. This prevents the buildup of pressure and helps to prevent the wrap or bag from bursting during cooking.
Once the chicken is placed in a microwave-safe dish or wrapped properly, it’s time to move on to the next step: covering the dish.
Step 4: Covering the dish
Covering the dish is an important step in cooking chicken in the microwave oven. It helps to retain moisture and ensure even cooking throughout the chicken.
There are several options for covering the dish:
- Microwave-safe lid: If your microwave-safe dish comes with a lid, simply place it on top of the dish. The lid will trap the steam and help to keep the chicken moist during cooking.
- Microwave-safe plastic wrap: If your dish doesn’t have a lid, you can use microwave-safe plastic wrap to cover the chicken. Stretch the wrap tightly over the dish, ensuring there are no gaps for steam to escape.
- Microwave-safe microwave cover: Alternatively, you can use a microwave cover specifically designed for covering food during microwave cooking. These covers usually have vent holes to allow steam to escape and prevent splattering.
Whether you’re using a lid, plastic wrap, or a microwave cover, make sure it is microwave-safe and properly fits the dish. This will help to maintain the moisture and prevent any splattering or mess during the cooking process.
Once the dish is properly covered, it’s time to move on to the next step: setting the cooking time.
Read more: How To Preheat Microwave Oven
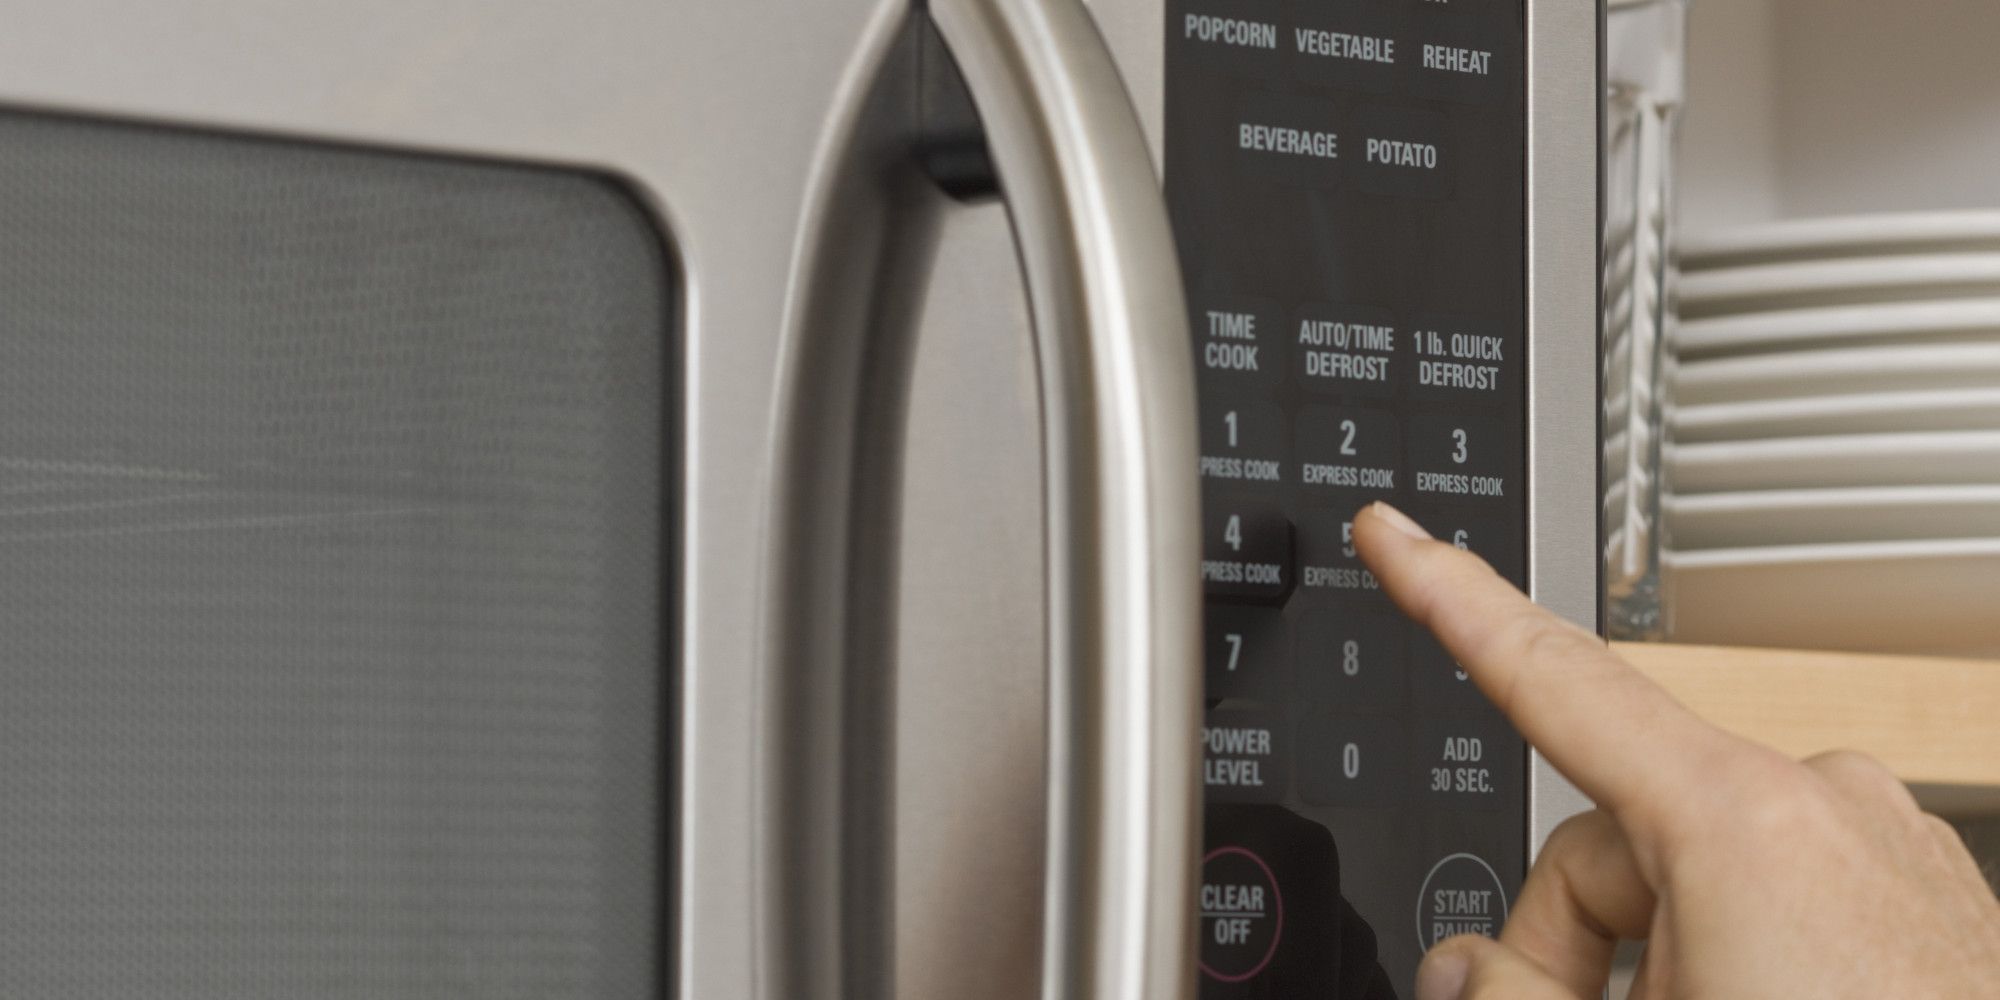
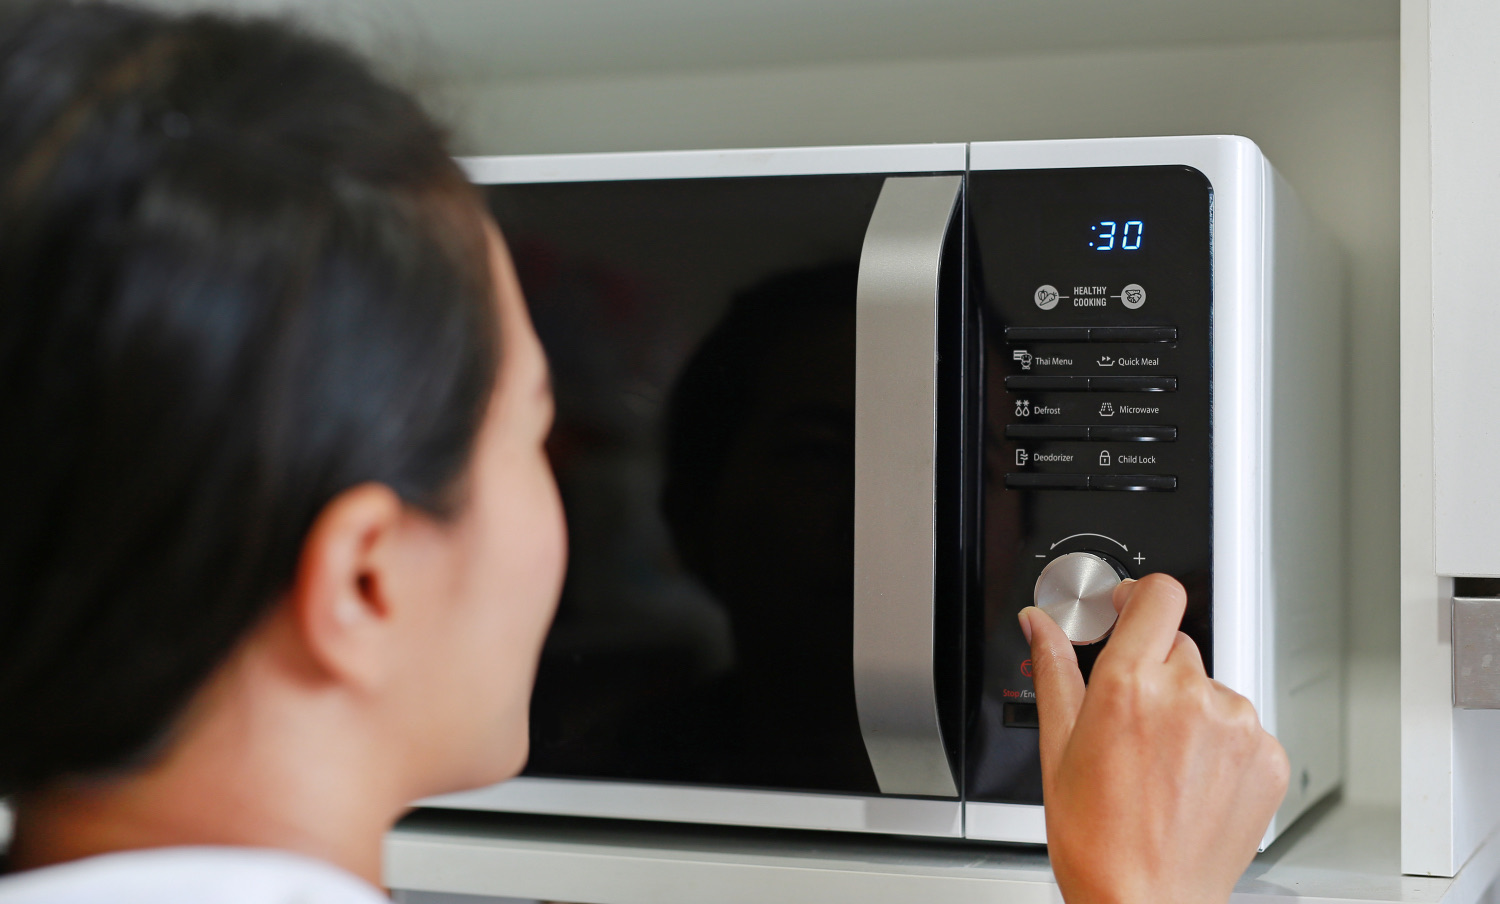
Step 5: Setting the cooking time
Setting the appropriate cooking time is crucial to ensure that the chicken is cooked thoroughly and to avoid undercooking or overcooking.
The cooking time for chicken in the microwave oven can vary depending on the type and quantity of chicken, as well as the wattage of your microwave oven. As a general guideline, allow for around 5-6 minutes of cooking time per pound of chicken.
Before setting the cooking time, refer to the manufacturer’s instructions for your microwave oven to understand its specific power levels and cooking functions. This will help you determine the most suitable settings for cooking the chicken.
To set the cooking time, follow these steps:
- Place the covered dish with the chicken in the microwave oven.
- Press the “Microwave” button or select the appropriate cooking function on your microwave oven.
- Enter the desired cooking time using the numeric keypad or the pre-set buttons.
- Start the microwave oven by pressing the “Start” or “Cook” button.
During the cooking process, it is recommended to stop and rotate the dish halfway through the cooking time to ensure even cooking. This can be done by gently turning the dish or using oven mitts to rotate it.
It is important to note that microwaves have varying power levels, so you may need to adjust the cooking time accordingly. Periodically check the chicken’s doneness during the cooking process to avoid overcooking. We will cover this in more detail in the next step.
Now that you have set the cooking time, it’s time to move on to the exciting part: cooking the chicken in the microwave!
To cook chicken in the microwave, place it in a microwave-safe dish, cover with a lid or microwave-safe plastic wrap, and cook on high for 5-7 minutes per pound, rotating halfway through. Use a meat thermometer to ensure it reaches an internal temperature of 165°F.
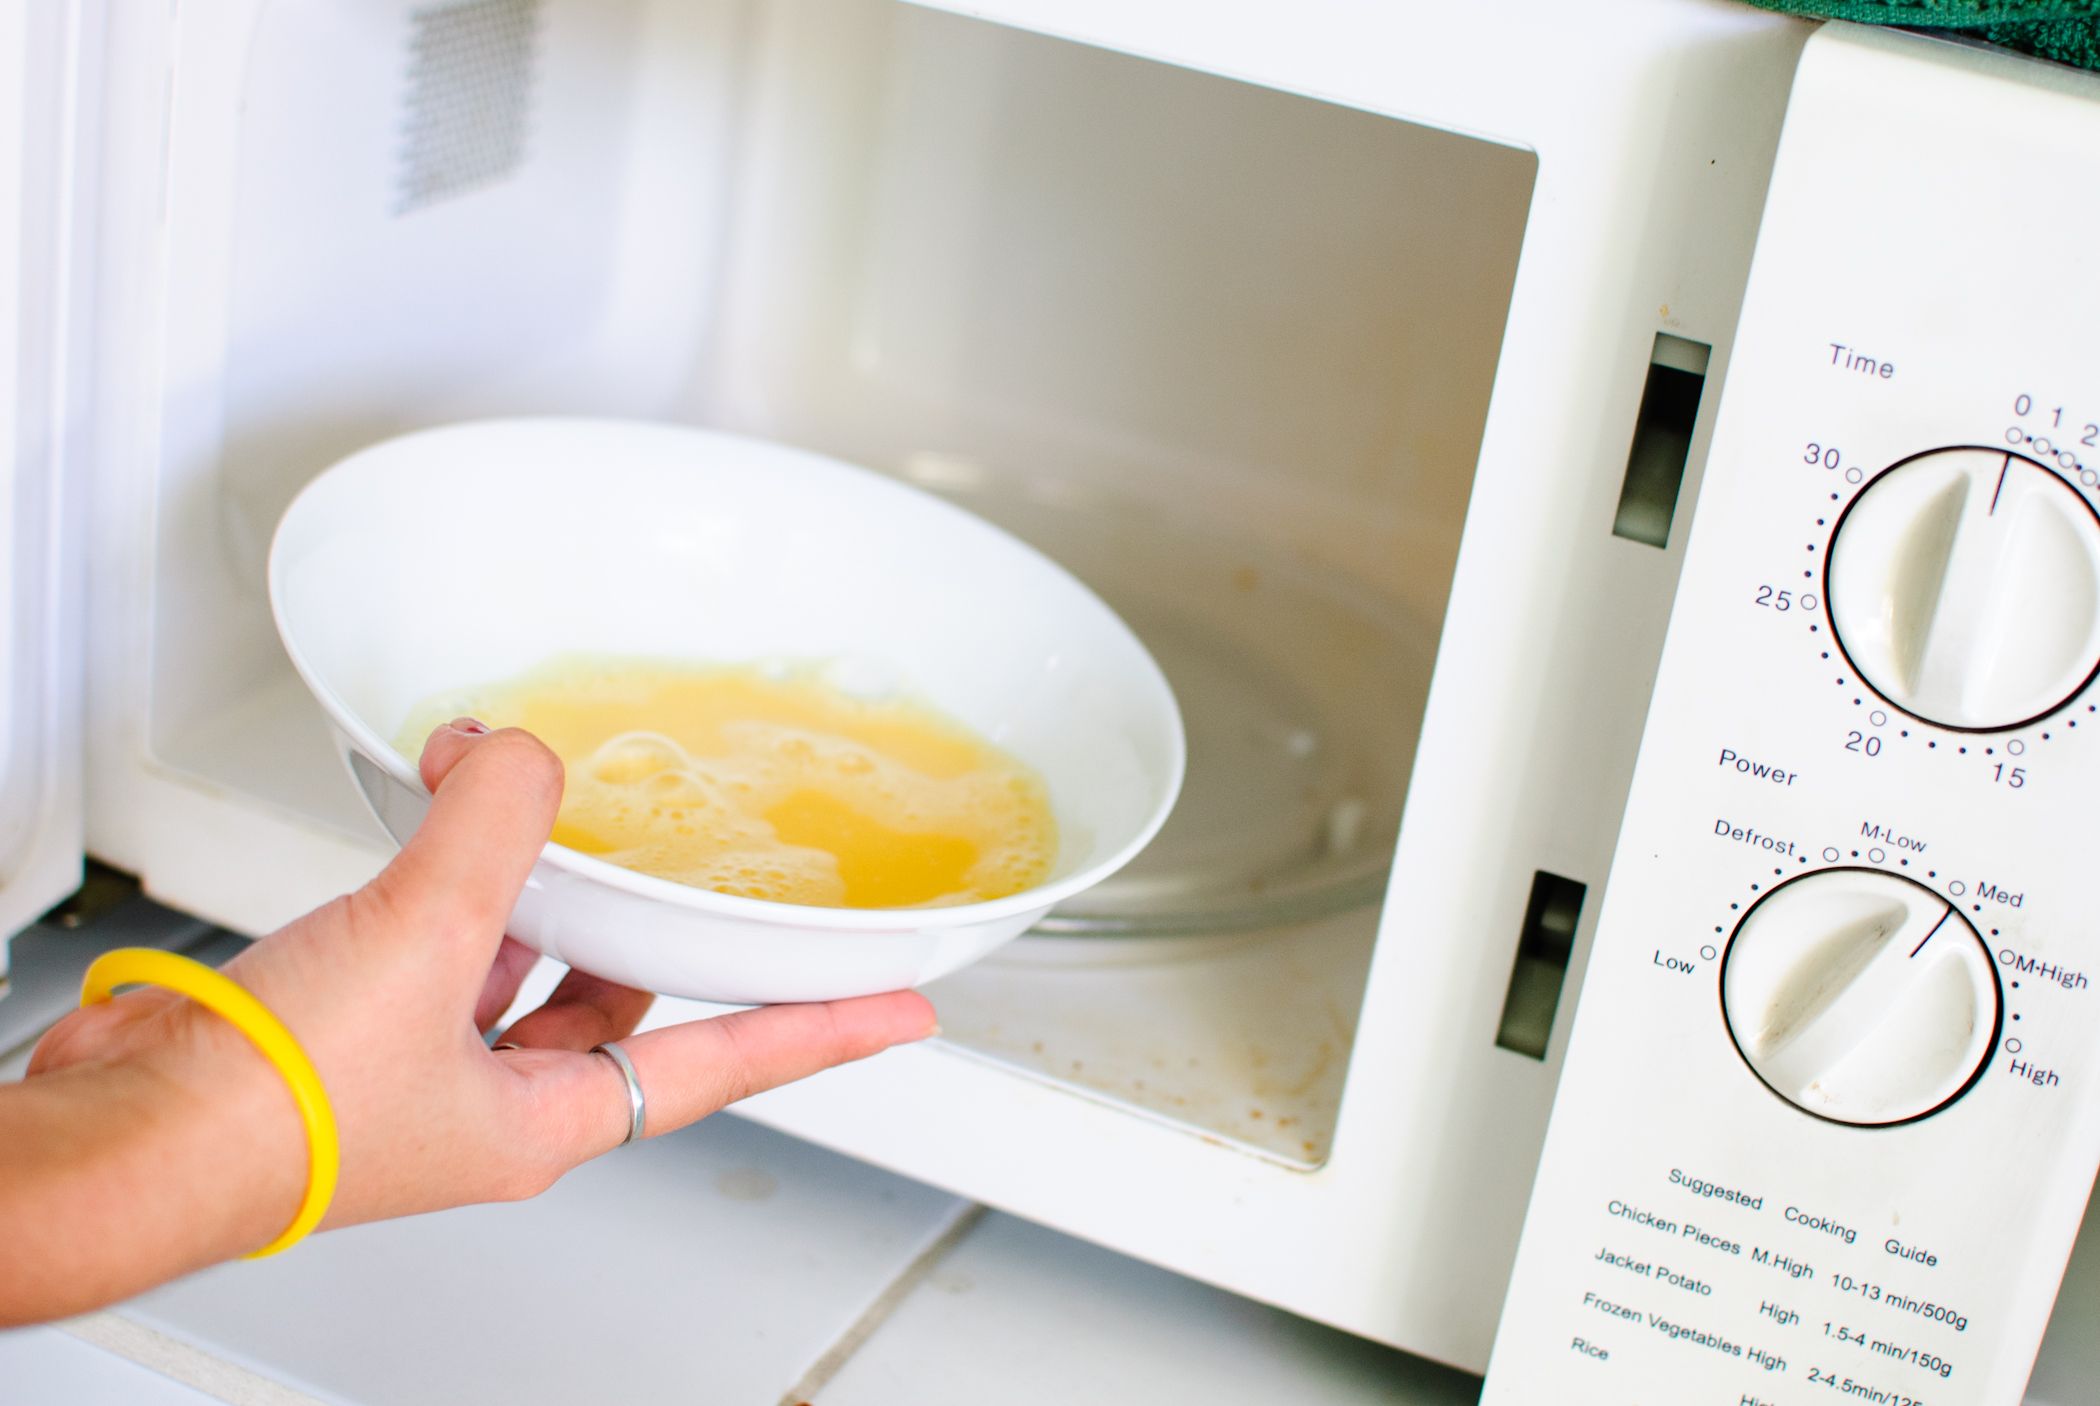
Step 6: Cooking the chicken in the microwave
With the cooking time set, it’s time to cook the chicken in the microwave oven. The microwave will generate heat and cook the chicken through the process of dielectric heating.
To cook the chicken in the microwave, follow these steps:
- Place the covered dish with the chicken in the center of the microwave oven.
- Close the microwave door securely to ensure proper cooking.
- Start the microwave oven by pressing the “Start” or “Cook” button.
As the chicken cooks, the microwave oven will generate heat, which will penetrate the chicken and cook it from the inside out. The steam trapped inside the dish will help to maintain moisture and prevent dryness.
While the chicken is cooking, it is recommended to periodically check the doneness and ensure even cooking. You can do this by carefully removing the dish from the microwave oven (using oven mitts) and using a meat thermometer to check the internal temperature of the chicken.
The safe internal temperature for cooked chicken is 165°F (74°C) to ensure that it is fully cooked and safe to consume. Insert the meat thermometer into the thickest part of the chicken, avoiding contact with bones, and wait for the reading to stabilize.
If the chicken has not reached the desired temperature, return it to the microwave oven and continue cooking in short intervals, checking the doneness periodically until the internal temperature is reached.
Once the chicken has reached the safe internal temperature and is fully cooked, carefully remove it from the microwave oven using oven mitts. Allow the chicken to rest for a few minutes. This resting period allows the juices to redistribute and the chicken to become more tender and juicy.
Now that the chicken is cooked to perfection, let’s move on to the next step: checking the chicken for doneness.
Step 7: Checking the chicken for doneness
Checking the doneness of the chicken is an important step to ensure that it is cooked thoroughly and safe to eat. While the cooking time and internal temperature are good indicators, visually inspecting the chicken can provide additional assurance.
Here are a few ways to check if the chicken is cooked properly:
- Color: Fully cooked chicken should have a golden brown color on the outside. The skin, if present, should be crispy and well-browned. If the chicken appears pale or pinkish, it may require additional cooking.
- Texture: The chicken should be firm to the touch and not feel rubbery or squishy. To test the texture, gently press the thickest part of the chicken with a fork or your finger. If it feels firm and springs back, it is likely cooked. If it feels soft or gives in, it may need more cooking time.
- Juices: When pricked, the juices that come out of the chicken should run clear. If the juices appear pink or cloudy, keep cooking the chicken until the juices run clear.
It is important to note that when checking the doneness of bone-in chicken, make sure to avoid touching the bone with the thermometer or fork. Bone-in chicken may retain some pinkness near the bone even when fully cooked, so rely on the other indicators mentioned above.
Once you are satisfied that the chicken is cooked through and properly done, it’s time to move on to the next step: resting the chicken before serving.
Step 8: Resting the chicken before serving
Allowing the chicken to rest before serving is a crucial step that helps to seal in the juices and ensure a moist and flavorful final result. During the resting period, the residual heat continues to cook the chicken, while the juices redistribute throughout the meat.
To rest the chicken, follow these steps:
- Remove the cooked chicken from the microwave oven and place it on a cutting board or a serving dish.
- Cover the chicken loosely with aluminum foil or a clean kitchen towel to keep it warm.
- Let the chicken rest for about 5 to 10 minutes.
During this resting time, the chicken will become more tender and juicy, allowing the flavors to meld together. Additionally, any juices that have accumulated during the cooking process will redistribute, resulting in a more evenly moist and flavorful chicken.
While it may be tempting to serve the chicken immediately, resisting the urge and allowing for a brief resting period will greatly enhance the overall dining experience.
Now that the chicken has had a chance to rest and develop its flavors, it’s time to move on to the final step: serving the chicken!
Read more: How To Cook Bacon In A Microwave Oven
Step 9: Serving the chicken
After the chicken has rested and reached its maximum flavor potential, it’s time to plate it up and enjoy your delicious creation. Here are some tips for serving the chicken:
- Slice or serve whole: Depending on your preference and the dish you’re preparing, you can choose to serve the chicken whole or slice it into smaller pieces. Slicing the chicken can make it easier to portion and can also enhance the presentation.
- Garnish: Add a touch of freshness and visual appeal by garnishing the chicken with fresh herbs like parsley or cilantro. You can also sprinkle some sesame seeds, chopped nuts, or a squeeze of lemon juice for added flavor and brightness.
- Pair with sides: Chicken is a versatile protein that pairs well with a wide range of sides. Consider serving it with steamed vegetables, roasted potatoes, a fresh salad, or a side of rice or pasta. The choice of sides depends on your personal preferences and the flavors you want to complement the chicken.
- Sauce it up: Elevate the flavors of the chicken by serving it with a complementary sauce or dip. Consider options like barbecue sauce, honey mustard, garlic aioli, or a homemade gravy. These sauces can enhance the taste and provide extra moisture to the dish.
Take a moment to appreciate your perfectly cooked chicken before digging in. Enjoy the tender, moist meat and the burst of flavors from the seasonings. Don’t forget to share the deliciousness with your family and friends!
Now that you’ve successfully cooked and served the chicken, you can sit back, relax, and savor the fruits of your microwave cooking endeavor. Cooking chicken in the microwave oven is a convenient and speedy method that can yield impressive results with proper seasoning and cooking techniques.
Remember, practice makes perfect, so feel free to experiment with different seasonings and cooking times to find your preferred flavors and textures. Enjoy your microwave-cooked chicken, and happy cooking!
Conclusion
Cooking chicken in the microwave oven is a quick and convenient method that can produce delicious results. By following the steps outlined in this article, you can confidently prepare moist and flavorful chicken dishes in a fraction of the time compared to traditional cooking methods.
From preparing the chicken and seasoning it to setting the cooking time and checking for doneness, each step is essential to achieve a perfectly cooked chicken. Take the time to choose your seasonings wisely, and don’t forget to rest the chicken before serving to allow the flavors to fully develop.
While cooking chicken in the microwave may not replicate the flavors achieved through other cooking methods such as grilling or roasting, it offers a convenient alternative for those times when you need a quick and satisfying meal.
Remember, the success of cooking chicken in the microwave oven lies in careful preparation, proper seasoning, and accurate cooking times. Experiment with different flavor combinations and techniques to find your personal favorites.
Now that you have the knowledge and skills to cook chicken in the microwave, it’s time to step into the kitchen and put it into practice. Embrace the ease and efficiency of microwave cooking while still enjoying delicious and tender chicken dishes.
So, the next time you find yourself pressed for time or simply craving a flavorful chicken meal, don’t hesitate to reach for your microwave oven and embark on a culinary adventure. Bon appétit!
Frequently Asked Questions about How To Cook Chicken In The Microwave Oven
Was this page helpful?
At Storables.com, we guarantee accurate and reliable information. Our content, validated by Expert Board Contributors, is crafted following stringent Editorial Policies. We're committed to providing you with well-researched, expert-backed insights for all your informational needs.


0 thoughts on “How To Cook Chicken In The Microwave Oven”