Home>Articles>How To Cook Butternut Squash In The Microwave Oven
Articles
How To Cook Butternut Squash In The Microwave Oven
Modified: December 6, 2023
Discover the easiest way to cook butternut squash in the microwave oven with this helpful article. Learn convenient tips and tricks for perfectly cooked squash in minutes.
(Many of the links in this article redirect to a specific reviewed product. Your purchase of these products through affiliate links helps to generate commission for Storables.com, at no extra cost. Learn more)
Introduction
Butternut squash is a versatile and nutritious vegetable that can be prepared in various ways. One convenient and efficient method is cooking it in the microwave oven. This method not only saves you time and effort but also yields tender and flavorful squash that can be used in a variety of dishes.
In this article, we will guide you through the process of cooking butternut squash in the microwave oven. Whether you want to enjoy it as a standalone side dish or incorporate it into your favorite recipes, this method is simple, quick, and yields delicious results.
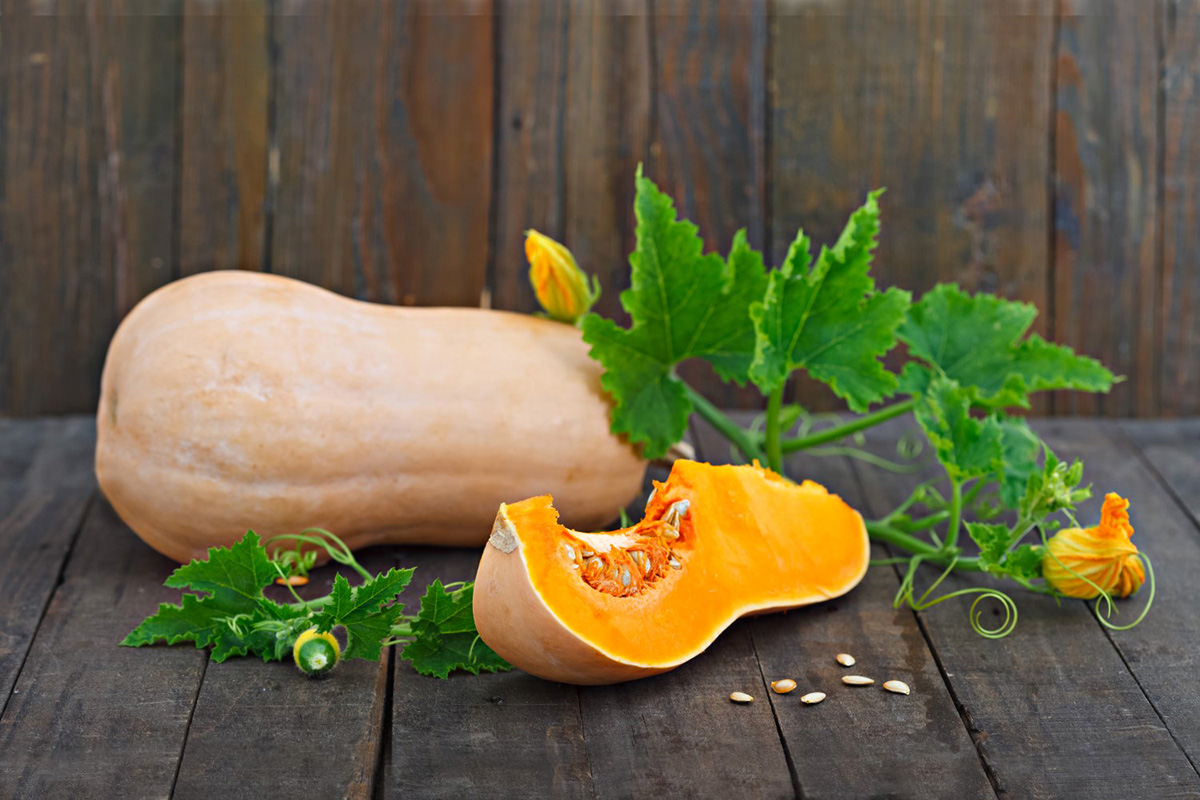
Butternut squash is known for its distinct shape, sweet flavor, and vibrant orange flesh. It is packed with essential nutrients such as vitamins A and C, fiber, and potassium. Incorporating butternut squash into your diet can provide numerous health benefits, including improved eye health, boosted immune system, and enhanced digestion.
Before we dive into the cooking process, let’s explore how to choose the perfect butternut squash.
Key Takeaways:
- Enjoy the convenience of cooking butternut squash in the microwave for tender, flavorful results in a fraction of the time. Perfect for busy days without sacrificing the delicious and nutritious qualities of this versatile vegetable.
- Master the art of microwave butternut squash cooking for effortless meal prep. From choosing the perfect squash to serving it with flair, savor the delicious possibilities with minimal effort and maximum satisfaction.
Read more: How To Store Butternut Squash In Freezer
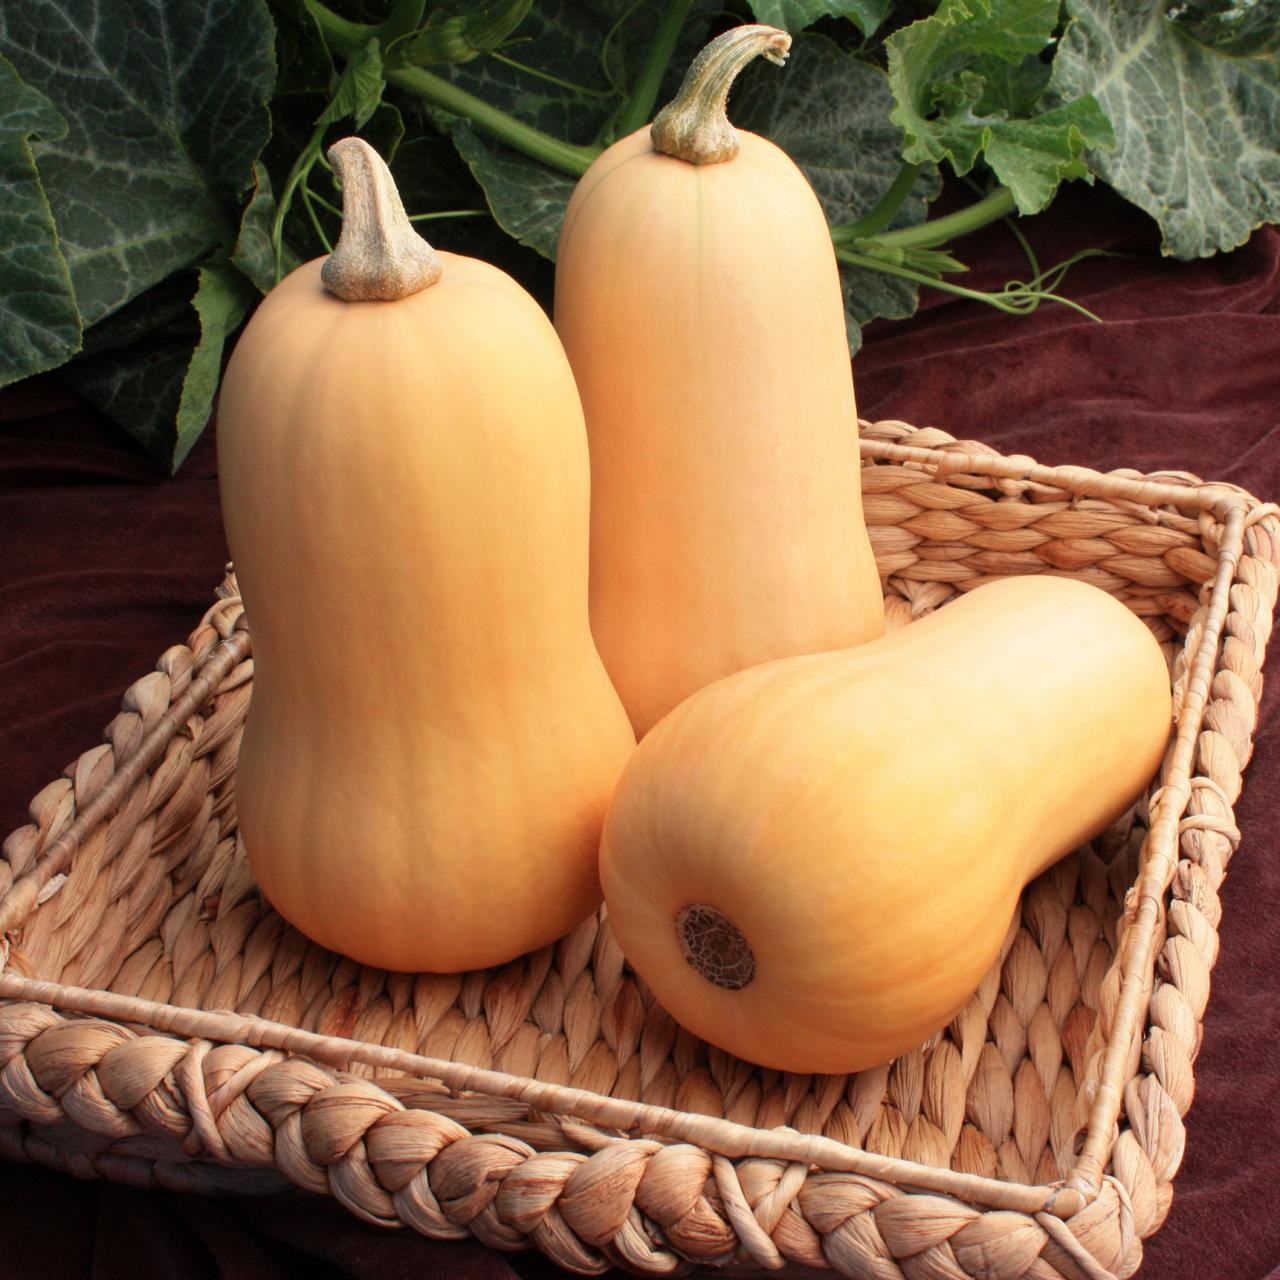
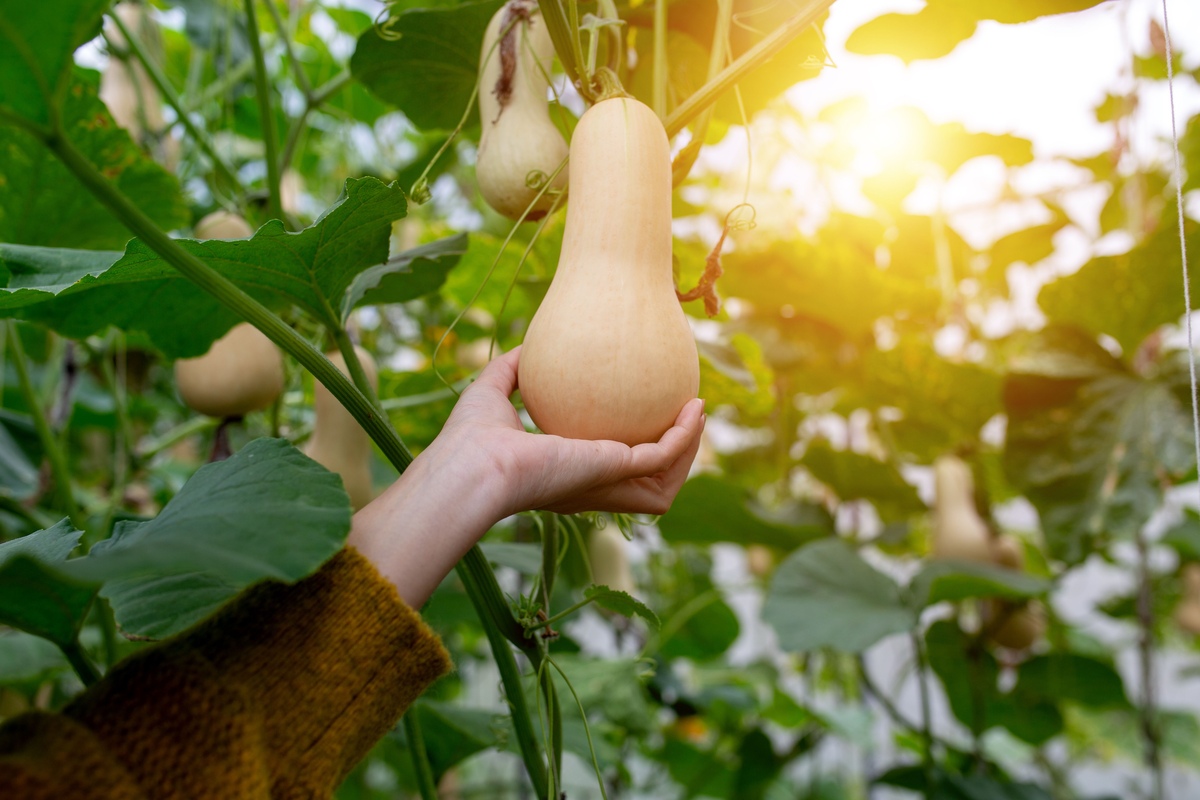
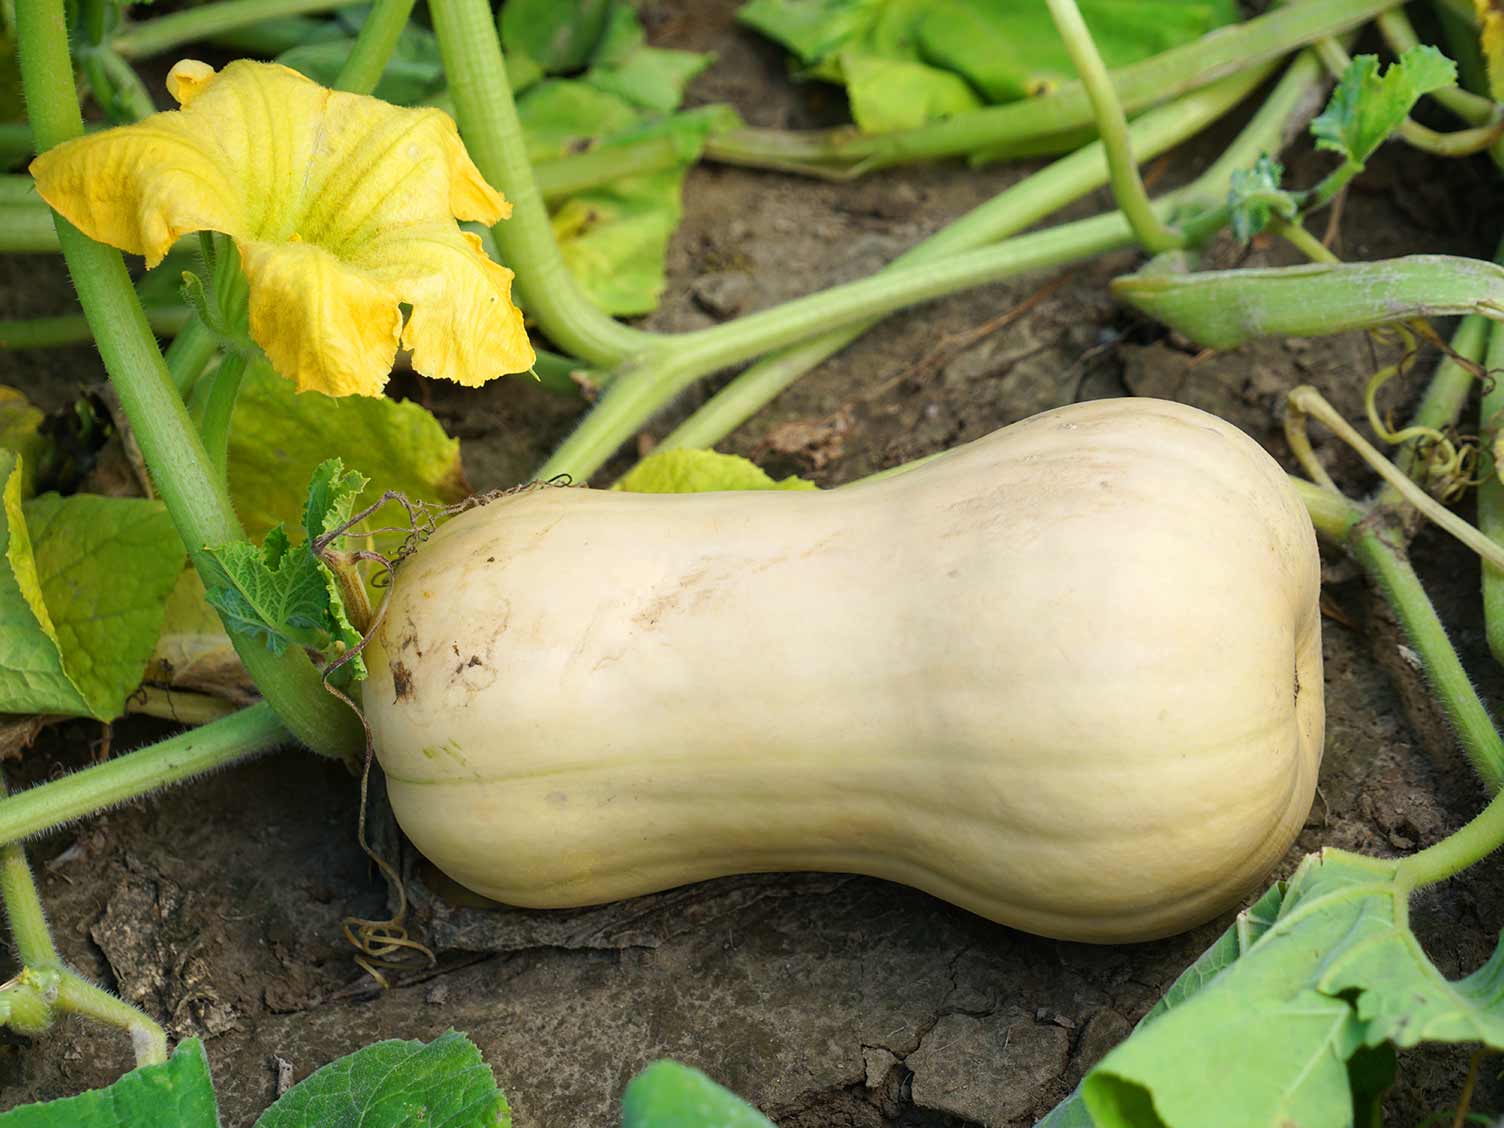
Step 1: Choosing a Butternut Squash
When it comes to selecting a butternut squash for cooking, there are a few key factors to consider. Follow these tips to ensure you choose a squash that is ripe, flavorful, and suitable for microwave cooking:
- Size: Look for a butternut squash that feels heavy and dense for its size. This indicates that it is ripe and full of flavor.
- Color: Opt for a squash with a uniform and vibrant tan or beige color. Avoid any squash with green patches, as this indicates that it is underripe.
- Texture: Check the skin for any cuts, bruises, or blemishes. Choose a squash with smooth, intact skin to ensure its freshness and quality.
- Stem: Examine the stem of the squash. A healthy butternut squash will have a dry, cork-like stem. Avoid squash with a moist or moldy stem.
Remember to choose a squash that fits comfortably in your microwave oven. If you have a smaller microwave, you may need to select a smaller squash that can be easily accommodated.
Now that you have chosen your butternut squash, it’s time to prepare it for cooking in the microwave.
Step 2: Preparing the Squash for the Microwave
Before you can cook the butternut squash in the microwave, you’ll need to prepare it properly. Follow these steps to ensure your squash is ready to be cooked:
- Wash the squash: Start by rinsing the squash under running water to remove any dirt or debris on the surface.
- Trim the ends: Use a sharp knife to carefully trim off both ends of the squash. This will create stable surfaces for cutting and prevent uneven cooking.
- Pierce the skin: With a fork or the tip of a knife, pierce the skin of the squash in a few places. This allows steam to escape while cooking and prevents the squash from bursting.
- Cut the squash in half: Place the squash on a cutting board and carefully cut it in half lengthwise. Take caution as the skin can be tough to cut through. If needed, you can microwave the whole squash for a few minutes to soften the skin before cutting.
- Scoop out the seeds: Use a spoon to scoop out the seeds and stringy fibers from the center of each half. Discard the seeds or save them for roasting if desired.
Once you have prepared the butternut squash, it is now ready to be cooked in the microwave. Follow the next step for the cooking instructions.
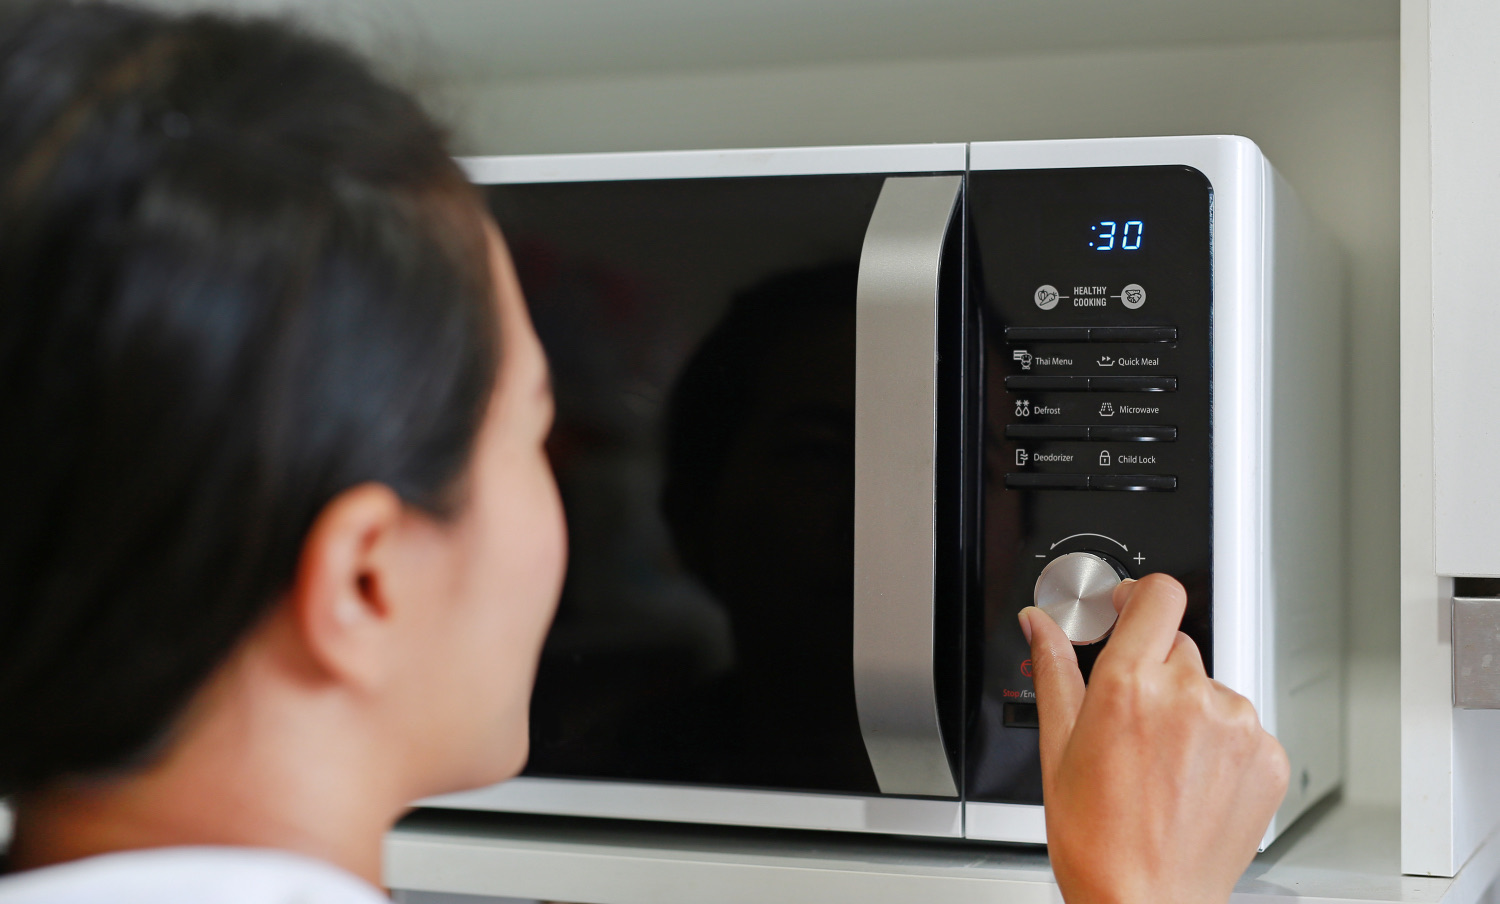
Step 3: Cooking the Butternut Squash in the Microwave
Now that you have prepared the butternut squash, it’s time to cook it in the microwave. Follow these steps to ensure it cooks evenly and thoroughly:
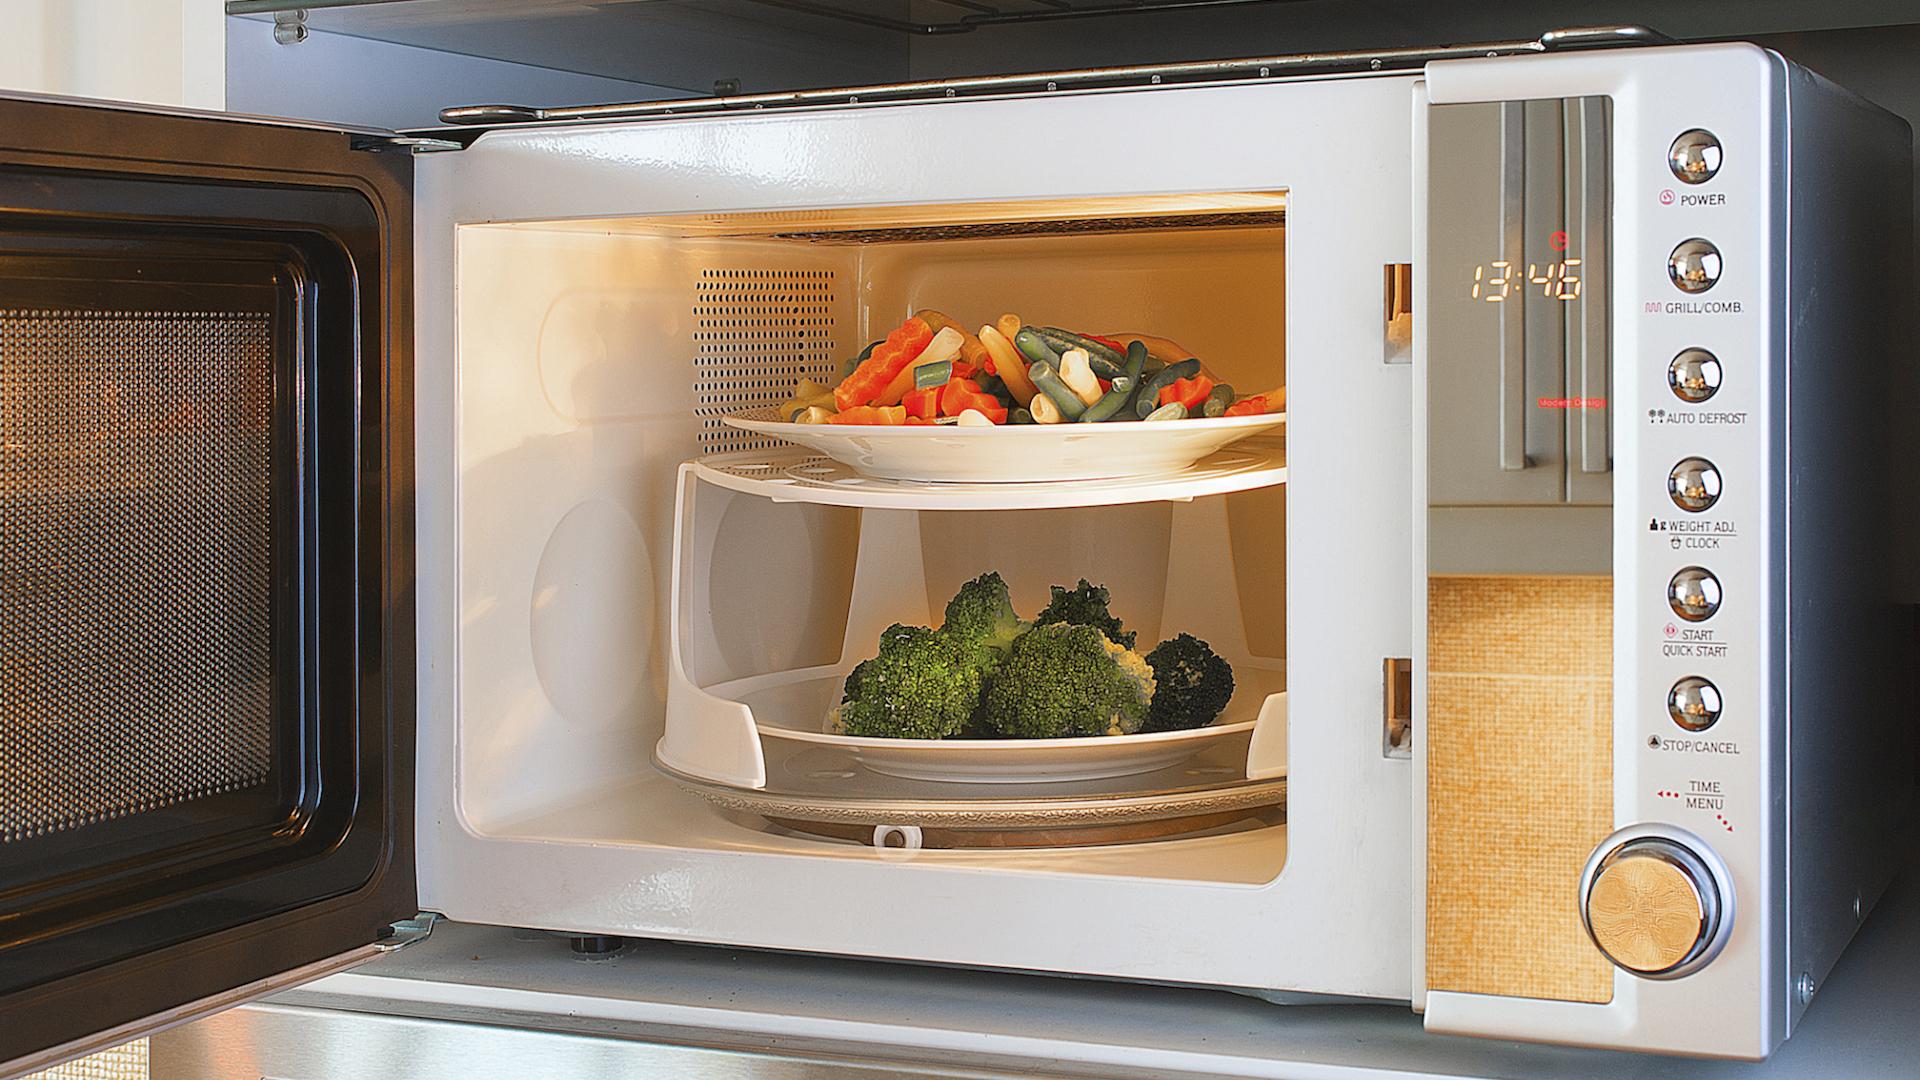
- Place the squash in a microwave-safe dish: Choose a microwave-safe dish that is large enough to hold both halves of the squash comfortably. Make sure to place the cut side of the squash facing down in the dish.
- Add a small amount of water: Pour about 1/4 cup of water into the dish around the squash halves. This helps create steam, which aids in the cooking process.
- Cover the dish: Use microwave-safe plastic wrap or a microwave-safe lid to cover the dish. This helps to trap the steam and heat inside, allowing the squash to cook more efficiently.
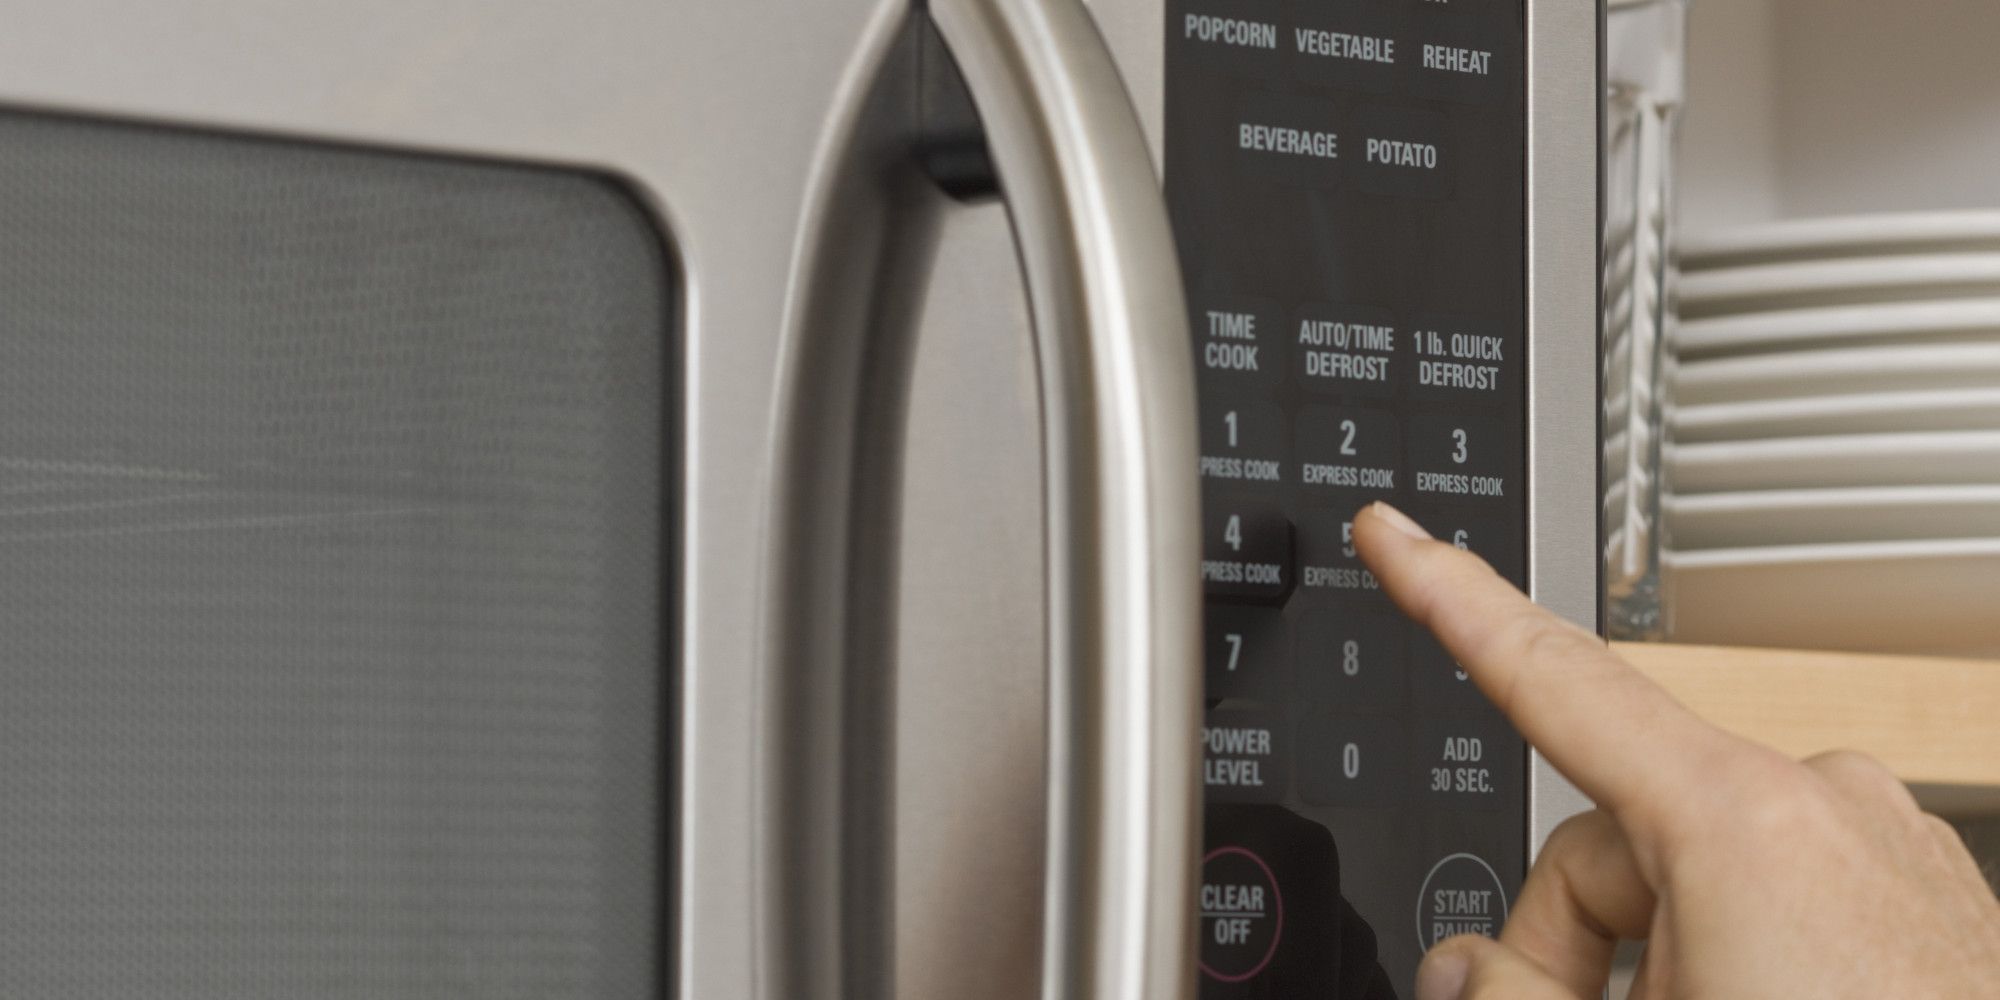
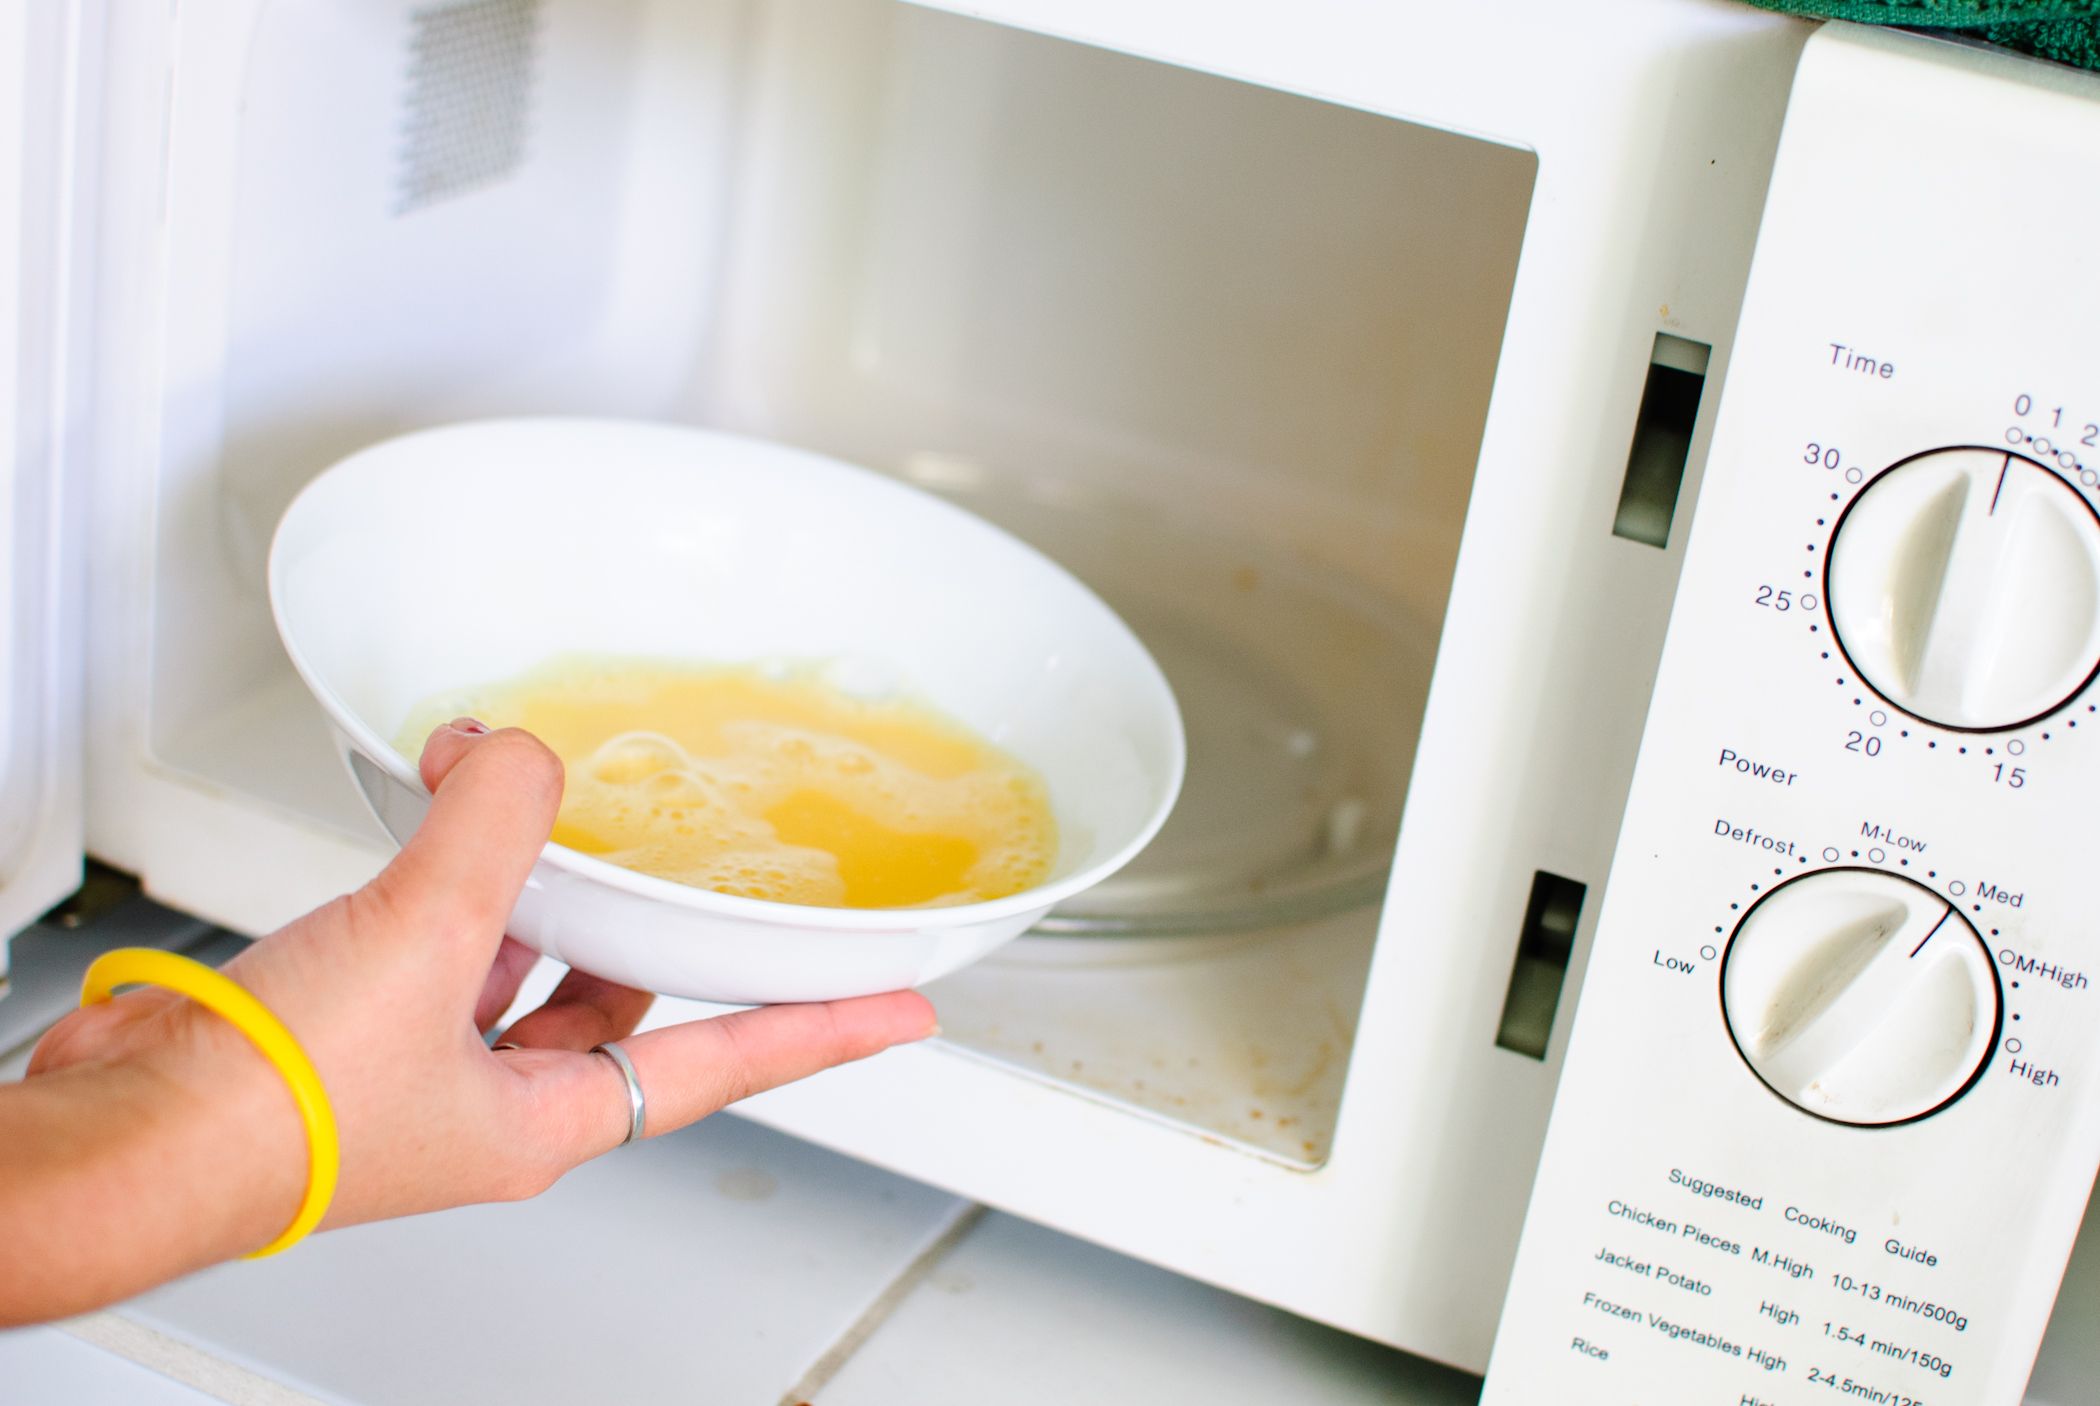
- Set the microwave power and time: Depending on the wattage of your microwave, set the power level to around 50-70% and the cooking time to approximately 10-15 minutes. Cooking times may vary, so keep an eye on the squash and adjust the time as needed.
- Start cooking: Place the covered dish in the microwave and start cooking. The squash will cook more quickly if you use higher power settings, but be mindful not to overcook and dry it out.
During the cooking process, it’s a good idea to check on the squash occasionally. If needed, you can rotate the dish or turn the squash halves to ensure even cooking. Be cautious when removing the plastic wrap or lid, as steam can escape and cause burns.
Once you have finished cooking the butternut squash, it’s time to check for doneness.
Pierce the butternut squash with a fork, then microwave on high for 5 minutes. Let it cool, then cut in half, scoop out the seeds, and microwave each half for 7-8 minutes. Enjoy!
Step 4: Checking for Doneness
Checking for doneness is an important step to ensure that your butternut squash is perfectly cooked. Follow these guidelines to determine if the squash is done:
- Poke with a fork: Take a fork and gently pierce the flesh of the squash. If the fork easily goes through the flesh and it feels tender, the squash is likely cooked.
- Check for softness: Squeeze the flesh of the squash with gentle pressure. If it feels soft and yielding, it is a good indicator that the squash is cooked.
- Look for browned edges: The edges of the squash may begin to brown slightly during cooking, which is a sign that it is done. However, be careful not to let it burn.
If you find that the squash is not yet fully cooked, you can return it to the microwave for additional cooking in short increments of time. Check for doneness after each interval until it reaches the desired texture.
Once you are satisfied with the doneness of the butternut squash, it’s time to remove it from the microwave oven and prepare it for serving.
Read more: How To Store Butternut Squash
Step 5: Removing and Serving the Cooked Squash
After confirming that the butternut squash is cooked to your liking, it’s time to remove it from the microwave and prepare it for serving. Follow these steps to complete the cooking process:
- Use oven mitts: Put on oven mitts or use a towel to handle the hot dish as you remove it from the microwave. Be cautious as the dish and squash will be hot.
- Remove the cover: Carefully remove the plastic wrap or lid from the dish, taking caution to protect yourself from the steam that may escape.
- Let it cool slightly: Allow the cooked squash to cool for a few minutes before handling or cutting it. This will make it easier to handle and prevent burns.
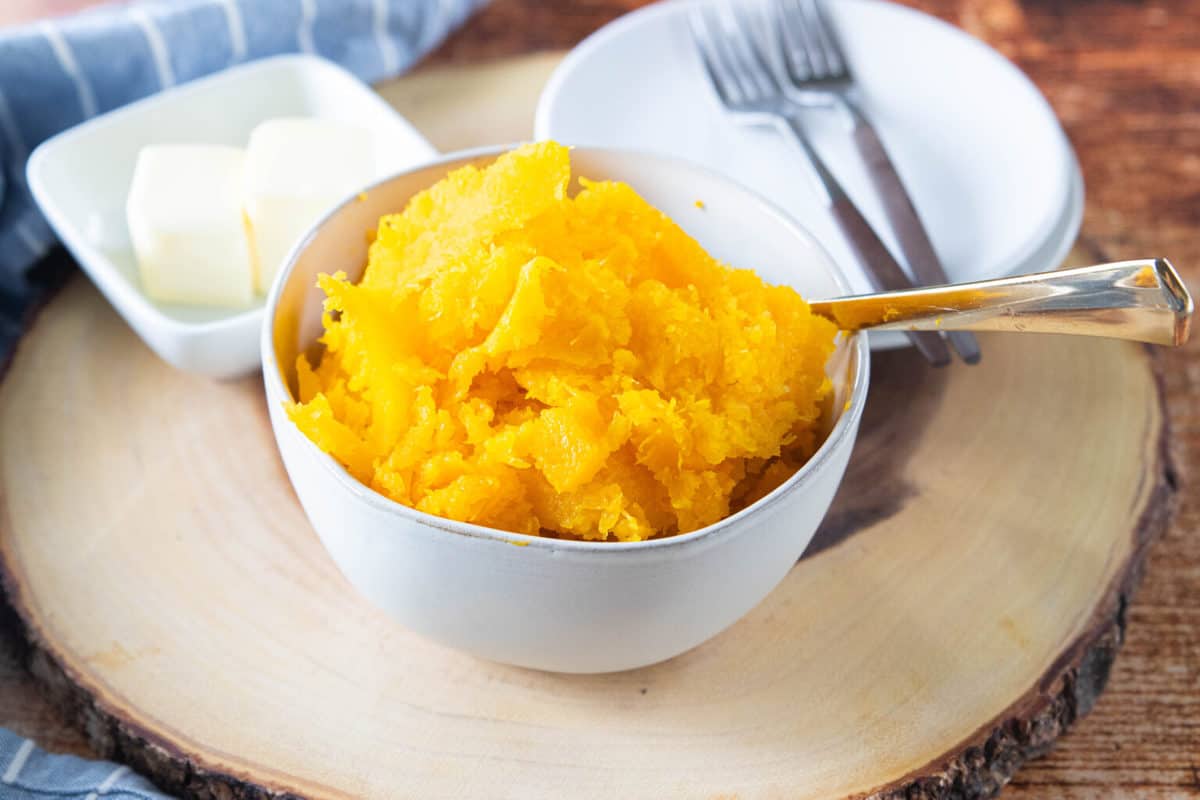
- Serve the squash: Once the squash has cooled slightly, use a spoon or fork to carefully scrape the cooked flesh from the skin. Transfer the cooked squash to a serving dish or use it directly in your desired recipe.
- Season and garnish: The cooked butternut squash can be enjoyed as-is, or you can season it with salt, pepper, and other spices of your choice. You can also add a drizzle of olive oil or a sprinkle of fresh herbs for added flavor and visual appeal.
Now that you have successfully cooked and prepared the butternut squash, it is ready to be served as a tasty side dish or incorporated into your favorite recipes. Its tender and flavorful flesh can be used in soups, stews, salads, roasted vegetable medleys, or even mashed as a nutritious alternative to mashed potatoes.
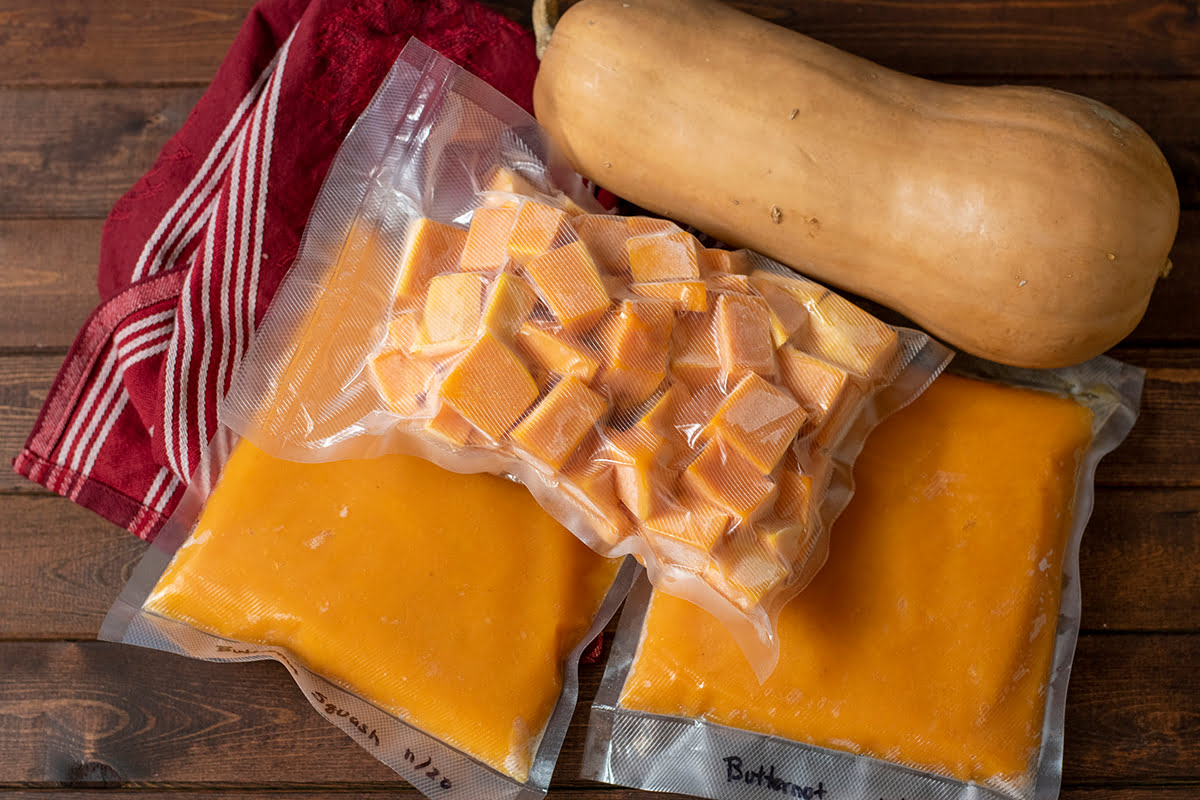
Remember to store any leftover cooked squash in an airtight container in the refrigerator. It can be enjoyed for up to several days, either reheated or used in various culinary creations.
With these simple steps, you can now confidently cook butternut squash in the microwave oven, saving time and effort while still relishing the delicious and nutritious flavors of this versatile vegetable.
Enjoy your perfectly cooked microwave butternut squash!
Conclusion
Cooking butternut squash in the microwave is a convenient and efficient method that allows you to enjoy this delicious and nutritious vegetable in a fraction of the time. By following the steps outlined in this article, you can easily prepare tender and flavorful butternut squash without the hassle of using traditional cooking methods.
Choosing a ripe and high-quality squash is the first step in ensuring a successful microwave cooking process. By looking for a squash that is heavy, uniform in color, and free from blemishes, you can ensure that you’re starting with the best possible ingredient.
Preparing the squash by washing, trimming, and removing the seeds is crucial for even cooking and proper microwaving. This step helps to create a stable surface and allows for the steam to release during cooking.
Cooking the butternut squash in the microwave is as simple as placing it cut-side down in a microwave-safe dish, adding a bit of water, and covering it with plastic wrap or a lid. Cooking times may vary depending on the wattage of your microwave, so keep an eye on the squash and adjust as needed.
Checking for doneness is important to ensure the squash is cooked to your desired texture. Piercing the flesh with a fork and checking for softness are good indicators of readiness. If needed, you can continue cooking the squash in short increments until it reaches the desired level of tenderness.
Once the butternut squash is cooked, safely remove it from the microwave using oven mitts and let it cool slightly before handling. You can then easily scrape the cooked flesh from the skin and serve it as a standalone side dish or use it in a variety of recipes.
Remember to season and garnish the cooked squash to enhance its flavors and presentation. Whether enjoyed on its own or used in your favorite dishes, microwave-cooked butternut squash is a flavorful and nutritious addition to your culinary repertoire.
Now that you have mastered the art of cooking butternut squash in the microwave, you can enjoy its sweet and tender flesh with minimal effort and maximum satisfaction. So go ahead and explore the delicious possibilities of this versatile vegetable right in your own kitchen!
Frequently Asked Questions about How To Cook Butternut Squash In The Microwave Oven
Was this page helpful?
At Storables.com, we guarantee accurate and reliable information. Our content, validated by Expert Board Contributors, is crafted following stringent Editorial Policies. We're committed to providing you with well-researched, expert-backed insights for all your informational needs.

0 thoughts on “How To Cook Butternut Squash In The Microwave Oven”