
Articles
How To Cook Pearl Barley In A Rice Cooker
Modified: October 19, 2024
Discover the easiest way to cook pearl barley in a rice cooker. This informative article provides step-by-step instructions and helpful tips.
(Many of the links in this article redirect to a specific reviewed product. Your purchase of these products through affiliate links helps to generate commission for Storables.com, at no extra cost. Learn more)
Introduction
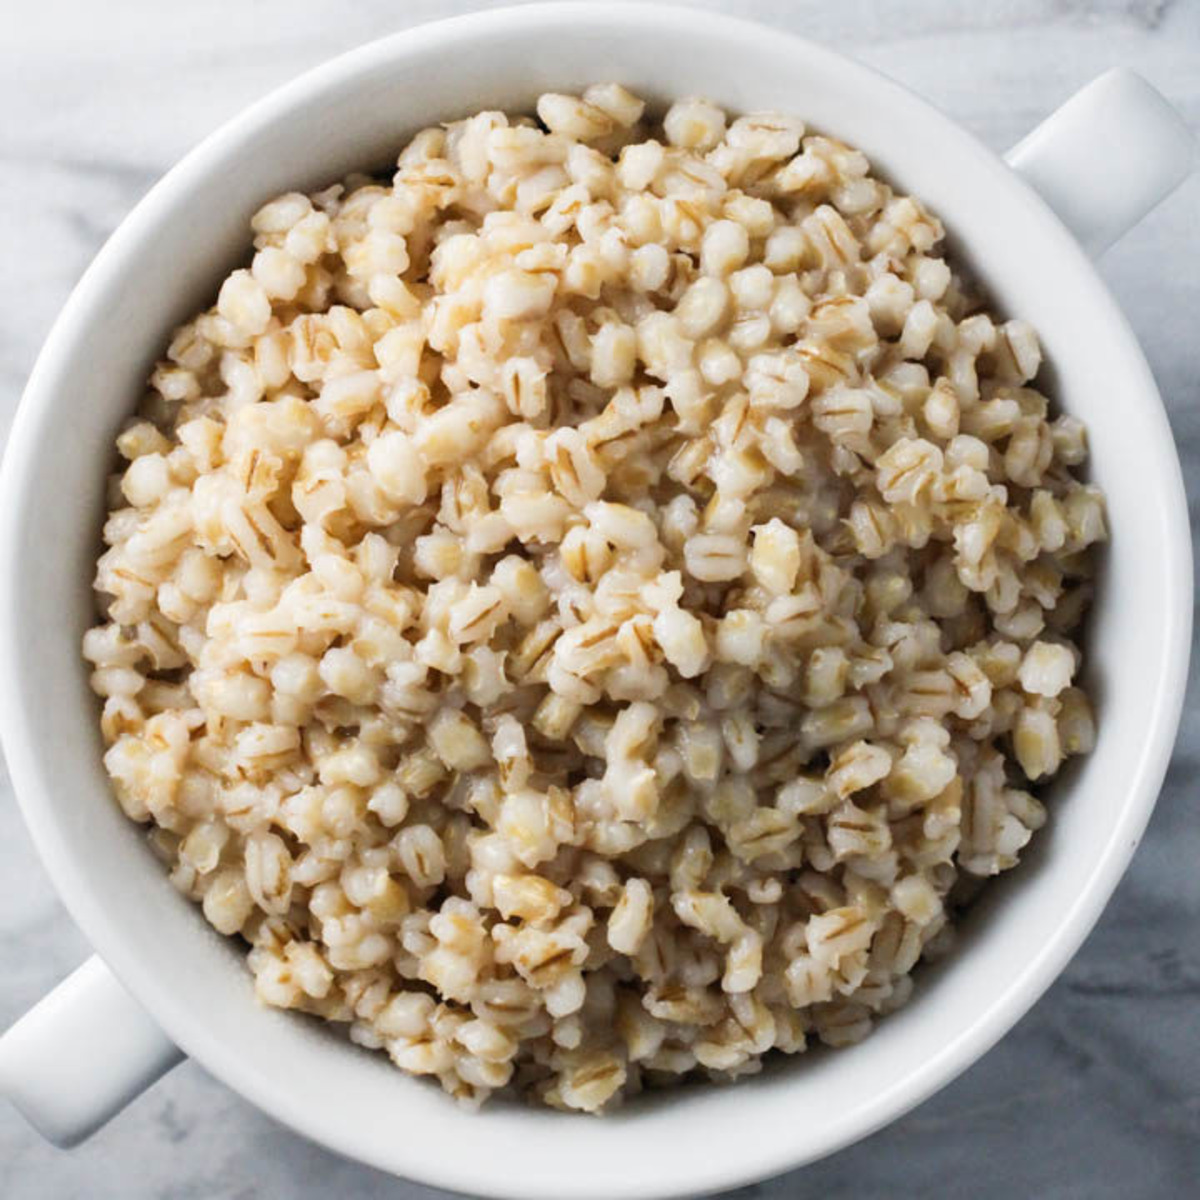
Welcome to the world of cooking with a rice cooker! While rice cookers are typically used for cooking rice, did you know that you can also use them to cook other grains, including pearl barley? Pearl barley is a versatile and nutritious grain that can be a great addition to your diet.
Cooking pearl barley in a rice cooker is not only convenient but also yields perfectly cooked grains with minimum effort. Whether you are a busy individual looking for quick and easy meal options or a cooking enthusiast searching for new recipes, this article will guide you through the process of cooking pearl barley in a rice cooker.
So, why should you consider cooking pearl barley in a rice cooker? There are several benefits to using this method. Firstly, a rice cooker provides consistent heat and evenly cooks the grains, resulting in a perfectly fluffy texture. It eliminates the guesswork involved in cooking pearl barley on stovetop, where you may have to constantly monitor the pot to ensure it doesn’t boil over or burn.
Secondly, using a rice cooker saves you time and effort. Once you have measured and prepared the ingredients, the rice cooker does all the work for you. You can set it and forget it, allowing you to attend to other tasks or relax while the pearl barley cooks to perfection. This makes it an ideal cooking method for busy individuals or those who prefer hands-off cooking.
Another advantage of using a rice cooker is the versatility it offers. While cooking pearl barley, you can also add other ingredients like vegetables, herbs, or spices to infuse additional flavors into the grains. This allows you to customize your dish and experiment with different combinations to suit your palate.
Whether you want to enjoy pearl barley as a side dish, use it as a base for salads, or incorporate it into hearty soups and stews, a rice cooker gives you the flexibility to cook it to your desired consistency.
Now that we’ve discussed the benefits of cooking pearl barley in a rice cooker, let’s move on to the step-by-step process of preparing and cooking the grains. Get ready to unleash your inner chef as we embark on a flavorful journey with pearl barley and your trusty rice cooker!
Key Takeaways:
- Cooking pearl barley in a rice cooker offers convenience, consistent results, and time-saving benefits. With the freedom to experiment with flavors and ingredients, you can easily customize this nutritious grain to suit your taste preferences and dietary needs.
- By following simple steps, you can enjoy perfectly cooked pearl barley with minimal effort. Whether as a standalone dish, in salads, soups, or stews, pearl barley cooked in a rice cooker provides a hearty and nutritious meal, making it a versatile addition to your culinary repertoire.
Benefits of Cooking Pearl Barley in a Rice Cooker
When it comes to cooking pearl barley, using a rice cooker offers a range of benefits that make it a preferred cooking method for many individuals. Let’s explore some of these benefits:
1. Convenience: One of the primary advantages of cooking pearl barley in a rice cooker is the convenience it offers. With just a few simple steps, you can have perfectly cooked grains without the need for constant monitoring or stirring. Once you’ve set the rice cooker, you can go about your other tasks, knowing that your pearl barley will be cooked to perfection.
2. Consistent Results: Rice cookers are designed to provide consistent heat distribution, ensuring even cooking of the grains. This means that each grain of pearl barley will be cooked to the same level of tenderness, resulting in a uniform texture. Say goodbye to overcooked or undercooked grains that can sometimes occur when cooking pearl barley on stovetop.
3. Time and Effort-Saving: Cooking pearl barley in a rice cooker is a time-saving method. Once you’ve measured the ingredients and set the cooking time, you can leave the rice cooker to do its work. There’s no need to constantly check or stir the grains, allowing you to engage in other activities or relax while your meal cooks. This is particularly beneficial for busy individuals who are juggling multiple tasks.
4. Versatility: Rice cookers offer versatility when it comes to cooking pearl barley. While cooking, you can add various ingredients such as vegetables, herbs, or spices to enhance the flavor of the grains. This allows you to experiment with different combinations, customize your dish, and add a touch of creativity to your cooking.
5. Nutritious and Delicious: Pearl barley is a nutrient-rich grain that is known for its health benefits. It is high in fiber, vitamins, and minerals and can be a valuable addition to a balanced diet. By cooking pearl barley in a rice cooker, you can retain its nutritional value and enjoy its delicious and satisfying taste.
6. Easy Cleanup: Another advantage of using a rice cooker for cooking pearl barley is easy cleanup. Many rice cookers have a non-stick inner pot, making it simple to clean once you’re done cooking. Just wipe it clean with a soft sponge or cloth, and you’re ready for your next culinary adventure.
Now that you are aware of the benefits of cooking pearl barley in a rice cooker, it’s time to dive into the step-by-step process of preparing and cooking the grains. Get your rice cooker ready, and let’s start cooking!
Step 1: Choosing and Measuring Pearl Barley
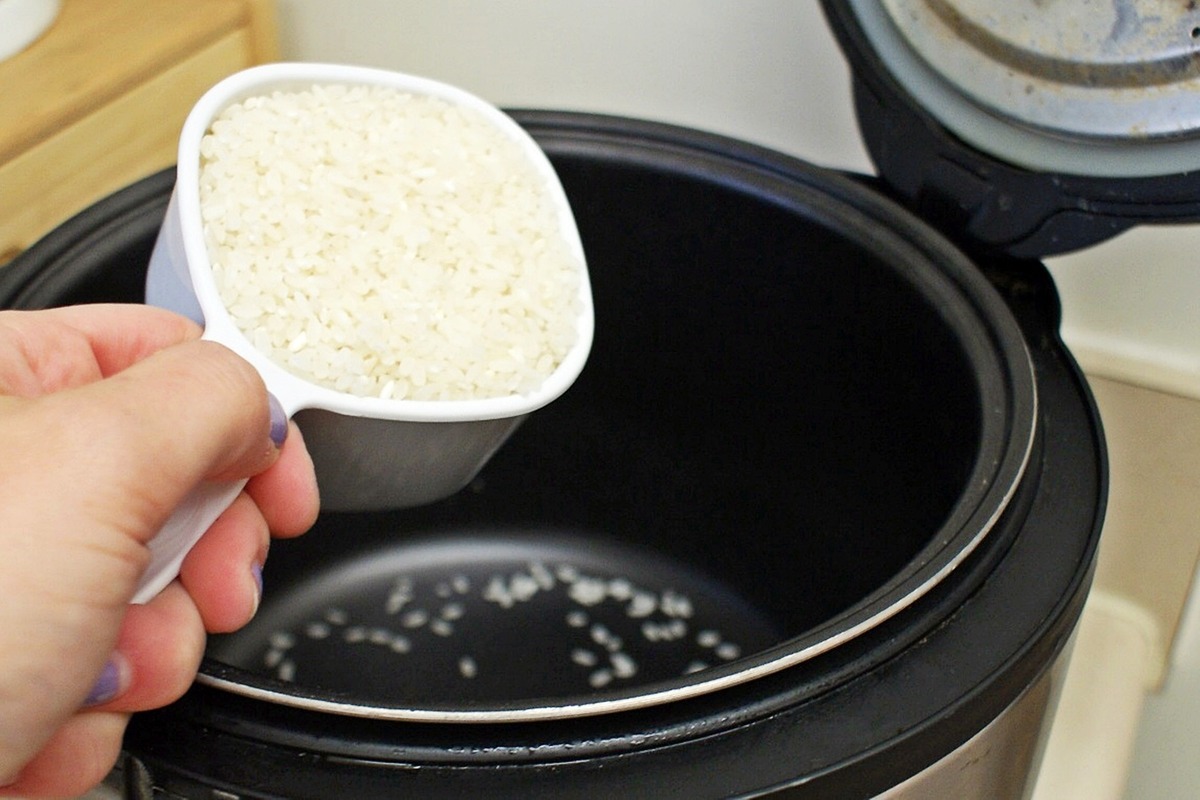
The first step in cooking pearl barley in a rice cooker is to choose the right type of barley and measure the desired quantity. Here’s how:
1. Choose the Right Pearl Barley: When selecting pearl barley, look for a variety that is well-packaged and free from any signs of moisture or pests. You can find pearl barley in most grocery stores or health food stores. It’s important to note that pearl barley is different from other barley varieties, such as hulled barley or pot barley, which may require different cooking times.
2. Measure the Quantity: The amount of pearl barley you cook will depend on your preferred serving size and the capacity of your rice cooker. As a general guideline, a 1:2 ratio of pearl barley to water is recommended. For example, if you want to cook 1 cup of pearl barley, you will need to use 2 cups of water. Adjust the quantities accordingly based on your needs.
3. Rinse the Pearl Barley: Before cooking, it’s recommended to rinse the pearl barley under cold water to remove any dust, debris, or impurities. Place the pearl barley in a fine-mesh sieve or colander and rinse it thoroughly. This step helps ensure clean and hygienic grains.
4. Drain Excess Water: After rinsing, give the pearl barley a gentle shake to drain any excess water. It doesn’t need to be completely dry, but make sure there’s not an excessive amount of water clinging to the grains.
5. Consider Toasting the Pearl Barley (optional): If you want to add a nutty flavor to your pearl barley, you can choose to toast it before cooking. In a dry skillet over medium heat, add the rinsed and drained pearl barley. Toast the grains, stirring frequently, for a few minutes until they become fragrant and start to turn golden brown. Then, remove the skillet from the heat and transfer the toasted pearl barley to the rice cooker.
Now that you’ve selected the right pearl barley and measured the quantity, you are ready to move on to the next step: preparing the rice cooker. Let’s get cooking!
Step 2: Preparing the Rice Cooker
Once you have chosen and measured the pearl barley, the next step in cooking pearl barley in a rice cooker is to prepare the appliance for cooking. Follow these simple instructions:
1. Clean the Rice Cooker: Before using the rice cooker, make sure it is clean and free from any residue from previous cooking. If necessary, wash the inner pot and other removable parts with warm soapy water, rinse them thoroughly, and dry them properly. Ensure that the rice cooker is assembled correctly before proceeding.
2. Add the Pearl Barley: Once the rice cooker is clean and dry, add the rinsed and drained pearl barley to the pot. If you toasted the pearl barley in the previous step, add the toasted grains to the pot.
3. Add Water and Other Ingredients (optional): The amount of water you add will depend on the quantity of pearl barley you are cooking and your desired consistency. As a general rule, use a 1:2 ratio of pearl barley to water. For example, if you are cooking 1 cup of pearl barley, add 2 cups of water. You can adjust the water quantity based on your preference for softer or firmer grains.
If desired, you can also add other ingredients to enhance the flavor of the pearl barley. This could include herbs like bay leaves or thyme, spices like garlic or onion powder, or even vegetables like diced carrots or peas. Experiment with different combinations to create a dish that suits your taste.
4. Mix Well: Gently stir the pearl barley and water (along with any additional ingredients) in the rice cooker pot. Make sure all the grains are evenly distributed and submerged in the liquid. This will ensure even cooking and proper absorption of the flavors.
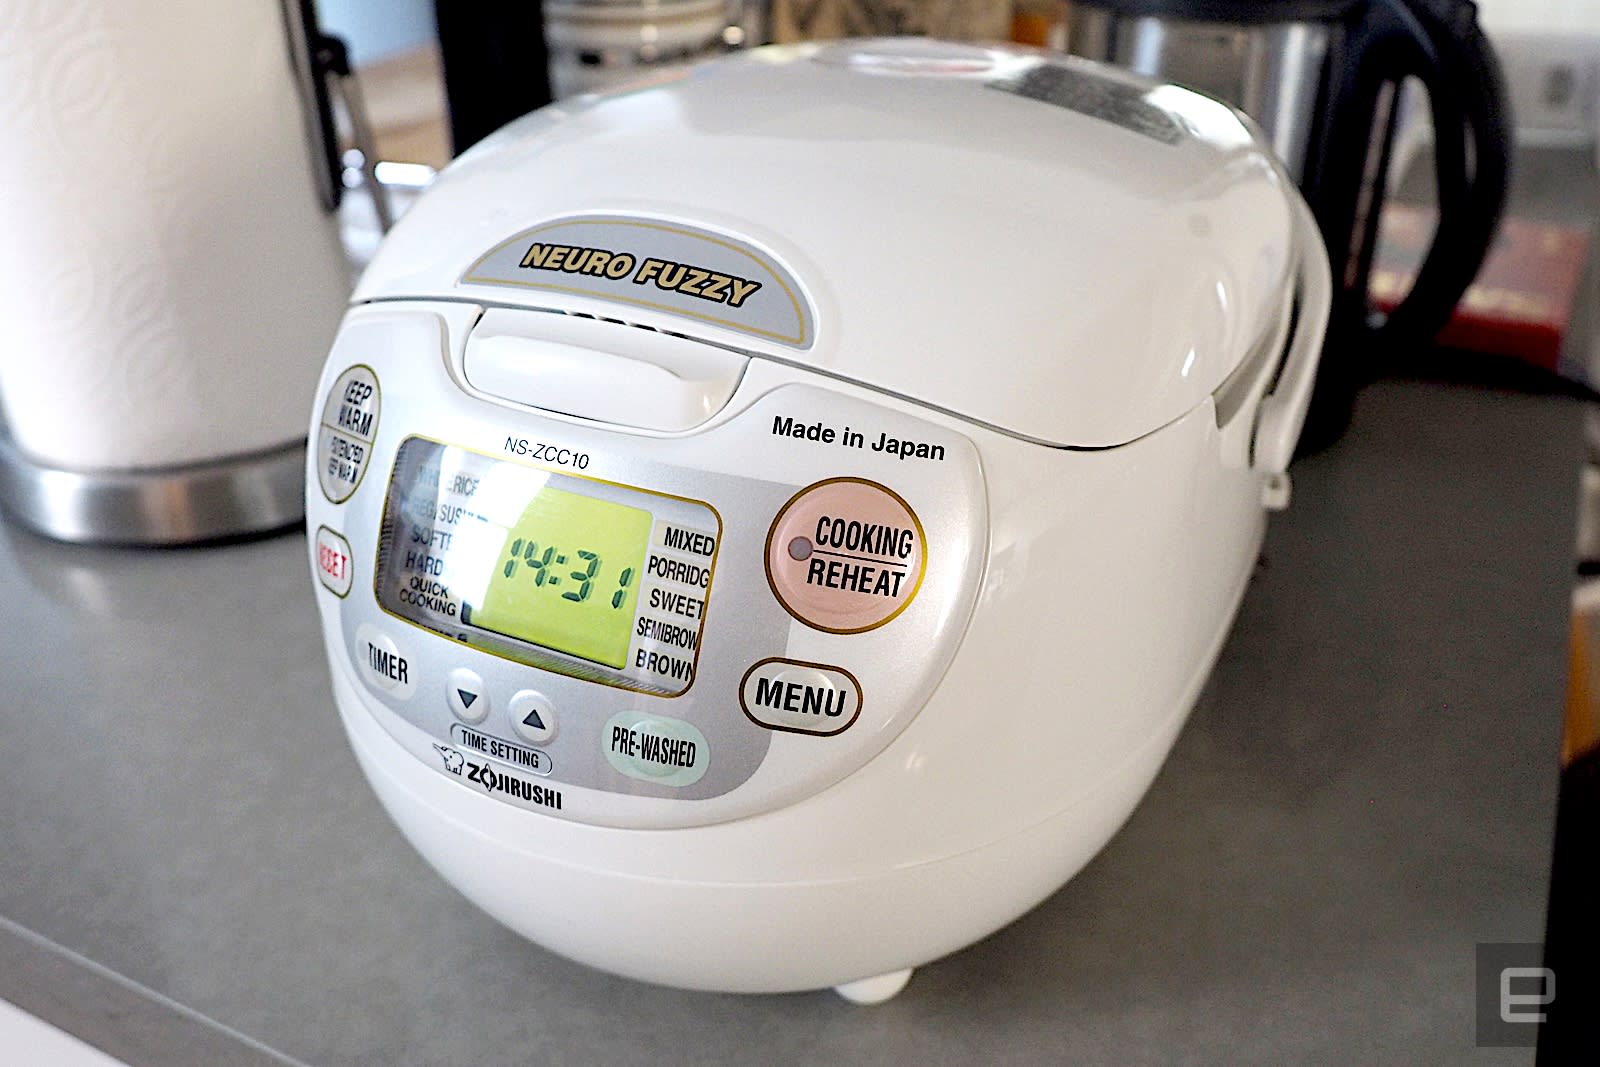
5. Check the Rice Cooker Manual: Different rice cookers may have specific instructions or settings for cooking grains other than rice. Consult the user manual provided with your rice cooker to determine if there are any specific settings or adjustments required when cooking pearl barley.
6. Close the Lid: Once you have prepared the pearl barley and water mixture in the rice cooker, securely close the lid. Ensure it is tightly sealed to prevent any steam from escaping during the cooking process.
With the rice cooker prepped and ready, it’s time to move on to the next step: washing and soaking the pearl barley. Let’s get cooking!
Step 3: Washing and Soaking the Pearl Barley
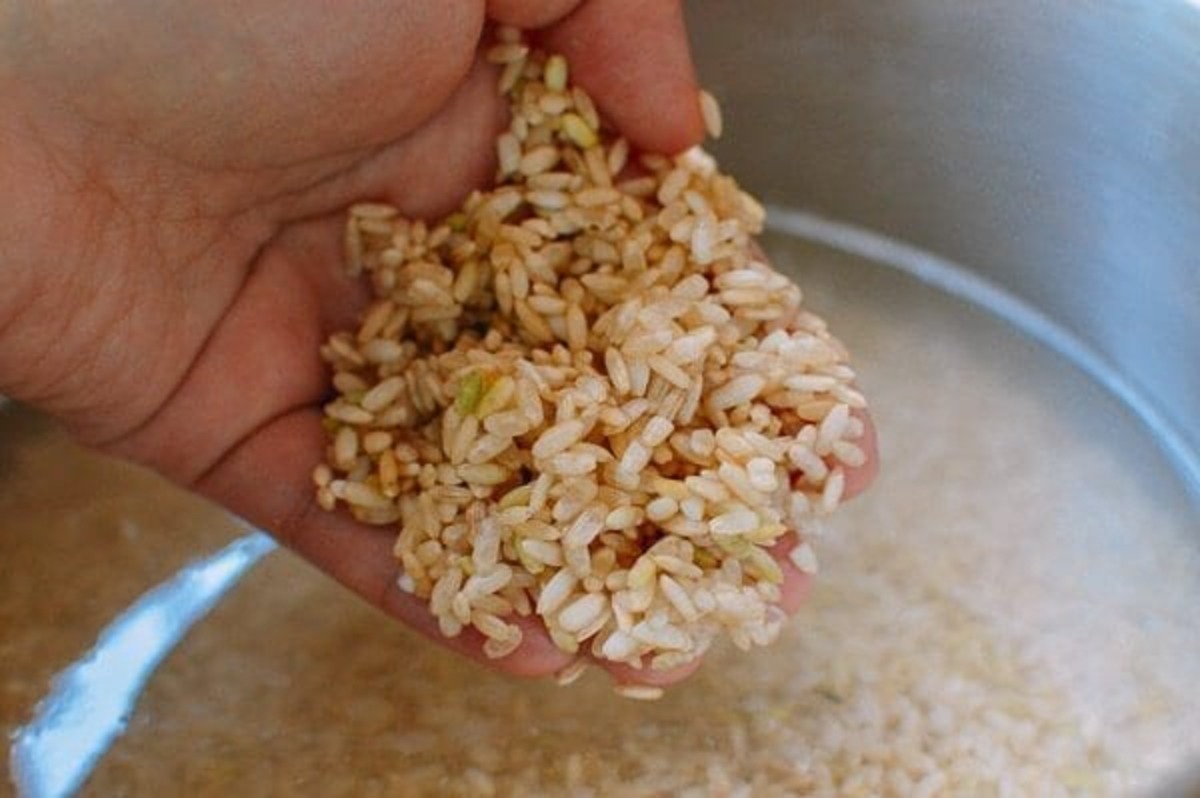
Washing and soaking the pearl barley is an important step before cooking it in a rice cooker. This process helps remove any residual dirt and allows the grains to absorb water evenly, resulting in a more evenly cooked and tender texture. Here’s how to wash and soak the pearl barley:
1. Place the Pearl Barley in a Bowl: Take the measured pearl barley and place it in a bowl or a large container. Ensure that the bowl is large enough to accommodate the pearl barley and allow room for it to expand as it soaks.
2. Rinse the Pearl Barley: Fill the bowl with cold water, covering the pearl barley completely. Gently agitate the grains with your fingers or a spoon to loosen any dirt or debris. As you do so, you will notice that the water becomes cloudy. Continue rinsing and stirring the pearl barley until the water runs clear.
3. Drain the Water: Once the pearl barley is thoroughly rinsed, pour out the cloudy water. Use a fine-mesh sieve or colander to drain out excess water. Give the bowl a gentle shake to remove any remaining water.
4. Soak the Pearl Barley: After rinsing, it’s time to soak the pearl barley. Fill the bowl with fresh cold water, once again covering the grains completely. Allow the pearl barley to soak for at least 30 minutes or up to overnight. Soaking the grains helps soften them and reduces the cooking time.
5. Drain the Water (optional): If you are short on time and prefer not to soak the pearl barley, you can skip this step. However, keep in mind that soaking the grains can result in a more tender and evenly cooked final product.
6. Prepare the Rice Cooker: While the pearl barley is soaking, you can prepare the rice cooker as mentioned in the previous steps. Ensure that the rice cooker is clean and ready for use.
Once the pearl barley has been washed and soaked, it is ready to be cooked in the rice cooker. In the next step, we will cover how to add water and set the rice cooker for cooking. Let’s continue our culinary journey!
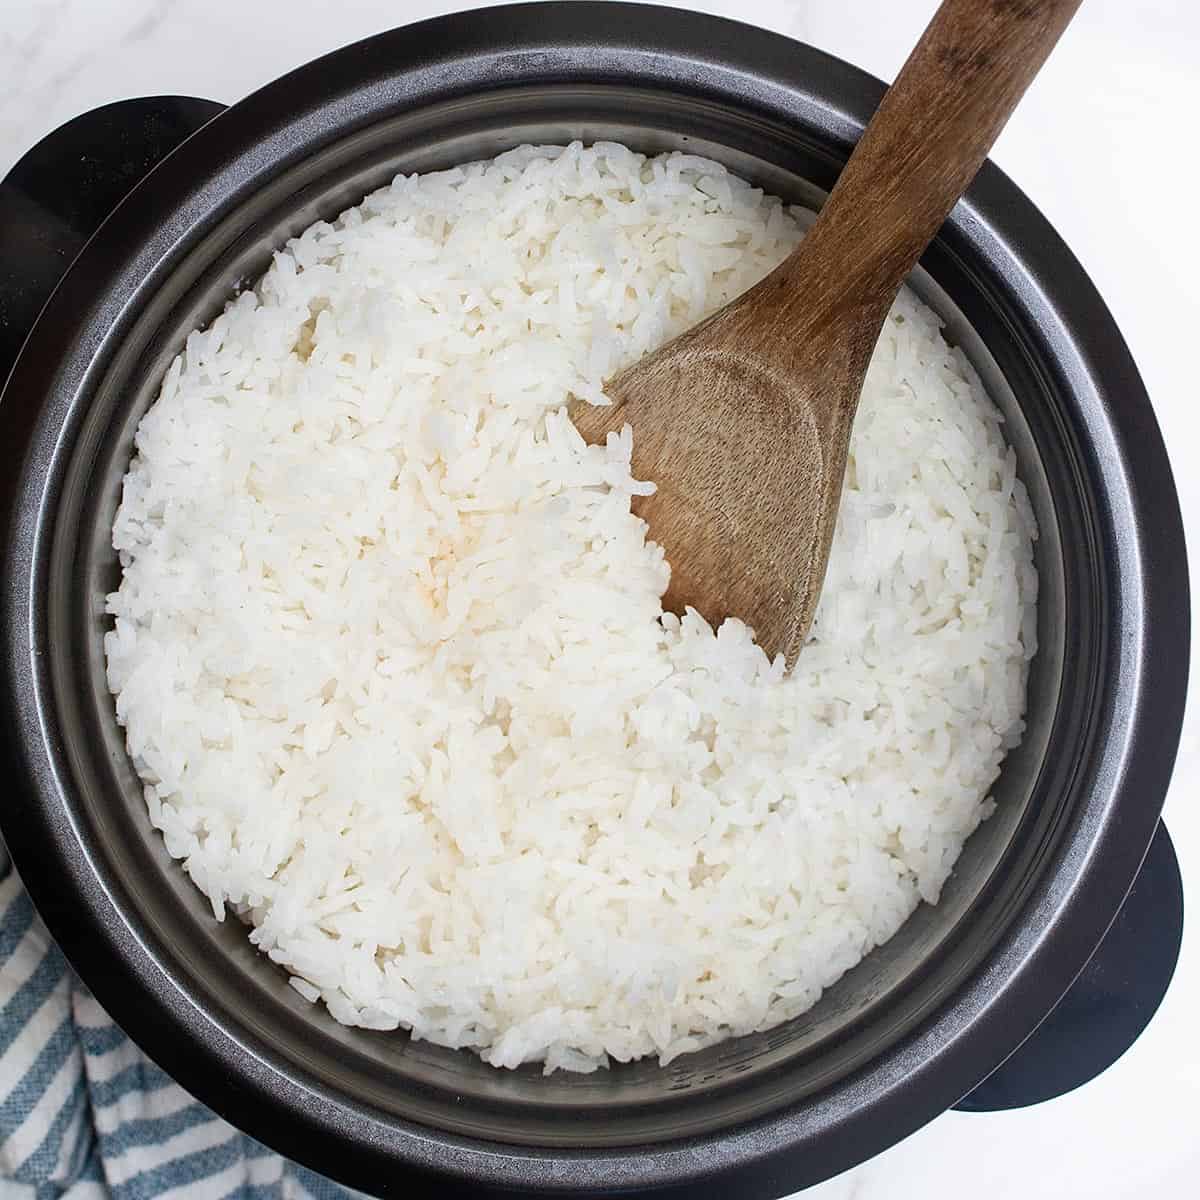
Add 1 cup of pearl barley and 2 ½ cups of water to the rice cooker. Close the lid and set it to the “white rice” setting. Once done, let it sit for 10 minutes before fluffing with a fork.
Read more: How Long To Cook Barley In Slow Cooker
Step 4: Adding Water and Setting the Cooker
Now that you have washed and soaked the pearl barley, it’s time to add water and set the rice cooker for cooking. Follow these steps to ensure optimal cooking results:
1. Measure and Add Water: Begin by measuring the appropriate amount of water for cooking the pearl barley. As a general guideline, use a 1:2 ratio of pearl barley to water. For example, if you are cooking 1 cup of pearl barley, add 2 cups of water.
2. Add Water to the Rice Cooker: Pour the measured water into the rice cooker, making sure to cover the pearl barley completely. The water will help cook and soften the grains, resulting in a moist and tender texture.
3. Adjust the Water Quantity (optional): If you prefer your pearl barley to be softer or firmer, you can adjust the water quantity accordingly. You may add a little more water for softer grains or reduce the amount for a firmer texture. Keep in mind that the pearl barley will absorb some of the water during the cooking process.
4. Add Seasonings or Flavorings (optional): If desired, you can enhance the flavor of the pearl barley by adding seasonings or flavorings at this stage. This could include salt, herbs, spices, or bouillon cubes. Be mindful of the measurements and adjust them according to your taste preferences.
5. Set the Rice Cooker: Once the water and any additional seasonings have been added to the rice cooker, it’s time to set it for cooking. Refer to the instructions specific to your rice cooker model to determine the appropriate cooking setting or program for grains.
6. Close the Lid: Close the lid securely to seal in the steam and heat during the cooking process. This will ensure that the pearl barley cooks evenly and absorbs the water and flavors effectively.
By adding the right amount of water and setting the rice cooker appropriately, you are one step closer to enjoying perfectly cooked pearl barley. In the next step, we will explore the cooking process itself. Let’s continue!
Step 5: Cooking the Pearl Barley
With the water added and the rice cooker set, it’s time to cook the pearl barley to perfection. Follow these steps to ensure the grains are cooked thoroughly and have the desired texture:
1. Start the Rice Cooker: Turn on the rice cooker using the appropriate setting for cooking grains. The cooking time may vary depending on your rice cooker model and the quantity of pearl barley being cooked. Refer to the instruction manual or follow the recommended cooking time for grains provided by the manufacturer.
2. Allow for Cooking Time: It’s essential to allow the pearl barley to cook undisturbed according to the predetermined cooking time. Avoid opening the rice cooker lid during the cooking process, as this can interrupt the cooking cycle and affect the final texture of the grains.
3. Monitor and Adjust (if necessary): While the pearl barley is cooking, you may want to periodically check the progress. Keep an eye on the water level, ensuring that there is adequate moisture throughout the cooking process. If the water evaporates too quickly or the grains seem too dry, you can add a little more water, a few tablespoons at a time, to maintain the desired consistency.
4. Test for Doneness: Towards the end of the recommended cooking time, you can test the pearl barley for doneness. Take a spoonful of the cooked grains and taste them to determine if they are tender and cooked to your preference. If the grains are still too firm, you can continue cooking for a few more minutes until they reach the desired level of tenderness.
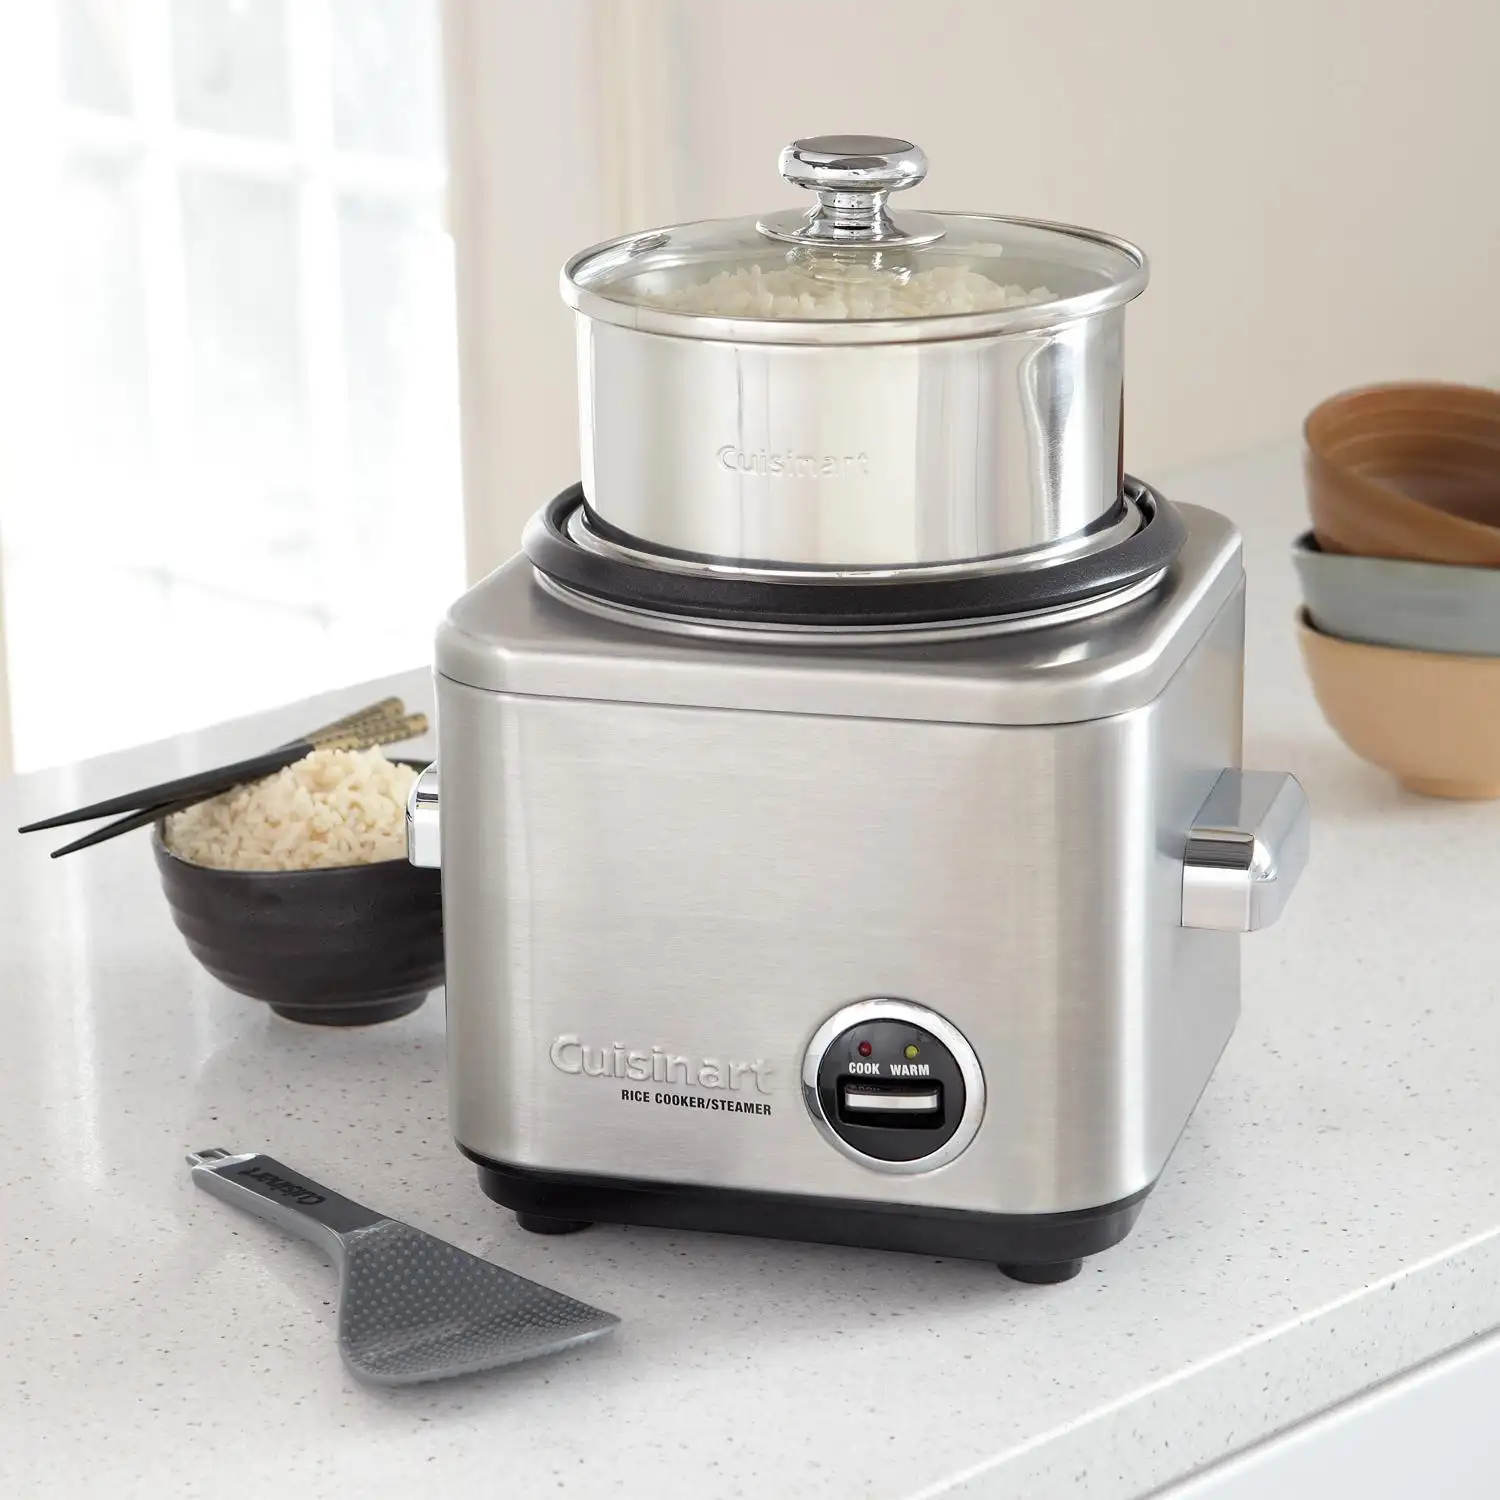
5. Keep Warm Setting: Once the pearl barley is cooked, most rice cookers have a “keep warm” setting that can be activated to maintain the temperature until you are ready to serve. If you are not planning to serve the pearl barley immediately, you can switch to this setting to keep them warm and prevent them from drying out.
Congratulations! You have successfully cooked the pearl barley in your rice cooker. In the next step, we will learn how to fluff and serve the cooked pearl barley. Get ready to enjoy this delicious and versatile grain!
Step 6: Fluffing and Serving the Cooked Pearl Barley
Now that the pearl barley is cooked to perfection, it’s time to fluff and serve the grains for a delightful meal. Follow these steps to ensure your cooked pearl barley is fluffy and ready to be enjoyed:
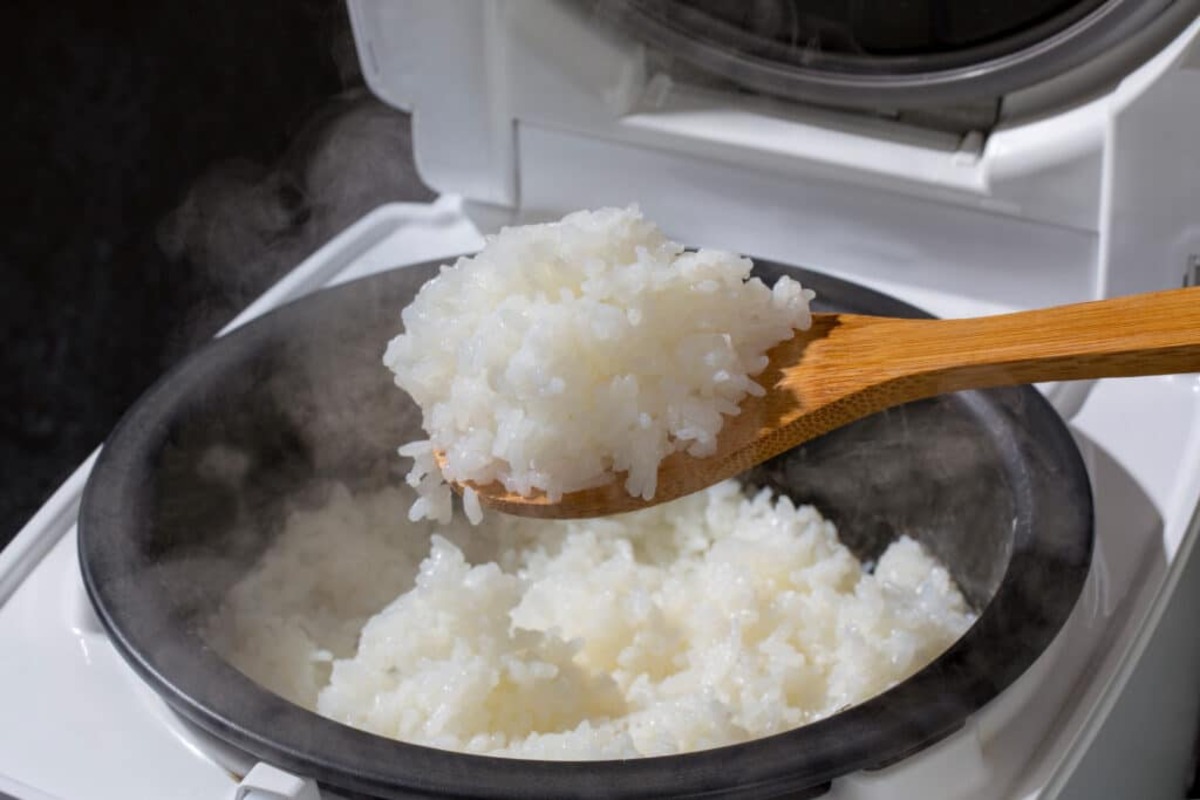
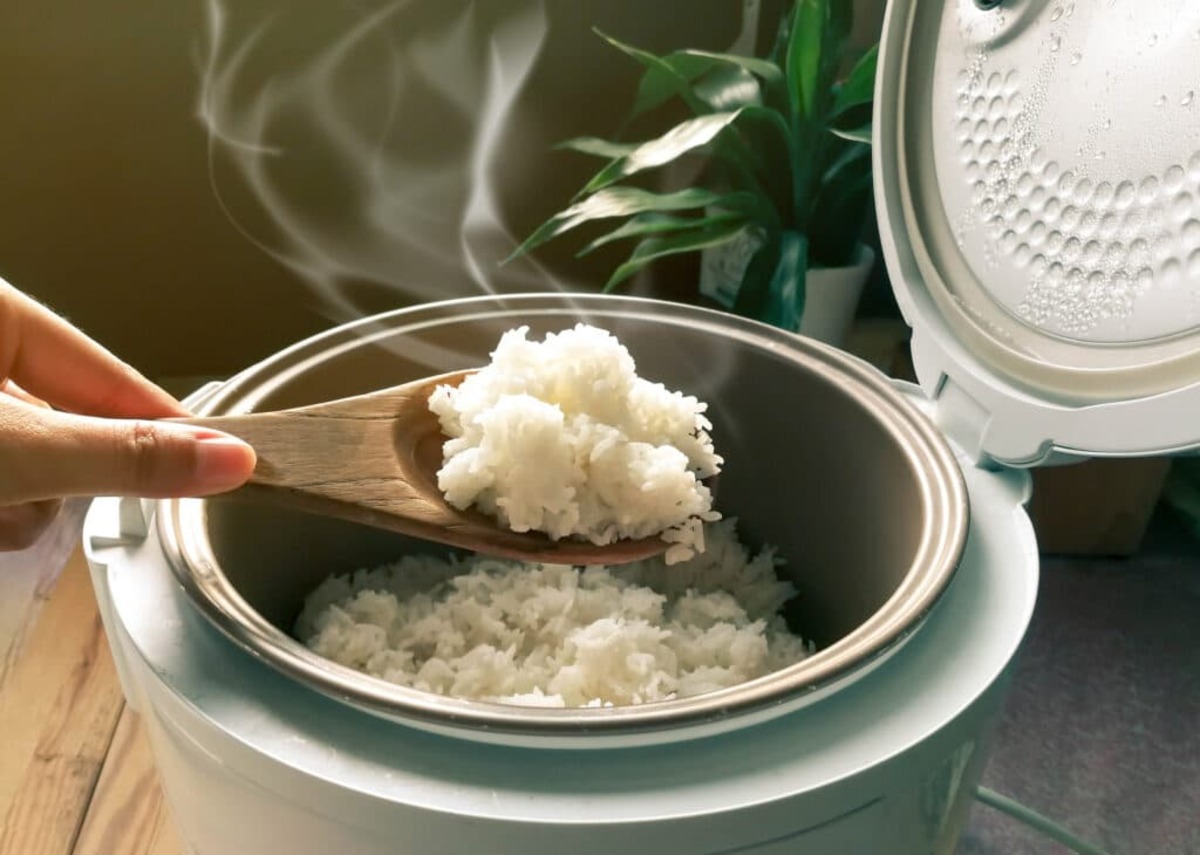
1. Fluff the Grains: After the cooking cycle is complete, open the lid of the rice cooker and use a fork or a rice paddle to gently fluff the cooked pearl barley. This will help separate and loosen the grains, ensuring a light and fluffy texture.
2. Allow for Resting Time: Give the cooked pearl barley a few minutes to rest in the rice cooker before serving. This resting time allows the grains to firm up slightly, making them easier to handle and ensuring that any residual moisture is evenly distributed.
3. Serve and Enjoy: Once the pearl barley has rested, it’s ready to be served. You can scoop the cooked grains into individual serving bowls or use it as a base for various recipes. The versatile nature of pearl barley allows you to incorporate it into salads, soups, stews, or as a side dish to complement your favorite main course. The possibilities are endless!
4. Garnish and Add Flavors (optional): To enhance the taste and presentation of the cooked pearl barley, consider garnishing it with fresh herbs, such as parsley or cilantro, for a burst of freshness. You can also drizzle some olive oil or squeeze a bit of lemon juice over the cooked grains to add a tangy flavor. Taste the dish and adjust the seasoning with salt and pepper as per your preference.
5. Store Any Leftovers: If you have any leftover cooked pearl barley, you can store it in an airtight container in the refrigerator for up to three days. It makes for a great meal-prep option and can be rewarmed or used in various recipes throughout the week.
Now, it’s time to savor the wholesome goodness of your cooked pearl barley. Whether you enjoy it as a standalone dish or incorporate it into creative recipes, the cooked pearl barley from your rice cooker is sure to be a delightful addition to your dining table.
With these simple steps, you can confidently cook pearl barley in your rice cooker and enjoy the convenience of this versatile grain. Happy cooking and bon appétit!
Tips and Variations
When it comes to cooking pearl barley in a rice cooker, there are several tips and variations you can explore to create a delicious and customized dish. Here are some helpful tips to enhance your cooking experience:
1. Experiment with Liquid: While the general guideline is to use a 1:2 ratio of pearl barley to water, you can adjust the amount of liquid based on your desired texture. Adding a little more water will result in softer and more tender grains, while reducing the water will yield firmer grains.
2. Infuse Flavors: Get creative with flavors by adding various herbs, spices, or seasonings to the pearl barley and water mixture. Try adding bay leaves, thyme, garlic powder, onion powder, or vegetable or chicken stock for enhanced taste.
3. Incorporate Vegetables: For a nutritious boost, consider adding diced vegetables like carrots, peas, or bell peppers to the pearl barley in the rice cooker. This adds color, texture, and extra nutrients to your dish.
4. Toast the Pearl Barley: Before cooking the pearl barley in the rice cooker, you can toast it in a dry skillet over medium heat. Toasting enhances the nutty flavor of the grains, adding an extra layer of depth to your dish.
5. Soak the Pearl Barley: Soaking the pearl barley for at least 30 minutes or overnight helps soften the grains and reduces the cooking time. However, you can opt to skip the soaking step if you’re short on time.
6. Customize Your Serving Options: Don’t limit yourself to serving pearl barley as a side dish. Get creative and use it as a base for salads, as a stuffing for vegetables, or even in hearty soups and stews. The versatility of pearl barley allows you to explore countless serving options.
7. Store Leftovers: If you have any cooked pearl barley left over, store it in an airtight container in the refrigerator. Utilize the leftovers for quick and easy meal-prep throughout the week.
8. Experiment with Ratios and Cooking Times: Every rice cooker may have slightly different cooking times and water absorption rates. Feel free to experiment and adjust the ratios and cooking times based on your rice cooker’s performance and your personal preferences.
9. Regularly Clean Your Rice Cooker: To maintain the longevity and optimal performance of your rice cooker, be sure to clean it regularly as per the manufacturer’s instructions. This ensures that no residual flavors or scents are transferred to your pearl barley or other cooked dishes.
10. Enjoy the Process: Cooking pearl barley in a rice cooker is meant to be a convenient and enjoyable experience. Embrace the process, be creative with flavors, and have fun experimenting with different variations.
With these tips and variations, you can elevate your cooking game and create flavorful and satisfying dishes using pearl barley and your trusty rice cooker. So go ahead, let your culinary creativity shine and savor the delightful possibilities!
As always, remember to refer to your rice cooker’s user manual for specific instructions and guidelines related to cooking grains and using different settings. Happy cooking!
Read more: How Much Rice For Rice Cooker
Conclusion
Cooking pearl barley in a rice cooker is a convenient and effortless way to prepare this versatile and nutritious grain. By following a few simple steps, you can enjoy perfectly cooked pearl barley with minimal effort. The benefits of using a rice cooker for cooking pearl barley are clear – it offers consistency, convenience, and time-saving advantages.
From choosing the right type of pearl barley to measuring the quantity, preparing the rice cooker, washing and soaking the grains, adding water and setting the cooker, cooking the pearl barley, and finally fluffing and serving the cooked grains – each step plays a crucial role in creating a delicious and satisfying dish.
With the freedom to experiment with flavors, seasonings, and ingredients, you can customize your cooked pearl barley to suit your taste preferences and dietary needs. Whether you enjoy it as a standalone dish, incorporate it into salads, soups, or stews, or use it as a base for various recipes, pearl barley cooked in a rice cooker is sure to delight your senses and provide a hearty and nutritious meal.
Remember to clean your rice cooker regularly and refer to your appliance’s instruction manual for specific cooking settings and guidelines. With practice and experimentation, you will become more confident in cooking pearl barley and exploring the countless possibilities it offers.
So, why wait? Get yourself some quality pearl barley, bring out your trusted rice cooker, and embark on your culinary adventure. Embrace the convenience, enjoy the nourishment, and take delight in the flavors and textures that pearl barley brings to your dining table.
Cooking pearl barley in a rice cooker opens up a world of possibilities for nutritious and delicious meals. So go ahead, elevate your cooking skills, and savor the wholesome goodness of pearl barley!
Frequently Asked Questions about How To Cook Pearl Barley In A Rice Cooker
Was this page helpful?
At Storables.com, we guarantee accurate and reliable information. Our content, validated by Expert Board Contributors, is crafted following stringent Editorial Policies. We're committed to providing you with well-researched, expert-backed insights for all your informational needs.


0 thoughts on “How To Cook Pearl Barley In A Rice Cooker”