Home>Home Maintenance>How To Clean The Inside Of An Air Conditioner
Home Maintenance
How To Clean The Inside Of An Air Conditioner
Modified: August 16, 2024
Learn how to clean and maintain your home's air conditioner with our step-by-step guide. Ensure optimal performance and efficiency.
(Many of the links in this article redirect to a specific reviewed product. Your purchase of these products through affiliate links helps to generate commission for Storables.com, at no extra cost. Learn more)
Introduction
Having a functioning air conditioner is essential for maintaining a comfortable and cool environment in your home, especially during hot summer months. While regular maintenance is crucial to keeping your air conditioner in optimal condition, many people often neglect the cleaning of the inside components. Over time, dust, dirt, and debris can accumulate inside the unit, impeding its efficiency and potentially leading to more serious issues.
In this comprehensive guide, we will walk you through the step-by-step process of cleaning the inside of your air conditioner. By following these instructions, you can restore your unit’s performance and ensure it continues to keep you cool and comfortable for years to come.
Key Takeaways:
- Regularly cleaning the inside of your air conditioner, including the filter, coils, and fan blades, can improve its efficiency and extend its lifespan, keeping your home cool and comfortable.
- Safety first! Always turn off the power before cleaning your air conditioner. Regular maintenance, including cleaning the filter and coils, is essential for optimal performance and energy efficiency.
Step 1: Turn off the Power
Before starting any cleaning procedure, it is crucial to ensure your safety by turning off the power to your air conditioner. This step will protect you from any potential electric shocks or accidents during the cleaning process.
Locate the electrical panel in your home, which houses the circuit breakers or fuses. Look for the breaker specifically dedicated to your air conditioner and switch it off. Alternatively, if you have a fuse box, remove the fuse that controls the power supply to your unit.
Once you have successfully turned off the power, it is also advisable to double-check by attempting to turn on the air conditioner from your thermostat. If the unit does not start, you can be confident that the power has been effectively disconnected.
Remember, safety should always be your top priority when working with electrical appliances. Taking the time to turn off the power not only protects you but also prevents any damage that could occur to your air conditioner.
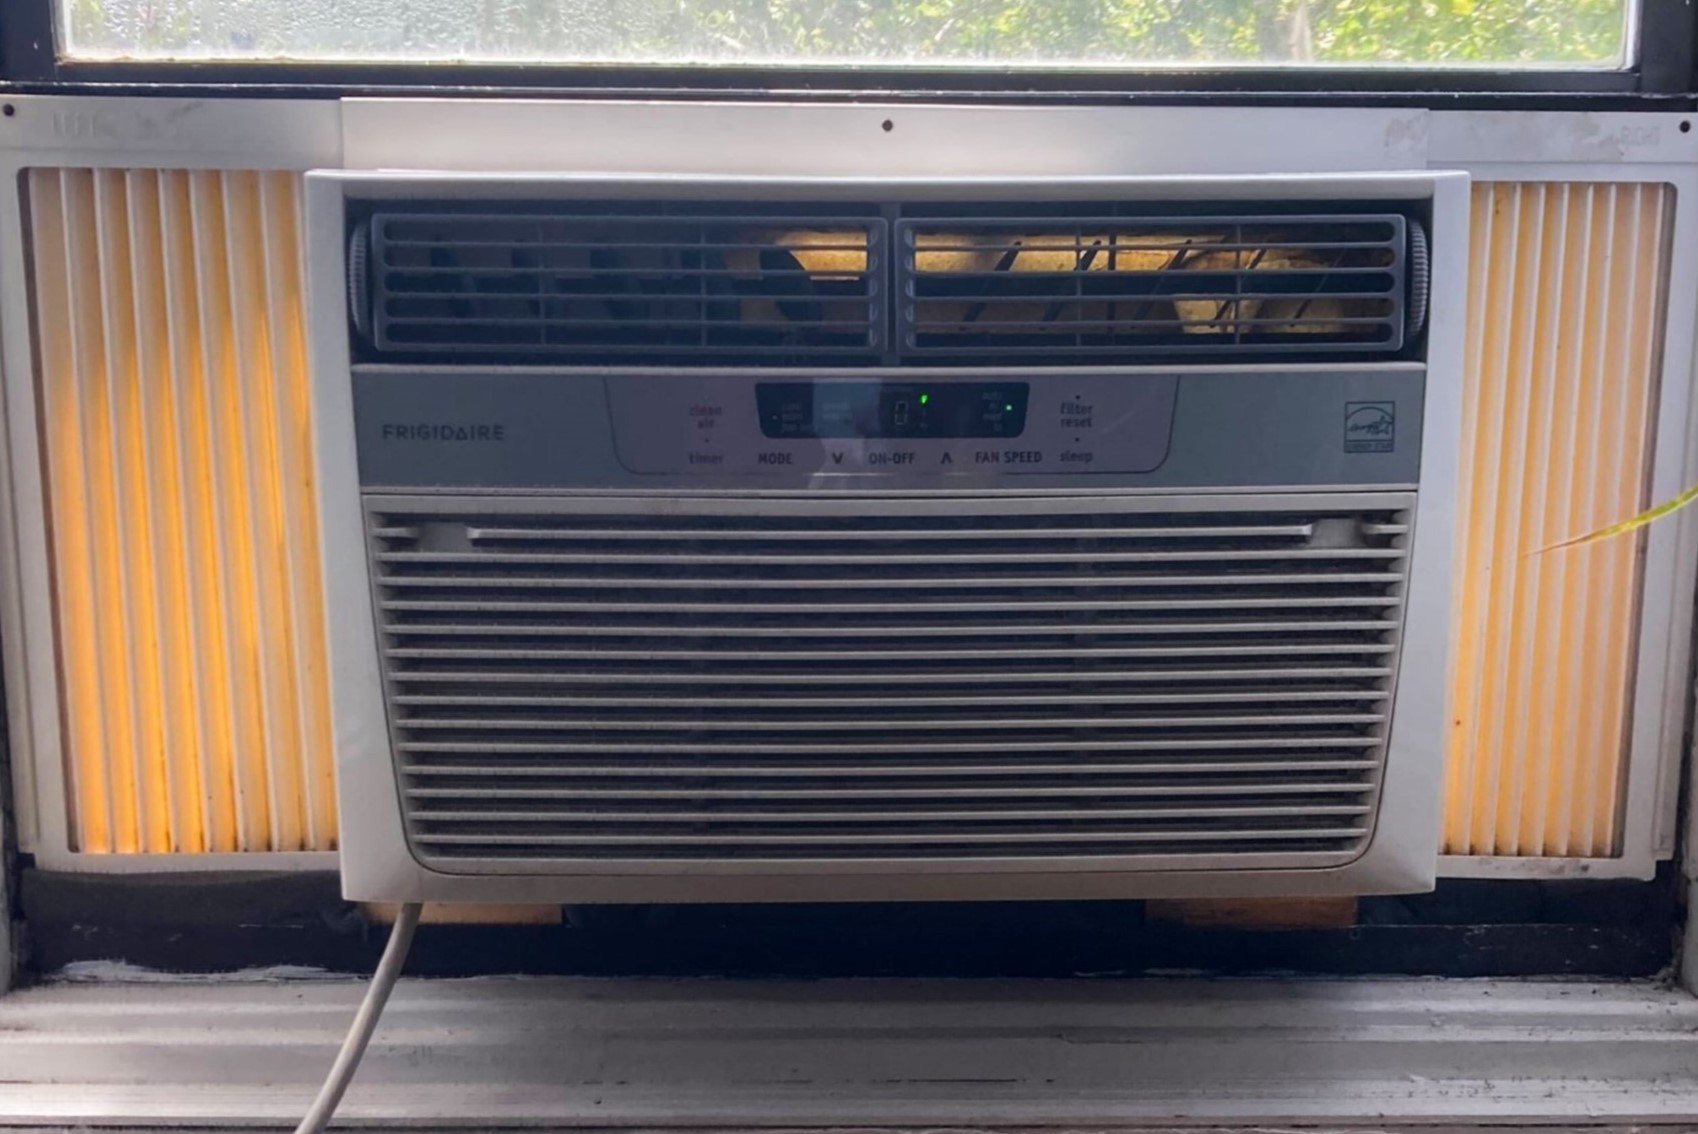
Step 2: Remove the Front Cover
Once the power is turned off, you can safely proceed to remove the front cover of your air conditioner. The front cover is typically held in place by screws or clips and is relatively easy to remove.
Start by locating the screws or clips around the perimeter of the front cover. Use a screwdriver or your fingers to loosen and remove the screws or release the clips. Set aside the screws or clips in a safe place so that they are easily accessible when it comes time to reassemble the unit.
Once the screws or clips are removed, gently lift the front cover upwards and pull it towards you. Be careful not to force or bend the cover as it may be fragile. If you encounter any resistance, double-check for any missed screws or clips that may still be securing the front cover.
With the front cover removed, you will have clear access to the internal components of the air conditioner, allowing for thorough cleaning and maintenance.
It is worth noting that some air conditioner models may have additional panels or covers that need to be removed to access certain parts for cleaning. Consult your unit’s manual or manufacturer’s instructions for more information on how to remove any additional panels if necessary.
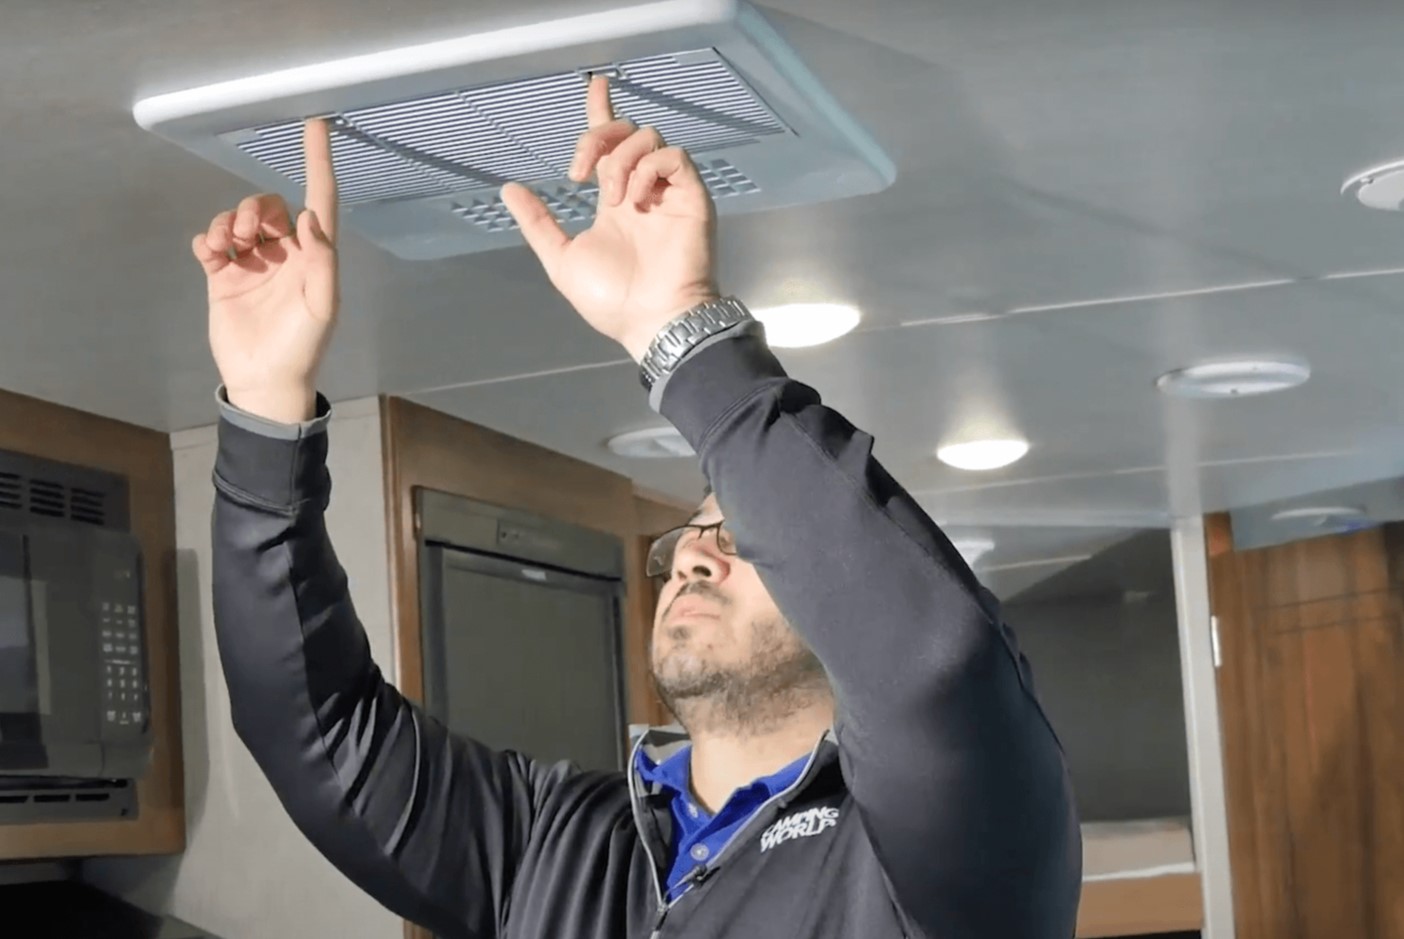
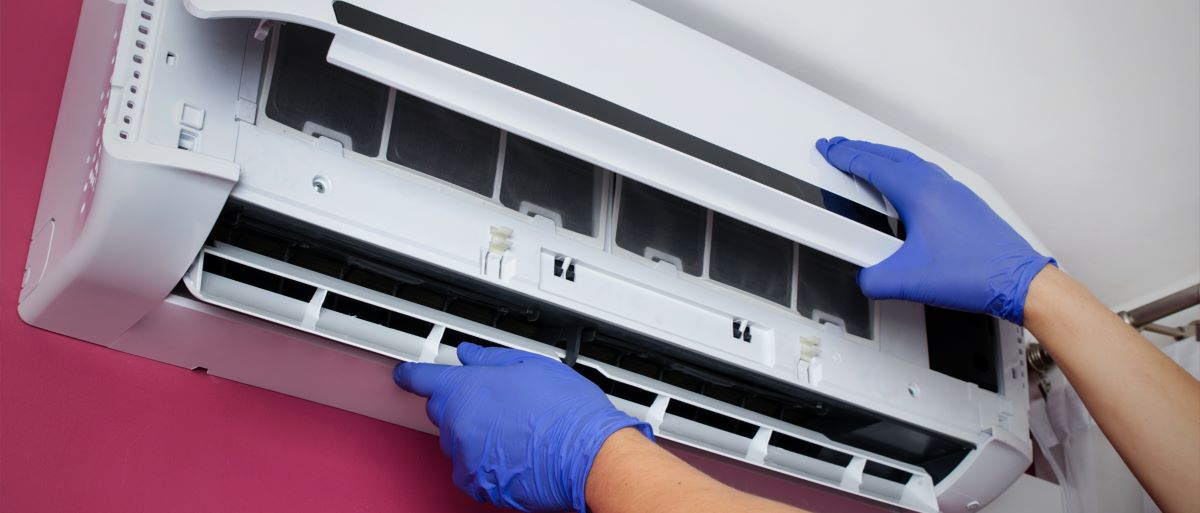
Step 3: Clean the Filter
The air filter plays a crucial role in maintaining the air quality inside your home by capturing dust, dirt, and other particles. Over time, these contaminants can accumulate on the filter, reducing its efficiency and impeding airflow. Cleaning the filter regularly is essential for the proper functioning of your air conditioner.
To clean the filter, start by locating it inside the unit. The filter is typically located behind the front cover, either in a slide-out compartment or attached to the backside of the cover itself. Consult your unit’s manual if you are unsure about the location.
Once you have located the filter, remove it from its housing. Take note of how the filter is installed so that you can easily put it back in place after cleaning. Some filters may require sliding it out from side to side, while others may need to be lifted upwards or downwards.
Now that you have the filter in hand, you can clean it using one of the following methods:
- Vacuuming: Use a vacuum cleaner with a brush attachment to gently remove the dust and debris from the filter. Be thorough in cleaning both the front and back surfaces of the filter. Avoid using excessive force that could damage the filter.
- Rinsing: If the filter is heavily soiled, you can rinse it under running water. Use lukewarm water and gently rinse the filter in the opposite direction of the airflow to dislodge the dirt. Avoid using harsh chemicals or scrubbing the filter vigorously to prevent damage.
After cleaning the filter, allow it to dry completely before reinstalling it back into the unit. The drying time may vary depending on the filter type and how thoroughly it was cleaned.
Regularly cleaning or replacing the air filter is essential for maintaining proper airflow and maximizing the efficiency of your air conditioner. Aim to clean the filter at least once every one to three months, depending on the usage and indoor air quality.
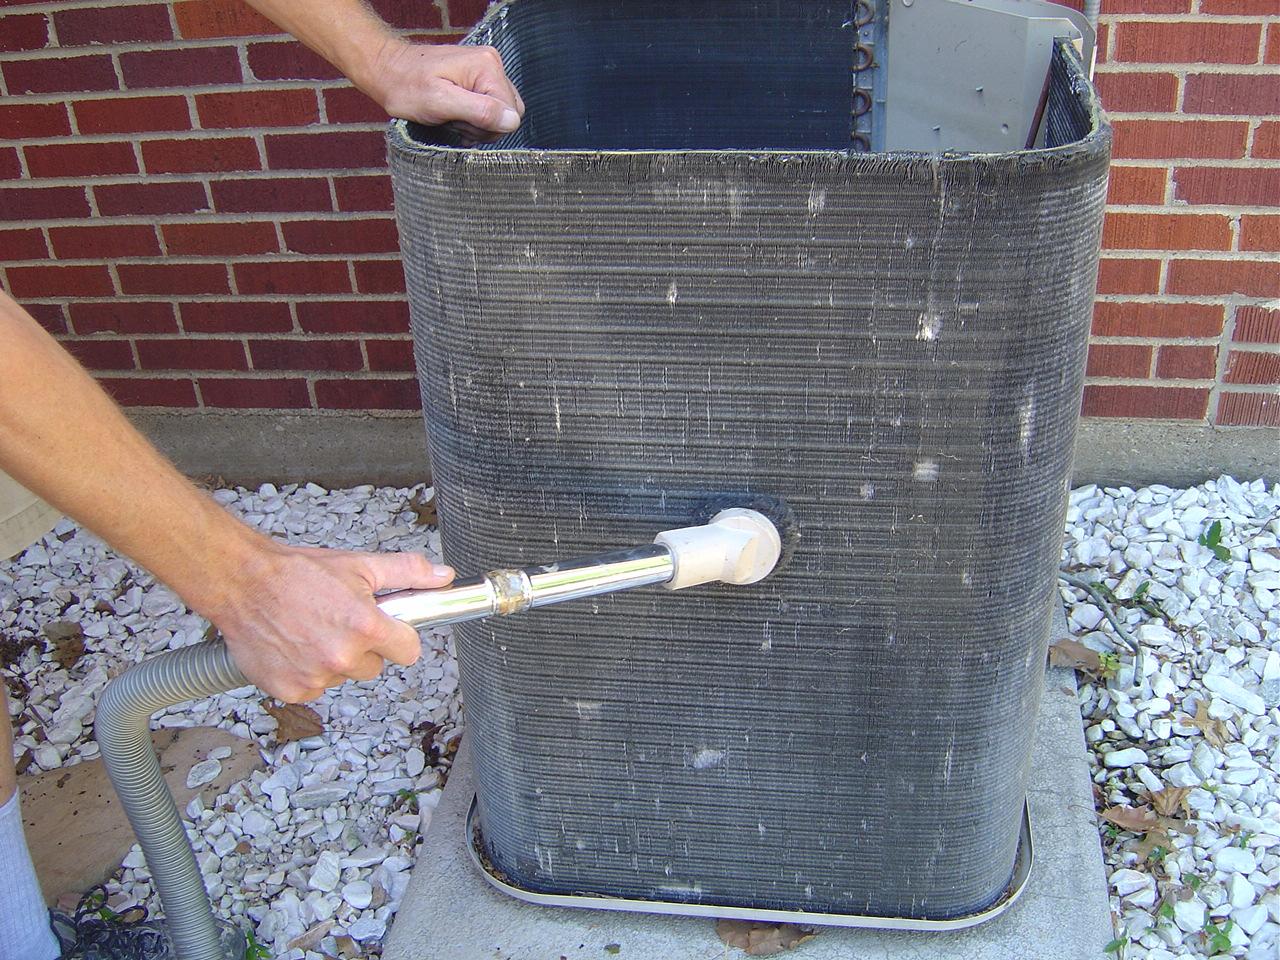
Step 4: Clean the Coils
The coils of your air conditioner are responsible for transferring heat from the indoor air to the outside. Over time, these coils can accumulate dirt, dust, and debris, which can hinder their ability to efficiently cool the air. Cleaning the coils is an essential step in maintaining the performance of your air conditioner.
Before cleaning the coils, it is important to note that there are two types of coils: the evaporator coils and the condenser coils.
Evaporator coils: These coils are located inside the air conditioner unit and are responsible for cooling the indoor air. They are typically made of aluminum or copper.
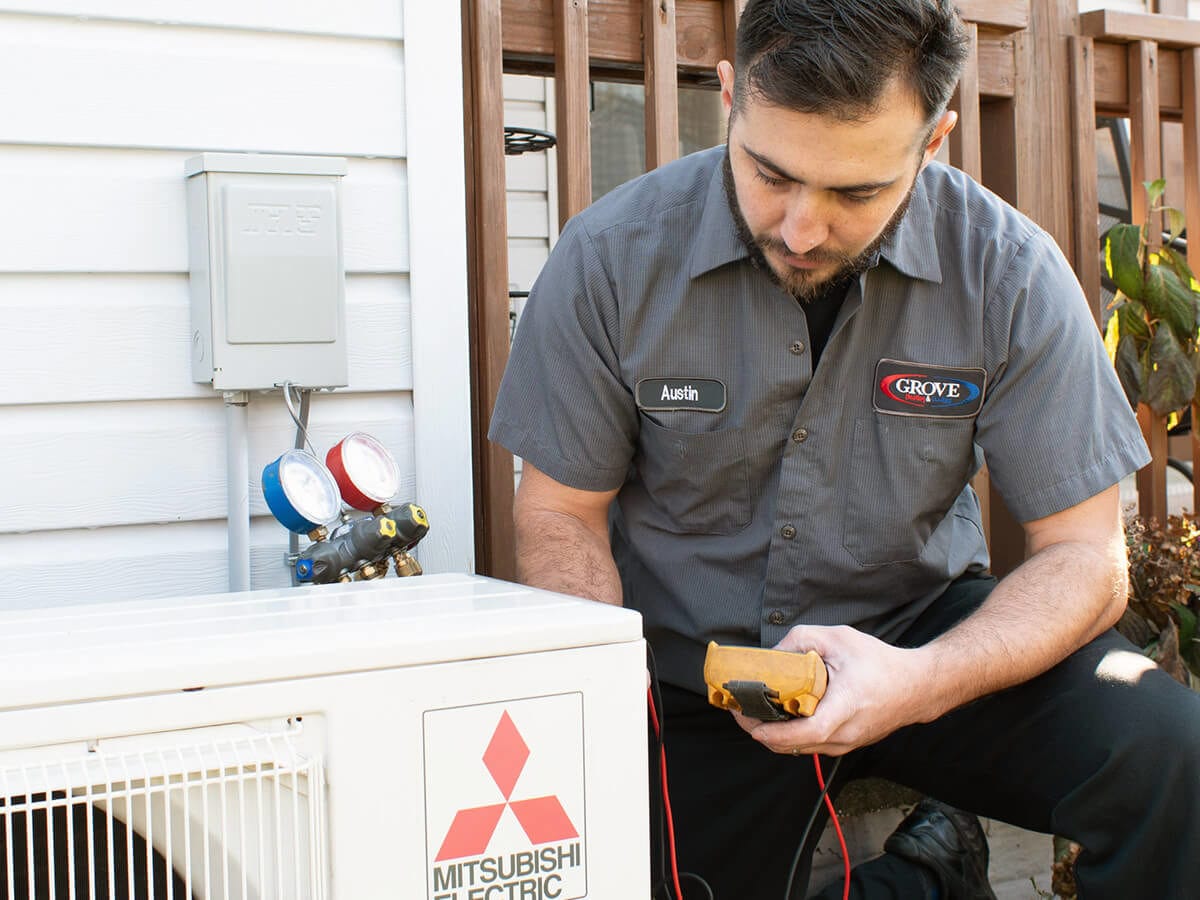
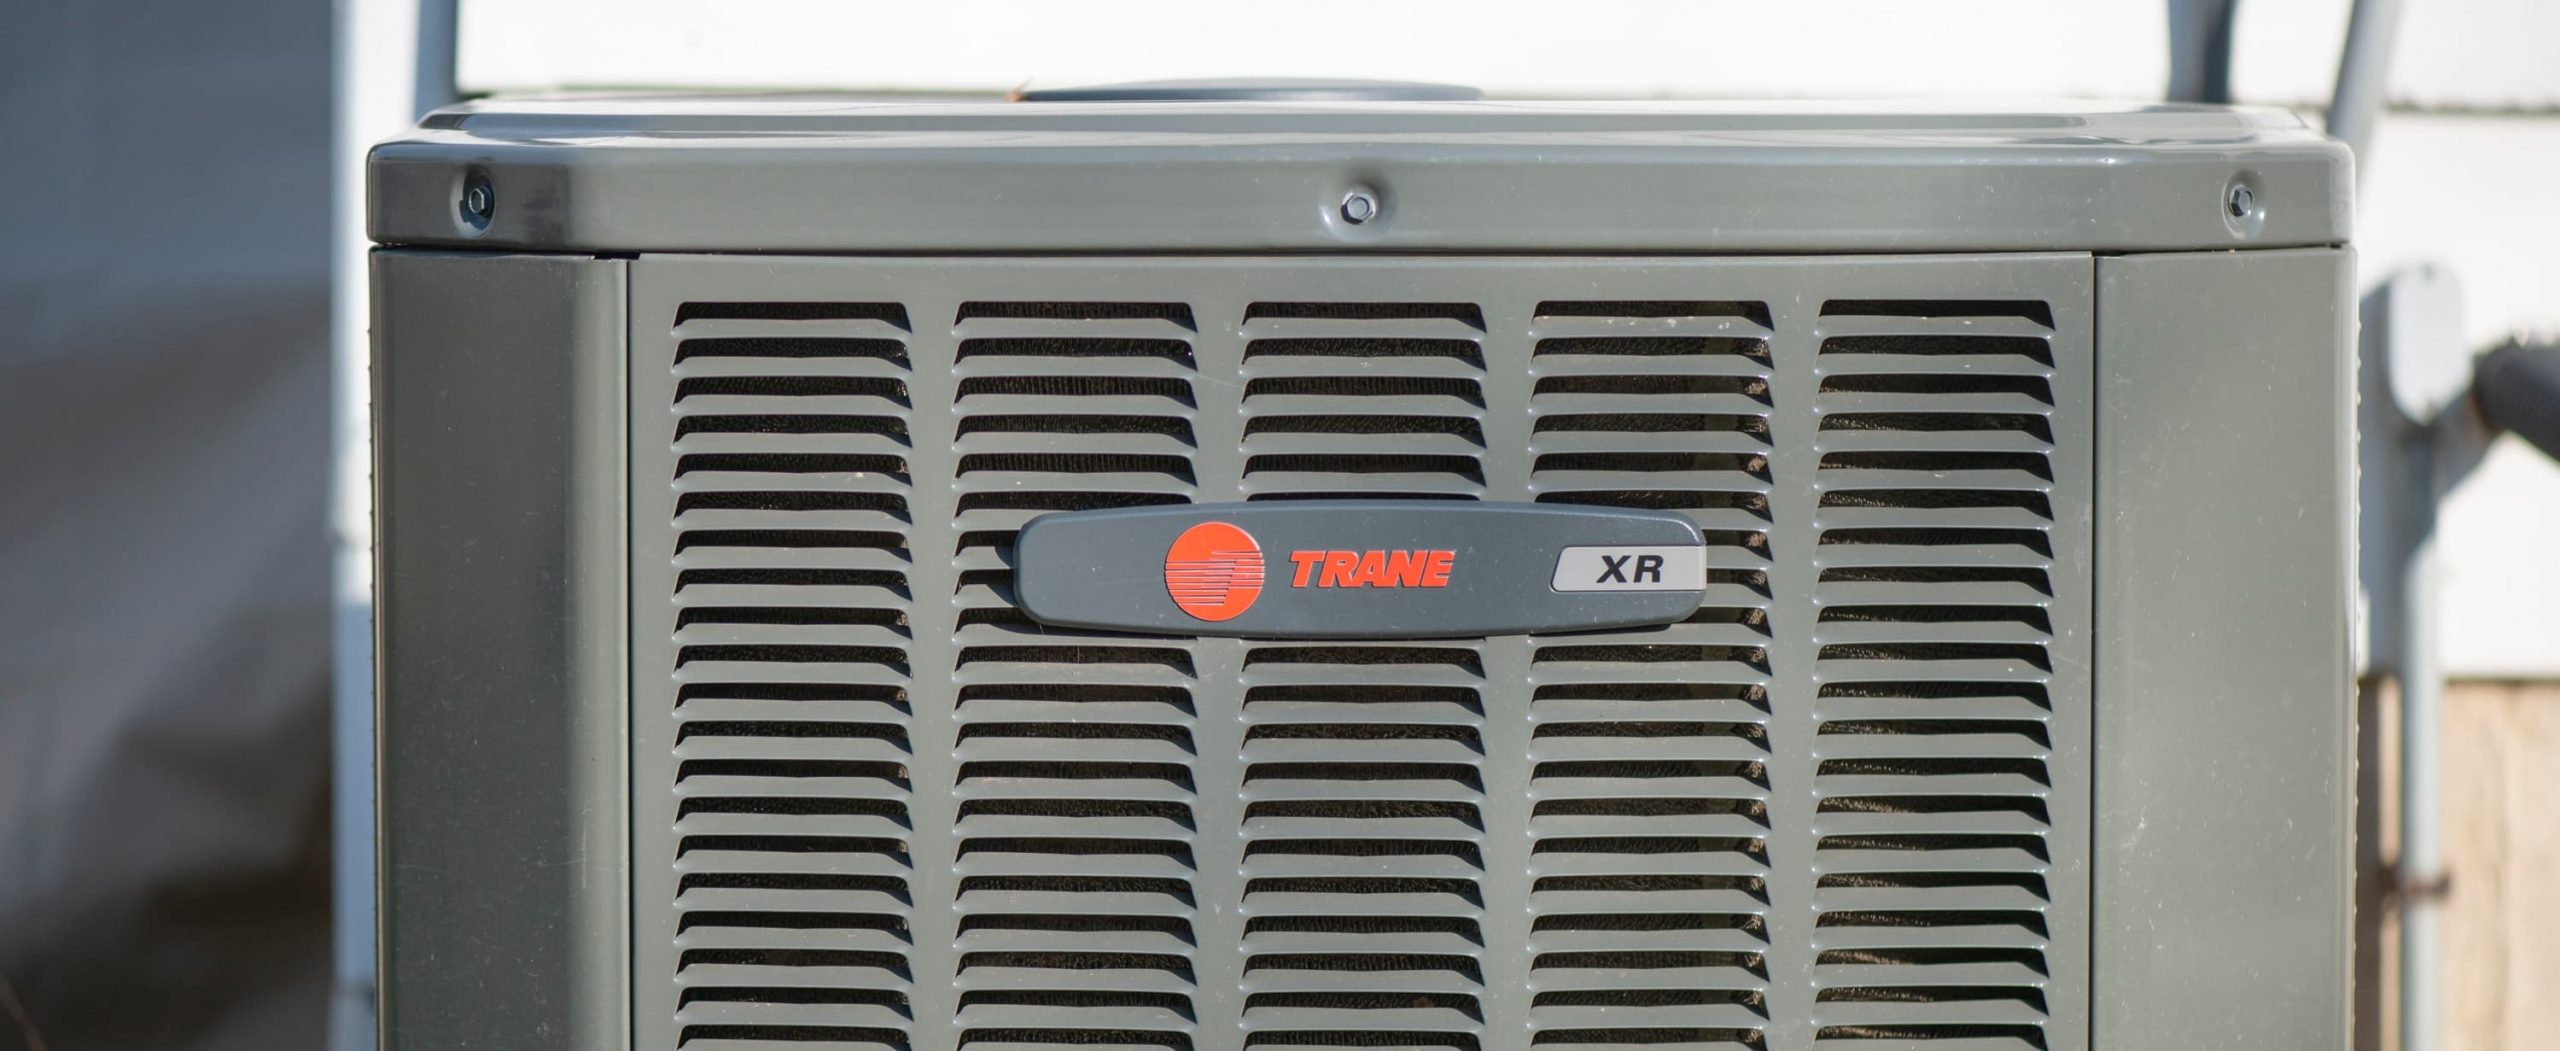
Condenser coils: These coils are located in the outdoor unit of your air conditioner and are responsible for releasing the heat absorbed from the indoor air. They are exposed to the elements and are prone to collecting dirt, leaves, and debris.
To clean the coils, follow these steps:
- Evaporator coils:
- Ensure that the power is turned off to avoid any accidents.
- Access the evaporator coils by removing any panels or covers that may be obstructing them.
- Using a soft brush or a vacuum cleaner with a brush attachment, gently remove the dust and debris from the coils. Be careful not to bend or damage the coils.
- If the coils are heavily soiled, you can use a coil cleaner specifically designed for air conditioners. Follow the manufacturer’s instructions for proper application.
- Allow the coils to dry completely before reassembling the unit.
- Condenser coils:
- Ensure that the power is turned off and the outdoor unit is disconnected.
- Remove any debris, leaves, or branches that may be blocking the airflow to the condenser coils.
- Using a soft brush or a vacuum cleaner with a brush attachment, gently remove dirt and debris from the coils. Pay close attention to the fins between the coils and avoid bending them.
- If the coils are heavily soiled, you can use a coil cleaner specifically designed for outdoor units. Follow the manufacturer’s instructions for proper application.
- Once the coils are clean, reassemble the outdoor unit and ensure that it is securely fastened.
Regularly cleaning the coils of your air conditioner will help maintain its efficiency and prolong its lifespan. Aim to clean the coils at least once a year, or more frequently if you live in a dusty environment or have pets.
Regularly clean or replace the air filter to improve air flow and efficiency. Use a vacuum to remove dust and debris from the coils and fins. Be sure to turn off the power before cleaning.
Read more: How To Clean A Lennox Air Conditioner
Step 5: Clean the Drain Pan
As your air conditioner cools the air, it also removes moisture from the indoor environment. This moisture collects in the drain pan, which is designed to catch and drain the condensate away from the unit. Over time, the drain pan can accumulate algae, mold, and dirt, leading to clogged drains and potential water leaks.
To clean the drain pan, follow these steps:
- Locate the drain pan: The drain pan is usually located below the evaporator coils, within the air conditioner unit. Check your unit’s manual to find the exact location.
- Empty the drain pan: If there is any standing water in the drain pan, carefully remove it using a towel, sponge, or a wet/dry vacuum. Dispose of the water properly.
- Scrub the drain pan: Mix a solution of warm water and mild detergent. Dip a soft brush or sponge into the solution and gently scrub the interior surfaces of the drain pan, removing any algae, mold, or dirt buildup. Pay close attention to the corners and edges of the pan.
- Rinse the drain pan: Once you have thoroughly scrubbed the drain pan, rinse it with clean water to remove any remaining detergent or debris.
- Check the drain: While cleaning the drain pan, take the opportunity to ensure that the drain is clear and free of obstructions. Use a thin wire or pipe cleaner to gently remove any debris that may be blocking the drain.
- Dry and reassemble: Allow the drain pan to air dry completely before reassembling it back into the air conditioner unit. Once dry, carefully place the drain pan back in its original position.
Cleaning the drain pan regularly is crucial to prevent water leaks and the growth of mold or bacteria in your air conditioner. Aim to clean the drain pan at least once a year or more frequently if you notice any signs of water accumulation or foul odors.
Additionally, it is a good practice to pour a mixture of bleach and water into the drain pan once a month to help kill any bacteria or algae that may grow in the future. Consult your unit’s manual for specific instructions on the recommended bleach-to-water ratio.
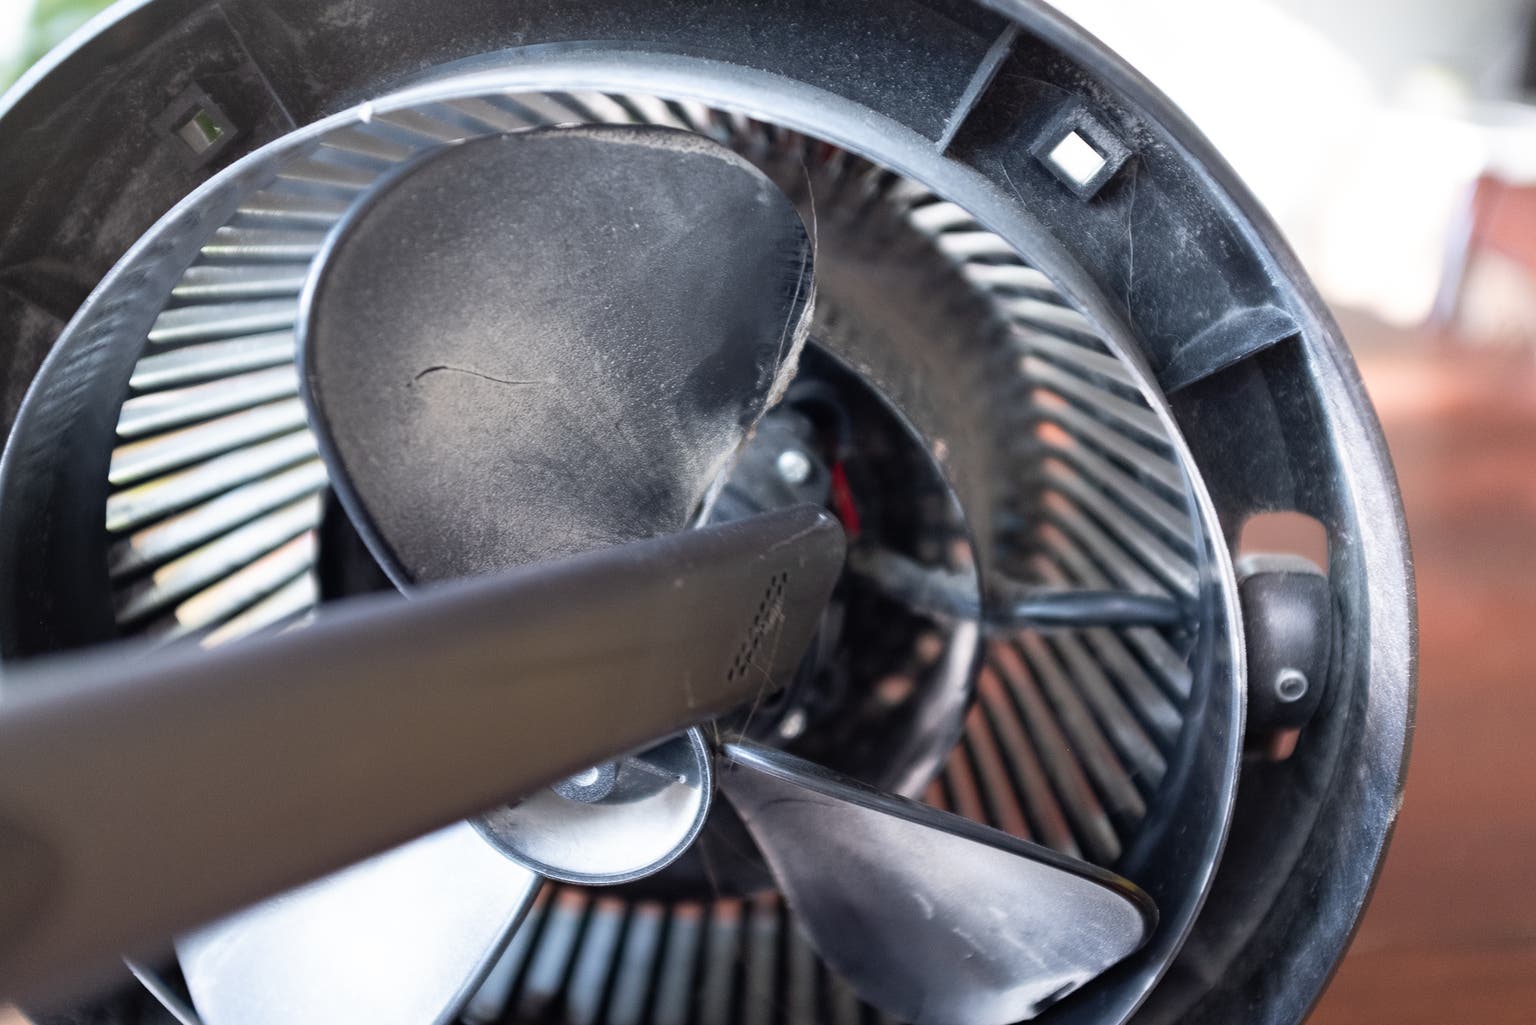
Step 6: Clean the Fan Blades
The fan blades of your air conditioner play a vital role in circulating the air throughout your home. Over time, these blades can accumulate dust, dirt, and grime, which can hinder their performance and efficiency. Cleaning the fan blades regularly will help ensure optimal airflow and keep your air conditioner running smoothly.
To clean the fan blades, follow these steps:
- Turn off the power: Before you begin cleaning, make sure the power to your air conditioner is turned off to prevent any accidents.
- Access the fan blades: Depending on the design of your air conditioner, you may need to remove a panel or cover to access the fan blades. Refer to your unit’s manual for specific instructions on how to access the fan blades.
- Inspect the blades: Take a close look at the fan blades to assess the level of dirt and debris accumulation. If the blades are lightly coated, you can proceed with cleaning them. However, if the blades are heavily caked with dirt or debris, you may need to remove them for a more thorough cleaning.
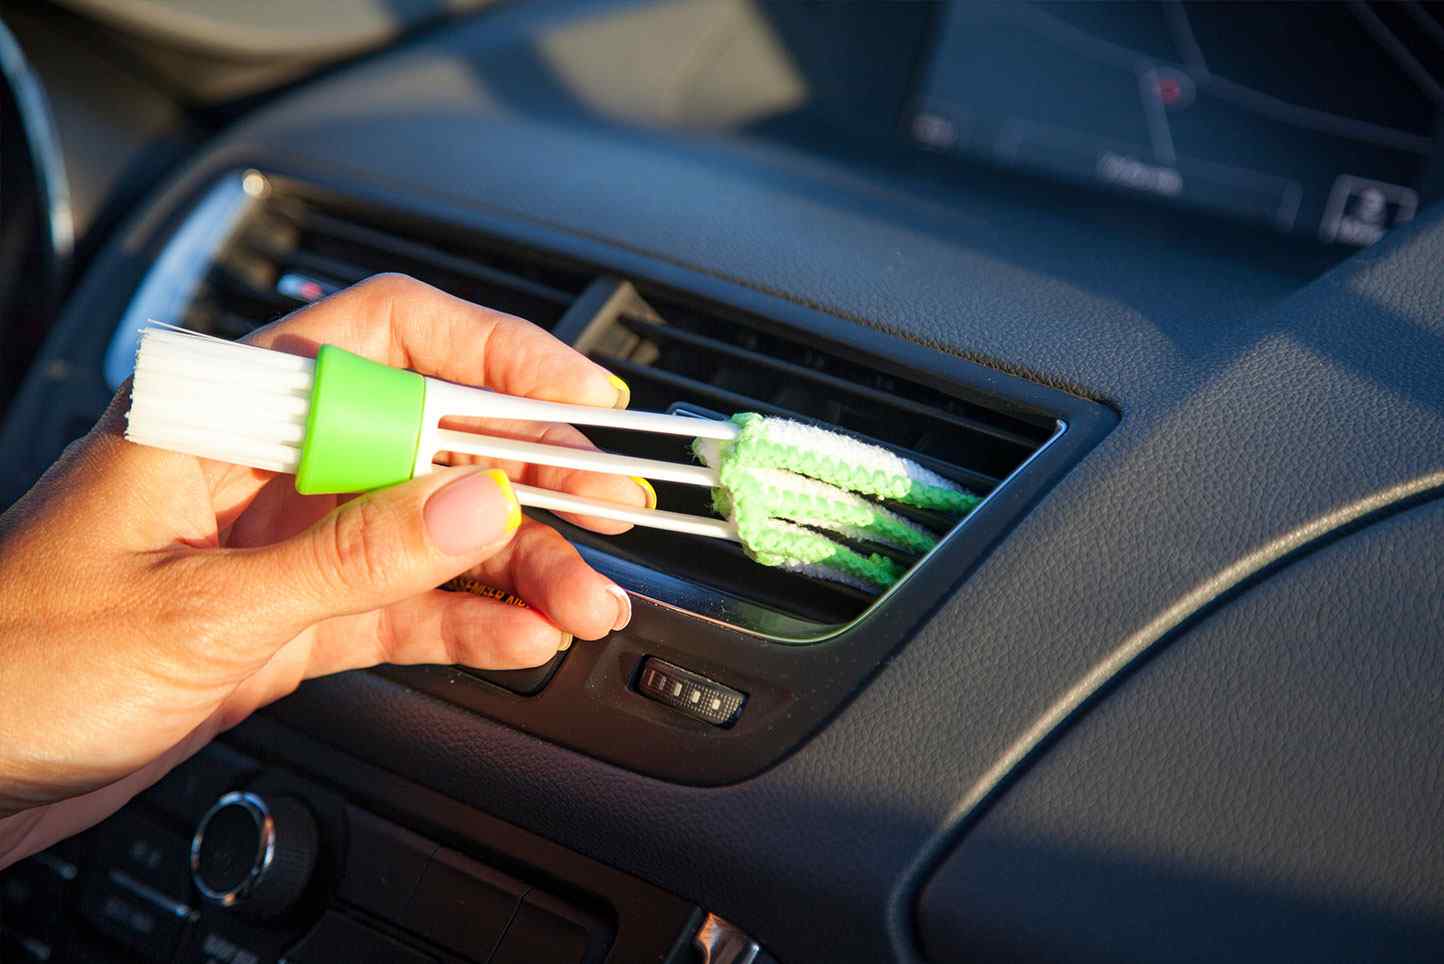
- Vacuuming: If the blades are lightly soiled, you can use a vacuum cleaner with a brush attachment to gently remove the dust and dirt. Move the brush attachment along the blades, using slight pressure to dislodge the debris.
- Cleaning solution: If the blades require a deeper clean, you can prepare a mild cleaning solution using warm water and mild detergent. Dip a soft cloth or sponge in the solution and carefully wipe down the fan blades, removing any stubborn grime. Make sure not to apply excessive pressure that could bend or damage the blades.
- Rinse and dry: Once the blades are clean, rinse them with clean water to remove any detergent residue. Allow the blades to air dry completely before reassembling them back into the unit.
Regularly cleaning the fan blades of your air conditioner will not only help maintain proper airflow but also reduce the strain on the motor, ultimately improving the overall efficiency and performance of your unit. Aim to clean the fan blades at least once a year or more frequently if you notice a significant buildup of dirt or debris.
Step 7: Reassemble the Unit
Now that you have completed the cleaning of the internal components of your air conditioner, it is time to reassemble the unit to restore its functionality. Follow these steps to ensure proper reassembly:
- Replace the filter: Begin by reinserting the cleaned filter back into its designated housing. Make sure it is placed in the correct orientation as noted during the removal process.
- Position the front cover: Align the front cover with the unit and carefully slide it back into place. Pay attention to any alignment markers or grooves to ensure a proper fit.
- Secure the front cover: Use the screws or clips that were previously removed to secure the front cover in place. Tighten them with a screwdriver or snap the clips back into position until the cover is firmly held in place.
- Turn on the power: Once the unit is reassembled, you can turn the power back on. Locate the breaker or fuse associated with your air conditioner in the electrical panel and switch it on. If you have a fuse box, insert the fuse back into its designated slot.
- Test the air conditioner: After restoring the power, check that your air conditioner is functioning properly. Adjust the thermostat settings and listen for the sound of the unit turning on. Feel the airflow to ensure it is coming out cool and strong.
- Regular maintenance: Remember to continue regular maintenance of your air conditioner, including periodic filter cleaning or replacement, as well as routine cleaning of the external unit and inspecting for any signs of damage or issues.
By following these steps and reassembling the unit correctly, you can ensure that your air conditioner will operate efficiently and effectively, providing the cool and comfortable environment you desire.
It is worth noting that if you encounter any difficulties during the reassembling process or if you are unsure about any aspect of the cleaning or maintenance, it is recommended to consult a professional HVAC technician for assistance.
Conclusion
Maintaining a clean and well-functioning air conditioner is essential for creating a comfortable and healthy living environment in your home. By following the step-by-step cleaning process outlined in this guide, you can effectively clean the inside of your air conditioner and ensure its optimal performance.
We started by turning off the power to the unit to ensure safety, followed by removing the front cover to gain access to the internal components. We then cleaned the air filter to improve air quality and airflow. Next, we cleaned the coils to remove dirt and debris that could hinder their efficiency. The drain pan was cleaned to prevent clogging and water leaks. The fan blades were also cleaned to maintain proper airflow throughout the unit. Finally, we reassembled the air conditioner, ensuring all components were securely put back in place.
Regularly cleaning your air conditioner will not only extend its lifespan but also improve its energy efficiency, helping you save on utility bills. It is important to perform these maintenance tasks at least once a year or more frequently, depending on usage and environmental factors.
Remember to always follow safety precautions, such as turning off the power and consulting the manufacturer’s instructions when performing any maintenance on your air conditioner. If you are unsure or uncomfortable with any aspect of the cleaning process, it is always best to seek professional assistance from an HVAC technician.
By keeping your air conditioner clean and well-maintained, you can enjoy optimal cooling performance and a comfortable home all year round.
Frequently Asked Questions about How To Clean The Inside Of An Air Conditioner
Was this page helpful?
At Storables.com, we guarantee accurate and reliable information. Our content, validated by Expert Board Contributors, is crafted following stringent Editorial Policies. We're committed to providing you with well-researched, expert-backed insights for all your informational needs.