
Articles
How To Fix Cracked Sink
Modified: December 7, 2023
Learn effective ways to fix a cracked sink with these helpful articles. Get step-by-step instructions and expert tips to restore your sink's integrity and functionality.
(Many of the links in this article redirect to a specific reviewed product. Your purchase of these products through affiliate links helps to generate commission for Storables.com, at no extra cost. Learn more)
Introduction
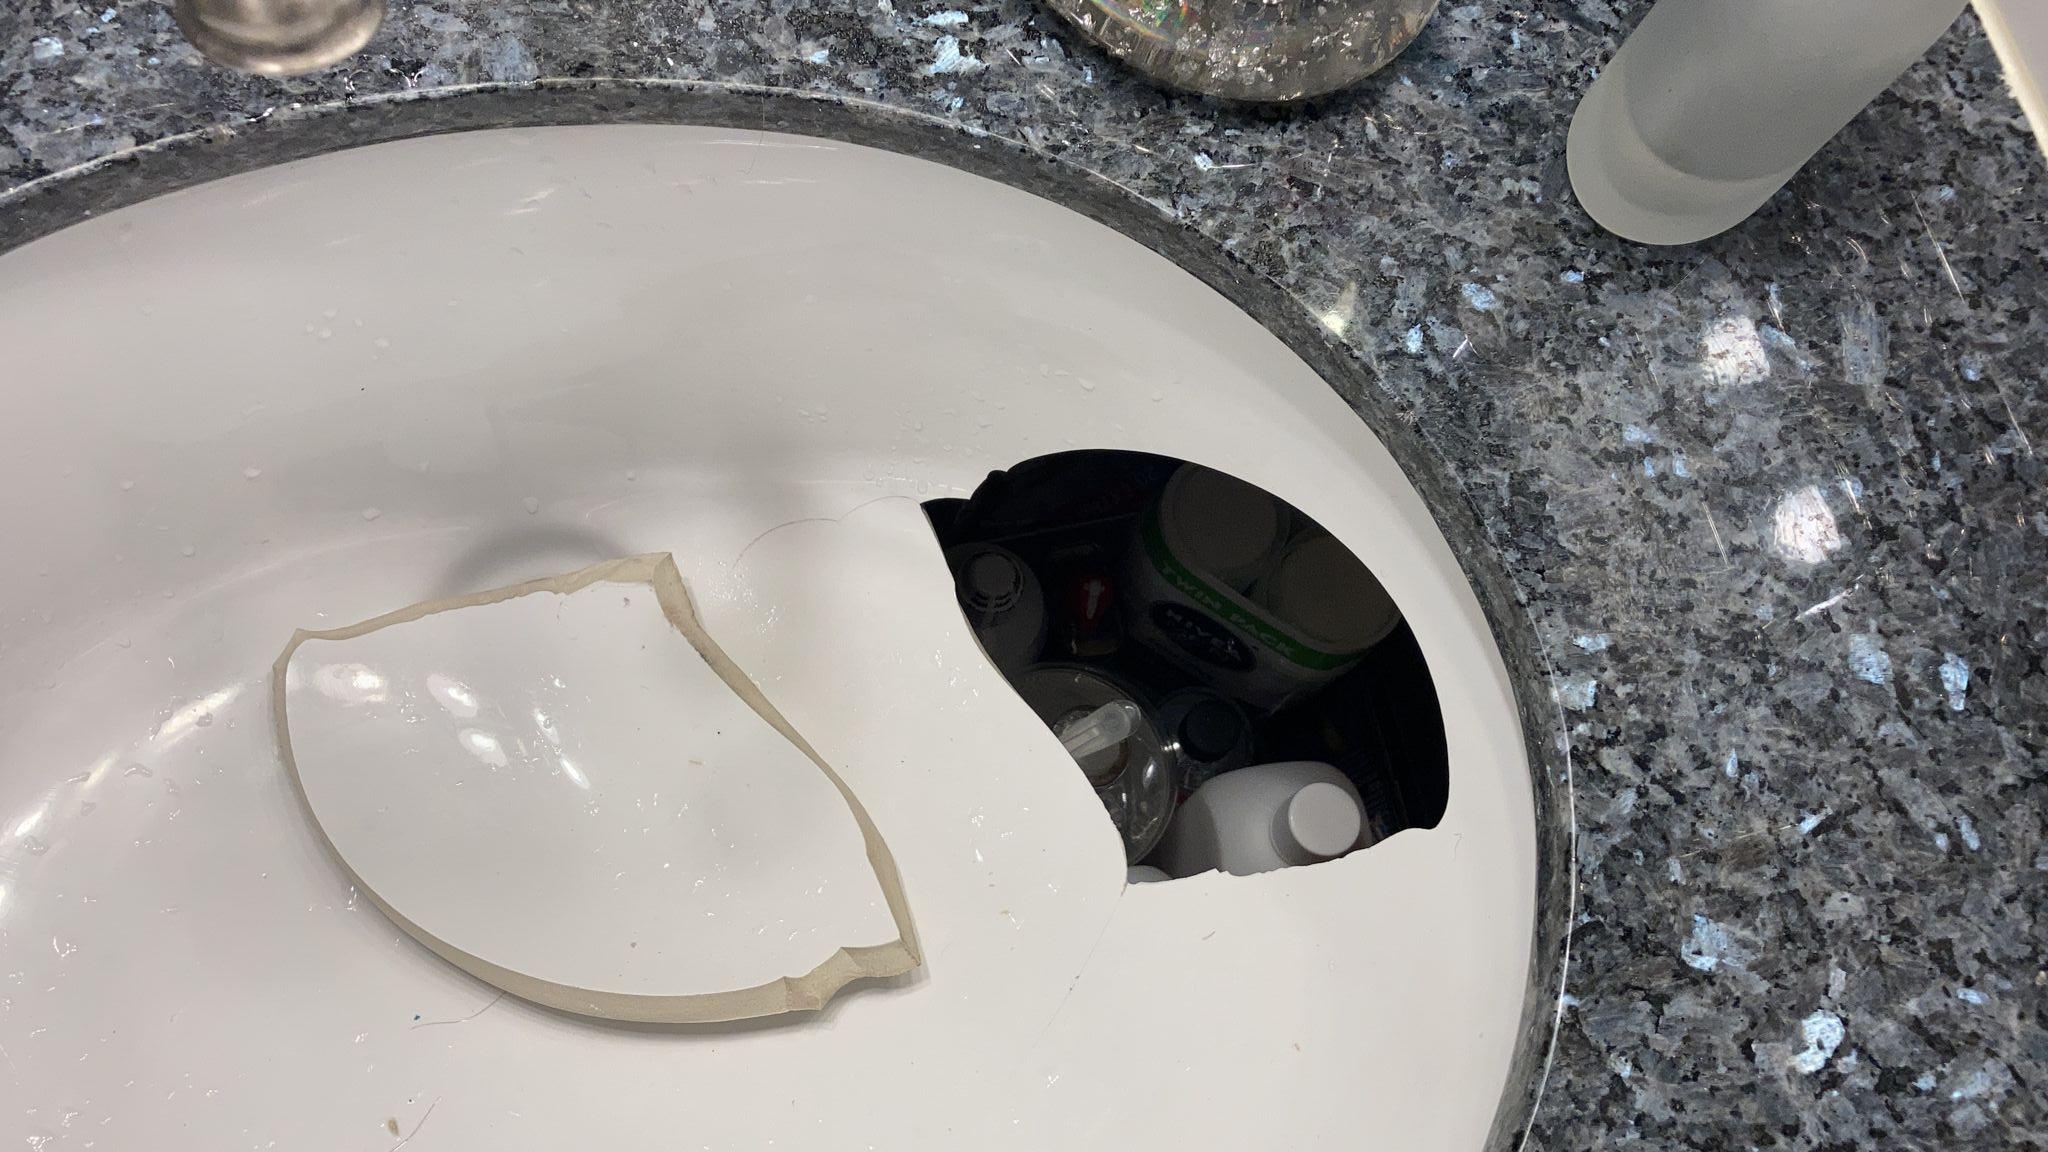
A cracked sink can be a frustrating and unsightly problem. Whether the crack is minor or extensive, it can lead to leaks, water damage, and diminished functionality. Instead of replacing the entire sink, you can take matters into your own hands and fix the crack yourself. Not only will this save you time and money, but it will also give you the satisfaction of tackling a home improvement project.
In this article, we will walk you through the step-by-step process of fixing a cracked sink. We will cover the tools and materials you will need, as well as the techniques required to effectively repair the crack. By following these instructions, you can restore your sink to its former glory and prevent further damage.
Before we begin, it is important to note that this guide is specifically for minor cracks in sinks made of materials such as porcelain, ceramic, or acrylic. If you have a major crack or a sink made of a different material, it is best to consult a professional. Safety should always be your top priority, so make sure to wear protective gear, such as gloves and goggles, when working with tools and chemicals.
Now, let’s gather the necessary tools and materials so we can get started on fixing your cracked sink!
Key Takeaways:
- Save time and money by fixing minor cracks in porcelain, ceramic, or acrylic sinks using epoxy resin. Follow the step-by-step guide for a satisfying DIY home improvement project.
- Prioritize safety, gather the necessary tools and materials, and follow each step carefully to achieve a seamless repair and restore your sink’s functionality and visual appeal.
Read more: How To Fix Cracks In Porcelain Sink
Tools and Materials Needed
Before you begin the process of fixing your cracked sink, it’s important to gather all the necessary tools and materials. Here is a list of items you will need to have on hand:
Tools:
- Protective gloves
- Protective goggles
- Safety mask
- Putty knife or scraper
- Sandpaper (fine-grit)
- Heat gun or hairdryer
- Mixing spatula or stick
Materials:
- Epoxy resin and hardener
- Clean cloth or rag
- Acetone or rubbing alcohol
- Disposable gloves
- Paintbrush
Having these tools and materials ready will ensure a smooth and efficient repair process. It’s important to wear protective gear, such as gloves, goggles, and a mask, to safeguard yourself from any potential hazards during the repair.
Now that you have gathered all the necessary tools and materials, let’s move on to the first step: assessing the damage to your cracked sink.
Step 1: Assess the Damage
Before you can begin repairing your cracked sink, it’s essential to assess the extent of the damage. This will help you determine the most appropriate repair method and ensure a successful outcome. Here’s how you can assess the damage:
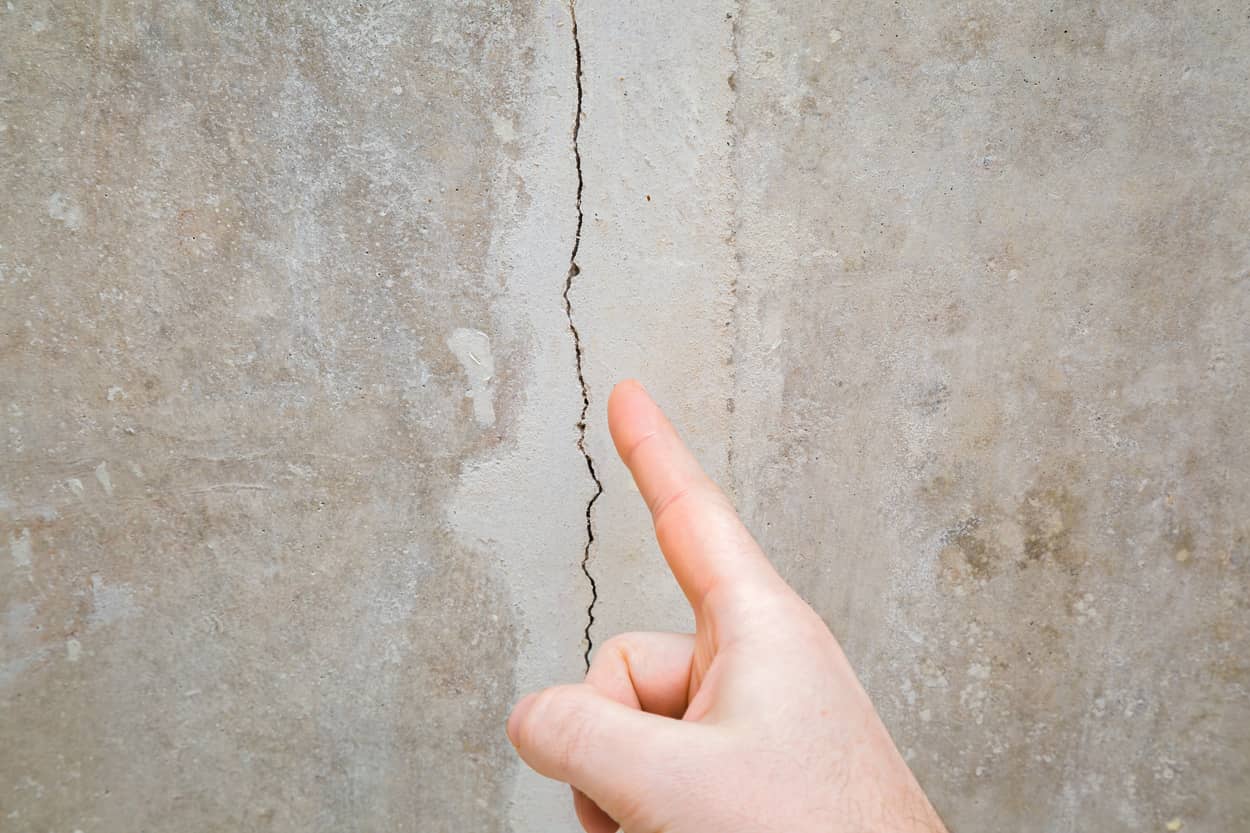
- Inspect the crack: Carefully examine the crack in your sink. Take note of its size, length, and depth. This will give you a better understanding of the severity of the damage.
- Check for leaks: Turn on the water and see if there are any visible leaks around the crack. Pay attention to any water seeping through or pooling around the damaged area.
- Examine the surrounding area: Look for any signs of damage or deterioration around the cracked sink. It’s important to identify any underlying issues that may have contributed to the crack or could worsen the repair process.
Based on your assessment, you can determine whether the crack is minor or requires a more extensive repair. Minor cracks can usually be fixed using epoxy resin, while larger or more severe cracks may require professional assistance or even a sink replacement.
Remember to take measurements and pictures of the crack before proceeding to the next step. These will serve as valuable references throughout the repair process.
Once you have assessed the damage and gathered the necessary information, you can move on to the next step: preparing the sink for repair.
Step 2: Prepare the Sink
Now that you have assessed the damage to your cracked sink, it’s time to prepare it for repair. Proper preparation is crucial to ensure a strong and long-lasting fix. Here are the steps to follow when preparing the sink:
- Clean the area: Begin by thoroughly cleaning the cracked area of the sink. Use a clean cloth or rag and some acetone or rubbing alcohol to remove any dirt, debris, or residue. This will help the epoxy resin adhere properly to the surface.
- Remove loose materials: If there are any loose or chipped pieces around the crack, carefully remove them using a putty knife or scraper. Be gentle to avoid causing further damage to the sink or widening the crack.
- Smooth the surface: Use fine-grit sandpaper to smooth the edges of the crack. This will create a smoother surface for the epoxy resin to bond with and help achieve a seamless repair.
- Dry the area: Ensure that the cracked area is completely dry before proceeding. You can use a heat gun or a hairdryer on low heat to speed up the drying process.
By properly cleaning and preparing the cracked area, you are creating an optimal surface for the epoxy resin to adhere to. This will significantly improve the chances of a successful repair.
With the sink prepared, it’s time to move on to the next step: applying the epoxy resin.
Step 3: Apply Epoxy Resin
Now that the sink is properly prepared, it’s time to apply the epoxy resin to repair the cracked area. Epoxy resin is a strong adhesive that can bond the cracked pieces together, creating a durable and seamless repair. Here’s how you can apply the epoxy resin:
- Wear disposable gloves: Before handling the epoxy resin, make sure to put on a pair of disposable gloves. This will protect your skin from the chemicals and ensure a cleaner application process.
- Mix the epoxy resin: Follow the instructions provided by the manufacturer to properly mix the epoxy resin and hardener. Use a mixing spatula or stick to thoroughly blend the two components until you achieve a uniform consistency.
- Apply the epoxy resin: Using a small paintbrush, carefully apply the mixed epoxy resin onto the cracked area. Make sure to generously coat the entire crack, ensuring that the resin covers both the surface and the inside of the crack.
- Fill the crack: If the crack is deep or wide, you may need to apply multiple layers of epoxy resin to fill it completely. Allow each layer to dry before applying the next one, following the manufacturer’s instructions for curing time.
While applying the epoxy resin, make sure to work quickly and efficiently, as the resin can harden rapidly. Smooth out the applied resin using the paintbrush to create an even and seamless surface.
Once the epoxy resin is applied, move on to the next step: smoothing and blending the repaired area.
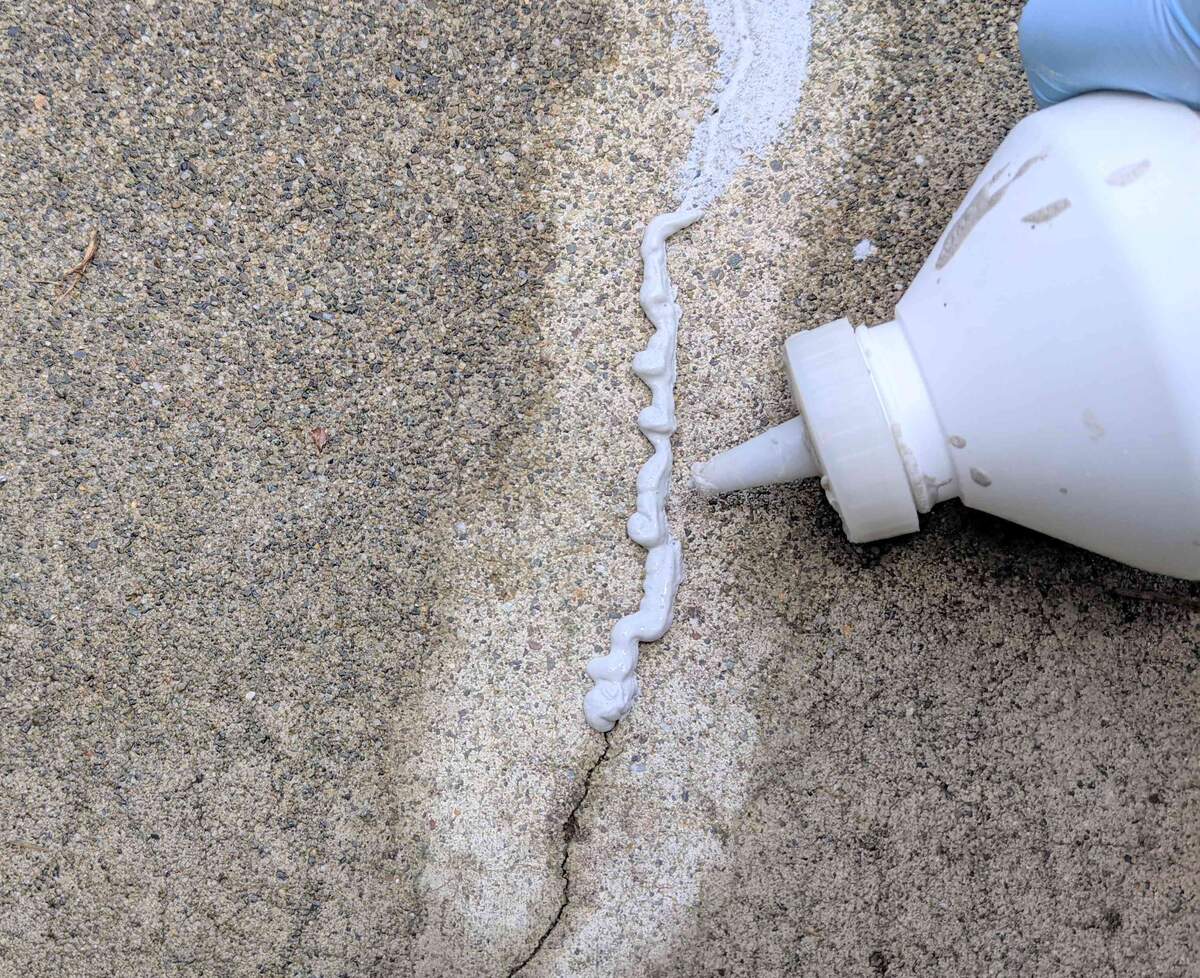
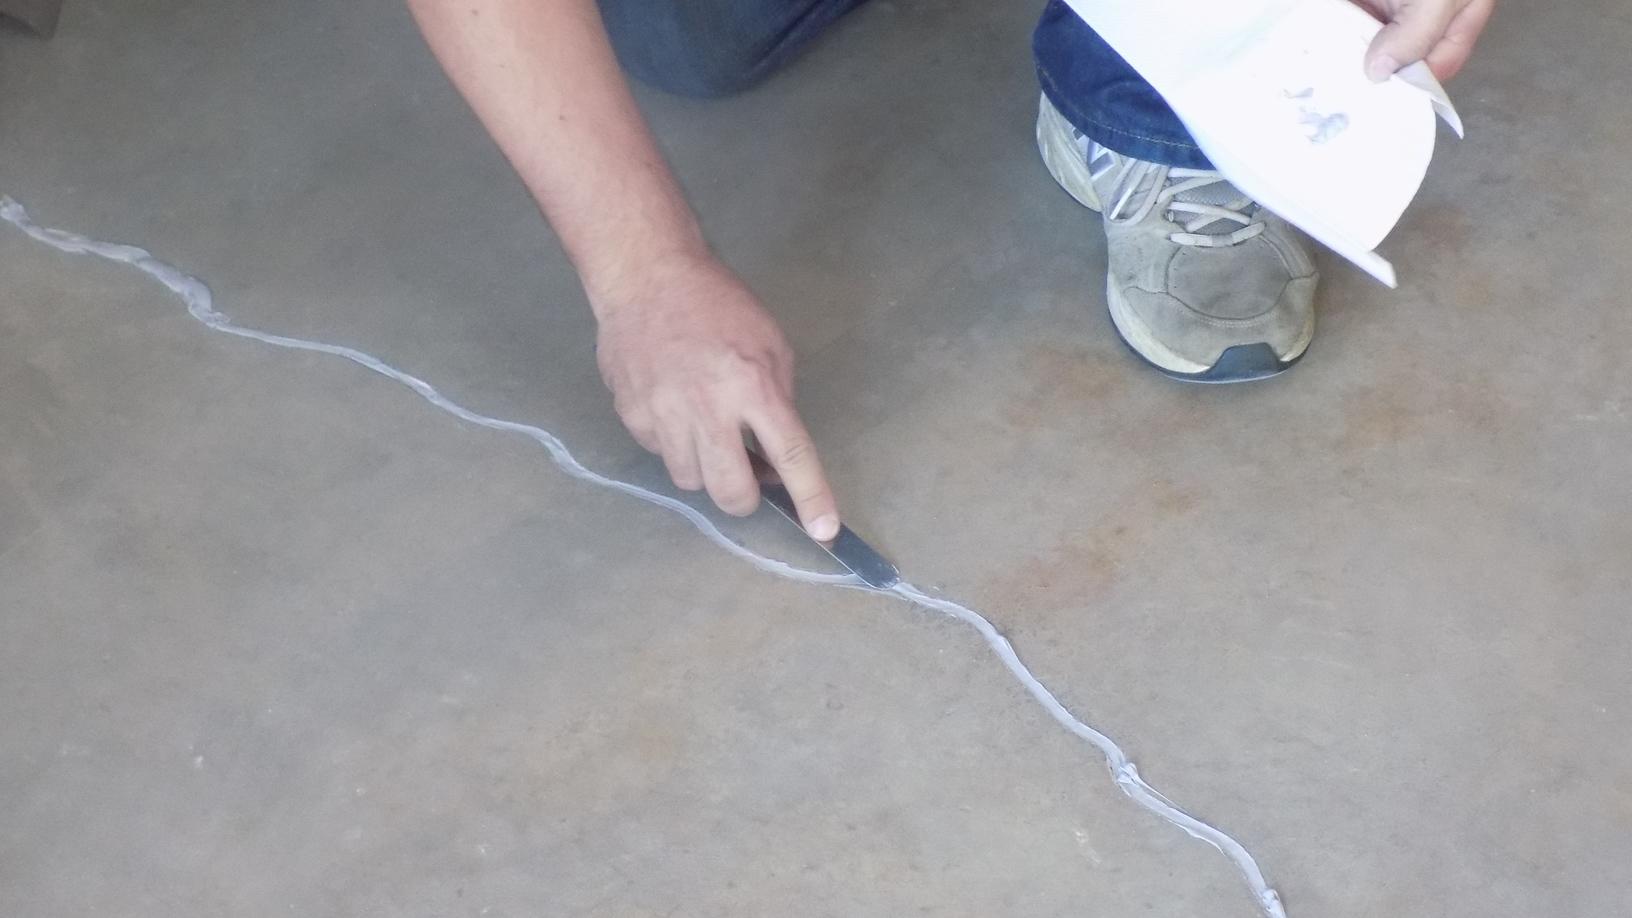
Use epoxy putty to fill in the cracks in the sink. Clean and dry the area first, then apply the putty and smooth it out. Let it dry completely before using the sink.
Read more: How To Fix Cracked Siding
Step 4: Smooth and Blend
After applying the epoxy resin to the cracked area of your sink, it’s important to smooth and blend the repaired surface to achieve a seamless finish. This step will help ensure that the repaired area matches the rest of the sink’s texture and appearance. Here’s how you can smooth and blend the epoxy resin:
- Wait for the epoxy resin to partially cure: Refer to the manufacturer’s instructions for the recommended curing time. You want the resin to be partially cured, firm but not fully hardened, before moving on to this step.
- Use fine-grit sandpaper: Gently sand the repaired area using fine-grit sandpaper. Start with a light touch and gradually increase the pressure as needed. This will help smooth any unevenness or excess epoxy resin.
- Blend the repaired area: Blend the repaired area with the rest of the sink’s surface by sanding around the edges of the crack. This will create a seamless transition and make the repair less noticeable.
- Wipe away debris: Use a clean cloth or rag to wipe away any sanding debris or dust. This will give you a clear view of the repaired area and allow you to assess whether any further adjustments are needed.
Take your time during this step to ensure that the repaired area is as smooth and blended as possible. It’s better to be cautious and make gradual adjustments rather than rushing and potentially damaging the repair.
Once you are satisfied with the smoothness and blending of the repaired area, it’s time to move on to the next step: letting the resin cure.
Step 5: Let the Resin Cure
After smoothing and blending the repaired area, it’s important to allow the epoxy resin to fully cure. Curing time will vary depending on the specific product you are using, so be sure to follow the manufacturer’s instructions. Here’s how you can let the resin cure:
- Check the curing time: Refer to the epoxy resin product instructions to determine the recommended curing time. It typically takes several hours to a full day for the resin to fully cure.
- Avoid using the sink: During the curing process, it’s important to avoid using the sink or placing any heavy objects on the repaired area. This will prevent any stress or pressure that could disrupt the curing process.
- Keep the area well-ventilated: Make sure the room is well-ventilated to allow proper airflow. This will assist in the curing process and help eliminate any lingering odors from the epoxy resin.
- Monitor the repair: Periodically check the repaired area to ensure that the epoxy resin is curing properly. Look for any signs of cracking or shifting and address them promptly if necessary.
It’s crucial to exercise patience during the curing process. Rushing or using the sink before the resin is fully cured can compromise the integrity of the repair. Follow the recommended curing time to ensure a strong and durable fix.
Once the epoxy resin has completely cured, you can proceed to the final step: adding the finishing touches and cleaning up.
Step 6: Final Touches and Cleaning
With the epoxy resin fully cured and the crack in your sink repaired, it’s time to add the final touches and give your sink a thorough cleaning. This will help ensure that the repaired area seamlessly blends with the rest of the sink and that everything is in pristine condition. Here’s what you should do:
- Inspect the repair: Carefully examine the repaired area to ensure that it looks smooth, seamless, and matches the rest of the sink. If you notice any imperfections, you can lightly sand them and apply a thin layer of epoxy resin for final touch-ups.
- Clean the sink: Give your entire sink a thorough cleaning using a mild detergent or a non-abrasive cleaner. Scrub gently with a sponge or soft cloth to remove any dirt, grime, or residue that may have accumulated during the repair process.
- Polish the sink: If desired, you can use a sink polish or a non-abrasive cleaner specifically made for your sink material to restore its shine and luster.
- Apply a sealant (optional): To further protect your repaired sink, you can apply a sealant designed for the specific material of your sink. Follow the manufacturer’s instructions for proper application and drying time.
By thoroughly cleaning and inspecting the repaired sink, you can ensure that the repair is not only functional but also visually appealing. Taking these final steps will help you achieve a seamless repair that looks as good as new.
Congratulations! You have successfully fixed your cracked sink and restored its functionality and visual appeal. With the right tools, materials, and steps, you can tackle minor sink repairs and save time and money by avoiding a complete replacement.
Remember, safety should always be a priority when working on home improvement projects. If you encounter a major crack or are unsure about the repair process, it’s best to consult a professional to ensure the job is done correctly.
Thank you for following this guide, and we hope your repaired sink serves you well for years to come!
Conclusion
Fixing a cracked sink can seem like a daunting task, but with the right tools, materials, and guidance, it is possible to restore your sink to its former glory. By following the step-by-step process outlined in this article, you can successfully repair minor cracks in sinks made of materials such as porcelain, ceramic, or acrylic. Not only will this save you time and money, but it will also give you the satisfaction of completing a home improvement project on your own.
Remember to assess the damage, prepare the sink, apply epoxy resin, smooth and blend the repaired area, let the resin cure, and add the final touches and cleaning. Each step plays a critical role in the overall success of the repair. Take your time, be thorough, and exercise caution throughout the process to achieve the best results.
It’s important to note that safety should always be a top priority when undertaking any DIY project. Wear appropriate protective gear, such as gloves and goggles, to safeguard yourself from any potential hazards. If you have any concerns about the repair process or encounter a major crack, it is best to consult a professional for assistance and guidance.
We hope this article has provided you with the necessary knowledge and confidence to tackle a cracked sink repair. Remember, with patience and the right approach, you can restore the functionality and aesthetics of your sink. So roll up your sleeves, gather your tools, and give your cracked sink a new lease on life!
Frequently Asked Questions about How To Fix Cracked Sink
Was this page helpful?
At Storables.com, we guarantee accurate and reliable information. Our content, validated by Expert Board Contributors, is crafted following stringent Editorial Policies. We're committed to providing you with well-researched, expert-backed insights for all your informational needs.





0 thoughts on “How To Fix Cracked Sink”