Articles
How To Decorate A Living Room Archway
Modified: August 16, 2024
Discover our expert articles on how to beautifully decorate a living room archway and transform your space. Follow our tips for a stunning and functional design.
(Many of the links in this article redirect to a specific reviewed product. Your purchase of these products through affiliate links helps to generate commission for Storables.com, at no extra cost. Learn more)
Introduction
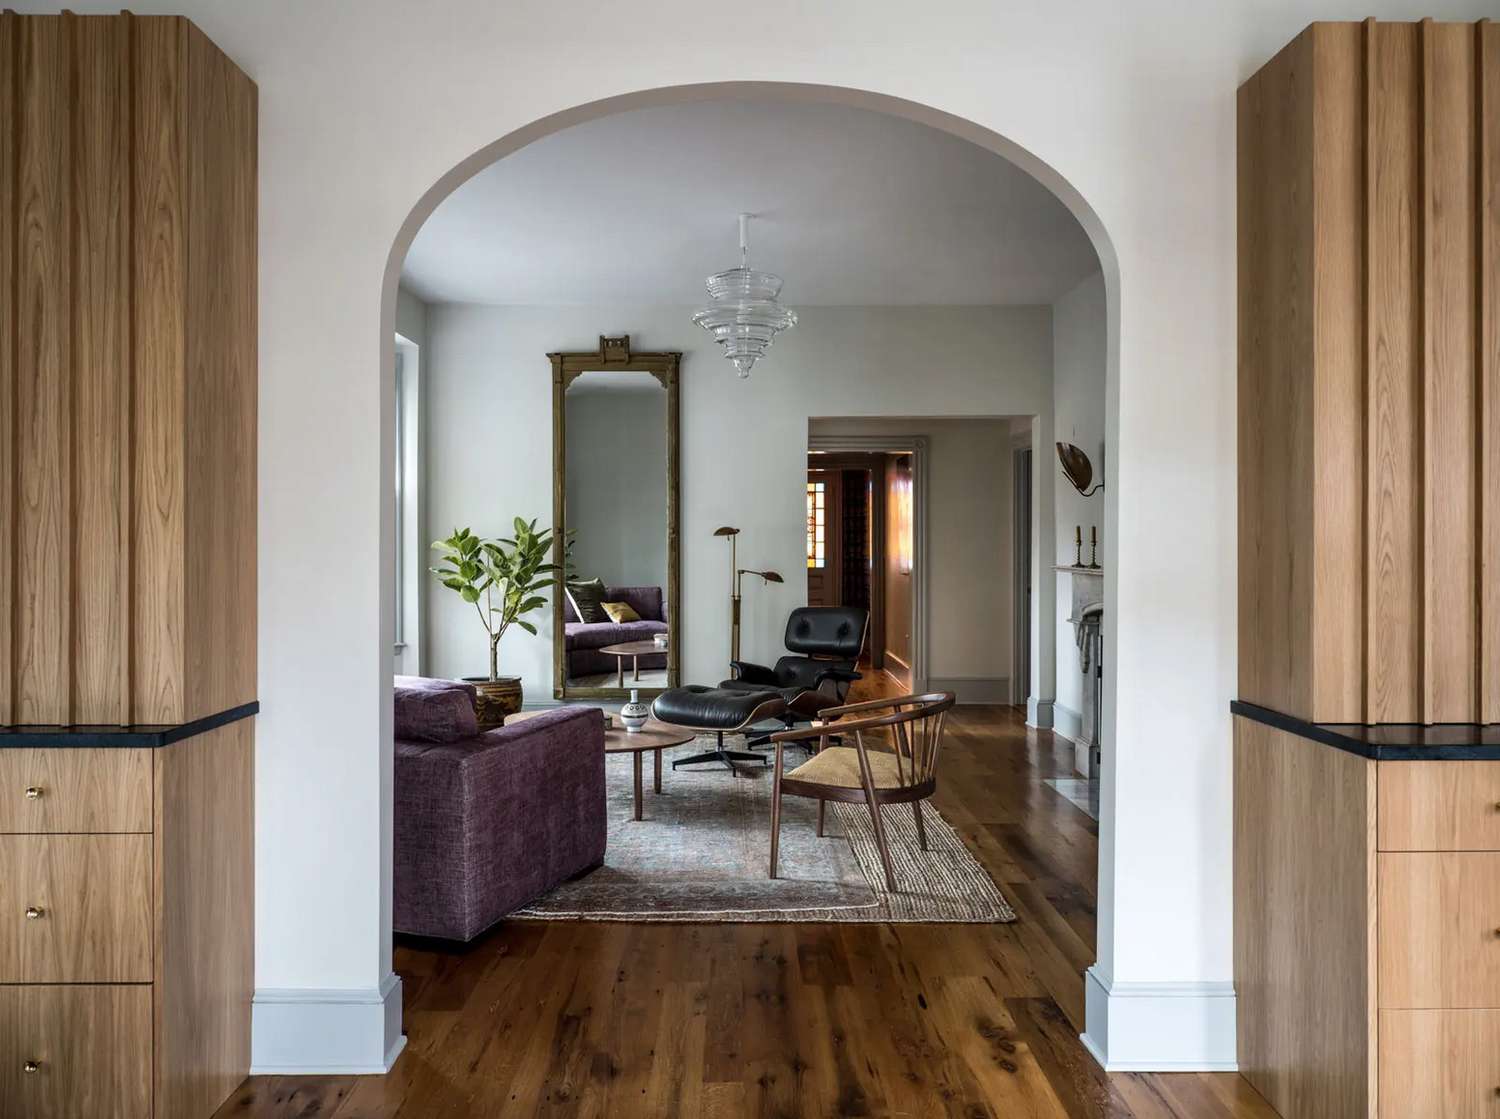
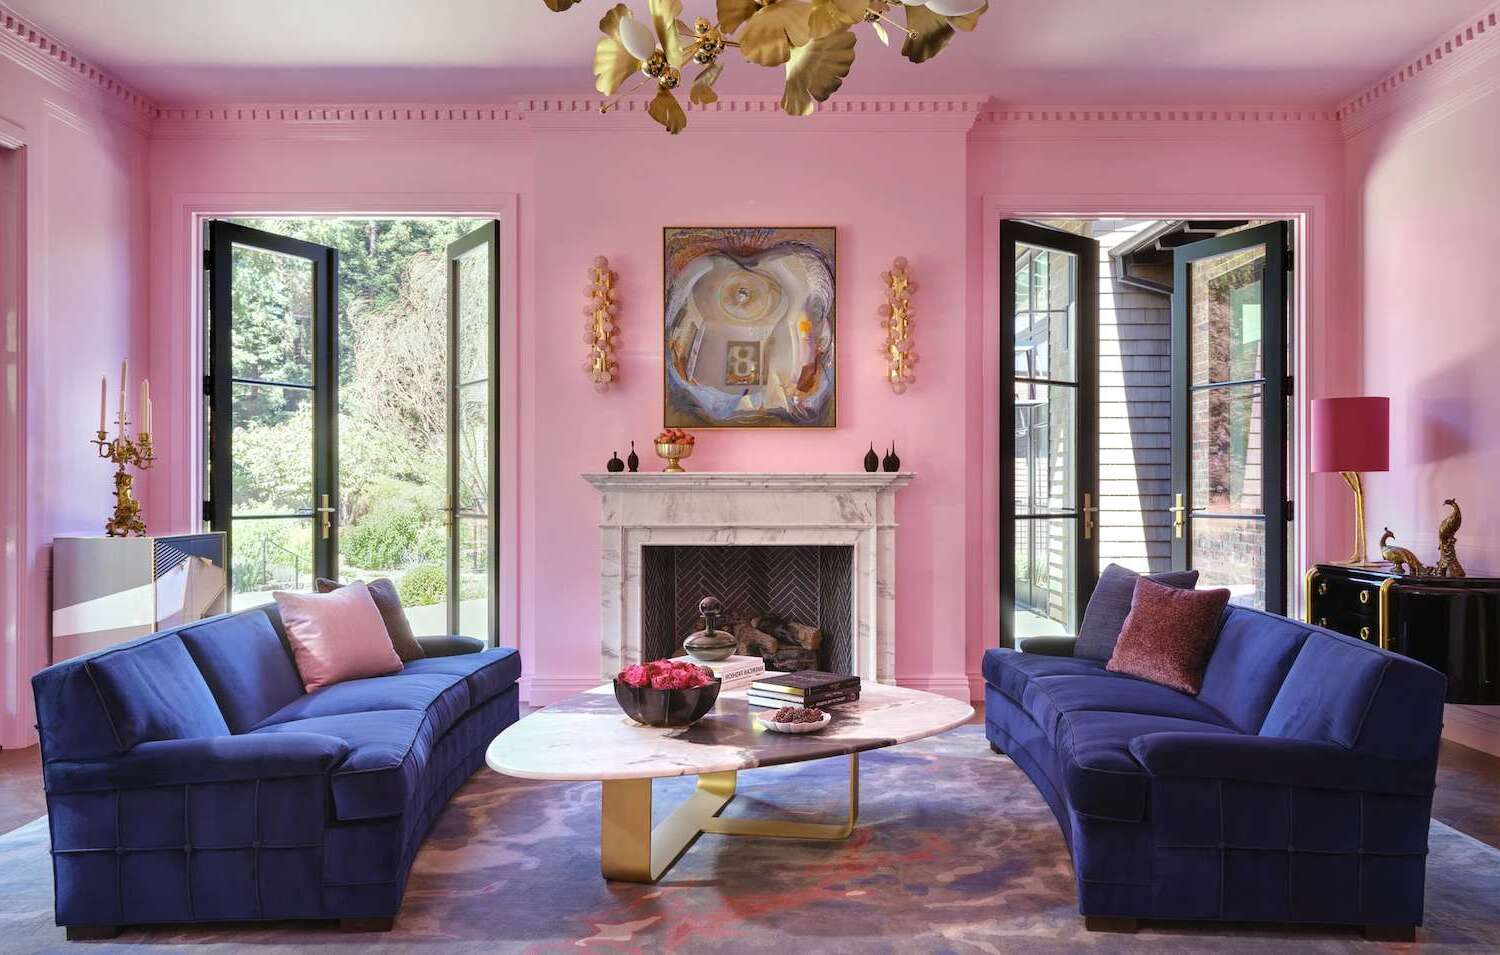
Welcome to our guide on how to decorate a living room archway. Archways are architectural features that can add elegance and character to any living space. Decorating an archway can help to define the space, create visual interest, and enhance the overall aesthetic appeal of the room.
Whether you have a traditional arched doorway or a modern archway design, there are various ways to decorate it to suit your personal style and enhance the ambiance of your living room. In this article, we will walk you through a step-by-step process on how to decorate a living room archway, from measuring and planning to choosing materials and adding finishing touches.
Before diving into the decorating process, it’s important to consider the overall style and design of your living room. This will help guide your decisions when it comes to selecting materials, colors, and decorative elements for your archway. Whether you have a contemporary, minimalist, or traditional living room, there are plenty of options to suit your taste.
So, let’s get started with the first step of decorating your living room archway – measuring and planning.
Key Takeaways:
- Elevate your living room with a stunning archway by measuring, planning, choosing materials, and adding finishing touches. Create a focal point that reflects your personal style and enhances the overall ambiance of the room.
- Transform your living room archway into a captivating feature by painting, adding decorative molding, installing lighting fixtures, hanging curtains, and arranging furniture. Strike a balance between functionality and aesthetics for a welcoming and visually pleasing space.
Read more: How To Divide A Living Room And Dining Room
Step 1: Measure and plan
The first step in decorating a living room archway is to accurately measure the dimensions of the archway. This will ensure that any materials or decorative elements you choose will fit properly and create a cohesive look. Here’s how to measure and plan for your archway:
- Measure the height and width: Use a measuring tape to measure the height and width of the archway at its widest point. Take measurements from the floor to the highest point of the arch and from one side of the arch to the other.
- Consider the shape: Archways can come in different shapes, such as semi-circular, elliptical, or even irregular. Take note of the specific shape of your archway to ensure that any decorations or molding you choose will complement its design.
- Assess the surrounding space: Take a look at the surrounding walls and ceilings near the archway. Consider the color scheme, textures, and existing decor in the room to ensure that your archway decoration will harmonize with the overall design.
- Take inspiration: Browse through home decor magazines, websites, or social media platforms to gather inspiration for your archway decoration. Save images or create a mood board to visualize how you want your living room archway to look.
Once you have measured and gathered inspiration, it’s time to move on to the next step – choosing the materials and tools for decorating your archway.
Step 2: Choose materials and tools
When it comes to decorating a living room archway, the materials and tools you choose will play a crucial role in achieving the desired look and feel. Here are some key considerations for selecting the right materials and tools:
- Architectural elements: Consider incorporating architectural elements such as decorative molding, trim, or corbels to enhance the visual appeal of the archway. These elements come in a variety of styles and materials, including wood, PVC, or plaster.
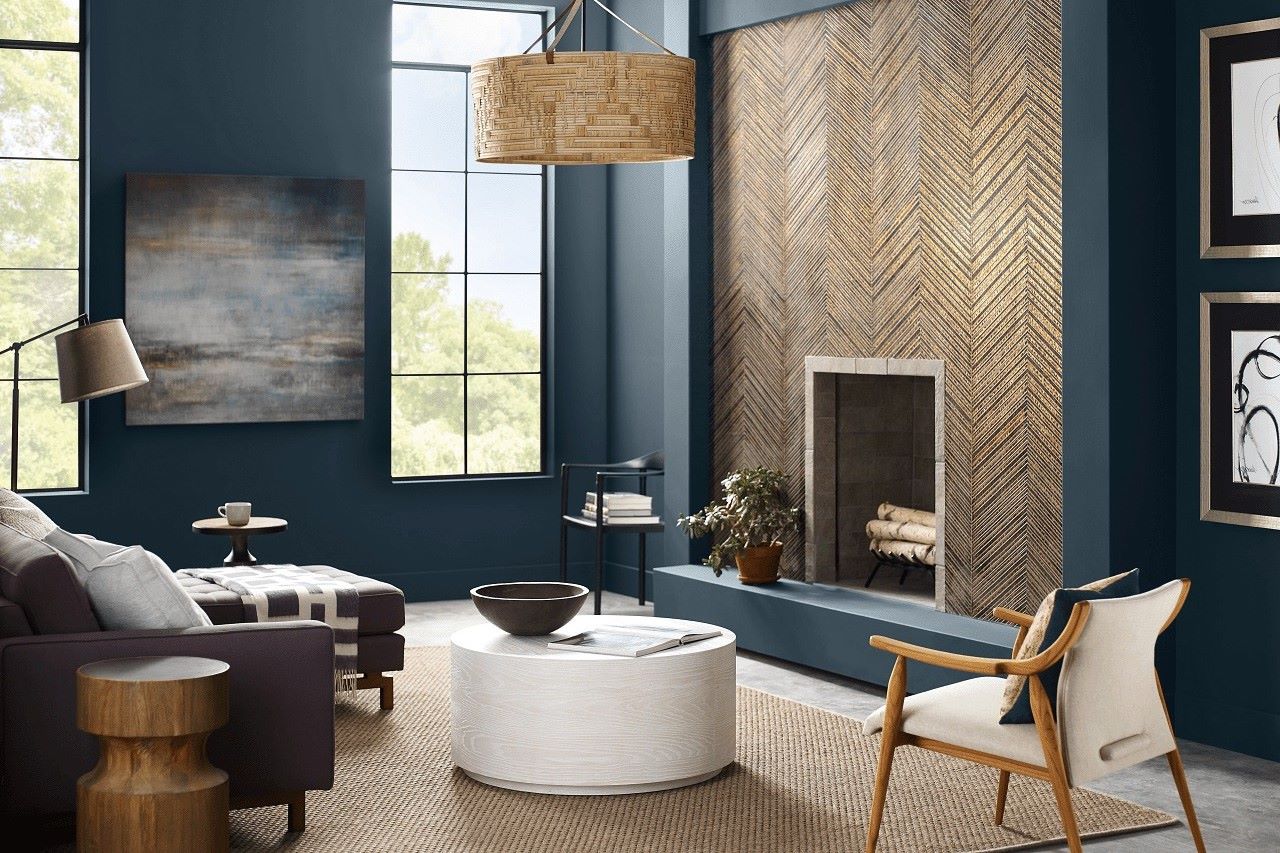
- Paint or wallpaper: Decide whether you want to paint or wallpaper the archway. For a classic and timeless look, a neutral paint color can do wonders. If you prefer a bolder statement, consider using wallpaper with patterns or textures that complement the overall decor of the room.
- Lighting fixtures: Adding lighting fixtures to the archway can create a beautiful focal point and add warmth to the space. Choose fixtures that match the style of your living room and consider the type of lighting you want, such as sconces or pendant lights.
- Curtains or drapes: To add softness and privacy to the archway, consider hanging curtains or drapes. Choose fabrics that coordinate with the color scheme and style of the room, whether you prefer sheer and airy materials or heavier, more opulent fabrics.
- Furniture and accessories: Be mindful of the furniture and accessories surrounding the archway. Consider how the colors, textures, and styles of these elements will work together with the archway decoration. You may even choose to add additional elements such as artwork or mirrors to enhance the overall aesthetic.
- Tools: Depending on the specific materials you choose, you may need tools such as a measuring tape, level, saw, paintbrushes, or wallpaper tools. Make sure to have the necessary tools on hand to ensure a smooth and successful installation.
Once you have chosen the materials and tools, you are ready to move on to the next step – preparing the archway for decoration.
Step 3: Prepare the archway
Before you can begin decorating the living room archway, it’s important to prepare the surface and ensure it is clean and ready for the application of materials. Follow these steps to properly prepare the archway:
- Clean the surface: Use a damp cloth or sponge to wipe down the archway, removing any dust or debris. This will ensure that the materials adhere properly and create a smooth finish.
- Fill any cracks or imperfections: Inspect the archway for any cracks or imperfections. Use a spackling compound or wood filler to fill in any gaps, and then sand the surface to make it smooth and even.
- Remove any existing decorations: If there are any existing decorations on the archway, such as outdated molding or outdated wallpaper, carefully remove them using appropriate tools. This will provide a clean and blank canvas for your new decoration.
- Prime the surface: Depending on your choice of materials, it may be necessary to prime the surface of the archway before applying paint or wallpaper. Priming helps to create a uniform surface and ensures better adhesion of the final decorative layer.
- Protect surrounding areas: Use painter’s tape or plastic drop cloths to protect the surrounding walls, floors, and furniture from accidental spills or drips during the decorating process.
By taking the time to properly prepare the archway, you will ensure a professional and long-lasting result. Once the archway is prepared, you can move on to the exciting part – painting or wallpapering the archway.
Step 4: Paint or wallpaper the archway
Painting or wallpapering the archway is a transformative step in decorating your living room. It’s where you can add color, texture, and personality to the space. Follow these steps to paint or wallpaper your archway:
- Prepare the paint or wallpaper: If you’re painting, choose a high-quality paint that suits your desired color and finish. Stir the paint thoroughly to ensure it is well mixed. If you’re wallpapering, measure and cut the wallpaper according to the dimensions of the archway, leaving a little extra for adjustments.
- Start at the top: Whether you’re painting or wallpapering, start at the top of the archway. Use a ladder or step stool to reach the higher areas. Begin applying the paint or wallpaper from the highest point and work your way down.
- Use even strokes: If you’re painting, use even and smooth strokes with a paintbrush or roller to apply the paint. Ensure that the paint is spread evenly and without drips. If you’re wallpapering, use a wallpaper brush or roller to carefully apply the wallpaper to the surface, smoothing out any air bubbles as you go.
- Allow for drying time: Different paints and wallpapers will have specific drying times, so be sure to follow the manufacturer’s instructions. Allow the first coat to dry completely before applying a second coat, if needed.
- Touch up and clean up: Once the paint or wallpaper has dried, inspect the archway for any touch-ups or imperfections. Use a clean brush or sponge to touch up any areas that need it. Clean up any paint spills or remove excess wallpaper adhesive, ensuring a polished and finished look.
Painting or wallpapering your living room archway will instantly elevate the space and give it a fresh, new look. Once the archway is painted or wallpapered, you can move on to the next step – adding decorative molding or trim.
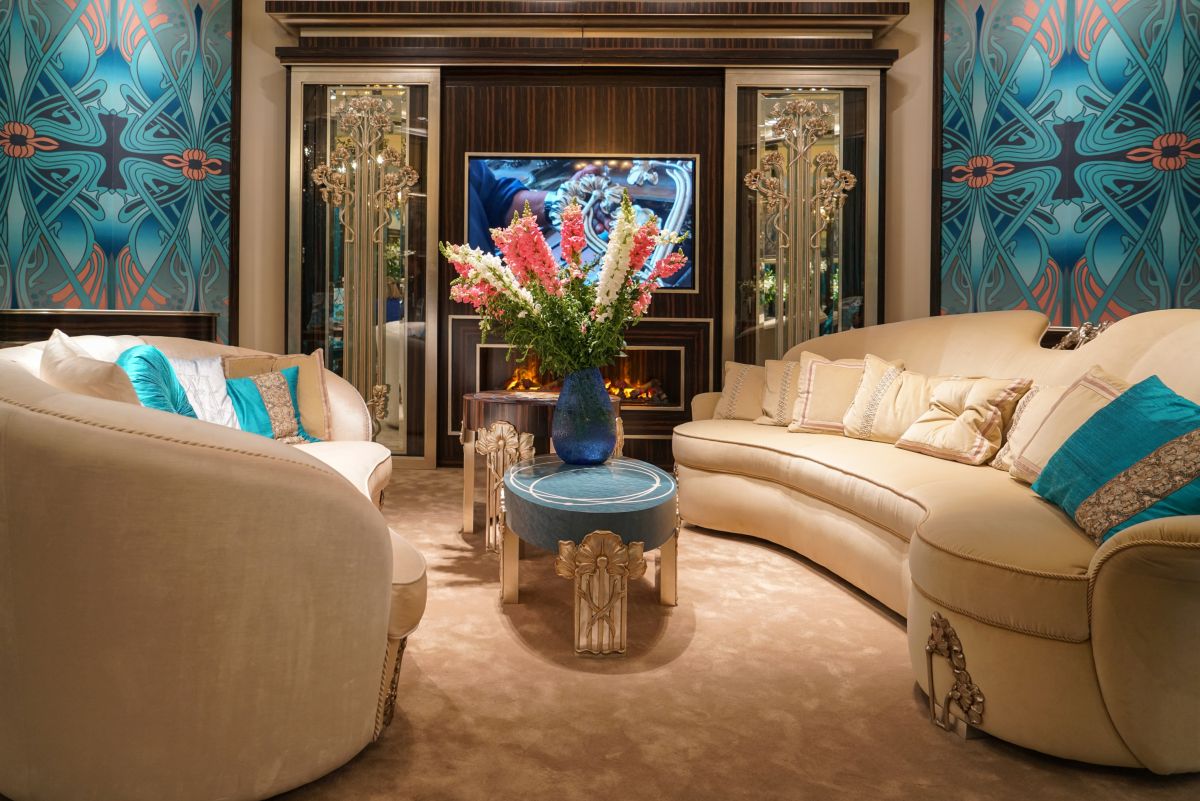
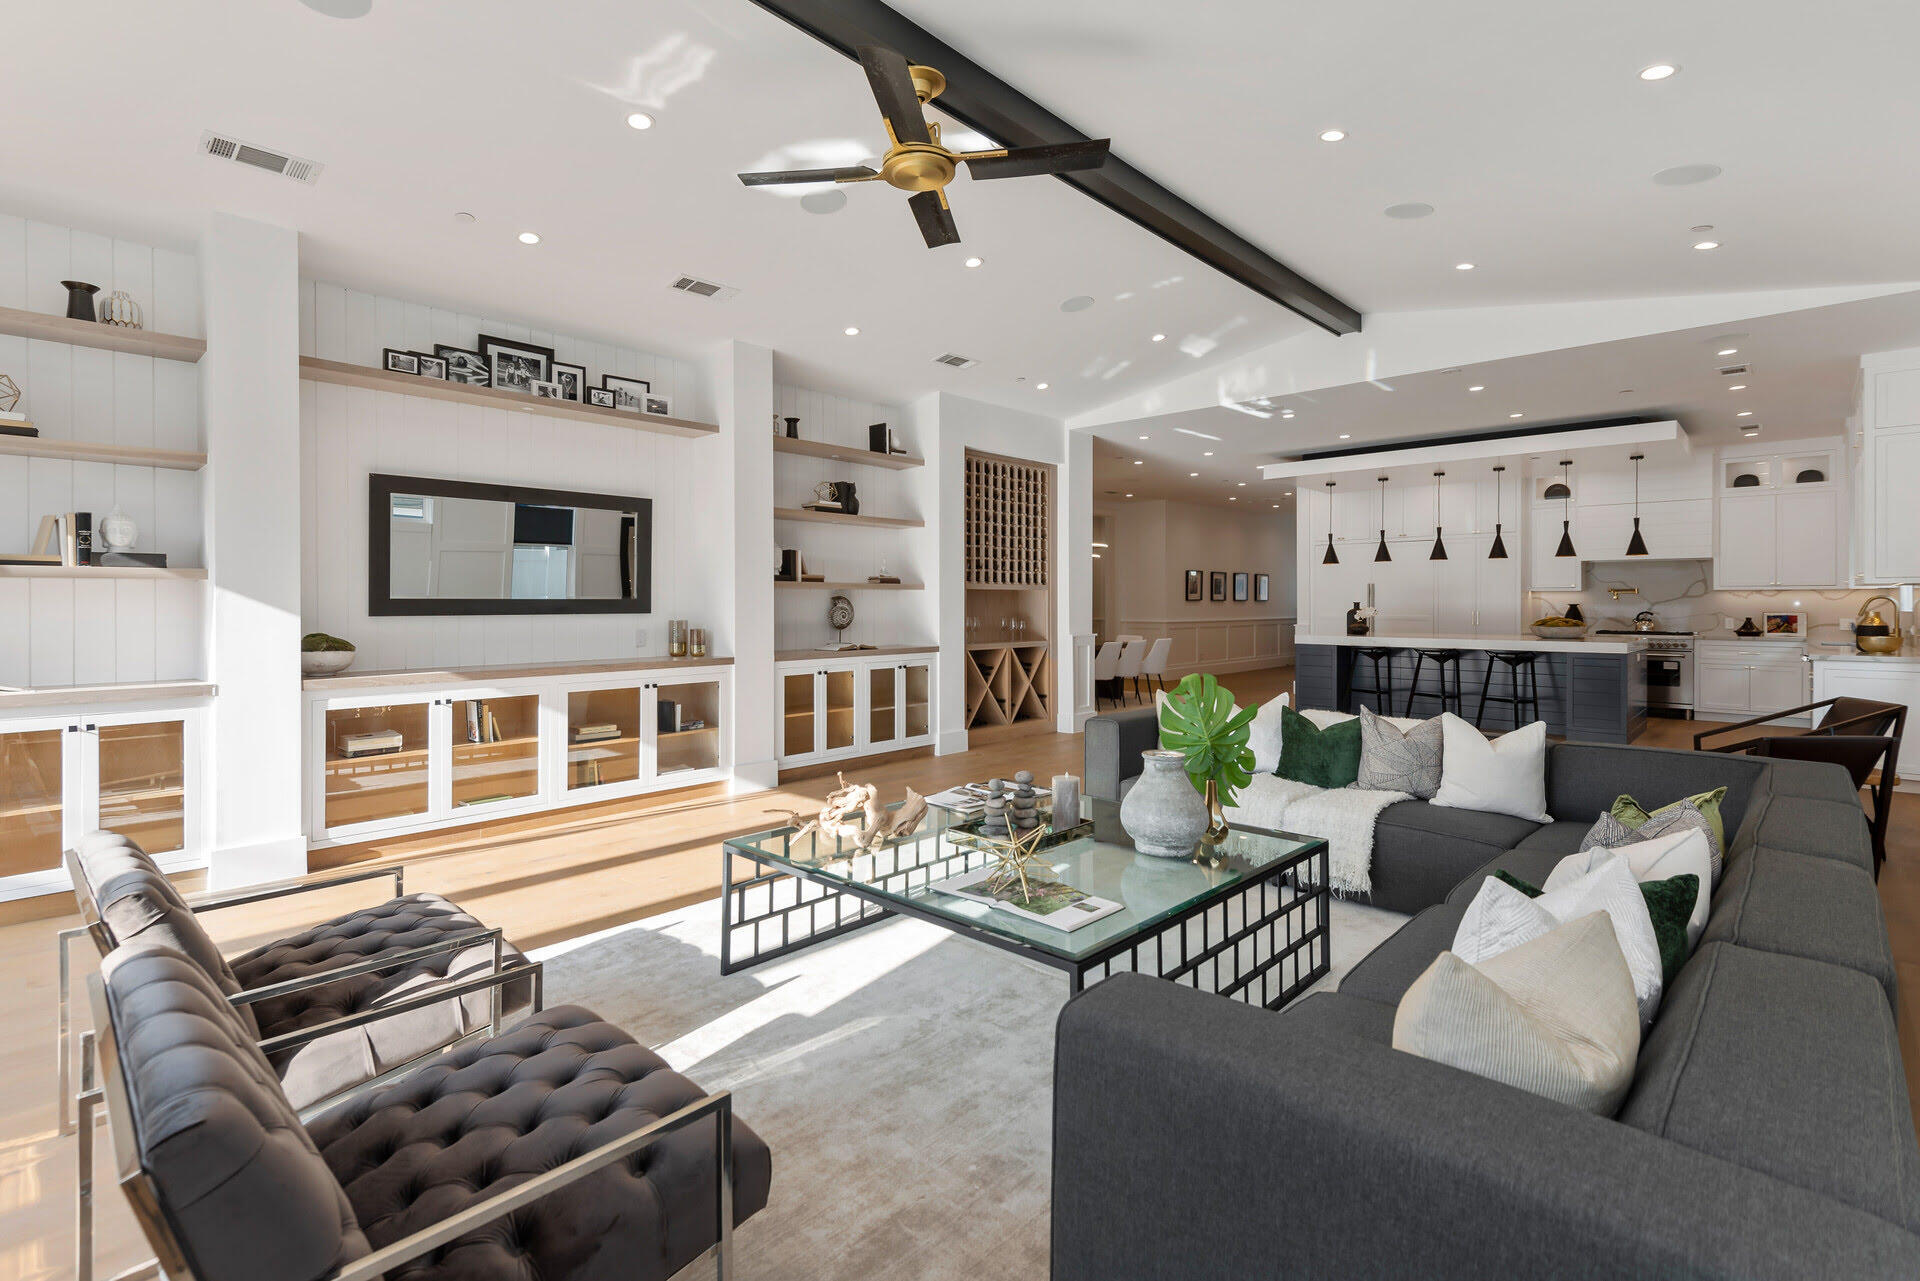
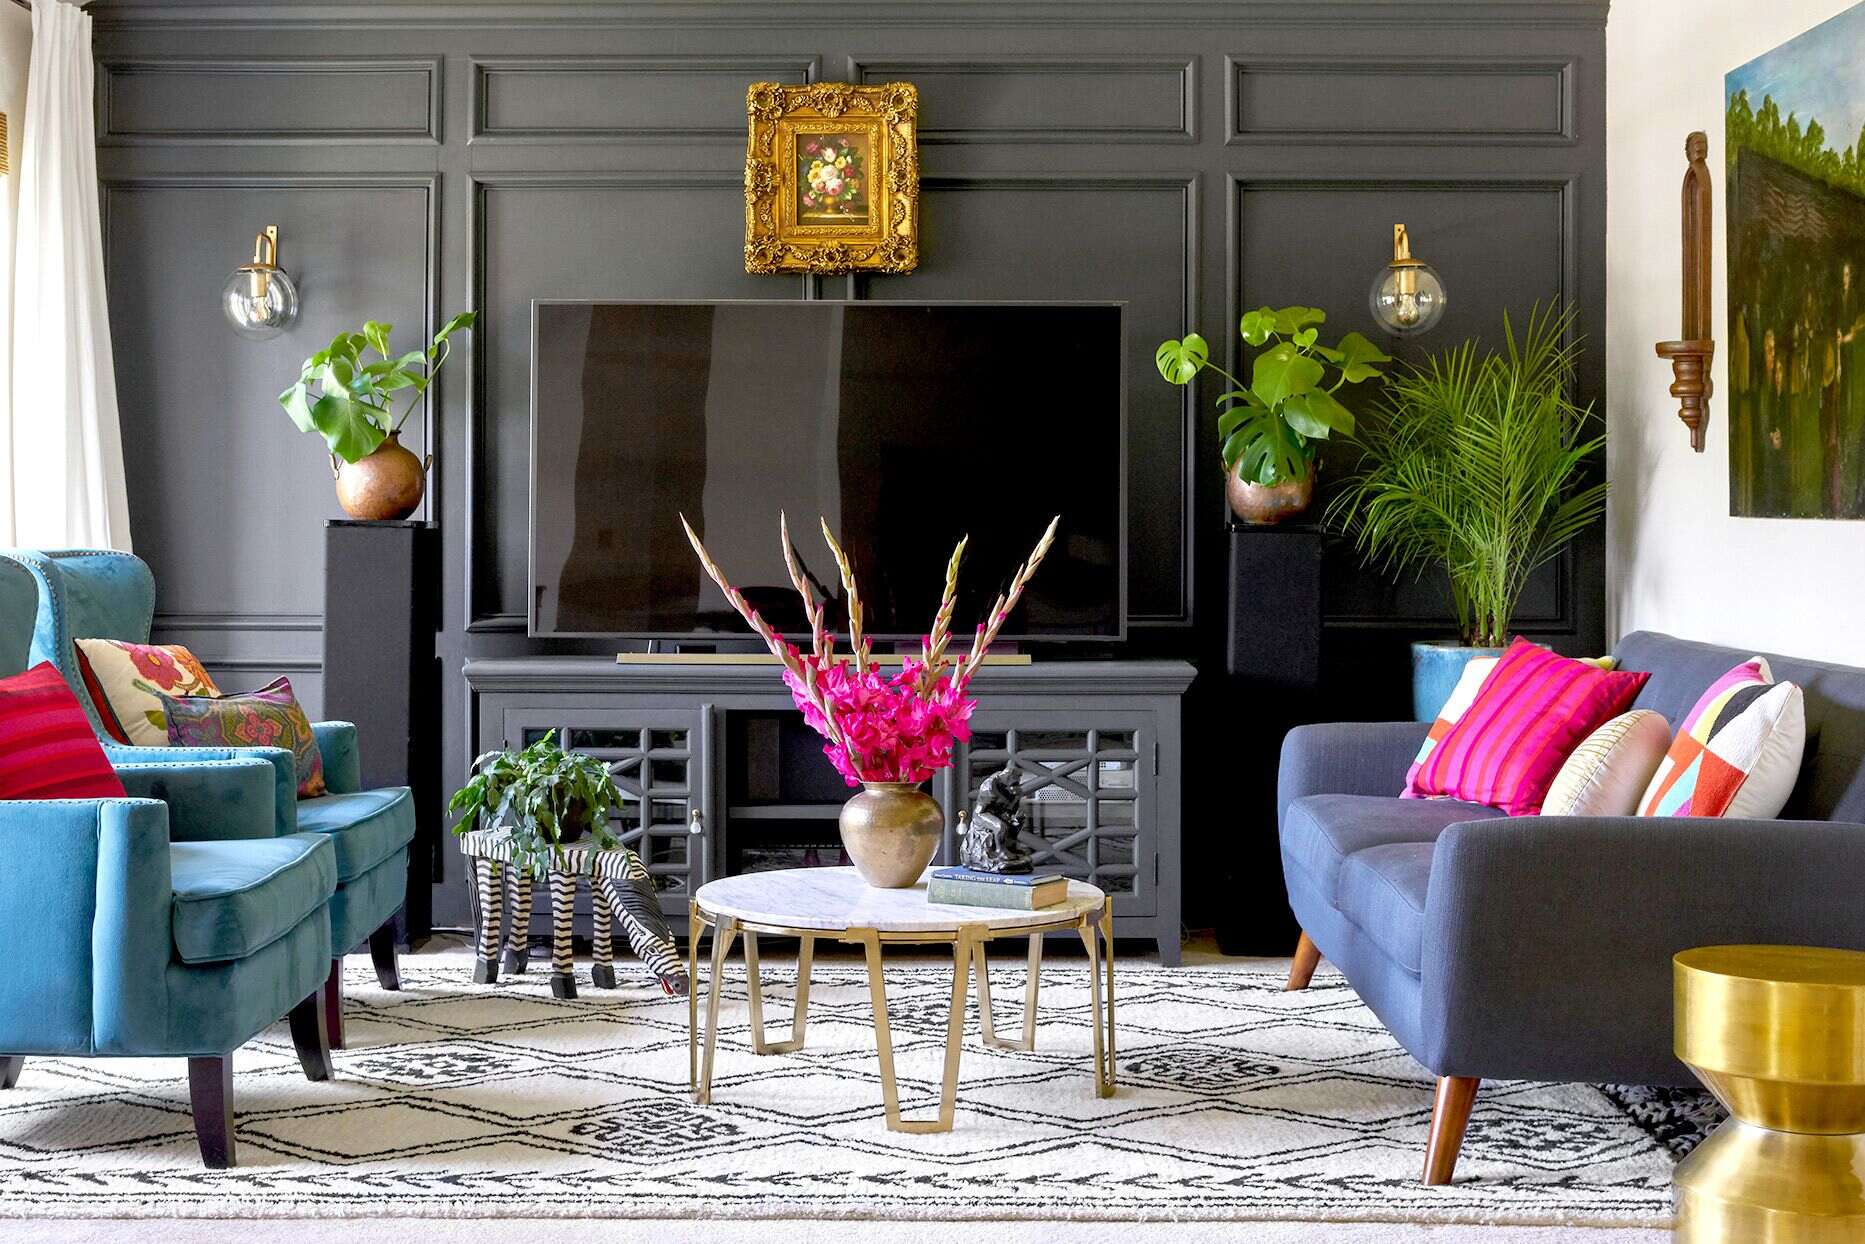
When decorating a living room archway, consider using a combination of mirrors, artwork, or decorative molding to enhance the architectural feature and create a focal point in the room.
Read more: What Pictures To Hang In Living Room
Step 5: Add decorative molding or trim
Adding decorative molding or trim to your living room archway can enhance its architectural beauty and make it a focal point of the room. Follow these steps to add decorative molding or trim:
- Select the molding or trim: Choose a style of molding or trim that complements the overall design of your living room. Consider the size, shape, and material of the molding or trim. Common options include crown molding, baseboards, or panel molding.
- Measure and cut the molding: Measure the length and width of your archway, and use those measurements to cut the molding to the appropriate size. Use a miter saw or a coping saw to make precise cuts, ensuring that they match the archway’s dimensions.
- Apply adhesive or nails: Depending on the type of molding or trim you’re using, you may need to apply adhesive or use finishing nails to secure it to the archway. Follow the manufacturer’s instructions for the best adhesion.
- Smooth and sand the joints: If you’re using multiple pieces of molding or trim to cover the archway, smooth out the joints between them using wood filler or caulk. Sand the joints once they’re dry to create a seamless and polished look.
- Paint or stain the molding: Once the molding or trim is securely in place, you can choose to paint or stain it to match the rest of the archway or the overall color scheme of the room. Apply several coats of paint or stain, allowing each coat to dry before applying the next.
- Inspect and touch up: After the paint or stain has dried, inspect the molding or trim for any imperfections or areas that need to be touched up. Use a small brush or sponge to touch up any spots and create a flawless finish.
Adding decorative molding or trim to your living room archway will give it an elegant and finished look. It adds depth and visual interest to the archway, making it a standout feature of the room. Once the molding or trim is in place, you can move on to the next step – installing lighting fixtures.
Step 6: Install lighting fixtures
Installing lighting fixtures in your living room archway can create a stunning visual effect and add a touch of luxury to the space. Follow these steps to install lighting fixtures:
- Select the lighting fixtures: Choose lighting fixtures that suit the style and size of your living room archway. Options include wall sconces, recessed lighting, pendant lights, or even LED strips. Consider the type of lighting you want to achieve, whether it’s ambient, task, or accent lighting.
- Plan the placement: Determine where you want to place the lighting fixtures on the archway. Consider the height and distance between each fixture to ensure proper illumination and a visually balanced result.
- Consult an electrician, if needed: If you’re not experienced with electrical work, it’s best to consult a professional electrician to ensure proper installation and safety. They can help with wiring, installation, and ensuring that the fixtures are correctly attached to the archway.
- Mount the fixtures: If you’re confident in your ability to install the fixtures, follow the manufacturer’s instructions and mount them to the archway. Make sure to turn off the power before working on any electrical connections and take necessary safety precautions.
- Connect the wiring: If you’re installing electrical lighting fixtures, connect the wiring according to the provided instructions or seek professional assistance. Ensure that all connections are secure and safe.
- Test the lighting: Once the fixtures are installed and the wiring is connected, turn on the power to test the lighting. Make any necessary adjustments to the position or angle of the fixtures to achieve the desired lighting effect.
By installing lighting fixtures in your living room archway, you can create a beautiful ambiance and highlight the architectural details. The lighting fixtures will enhance the overall aesthetic of the archway and make it a captivating feature in your living room. Once the lighting fixtures are in place, you can move on to the next step – hanging curtains or drapes.
Step 7: Hang curtains or drapes
Hanging curtains or drapes on your living room archway can add a touch of elegance and softness to the space. It can also provide privacy and help to control natural light. Follow these steps to hang curtains or drapes:
- Select the type of window treatment: Determine whether you want to hang curtains or drapes. Curtains are typically lighter and more casual, while drapes are heavier and offer a more formal look. Consider the style of your living room and choose the option that best suits your decor.
- Measure the length and width: Measure the length and width of the archway to determine the size of the curtains or drapes needed. Decide how far down you want the curtains to hang and take accurate measurements.
- Choose the fabric and style: Select a fabric that complements the overall color scheme and style of the room. Consider the desired level of opacity, texture, and pattern. Choose a curtain rod or track that matches the style and weight of the curtains or drapes.
- Install the curtain rod or track: If there is no existing curtain rod or track, install one above the archway according to the manufacturer’s instructions. Make sure it is secure and level.
- Hang the curtains or drapes: Attach the curtains or drapes to the curtain rod or track. Ensure that they are evenly spaced and hanging straight. Use curtain hooks, rings, or clips, depending on the style of the rod or track.
- Adjust and style: Once the curtains or drapes are hung, adjust them to the desired length and style. You can leave them hanging straight for a classic look or use tiebacks or holdbacks to create a more dramatic effect.
Hanging curtains or drapes on your living room archway will not only add beauty and texture to the space but also provide functionality and flexibility. It allows you to control light and privacy, enhancing the overall ambiance of the room. Once the curtains or drapes are in place, you can move on to the final step – arranging furniture and accessories.
Step 8: Arrange furniture and accessories
Arranging furniture and accessories around your living room archway is the final step in creating a cohesive and inviting space. Proper placement of furniture and thoughtful selection of accessories can enhance the overall flow and functionality of the room. Here are some steps to help you with this process:
- Evaluate the space: Take a moment to assess the available space around the archway. Consider the size, shape, and placement of the furniture pieces you have or plan to add. Take into account the architectural features of the archway and ensure that the furniture and accessories will complement them.
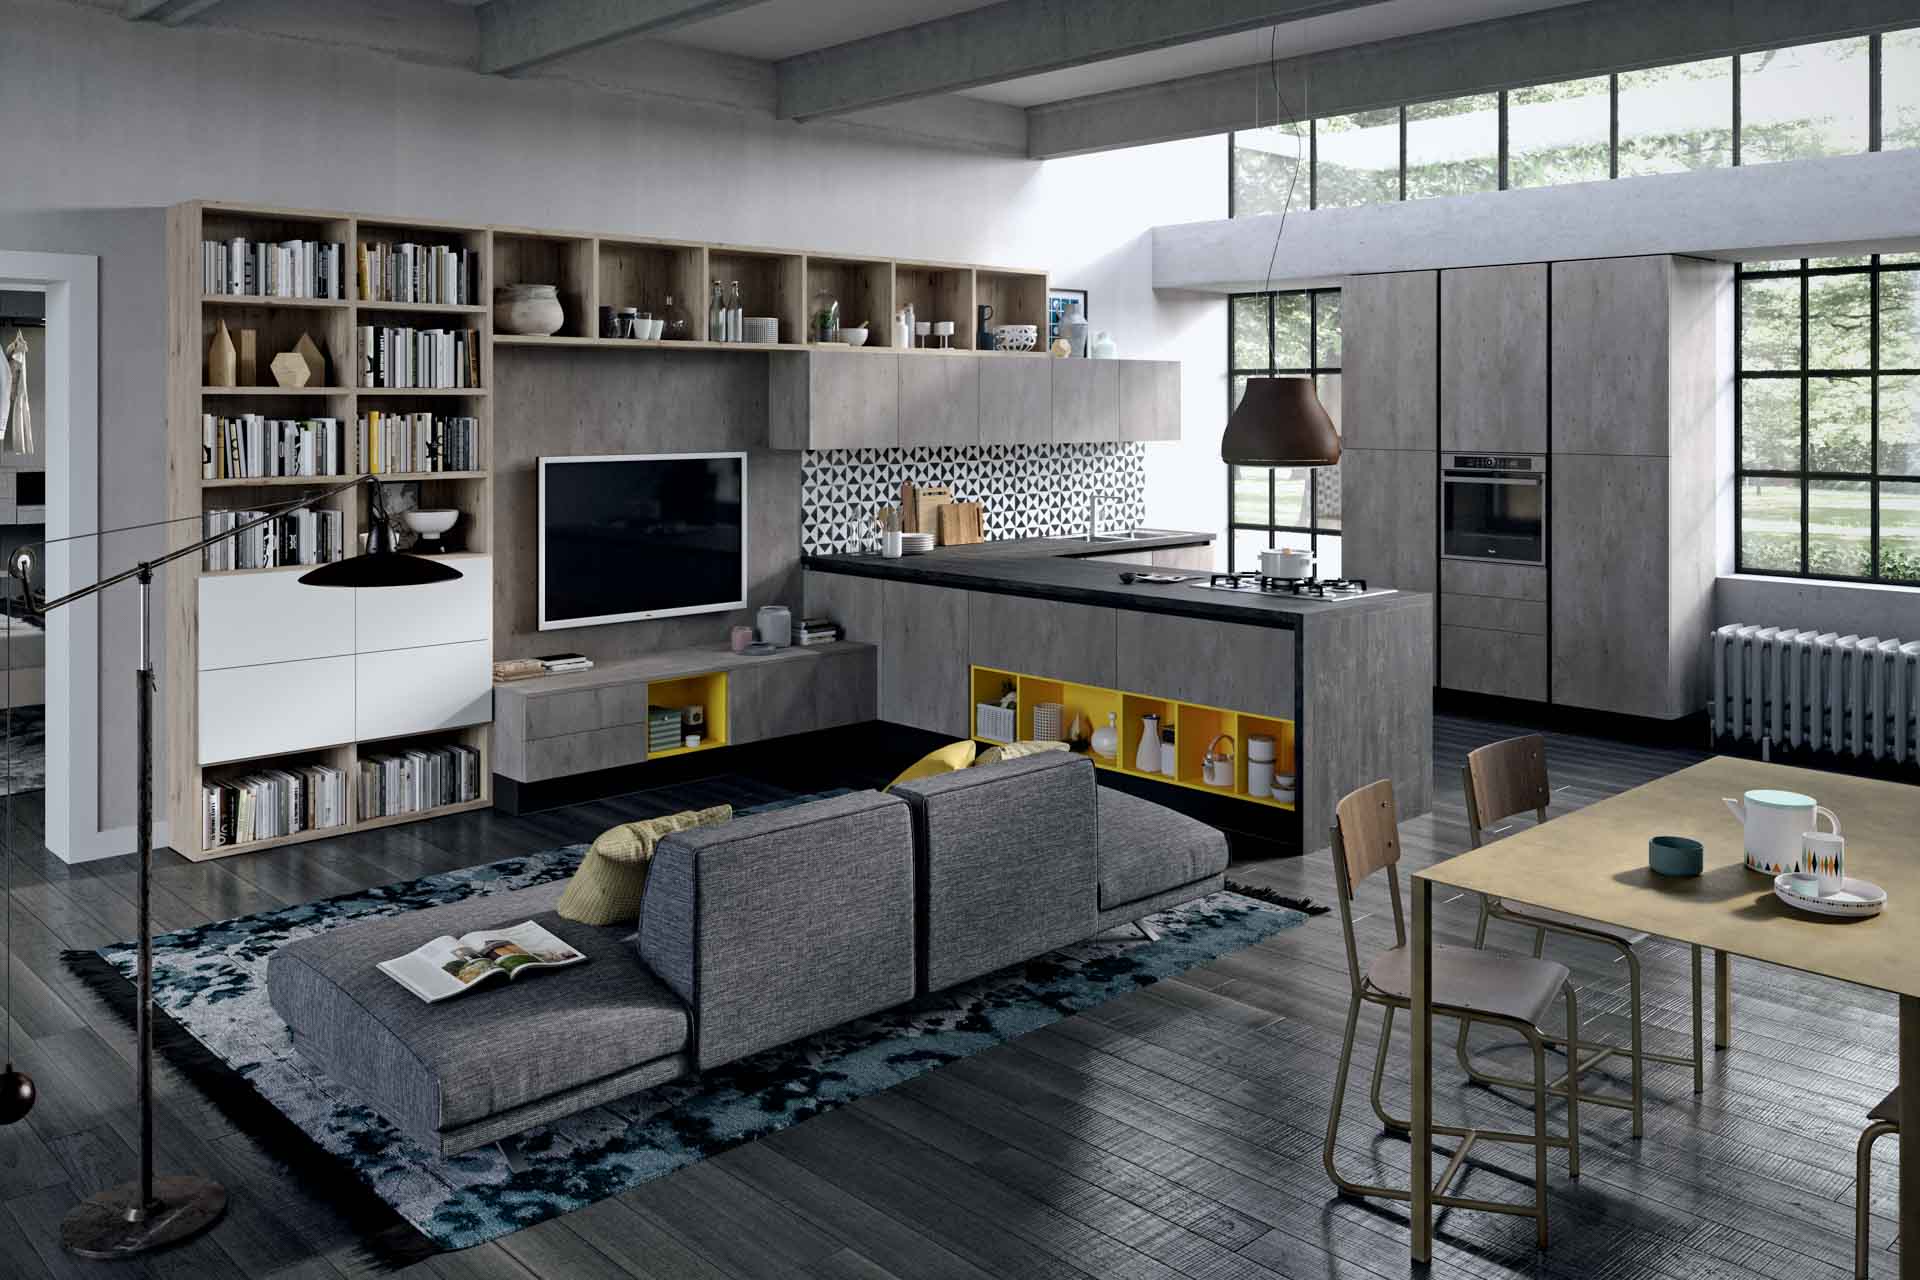
- Define areas: Use the archway as a visual divider to separate different areas within the living room. For example, you can position a sofa or sectional on one side of the archway to create a cozy seating area, while placing a console table or bookshelf on the other side for a functional display area.
- Create balance: Arrange the furniture and accessories in a way that creates a balanced and harmonious composition. Consider the scale and proportion of each piece relative to the archway. Aim for a visually pleasing arrangement that allows for easy movement within the space.
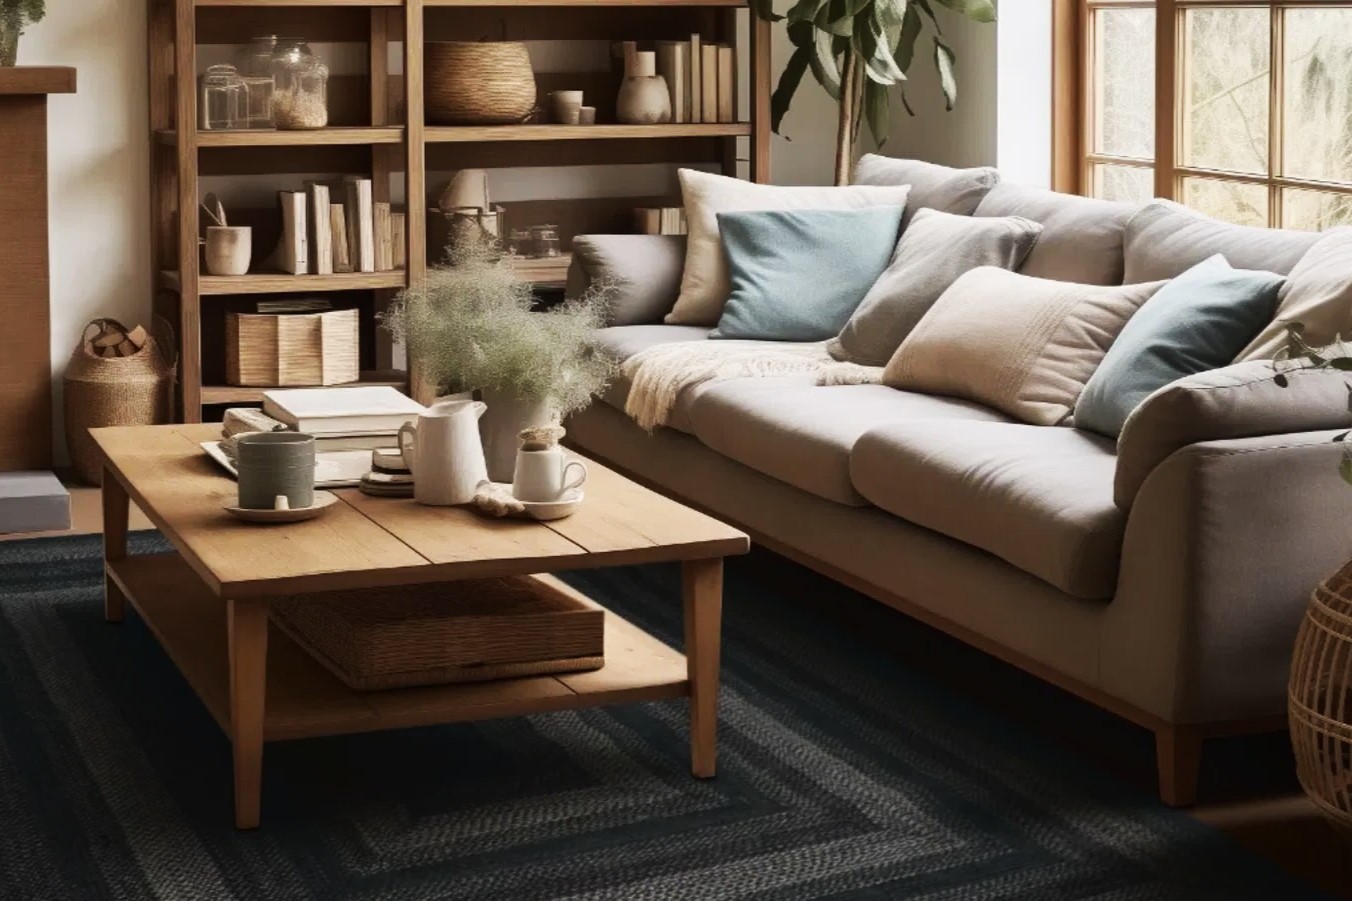
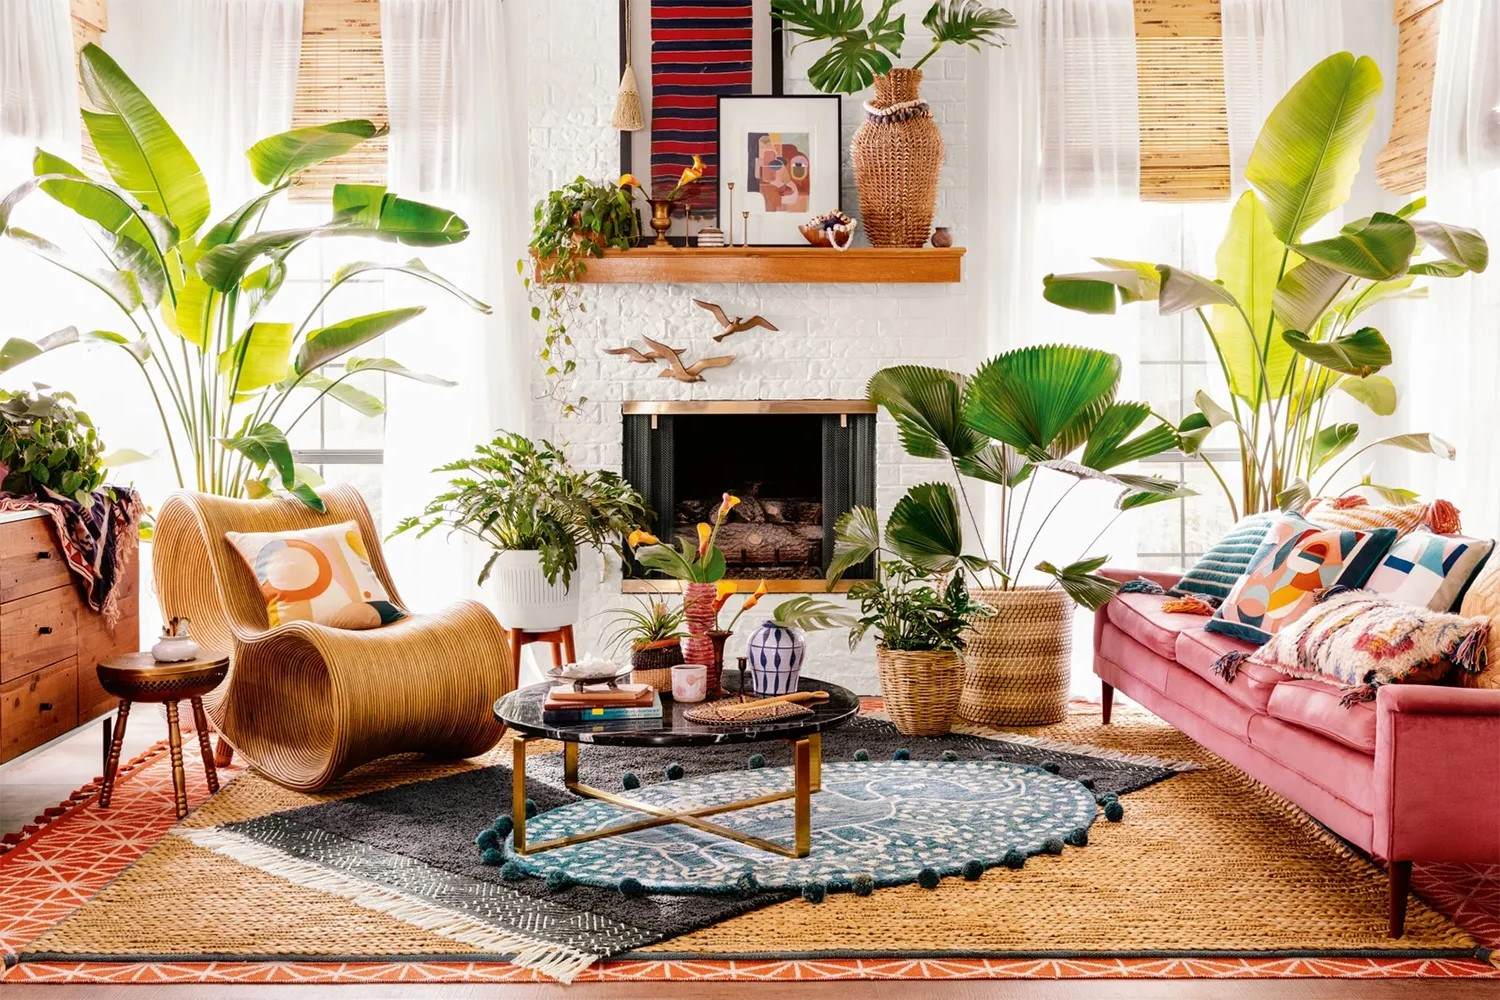
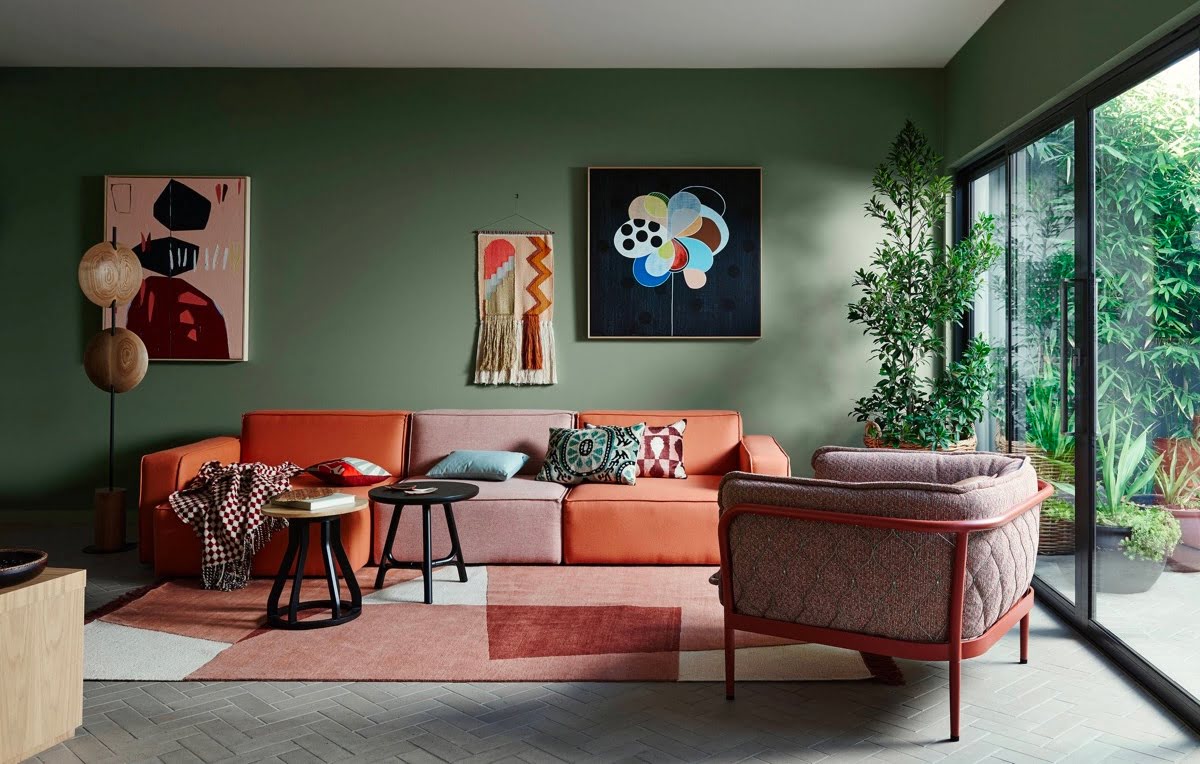
- Add accent pieces: Enhance the ambiance of the living room by incorporating accent pieces such as rugs, artwork, mirrors, or decorative objects. These elements can complement the archway and tie the overall design together. Be mindful of the colors, textures, and styles of the accessories, ensuring they harmonize with the rest of the room.
- Consider functionality: Keep in mind the functionality of the space and how the furniture and accessories will be used. Ensure that there is enough seating, storage, and surface areas for practical purposes. Arrange the furniture to maximize comfort and convenience for everyday living.
- Experiment and adjust: Don’t be afraid to experiment with different furniture arrangements and accessory placements. Move items around until you find a configuration that both enhances the archway and suits your personal preferences. Take your time to adjust and fine-tune the arrangement to achieve the desired look and feel.
By carefully arranging furniture and accessories around your living room archway, you can create a welcoming and functional space that highlights the architectural beauty of the archway. The right placement of furniture and thoughtful selection of accessories will complete the transformation of your living room. With all these steps completed, you can now sit back, relax, and enjoy your newly decorated living room archway.
Conclusion
Decorating a living room archway can be a rewarding and transformative experience. By following the steps outlined in this guide, you can enhance the visual appeal of your living space and create a focal point that adds charm and character to the room.
From measuring and planning to selecting materials and adding finishing touches, each step in the process plays a crucial role in achieving the desired result. By properly preparing the archway, painting or wallpapering it, adding decorative molding or trim, installing lighting fixtures, hanging curtains or drapes, and arranging furniture and accessories, you can create a stunning living room archway that reflects your personal style and elevates the overall ambiance of the room.
Remember to consider the existing decor and color scheme of your living room when choosing materials, colors, and furniture placements. Strike a balance between functionality and aesthetics, ensuring that the space is comfortable and practical while also visually pleasing.
Don’t be afraid to experiment and make adjustments as you go along. Decorating is a creative process, and it’s important to trust your instincts and make choices that resonate with your personal taste and style. Whether you prefer a classic, contemporary, or eclectic look, there are endless possibilities for decorating your living room archway.
So, take the time to measure and plan, choose the right materials and tools, prepare the archway, add your personal touch with paint or wallpaper, incorporate decorative molding or trim, install lighting fixtures, hang curtains or drapes, and finally, arrange furniture and accessories. With these steps in mind, you’ll be well on your way to creating a stunning living room archway that will become the centerpiece of your home.
Frequently Asked Questions about How To Decorate A Living Room Archway
Was this page helpful?
At Storables.com, we guarantee accurate and reliable information. Our content, validated by Expert Board Contributors, is crafted following stringent Editorial Policies. We're committed to providing you with well-researched, expert-backed insights for all your informational needs.
0 thoughts on “How To Decorate A Living Room Archway”