
Articles
How To Divert Water From The Driveway
Modified: January 23, 2024
Learn effective techniques to divert water from your driveway with these informative articles. Prevent water damage and maintain a dry and safe environment for your property.
(Many of the links in this article redirect to a specific reviewed product. Your purchase of these products through affiliate links helps to generate commission for Storables.com, at no extra cost. Learn more)
Introduction
As homeowners, it’s important to ensure the proper management of water runoff on our properties. While rainwater is essential for the health of our lawns and gardens, excessive water can lead to problems, such as flooding or damage to infrastructure like driveways. One effective solution to mitigate these issues is by diverting water from the driveway.
Diverting water from the driveway involves implementing drainage systems and techniques that redirect excess water away from the surface to prevent pooling. By doing so, you can protect the integrity of your driveway and maintain the functionality of your property.
In this article, we will explore various methods and strategies for diverting water from your driveway. We will discuss the importance of understanding the problem, assessing drainage needs, choosing the right drainage methods, and implementing them effectively.
Whether you’re dealing with frequent heavy rainfall, a sloping driveway, or poor soil drainage, these techniques will provide you with practical solutions to safeguard your property from water-related issues.
So, let’s dive in and learn how to effectively divert water from your driveway!
Key Takeaways:
- Proper water diversion methods such as channel drains, French drains, dry wells, and swales can effectively protect driveways from water damage and ensure property functionality.
- Regular maintenance and troubleshooting of water diversion systems are crucial for preventing damage, ensuring optimal performance, and preserving the integrity of driveways and properties.
Read more: How To Fix Water Pooling In Driveway
Understanding the Problem
Before you start implementing any water diversion techniques, it’s crucial to understand the root cause of the problem. This involves assessing the source of water and identifying any existing issues that contribute to water pooling or damage on your driveway.
One common issue is improper slope or grading. If your driveway doesn’t have the necessary slope, water can accumulate and create puddles or runoff. Additionally, if your property is situated at the bottom of a hill or on flat terrain, you may experience water flowing towards your driveway during heavy rains.
Poor soil drainage is another factor to consider. If your soil doesn’t absorb water well, it can lead to standing water on your driveway. This is often the case with clay or compacted soil. Identifying these factors will help you determine the appropriate water diversion methods that suit your specific situation.
It’s also important to consider other factors that can contribute to the problem, such as nearby landscaping or lack of gutters. Trees or shrubs near your driveway can create barriers that prevent water from draining properly. Similarly, if your property lacks gutters or downspouts, water from your roof can flow directly onto your driveway, causing pooling or erosion.
By understanding the underlying issues causing water accumulation on your driveway, you can tailor your water diversion strategy to address these specific challenges. This will allow you to implement the most appropriate and effective solutions to ensure a dry and functional driveway.
Assessing Drainage Needs
Once you have identified the problems causing water accumulation on your driveway, the next step is to assess your drainage needs. This involves evaluating the volume and flow of water, as well as understanding the layout and characteristics of your property.
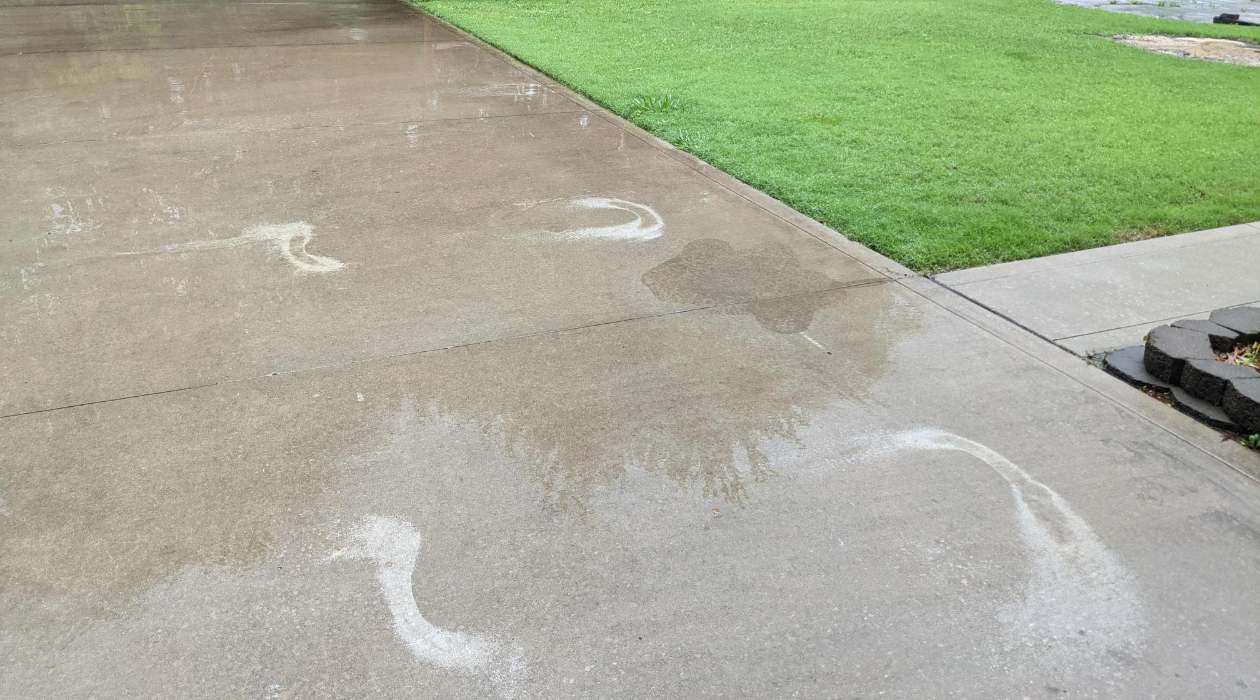
Begin by observing how water flows on your driveway during rain events. Are there specific areas where water tends to accumulate? Is the water flow concentrated in one direction or is it dispersed unevenly?
Next, consider the size of your property and the amount of water runoff you need to manage. This will help you determine the appropriate capacity for your drainage system. For smaller driveways, simple solutions like channel drains or French drains may be sufficient, while larger driveways may require more sophisticated systems or a combination of methods.
It’s also important to assess the soil type and its ability to absorb water. Sandy or well-draining soil will require different strategies compared to clay or compacted soil. Understanding your soil’s characteristics will enable you to choose the most effective drainage methods.
Additionally, consider the local climate and average rainfall in your area. If you experience heavy rainfall or live in an area prone to storms, you may need to design a more robust drainage system to handle large volumes of water effectively.
By carefully assessing your drainage needs, you can determine the most suitable water diversion methods for your driveway. This will ensure that your chosen solutions can effectively handle the water flow and prevent any potential damage or flooding.
Choosing Drainage Methods
When it comes to diverting water from your driveway, there are several effective drainage methods to consider. The choice of method will depend on various factors, including the layout of your property, the slope of your driveway, soil type, and the severity of the drainage issue.
1. Channel Drains: Channel drains, also known as trench drains, are a popular choice for efficiently removing water from driveways. These drains consist of a long, narrow channel with a grated cover that collects and directs water away from the surface. Channel drains are typically installed in the lowest points of your driveway where water tends to accumulate. They can be connected to a pipe system that carries the water to a suitable drainage area.
2. French Drains: French drains are effective for diverting water away from driveways by creating an underground drainage system. This method involves digging a trench, lining it with landscape fabric, and placing a perforated pipe inside. The trench is then filled with gravel or crushed stone, allowing water to flow into the pipe, which directs it away from the driveway. French drains are particularly useful if your driveway has poor soil drainage.
3. Dry Wells: Dry wells are another option for managing water runoff from driveways. These are large, underground reservoirs that collect and store excess water, gradually allowing it to percolate into the soil. Dry wells are especially useful if your property has limited space for traditional drainage systems. However, dry wells require proper sizing and location to ensure efficient water absorption.
4. Swales: Swales are shallow ditches or depressions that redirect water flow along a specific path. They can be used to divert water away from your driveway by creating a natural channel for runoff to follow. Swales can be combined with other drainage techniques to effectively manage water flow. It’s important to carefully plan the positioning and slope of swales to optimize their functionality.
When choosing the appropriate drainage method, consider factors such as cost, maintenance requirements, and the specific needs of your property. It can be beneficial to consult with a professional to assess your drainage needs and determine the most suitable methods for your specific situation.
By selecting the right drainage method, you can effectively divert water from your driveway and preserve its integrity and functionality.
Installing Channel Drains
Channel drains, also known as trench drains, are an effective and popular method for diverting water away from driveways. Installing a channel drain involves a few key steps to ensure proper functionality and effectiveness in managing water runoff.
1. Determine the ideal placement: Begin by identifying the lowest points of your driveway where water typically accumulates. This is where you will install the channel drain. Measure and mark the areas where the drain will be placed, ensuring that it slopes away from the driveway to facilitate water flow.
2. Excavate the trench: Use a shovel or a trenching machine to dig a trench along the marked area at the appropriate depth and width for the channel drain. It’s important to follow the manufacturer’s recommendations for the specific drain system you are using.
3. Prepare the base: Ensure that the bottom of the trench is level and compacted. You can use a hand tamper or a plate compactor to achieve a stable base for the channel drain to sit on.
4. Install the channel drain: Place the channel drain into the trench, making sure it is level and sits flush with the surrounding surface. Secure the drain by following the manufacturer’s instructions, which may involve using connectors or adhesive.
5. Connect the drain to an outlet: Channel drains typically have an outlet or a connection point for a pipe. Connect the drain to the appropriate pipe system that will carry the diverted water away from the driveway. Ensure proper alignment and secure the connection to prevent leaks.
6. Backfill and compact: Fill the trench around the drain with a layer of gravel or crushed stone, ensuring that it covers the sides and top of the drain. Backfill the rest of the trench with soil, compacting it to provide stability and support for the drain.
7. Test and adjust: Once the channel drain is installed, test its functionality by pouring water on the driveway and observing how it flows into the drain. Make any necessary adjustments to slope or alignment to ensure optimal water diversion.
By following these steps, you can successfully install a channel drain and effectively divert water from your driveway. It’s important to periodically clean and maintain the drain to prevent debris buildup and maintain its functionality over time. Regular inspection will also allow you to address any potential issues promptly.
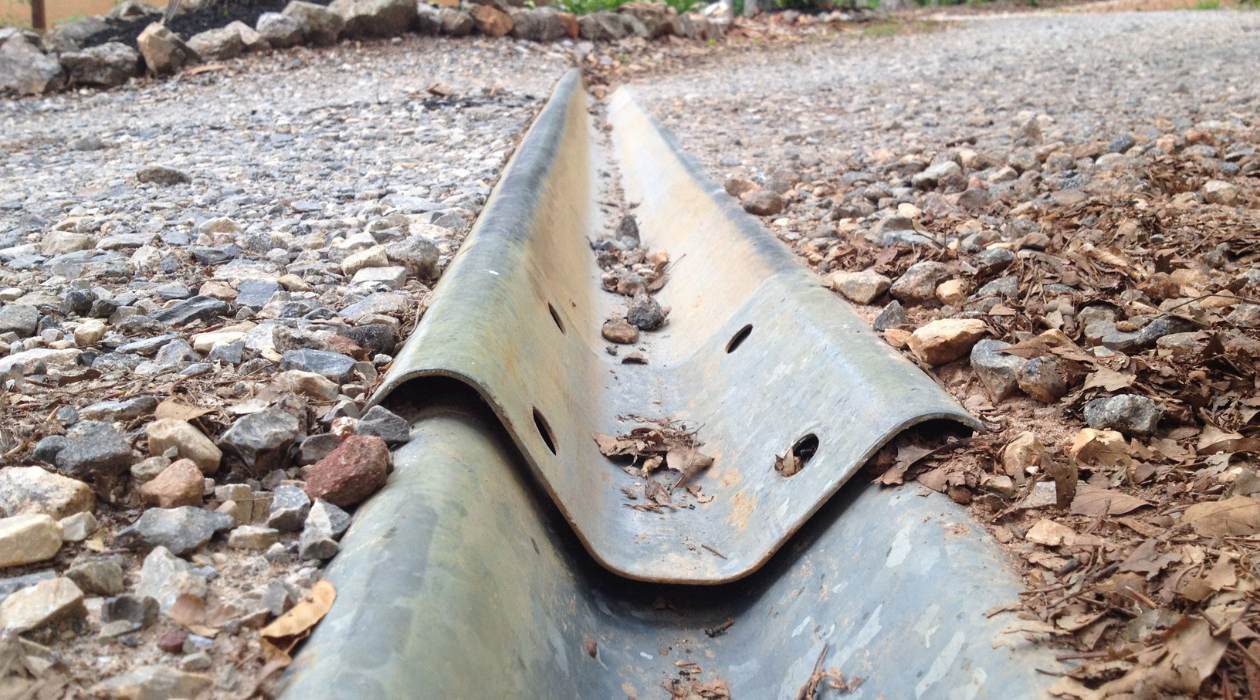
Consider installing a trench drain or a French drain along the edge of the driveway to divert water away from the surface. This will help prevent water from pooling and causing damage.
Read more: How To Keep Driveway From Freezing
Creating a French Drain
A French drain is an effective method for diverting water away from your driveway. It consists of a trench filled with gravel and a perforated pipe to redirect water underground and away from your property. Creating a French drain involves a series of steps to ensure successful installation and functionality.
1. Determine the route: Identify the areas where water tends to pool or accumulate on your driveway. Plan the route for your French drain to direct water away from these problem areas and towards a suitable drainage outlet, such as a rain garden or a dry well.
2. Excavate the trench: Use a shovel or a trenching machine to dig a trench along the desired route for your French drain. The trench should slope away from the driveway to allow for proper water flow. The ideal depth of the trench should accommodate the gravel and perforated drainpipe, usually around 12-18 inches deep.
3. Add landscape fabric: Line the bottom and sides of the trench with landscape fabric to prevent soil and sediment from clogging the drain over time. This fabric will allow water to flow through while keeping the drain clear of debris.
4. Install the drainpipe: Place the perforated drainpipe into the trench on top of the landscape fabric. Ensure that the perforations face downwards to allow water to enter the pipe while preventing soil from entering.
5. Fill with gravel: Fill the trench around the drainpipe with gravel, such as crushed stone or pea gravel. The gravel will provide a path for water to flow freely into the drainpipe. Fill the trench to the surface level, leaving a slight depression to accommodate soil and vegetation later.
6. Cover with fabric and soil: Cover the gravel-filled trench with additional landscape fabric to prevent soil from washing into the gravel and clogging the drain. Then, backfill the trench with soil, ensuring it gradually slopes away from the driveway to facilitate water flow.
7. Redirect the outlet: Connect the end of the drainpipe to a suitable outlet point, such as a dry well or an area with good soil drainage. Make sure the outlet allows water to disperse safely away from your property to avoid any potential issues.
By following these steps, you can create a French drain that effectively diverts water away from your driveway. Regular maintenance, such as inspecting and clearing the drain of any debris, will help ensure its proper functionality over time.
Constructing a Dry Well
A dry well is an excellent solution for managing water runoff from your driveway. It is an underground structure that collects and stores excess water, allowing it to gradually percolate into the surrounding soil. This method helps to prevent water accumulation and potential damage to your driveway. Constructing a dry well involves a series of steps to ensure its effectiveness.
1. Determine the location: Select an area on your property that has good soil drainage and is situated away from any structures or utility lines. This will help ensure that the excess water properly infiltrates the surrounding soil without causing any harm.
2. Excavate the hole: Dig a hole that is wide enough to accommodate the dry well structure and deep enough to reach the desired depth. The size of the hole will depend on the volume of water you expect to divert from your driveway.
3. Install the dry well structure: Place the dry well structure into the hole, ensuring that it is level and stable. The structure can be a pre-made plastic or concrete container or a system of perforated PVC pipes surrounded by gravel or crushed stone. Follow the manufacturer’s instructions for the specific dry well system you are using.
4. Backfill with gravel: Fill the empty space surrounding the dry well structure with gravel or crushed stone. This allows for water to easily flow into the well and gradually percolate into the soil.
5. Create an overflow outlet: It’s important to have an overflow outlet to redirect excess water away from the dry well in the event of heavy rainfall. This can be achieved by connecting a pipe to the dry well structure and directing it to a suitable drainage area such as a swale or a storm drain.
6. Cover and landscape: Cover the dry well structure with a layer of filter fabric or landscape fabric to prevent soil and debris from entering and clogging the well. Then, backfill the hole with soil and level the surface. Finally, landscape the area to match the surrounding aesthetics of your property.
7. Monitor and maintain: Regularly inspect and clean the dry well to ensure that it remains free of debris and functioning properly. This will prevent any obstructions and allow for optimal water infiltration.
By following these steps, you can successfully construct a dry well to effectively manage water runoff from your driveway. It’s important to consult local regulations or seek professional guidance to ensure proper construction and compliance with any specific requirements in your area.
Redirecting Water with Swales
Swales are shallow, graded channels that are designed to redirect water flow on your property. They are effective natural drainage features that can help divert water away from your driveway and prevent pooling or erosion. Redirecting water with swales involves careful planning and proper construction techniques.
1. Assess the landscape: Survey your property to identify the areas where water tends to accumulate or flow towards your driveway. This will help you determine the placement and design of your swales. Swales are typically positioned downhill or across slopes to intercept and redirect water.
2. Determine the dimensions: Consider the volume and velocity of water flow to determine the appropriate size and depth of the swale. A larger swale may be required for areas with high water runoff. The width and depth of the swale will depend on the expected water flow and the characteristics of your property.
3. Dig the swale: Use a shovel or a small excavator to dig the swale along the planned path. The swale should have a gentle slope to facilitate water flow, typically around 2-5% grade. The exact dimensions will depend on your specific needs, but aim for a gradual gradient rather than a steep incline.
4. Shape the swale: Smooth out the bottom and sides of the swale to ensure a gentle, even contour. This will help prevent water from pooling in certain areas. Consider incorporating a slight crown in the center of the swale to encourage water flow towards the desired direction.
5. Add vegetation and mulch: Plant grass, ground cover, or other suitable vegetation along the swale to stabilize the soil and help absorb water. Applying a layer of mulch can further enhance water absorption and reduce erosion. Select plants that are well-suited to your climate and soil conditions.
6. Monitor and maintain: Regularly inspect the swales and remove any debris or sediment that may accumulate. Keep an eye out for any signs of erosion or excessive pooling, and address these issues promptly to maintain the effectiveness of the swales.
7. Consider additional features: Depending on your specific needs, you may incorporate additional features into your swales to enhance their effectiveness. For example, installing check dams or rock channels can help slow down water flow and minimize erosion. Consult with a professional if you require more advanced swale design or construction.
By redirecting water with swales, you can effectively manage water runoff from your driveway and prevent water-related issues. Proper planning, construction, and maintenance will ensure that the swales function optimally and contribute to the overall drainage system on your property.
Maintaining and Troubleshooting Water Diversion Systems
After implementing water diversion systems to redirect water from your driveway, it’s important to regularly maintain and monitor these systems to ensure their effectiveness. This will help prevent any potential issues and maintain the integrity of your property. Here are some tips for maintaining and troubleshooting water diversion systems:
1. Clear debris: Regularly check and clear any debris, such as leaves, twigs, or sediment, that may accumulate in your drainage channels, channel drains, French drains, or swales. Debris can clog the system and impede proper water flow, leading to ineffective drainage and potential damage. Clearing debris will help maintain the efficiency of your water diversion system.
2. Inspect for damage: Routinely inspect the components of your water diversion system for any signs of damage, such as cracks, leaks, or erosion. Check for any issues with channel drains, dry wells, or perforated pipes. Addressing these problems promptly will prevent further damage and ensure the proper functionality of the system.
3. Maintain vegetation: If you have incorporated vegetation into your swales or dry wells, regularly maintain and trim the plants to prevent overgrowth and blockage of the system. Too much vegetation can obstruct water flow and defeat the purpose of the water diversion system.
4. Ensure proper grading: Check the grading of your landscape to ensure that the water diversion systems are properly sloped to facilitate water flow away from the driveway. If you notice any areas where water is pooling or not draining as expected, consider adjusting the grading or slope to improve the drainage efficiency.
5. Monitor during rainfall events: During heavy rainfalls or storms, closely monitor the performance of your water diversion system. Observe the flow of water and check for any areas of concern, such as excessive pooling or erosion. This will allow you to identify any potential issues and address them before they become more significant problems.
6. Seek professional advice if needed: If you encounter persistent issues or are unsure about maintaining or troubleshooting your water diversion system, it’s always wise to consult with a professional. They can assess your system, provide expert advice, and address any underlying problems that may require professional intervention.
By regularly maintaining and troubleshooting your water diversion systems, you can ensure their optimum performance, prevent potential damage to your driveway and property, and effectively manage water runoff.
Read more: How To Remove Snow From A Driveway
Conclusion
Effectively diverting water from your driveway is crucial for maintaining its integrity and preventing water-related issues. By implementing various drainage methods such as channel drains, French drains, dry wells, and swales, you can successfully redirect excessive water and protect your property.
Understanding the underlying problems causing water accumulation on your driveway is essential. By assessing your drainage needs, considering factors such as soil type, climate, and the layout of your property, you can select the most suitable water diversion methods for your specific situation.
Installing channel drains involves careful placement, excavation, and proper connection to redirect water away from the driveway. French drains provide a sub-surface drainage solution by creating an underground system that allows water to percolate into the soil. Dry wells collect excess water and gradually release it into the surrounding soil. Swales are shallow, graded channels that redirect water flow naturally.
Maintaining and troubleshooting your water diversion systems is vital for their long-term effectiveness. Regularly clear debris, inspect for damage, maintain vegetation, and monitor the system during rainfall events to ensure proper performance. Seek professional assistance if needed to address any persistent issues or for expert advice.
By implementing and maintaining these water diversion methods, you can prevent damage to your driveway, promote proper drainage, and preserve the functionality of your property. Remember to assess and adjust your drainage needs as necessary to accommodate changing weather patterns or landscaping adjustments.
Investing time and effort in diverting water from your driveway will not only protect your property but also contribute to a healthier environment by minimizing soil erosion and water pollution. So, take the necessary steps to divert water effectively and enjoy a dry and functional driveway for years to come.
Frequently Asked Questions about How To Divert Water From The Driveway
Was this page helpful?
At Storables.com, we guarantee accurate and reliable information. Our content, validated by Expert Board Contributors, is crafted following stringent Editorial Policies. We're committed to providing you with well-researched, expert-backed insights for all your informational needs.



0 thoughts on “How To Divert Water From The Driveway”