Home>Gardening & Outdoor>Landscaping Ideas>How To Remove Grass From Driveway Cracks
Landscaping Ideas
How To Remove Grass From Driveway Cracks
Modified: August 27, 2024
Learn effective landscaping ideas to remove grass from driveway cracks. Discover step-by-step methods for a clean and tidy driveway.
(Many of the links in this article redirect to a specific reviewed product. Your purchase of these products through affiliate links helps to generate commission for Storables.com, at no extra cost. Learn more)
Introduction
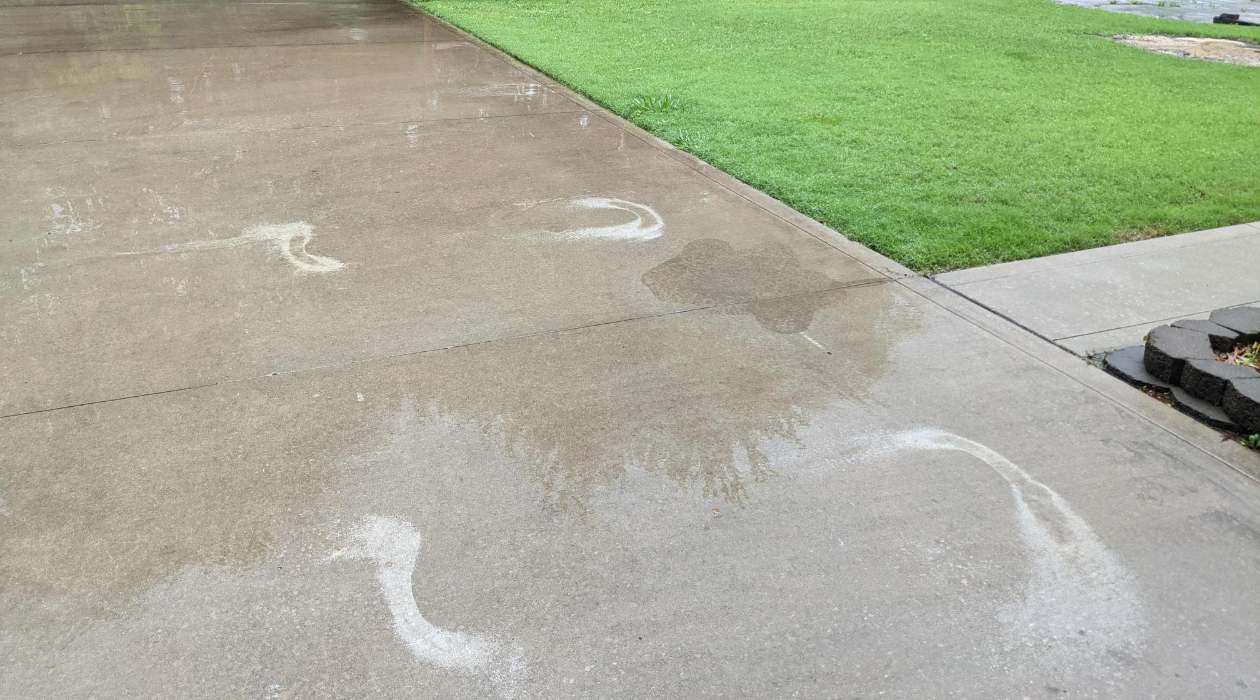
Welcome to the battle of the driveway cracks! If you’re tired of seeing pesky grass and weeds poking through the cracks in your driveway, you’re not alone. These unwelcome intruders can turn a neat and tidy driveway into an unsightly mess. But fear not, because with the right tools and a little bit of know-how, you can banish those grassy invaders for good.
In this guide, we’ll walk you through the steps to remove grass from your driveway cracks and keep them at bay. By following these simple yet effective techniques, you can restore the pristine look of your driveway and prevent future growth.
So, roll up your sleeves and get ready to reclaim your driveway from those resilient grasses. With a bit of effort and the right approach, you can achieve a weed-free and impeccably maintained driveway that will be the envy of your neighborhood.
Key Takeaways:
- Say goodbye to pesky driveway grass by clearing debris, applying weed killer, and removing dead grass. Prevent future growth with regular maintenance, crack sealing, and pre-emergent herbicides for a pristine driveway.
- Reclaim your driveway from unsightly grass and weeds with thorough cleaning, strategic weed killer application, and proactive prevention. Enjoy a weed-free and visually appealing driveway with ongoing maintenance and vigilance.
Tools and Materials Needed
Before diving into the task of removing grass from your driveway cracks, it’s essential to gather the necessary tools and materials. Here’s what you’ll need:
- Gloves: Protect your hands from dirt, chemicals, and sharp edges with a sturdy pair of gardening gloves.
- Weed Killer: Choose a potent weed killer or herbicidal spray specifically formulated to eliminate grass and weeds.
- Scraper or Screwdriver: Use a scraper or screwdriver to clear out any debris, dirt, or loose grass from the cracks.
- Broom or Brush: A broom or stiff brush will come in handy for sweeping away debris and ensuring a clean surface.
- Protective Eyewear: Safeguard your eyes from any potential splashes or debris while working with weed killer.
- Bucket: Have a bucket on hand to mix and carry the weed killer solution.
- Weeding Tool: If the grass has taken root deeply, a weeding tool can help you extract the stubborn offenders.
- Protective Clothing: Consider wearing old clothes and closed-toe shoes to shield yourself from any spills or splashes.
Once you have gathered these tools and materials, you’ll be well-equipped to tackle the task of ridding your driveway of unsightly grass and preventing its return.
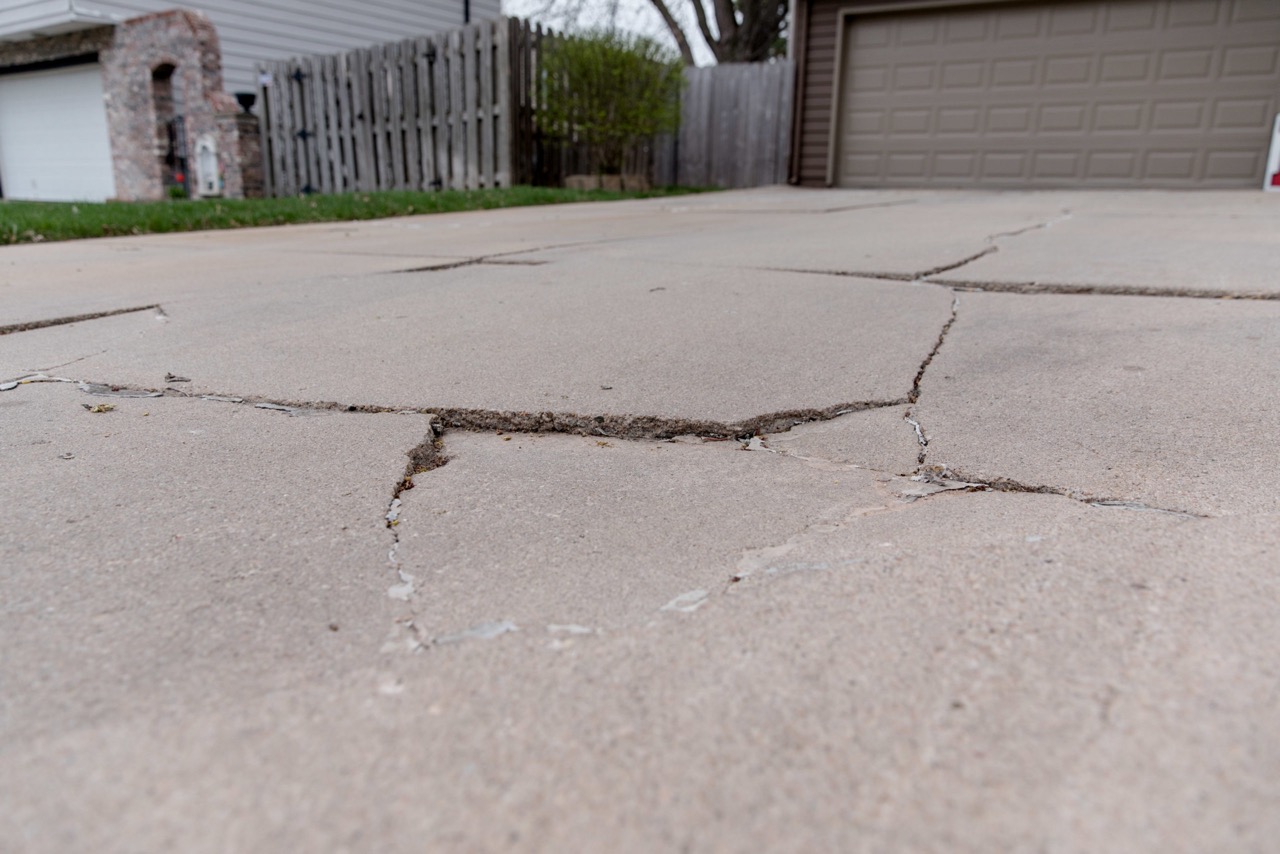
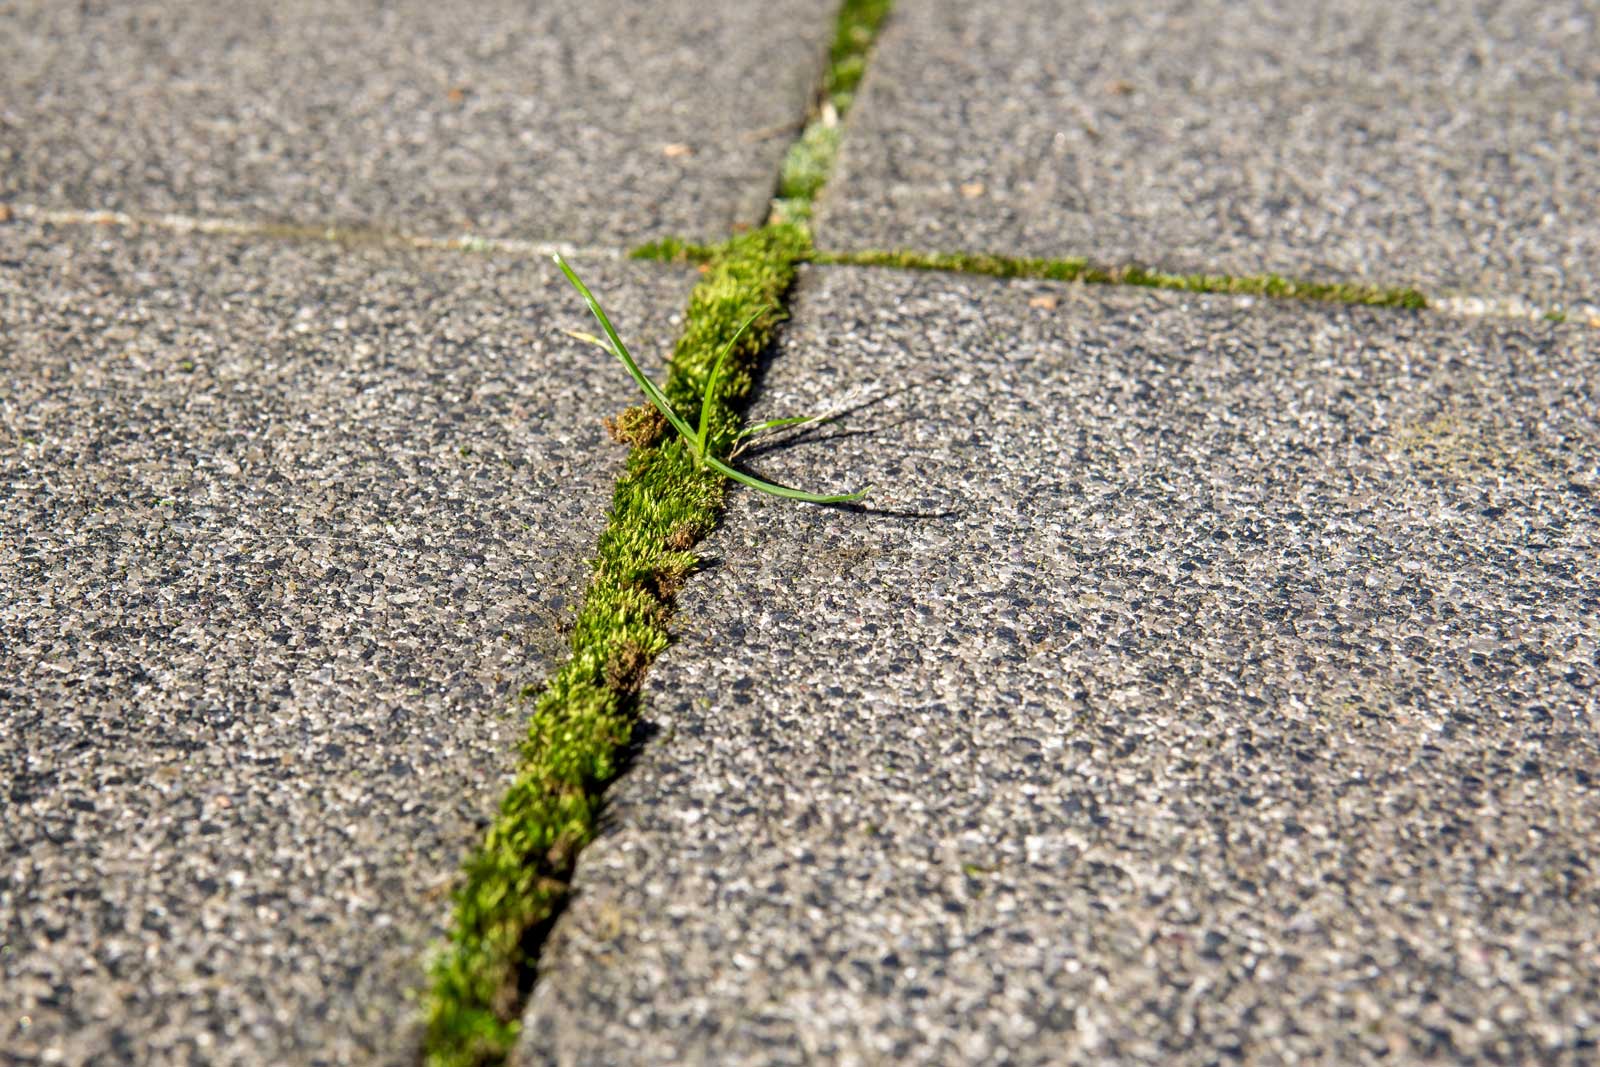
Step 1: Clear the Cracks
Before you can effectively remove the grass from your driveway cracks, it’s crucial to start with a clean slate. Begin by clearing out any debris, loose dirt, or fragments of grass that have taken root in the cracks. A scraper or screwdriver can be invaluable tools for this task.
First, use the scraper or screwdriver to dislodge and remove any accumulated dirt, gravel, or plant matter from the cracks. This initial clearing process will create a clean and accessible surface for the subsequent steps. Be thorough in this process, ensuring that the cracks are free of any obstructions that could impede the application of weed killer and the removal of the grass.
Once you’ve cleared the cracks of visible debris, use a broom or brush to sweep away any remaining loose particles. This step is essential for preparing the cracks for the application of weed killer, as it ensures that the surface is clean and ready to receive the treatment.
By taking the time to clear the cracks thoroughly, you’ll set the stage for the subsequent steps in the grass removal process. A clean and debris-free surface will facilitate the effectiveness of the weed killer and pave the way for a successful eradication of the unwanted grass from your driveway cracks.
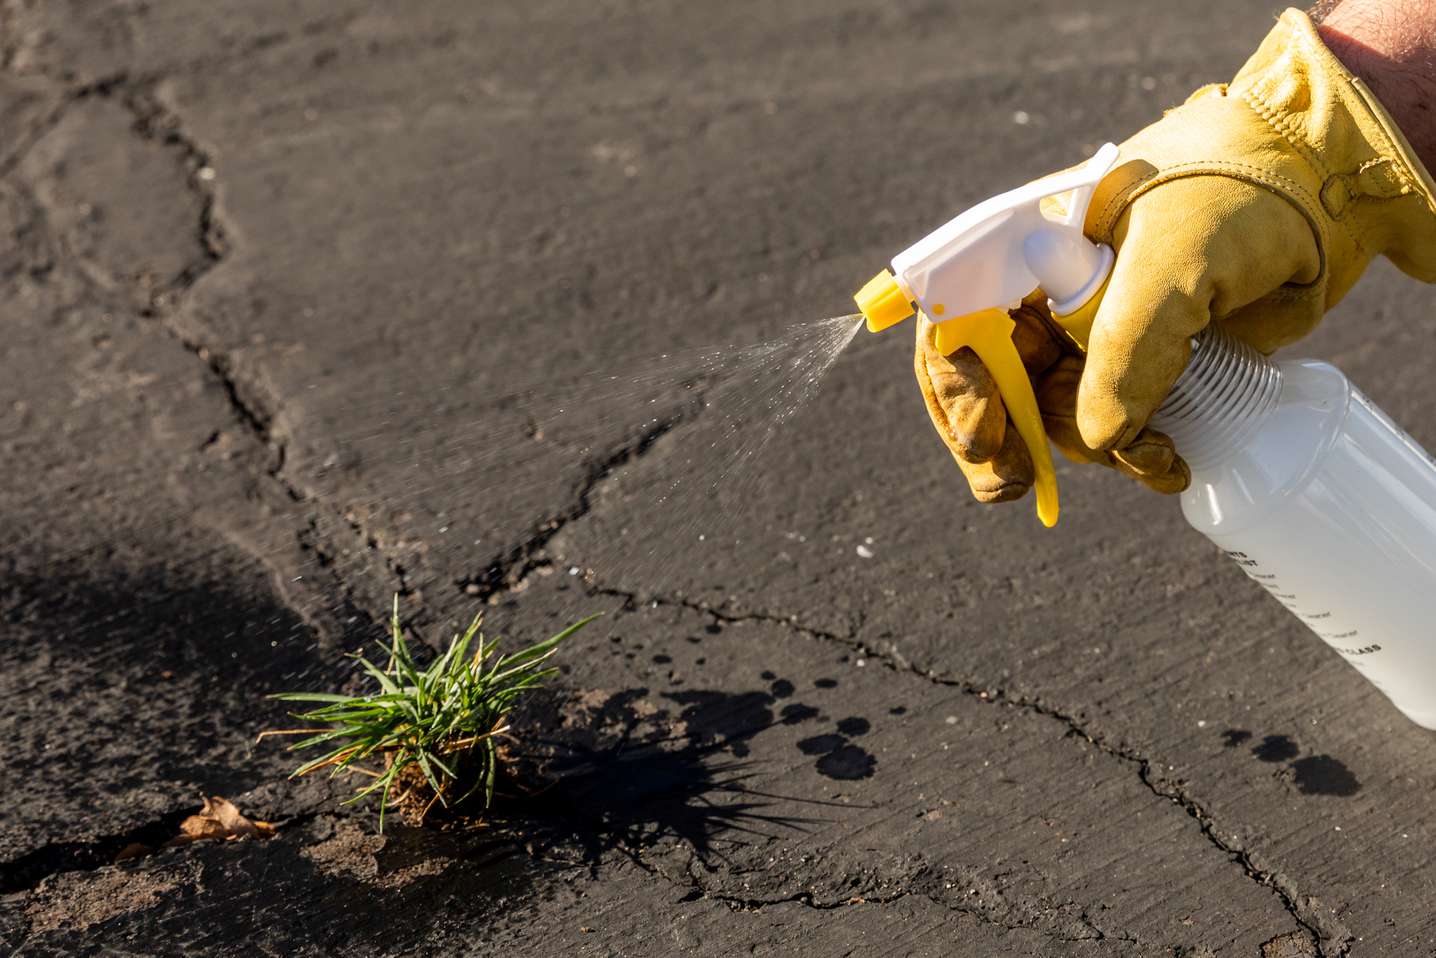
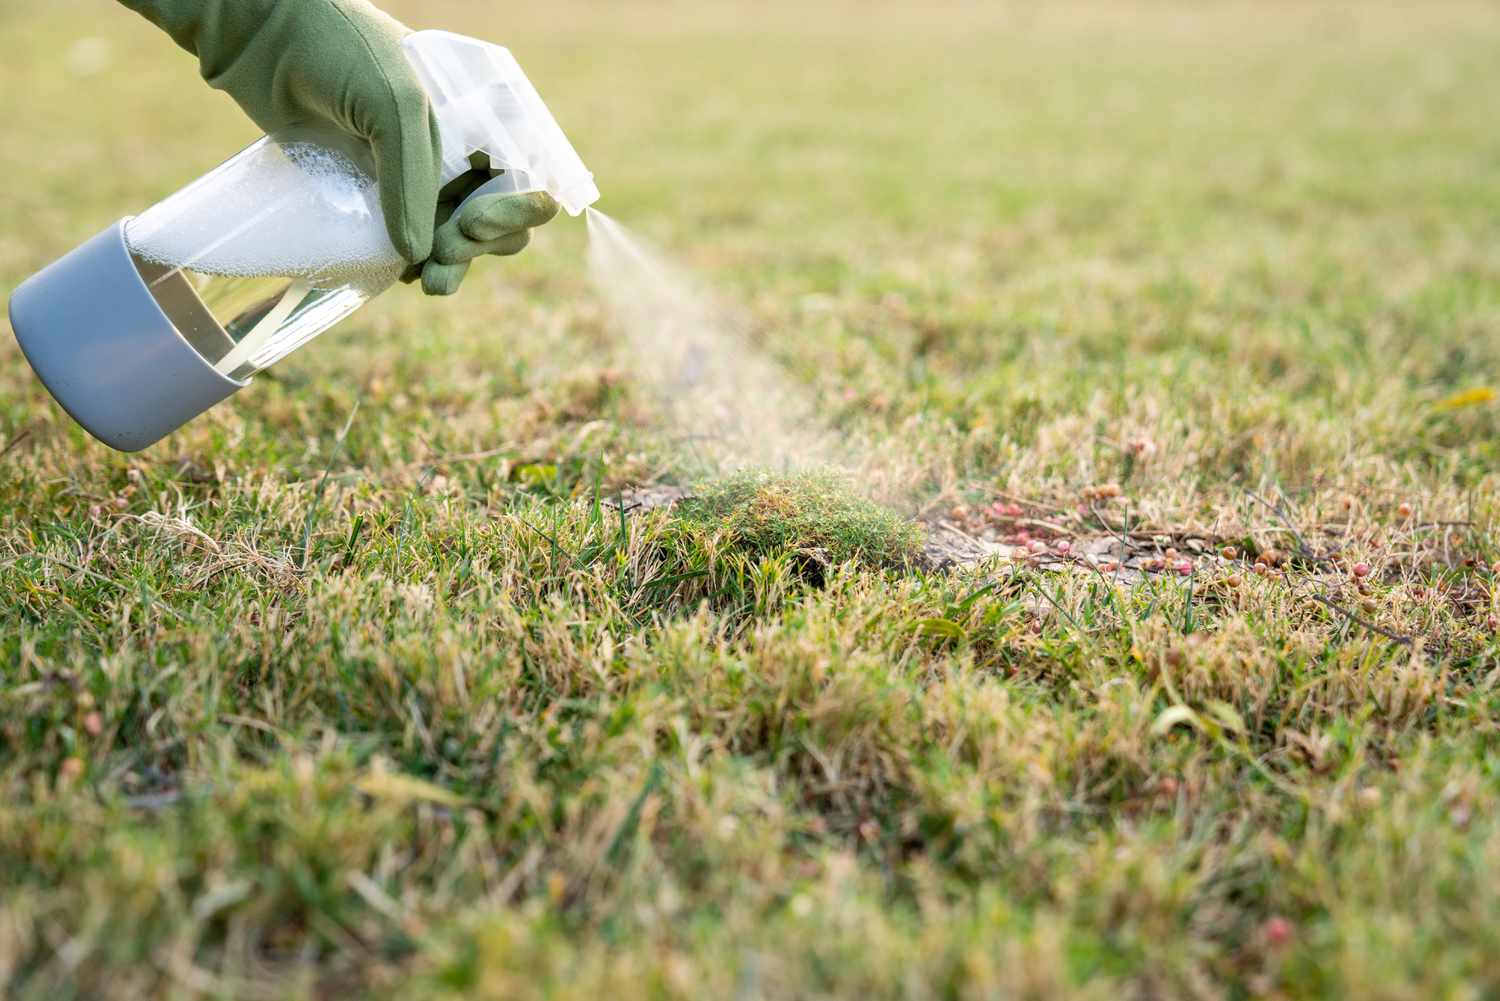
Step 2: Apply Weed Killer
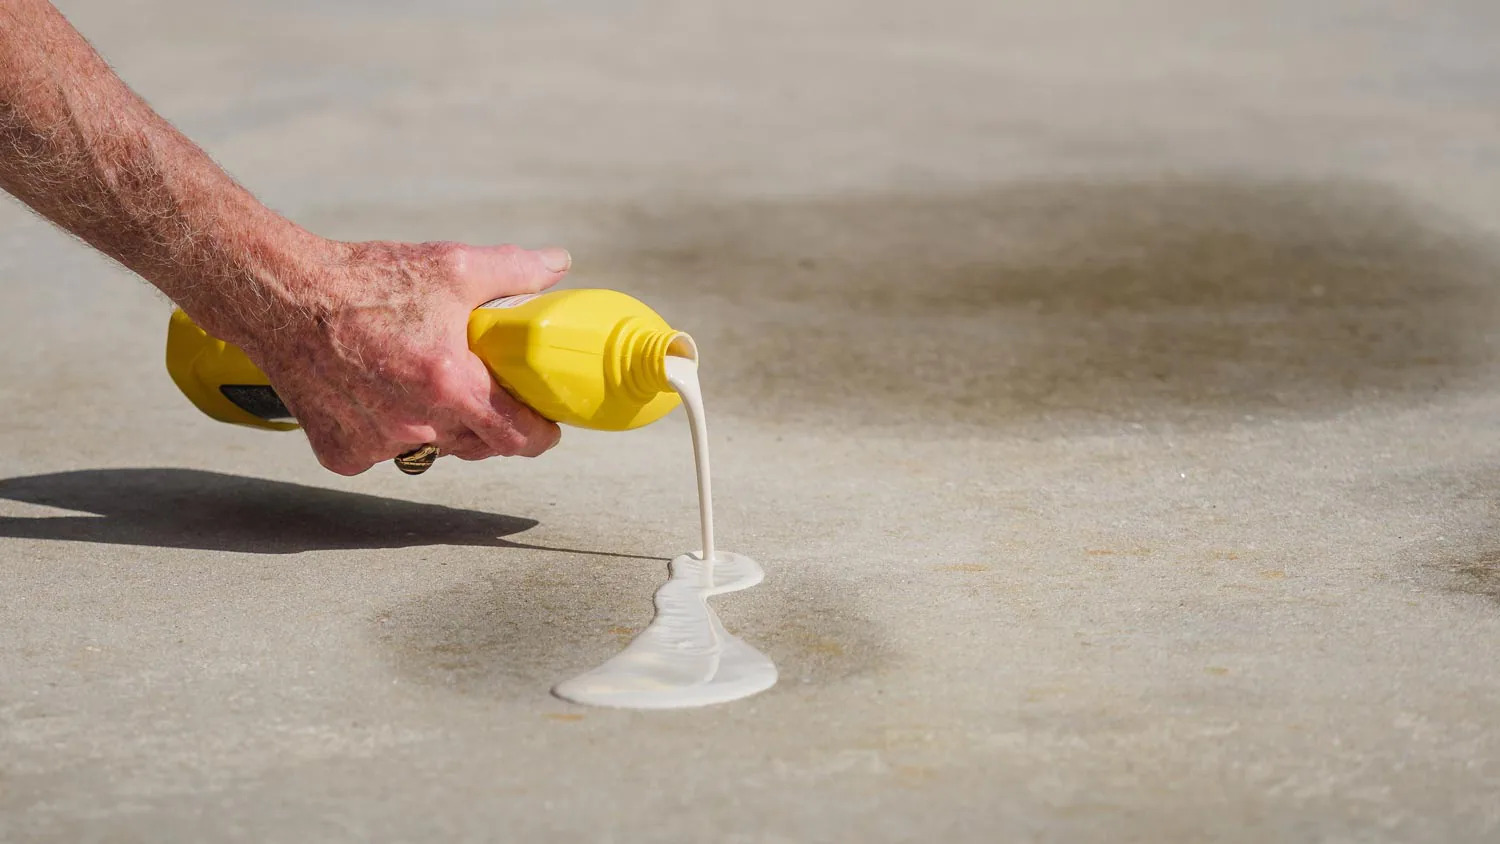
With the cracks cleared of debris, it’s time to deploy the potent weapon in your arsenal: weed killer. Choose a high-quality weed killer specifically designed to eliminate grass and weeds, ensuring that it is safe for use on driveways. Follow these steps to apply the weed killer effectively:
- Prepare the Weed Killer Solution: Read the manufacturer’s instructions carefully and prepare the weed killer solution as directed. This may involve diluting a concentrated formula with water in a bucket, so be sure to follow the recommended ratios for optimal effectiveness.
- Apply the Weed Killer: Using a spray bottle or a suitable applicator, apply the weed killer solution directly to the grass growing in the cracks. Ensure thorough coverage, targeting the base of the grass and the surrounding areas. Take care to avoid overspraying onto adjacent surfaces to prevent unintended damage.
- Allow for Absorption: Once the weed killer has been applied, allow sufficient time for the solution to be absorbed by the grass and weeds. This may involve refraining from any activities that could disturb the treated areas, such as walking or driving over the cracks.
- Observe and Reapply if Necessary: Monitor the treated areas over the following days, observing the effects of the weed killer on the grass. If any resilient patches persist, consider reapplying the weed killer as needed to ensure thorough eradication.
By applying the weed killer methodically and in accordance with the manufacturer’s guidelines, you can effectively target and weaken the grass growing in your driveway cracks. This crucial step sets the stage for the subsequent removal of the now-vulnerable grass from your pristine driveway.
Use a stiff brush or putty knife to remove grass from driveway cracks. You can also use a weed killer to prevent regrowth.
Step 3: Remove the Dead Grass
After the weed killer has done its job and the grass in your driveway cracks has withered and died, it’s time to bid farewell to these unwelcome intruders. Removing the dead grass is a pivotal step in restoring the pristine appearance of your driveway. Here’s how to effectively clear your cracks of the lifeless vegetation:
- Use a Weeding Tool: If the dead grass has taken root deeply in the cracks, a weeding tool can be instrumental in extracting the remains. Insert the tool into the cracks and carefully pry out the dead grass, ensuring that the roots are thoroughly dislodged to prevent regrowth.
- Manual Extraction: For smaller patches of dead grass, manual extraction by hand may suffice. Grasp the desiccated vegetation firmly and pull it from the cracks, ensuring that the entire plant, including the roots, is removed.
- Dispose of the Debris: Collect the extracted dead grass and dispose of it responsibly. This may involve placing it in a yard waste bin or composting it if suitable. Proper disposal ensures that the remnants of the grass do not find their way back into your driveway cracks.
- Thorough Inspection: After removing the dead grass, conduct a thorough inspection of the cracks to ensure that no remnants or roots remain. Address any lingering traces to prevent potential regrowth and maintain the immaculate appearance of your driveway.
By diligently removing the dead grass from your driveway cracks, you’ll not only eliminate the unsightly remnants but also prevent the potential resurgence of these persistent interlopers. This proactive approach sets the stage for the final step in ensuring a weed-free and impeccably maintained driveway.
Read more: How To Remove Snow From A Driveway
Step 4: Prevent Future Growth
Having banished the stubborn grass from your driveway cracks, it’s time to implement measures to prevent its resurgence. By taking proactive steps to inhibit future growth, you can maintain a pristine and weed-free driveway for the long term. Follow these strategies to thwart the return of unwelcome vegetation:
- Regular Maintenance: Make a habit of inspecting your driveway regularly and addressing any emerging grass or weeds promptly. By nipping potential growth in the bud, you can prevent the establishment of resilient invaders.
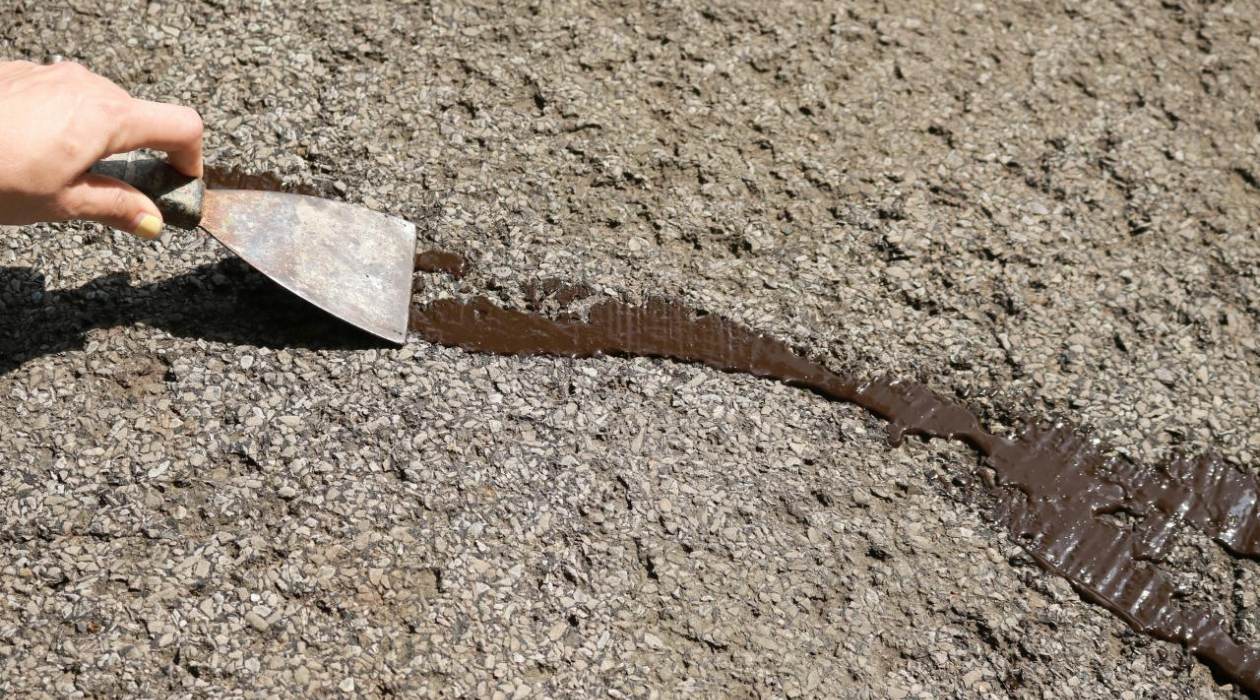
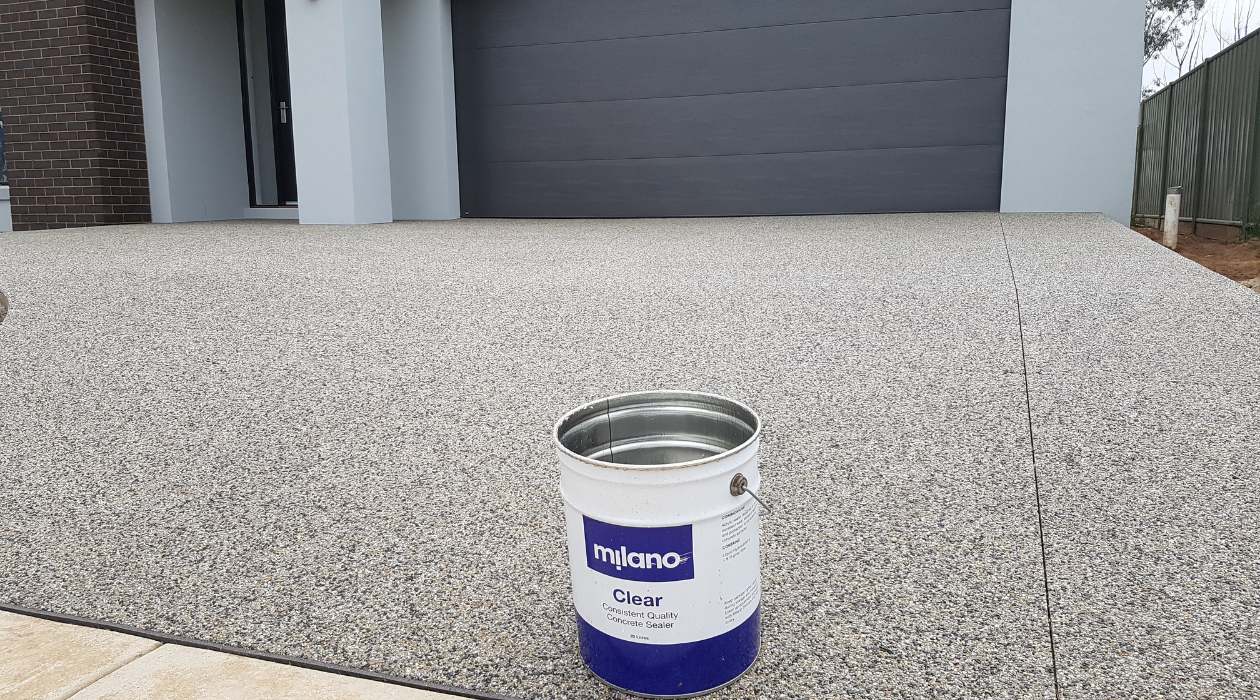
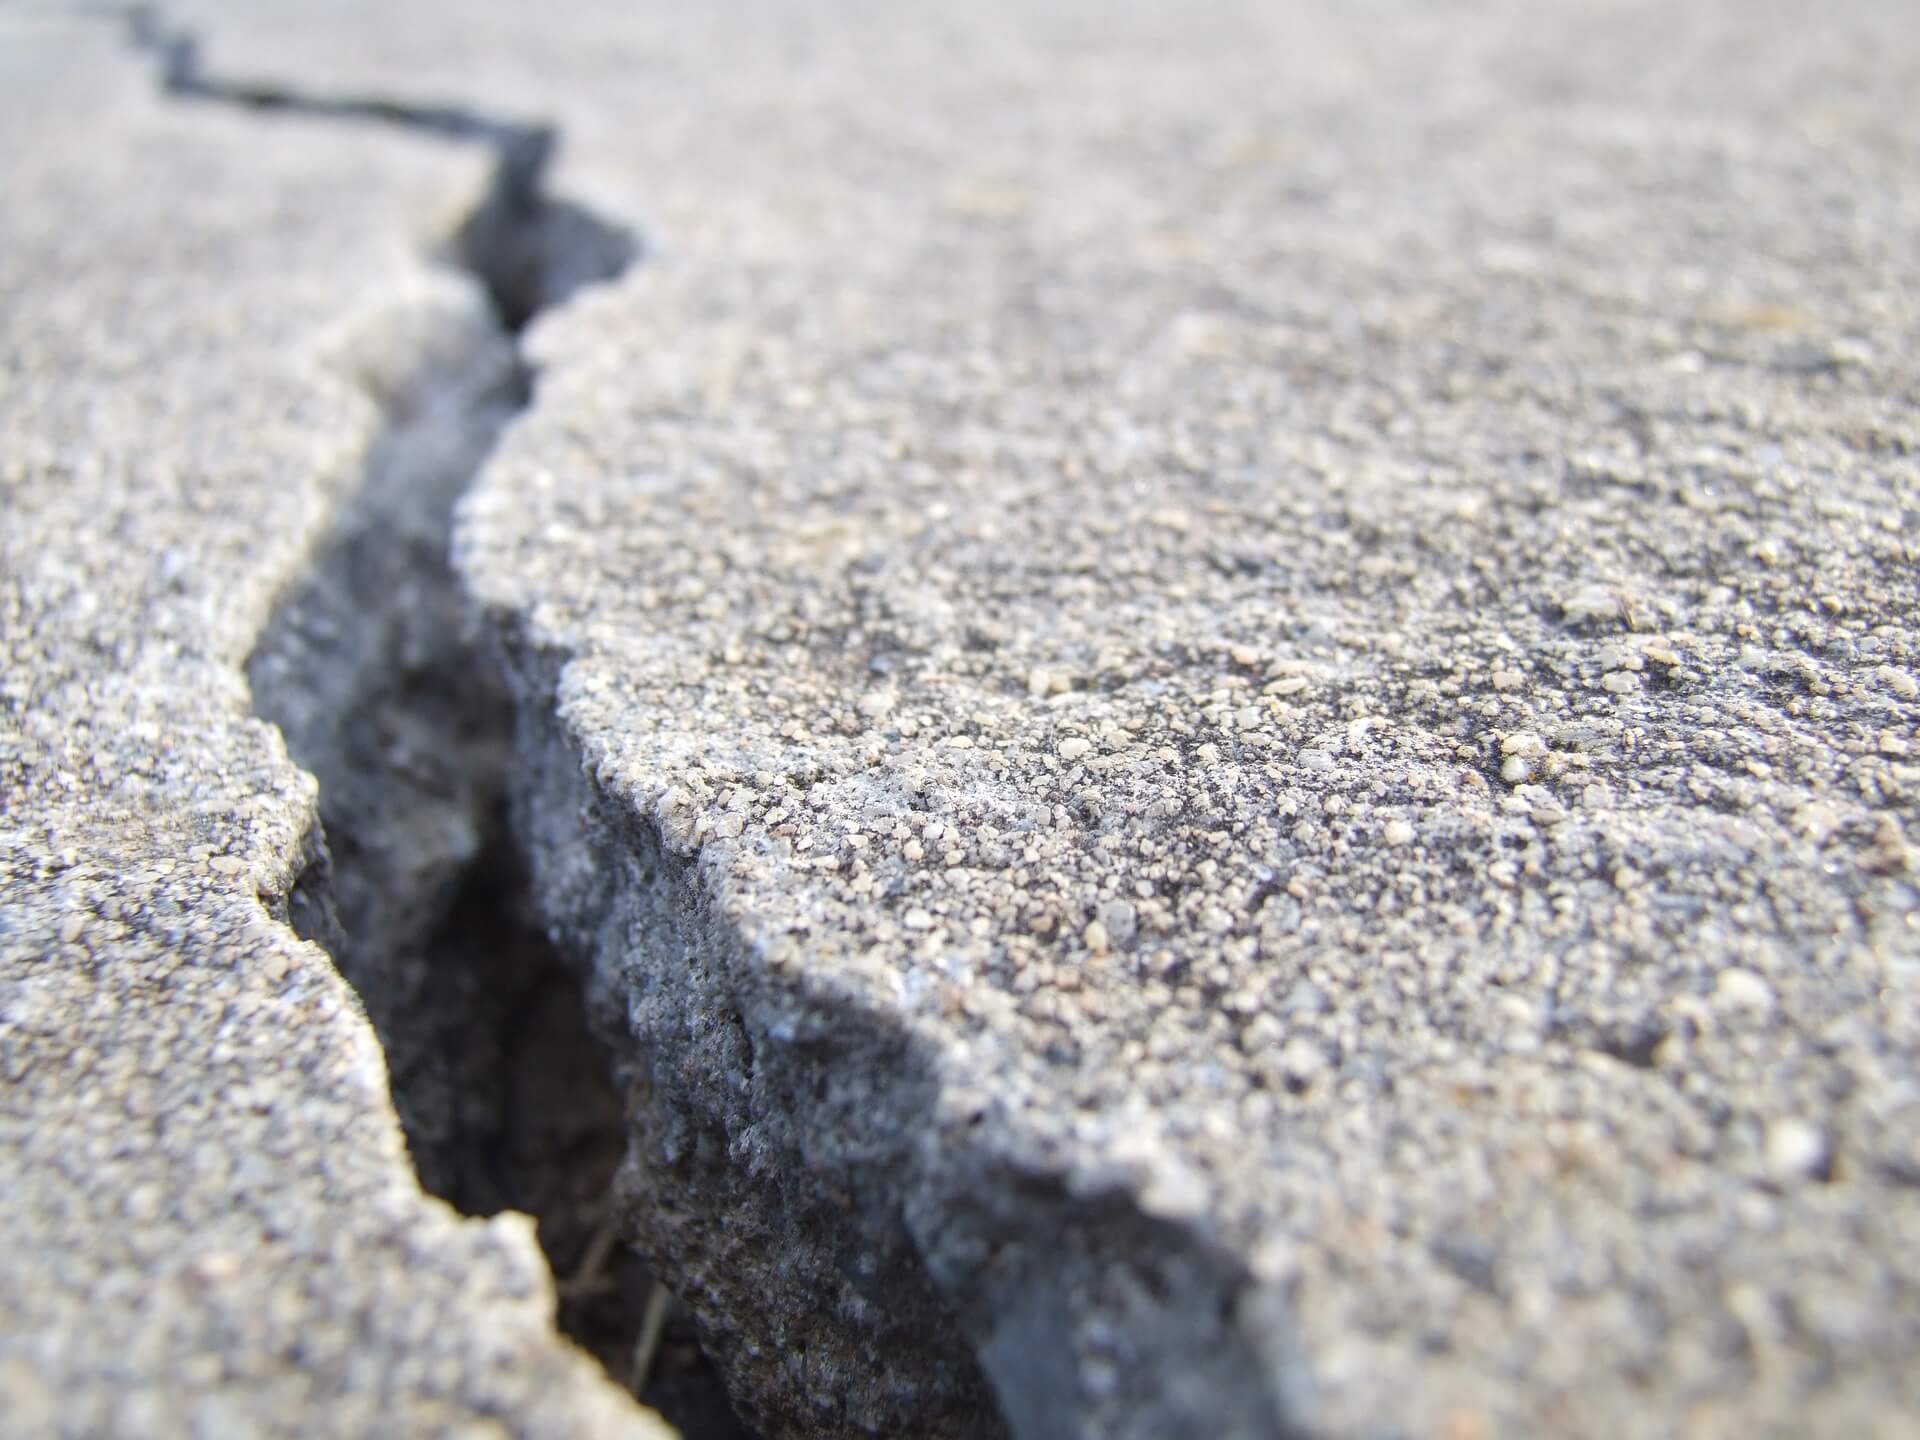
- Seal the Cracks: Consider using a suitable crack sealant to fill in the gaps and crevices in your driveway. This not only enhances the structural integrity of the surface but also inhibits the growth of grass and weeds by denying them a hospitable environment to take root.
- Apply a Pre-Emergent Herbicide: Utilize a pre-emergent herbicide specifically formulated for driveways to create a barrier against the germination of weed seeds. By preemptively targeting potential growth, you can fortify your defenses against future incursions.
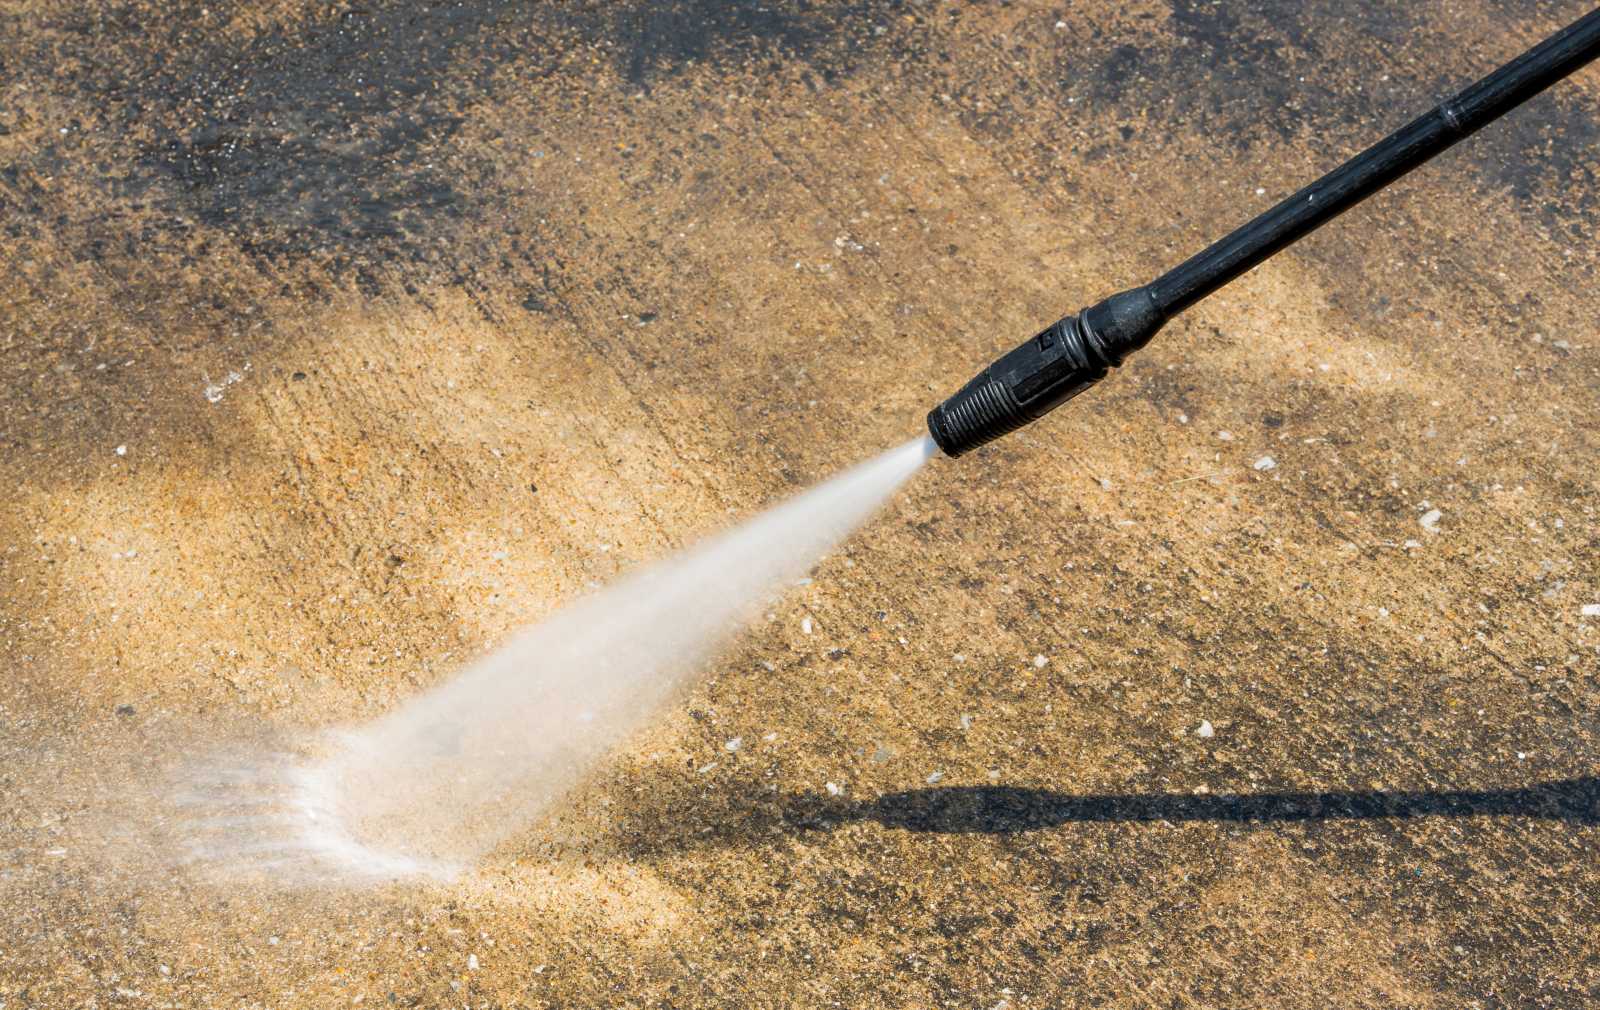
- Maintain a Clean Surface: Regularly sweep and clear your driveway to remove any organic debris, dirt, or seeds that could foster the growth of unwanted vegetation. By keeping the surface clean and uninviting to opportunistic seeds, you can deter the establishment of grass and weeds.
- Monitor and Adjust: Stay vigilant and adapt your prevention strategies based on the specific conditions and challenges in your driveway. By monitoring the effectiveness of your preventive measures, you can fine-tune your approach to ensure enduring protection against grass and weed growth.
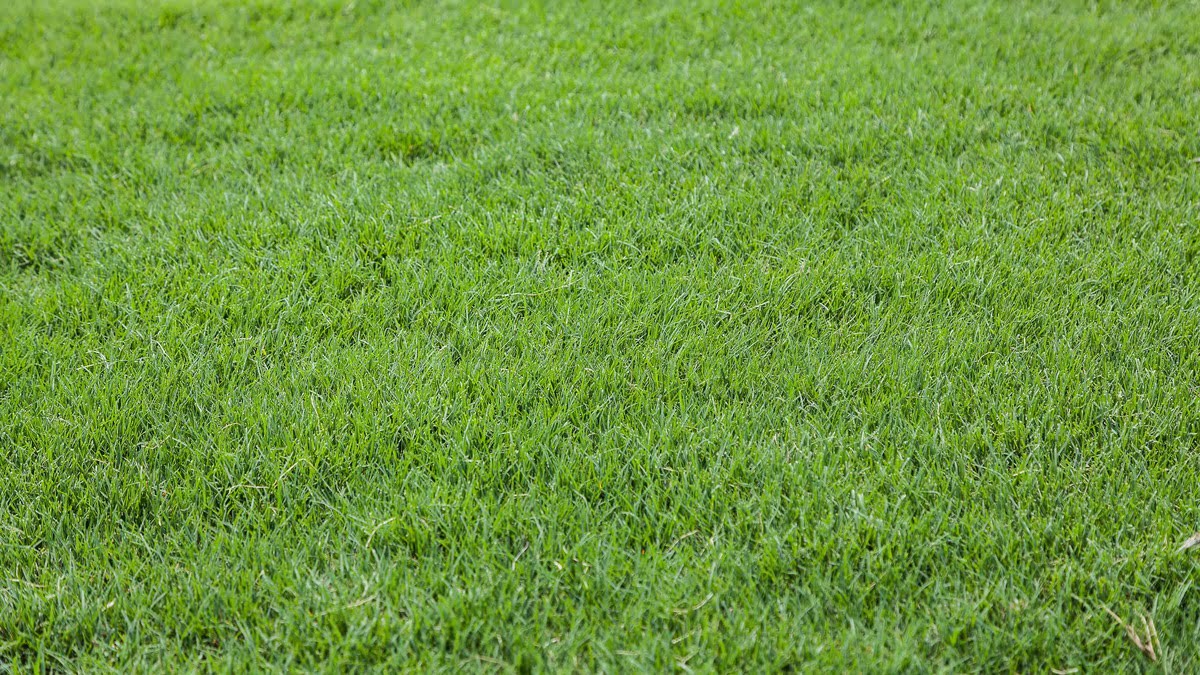
By proactively implementing these preventive measures, you can safeguard your driveway against the resurgence of grass and weeds, preserving its immaculate appearance and enhancing its curb appeal. With consistent maintenance and strategic interventions, you can enjoy a weed-free and aesthetically pleasing driveway for years to come.
Conclusion
Congratulations on reclaiming your driveway from the clutches of invasive grass and weeds! By following the steps outlined in this guide, you’ve taken proactive measures to restore the pristine appearance of your driveway and prevent future growth. Your diligence and commitment to maintaining a weed-free environment have undoubtedly paid off, resulting in a driveway that exudes tidiness and curb appeal.
As you reflect on your successful endeavor, remember that ongoing vigilance and maintenance are key to preserving the immaculate condition of your driveway. By incorporating preventive measures and staying attuned to the needs of your driveway, you can continue to enjoy a weed-free and impeccably maintained surface for years to come.
Whether you tackled the task solo or enlisted the help of a friend or family member, your efforts have not gone unnoticed. The transformation of your driveway stands as a testament to your dedication and resourcefulness in overcoming the challenge of unwanted grass and weeds.
As you take pride in your revitalized driveway, consider sharing your newfound expertise with others who may be grappling with similar issues. Your insights and firsthand experience can serve as a valuable guide for those seeking to reclaim their own driveways from the encroachment of resilient vegetation.
With your driveway now free from the clutches of unsightly grass and weeds, you can revel in the satisfaction of a job well done. Embrace the newfound allure of your driveway and revel in the enhanced visual appeal it brings to your property. Remember, a weed-free driveway is not only a testament to your perseverance but also a welcoming sight for visitors and passersby alike.
Now, take a moment to admire the clean, unblemished expanse of your driveway, knowing that your proactive efforts have yielded a lasting and visually captivating result. Your driveway stands as a testament to your commitment to maintaining a well-kept and inviting space, free from the encroachment of unwanted vegetation.
Frequently Asked Questions about How To Remove Grass From Driveway Cracks
Was this page helpful?
At Storables.com, we guarantee accurate and reliable information. Our content, validated by Expert Board Contributors, is crafted following stringent Editorial Policies. We're committed to providing you with well-researched, expert-backed insights for all your informational needs.


0 thoughts on “How To Remove Grass From Driveway Cracks”