Articles
How To Clean Out Drainage Pipe Under Driveway
Modified: February 28, 2024
Learn effective methods for cleaning out the drainage pipe under your driveway with these helpful articles. Prevent clogs and water blockages for a smoothly functioning drainage system.
(Many of the links in this article redirect to a specific reviewed product. Your purchase of these products through affiliate links helps to generate commission for Storables.com, at no extra cost. Learn more)
Introduction
A properly functioning drainage system is essential for the health and longevity of your property. It helps prevent water damage, soil erosion, and potential structural issues. One crucial component of a drainage system is the drainage pipe, which helps channel water away from your property. However, over time, these pipes can become clogged with debris, causing water to back up and potentially damage your driveway or surrounding areas.
Clearing a drainage pipe that runs under your driveway may seem like a daunting task, but with the right tools and techniques, you can effectively clean it out and restore proper water flow. In this article, we will guide you step-by-step on how to clean out a drainage pipe under your driveway, ensuring that your property remains well-protected from water-related issues.
Key Takeaways:
- Regular maintenance of drainage pipes under driveways is crucial to prevent water damage and maintain property health. Follow the step-by-step guide to effectively clean and restore proper water flow.
- Proper inspection and timely repair or replacement of damaged drainage pipes are essential to avoid further issues such as soil erosion and water damage. Seek professional assistance for complex or severe damage.
Read more: How To Run Drainage Pipe Under A Driveway
Tools and Materials Needed
Before you begin cleaning out the drainage pipe under your driveway, gather the necessary tools and materials. Having these items on hand will ensure a smooth and efficient process. Here’s what you’ll need:
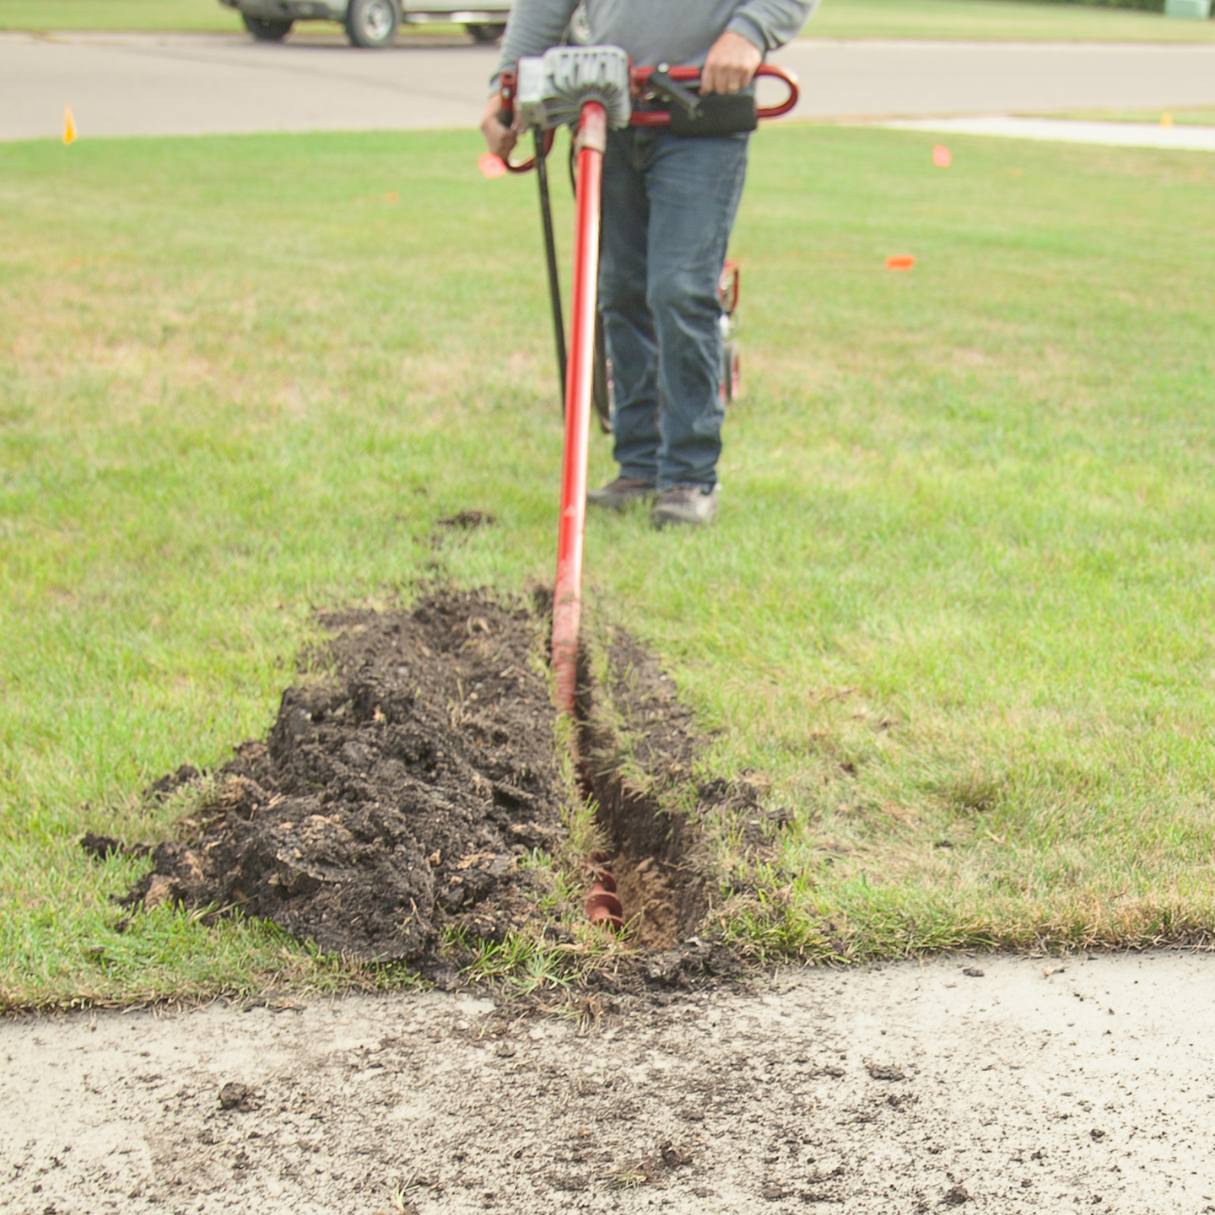
- Shovel: A sturdy shovel will help you dig around the area where the drainage pipe is located.
- Pipe Locator: If you’re having trouble locating the exact position of the drainage pipe, a pipe locator will come in handy.
- Drain Snake or Auger: These tools are essential for removing clogs and blockages from the drainage pipe.
- Water Hose: A garden hose with a high-pressure nozzle attachment will be used to flush out the pipe.
- Bucket or Container: You’ll need a container to collect any debris or water that comes out of the drainage pipe.
- PVC Pipe and Connectors (if necessary): If you find that the drainage pipe is damaged or leaking, you may need to replace sections of it. Having PVC pipes and connectors on hand will allow you to make necessary repairs.
- Gloves and Safety Glasses: It’s important to protect yourself while working. Wear gloves to keep your hands clean and safety glasses to shield your eyes from debris.
By having these tools and materials ready, you’ll be well-equipped to tackle the cleaning process more effectively and efficiently. It’s always better to be prepared before starting any DIY project.
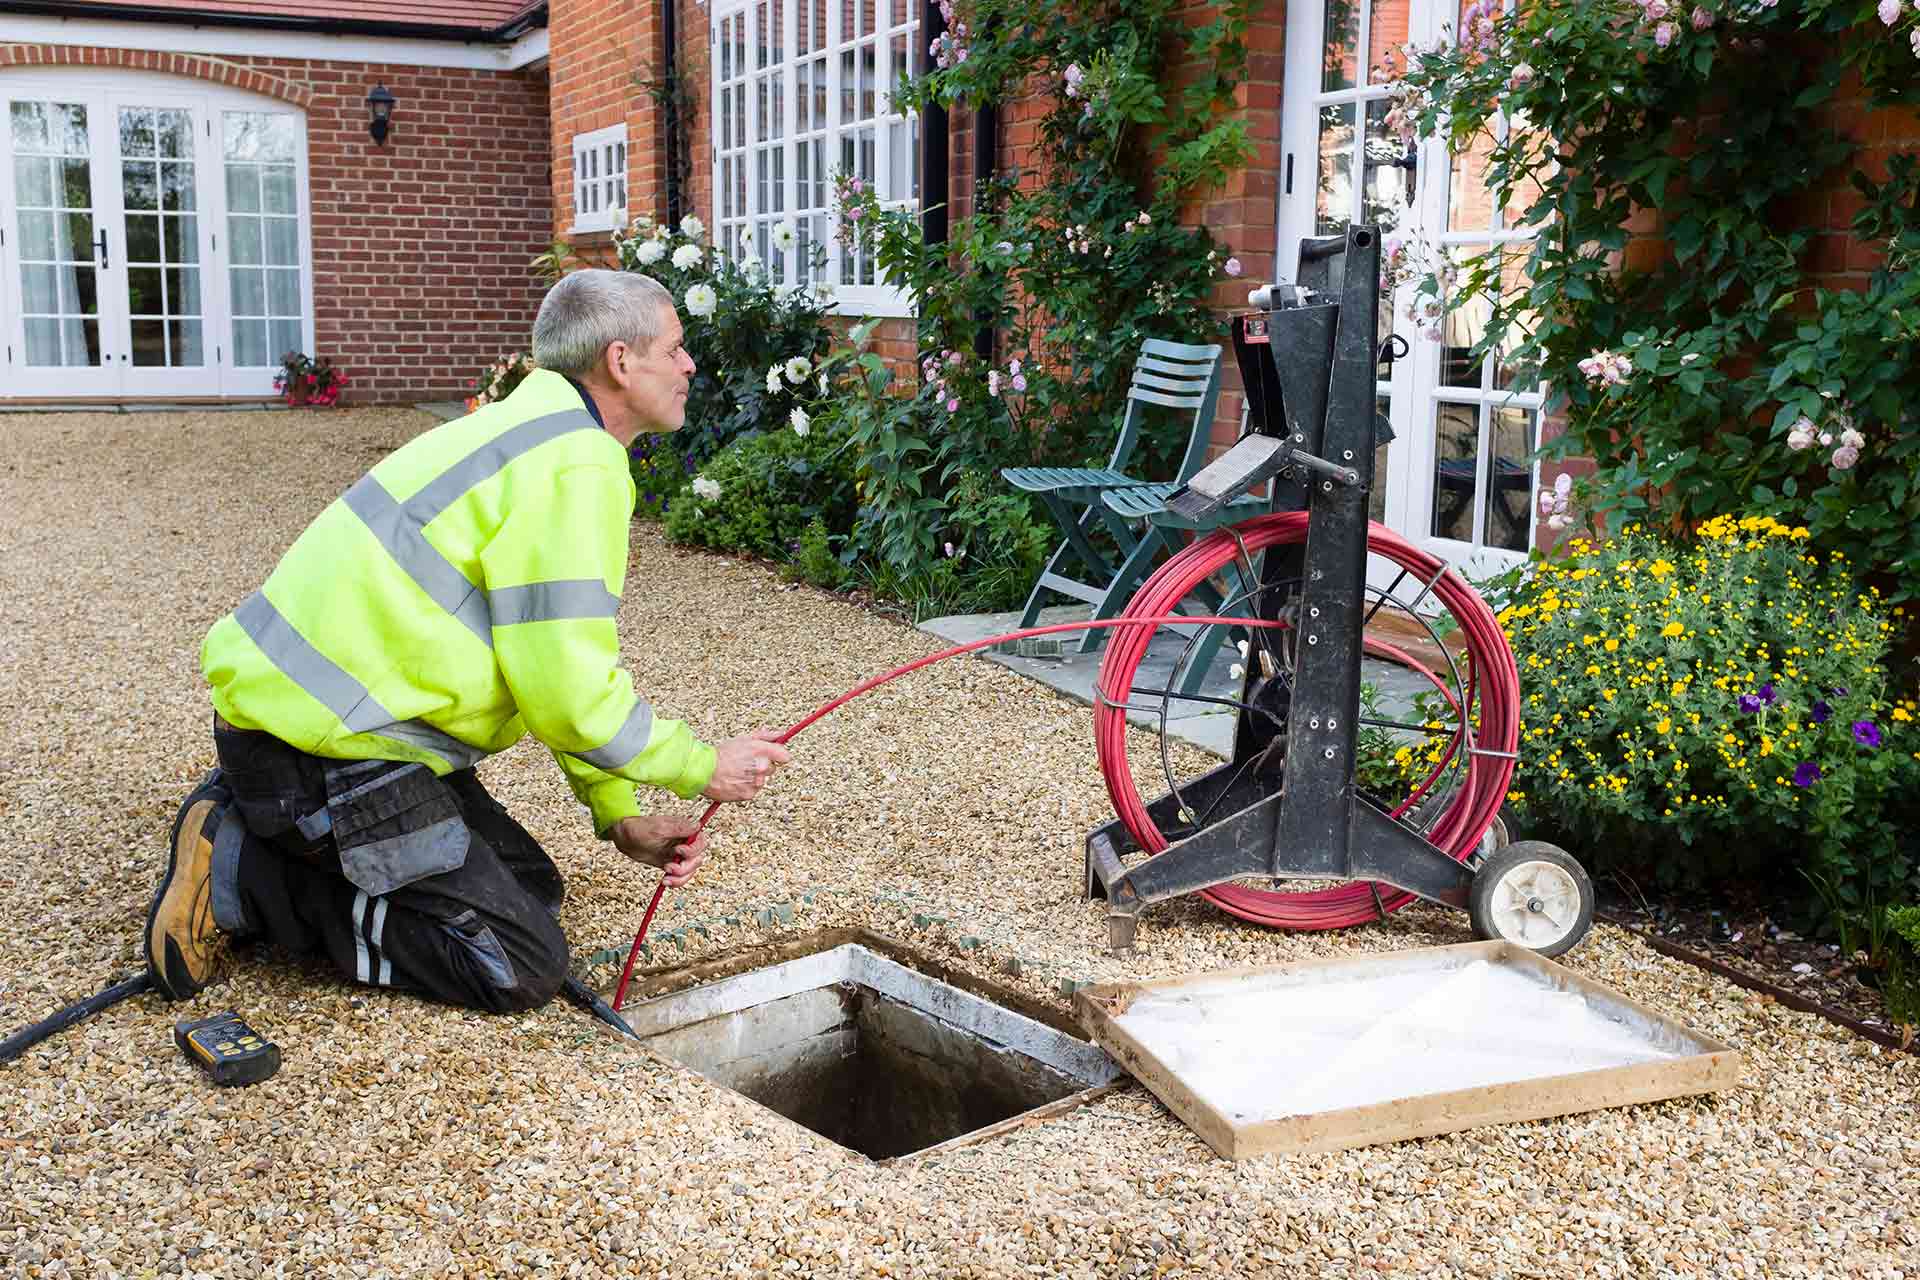
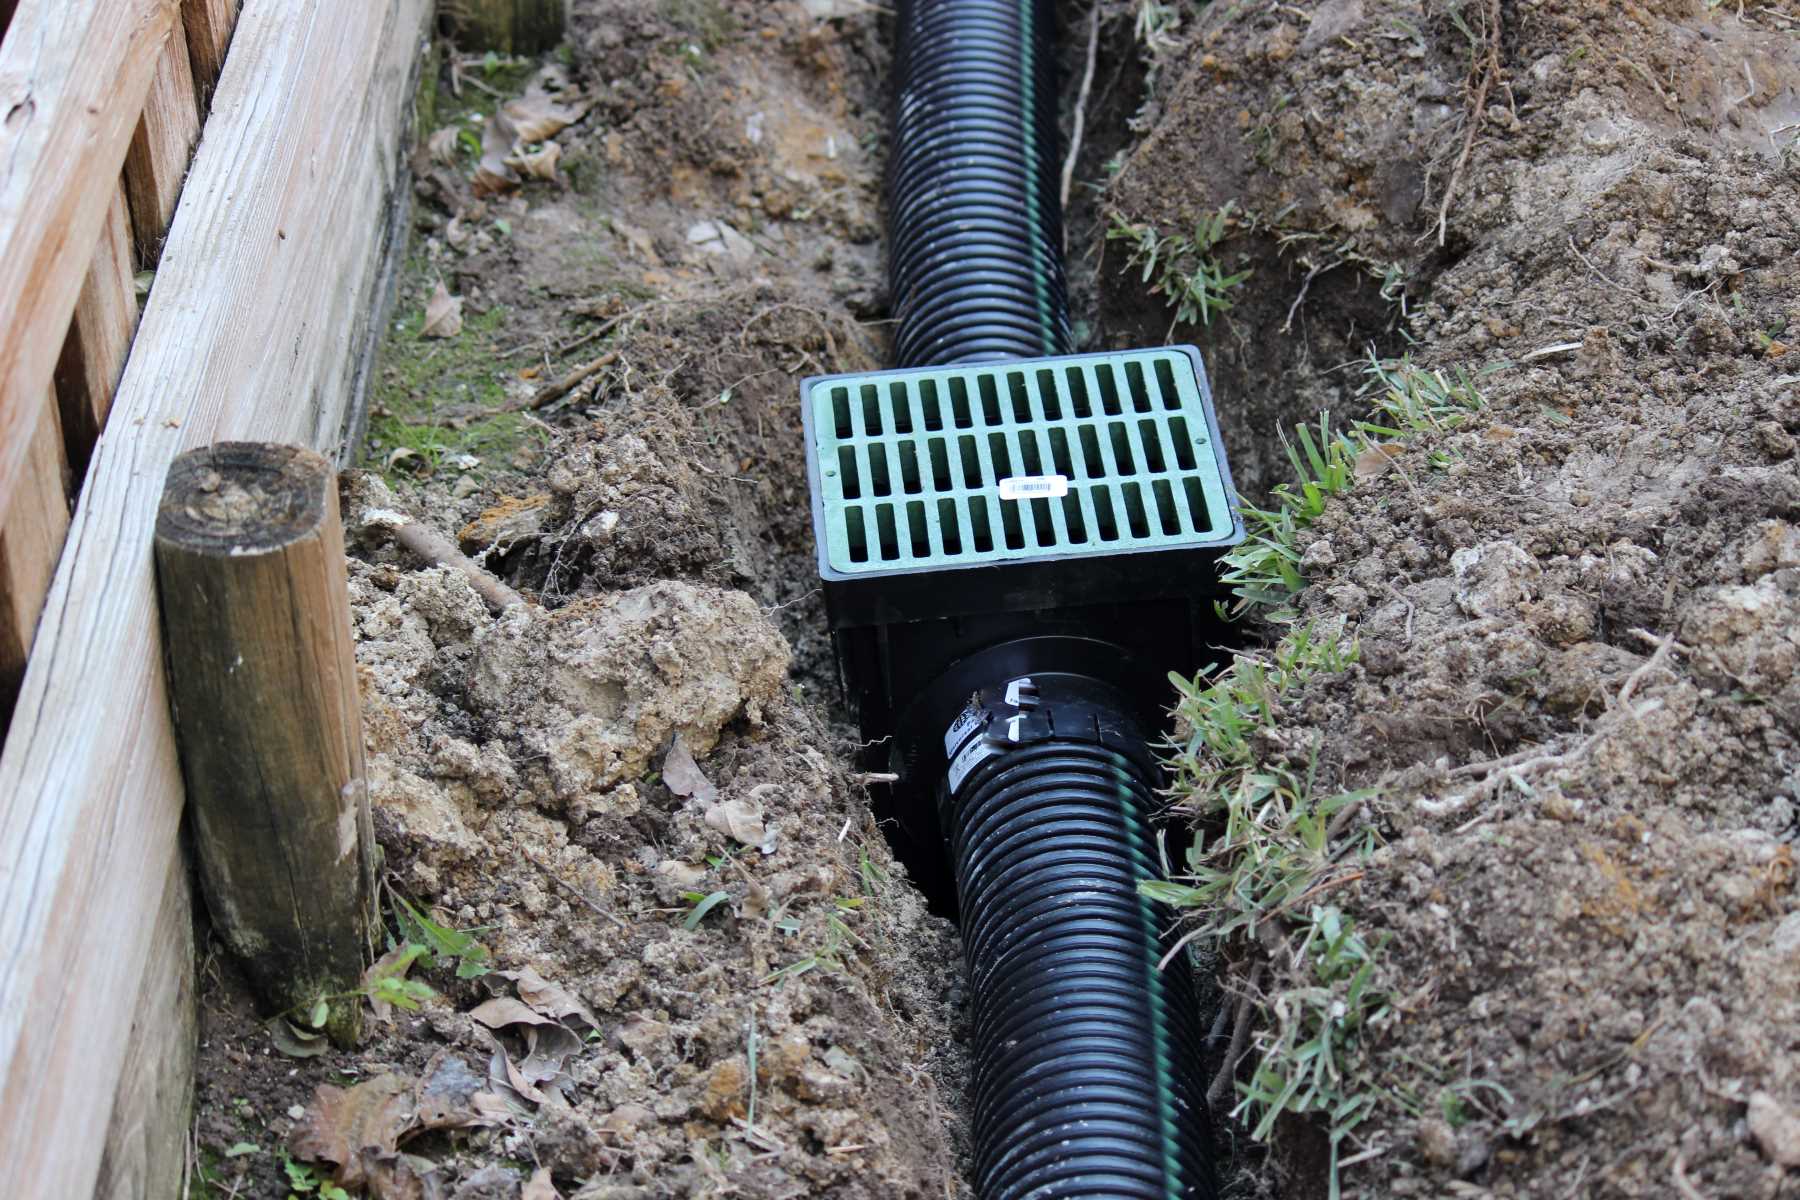
Step 1: Locate the Drainage Pipe Under the Driveway
The first step in cleaning out a drainage pipe under your driveway is to locate the pipe’s exact position. This will help you determine the area where you need to focus your cleaning efforts. Here’s how to do it:
- Consult the Drainage Plans: If you have access to the drainage plans of your property, they can provide valuable information about the location of the drainage pipe. These plans are typically available with your property’s records or from the municipality.
- Look for Drainage Outlets: Inspect your property to find any drainage outlets such as downspouts, storm drains, or French drains. These outlets are often connected to the main drainage pipe under the driveway.
- Use a Pipe Locator: If you’re having difficulty pinpointing the drainage pipe’s exact location, you can use a pipe locator. These devices use electromagnetic signals to detect the presence of underground pipes. Follow the manufacturer’s instructions to use the locator properly.
- Probe the Ground: If all else fails, you can physically probe the ground around your driveway to locate the drainage pipe. Use a metal rod or a long, sturdy stick to gently poke the ground, feeling for any resistance. Once you hit the drainage pipe, you’ll feel the obstruction.
Take your time during this step to ensure accurate identification of the drainage pipe’s location. This will help you avoid unnecessary digging or damage to other underground utilities.
Step 2: Clear Any Debris or Blockages near the Drainage Pipe
Once you have located the drainage pipe under your driveway, it’s essential to clear any debris or blockages near the pipe’s entrance. This will help ensure smooth water flow and prevent further clogging. Follow these steps to clear the area around the drainage pipe:
- Remove Obstacles: Clear away any objects or obstacles that may be obstructing your access to the drainage pipe. This could include rocks, plants, or other debris.
- Excavate the Area: Carefully use a shovel to dig around the area where the drainage pipe is located. Start by removing the top layer of soil and gradually go deeper until you uncover the pipe.
- Inspect for Debris: Once the pipe is exposed, visually inspect it for any visible debris, such as leaves, twigs, or dirt. Use a gloved hand or a small brush to remove the debris from the pipe’s entrance.
- Clear Vegetation: If there is any vegetation growing near the drainage pipe, trim it back or remove it altogether. Overgrown plants can contribute to blockages and hinder proper water flow.
Clearing the area around the drainage pipe will not only make it easier to access but also prevent future blockages. Proper maintenance of the surrounding area is vital for the overall health and effectiveness of your drainage system.
Step 3: Use a Drain Snake or Auger to Remove Clogs
If you’ve cleared the area around the drainage pipe and still experience slow water flow or signs of blockage, it’s time to utilize a drain snake or auger to remove any clogs. These tools are designed to break down and dislodge stubborn debris that may be obstructing the pipe. Follow these steps to effectively use a drain snake or auger:
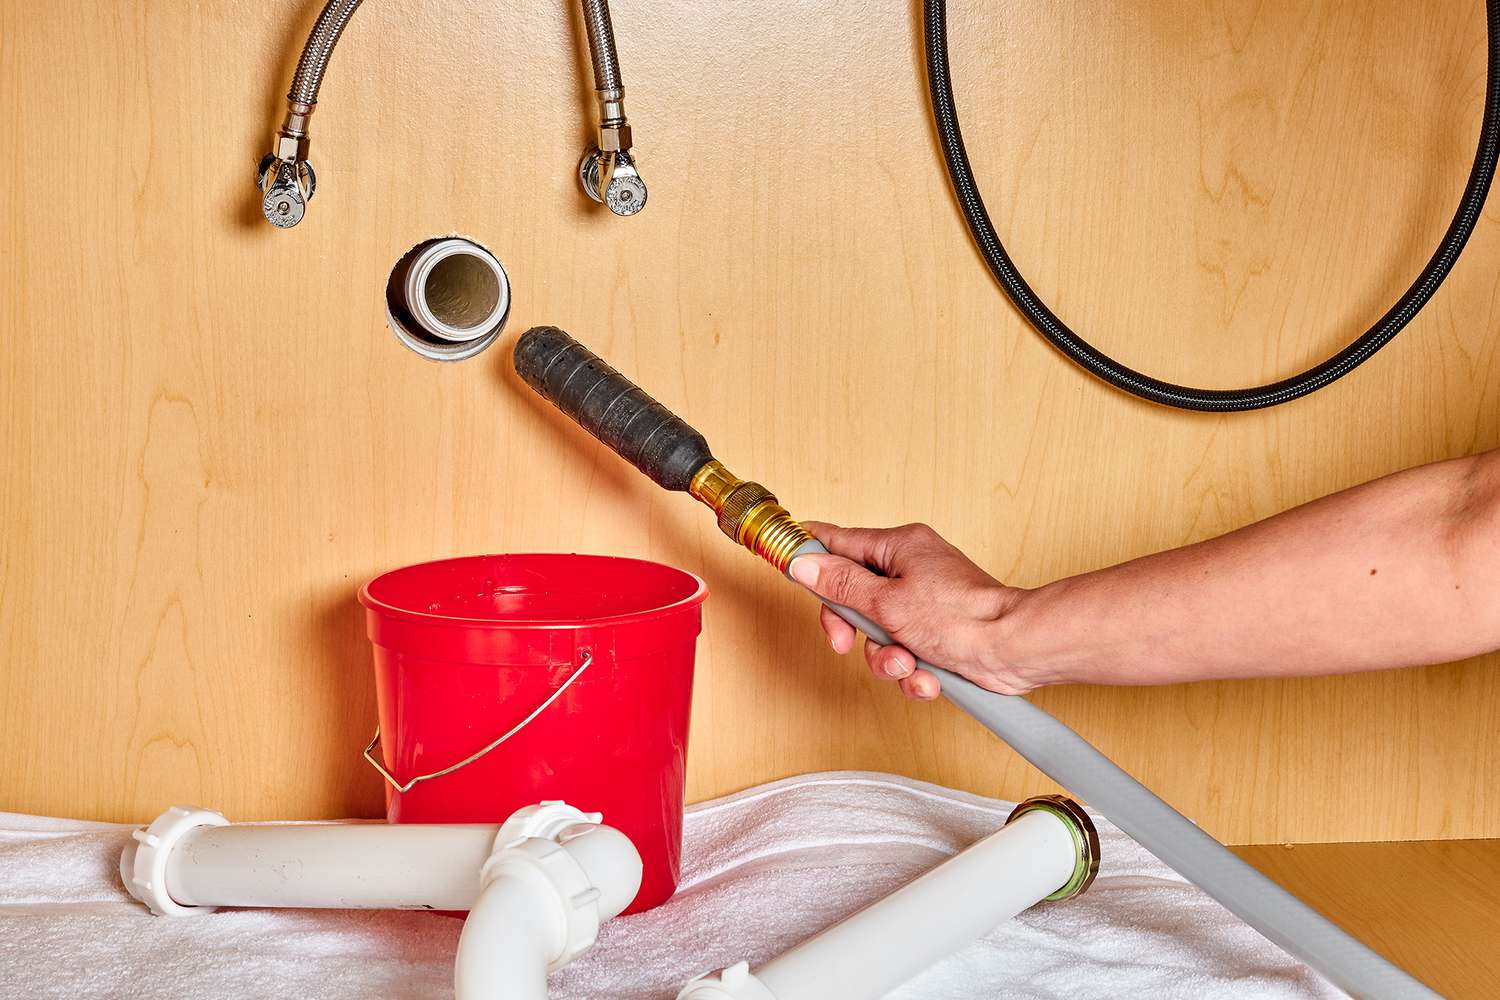
- Choose the Right Tool: Determine the appropriate drain snake or auger for the job based on the size and type of your drainage pipe. Consider renting or purchasing a tool with a length that can reach the clogged area.
- Feed the Snake or Auger: Insert the drain snake or auger into the drainage pipe’s entrance. Slowly feed it through while turning the handle clockwise. Apply gentle pressure to help break through any blockages.
- Break Up the Clog: Once the drain snake or auger reaches the clogged area, rotate and maneuver it back and forth to break up the debris. Continue this motion until you feel the resistance lessen, indicating that the clog is clearing.
- Retract the Tool: Slowly retract the drain snake or auger from the pipe, keeping the debris trapped on the tool’s tip or within the spiral coils. Avoid yanking it out abruptly, as this may cause debris to fling back into the pipe.
- Inspect for Remaining Debris: After removing the drain snake or auger, visually inspect the tip or coils for any remaining debris. Use a brush or cloth to clean off any stuck material. Dispose of the debris properly.
Using a drain snake or auger can effectively dislodge clogs and restore proper water flow in your drainage pipe. However, if the clog persists or the blockage seems severe, it may be necessary to seek professional assistance to avoid further damage to the pipe.
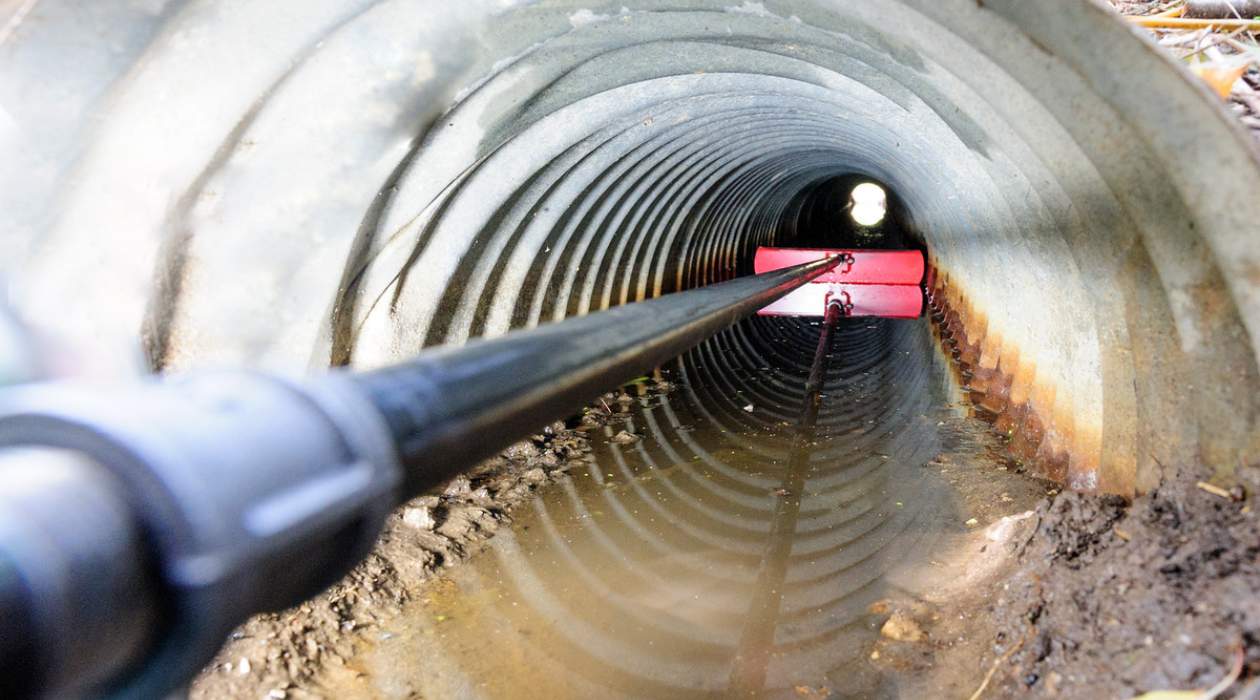
Use a drain snake or hydro-jet to clear out debris and clogs in the drainage pipe under your driveway. Be sure to wear protective gear and follow safety precautions.
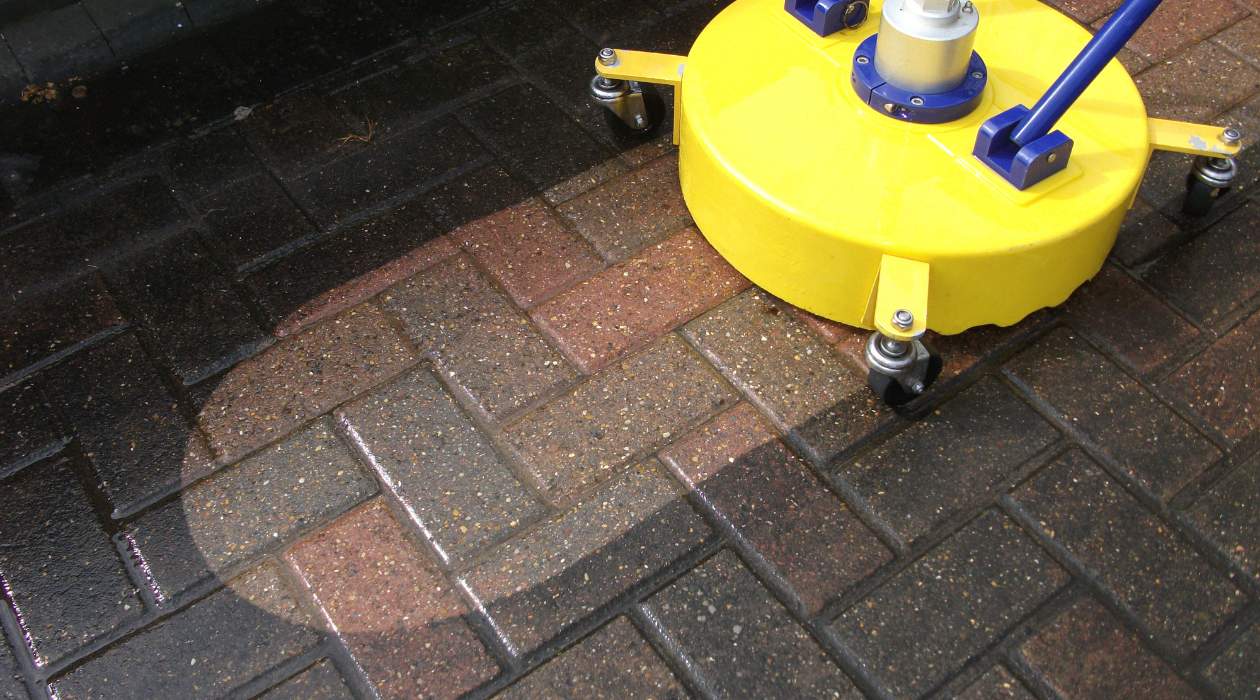
Step 4: Flush the Drainage Pipe with Water
After clearing out any blockages with a drain snake or auger, it’s important to flush the drainage pipe with water to remove any remaining debris and ensure proper flow. Flushing the pipe will help remove loosened particles and improve its overall functionality. Follow these steps to flush the drainage pipe effectively:
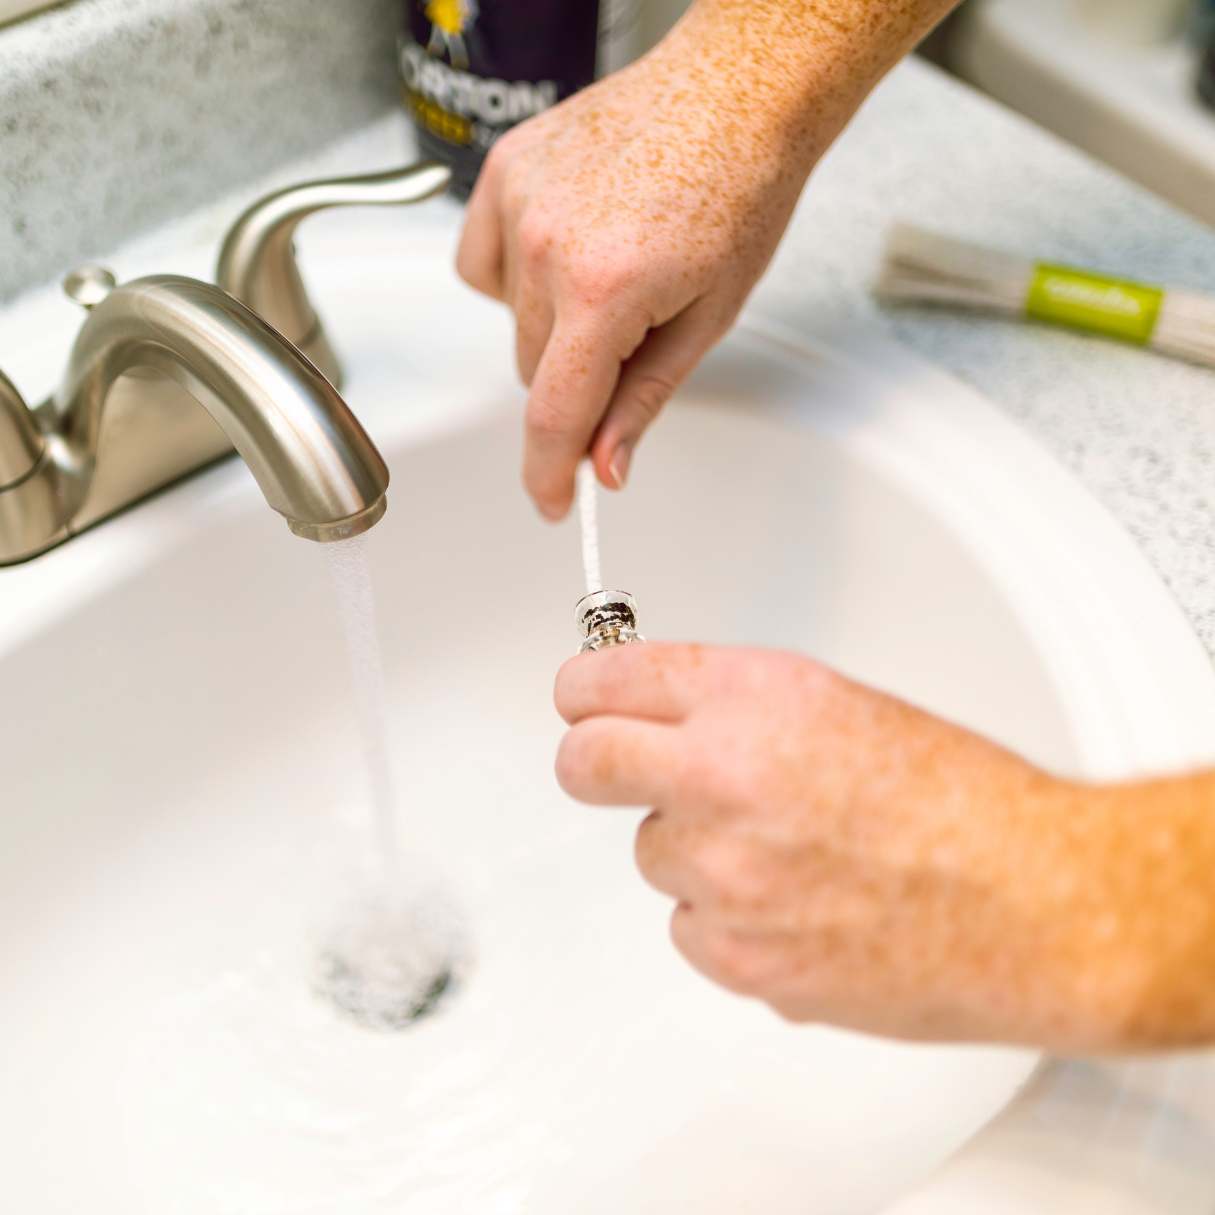
- Prepare the Water Source: Connect a high-pressure nozzle to a garden hose and attach it securely. Ensure that the water source is turned on and ready for use.
- Insert the Hose: Insert the nozzle end of the garden hose into the drainage pipe’s entrance. Push it in as far as possible, ensuring a secure fit to minimize water leakage.
- Turn on the Water: Turn on the water supply, gradually increasing the pressure to create a strong flow. The water should flow through the pipe, dislodging any remaining debris in its path.
- Monitor the Water Flow: Keep an eye on the water that comes out of the drainage pipe. Observe its color and clarity. If the water remains murky or there are signs of further blockages, there may be an underlying issue that requires professional attention.
- Continue Flushing: Allow the water to flow through the drainage pipe for several minutes, thoroughly flushing out any remaining debris. Repeat the process if necessary, until the water runs clear and free of obstructions.
Flushing the drainage pipe with water is an essential step to ensure the removal of all loosened debris and to optimize its functionality. A proper flush will help maintain the longevity and effectiveness of your drainage system.
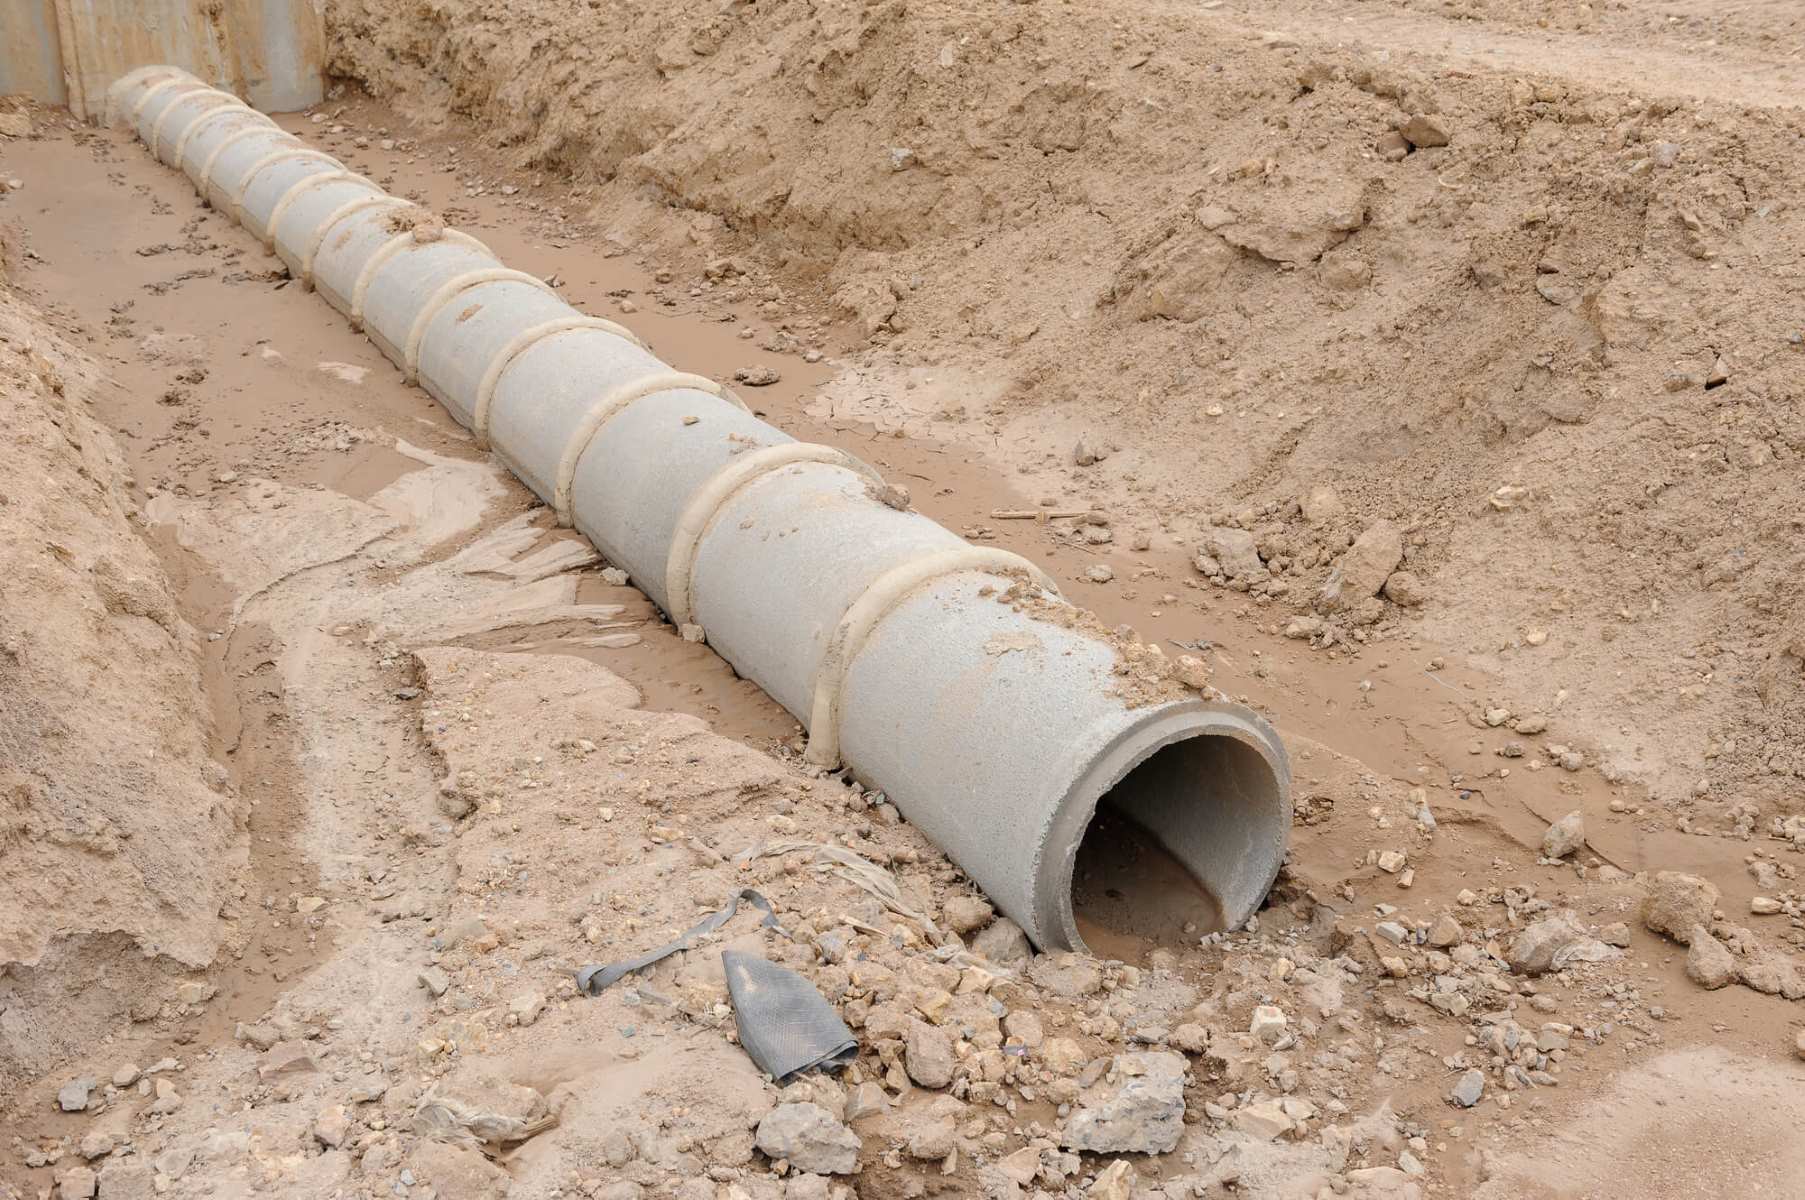
Step 5: Inspect the Drainage Pipe for Damage or Leaks
Once you have completed flushing the drainage pipe, it’s crucial to thoroughly inspect it for any signs of damage or leaks. Identifying and addressing issues early on will prevent further complications and ensure the proper functioning of your drainage system. Follow these steps to inspect the drainage pipe:
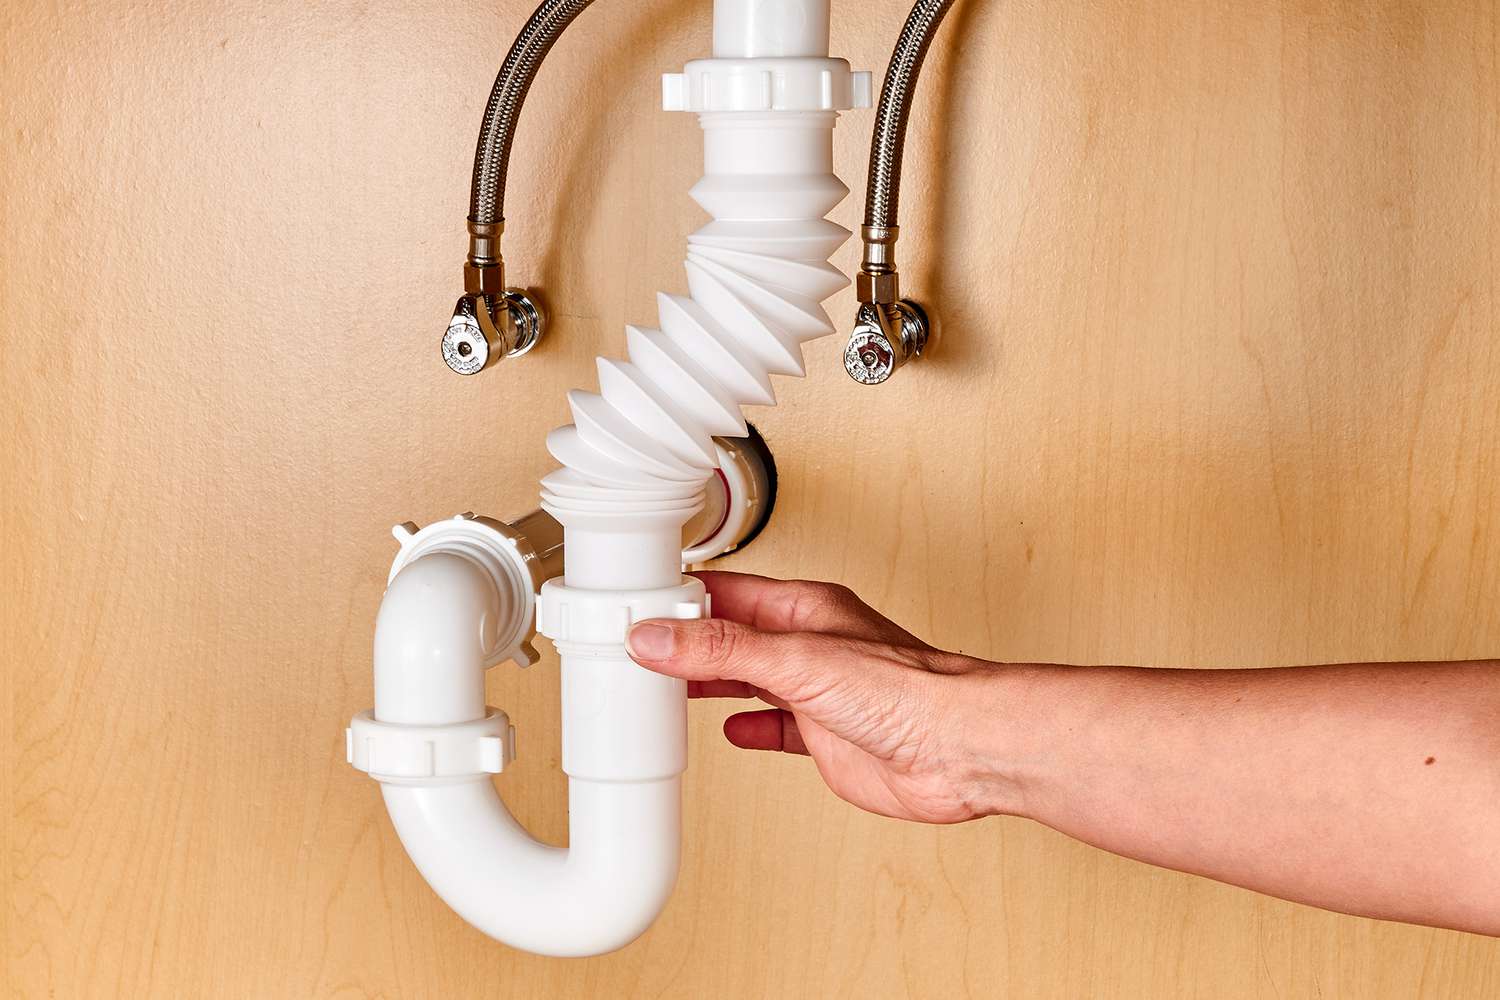
- Visually Examine the Pipe: Carefully scrutinize the entire length of the drainage pipe, looking for any visible cracks, fractures, or signs of wear and tear. Pay close attention to joints and connections, as these areas are prone to leaks.
- Feel for Moisture: Run your hand along the pipe’s surface to check for any dampness or moisture. Wet spots or water droplets may indicate a leak or a damaged section of the pipe.
- Check for Settling or Misalignments: Inspect the pipe’s alignment to ensure that it has not shifted or settled over time. Misaligned sections can cause water to pool or divert flow, leading to drainage issues.
- Note Unusual Odors: Take note of any unpleasant or foul odors emanating from the drainage pipe. This could be an indication of stagnant water or potential sewer line issues.
If you notice any concerning issues during the inspection, it is recommended to consult a professional plumber or drainage expert. They can assess the extent of the damage and provide guidance on the necessary repairs or replacements.
Step 6: Repair or Replace the Drainage Pipe if Necessary
After inspecting the drainage pipe and identifying any damage or leaks, it’s essential to take appropriate action to restore the pipe’s functionality. Depending on the severity of the issues, you may need to repair or replace sections of the drainage pipe. Follow these guidelines to address the problems effectively:
- Minor Repairs: If you notice minor cracks or leaks in the drainage pipe, you can attempt to repair them with waterproof sealants or pipe repair kits available at hardware stores. Follow the manufacturer’s instructions carefully to ensure a proper and secure fix.
- Severe Damage: In the case of significant damage, such as extensive cracks, fractures, or collapsed sections of the drainage pipe, repairing may not be a viable option. It may be necessary to replace the damaged section or the entire pipe.
- Professional Assistance: If you’re unsure about the best course of action or lack the necessary skills, it’s recommended to consult a professional plumber or drainage specialist. They have the expertise and tools to assess the situation and provide the most appropriate solution.
- Proper Installation: Whether you’re repairing or replacing the drainage pipe, ensure that the new components are installed correctly. Utilize proper fittings, connectors, and adhesives to create secure and watertight connections.
Remember, it’s crucial to address any damage or leaks in the drainage pipe promptly to avoid further issues, such as soil erosion or water damage to your property. Regular inspections and maintenance can help prevent significant problems and extend the lifespan of your drainage system.
Conclusion
Maintaining a clear and functional drainage pipe under your driveway is essential for preventing water damage and maintaining the overall health of your property. By following the steps outlined in this guide, you can effectively clean out the drainage pipe and restore proper water flow. Here’s a quick recap of the process:
- Locate the drainage pipe under the driveway, using drainage plans or a pipe locator if necessary.
- Clear any debris or blockages near the drainage pipe by excavating the area and removing obstacles.
- Use a drain snake or auger to break up and remove any stubborn clogs within the drainage pipe.
- Thoroughly flush the drainage pipe with water to remove loosened debris and improve flow.
- Inspect the drainage pipe for any signs of damage, leaks, or misalignments.
- Repair or replace the drainage pipe as needed, consulting a professional for complex or severe damage.
Remember to practice proper safety precautions throughout the cleaning and inspection process. Wear gloves, safety glasses, and exercise caution when operating tools or excavating the area. If you encounter any challenges or are unsure about how to proceed, it’s always best to seek professional assistance.
Regular maintenance and cleaning of your drainage system, including the drainage pipe under the driveway, will help ensure the efficient flow of water and protect your property from potential water-related issues. By investing time and effort in this essential task, you can enjoy a well-functioning drainage system that keeps your property safe and dry.
Frequently Asked Questions about How To Clean Out Drainage Pipe Under Driveway
Was this page helpful?
At Storables.com, we guarantee accurate and reliable information. Our content, validated by Expert Board Contributors, is crafted following stringent Editorial Policies. We're committed to providing you with well-researched, expert-backed insights for all your informational needs.


0 thoughts on “How To Clean Out Drainage Pipe Under Driveway”