Articles
How To Remove Snow From A Driveway
Modified: August 27, 2024
Looking for articles on how to remove snow from your driveway? Find expert tips and advice to clear your driveway quickly and efficiently.
(Many of the links in this article redirect to a specific reviewed product. Your purchase of these products through affiliate links helps to generate commission for Storables.com, at no extra cost. Learn more)
Introduction
Winter brings along with it the beauty of snow-covered landscapes and cozy evenings by the fire. However, it also comes with the task of removing snow from driveways. Ensuring a clear and safe driveway is essential for mobility and preventing accidents during the snowy season.
In this article, we will explore the importance of snow removal, the tools and equipment needed, and the step-by-step process of removing snow from your driveway. Whether you choose to do it manually or with the help of a snow blower, we have got you covered. We will also discuss the use of ice melt and methods to prevent ice buildup on your driveway.
By following these guidelines, you can keep your driveway clear, safe, and ready to use throughout the winter season.
Key Takeaways:
- Clearing snow from your driveway is crucial for safe mobility, preventing damage, and complying with regulations. Use the right tools, prepare your driveway, and apply ice melt to maintain a safe and accessible surface.
- Whether removing snow manually or with a snow blower, proper technique and safety gear are essential. Prevent ice buildup by applying ice melt and implementing preventive measures for a clear and safe driveway.
Read more: How To Keep Snow From Drifting On Driveway
Importance of Snow Removal
Snow removal from your driveway is more than just a chore; it is a crucial task that ensures safety and accessibility during winter. Here are a few reasons why snow removal is of utmost importance:
- Safe mobility: Accumulated snow and ice on your driveway can pose a significant safety hazard. Walking or driving on a snow-covered surface increases the risk of slips, falls, and accidents. Clearing the snow allows for safe and easy mobility for both pedestrians and vehicles.
- Prevents damage: Snow and ice buildup can cause damage to your driveway, especially when temperatures fluctuate. The weight of the snow and the freezing and thawing cycles can lead to cracks, potholes, and other surface damage. Regular snow removal helps safeguard the integrity of your driveway.
- Accessibility: A snowed-in driveway can make it challenging to access your home, particularly for emergency services or visitors. Clearing the snow ensures that your property is accessible to everyone, including delivery services, repair professionals, and guests.
- Compliance with local regulations: Many cities and municipalities have regulations in place requiring homeowners to clear their driveways and sidewalks of snow and ice within a certain timeframe. Failure to comply with these regulations can result in fines or penalties. It is essential to stay informed about the snow removal requirements in your area.
- Prevents ice buildup: Removing snow promptly helps prevent the formation of ice on your driveway. Ice can make your driveway extremely slippery and dangerous for both walking and driving. By clearing the snow, you minimize the chances of ice formation and reduce the risk of accidents.
Now that we understand the importance of snow removal, let’s explore the tools and equipment you’ll need to effectively clear your driveway.
Tools and Equipment Needed
Having the right tools and equipment can make snow removal from your driveway a much easier and more efficient task. Here are some essential tools and equipment you’ll need:
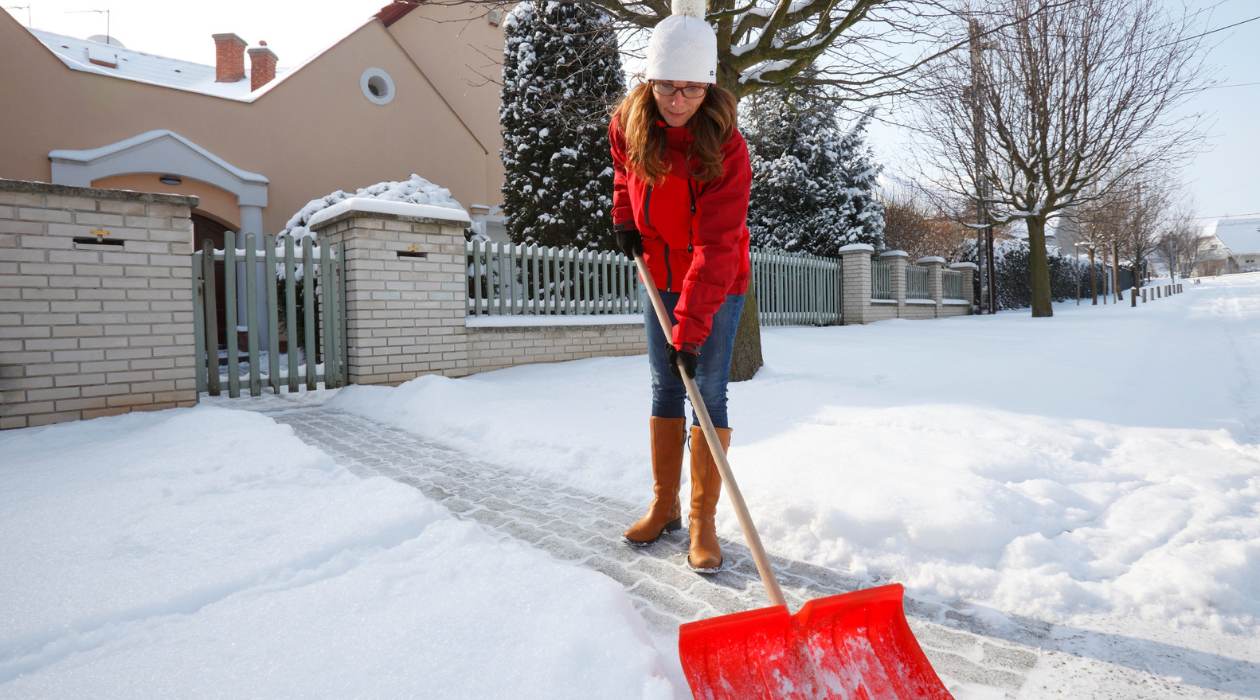
- Snow shovel: A sturdy and ergonomic snow shovel is a must-have for manually removing snow from your driveway. Look for a shovel with a wide blade and a curved handle for better leverage and reduced strain on your back.
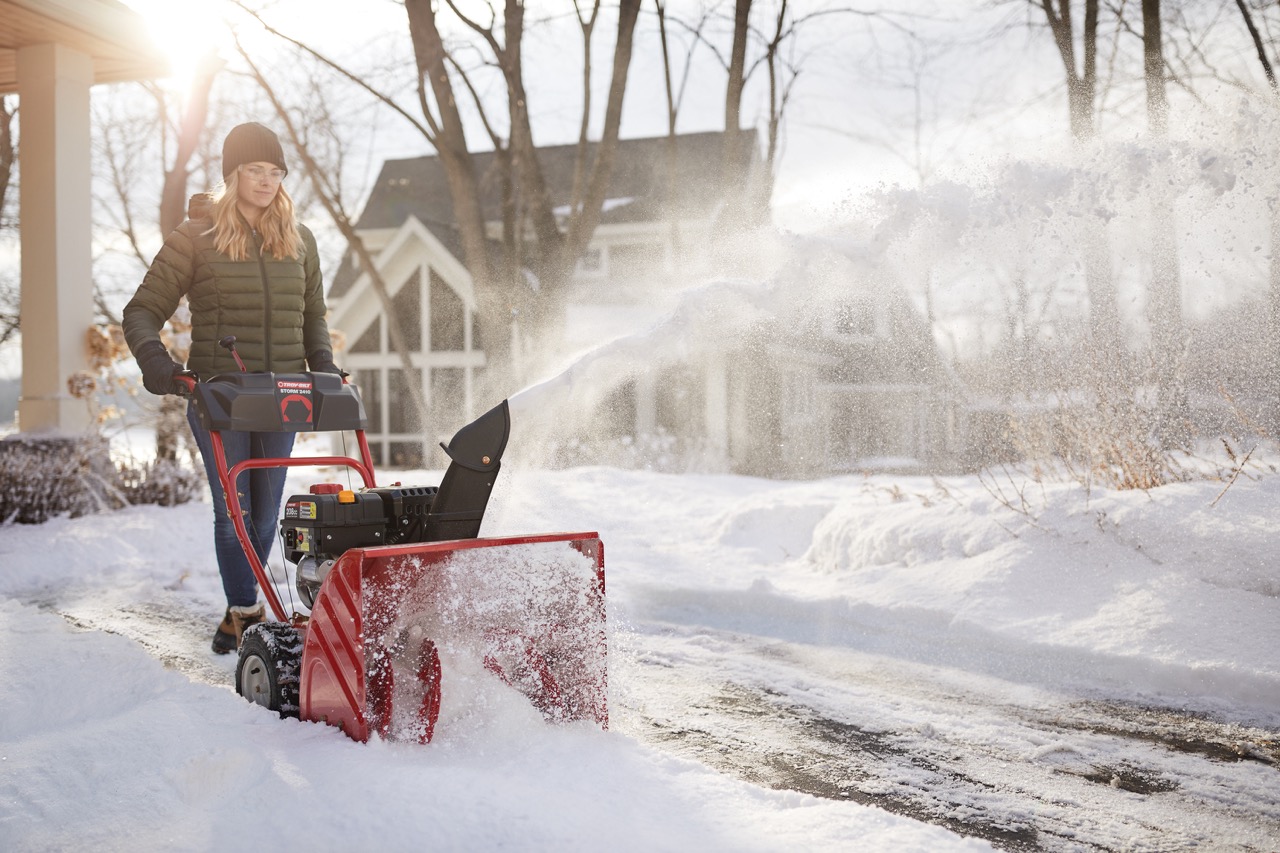
- Snow blower: If you have a large driveway or prefer a more effortless snow removal method, investing in a snow blower is a great option. Choose a snow blower that suits the size of your driveway and the amount of snowfall in your area.
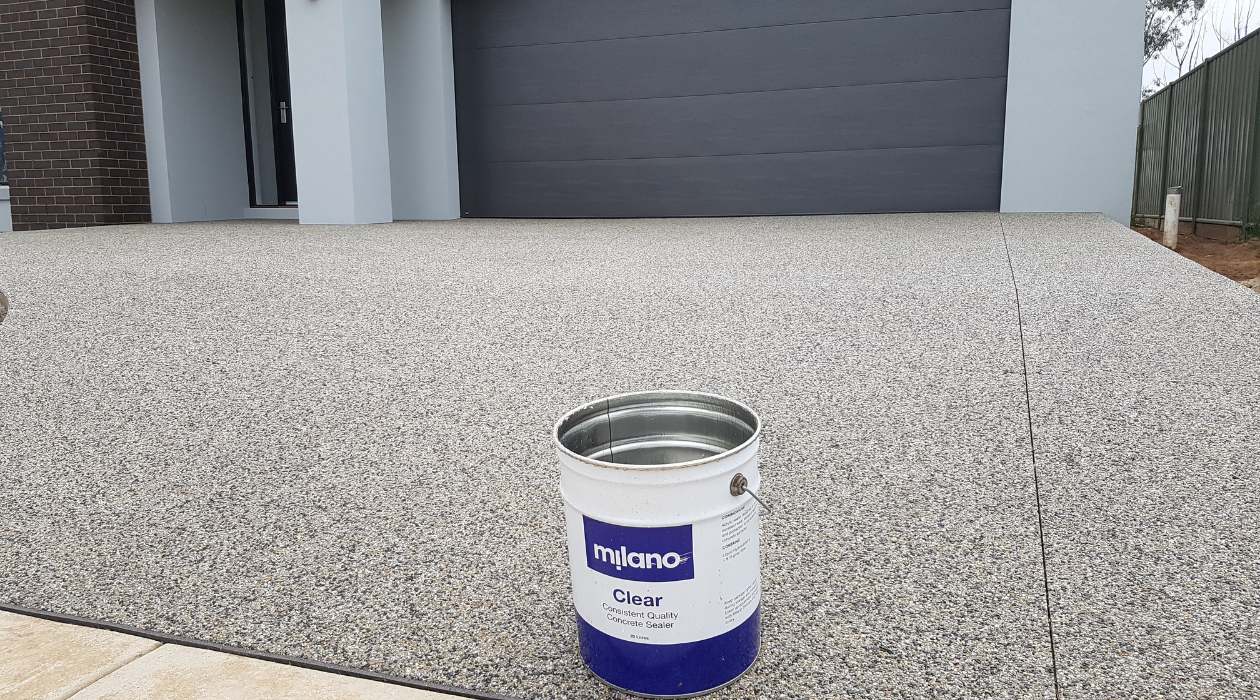
- Ice melt or de-icer: Ice melt or de-icer is an effective way to melt ice and prevent it from forming on your driveway. Choose an ice melt product that is safe for your driveway surface and environmentally friendly.
- Sidewalk salt: Sidewalk salt is another option for preventing ice buildup on your driveway. Spread it evenly on your cleared driveway to melt any remaining ice and provide traction.
- Snow pusher: A snow pusher is a long-handled tool with a wide blade that you can use to push and clear large amounts of snow from your driveway quickly. It is especially useful if you have heavy, wet snow to deal with.
- Snow brush and ice scraper: These tools come in handy for clearing snow off your vehicle or removing ice from your windshield before hitting the road.
- Protective gear: Don’t forget to wear appropriate protective gear such as warm clothing, gloves, and non-slip boots to keep yourself safe and comfortable while working in cold weather conditions.
Now that you have the necessary tools and equipment, let’s move on to preparing your driveway for snow removal.
Preparing the Driveway
Before you start removing snow from your driveway, there are a few steps you can take to make the process more efficient and ensure better results:
- Clear any obstacles: Remove any items or obstacles from your driveway that may obstruct the snow removal process. This includes vehicles, bikes, garbage cans, and any other objects that could impede your progress.
- Apply a barrier: If you anticipate heavy snowfall, consider applying a barrier along the edges of your driveway. This can be done using stakes or snow fencing to prevent snow from encroaching onto your cleared area.
- Apply a non-stick agent: To make snow removal easier, you can spray a non-stick agent or lubricant on your shovel or snow blower chute. This will help prevent snow from sticking and clogging the equipment.
- Remove loose snow: If there is a light dusting of snow on your driveway, use a broom or a snow brush to quickly remove it before starting the main snow removal process. This will make the task more manageable.
- Clear gutters and drains: Ensure that your gutters and drains are clear of any debris to allow proper water flow as the snow melts. This will prevent water buildup that could cause additional ice problems later.
- Turn off irrigation systems: If you have an irrigation system that runs through your driveway, make sure to turn it off before the snowfall. This will prevent any damage to the system and avoid water freezing on the driveway.
- Keep a safe distance from structures: When clearing snow with a shovel or snow blower, it’s important to keep a safe distance from structures such as walls, fences, and cars to prevent accidental damage.
By following these preparation steps, you’ll be ready to tackle the snow removal process efficiently and effectively. Next, we will explore the methods of removing snow from your driveway, whether by manual means or with the help of a snow blower.
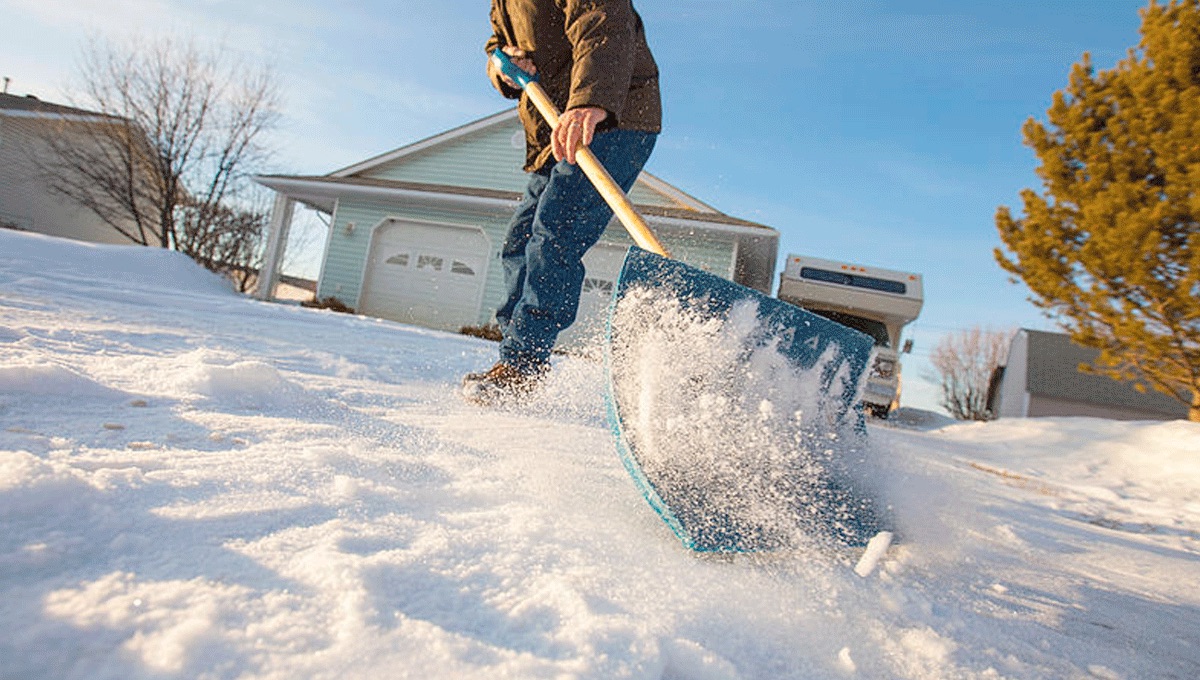
Removing Snow Manually
If you prefer to remove snow from your driveway manually, here is a step-by-step guide to help you do it effectively:
- Dress appropriately: Put on warm clothing, gloves, and non-slip boots to protect yourself from the cold and ensure a safe work environment.
- Start from the center: Begin shoveling at the center of your driveway and work your way outward. This allows you to create a clear path for walking and a place to pile the snow.
- Push, don’t lift: Instead of lifting the snow with your shovel, push it forward whenever possible. This technique reduces strain on your back and minimizes the effort required.
- Use proper technique: Bend at the knees and lift with your legs when you need to lift the snow. Avoid twisting your body and throwing the snow over your shoulder, as this can lead to injuries.
- Pace yourself: Take breaks as needed to rest and avoid overexertion. Snow removal can be physically demanding, so listen to your body and don’t push yourself too hard.
- Clear snow from the entire driveway: Continue shoveling until you have cleared the entire driveway, including the areas near the entrance, sidewalk, and garage.
- Remove snow in layers: If there is a significant amount of snow, it may be more manageable to remove it in layers rather than trying to clear it all at once.
- Dispose of the snow: Create designated piles where you can safely deposit the shoveled snow away from walkways and driveways. Be cautious not to block any pathways or obstruct visibility.
- Apply ice melt: After manually removing the snow, apply an ice melt product or de-icer to prevent ice formation and improve traction on the cleared areas of your driveway.
Removing snow manually can be a great workout, but it requires physical effort and time. If you prefer a more efficient and time-saving method, using a snow blower might be the way to go. Let’s explore how to use a snow blower to clear your driveway in the next section.
Use a snow shovel or snow blower to clear the snow from your driveway. Start from the top and work your way down, pushing the snow to the sides. Apply ice melt or sand to prevent slippery surfaces.
Read more: How To Remove Snow From Roof
Using a Snow Blower
A snow blower is a powerful and efficient tool for removing snow from your driveway. Here is a step-by-step guide on how to use a snow blower effectively:
- Read the manual: Familiarize yourself with the manufacturer’s instructions and safety guidelines provided in the manual before operating the snow blower.
- Prepare the snow blower: Ensure that the snow blower is fueled up and in proper working condition. Check the oil level, fuel level, and any other specific requirements mentioned in the manual.
- Clear the area: Remove any obstacles or loose snow from the driveway that could interfere with the snow blower’s operation. This includes rocks, large debris, and deep piles of snow.
- Start at the edge: Begin from the edge of your driveway and work your way inward in straight, overlapping rows. This allows for complete coverage and efficient snow removal.
- Adjust the height: Adjust the height of the snow blower to match the depth of the snow. Start with a higher setting and gradually lower it as you progress to ensure the most effective snow removal.
- Move at a steady pace: Push the snow blower forward at a consistent speed to allow for proper snow discharge. Avoid rushing or moving too slowly, as it can affect the blower’s performance.
- Direct the snow: Pay attention to where the discharged snow is being directed. Aim it away from walkways, roads, and neighboring properties to prevent any issues or obstructions.
- Clean the chute: If the snow blower chute gets clogged, turn off the engine and use a broom handle or a chute clearing tool to remove the obstruction. Never attempt to clear a clog with your hands.
- Finish off the edges: Once you have cleared the main area, go back and clear the edges, entrances, and other hard-to-reach spots. This ensures a thorough snow removal and a clean driveway.
- Apply ice melt: After using the snow blower, apply ice melt or de-icer to prevent ice formation and enhance traction on the cleared surface of your driveway.
Using a snow blower can save you time and energy, especially when dealing with heavy snowfall. However, always prioritize safety by wearing protective gear and following the manufacturer’s instructions. Next, let’s discuss how to apply ice melt to prevent ice buildup on your driveway.
Applying Ice Melt
Ice melt is an effective tool for preventing ice buildup on your driveway. Here are the steps to properly apply ice melt:
- Choose the right ice melt: Select an ice melt product that is safe for your driveway surface and environmentally friendly. Read the label to ensure it is suitable for the conditions in your area.
- Clear the snow: Before applying ice melt, make sure to remove any existing snow from your driveway. This will allow the ice melt to directly work on the ice surface and provide better results.
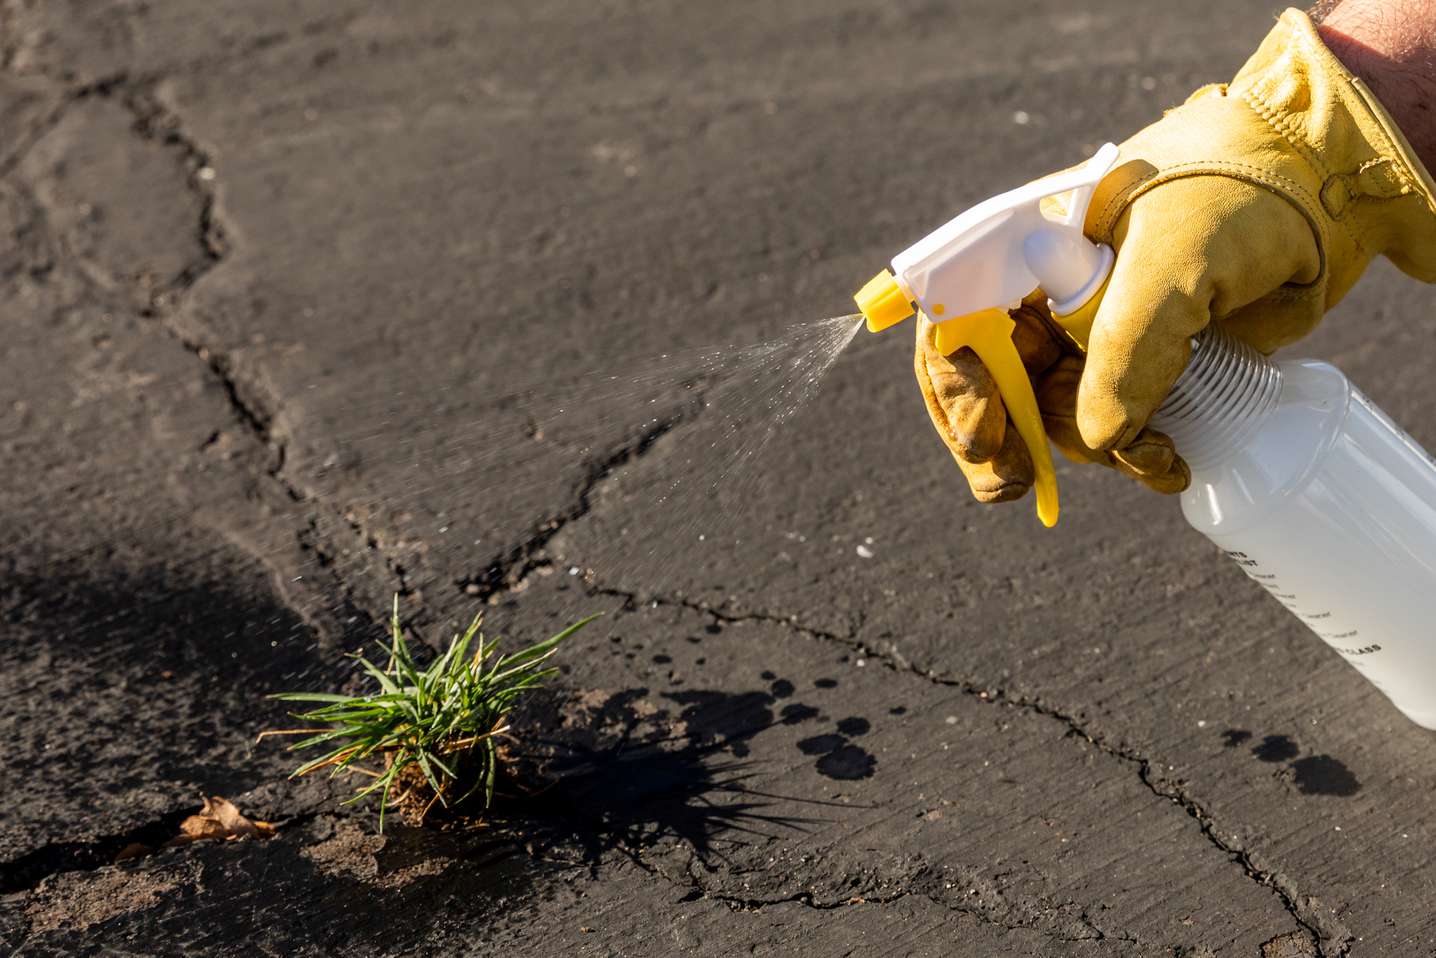
- Wear protective gear: Put on gloves to protect your hands from the ice melt product, as some may contain chemicals that can irritate the skin.
- Apply evenly: Use a spreader or your hand to distribute the ice melt evenly across the cleared surface of your driveway. Make sure to cover the entire area where ice may form.
- Follow instructions: Read the instructions provided with the ice melt product and follow the recommended application rate. Applying too much ice melt can be wasteful, and applying too little may not be effective.
- Avoid over-application: Be cautious not to apply ice melt to areas where it is not needed, such as vegetation or concrete surfaces that may be damaged by the chemicals. It is best to focus on the areas prone to ice formation.
- Allow time to work: Give the ice melt some time to work. It will gradually melt the ice and create a safer surface. Avoid walking or driving over the treated area immediately after application.
- Reapply if necessary: In cases of heavy ice buildup or prolonged icy conditions, you may need to reapply ice melt as directed by the product instructions. This will ensure continuous ice prevention and improved safety.
- Store safely: Properly seal and store the ice melt product in a dry place, away from moisture and children or pets. Follow any specific storage instructions mentioned on the product packaging.
Applying ice melt is an effective way to prevent ice formation and enhance traction on your driveway. By following these steps, you can maintain a safer and more accessible surface during winter. Finally, let’s explore some methods to prevent ice buildup on your driveway.
Preventing Ice Buildup
Preventing ice buildup on your driveway is essential for maintaining a safe and accessible surface during winter. Here are some methods to help prevent ice formation:
- Shovel and de-ice promptly: Remove snow as soon as possible after a snowfall to prevent it from compacting and turning into ice. Applying de-icer or ice melt after shoveling can further aid in preventing ice formation.
- Use a snow blower: A snow blower not only clears the snow but can also blow away any remaining snow particles from your driveway’s surface. This reduces the chances of ice forming and provides better traction.
- Create proper drainage: Ensure that your driveway has proper drainage to prevent water from pooling and freezing. Improve water flow by clearing gutters, downspouts, and drains of any debris or ice.
- Apply sand or cat litter: If you are concerned about using chemical ice melt products, you can spread sand or cat litter on your cleared driveway. These materials provide additional traction and help prevent slips and falls.
- Install a radiant heat system: Consider installing a radiant heat system beneath your driveway. This system warms the surface, preventing snow and ice from sticking and reducing the need for manual removal.
- Use heated mats or cables: Another option is to use heated mats or cables designed for melting snow and ice. These can be laid on top of your driveway and connected to a power source to provide continuous heat.
- Regularly inspect and repair: Regularly inspect your driveway for any cracks, potholes, or uneven areas that may hold water and lead to ice formation. Repair these issues promptly to maintain a smooth and ice-free surface.
- Trim overhanging branches: Trim any tree branches that hang over your driveway. This prevents falling snow and ice from accumulating on your driveway and reduces the chances of ice formation.
- Monitor weather conditions: Stay informed about changing weather conditions and upcoming snowfalls. Knowing when to take preventive action can help you stay ahead of the ice buildup and keep your driveway safer.
- Use caution when using de-icers: While de-icers are effective at melting ice, some can be harmful to concrete or vegetation. Read product labels and use them cautiously. Consider using environmentally-friendly alternatives if possible.
By implementing these preventive measures, you can significantly reduce ice buildup on your driveway and ensure a safer winter experience. Remember that regular maintenance and being proactive are key to preventing ice-related accidents.
Now that you are equipped with the knowledge to remove snow from your driveway, apply ice melt, and prevent ice buildup, you can confidently tackle winter’s challenges and enjoy a clear and accessible driveway throughout the season.
Conclusion
Removing snow from your driveway is not just a necessary task; it is a vital step in ensuring safety and accessibility during the winter season. By following the guidelines outlined in this article, you can effectively and efficiently remove snow, prevent ice buildup, and maintain a clear and safe driveway.
We discussed the importance of snow removal, including the benefits of safe mobility, preventing damage, ensuring accessibility, complying with regulations, and preventing ice buildup. We also explored the tools and equipment needed for snow removal, such as snow shovels, snow blowers, ice melt, and protective gear.
Preparing your driveway before snow removal by clearing obstacles and applying a non-stick agent can make the task easier. Whether you choose to remove snow manually or use a snow blower, we provided you with step-by-step instructions for both methods. Additionally, we covered the importance of applying ice melt to prevent ice formation and offered methods to prevent ice buildup on your driveway.
Remember, snow removal and ice prevention require regular maintenance and attention. Keep an eye on weather conditions, promptly remove snow, apply ice melt when needed, and take preventive measures to ensure a safe and accessible driveway throughout the winter season.
So, gear up with your snow shovels or snow blowers, grab some ice melt, and keep your driveway clear. Stay safe, enjoy the beauty of winter, and navigate the snowy season with confidence!
Frequently Asked Questions about How To Remove Snow From A Driveway
Was this page helpful?
At Storables.com, we guarantee accurate and reliable information. Our content, validated by Expert Board Contributors, is crafted following stringent Editorial Policies. We're committed to providing you with well-researched, expert-backed insights for all your informational needs.


0 thoughts on “How To Remove Snow From A Driveway”